 deʃhipu
-
11Trim the headers
Trim the pins, so that the top of the board is completely flat.
![]()
-
12Put the plastic back on (optional)
If you are going to use the low-profile female headers on your Feather boards, you can put the plastic back on the pins, since they only need to stick out very little. If you are using regular headers, leave the plastic off, this way the pins can go deeper into the female headers and the whole thing will be thinner.
![]()
-
13Insert the matrix
Insert the bi-color LED matrix into the holes. Make sure to make the text on the matrix face down, as pictured here. You will need to use your tweezers to make every pin fit into its hole. It takes some patience.
![]()
-
14Push the matrix
Push the matrix against a soft surface until it's flush with the board. Don't use too much force, or you will break the board or scratch the matrix.
![]()
-
15Solder the matrix
Solder all of the pins on the back side. Start with the side ones, and then do the middle.
![]()
-
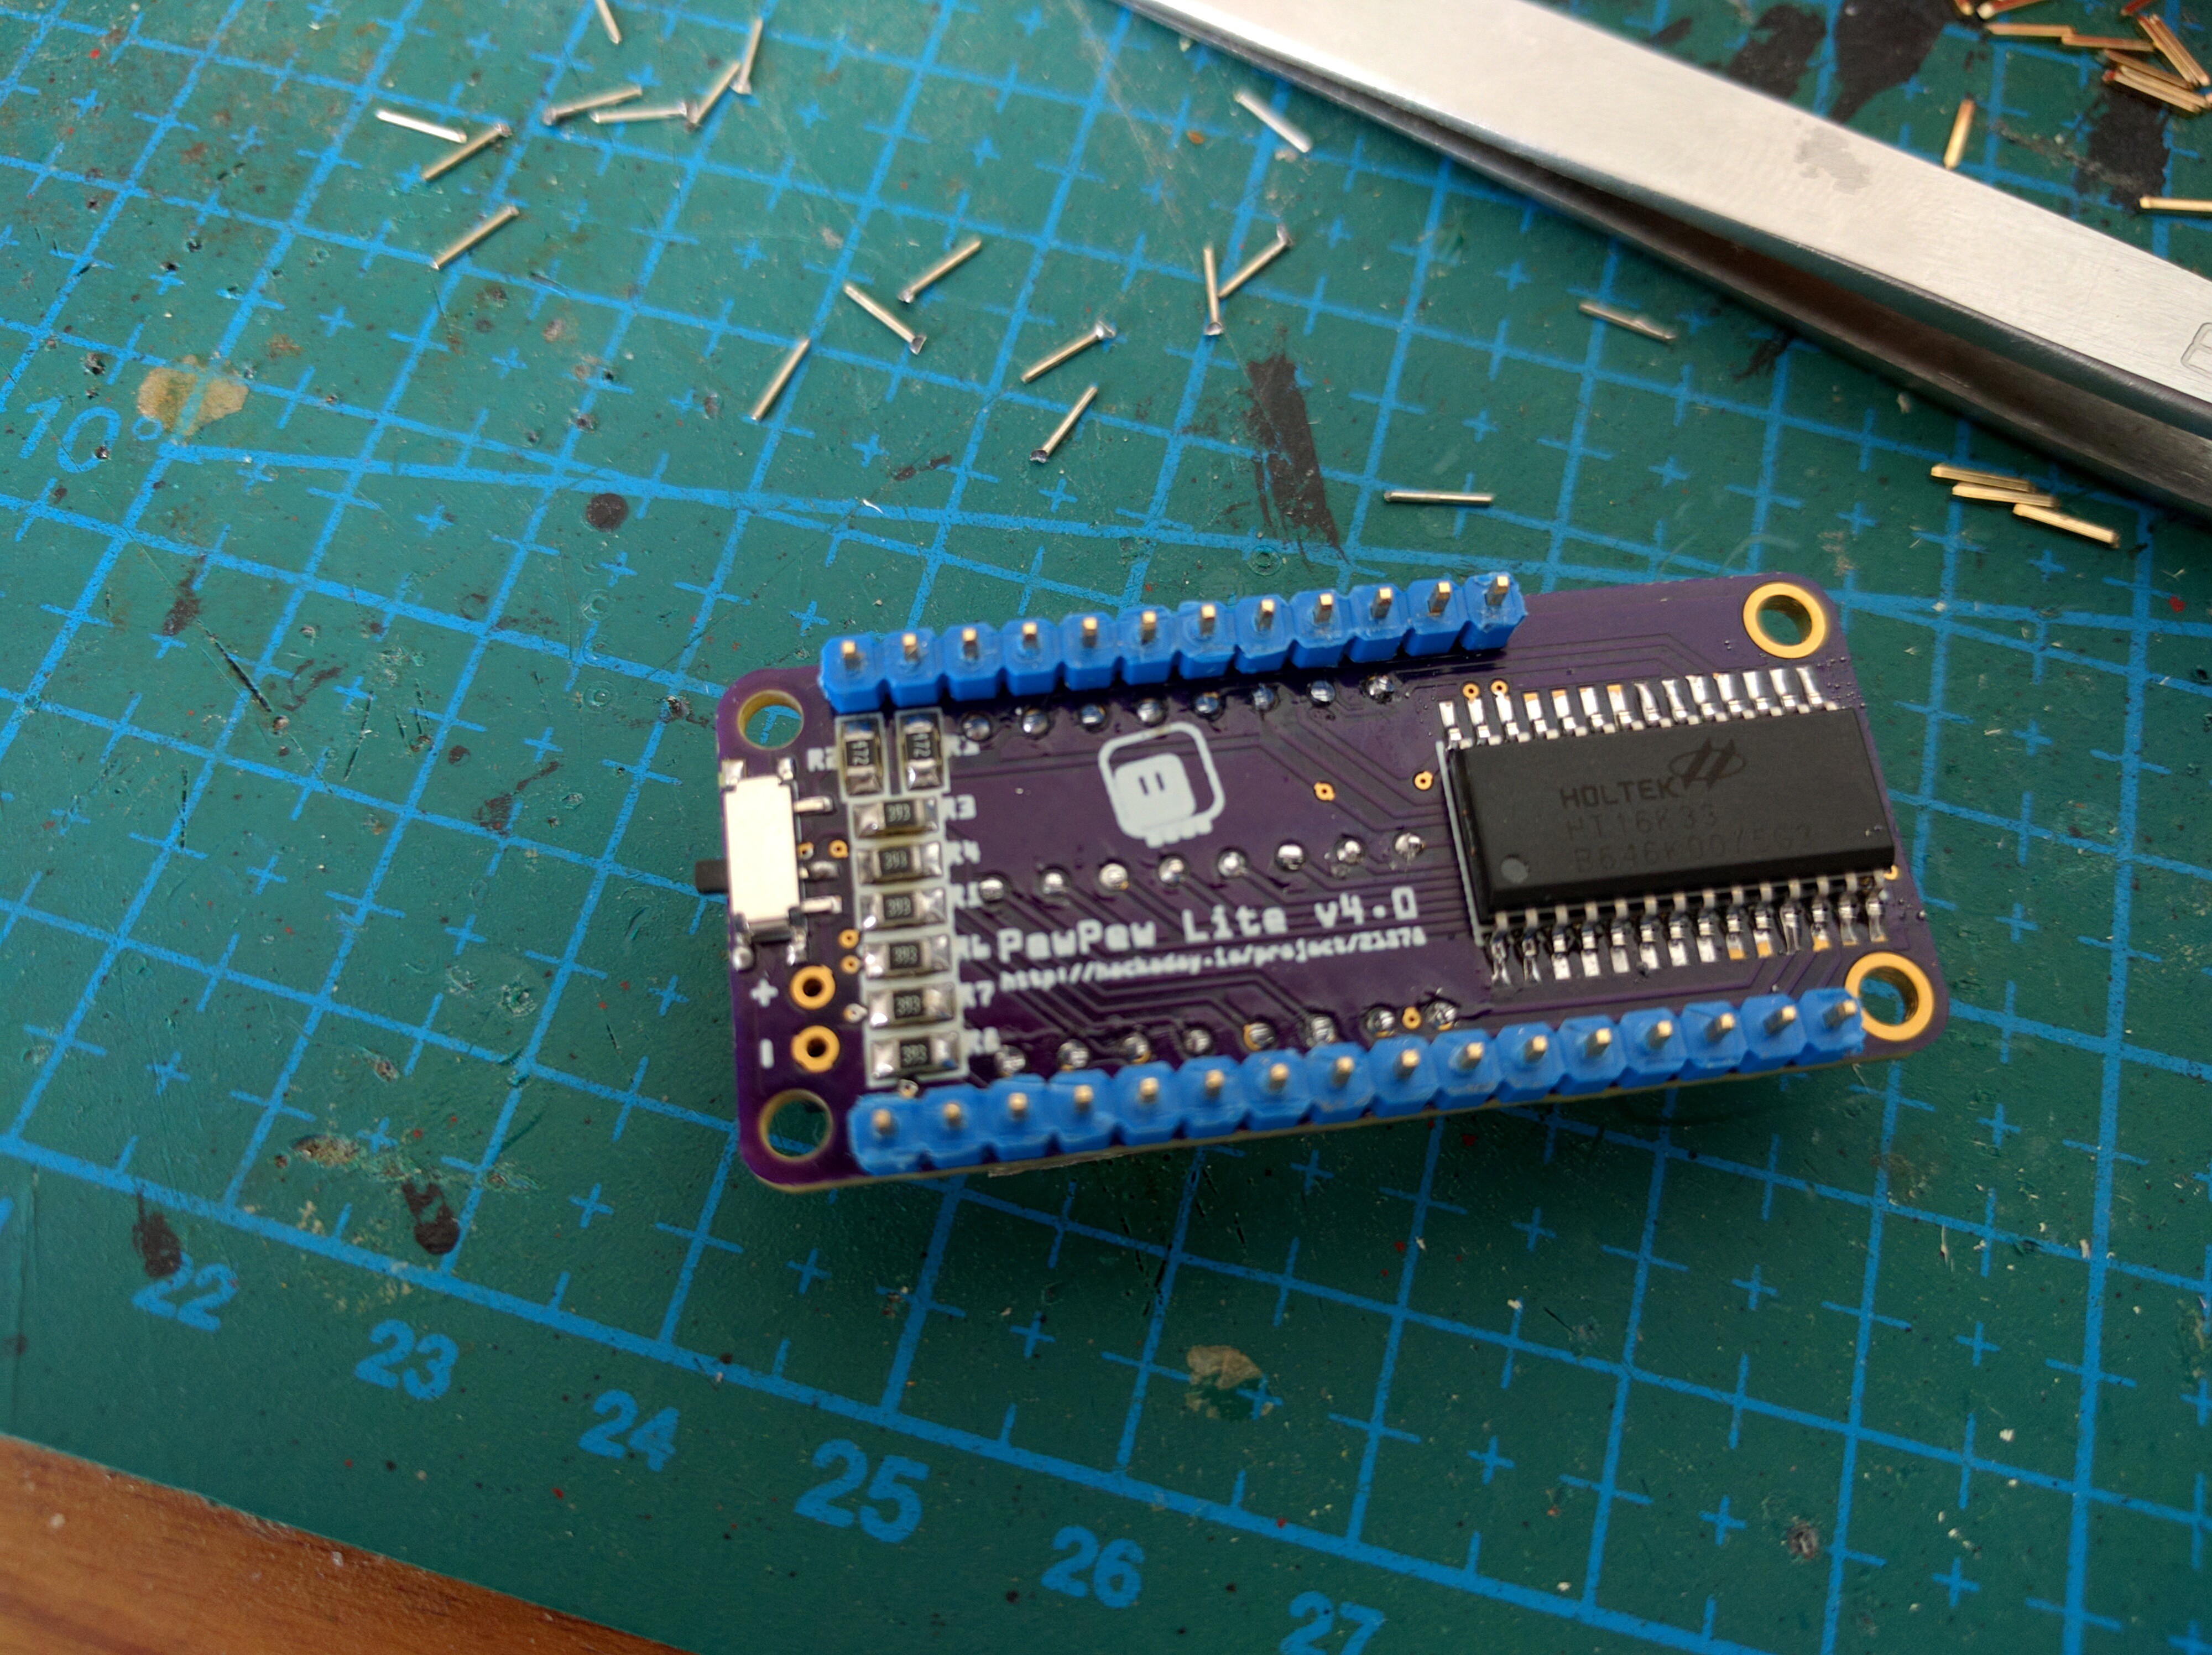
16Trim the matrix
Use wire cutters to cut off the excess pins, as flat against the board as possible.
![]()
-
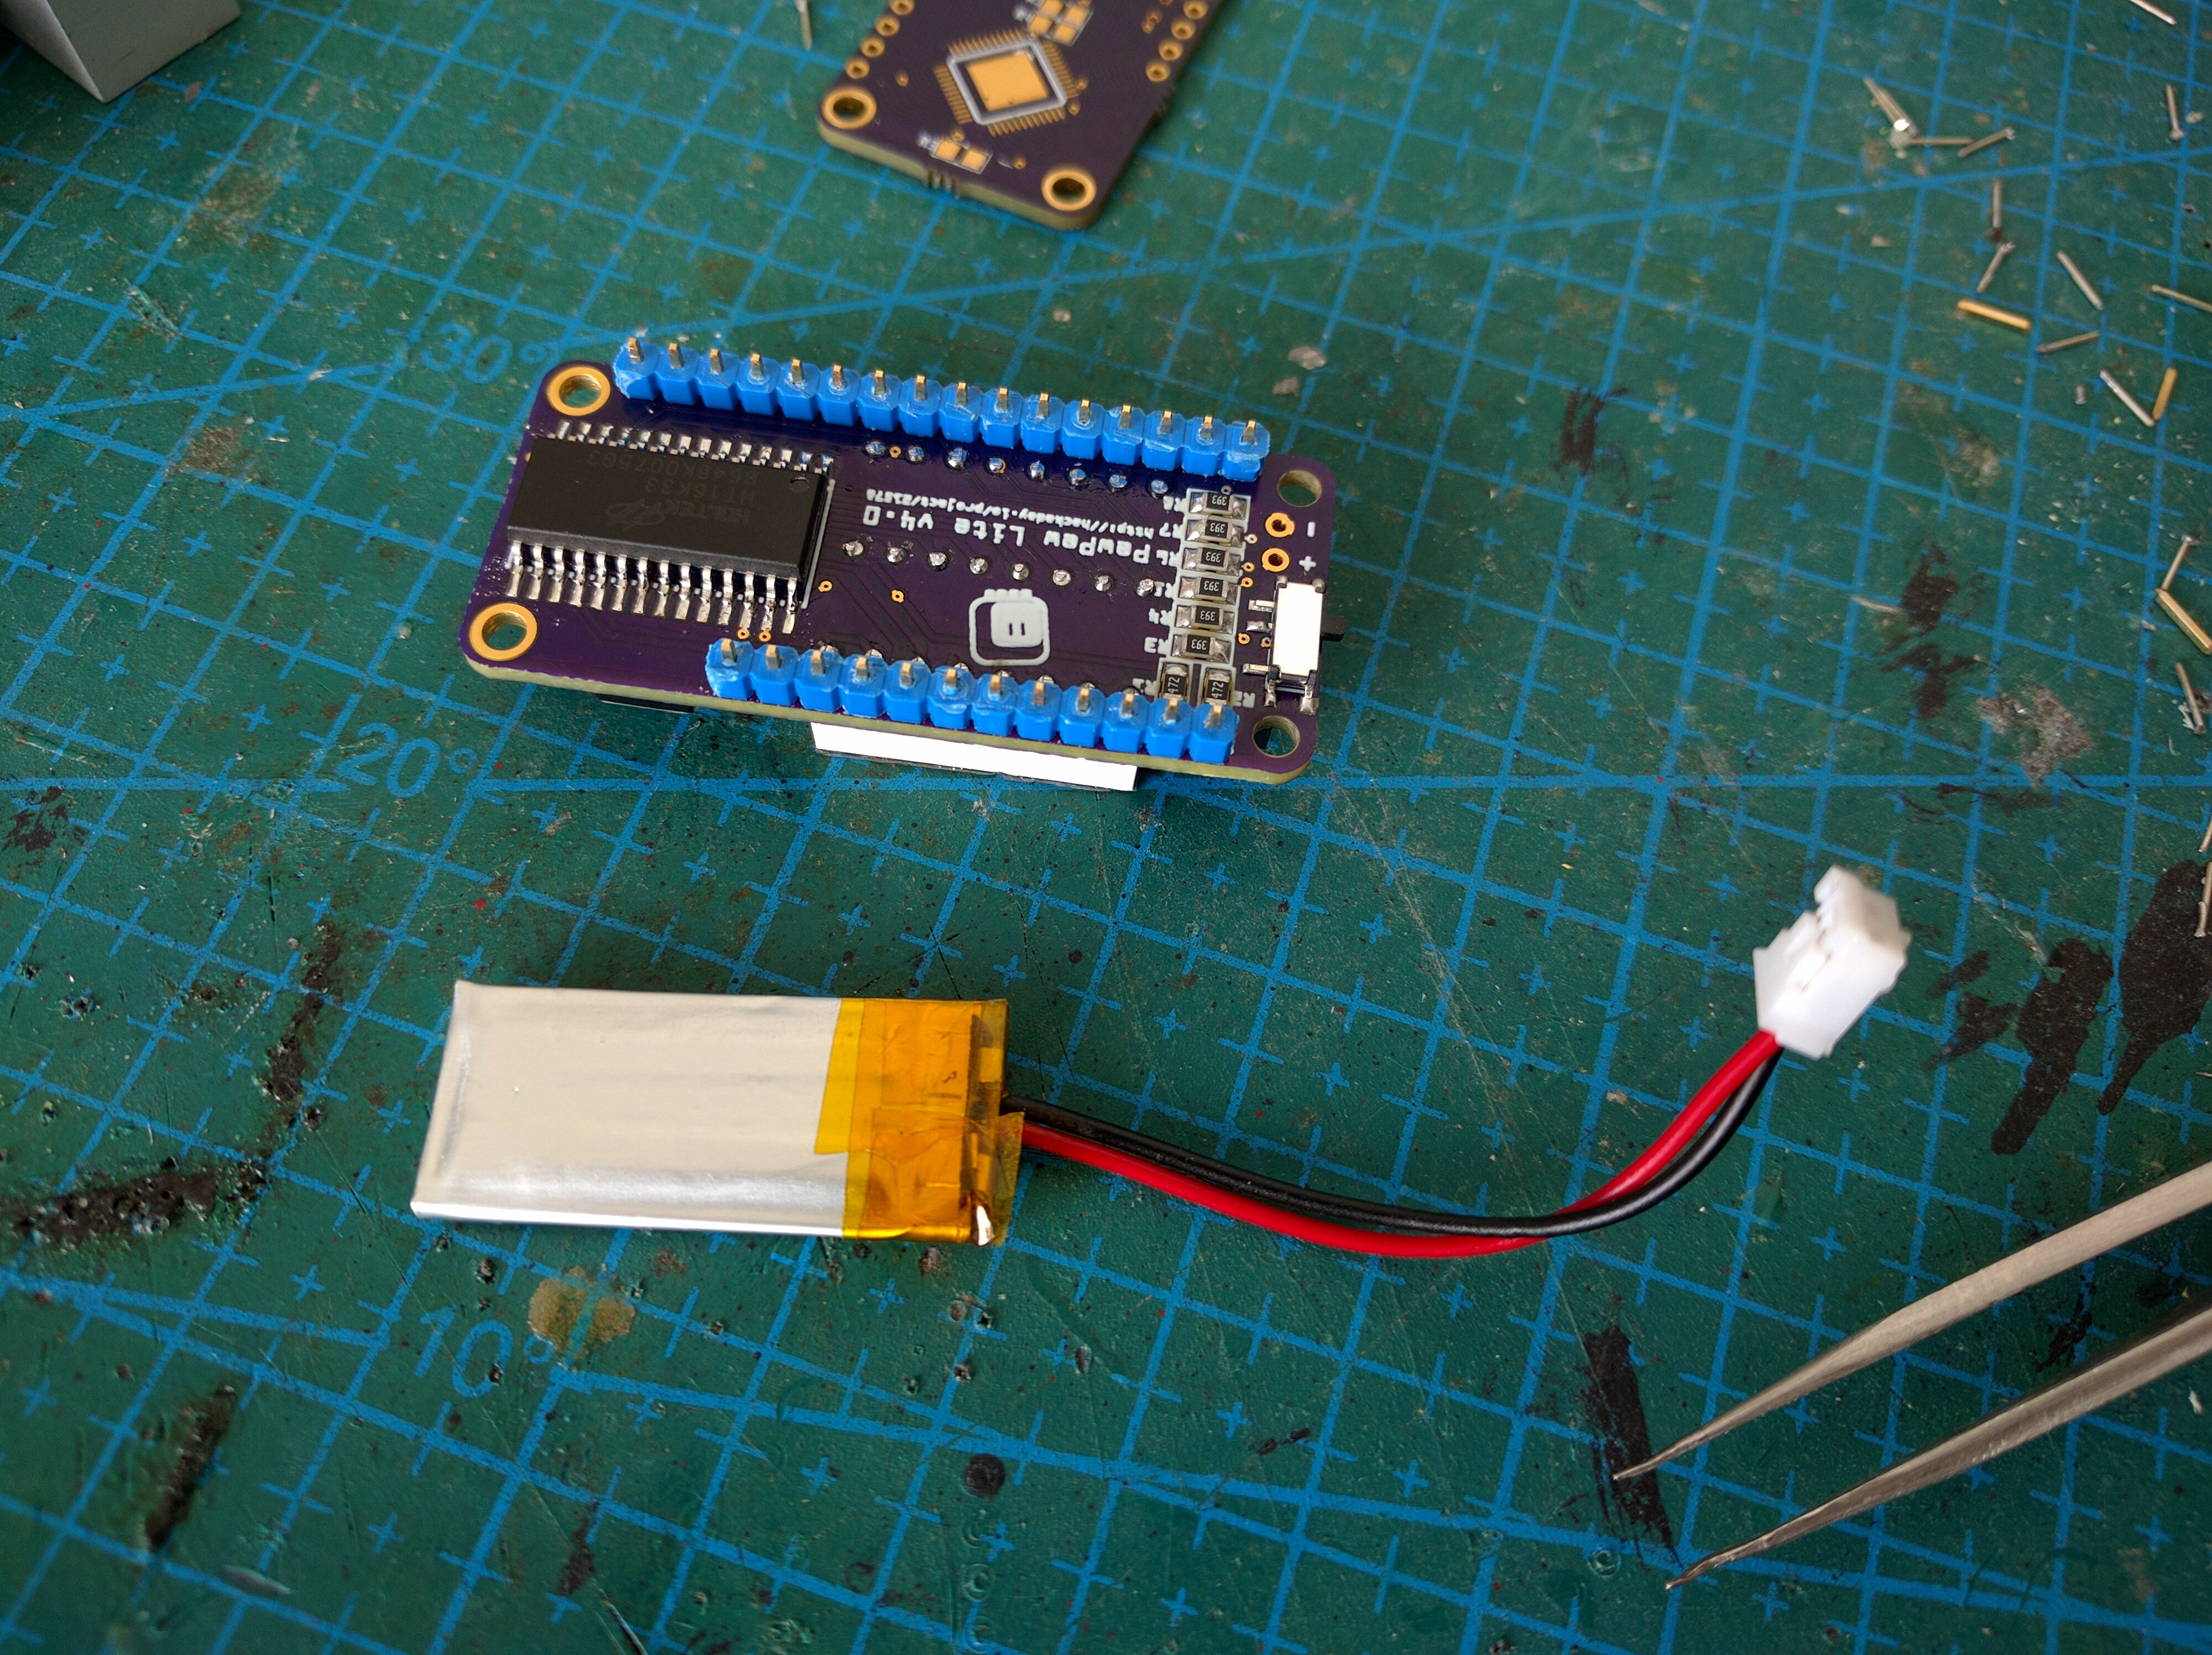
17Add a battery (optional)
If you have a small battery (I used 110mAh), you can add it on the back of the board.
![]()
-
18Cut the wires
Cut the battery wires to about 0.5cm. Be careful to cut them one at a time, otherwise your cutters will short the battery and make sparks fly.
![]()
-
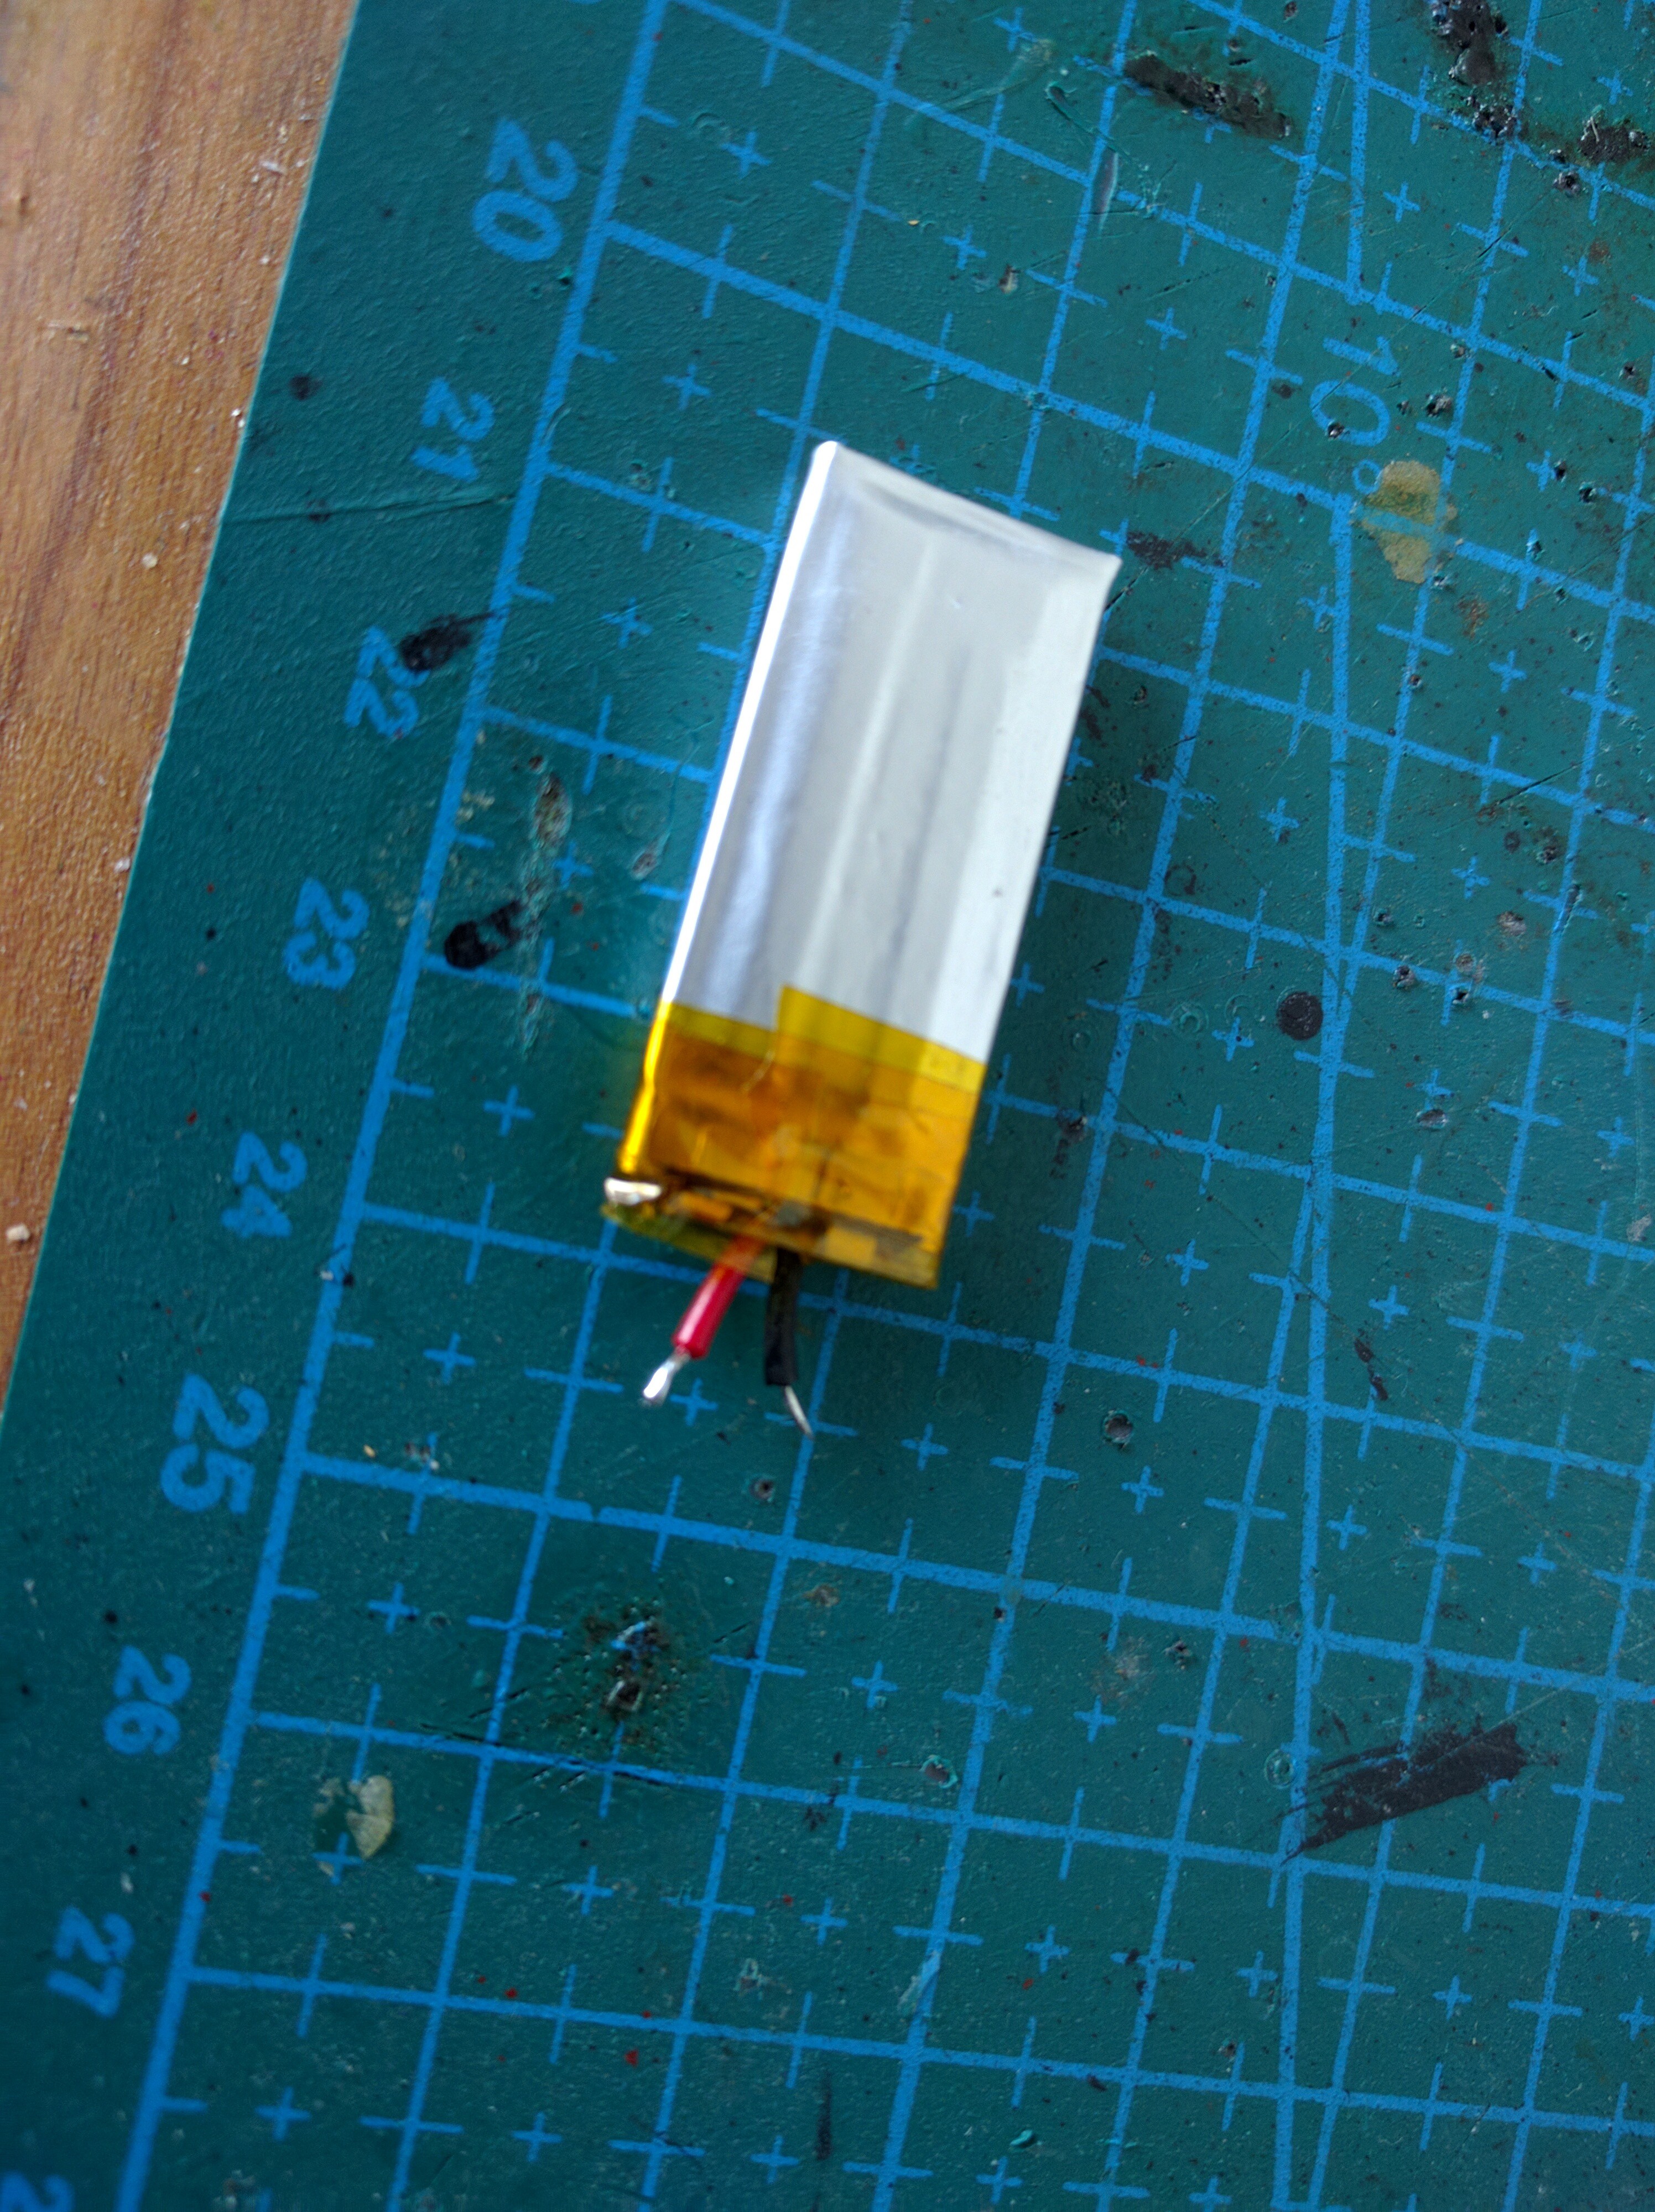
19Prepare wires
Carefully remove the insulation and tin the ends of the wires. Be careful to not short them.
![]()
-
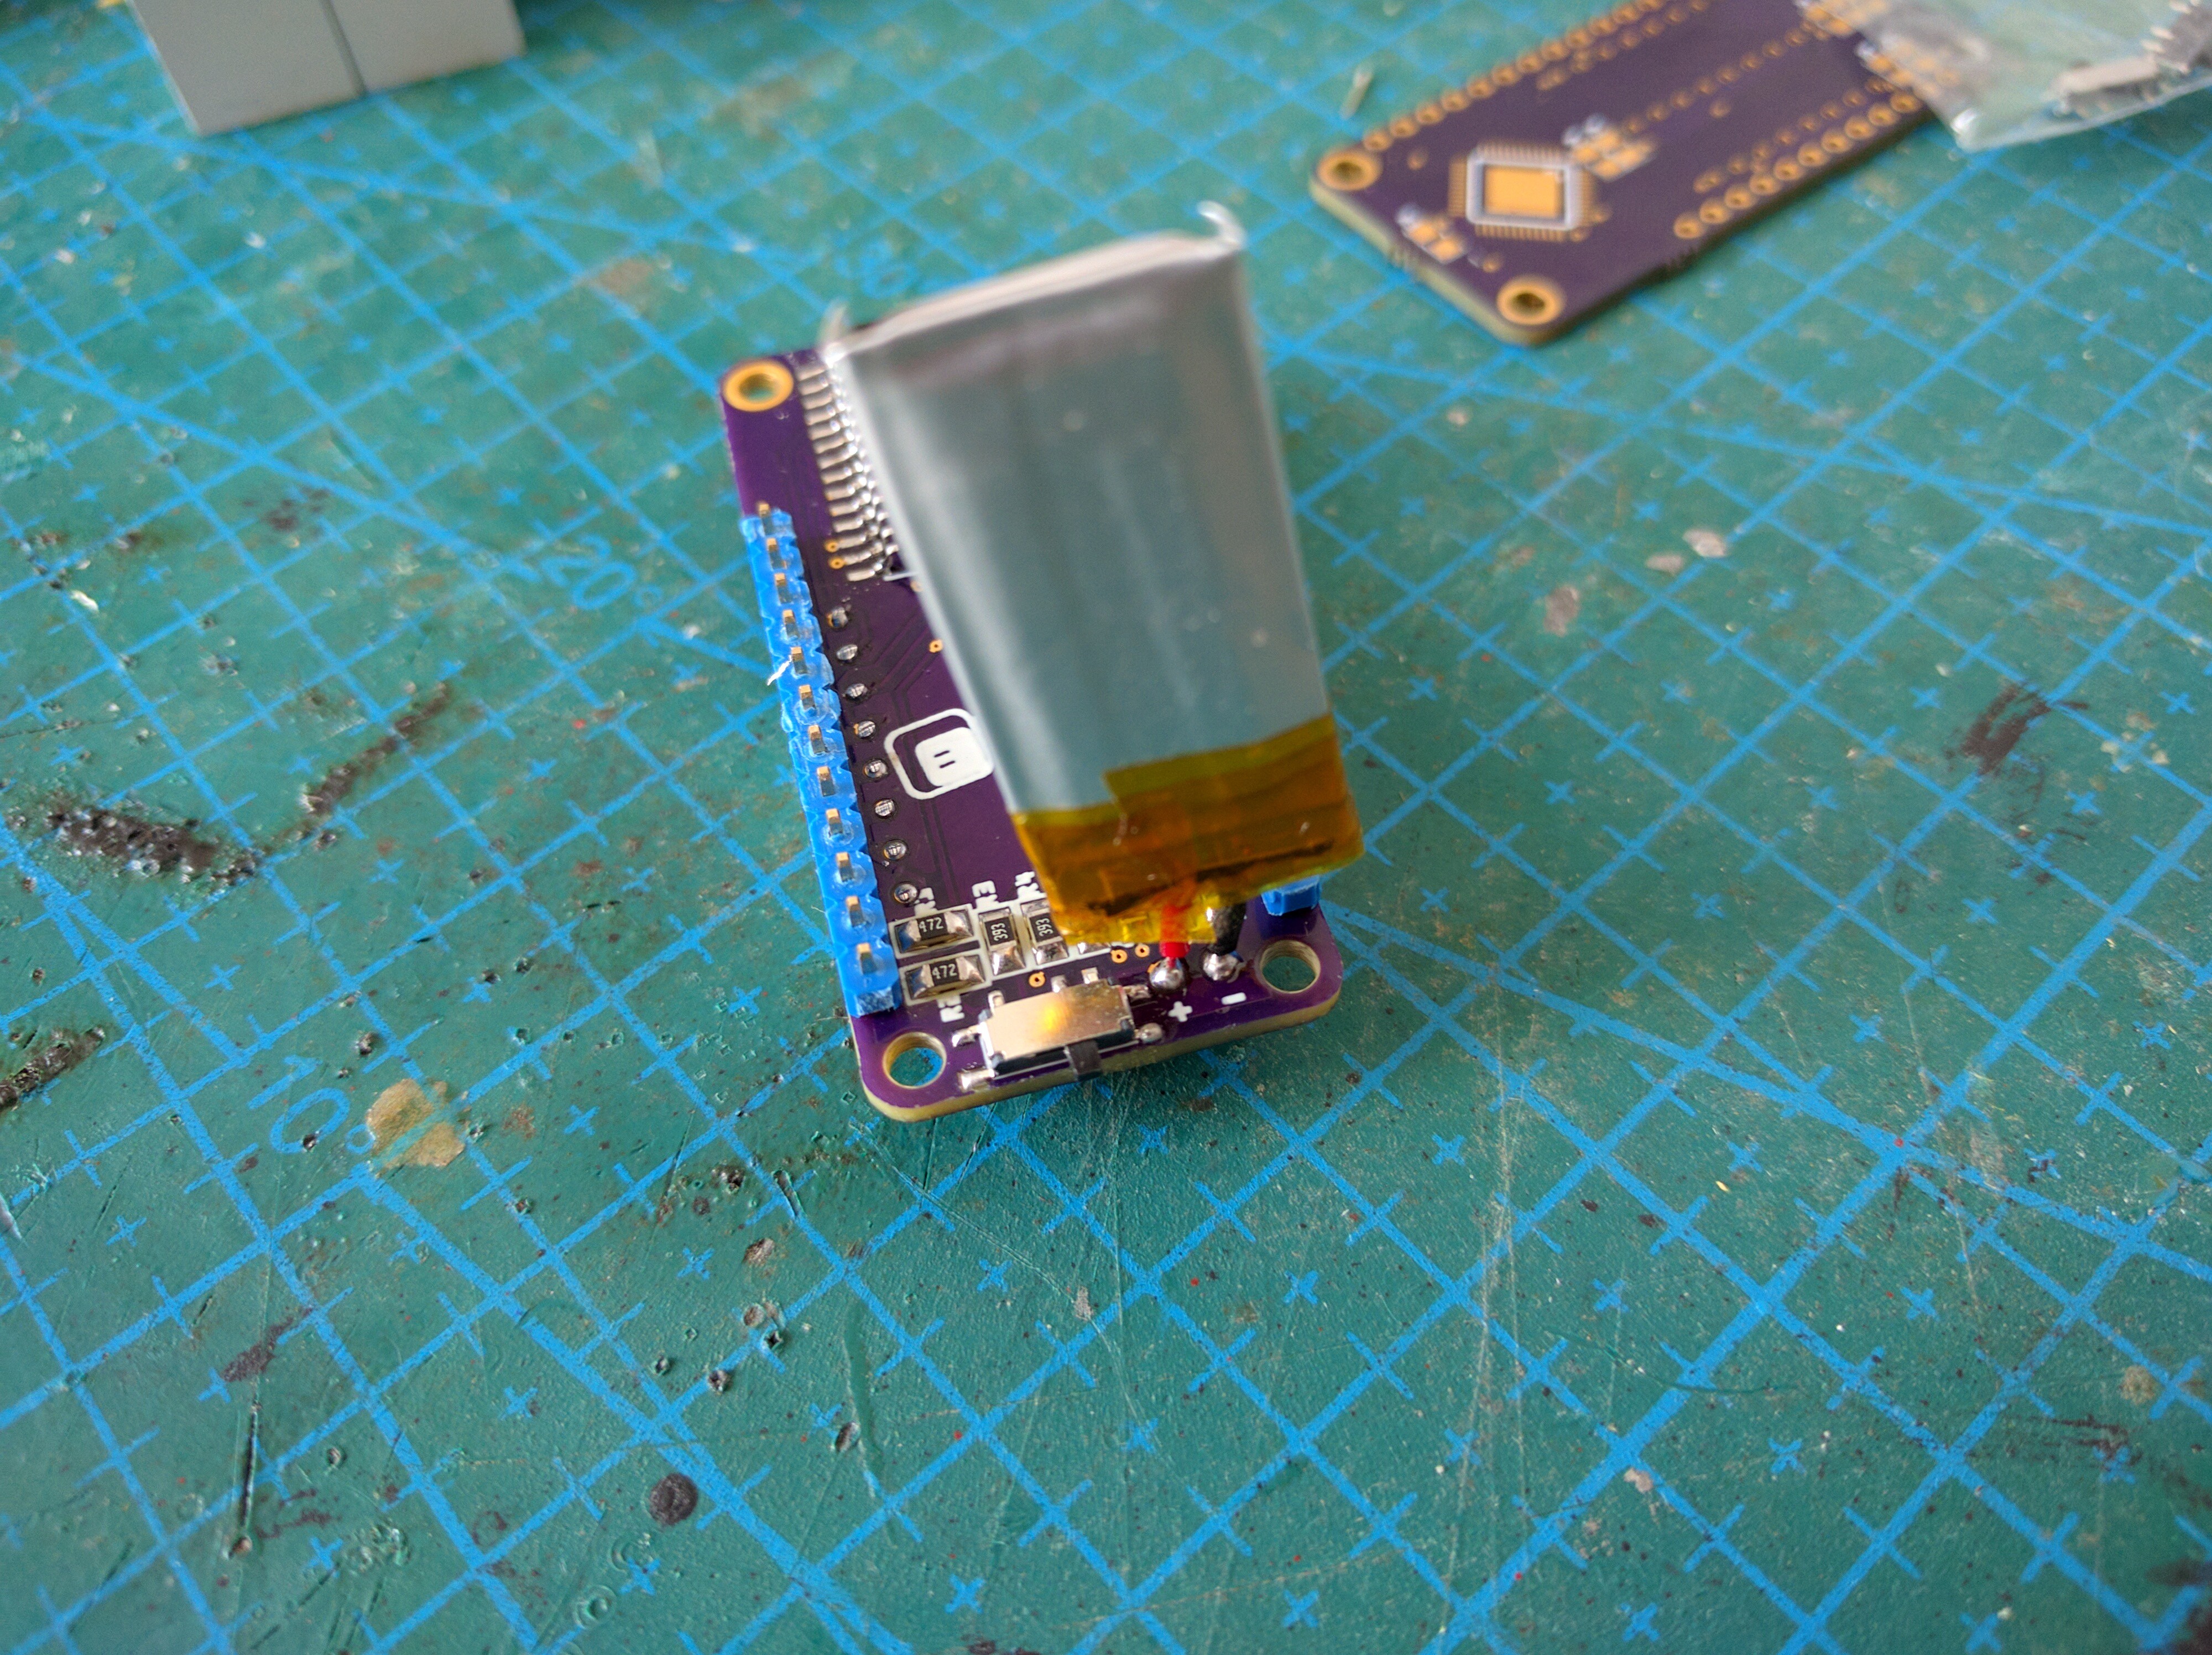
20Solder battery
Solder the wires to the holes marked + (red wire) and - (black wire).
![]()
PewPew FeatherWing
A shield for Adafruit Feather boards with buttons and a LED matrix display, for simple games.


Discussions
Become a Hackaday.io Member
Create an account to leave a comment. Already have an account? Log In.