 Robert Poser
-
1Step 1
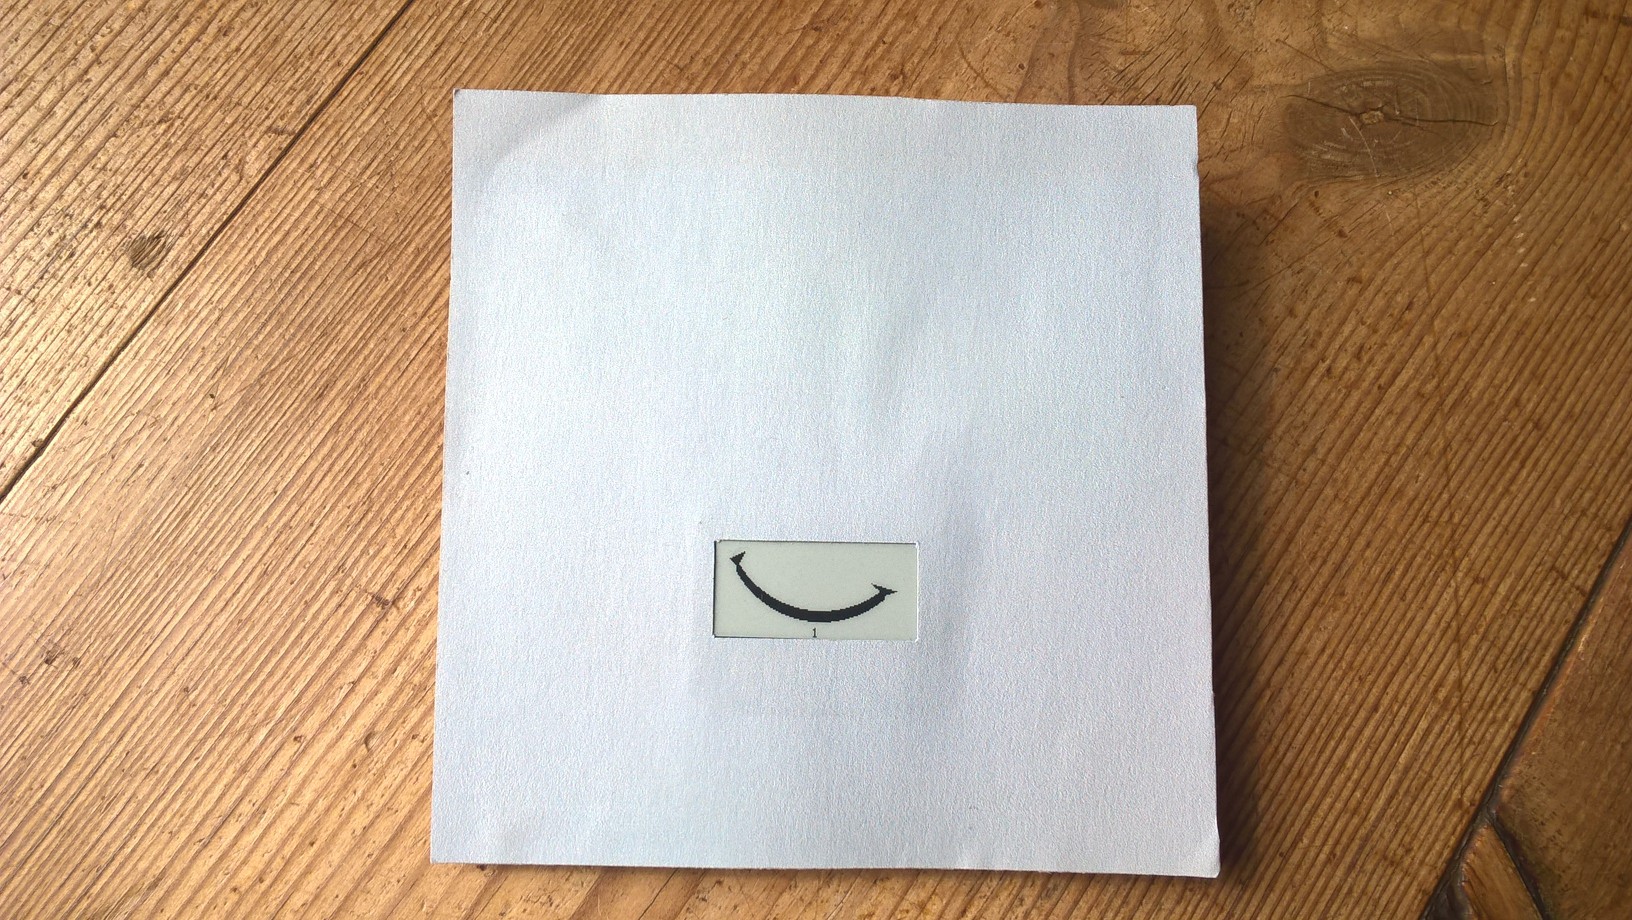
1. Background template
I started printing this almost white background page (following the background template provided in the component section). It will then look like this (after cutting outlines and the inner frame where the display will be later attached to): Can you see the display? ;-)
![]()
-
2Step 2
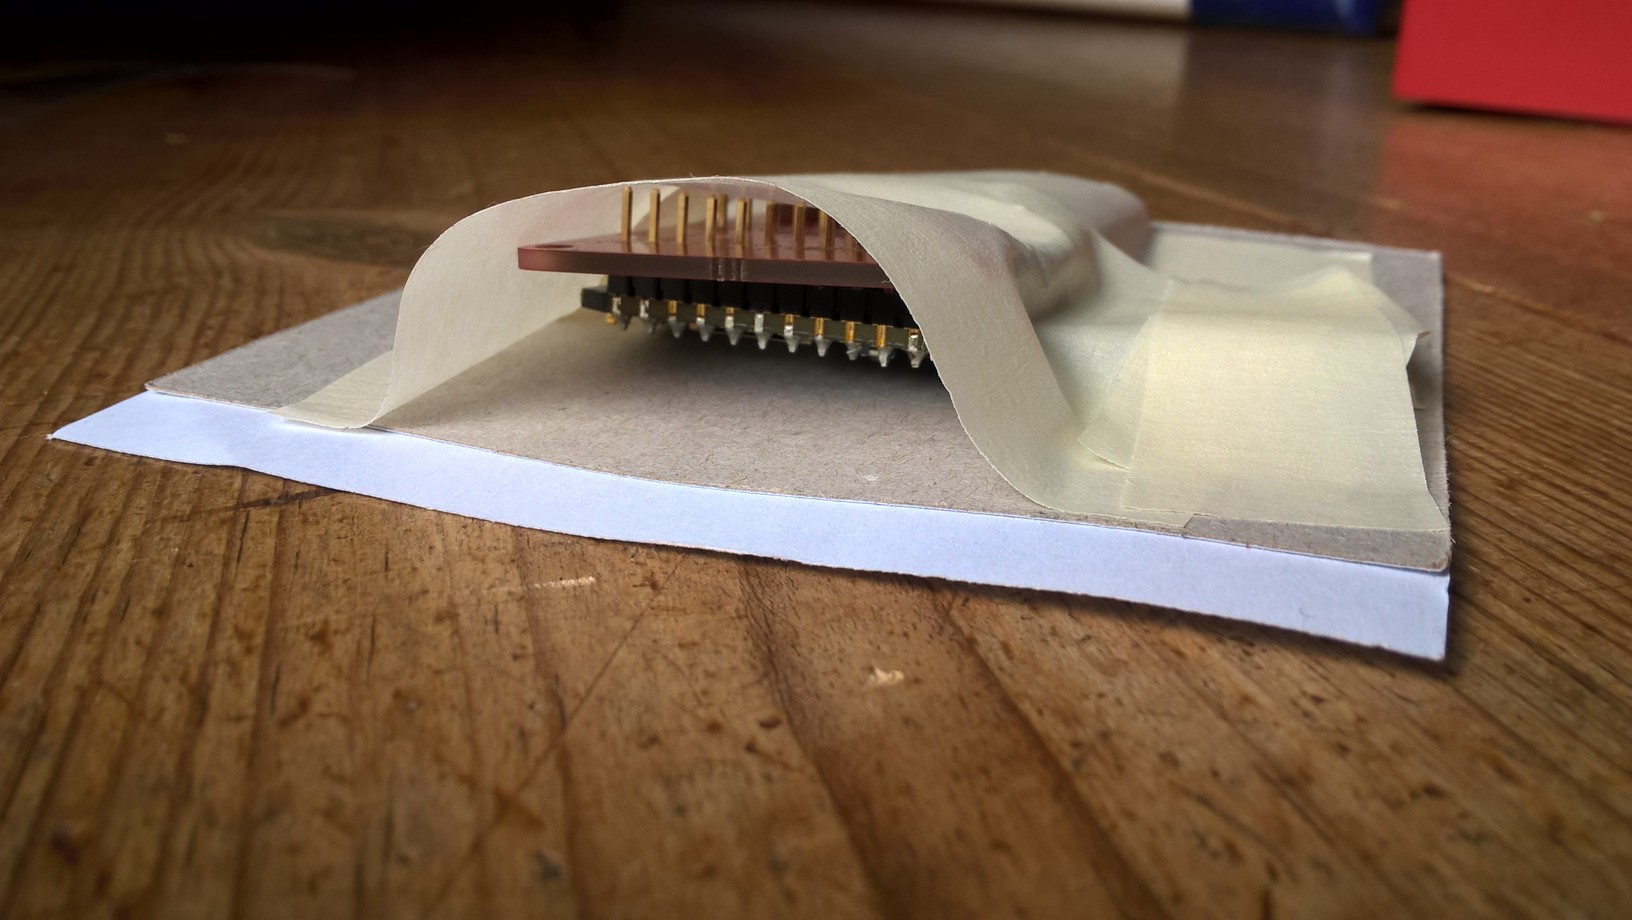
2. Electronics
After laminating some cardboard to the backside as stiffener the electronics are professionally attached via adhesive tape: The Photon & the Paperino shield.
![]()
-
3Step 3
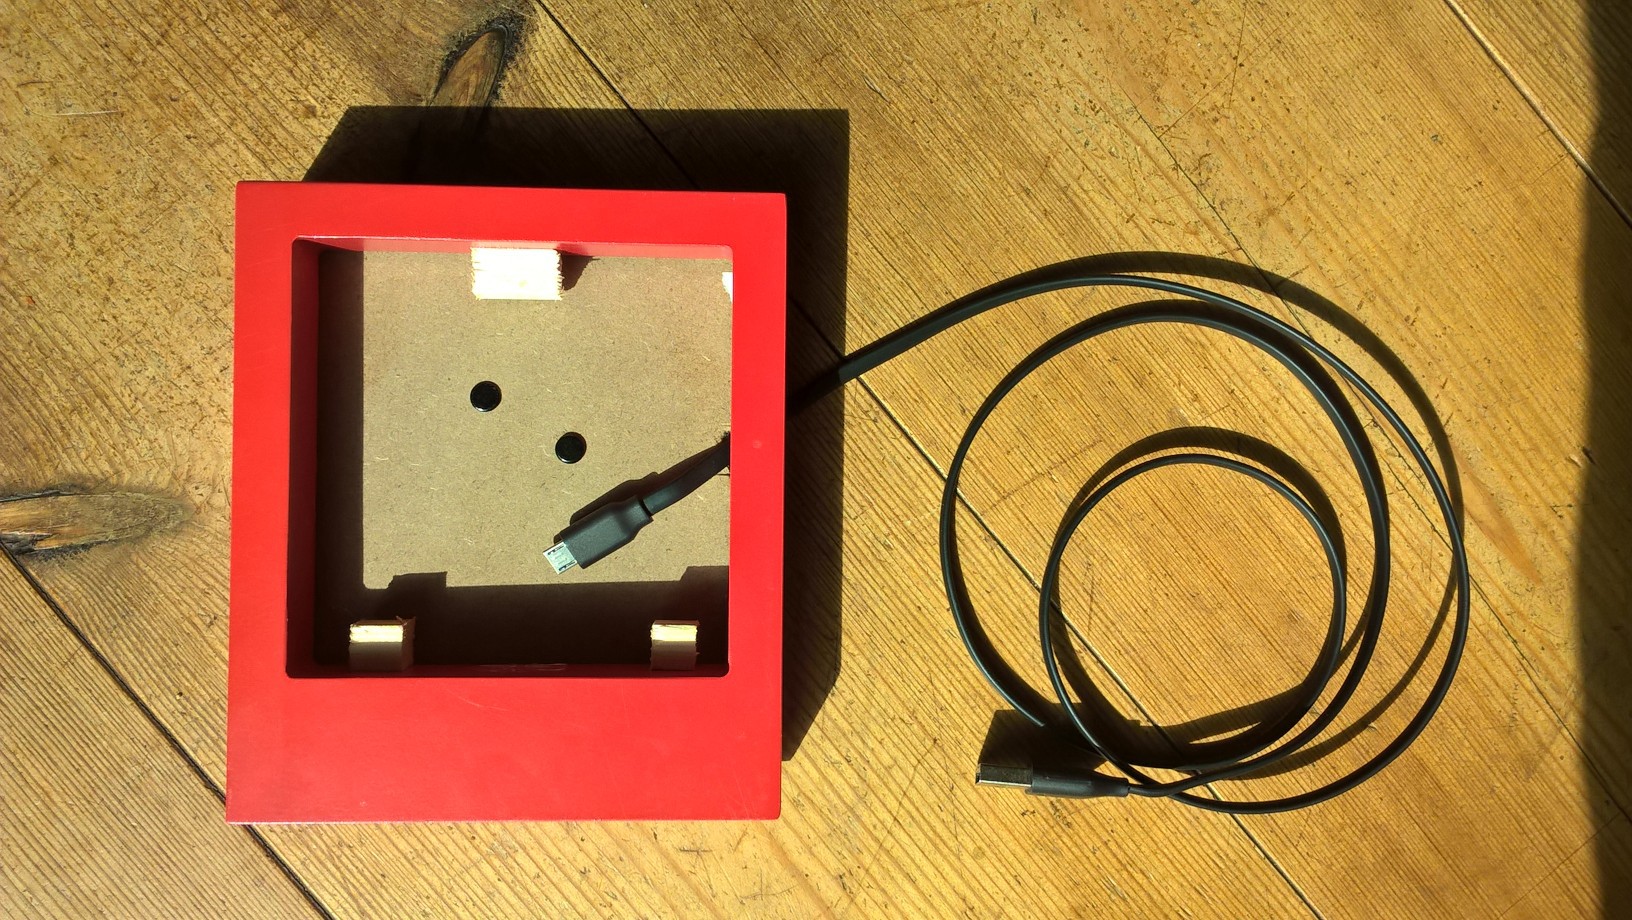
3. The Desk frame
Adding some spacers on the edges (should better be more than three) and a small hole for the USB power cable (the location should be better closer to the bottom side)
![]()
-
4Step 4
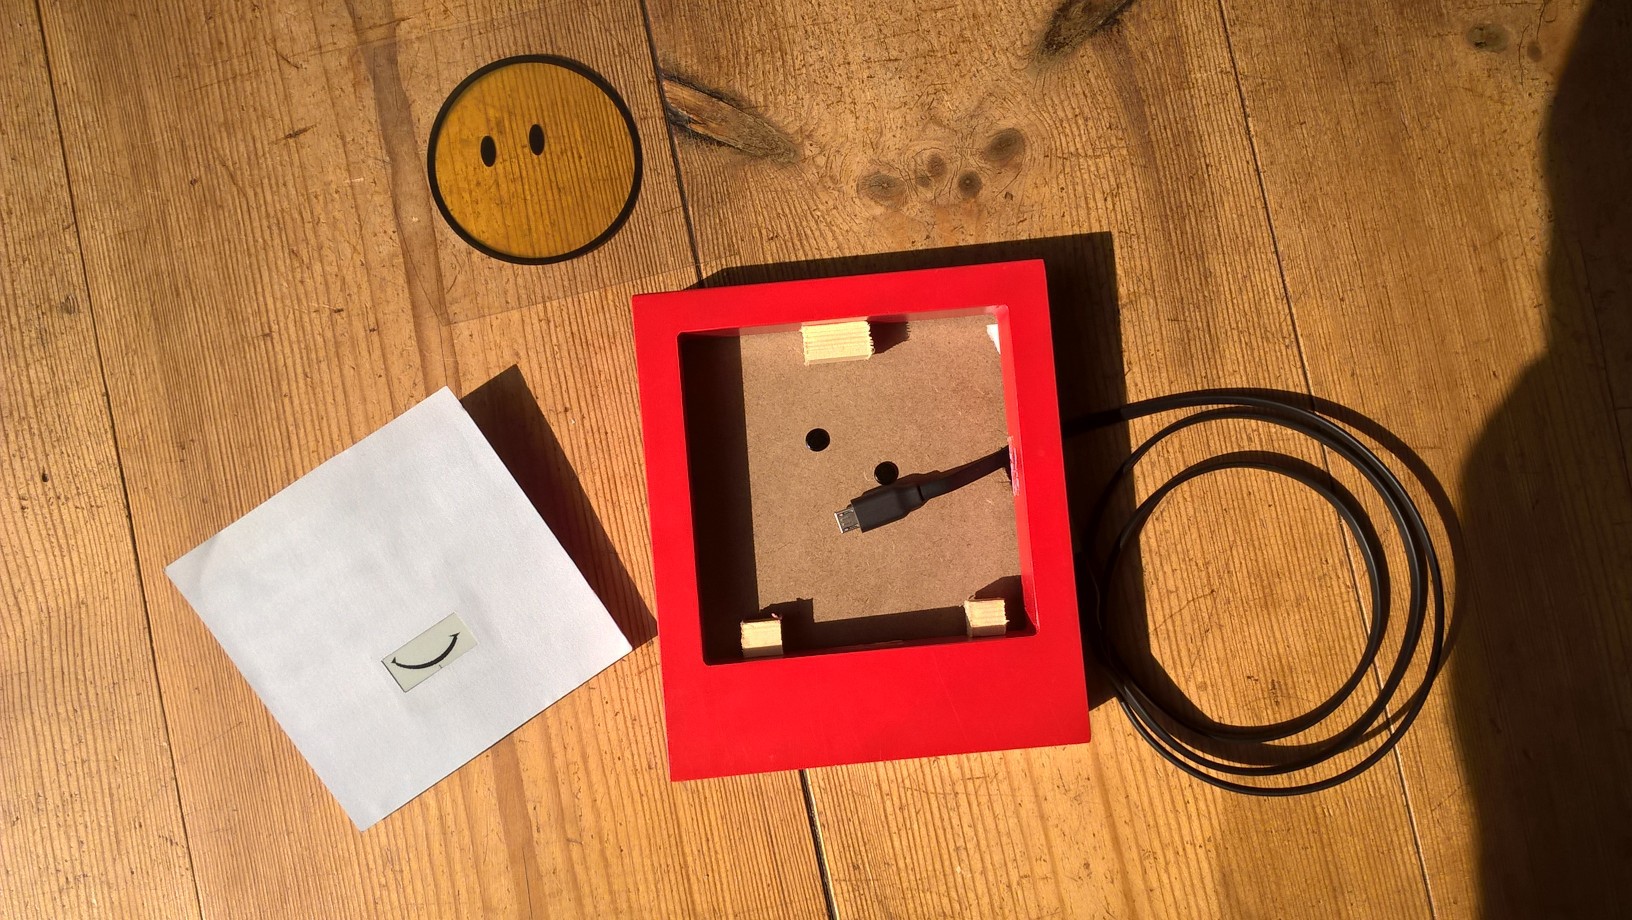
4. The Front cover
After printing the Front cover on transparent foil everything is read to be assembled together:
![]()
IoT Connected Picture/Desk Frame
An upgraded Picture stand with (almost) seamlessly integrated E-Paper
Discussions
Become a Hackaday.io Member
Create an account to leave a comment. Already have an account? Log In.