This log covers a mechanical fitup test of the bricks and hardware for the main body of the kiln. The heater coils and a wiring cover are still needed - they should appear soon in a later update.
The image below shows the metal parts out of the box from McMaster
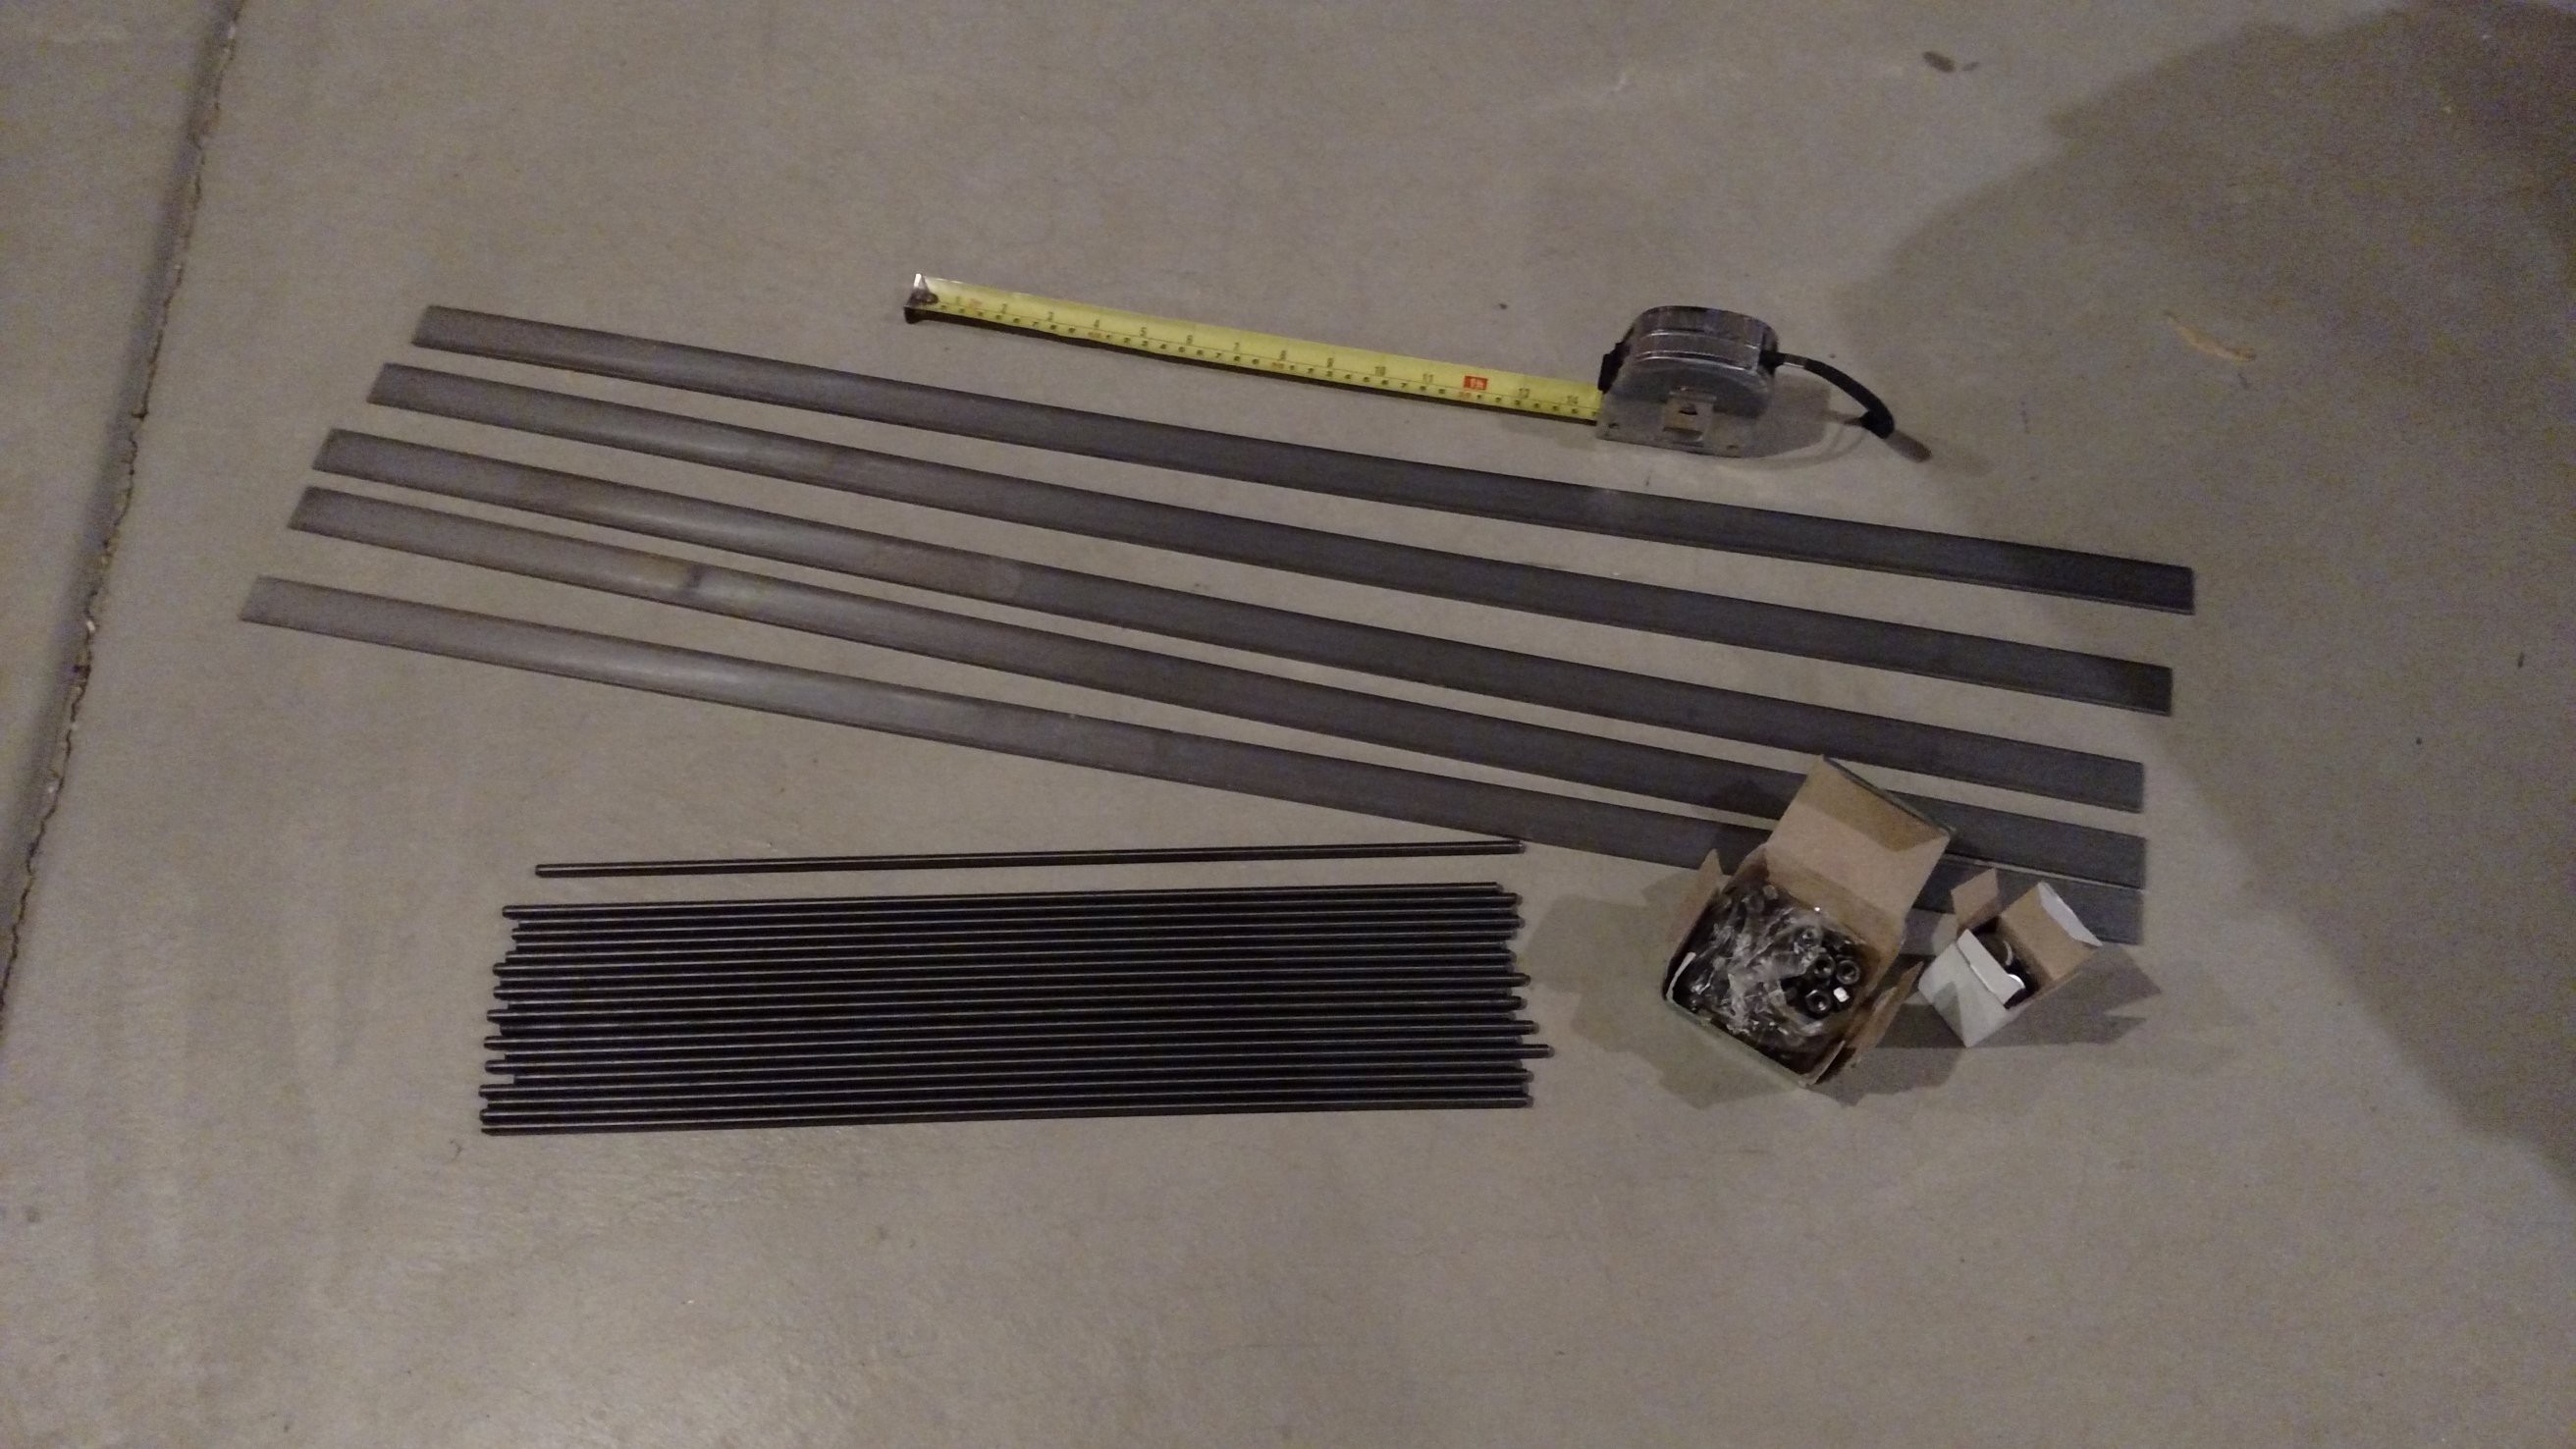
Metal parts out of the box
I used a hacksaw and vice to cut the strips and rod to length, and a hand drill to drill the holes. The hole drilling was pretty tedious. If anyone else is thinking about this reproducing this design, consider obtaining a drill press, or finding a way to use metal strip that comes pre-drilled (Unistrut, for example).
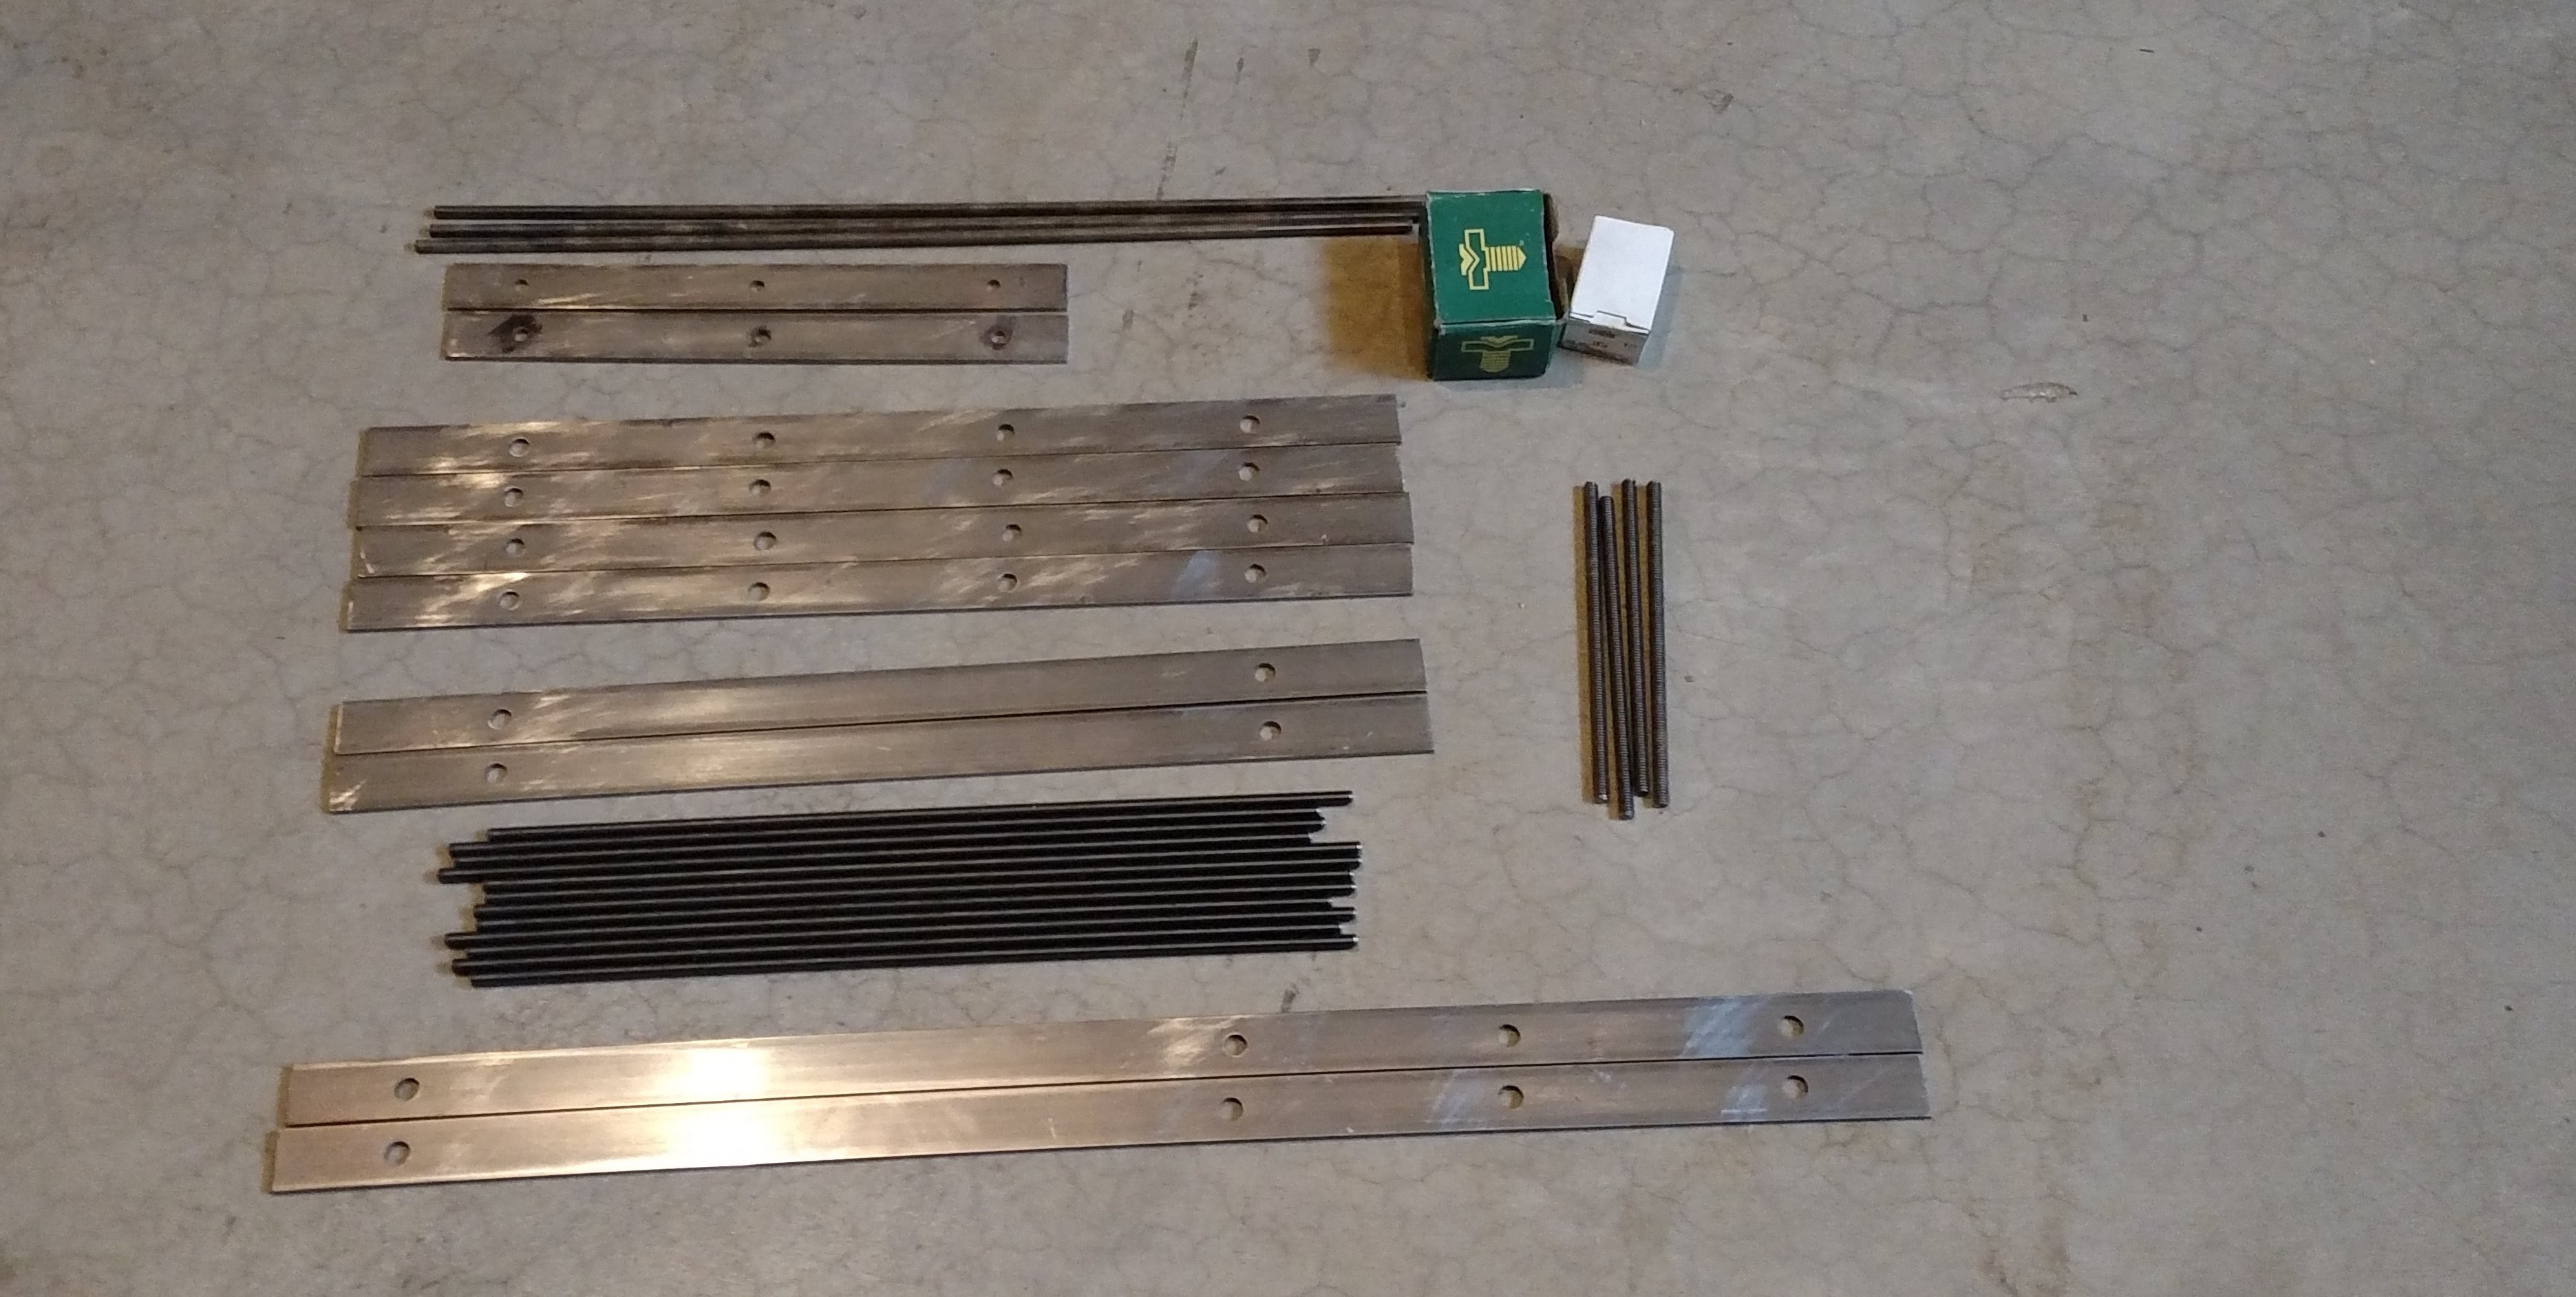
Metal parts after cutting and drilling
The OpenSCAD file kiln-assembly-V1.scad will calculate and then echo out the lengths and hole locations for each of the strips. This output is pasted below for reference. The hole diameter for the short and long strips is 17/64 inch, which is quite oversize for the 1/4"-20 threaded rod. A sloppy fit was desired/required because the bricks are not made to very close tolerances. Furthermore, it is expected that when the kiln heats up, things are going to change size and move around. It will be better for things to be a bit loose so they move, rather than have everything clamped down and then start cracking bricks everywhere...
ECHO: "lid strip dimensions in INCHES"
ECHO: "lid strip length =", 11
ECHO: "hole one location from end =", 1.25
ECHO: "hole two location from end =", 5.5
ECHO: "hole three location from end =", 9.75
ECHO: "short strip dimensions in INCHES"
ECHO: "short strip length =", 18
ECHO: "hole one location from end =", 2.625
ECHO: "hole two location from end =", 6.875
ECHO: "hole three location from end =", 11.125
ECHO: "hole four location from end =", 15.375
ECHO: "long strip dimensions in INCHES"
ECHO: "long strip length =", 25
ECHO: "hole one location from end =", 1.875
ECHO: "hole two location from end =", 6.125
ECHO: "hole three location from end =", 10.375
ECHO: "hole four location from end =", 14.625
ECHO: "hole five location from end =", 18.875
ECHO: "hole six location from end =", 23.125
Hole two and hole three of the long strip can be omitted. And hole two and hole three of two of the six short strips can be omitted. View in OpenSCAD to get a clearer picture of how the parts go together, or check out the build instructions page.
OK now we're ready to get started! This image shows the metal parts set out and the threaded rods threaded into nuts and washers:
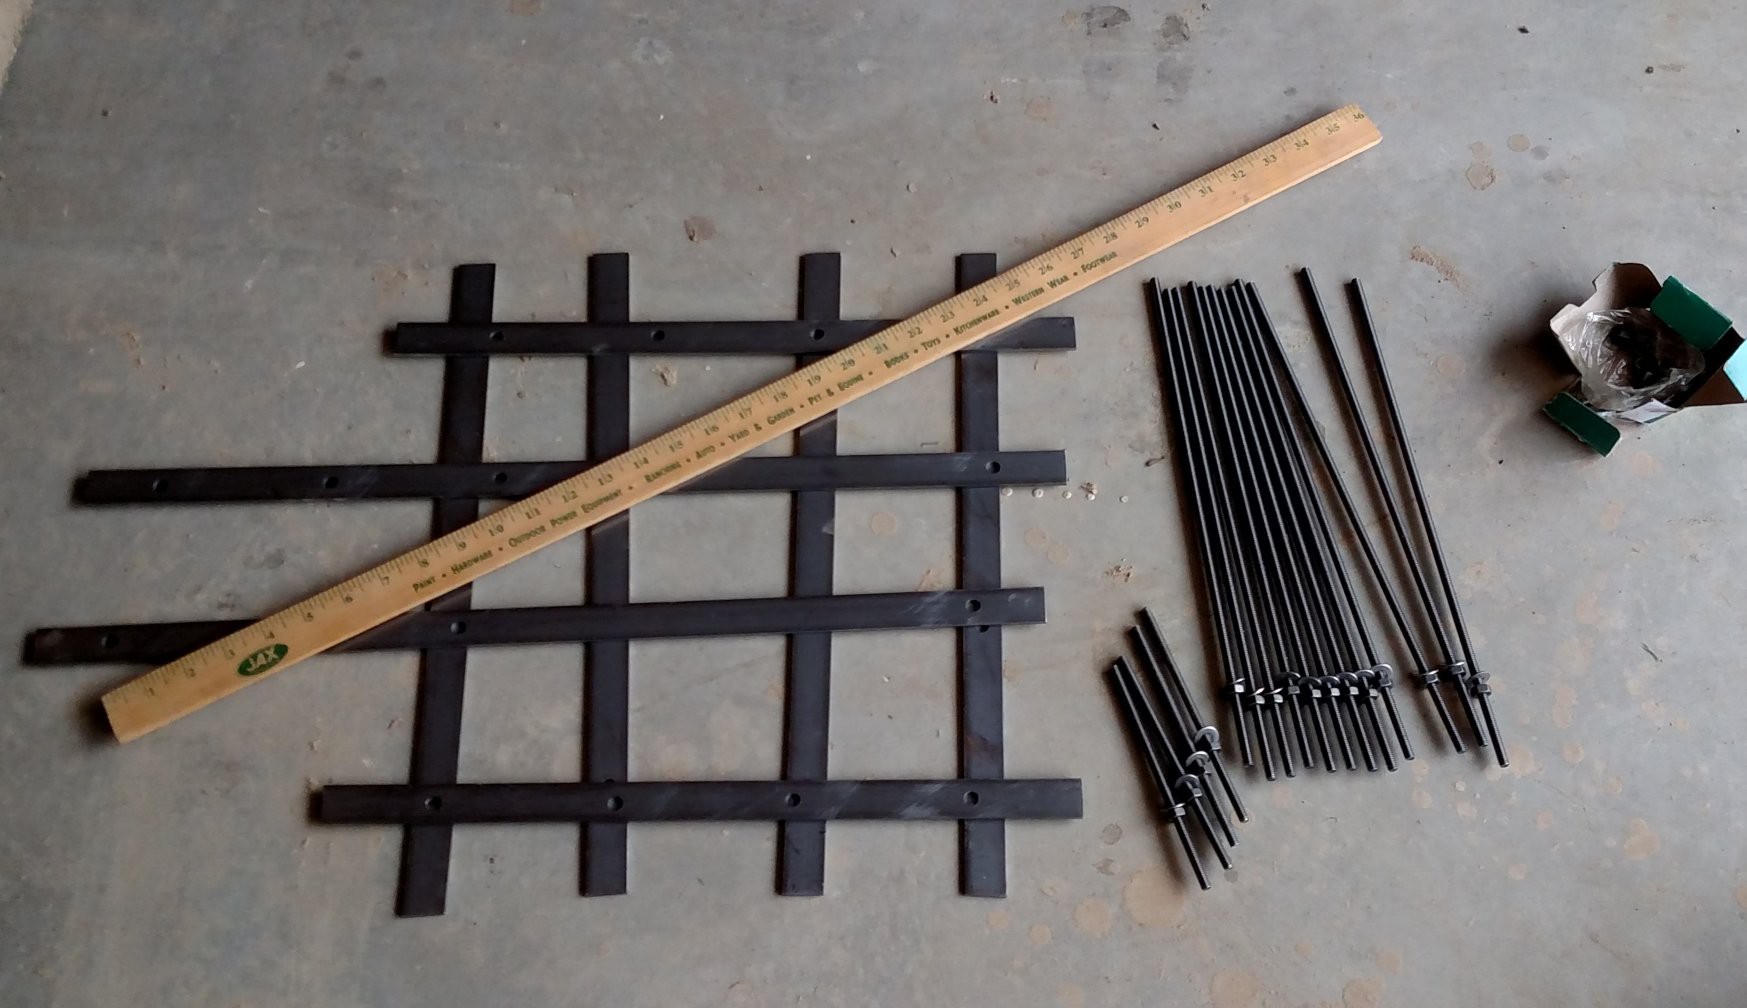 Getting started...
Next up the rods and strips and kind of sort of assembled. This is a real spaghetti mess. I can hear everyone asking at once: "Why don't you put nuts on the top side and tighten that thing down?!??!??"
Because I want it to be loose so the bricks will all shake down in place as I add them. And also so things can move around when the kiln heats up.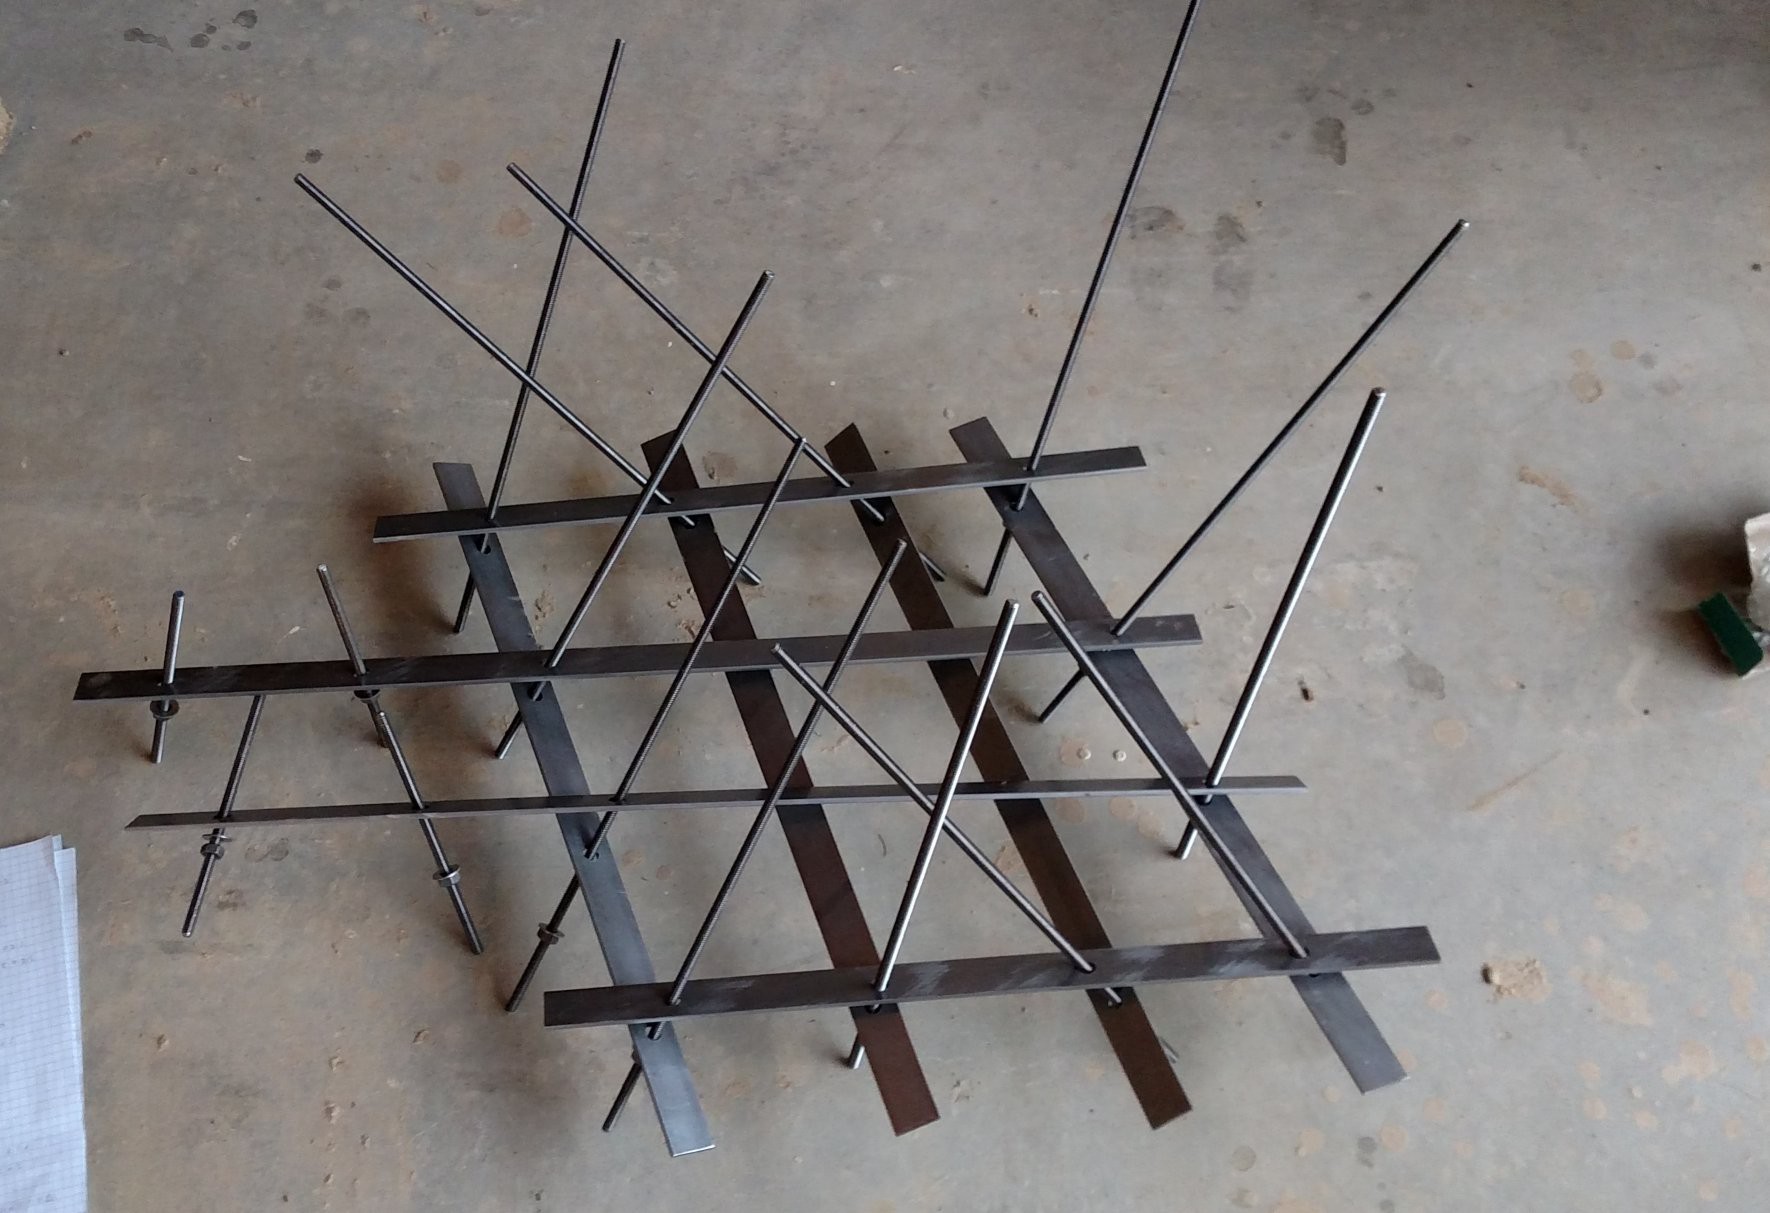 A real spaghetti mess
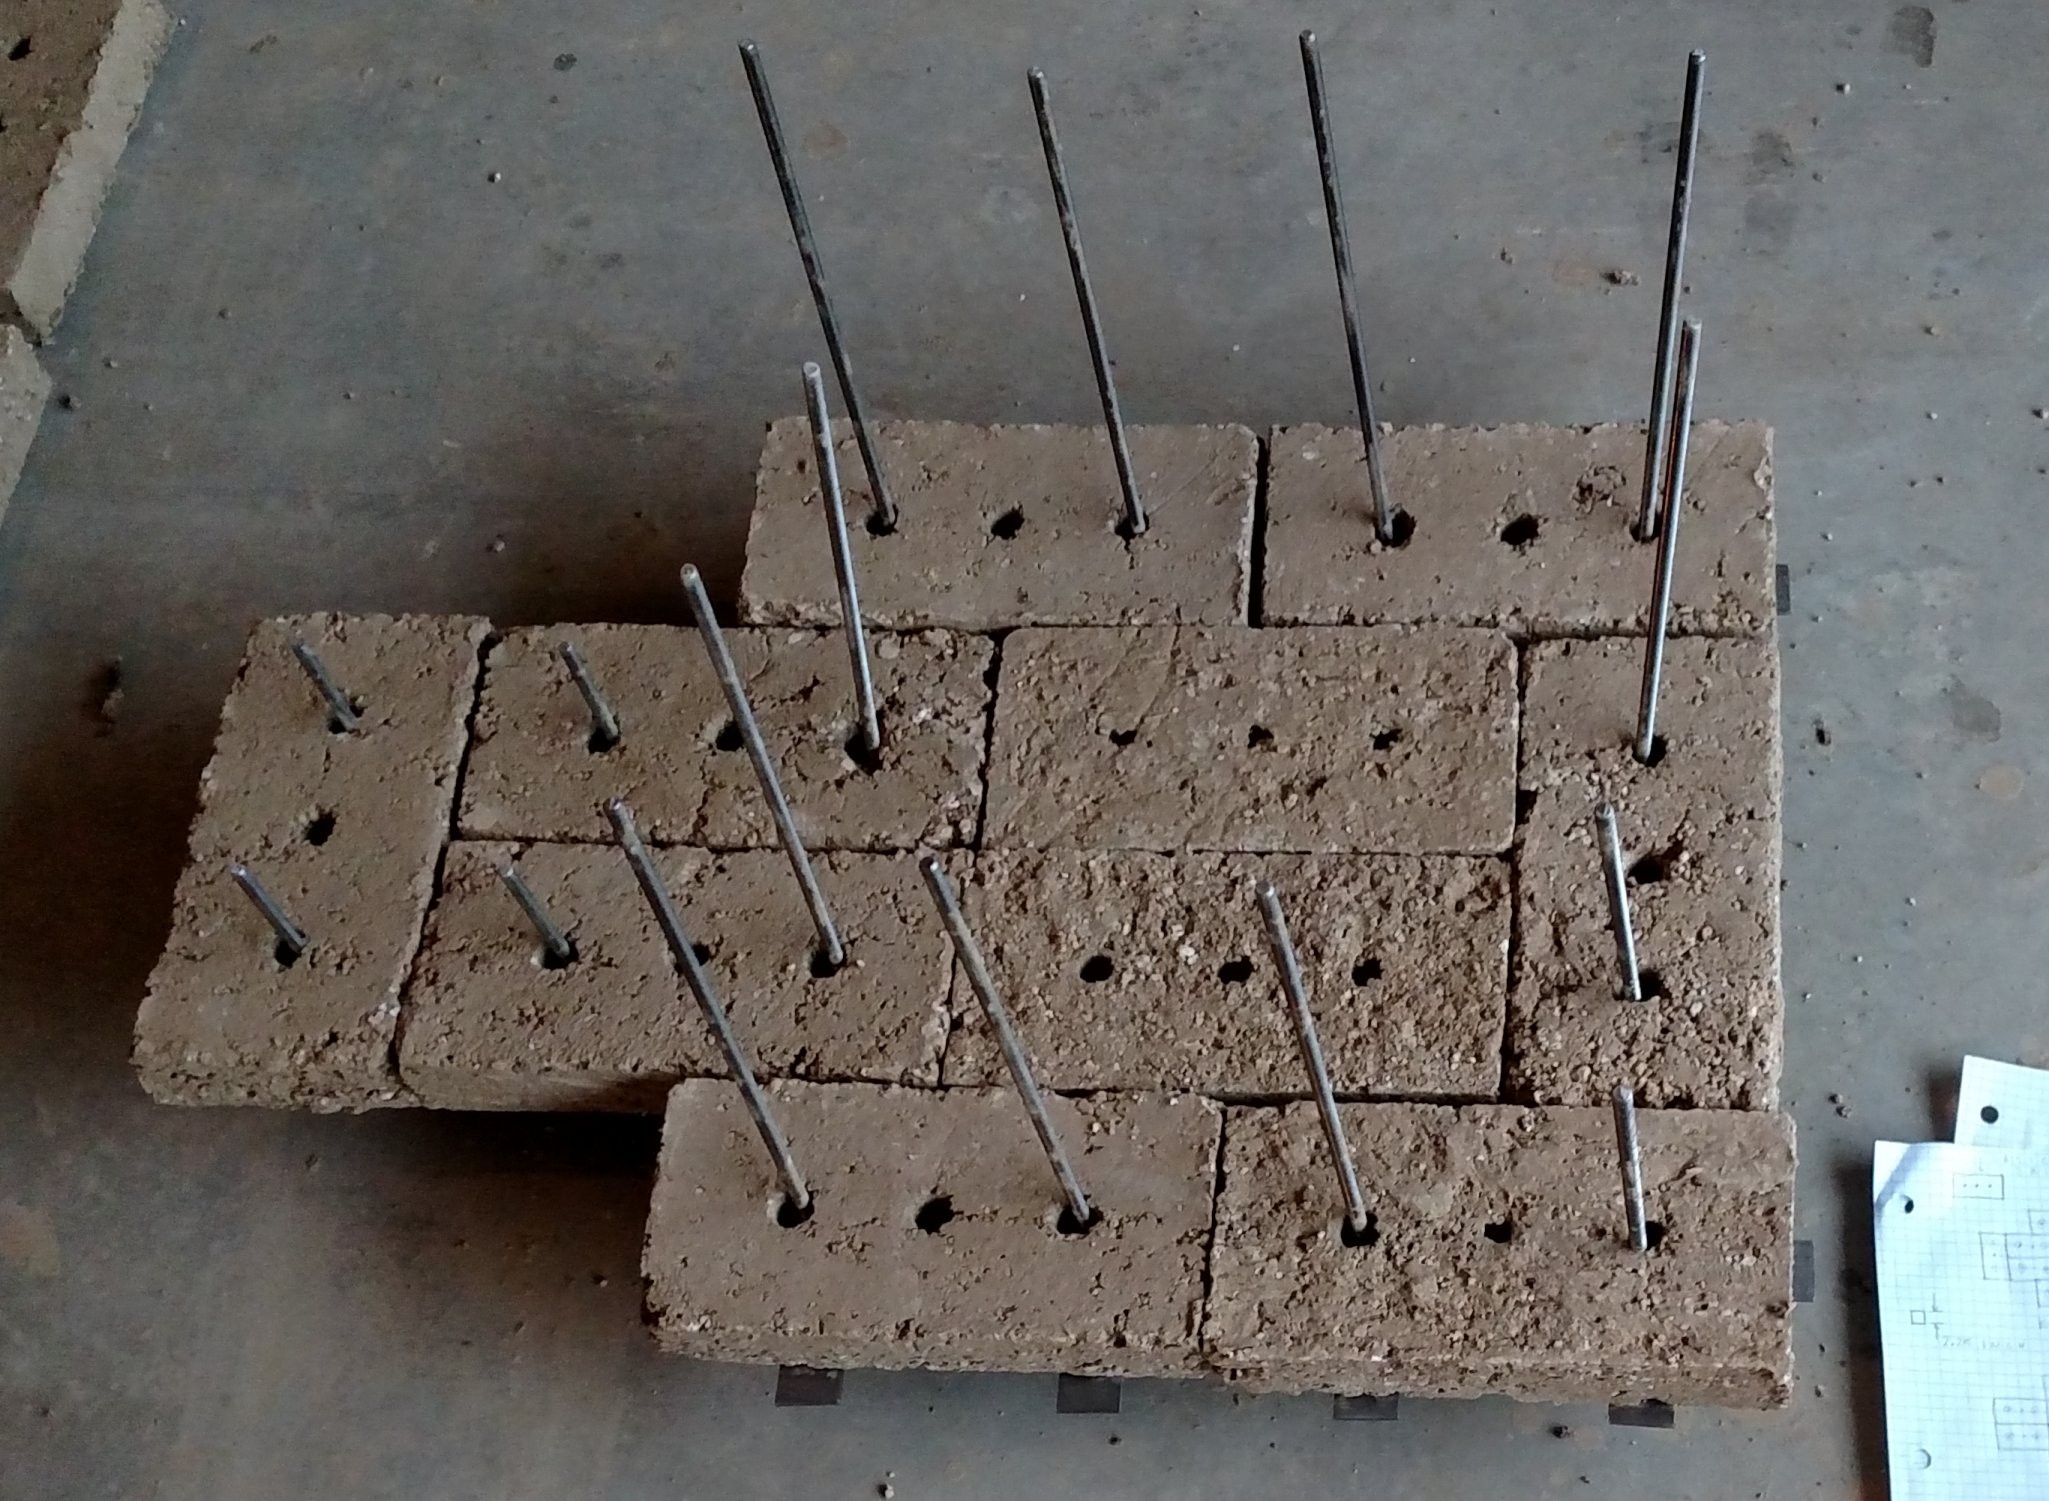
Brick layer one
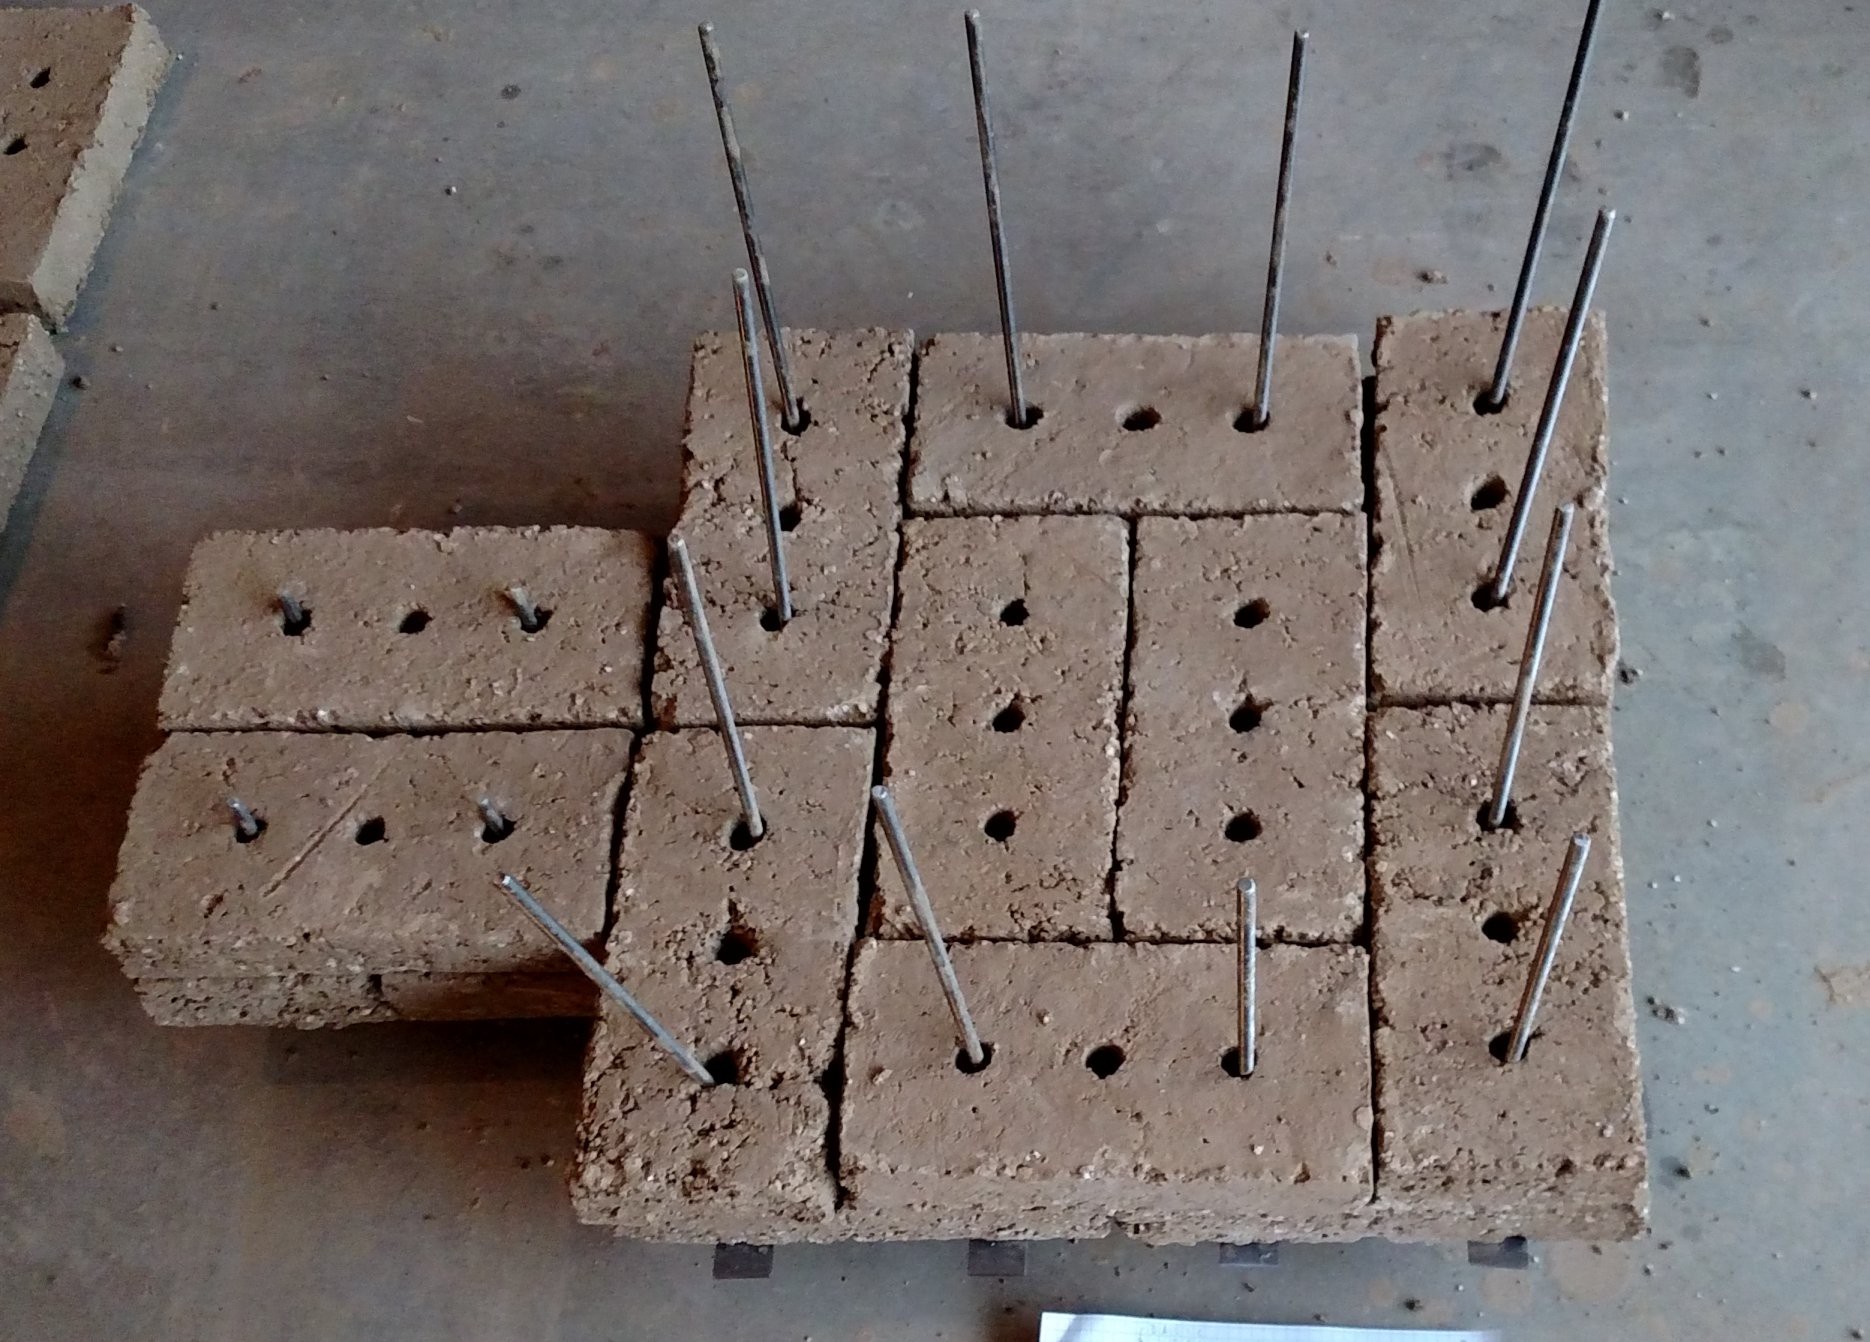
Brick layer two
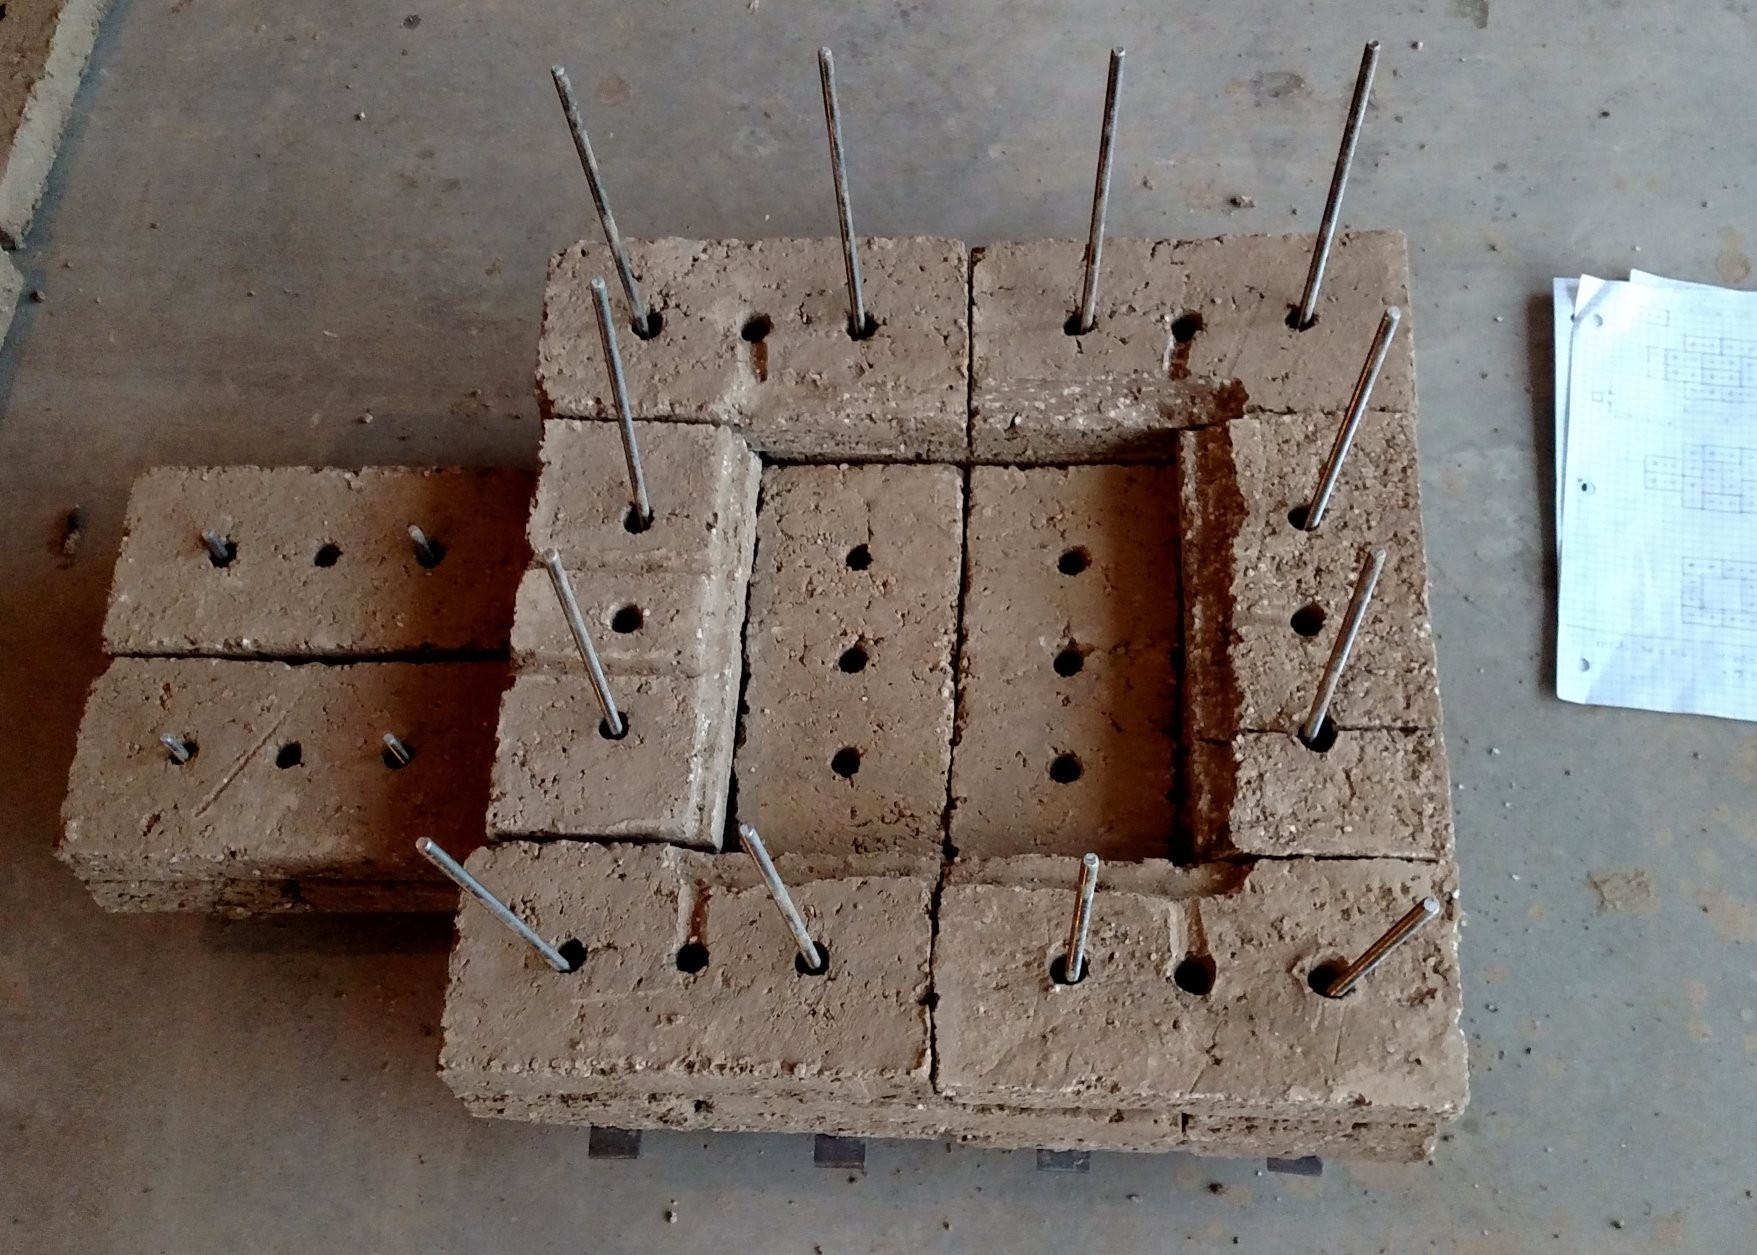
Brick layer three
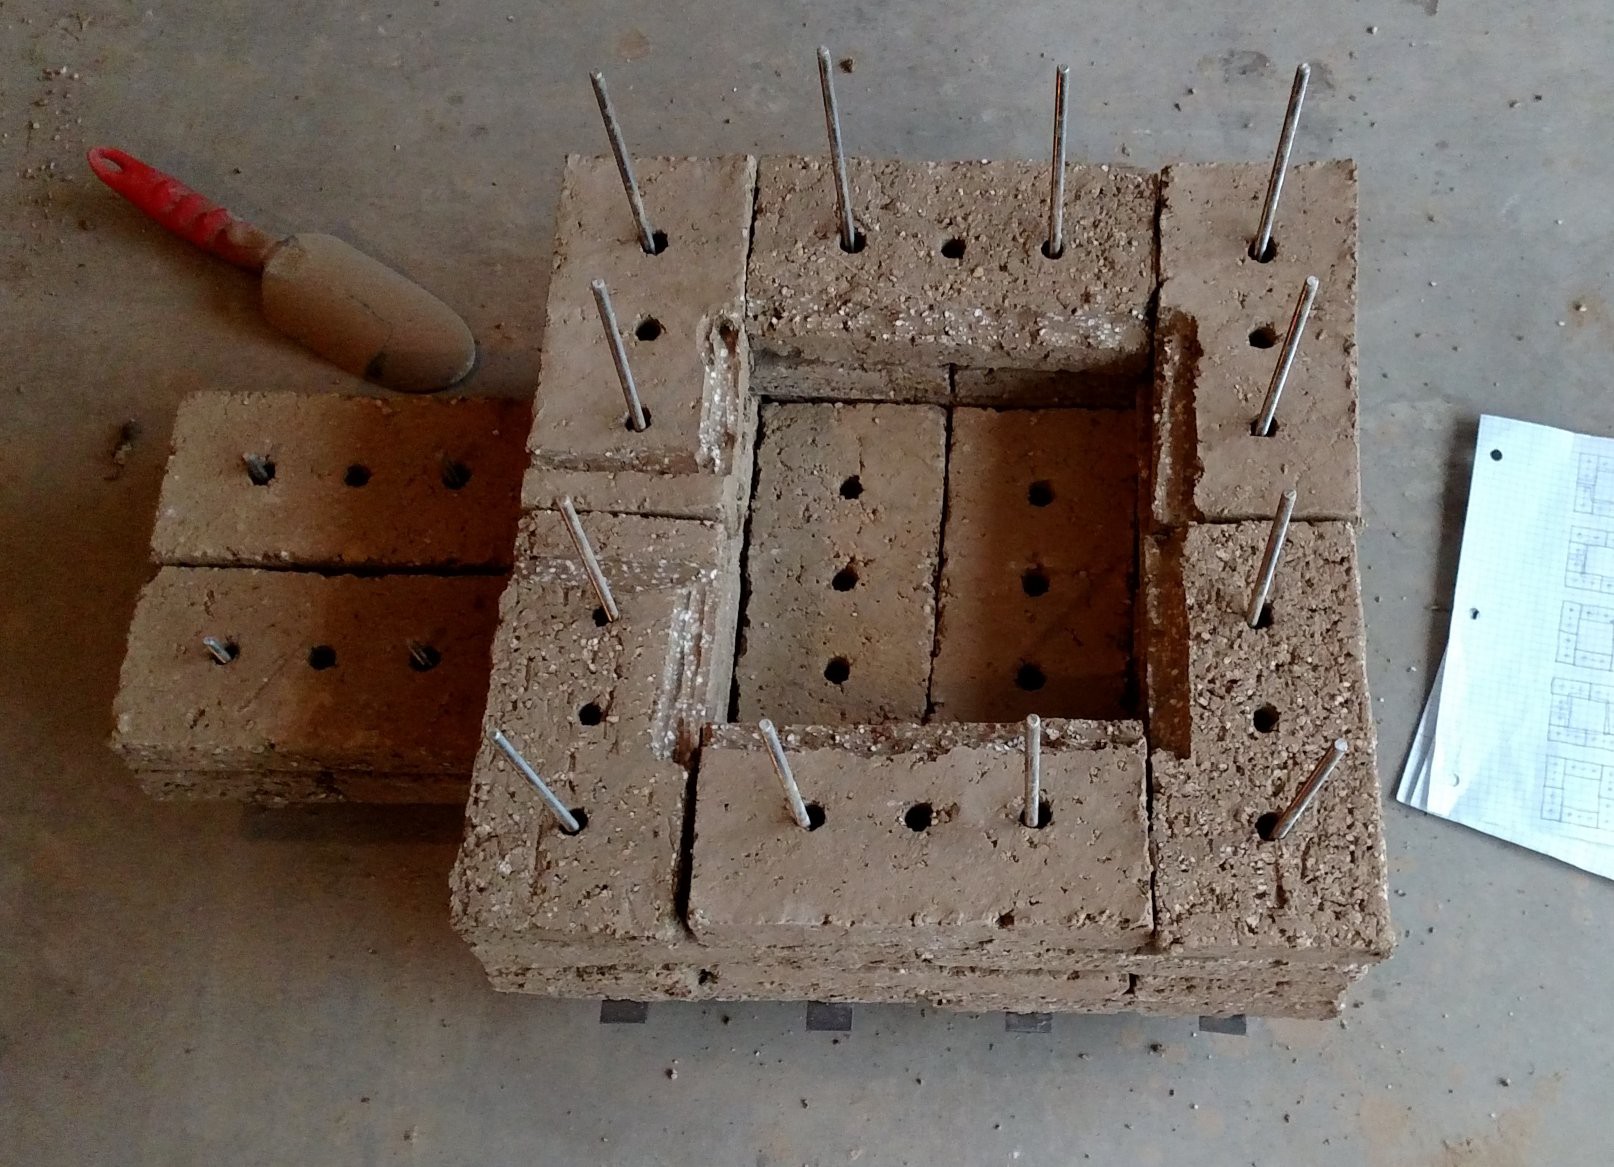 Brick layer four
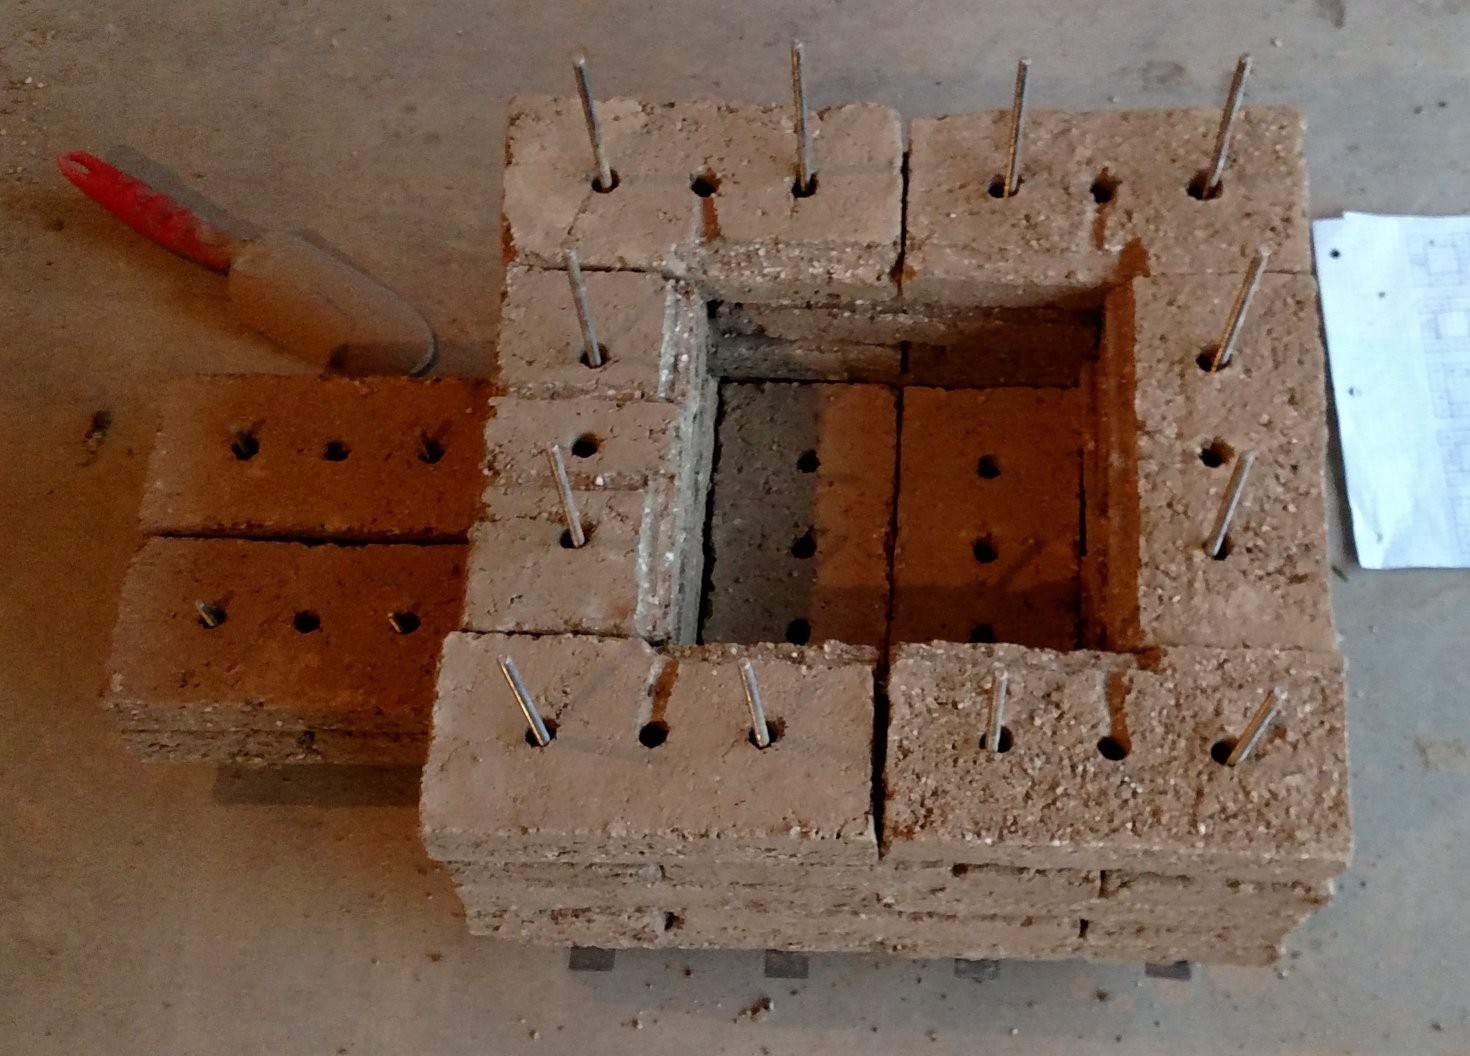
Brick layer five
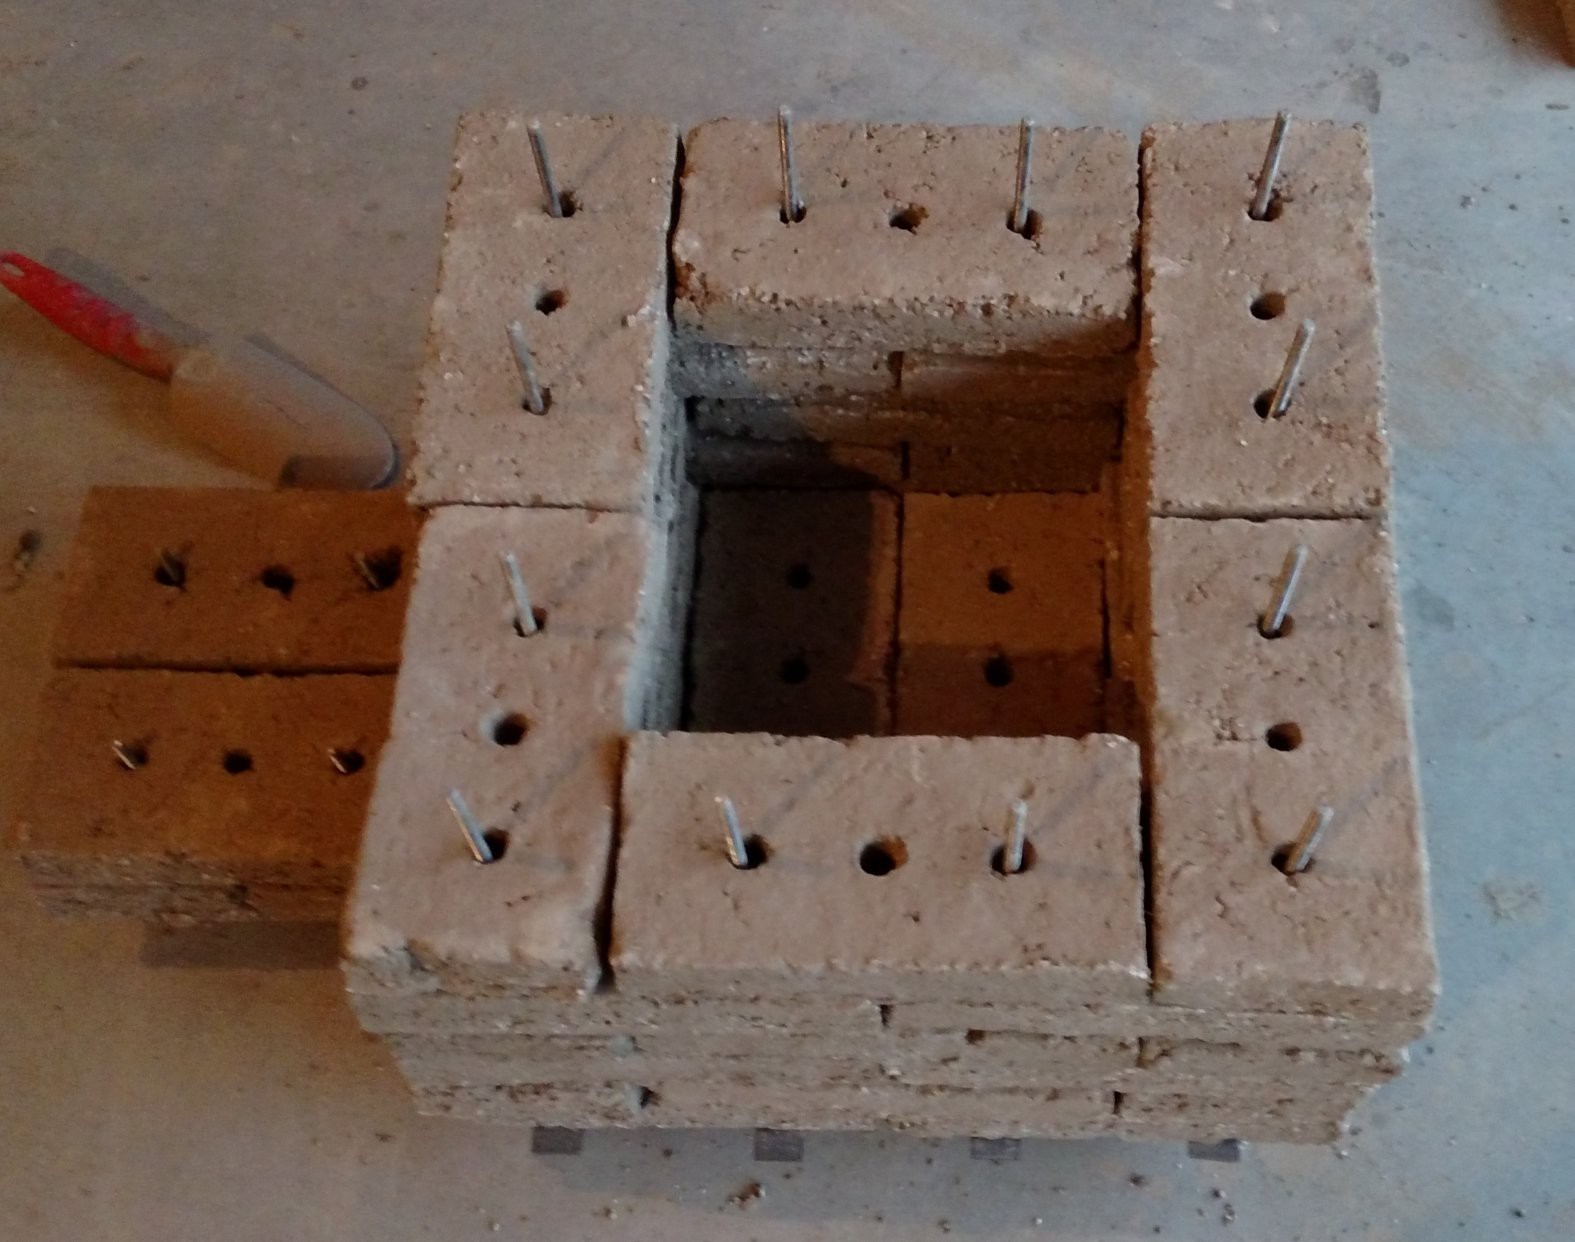
Brick layer six
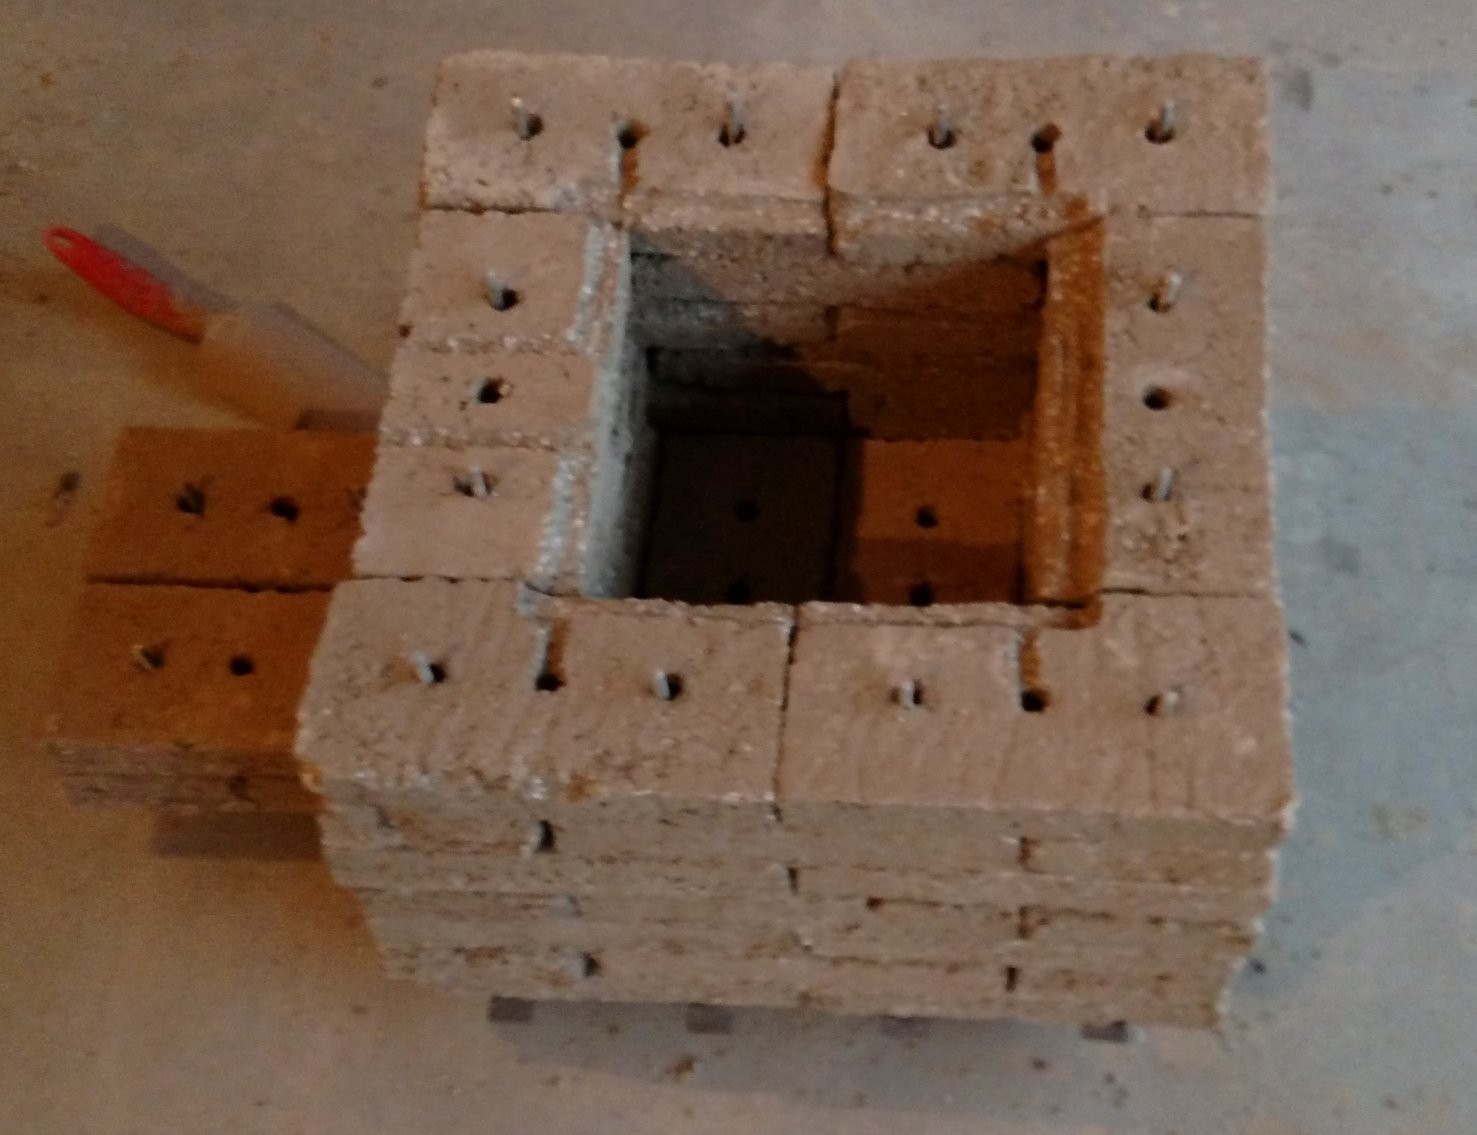
Brick layer seven
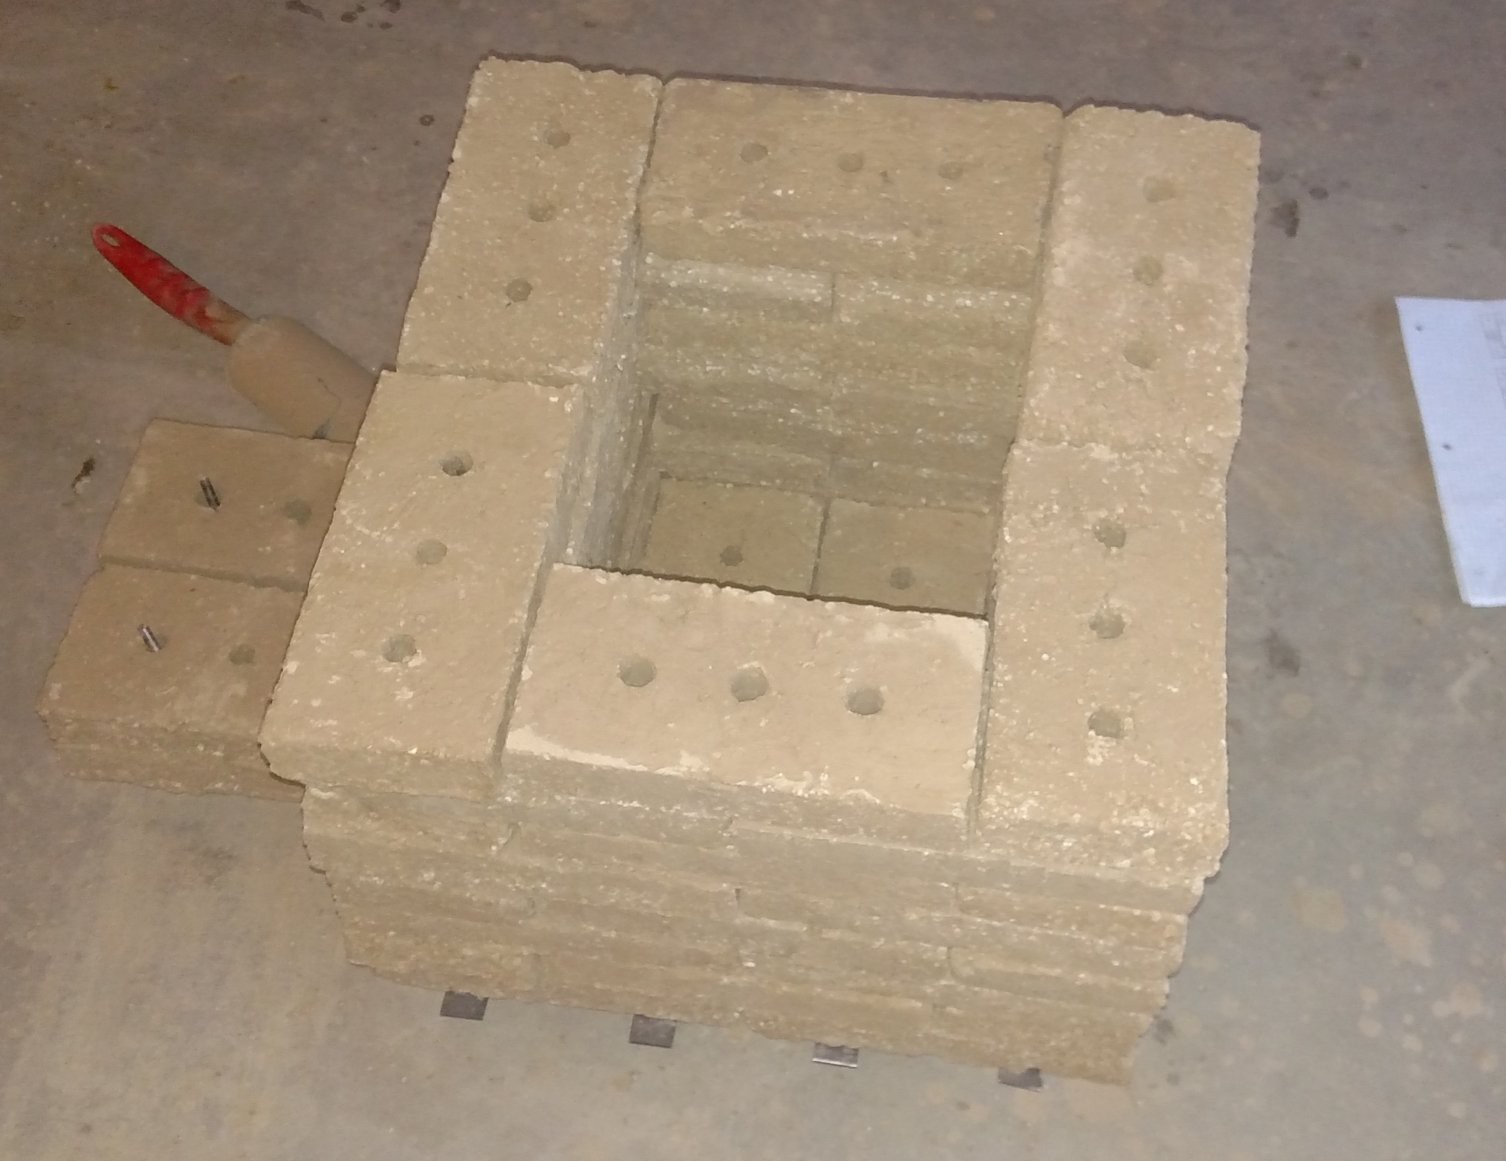
Brick layer eight
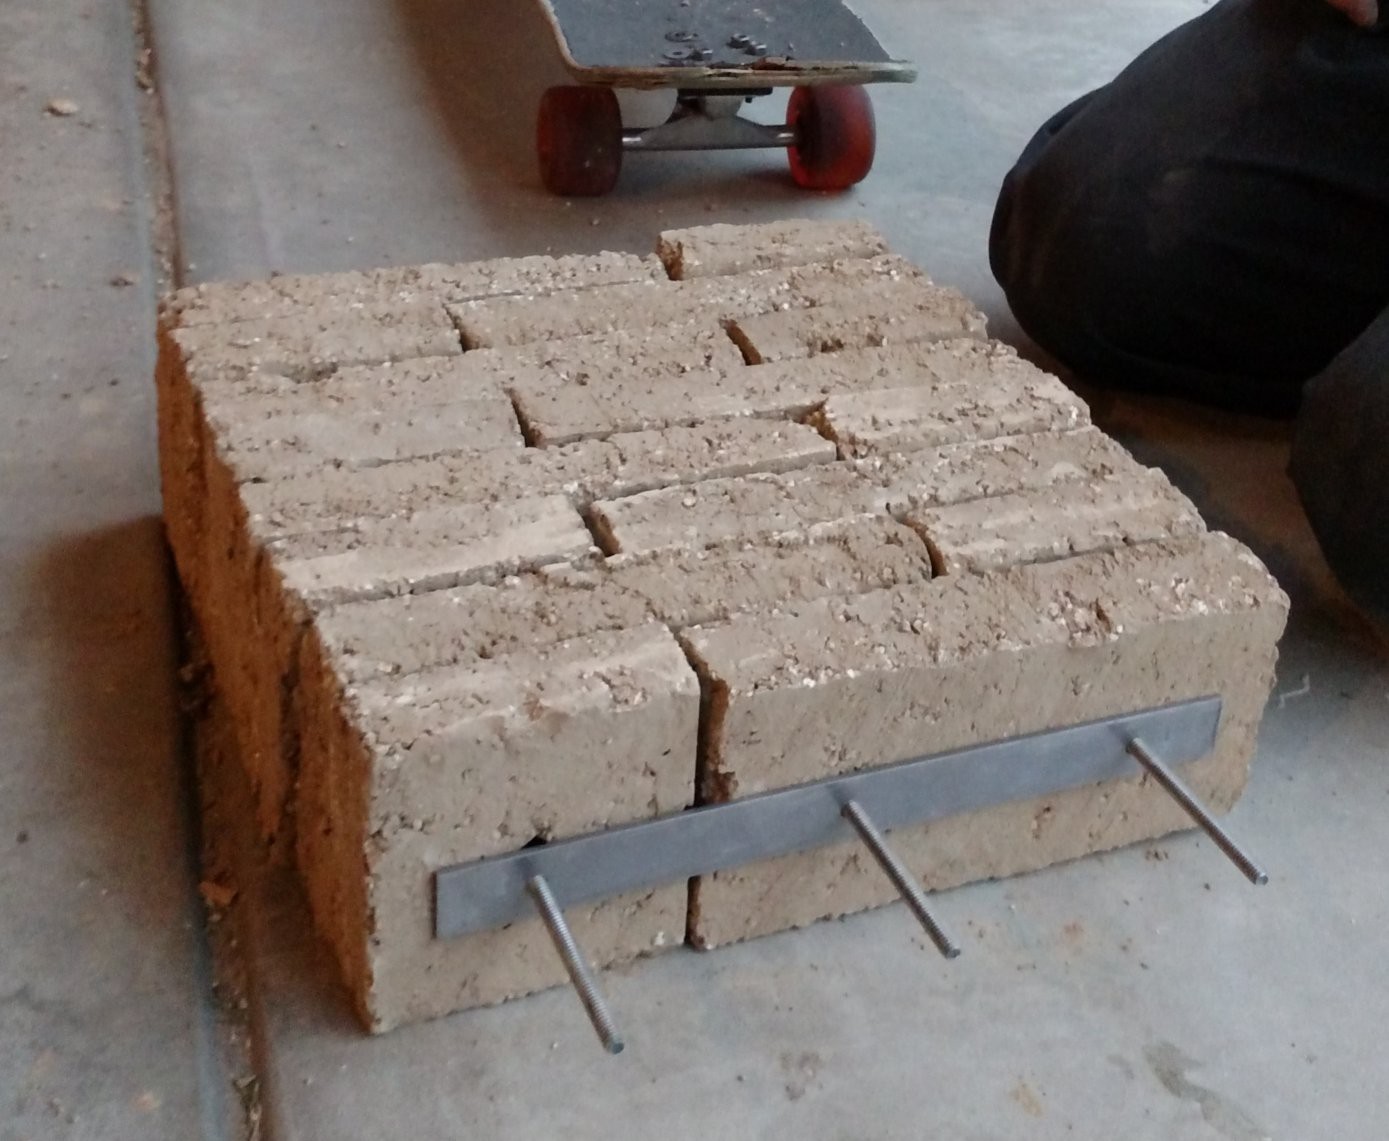 Lid
Lid
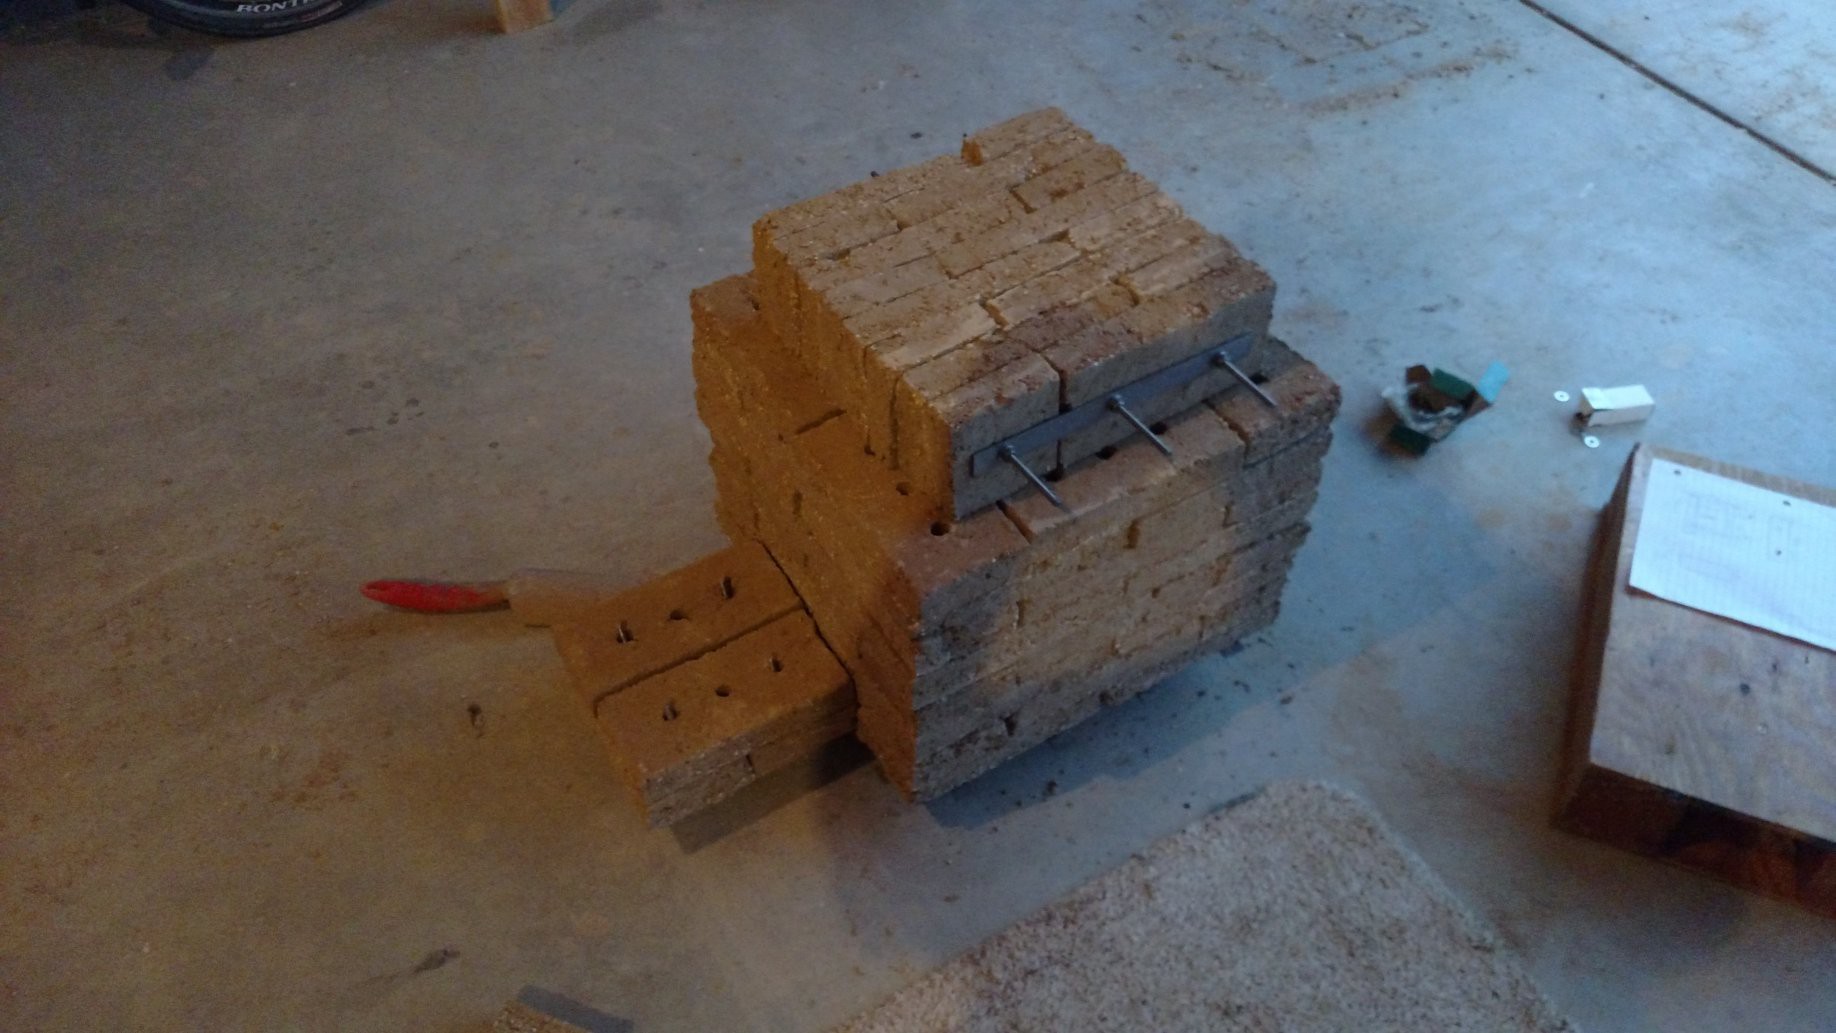 Fitupt Test Complete!
 Matt Moses
Discussions
Become a Hackaday.io Member
Create an account to leave a comment. Already have an account? Log In.