 treibair
-
It works a bit better
09/29/2017 at 20:36 • 0 commentsSo, after using a loop of wire as my new driving belt and having properly tightened the whole thing, stick/slip is substantially reduced as can be seen in the new demo video:
What remains is some backlash in the teeny tiny motor that could trouble me in a scene that requires reversal of directions. But most of the time it should be fine.
-
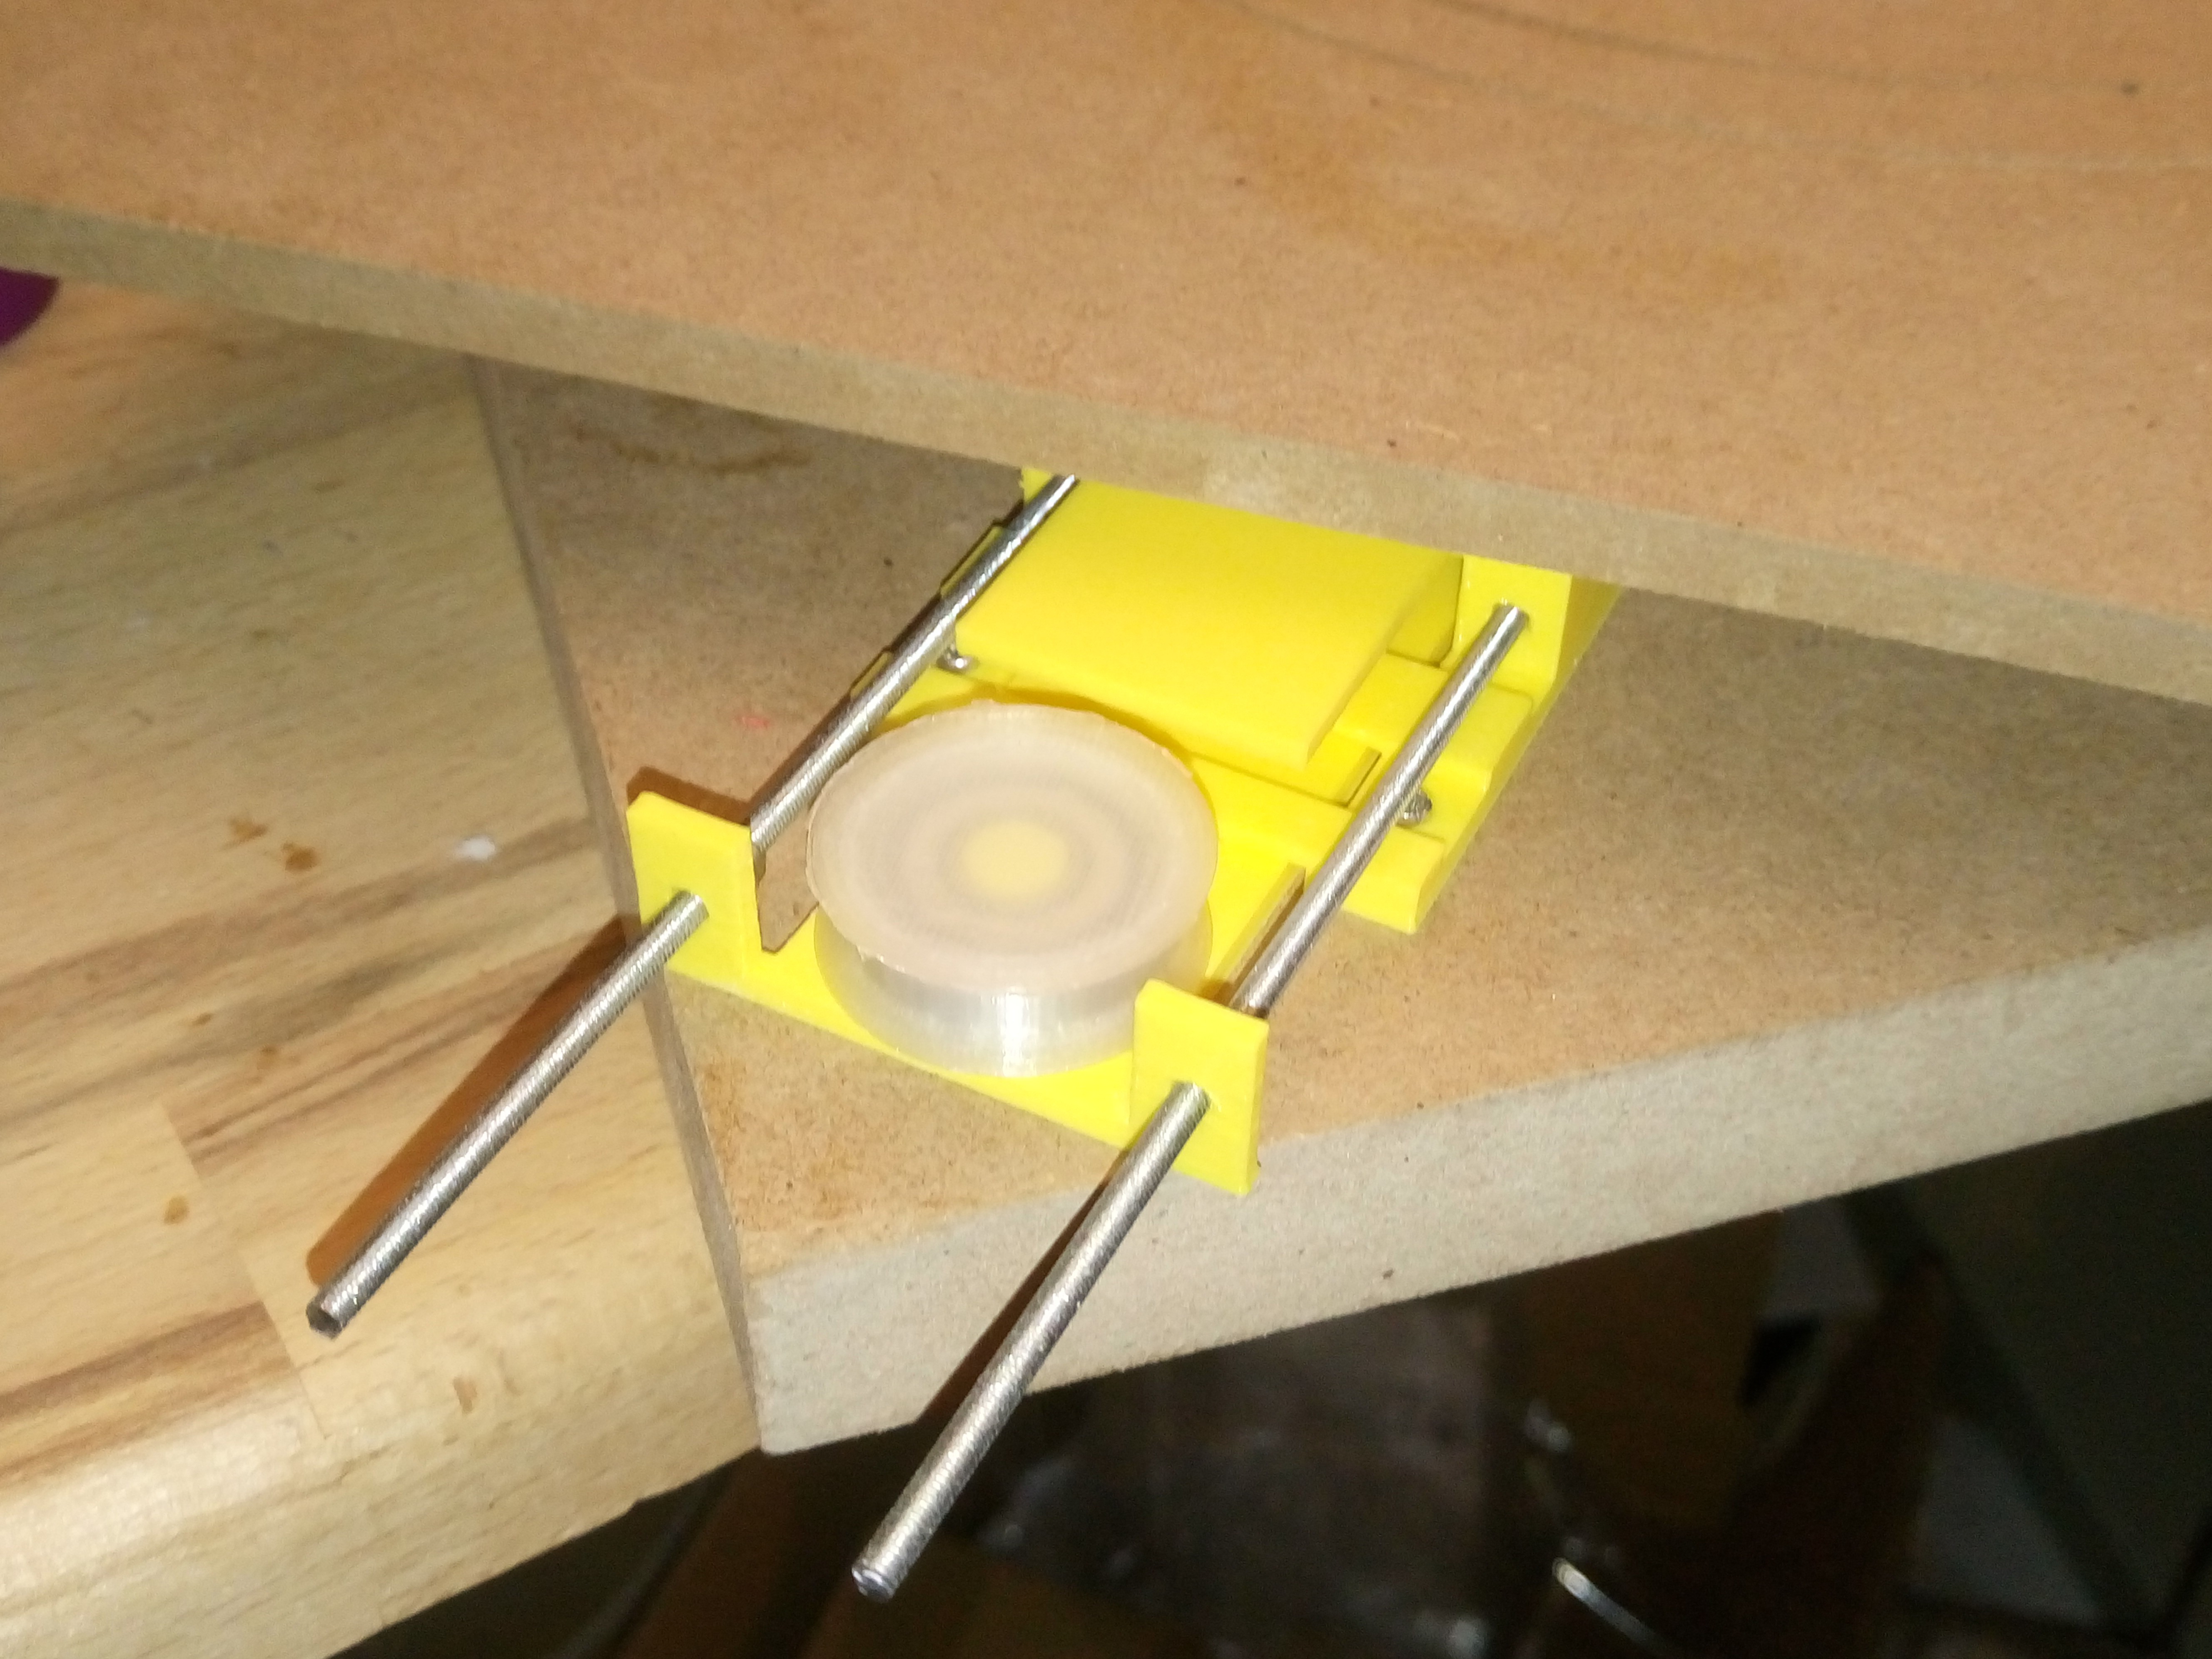
Adding tension
09/24/2017 at 06:03 • 0 comments![]()
So, this is the next try to reduce stick/slip. Alltogether three printed parts, a ball bearing, threaded rods and M3 nuts for tensioning the belt.
-
Textbook Stick/Slip
06/07/2017 at 19:41 • 0 commentsSo, the pulley is glued in place with Pattex. I also have found a little demo sketch for my little stepper and wrapped a rubber band around both pulleys to see the thing spinning for the first time.
Sort of.
Not surprisingly, the whole thing does not move smoothly but does not move at all at first (thanks to the excess friction in my improvised ball bearing) and then wildly jiggles because of the excess flexibility of the rubber band.
So, new (printed and smoother) races, some kind of cage and a proper(er) belt are next...
-
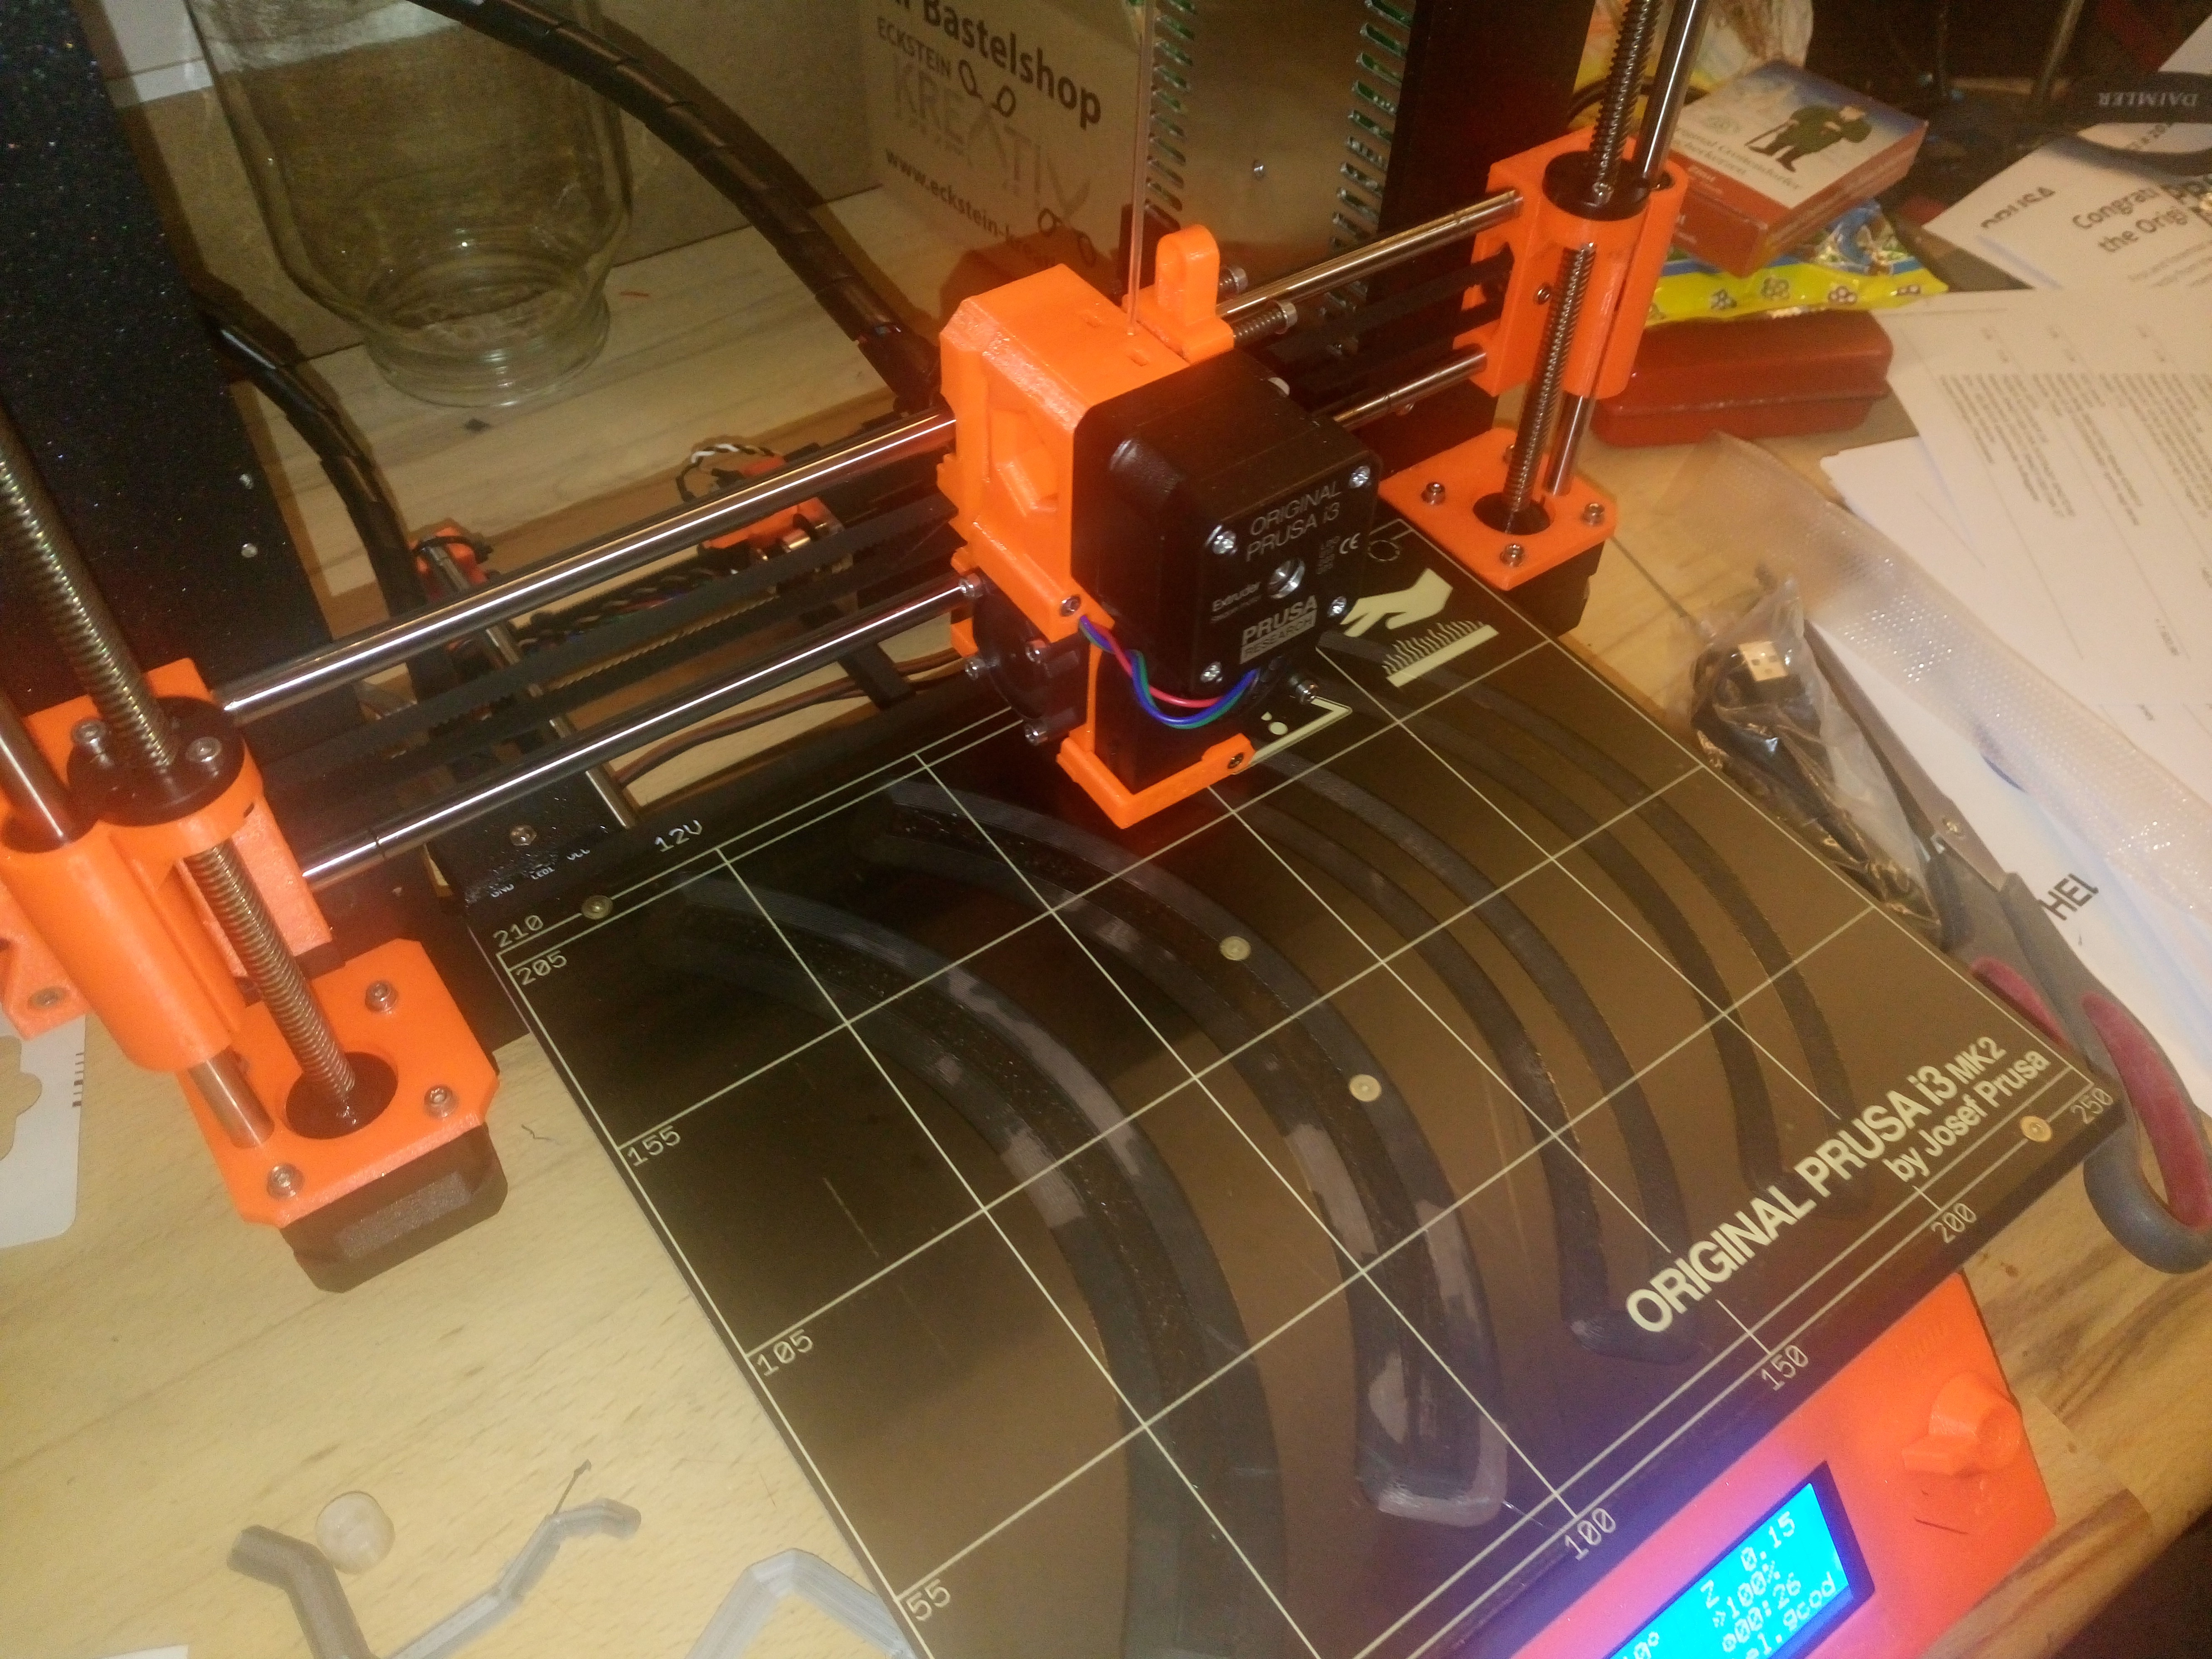
Printing the pulley
06/07/2017 at 09:36 • 0 comments![]()
As the build surface of my i3 is not big enough to comfortably fit the roughly 26 cm Diameter of the pulley, I segmented it into four pieces which came out of the printer this morning and will be glued and installed tonight. The motor is in place as well thanks to a 30 mm forstner bit and a file.
![]()
-
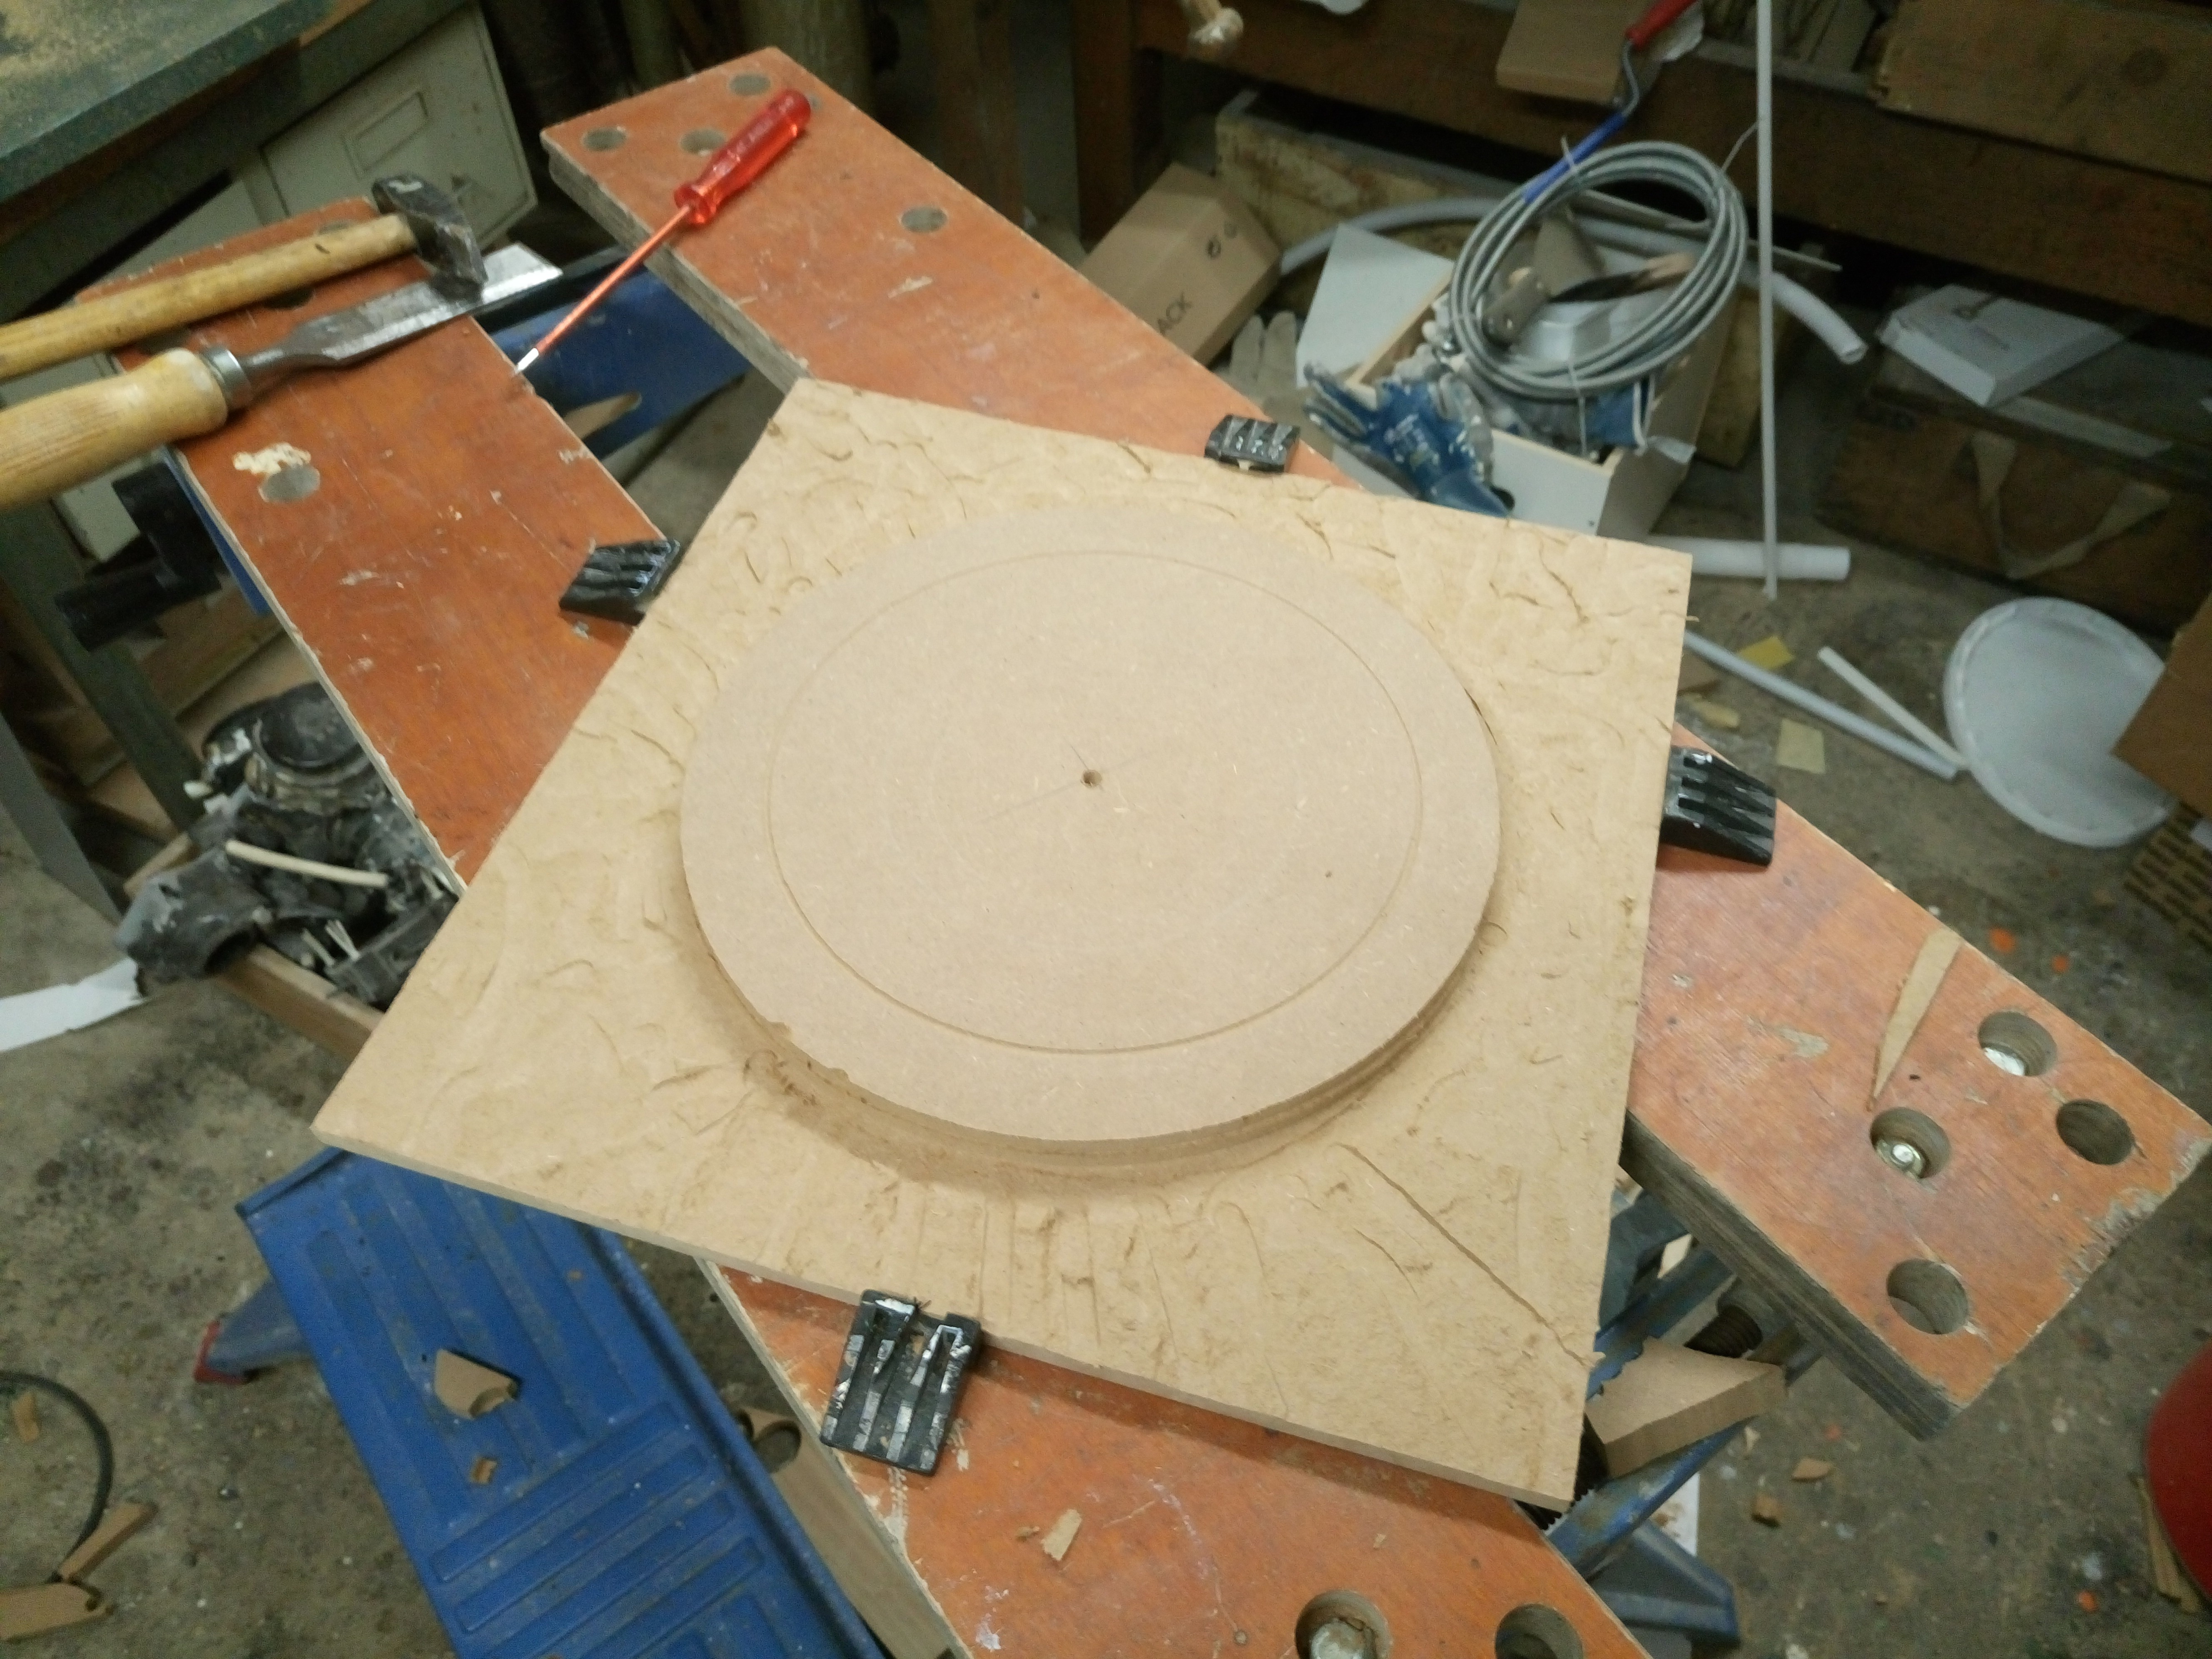
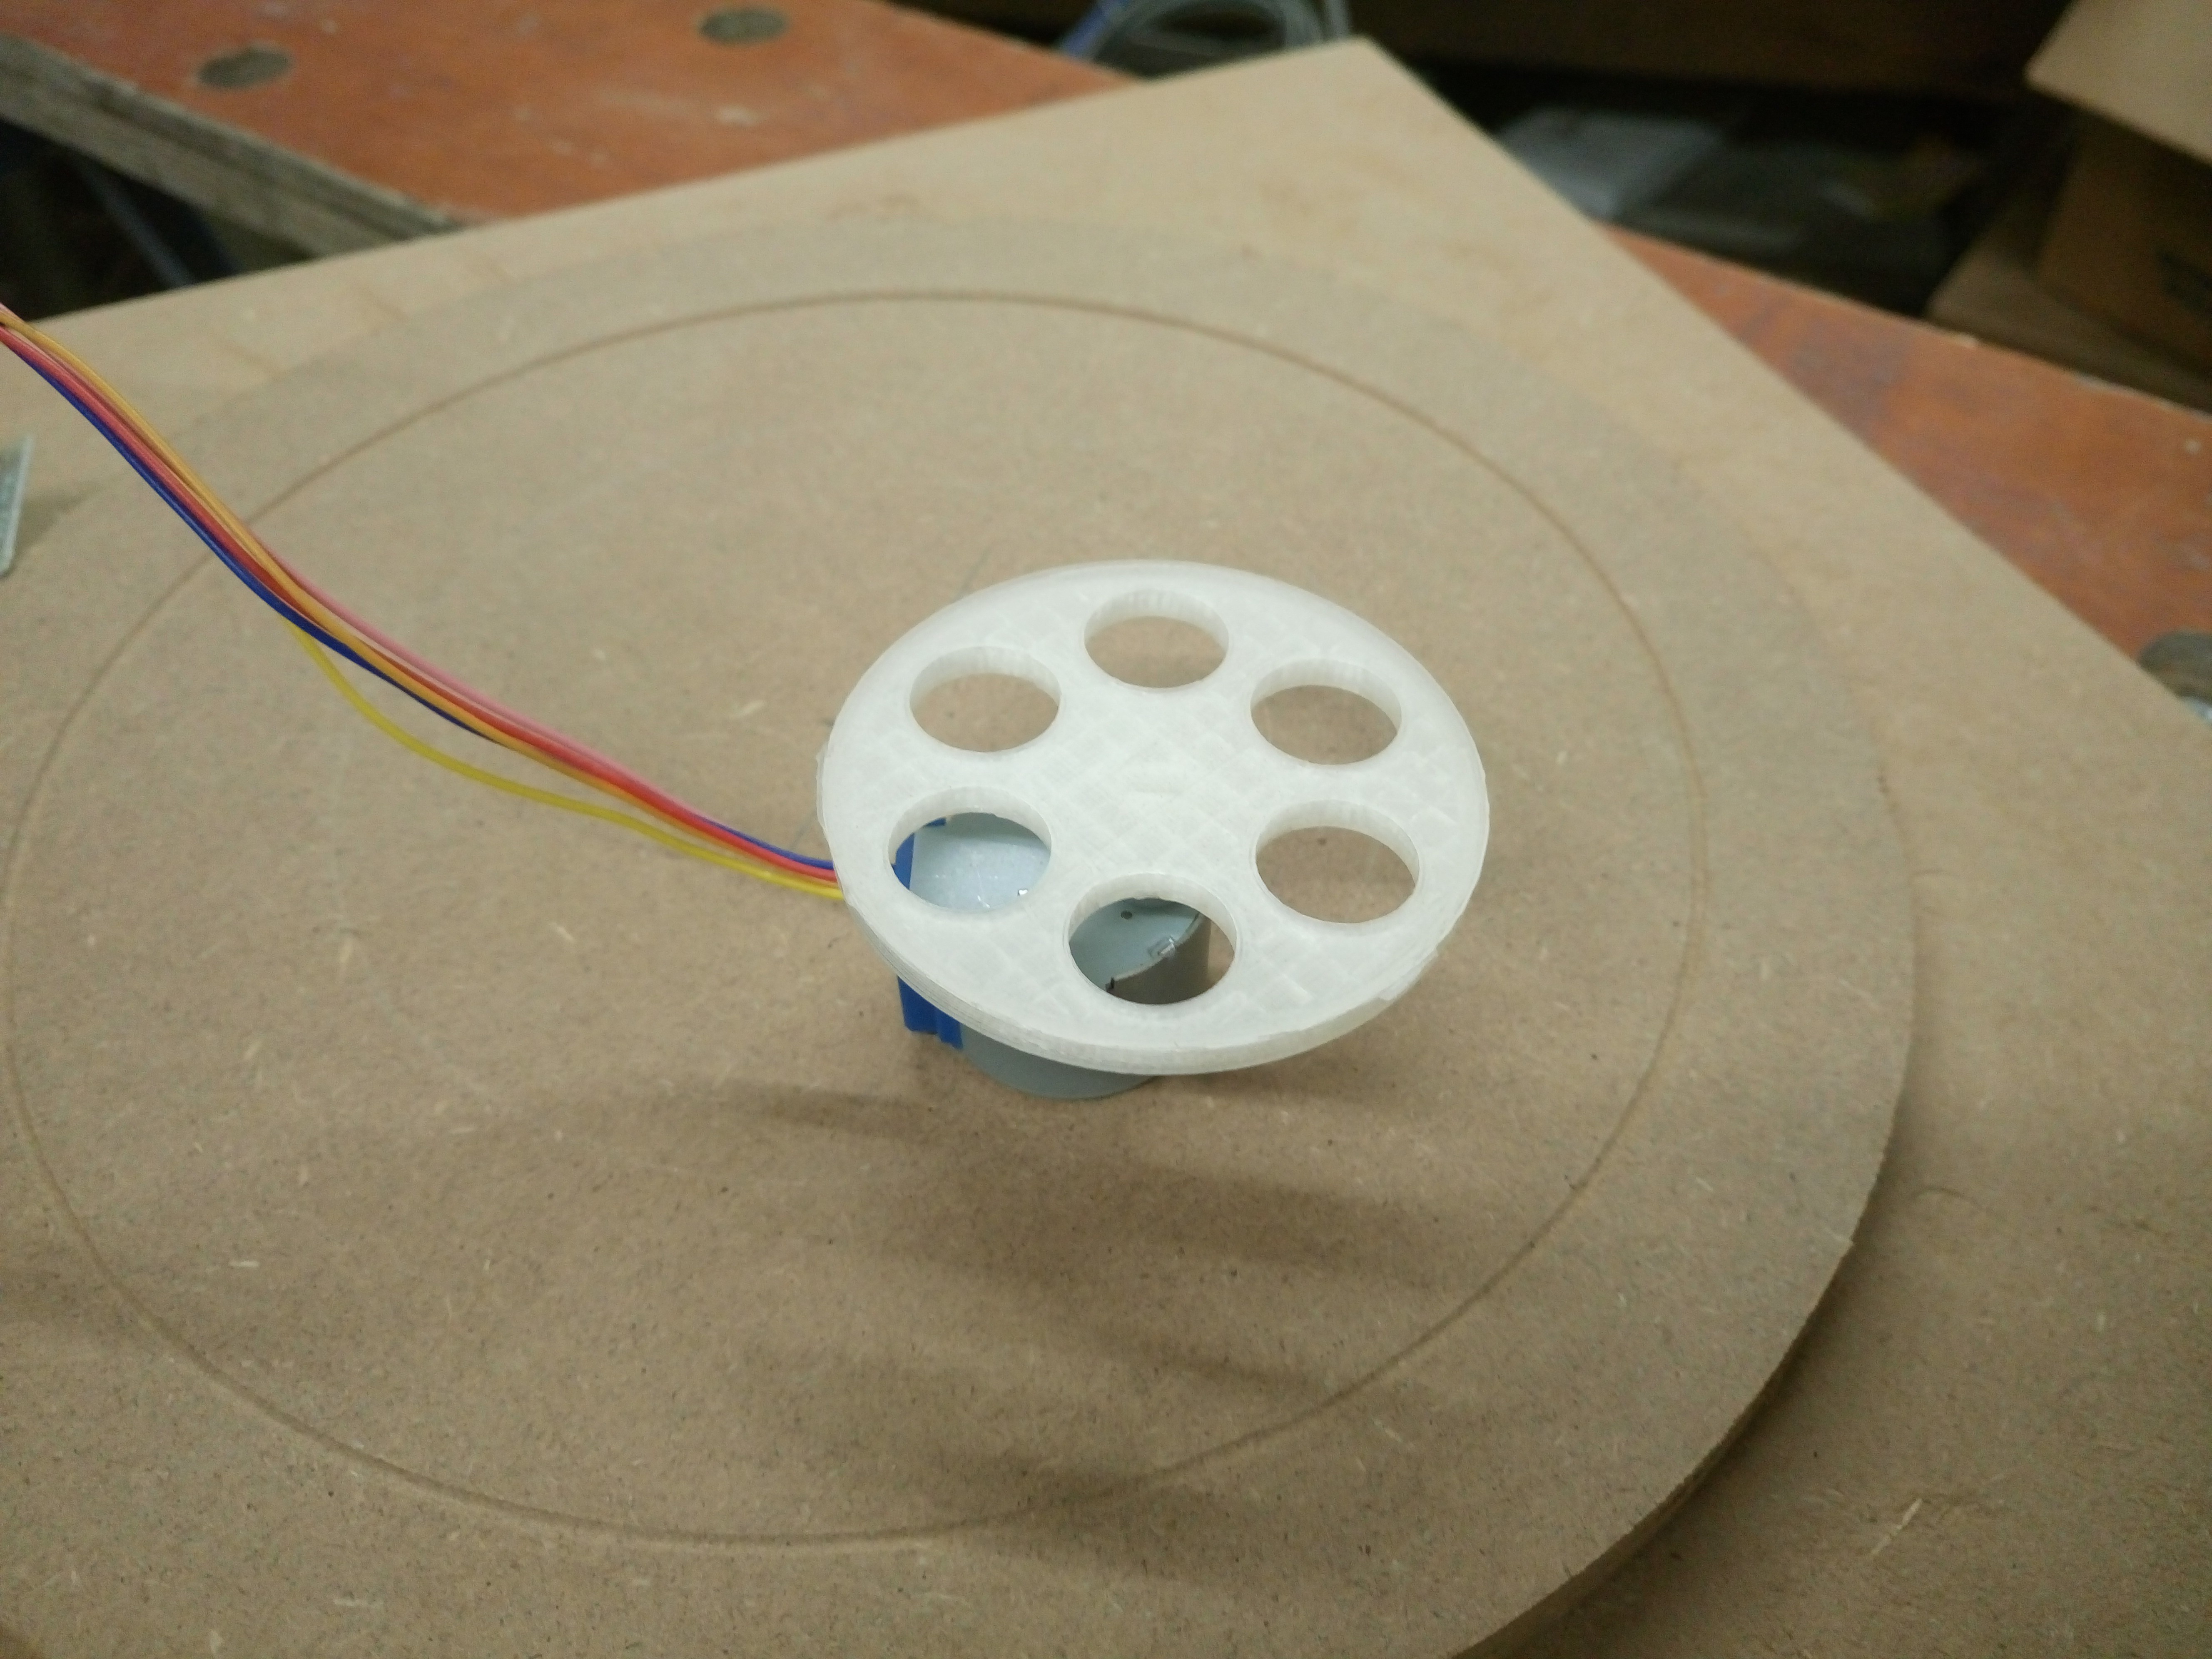
Preparing for the motor
06/05/2017 at 22:17 • 0 commentsWith the platform rotating with very little friction, the stepper is the next thing on the list. Because of their insanely low pricetag and the tiny step size I opted for an 28byj-48.
I used a handheld router to remove a round shape around the race on the upper part of the platform.
![]()
After sanding the remaining area and printing a wheel for the stepper tomorrow's task will be to mount the motor in the lower half of the turntable, improvise some suitable belt and test the contraption.
![]()
-
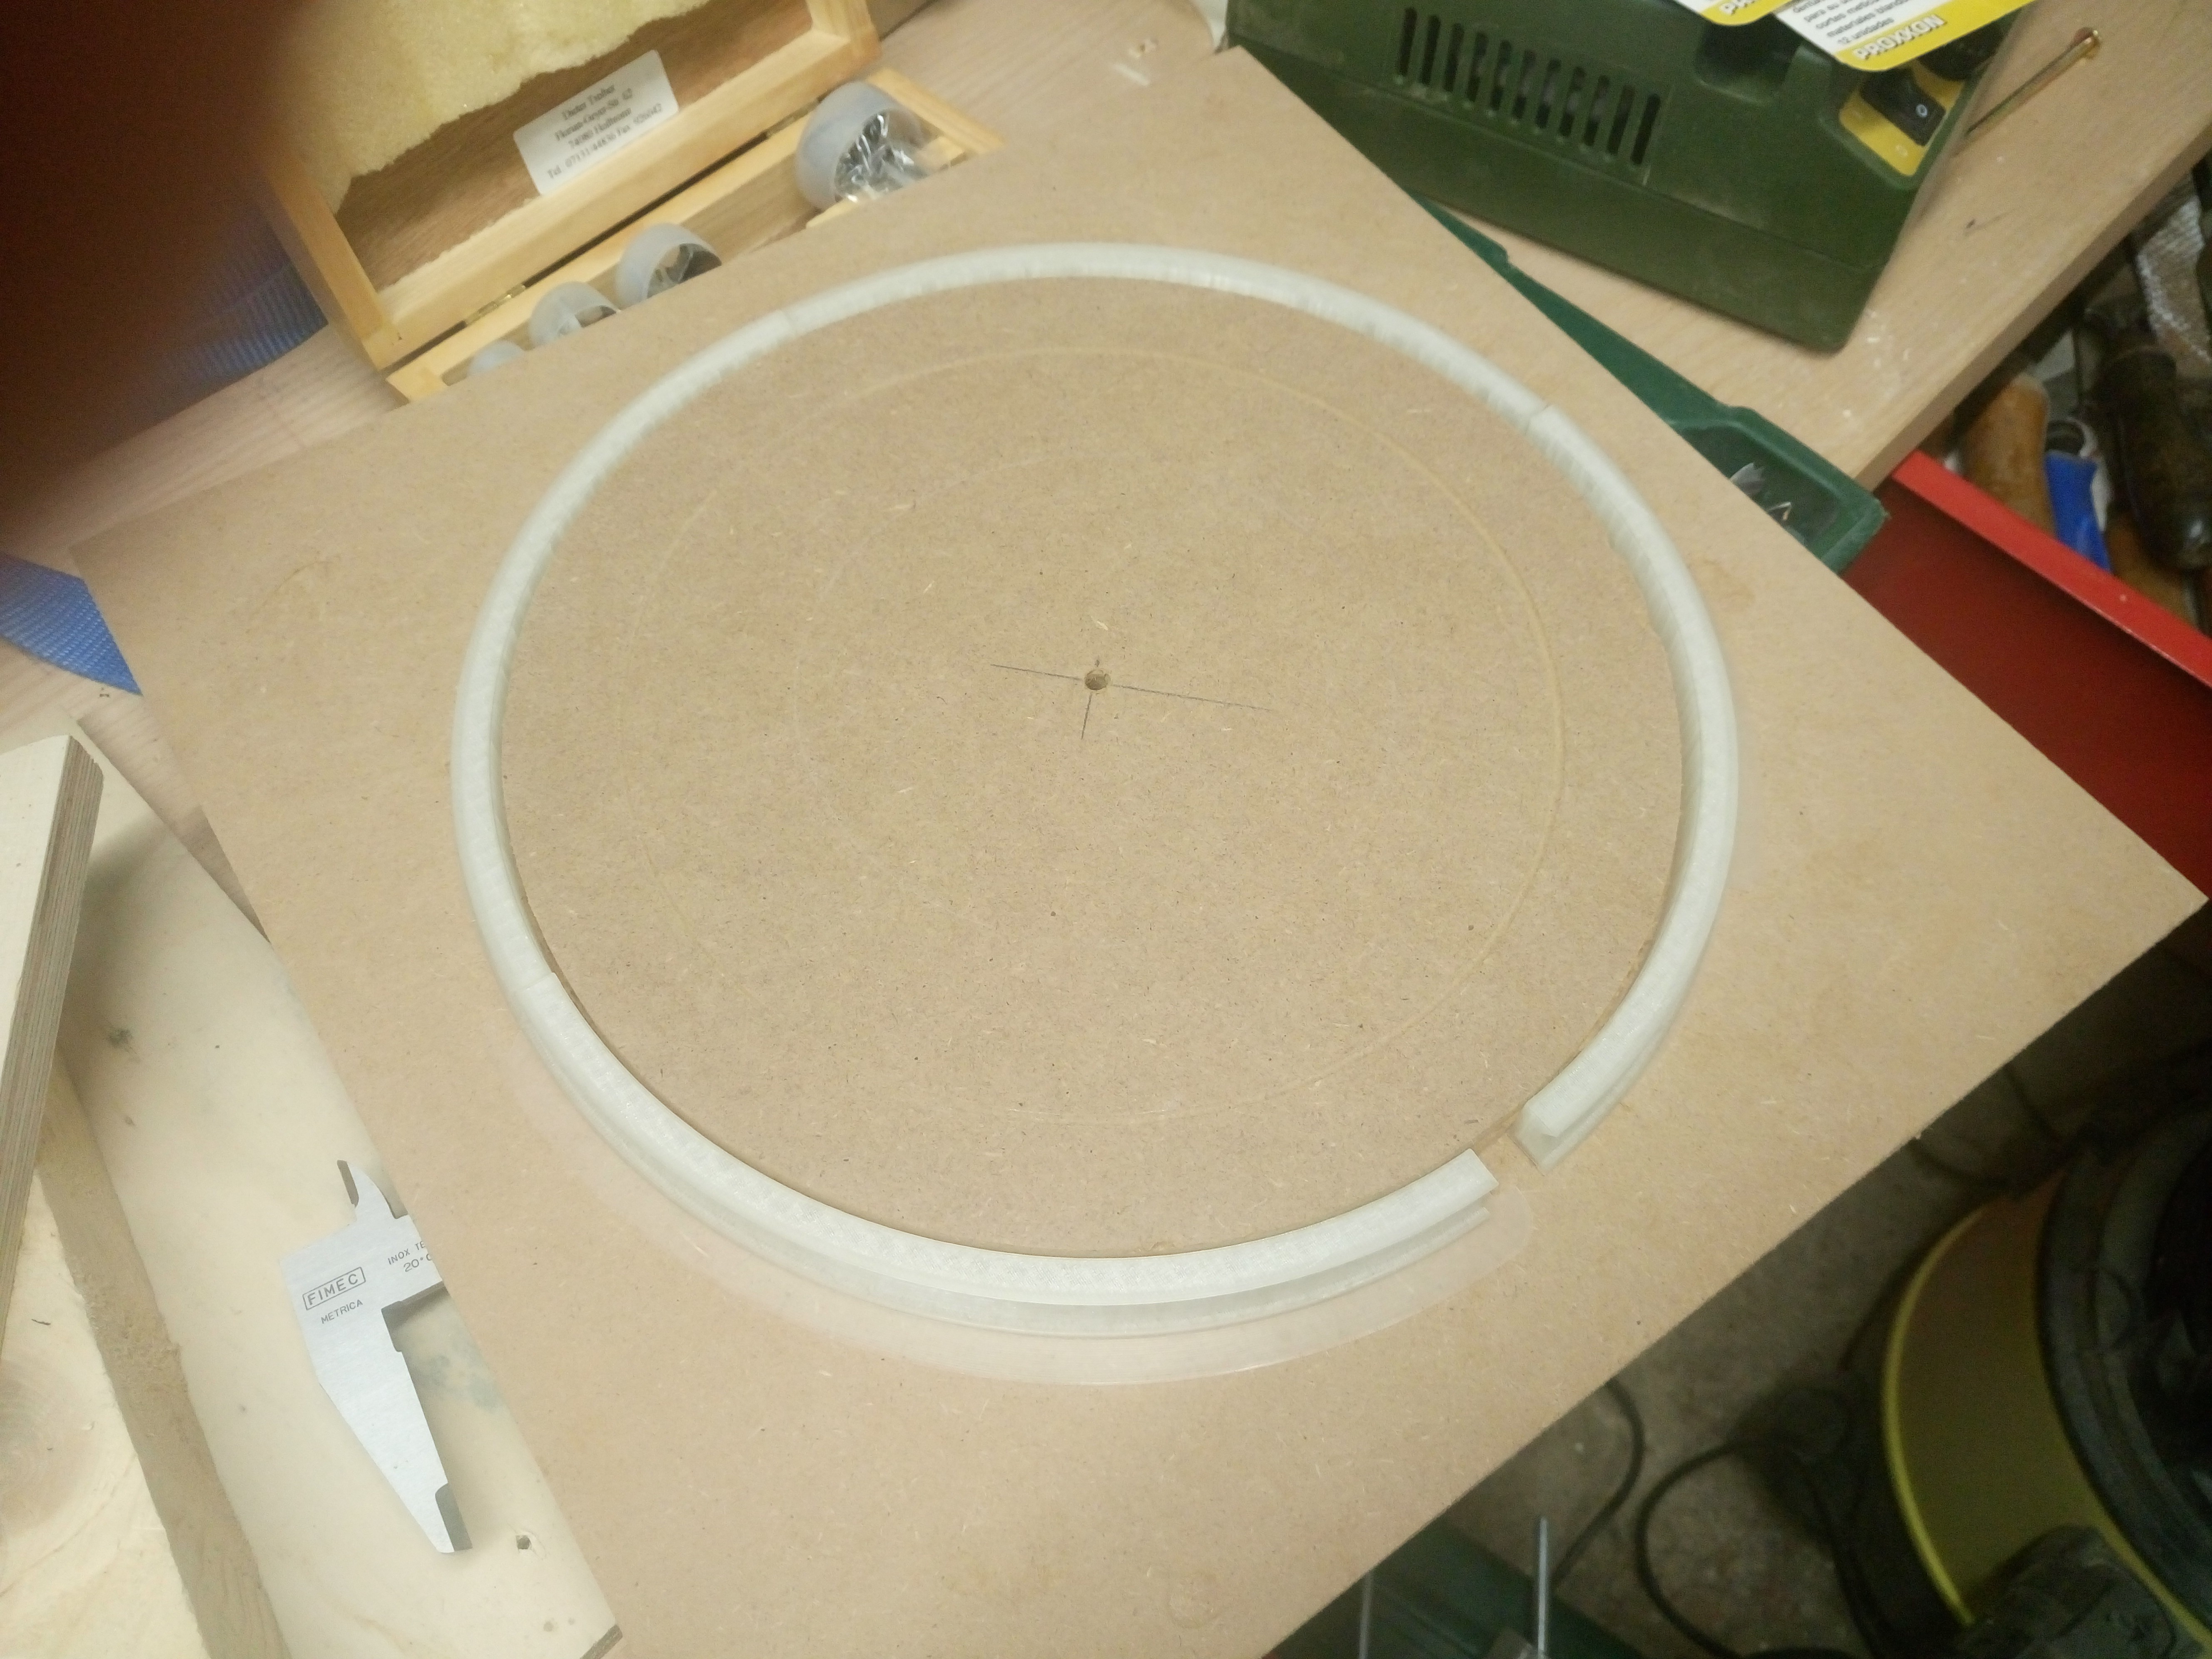
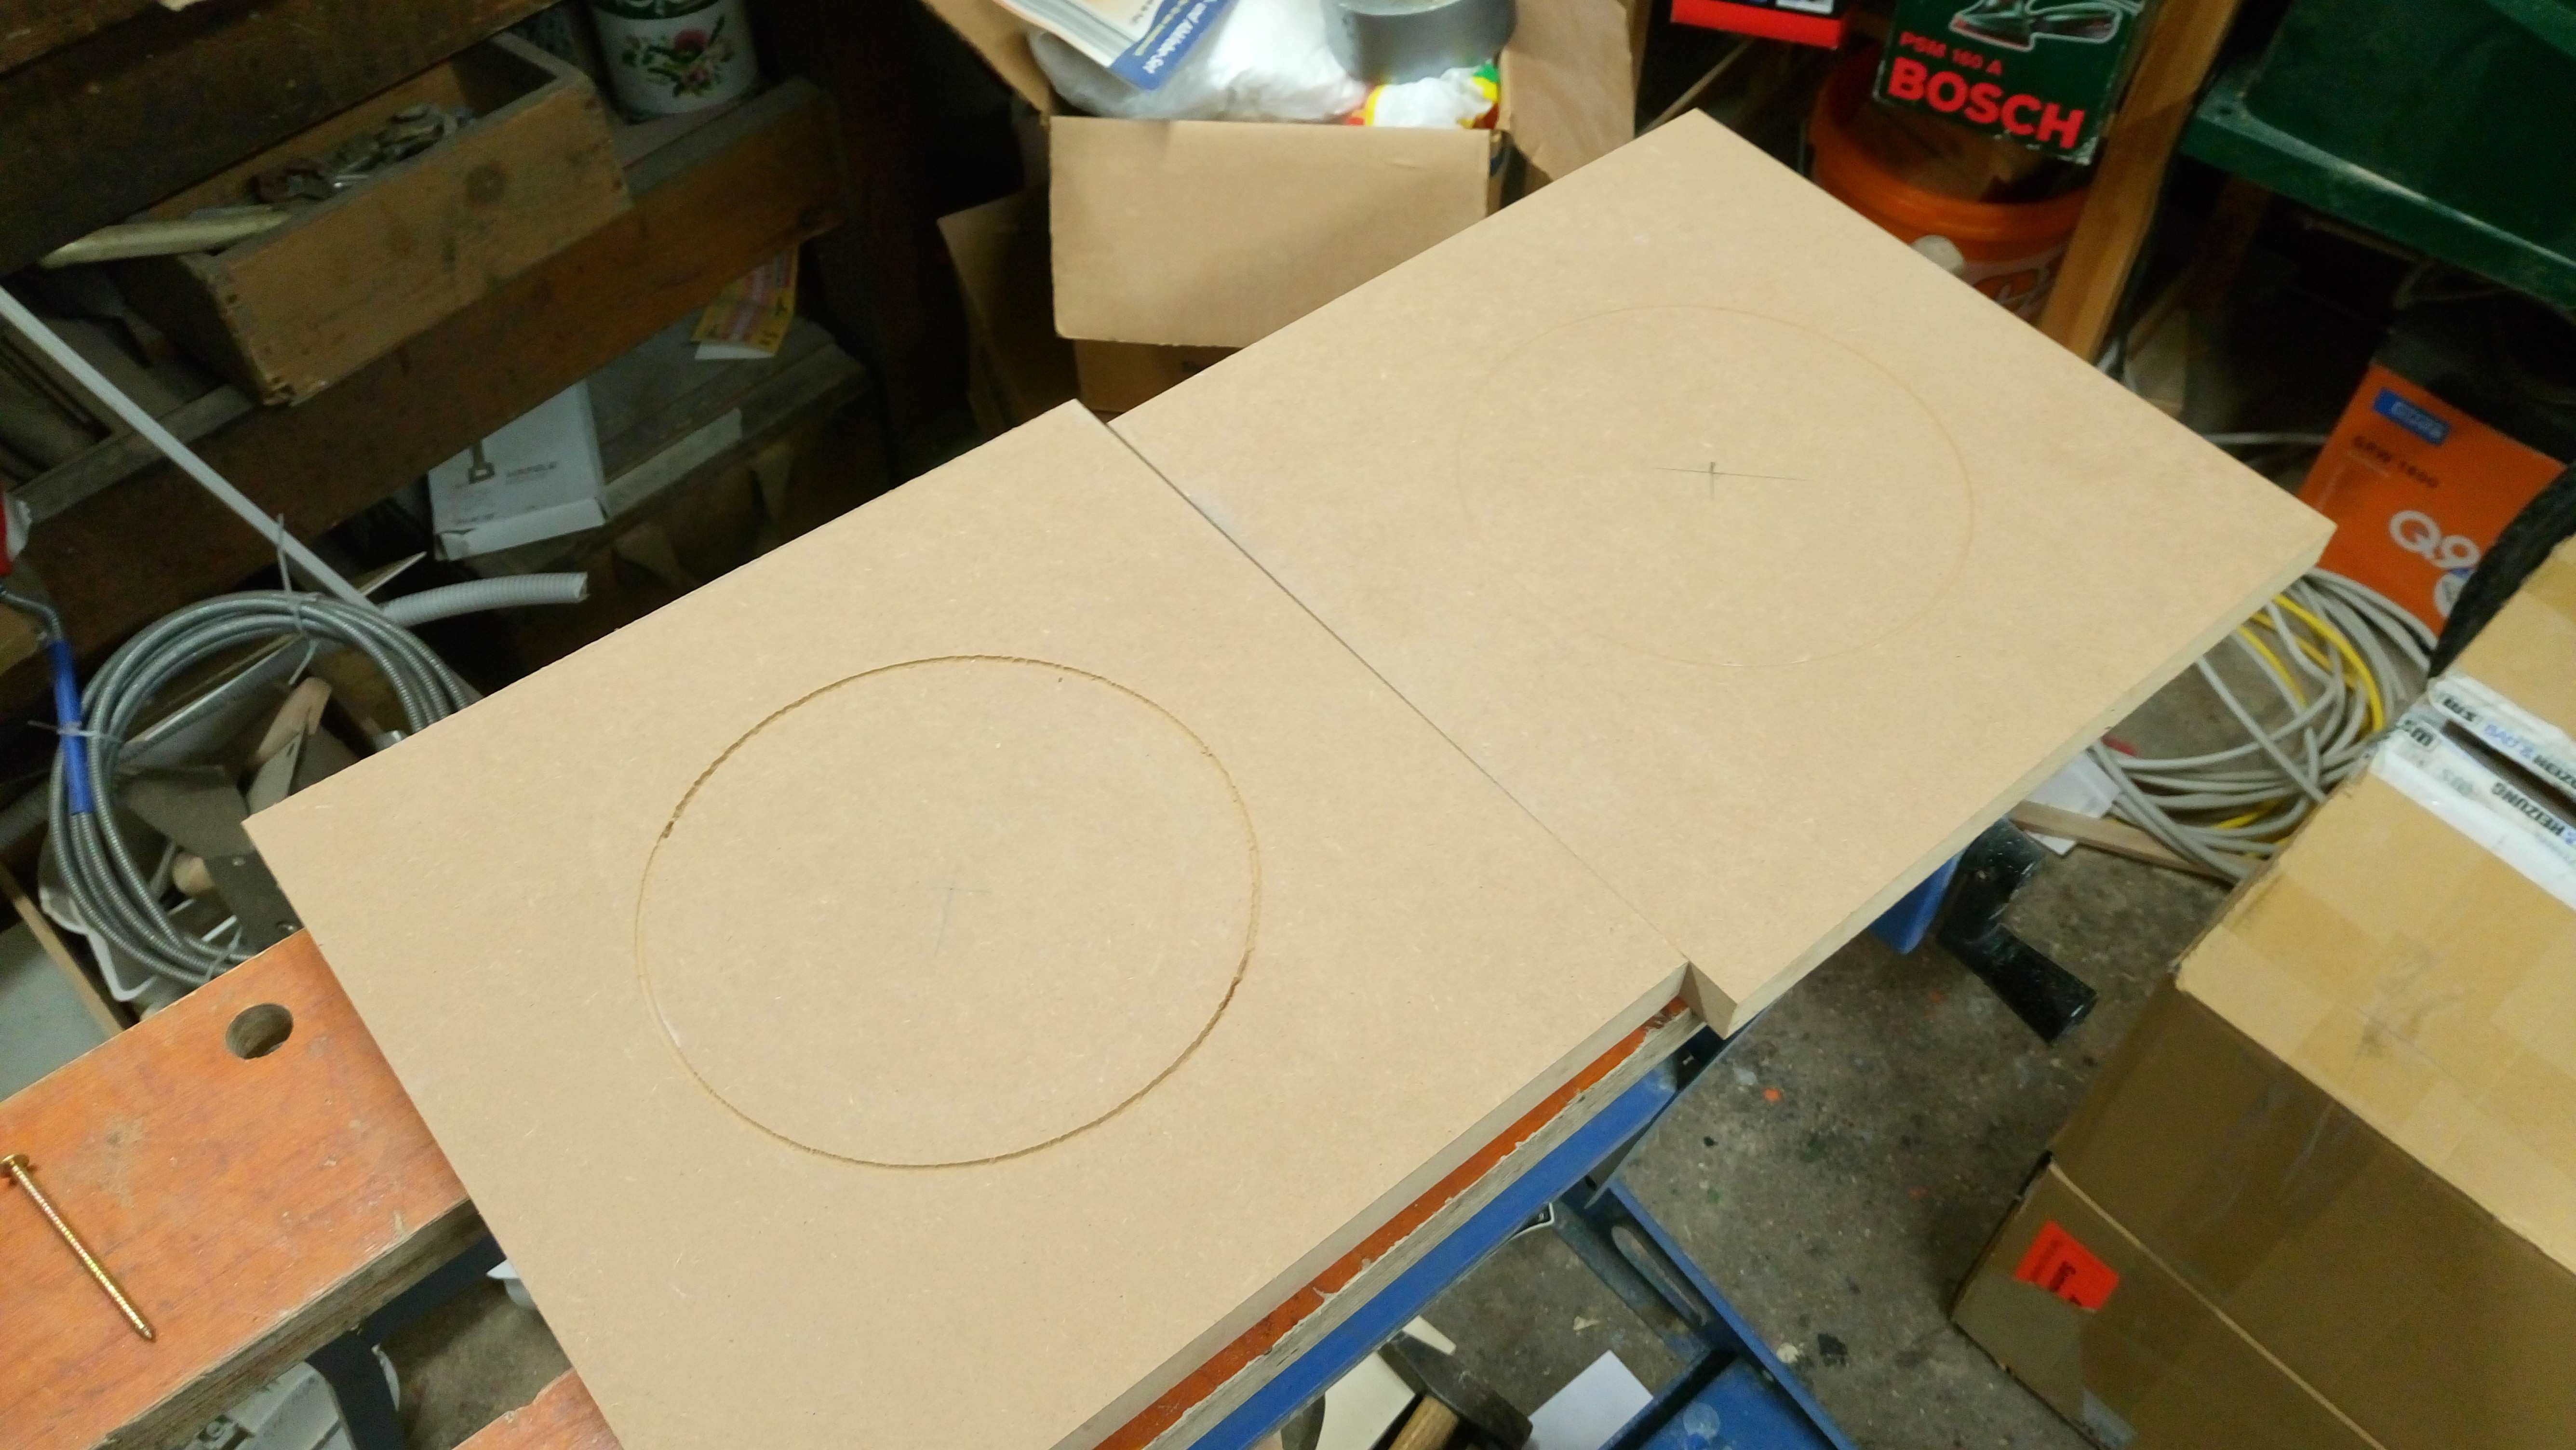
Routing Races
05/05/2017 at 08:38 • 0 commentsI am using a Dremel with plunge router attachment to route a round groove in both my upper and lower MDF boards. The grooves will serve als races. Thanks to the crappiness of the Dremel router attachment, one of the grooves became a spiral. But since I will cover the turntable with something pretty anyway, this won't be a problem.
![]() I then filled the bearing with 8 mm steel palls (8 € for 100 pcs on ebay). The groove was just wide enough to hold the balls in place but I decided to ad a safety cage to keep them from falling out just in case. The cage is made from 3 mm plywood and was cut out on a scroll saw.
I then filled the bearing with 8 mm steel palls (8 € for 100 pcs on ebay). The groove was just wide enough to hold the balls in place but I decided to ad a safety cage to keep them from falling out just in case. The cage is made from 3 mm plywood and was cut out on a scroll saw. ![]()
-
Concept
05/04/2017 at 09:37 • 0 commentsI've had some leftover MDF from a previous project which I want to use as my main building material. The Idea is to take two MDF boards and use them as a really cheap axial ball bearing. It has to bear virtually no load (the biggest Lego contraption that can conceivably fit on the thing will weigh less than 1 kg, the Nanoblock models way less than 100 g). The reason why I decided to go for the ball bearing is the very little friction, so I can turn it by hand without ugly stick/slip effects and lateron automatically with a very tiny motor in very tiny steps.
 I then filled the bearing with 8 mm steel palls (8 € for 100 pcs on ebay). The groove was just wide enough to hold the balls in place but I decided to ad a safety cage to keep them from falling out just in case. The cage is made from 3 mm plywood and was cut out on a scroll saw.