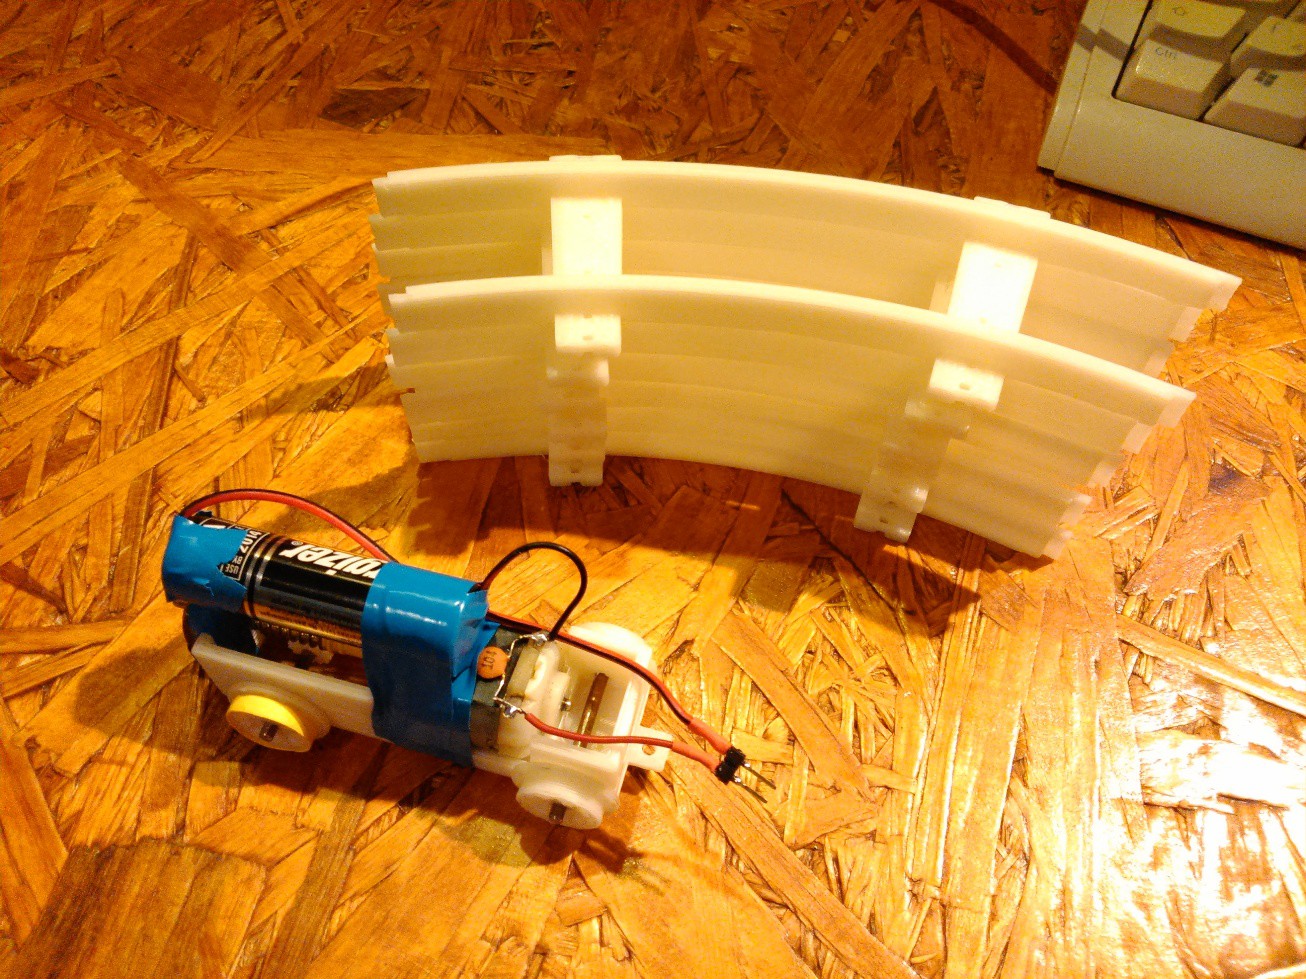
It is finally time to assemble the whole creation. The parts are printed, so let's put them together! For now, I didn't use the electronics stuff, I just simply wired an AA cell to the motor to keep things easy.

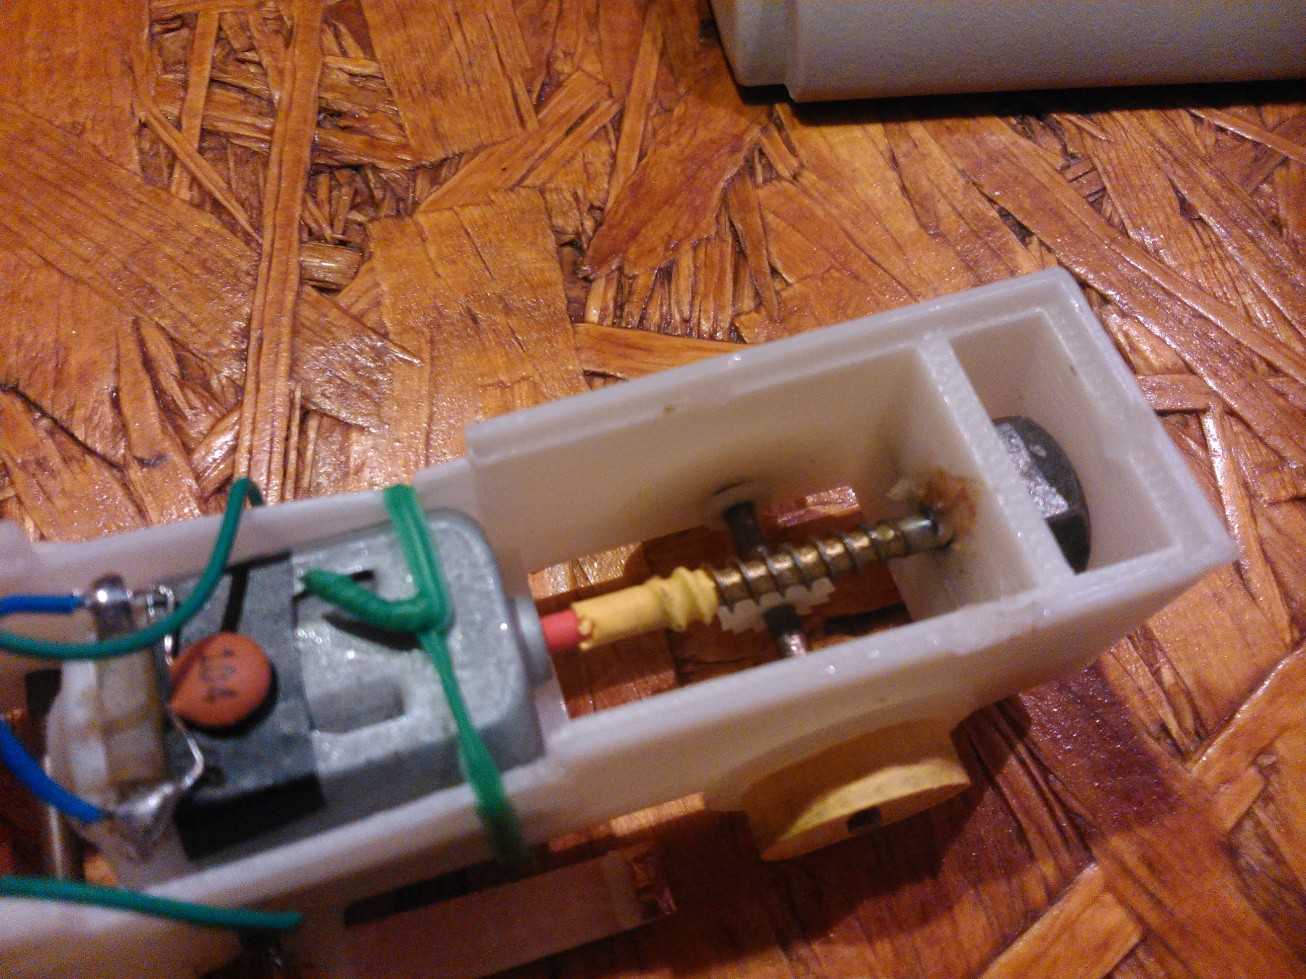
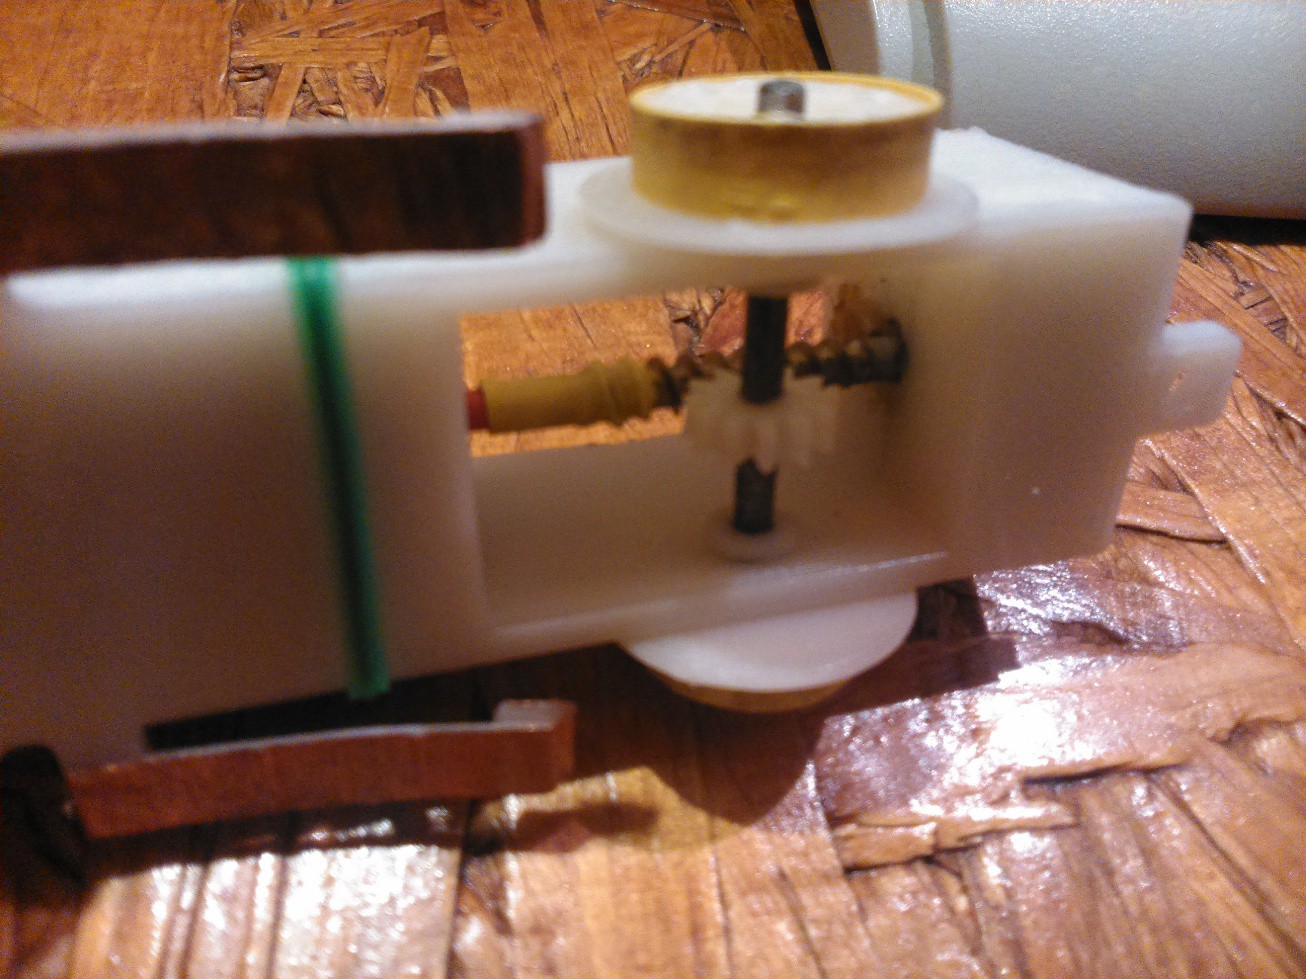
The whole engine is switched by a jumper. The axises of the train are made out of welding rods. The drivetrain consists of a really small 3D printed gear and a basic chipboard screw. The screw is secured to the motor shaft by shrink tubes, which were also used as tires on the driven wheels for better grip. I also added a lage nut in the back of the train for more weight. The gear is so small that I needed a 0.2mm extruder nozzle to print, but it was totally worth it (especially because it only cost 2$ off ebay). I will post some instructions when I build the next loco. Here's how the drive looks like:
 |  |
For the first test run, I assembled a simple loop, and let my train run in circles again and again. It was so awesome! Look at it yourself:
 Szabolcs Lőrincz
Discussions
Become a Hackaday.io Member
Create an account to leave a comment. Already have an account? Log In.