 Dan
Dan-
1Step 1
These instructions will explain how to program the AVR bootloader and firmware using the Arduino IDE on a Windows system.
The Bootloader
After downloading the firmware and the bootloader files (bootlader can be downloaded as a ZIP from the github page), the bootloader files need to placed within the Arduino "hardware" folder and the firmware files need to placed within the Arduino "libraries" folder and the Arduino sketches folder. As can be seen from the image below, copy the ATmega 1284P bootloader folder ("mighty-1284p-master") into the hardware folder within the Arduino directory (Documents -> Arduino -> hardware):
![]()
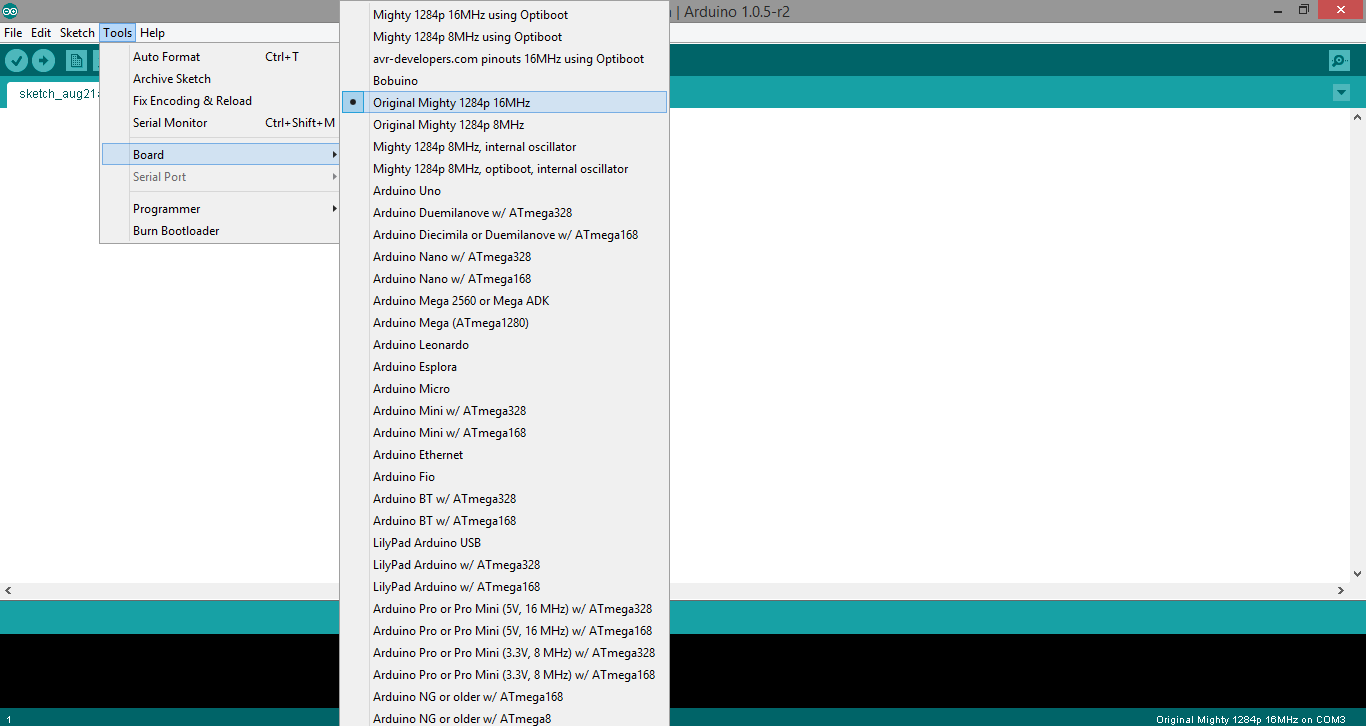
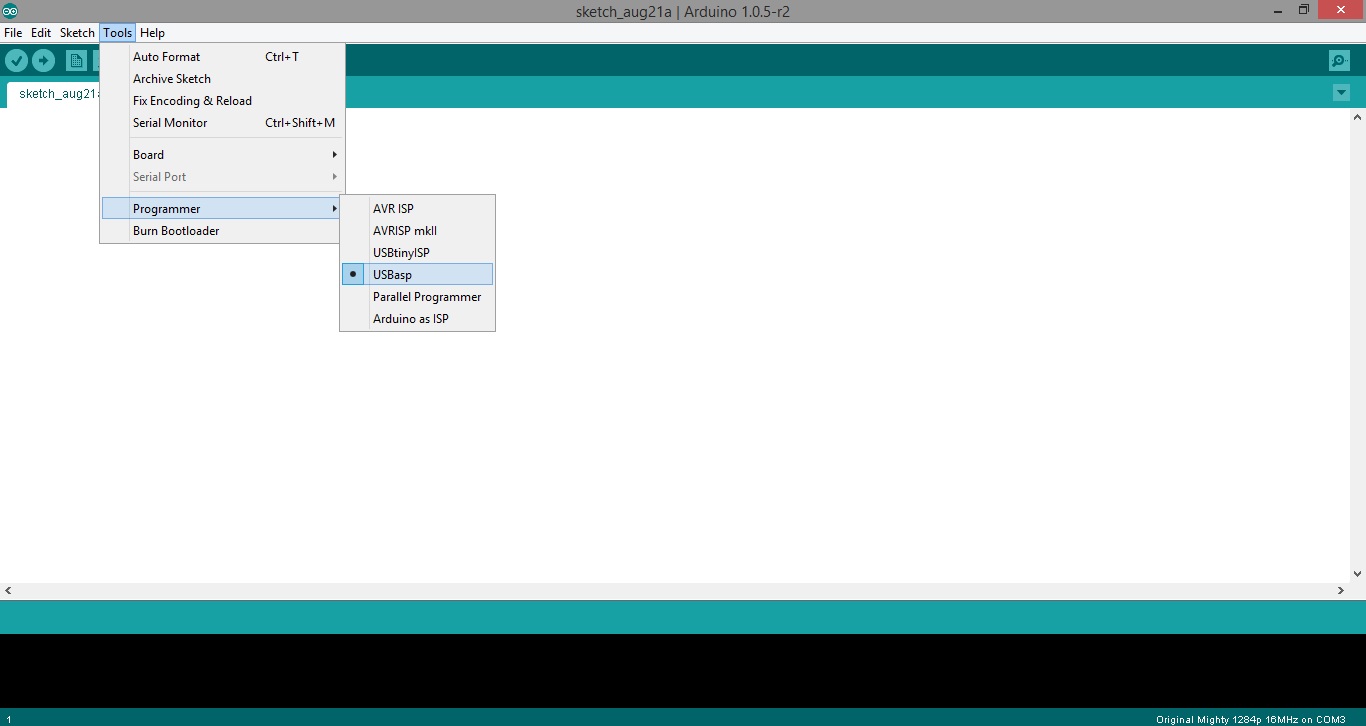
Next, open the Arduino IDE and set the board to "Original Mighty 1284p 16MHz" and the programmer to "USBasp; both are done under the tools menu as shown in the below images:
![]()
![]()
The bootloader which is programmed to the AVR must be "Original Mighty 1284p 16MHz" as glitches with TVout are caused using the optiboot bootloader.
Note, an Arduino acting as an ISP can be used to program the single chip computer if a USBasp programmer is not available. Google "Arduino ISP" for instructions on how to do this (the SPI pins of the ATmega 1284P are mapped to the USBasp header - pinout for this header can be found by googling "USBasp pinout").
Once the board type and the programmer have been selected, the single chip computer can be powered up and the programmer connected. "Burn Bootloader" can then be selected within the tools menu; once this is completed the bootloader has been burnt to the AVR.
-
2Step 2
The Firmware
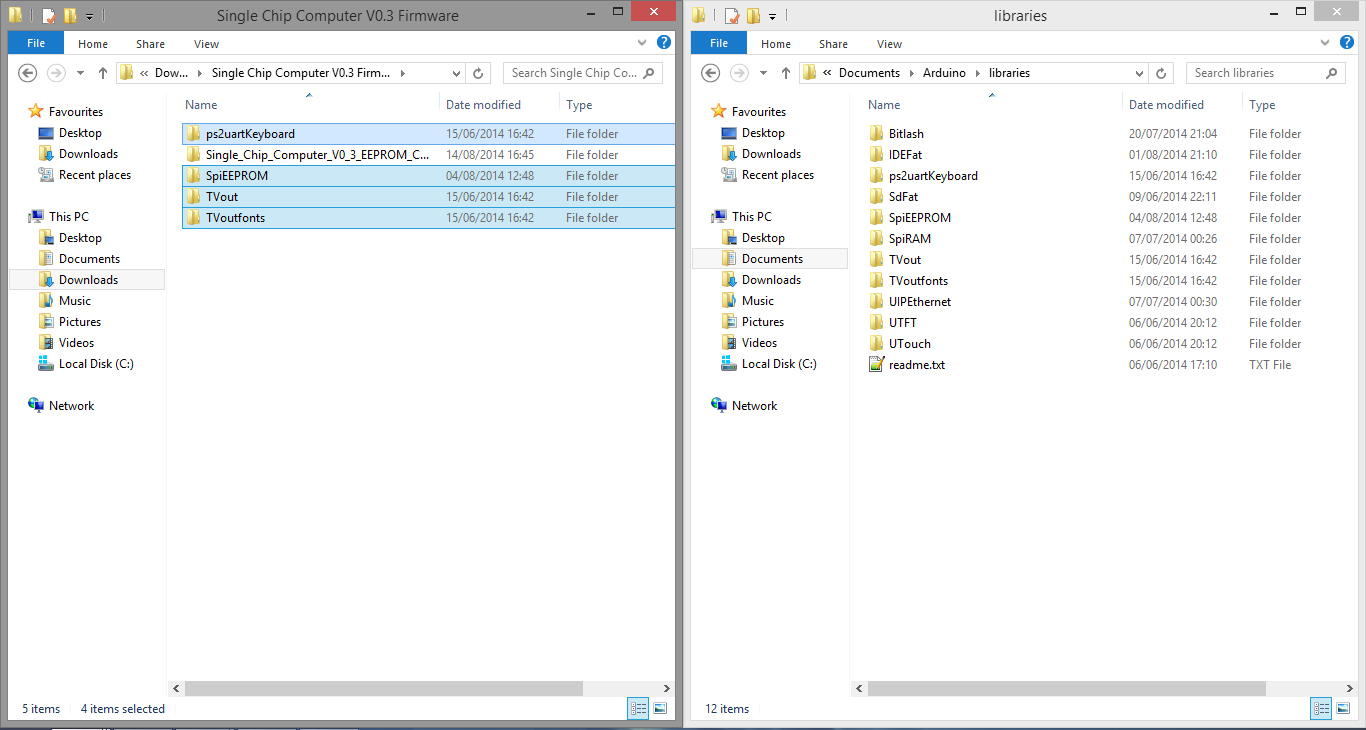
After extracting the firmware RAR archive, four of the folders have to be moved into the Arduino "libraries" folder (Documents -> Arduino -> libraries) and one of them into the Arduino sketches folder. The following image shows the folders which need to be copied into the Arduino "libraries" folder (highlighted on the left - "ps2uartKeyboard", "SpiEEPROM", "TVout", "TVoutfonts"):
![]()
Next, the remaining folder ("Single_Chip_Computer_V0_3_EEPROM_Cards") needs to be copied into the Arduino sketches directory (Documents -> Arduino) as shown in the following image:
![]()
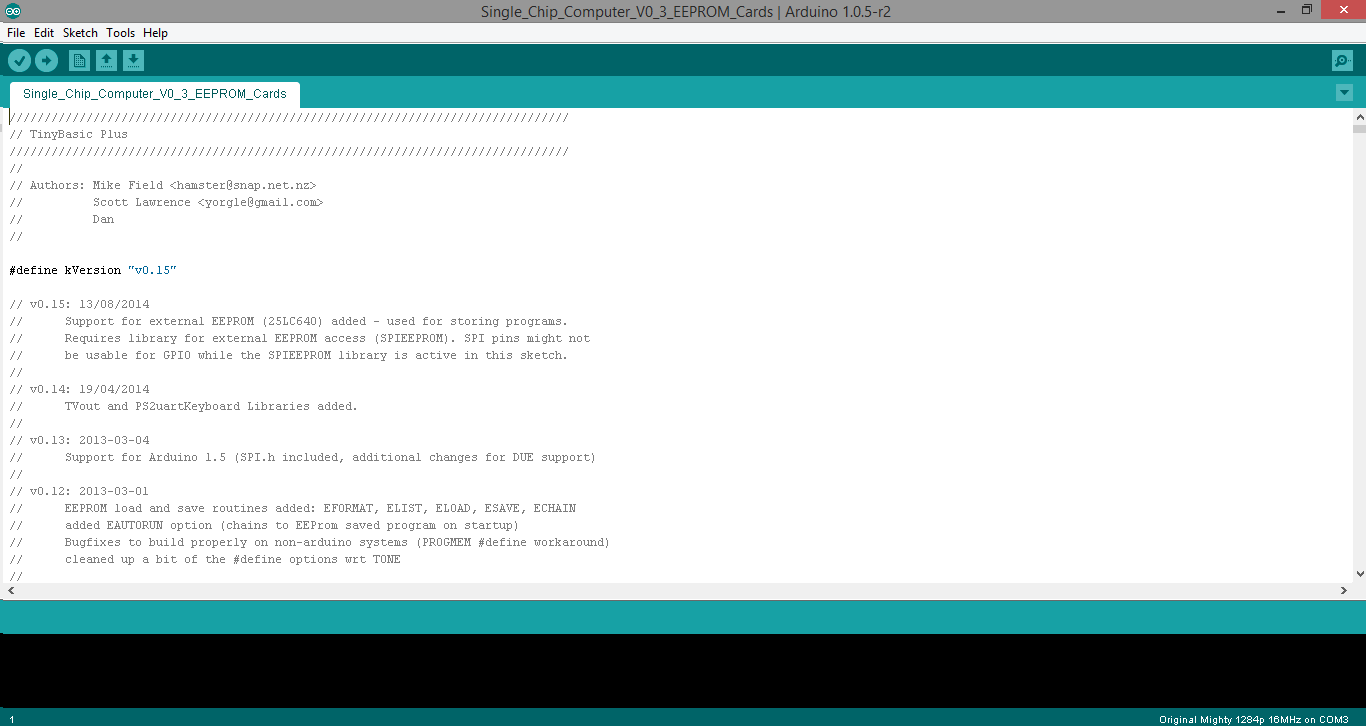
If the Arduino IDE is already open, close it, reopen it and load the single chip computer sketch:
![]()
To upload the firmware (the sketch), select "Upload Using Programmer" from the file menu:
![]()
Once the sketch has been uploaded to the computer, the programmer can be disconnected. The computer is can then be connected to a TV and a keyboard and used to write BASIC programs.
Single Chip AVR BASIC Computer V0.3
A computer running BASIC, generating composite video and reading PS/2 keyboard input using a single ATmega microcontroller


Discussions
Become a Hackaday.io Member
Create an account to leave a comment. Already have an account? Log In.