Julia Longtin
-
Facing a new year...
04/03/2016 at 15:04 • 0 commentsTightening up the scope of the project to just the aluminium casting techniques.
-
Using the Molds
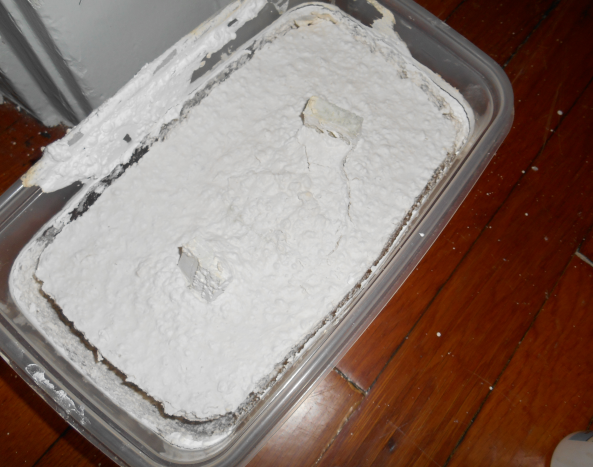
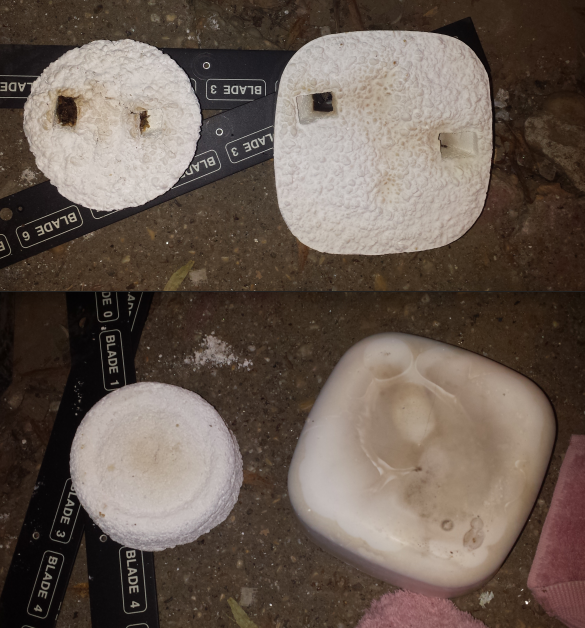
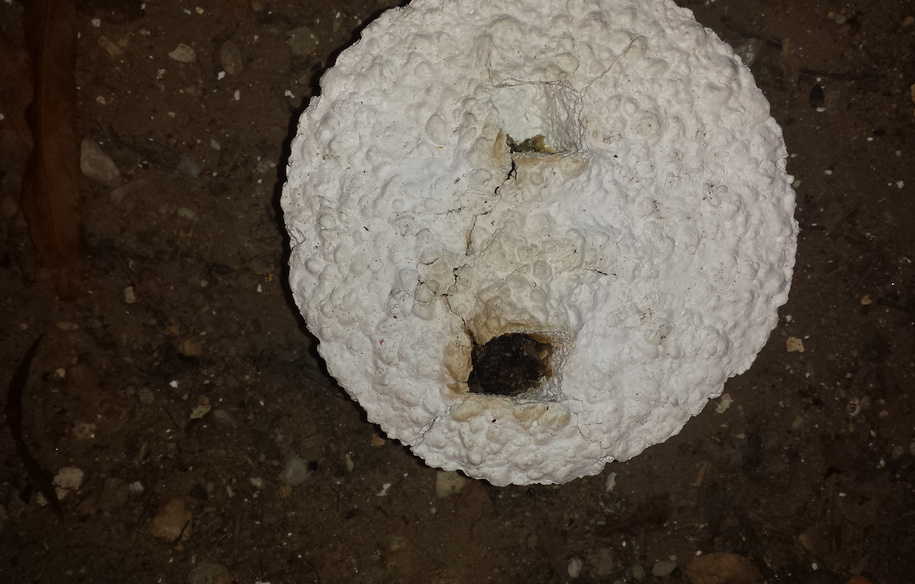
08/21/2014 at 05:54 • 1 comment![]()
Fresh baked molds. The one on the right used a more refined recipe and came out great.
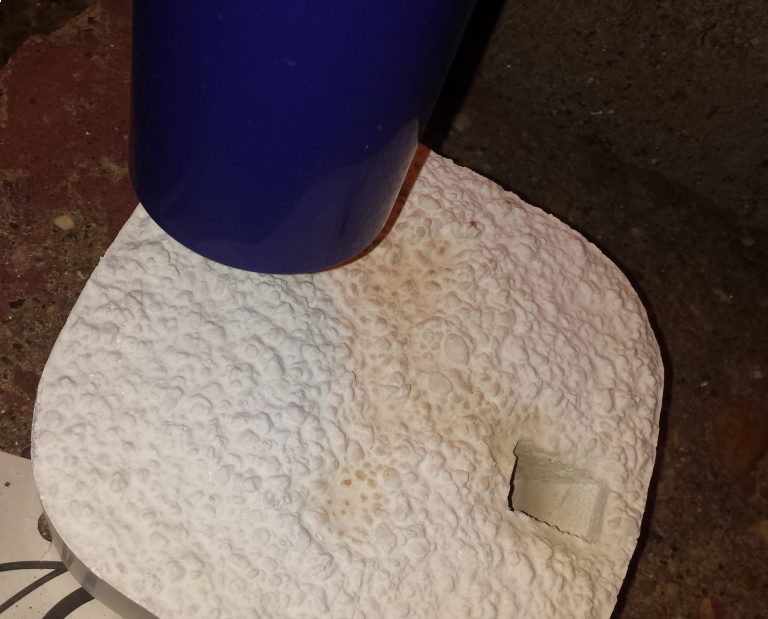
![]()
We used a hairdryer to blow out the ash from the inside. You can use any form of compressed air.
![]()
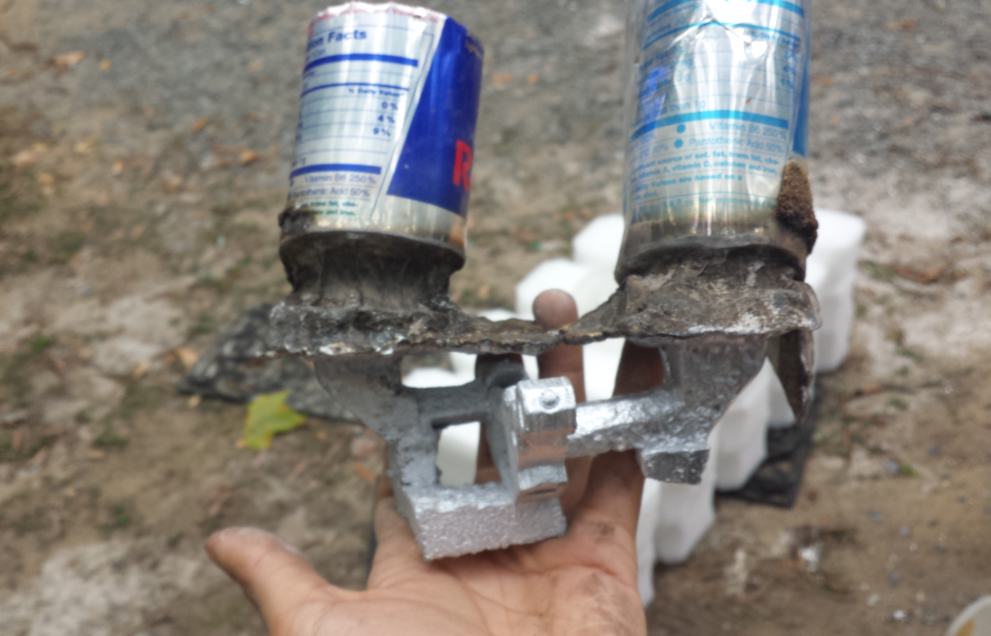
Creating sprue extenders, used so that liquid aluminum causes pressure inside of the chamber. They need to be skinny & tall!
![]()
Attaching the sprue extenders atop of the mold. Good ol' duck tape can be used for this to keep out the sand.
![]()
Our sandbox with a small layer of sand on the bottom. Place the molds in the sandbox and then cover with sand until it reaches near the top of the sprue extenders.
![]()
Carefully pouring the aluminum.
![]()
Oops. Aluminum will burn through the sprue extenders. It is important to fill the box until the sand reaches near the top of the sprue extenders. Our box nearly caught on fire..
![]()
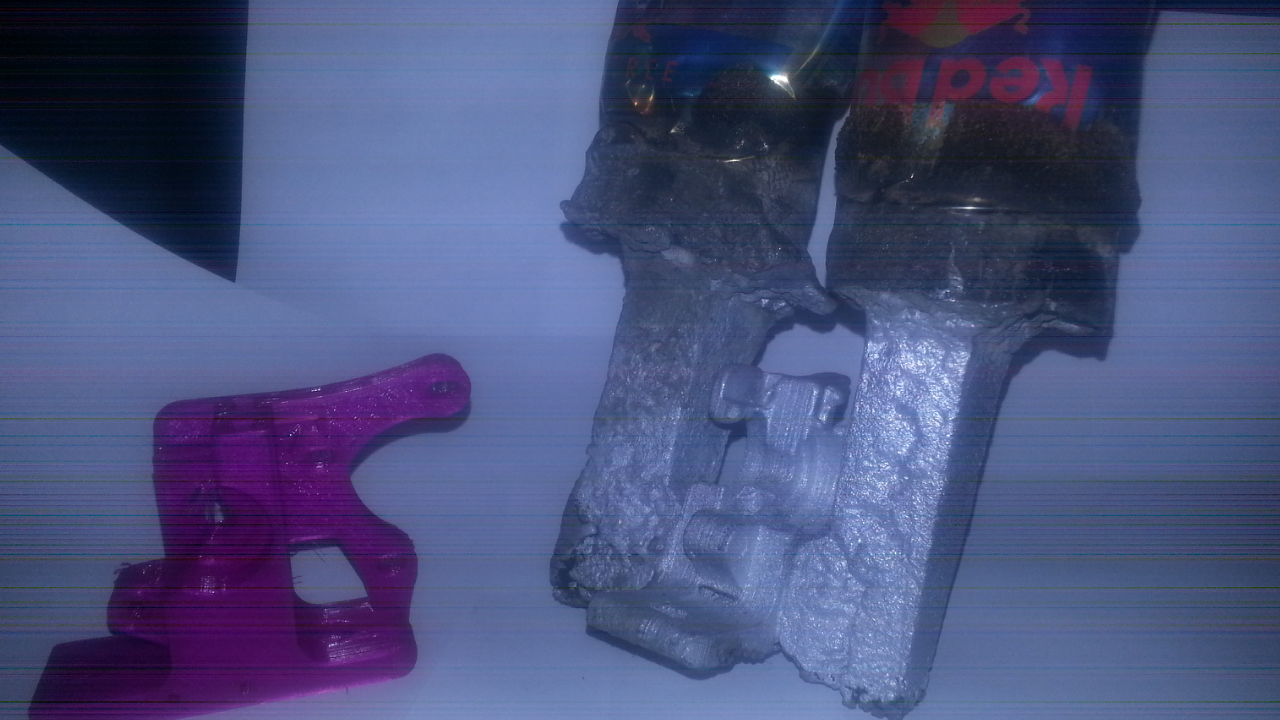
Taking our mold out of the sand. This is the most fun part of the process, seeing what is inside...
![]()
:o
![]()
Chisling the plaster away with a screwdriver or whatever you got.
![]()
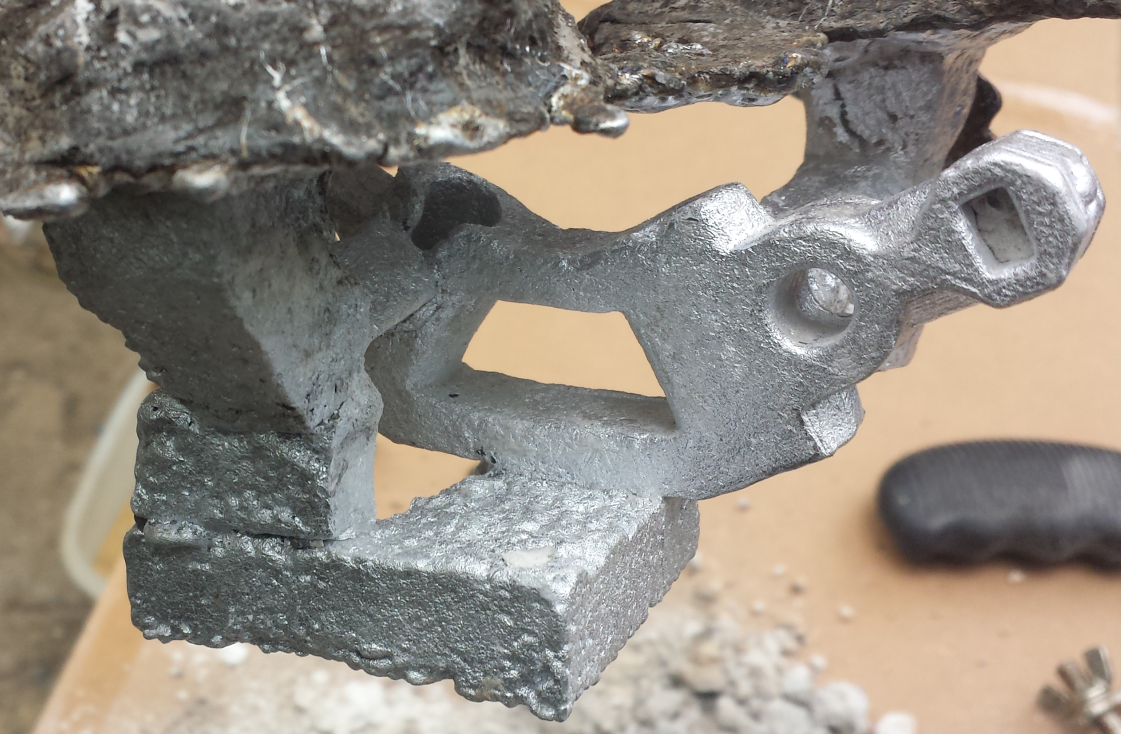
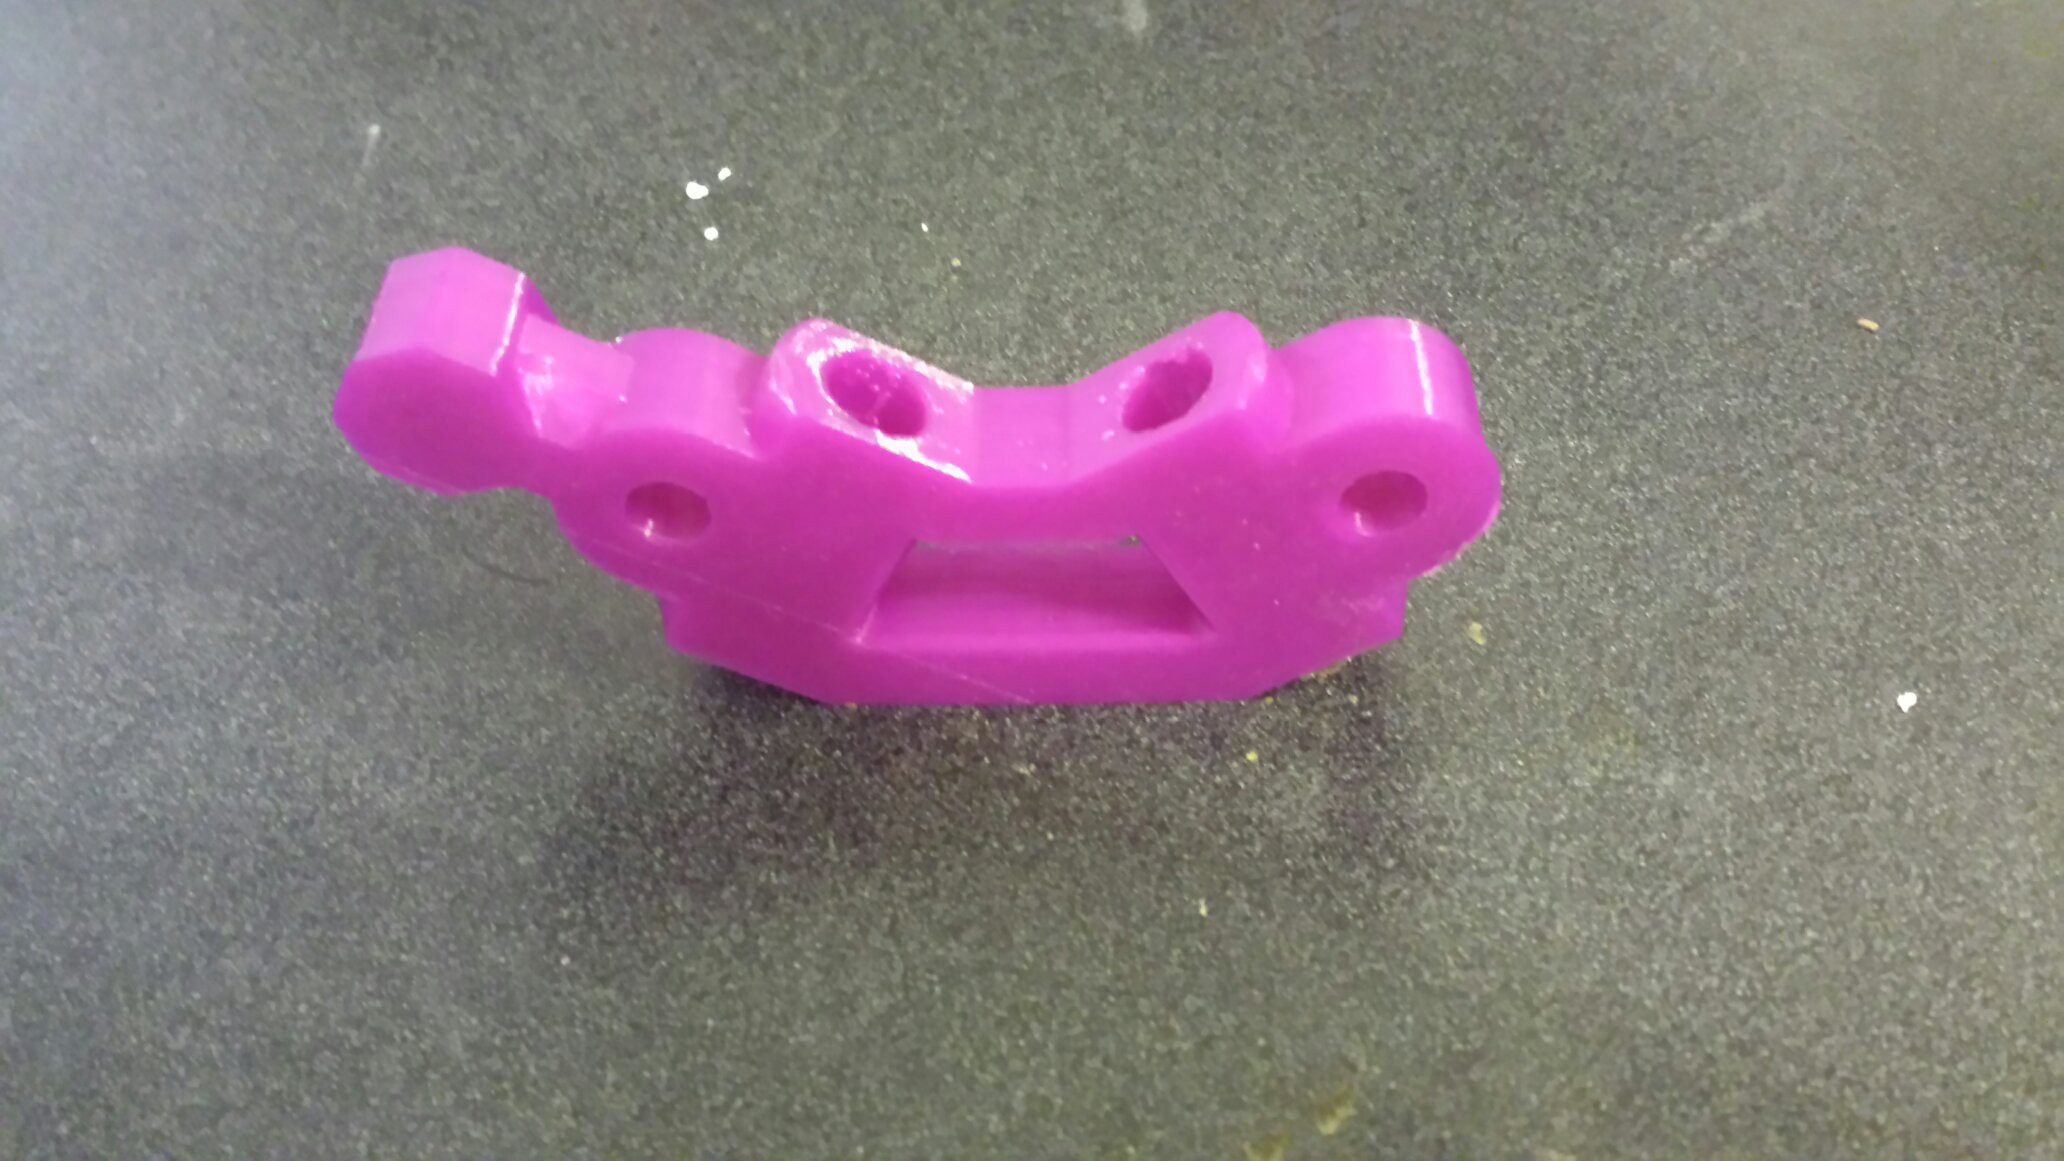
Voila!
![]()
Now you have a part to remove from its mountings! This part came out great! However, we learned a lot about the mounting of the part when attempting to remove it. That will be covered in the next project log. :)
-
Microwave Casting Pt. 1
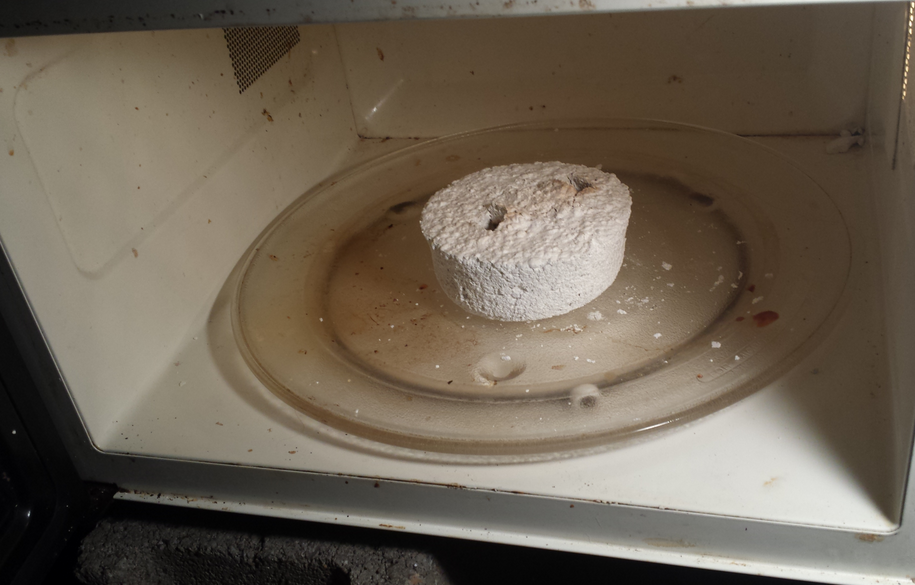
08/20/2014 at 21:31 • 0 commentsWe're going to microwave out our molds. Here's some science about whats happening.
![]()
Two important stages:Stage 1: Remove all water - will sweat profusely the water content in the form of vapor - may need towel to keep microwave from flooding.
[] Warning [] Use safety precautions! We did this outside and stood atleast 30 feet away from the microwave.
During this stage, we have seen conditions where the mold could split and explode. This was mostly in part due to heating the water in the mold too rapidly in one spot. The microwave that caused this problem had no spinning plate. This is bad because then the microwaves will target one particular point and will begin to overheat the mold. We observed a chain reaction when this happened. Once a section of the mold began to overheat, a hot-spot forms and it grows as it absorbs microwaves at a higher rate [becoming a susceptor!]. This is what caused Porygon's brains to blow out of the mold and become captured in aluminium.
![]()
Stage 2:
![]()
It was hard to capture the smoke escape the mold. Microwave in short bursts starting at a lower temperature.
We set our microwave at 50% [1100 watts] and zapped it in short bursts of around 5 to 15 minutes on average.
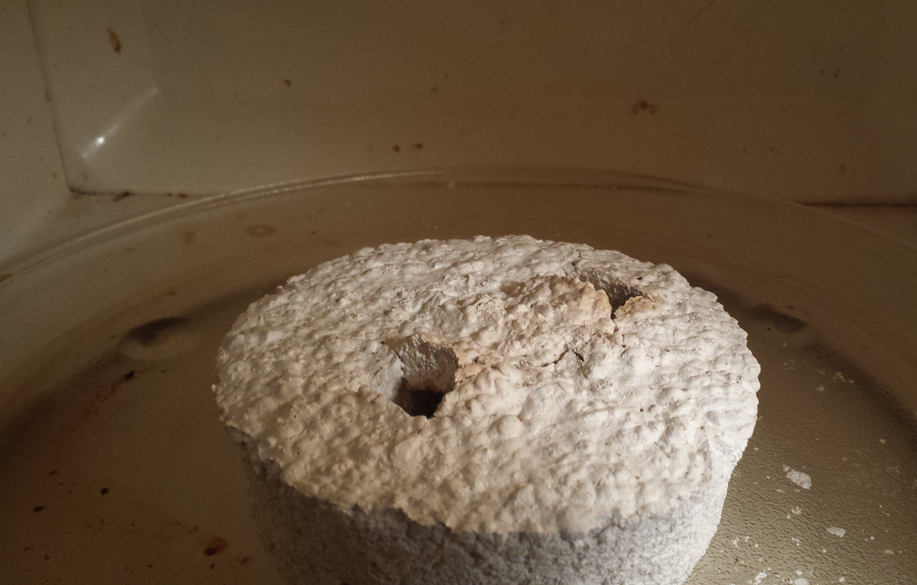
The investment will of evaporated and start smoking (non-profusely). The susceptor absorbs the microwaves at a higher rate at which the contents from the mold incinerate and create the cavity inside. Make sure that no plastic is visible in the bottom of the sprues and wells and use a form of compressed air [we had a hairdryer) to blow out the ash and residue from the inside.
![]()
You're ready to move onto the next step when the mold has been cleared of ash and residue, making aluminium!!
** Don't reuse the microwave for food again **
-
Molding Process pt. 2
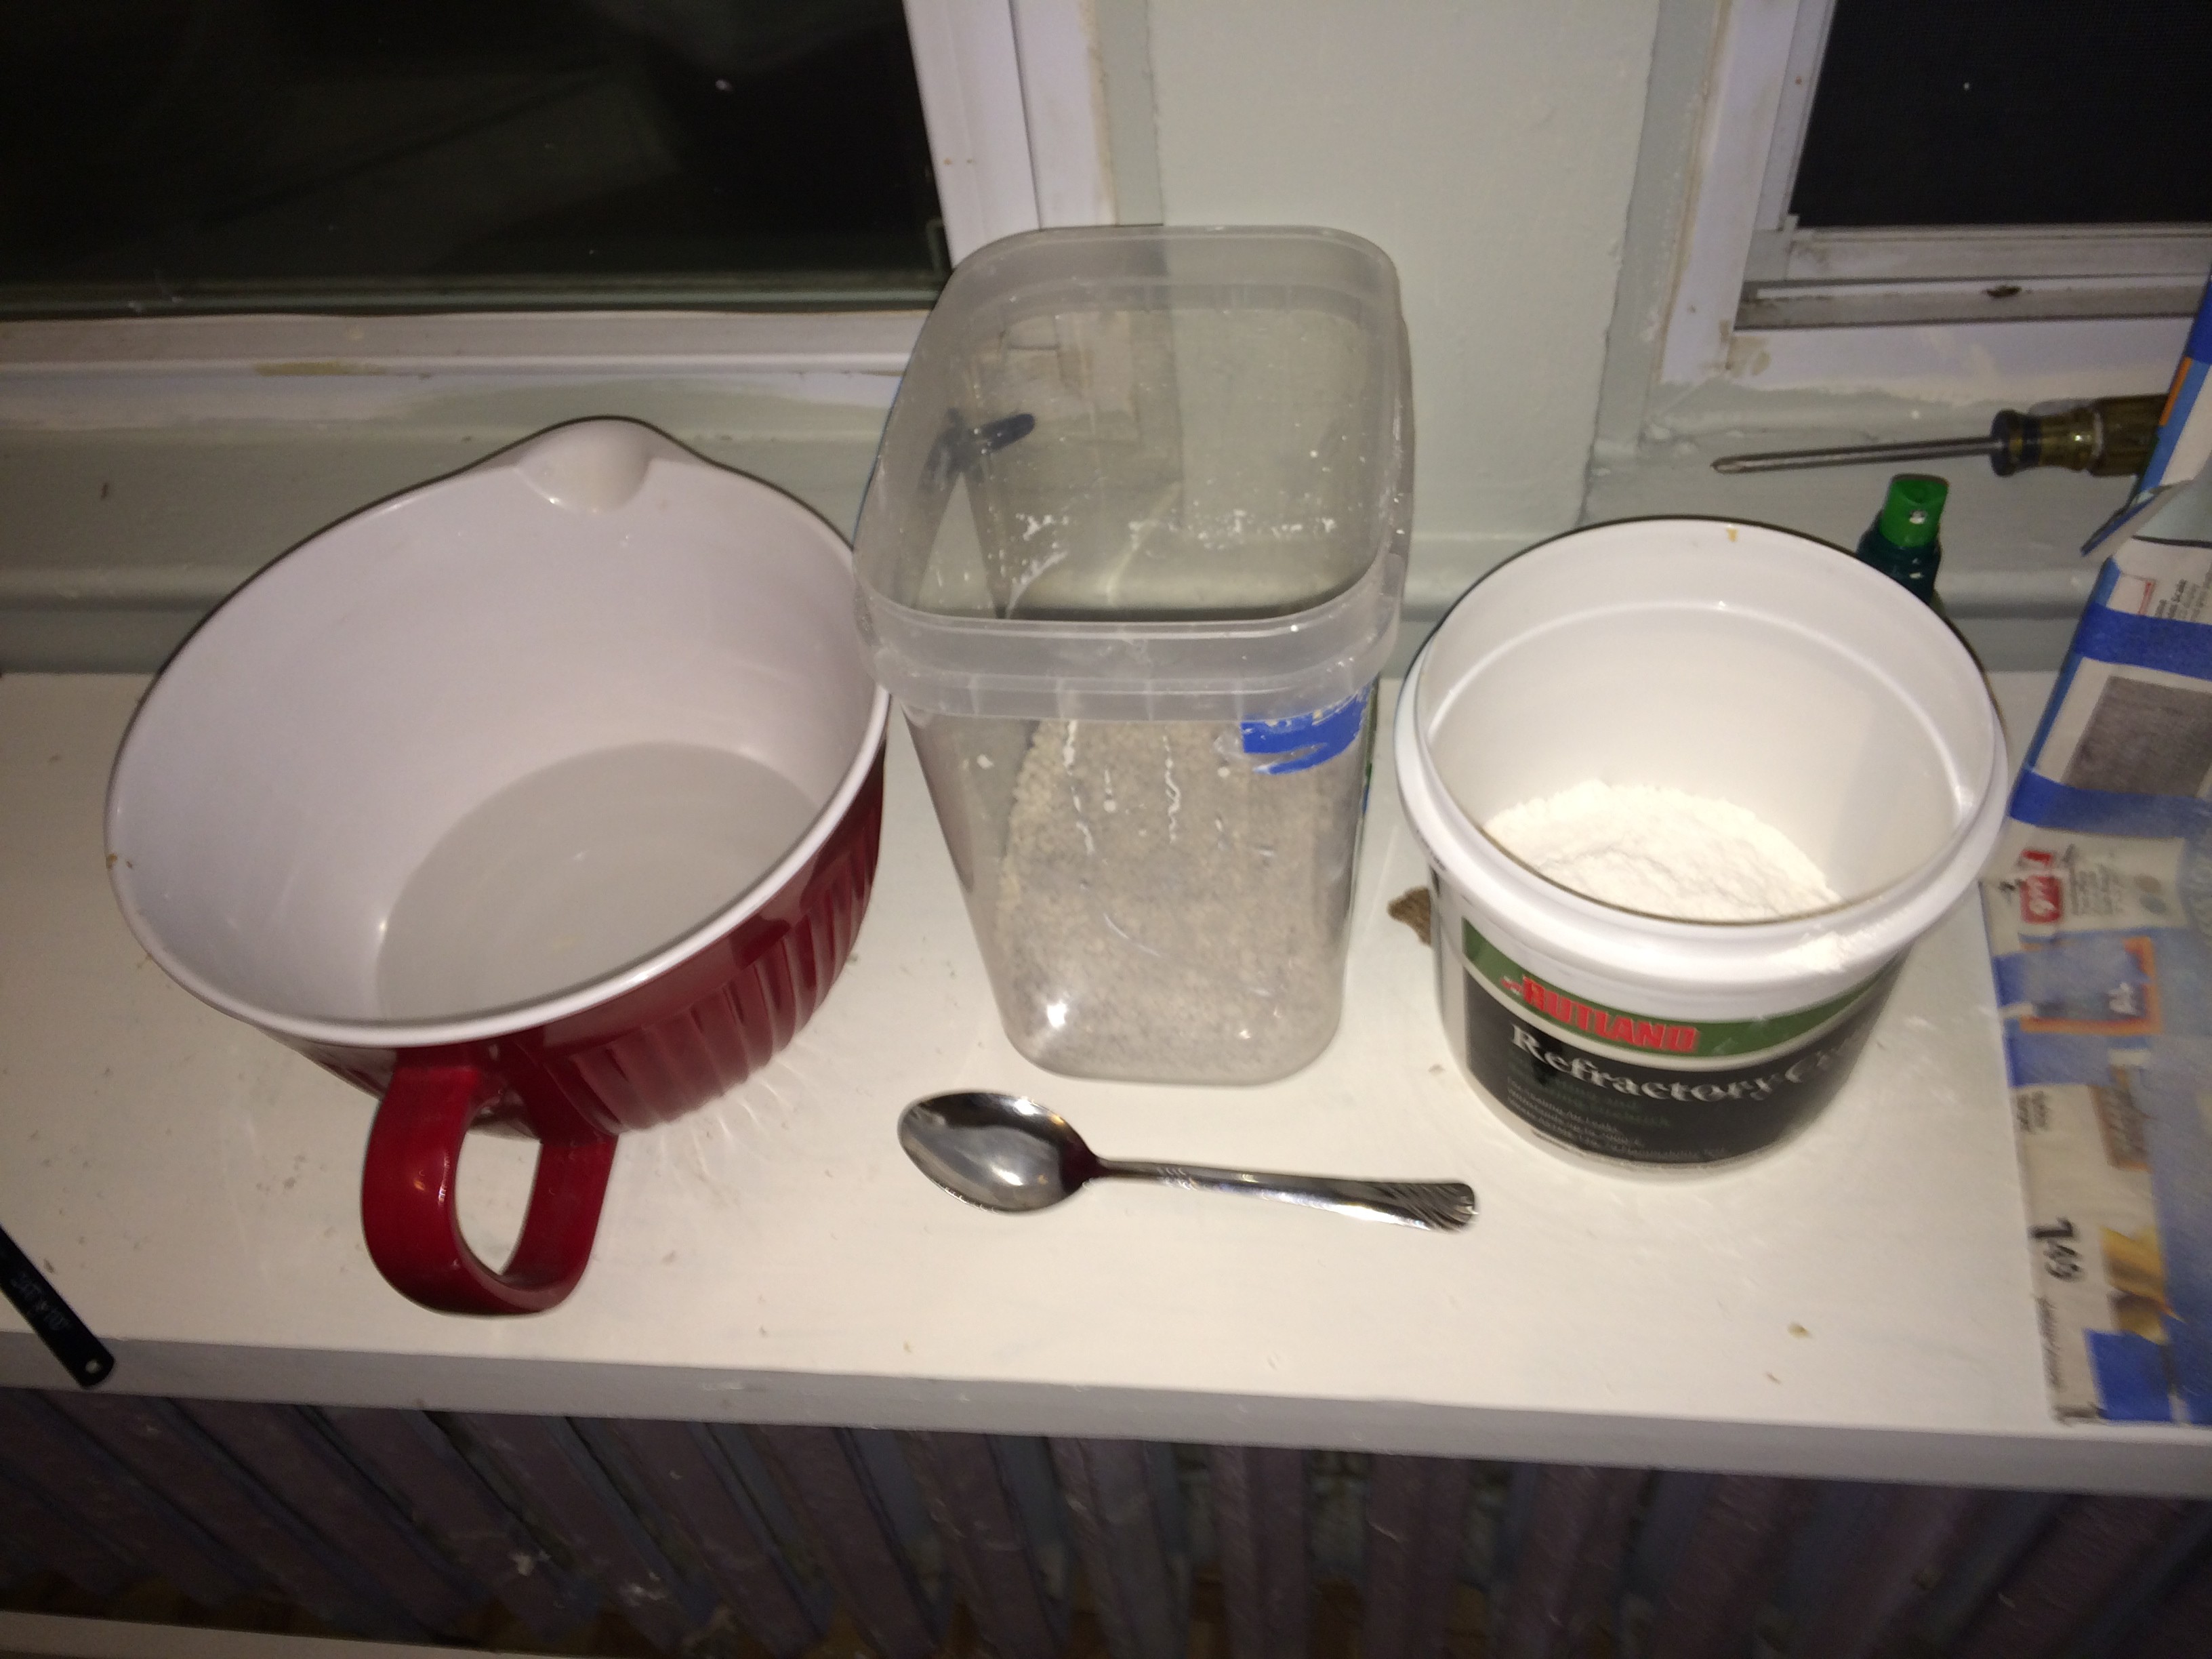
08/20/2014 at 18:54 • 0 commentsMaterials:
Investment [mold]: Equal parts of Perlite / Plaster of Paris / Water
Something to stir with and a bowl to stir in
Old plastic Tupperware
Vibration table of sorts [to remove the air bubbles from the container]
![]()
![]()
It took about 3.5 cups of each ingredient equally in order to fill our mold.
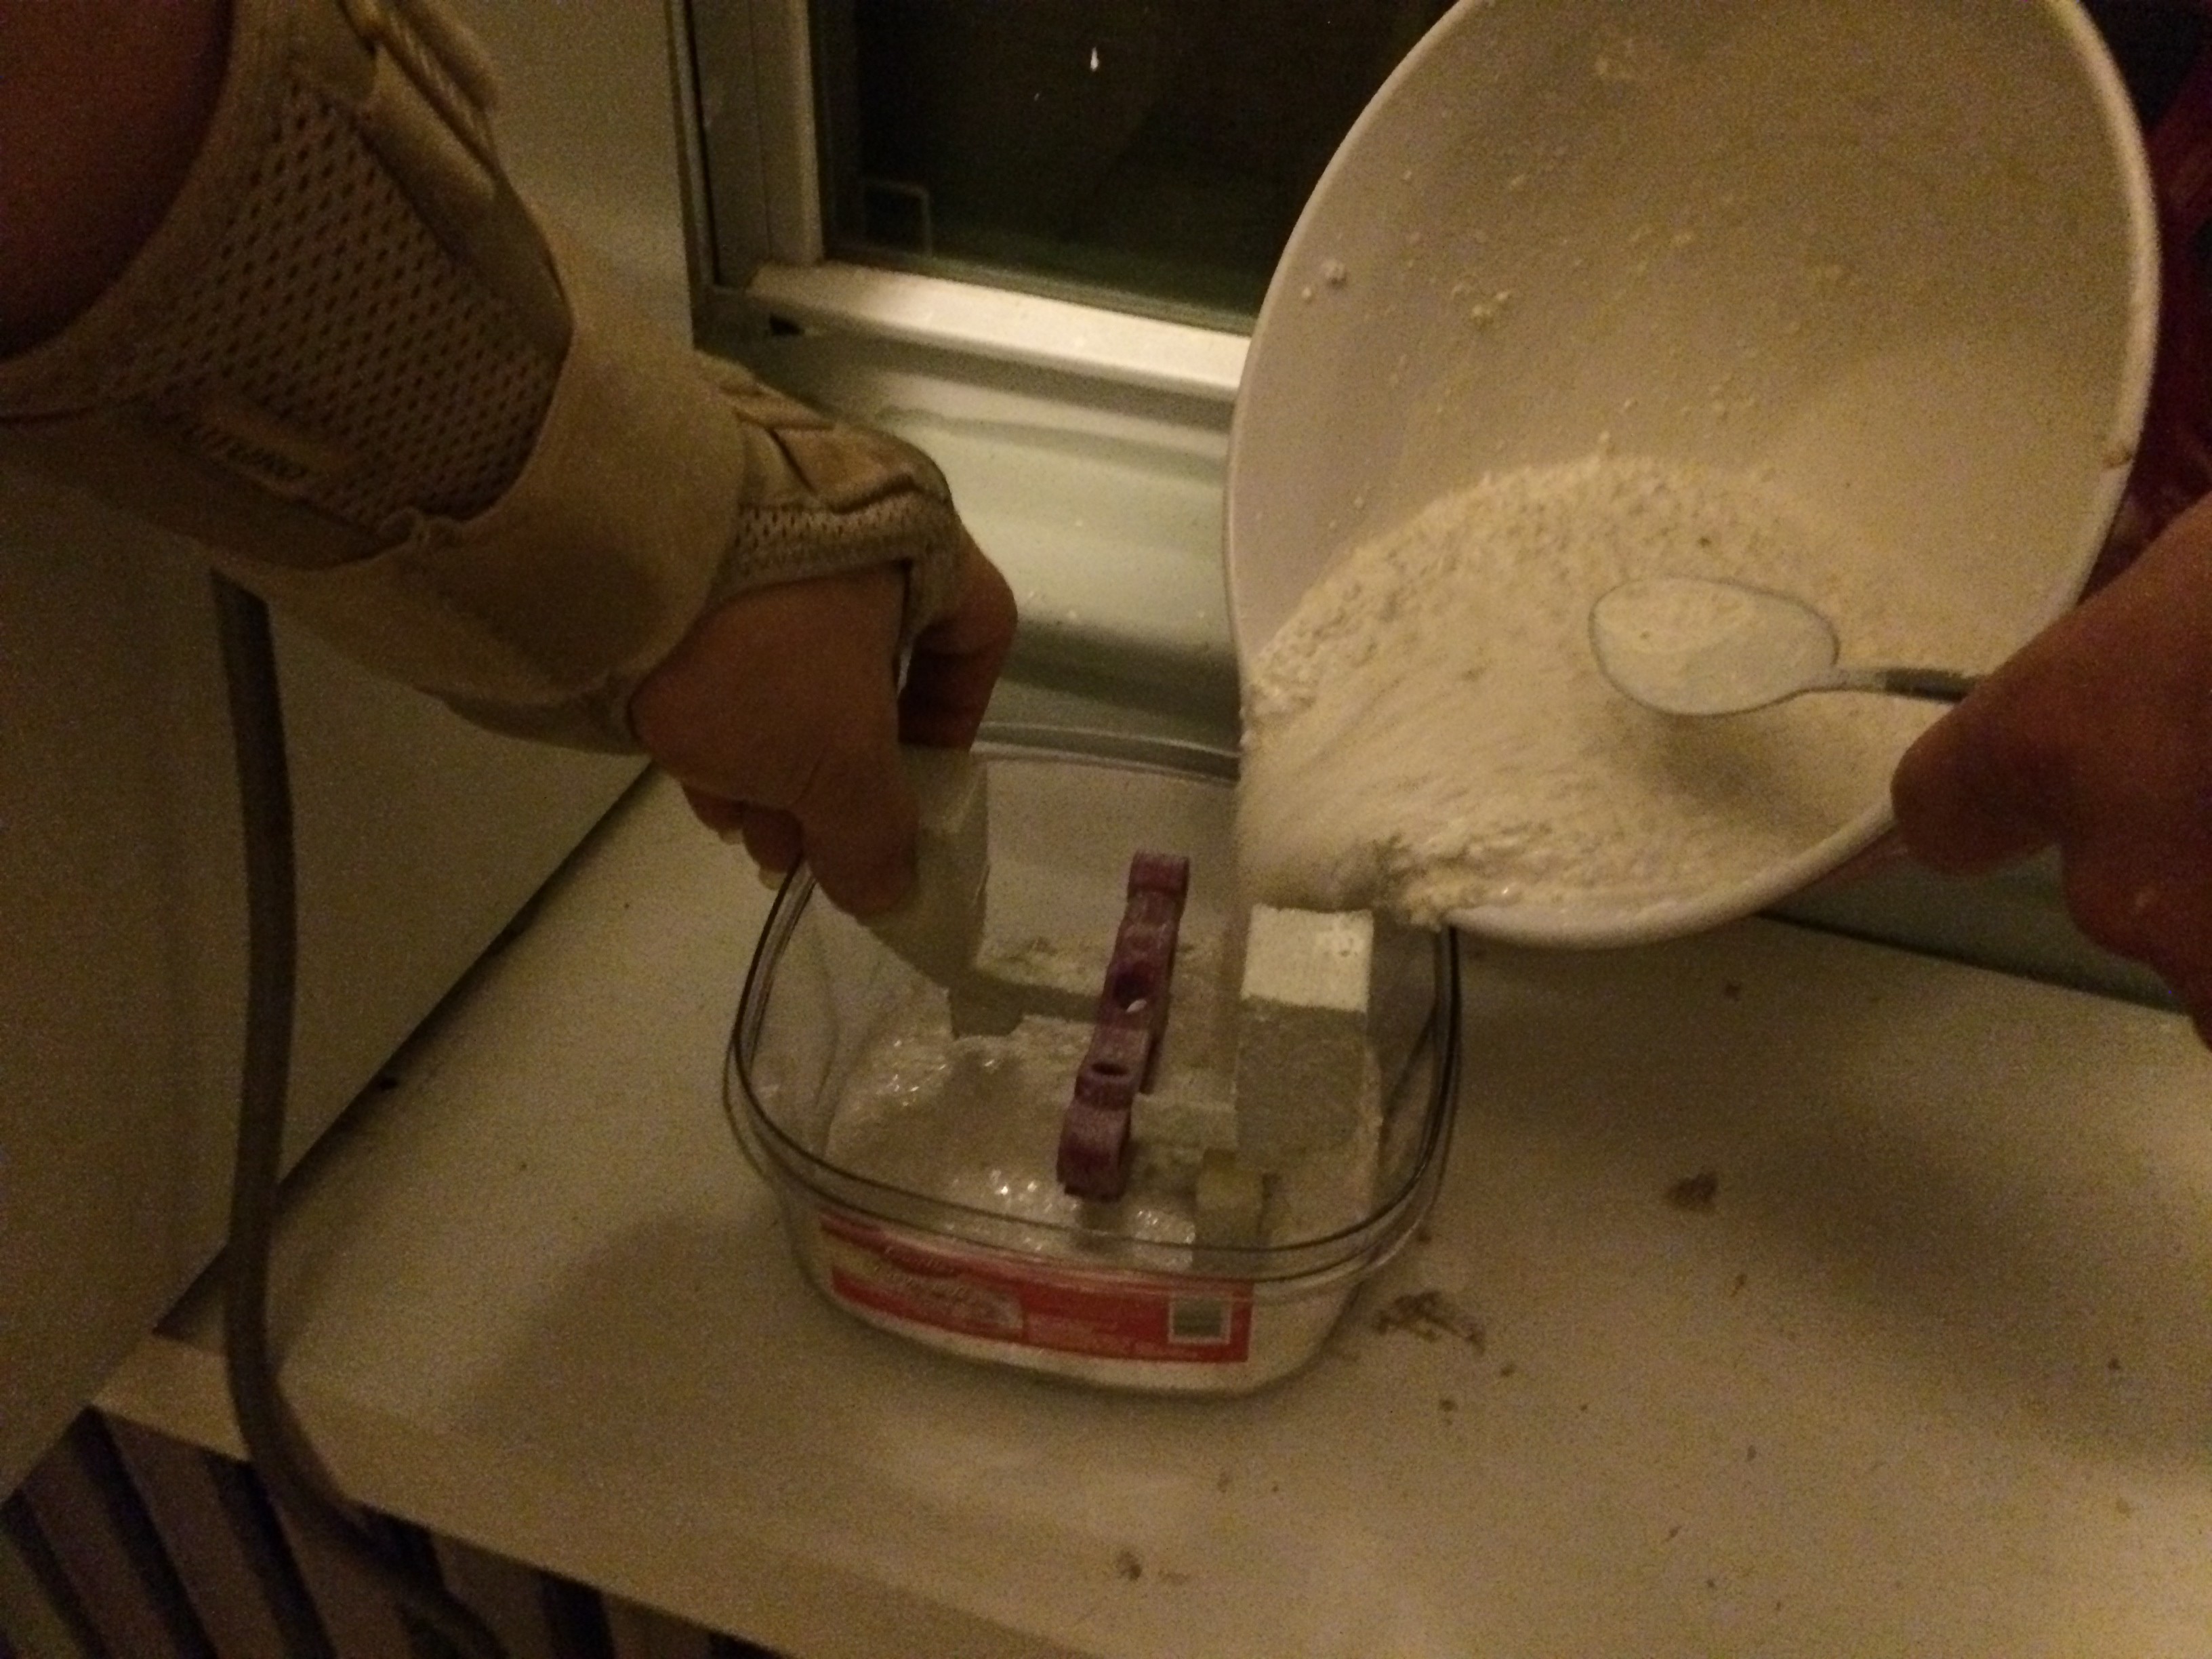
![]()
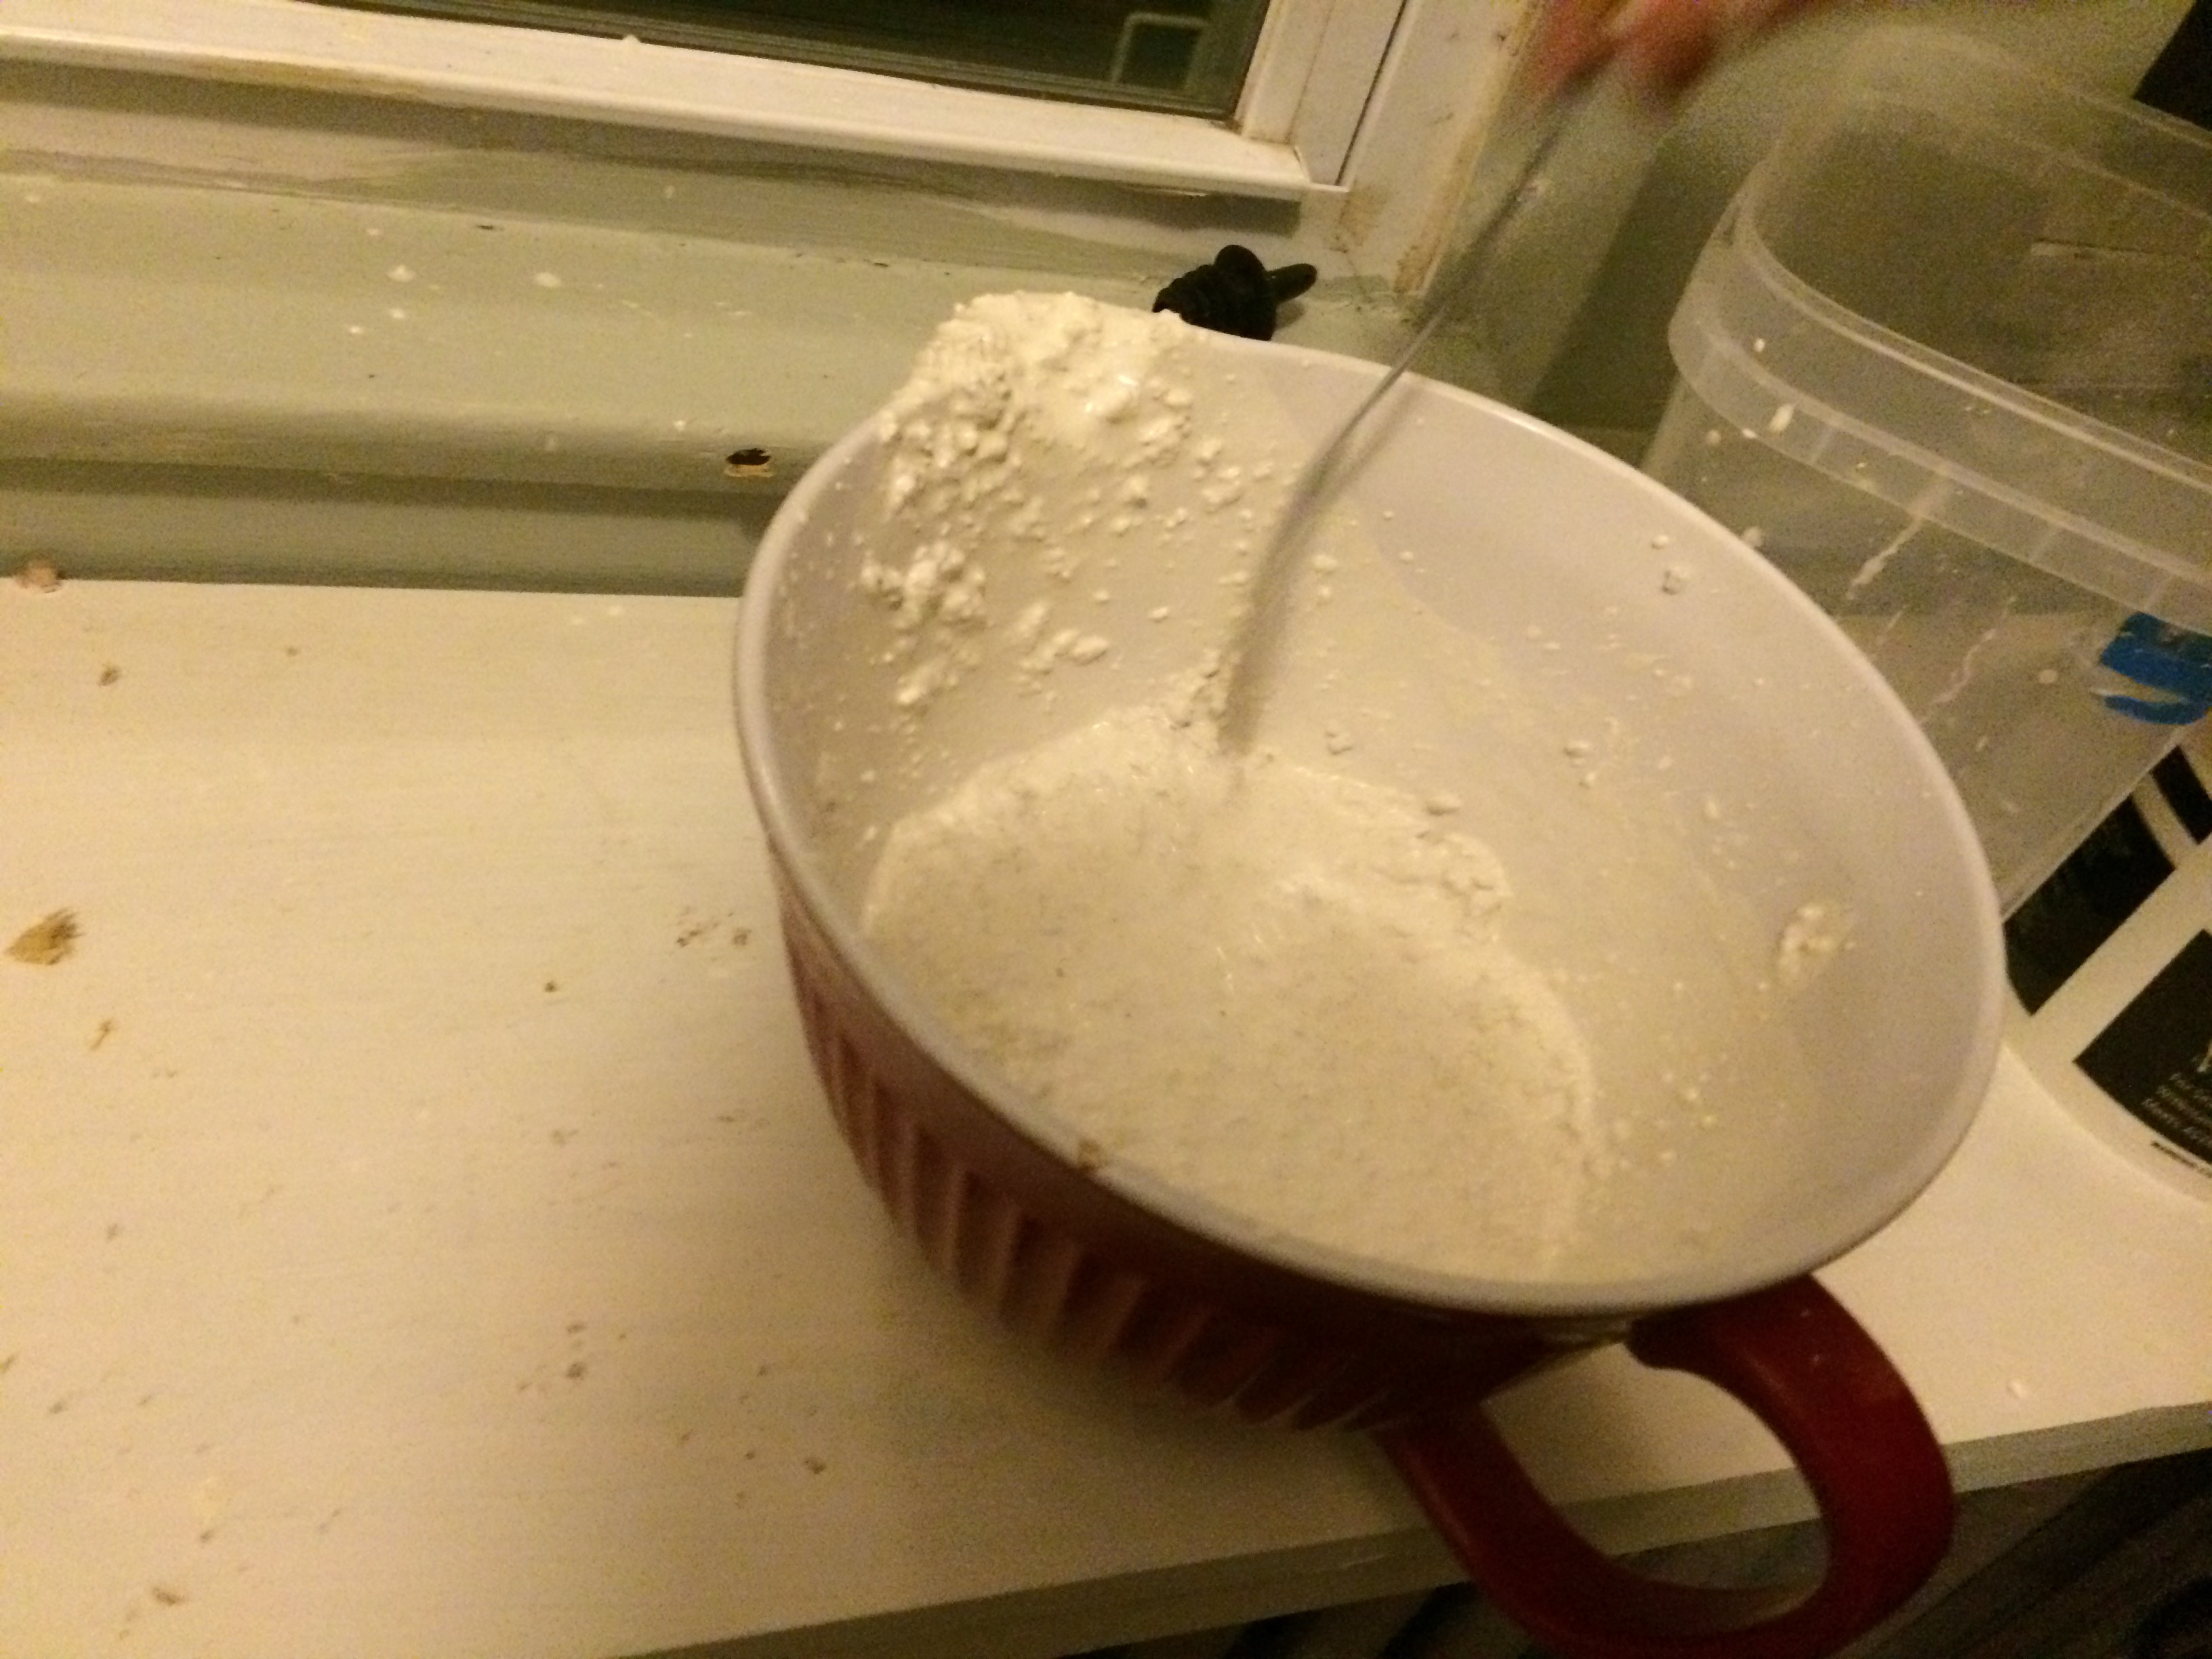
Mix "investment": equal parts perlite + plaster of paris + water. Mix dry ingredients before adding one part water (equal to the perlite or the plaster). Investment should have the consistency of thick soup (think: pancake batter). Do not stop stirring for more than 15 seconds after you add water or the investment will harden. Stir until ready to pour, then pour quickly! You're looking for a thick soupy consistency like pancake batter.
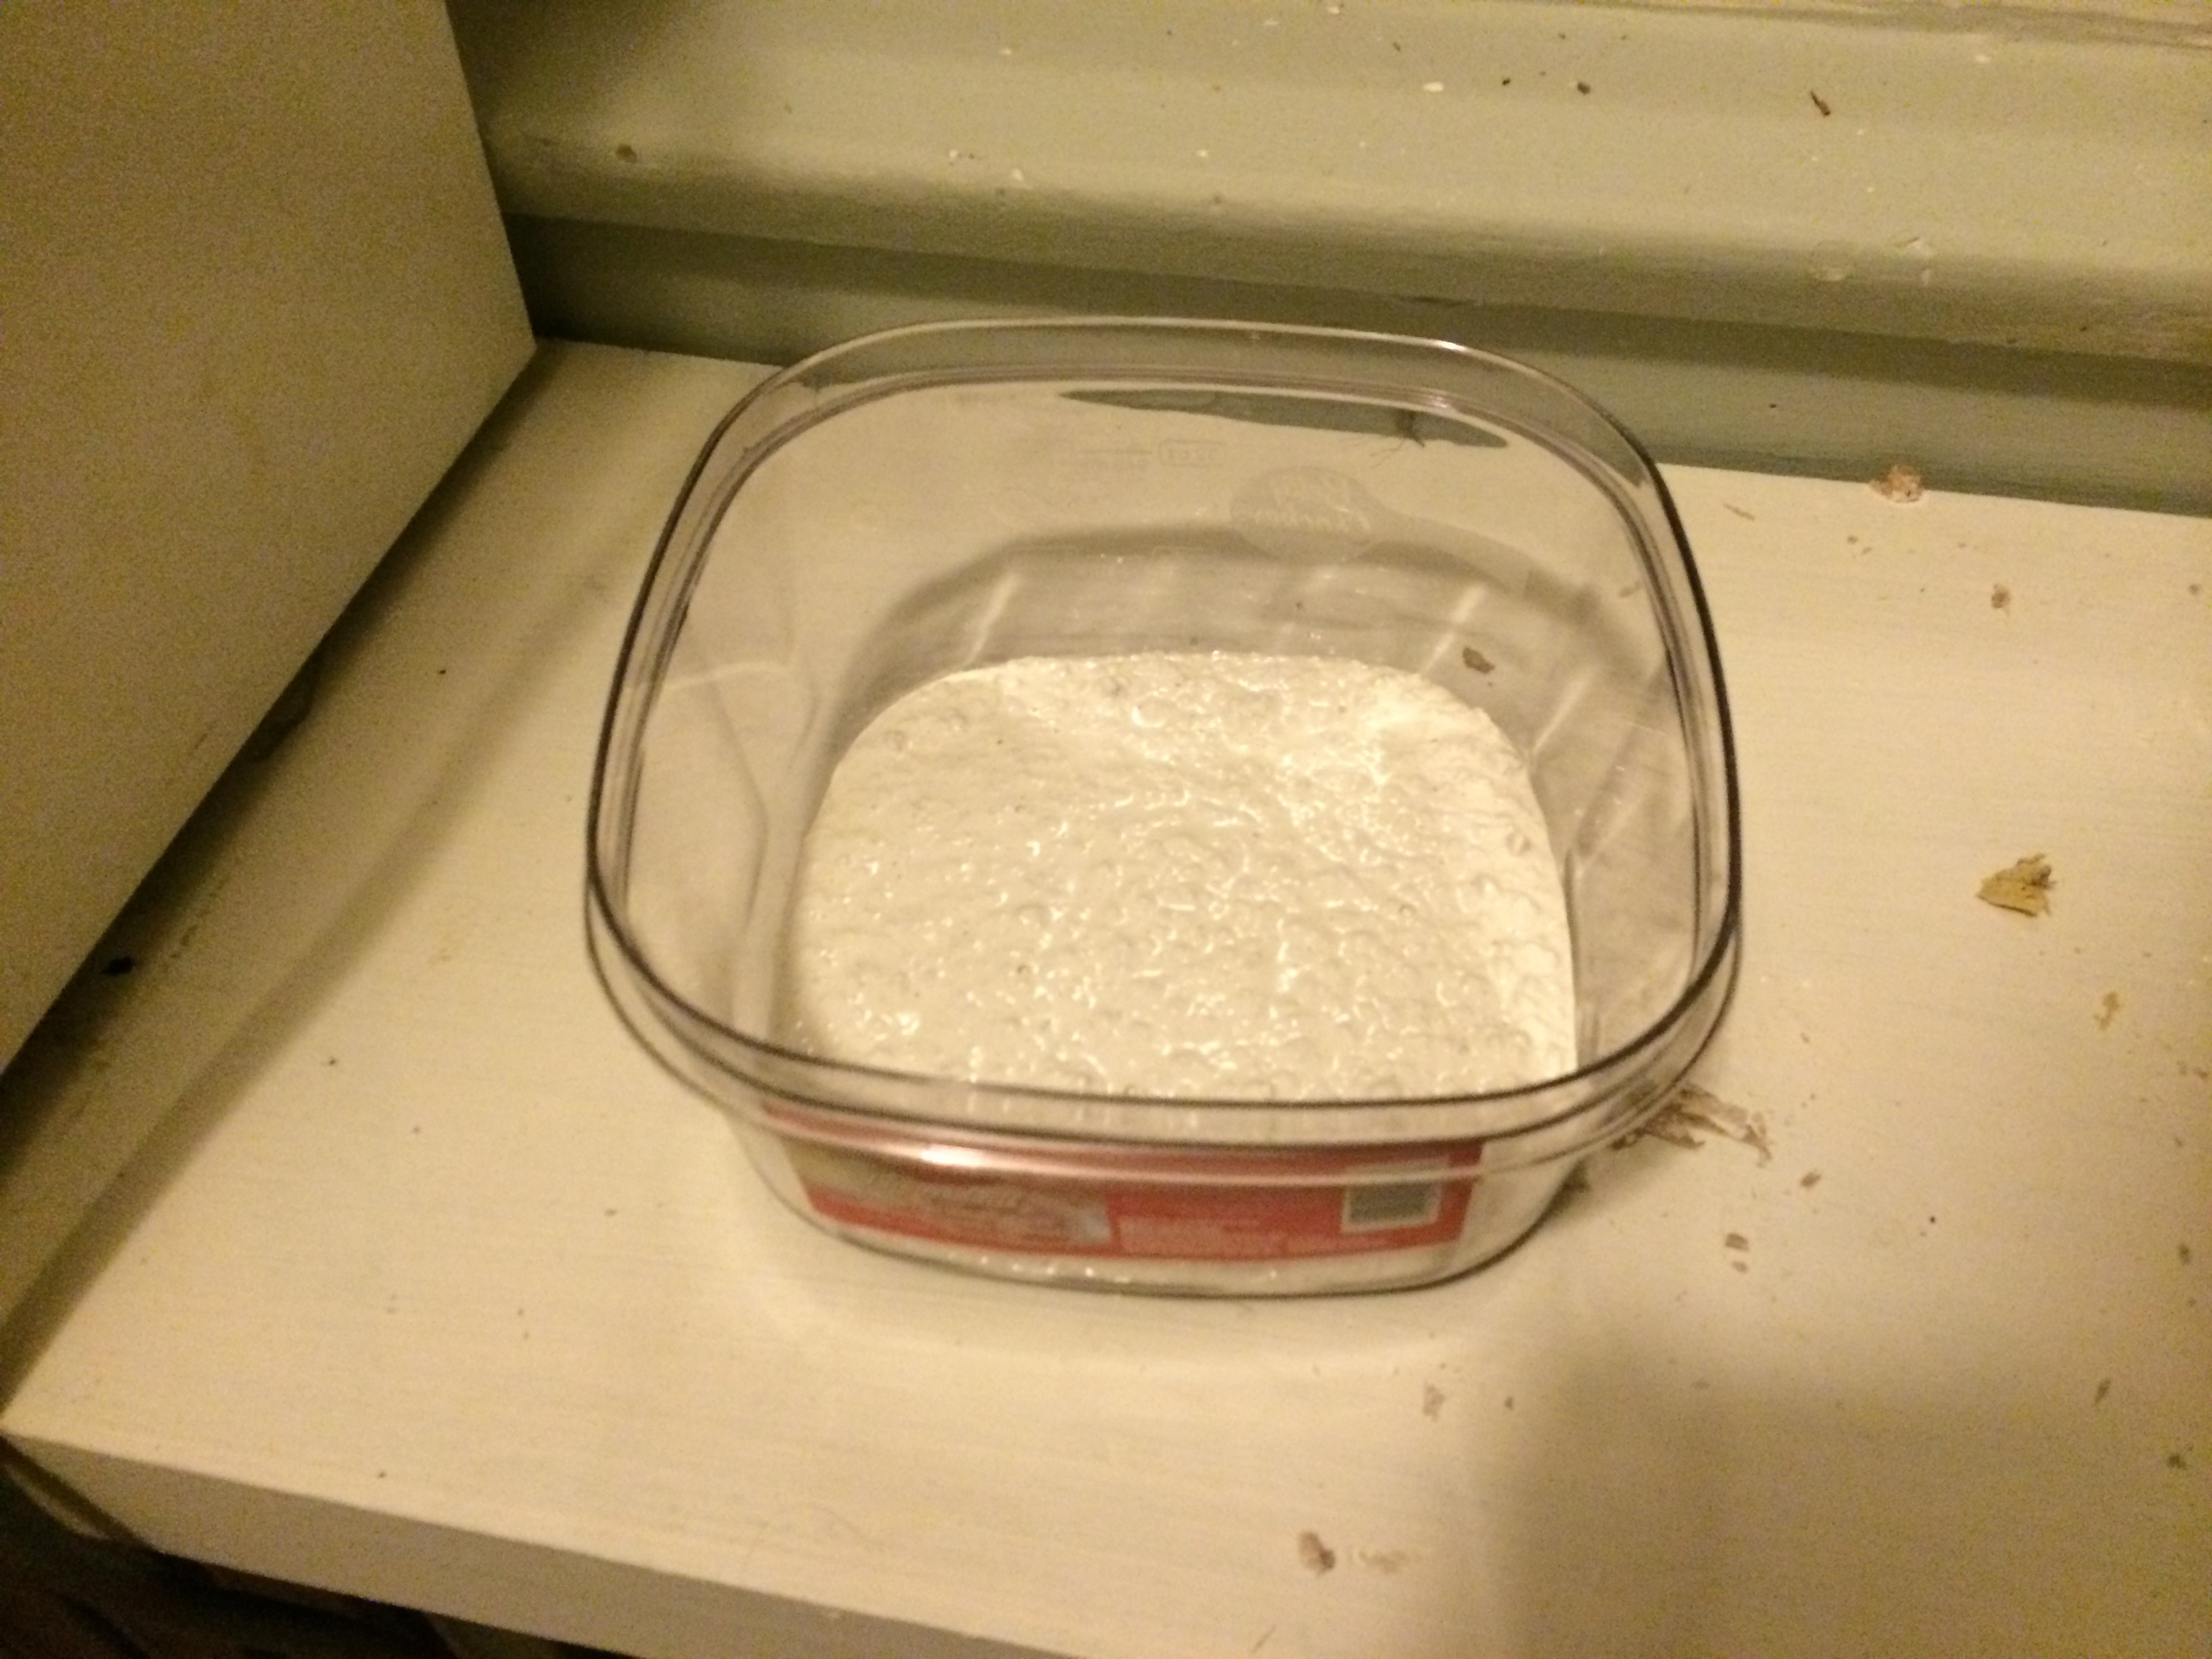
![]()
Pour a little investment into the container to server as a 'floor' for the object to rest on.
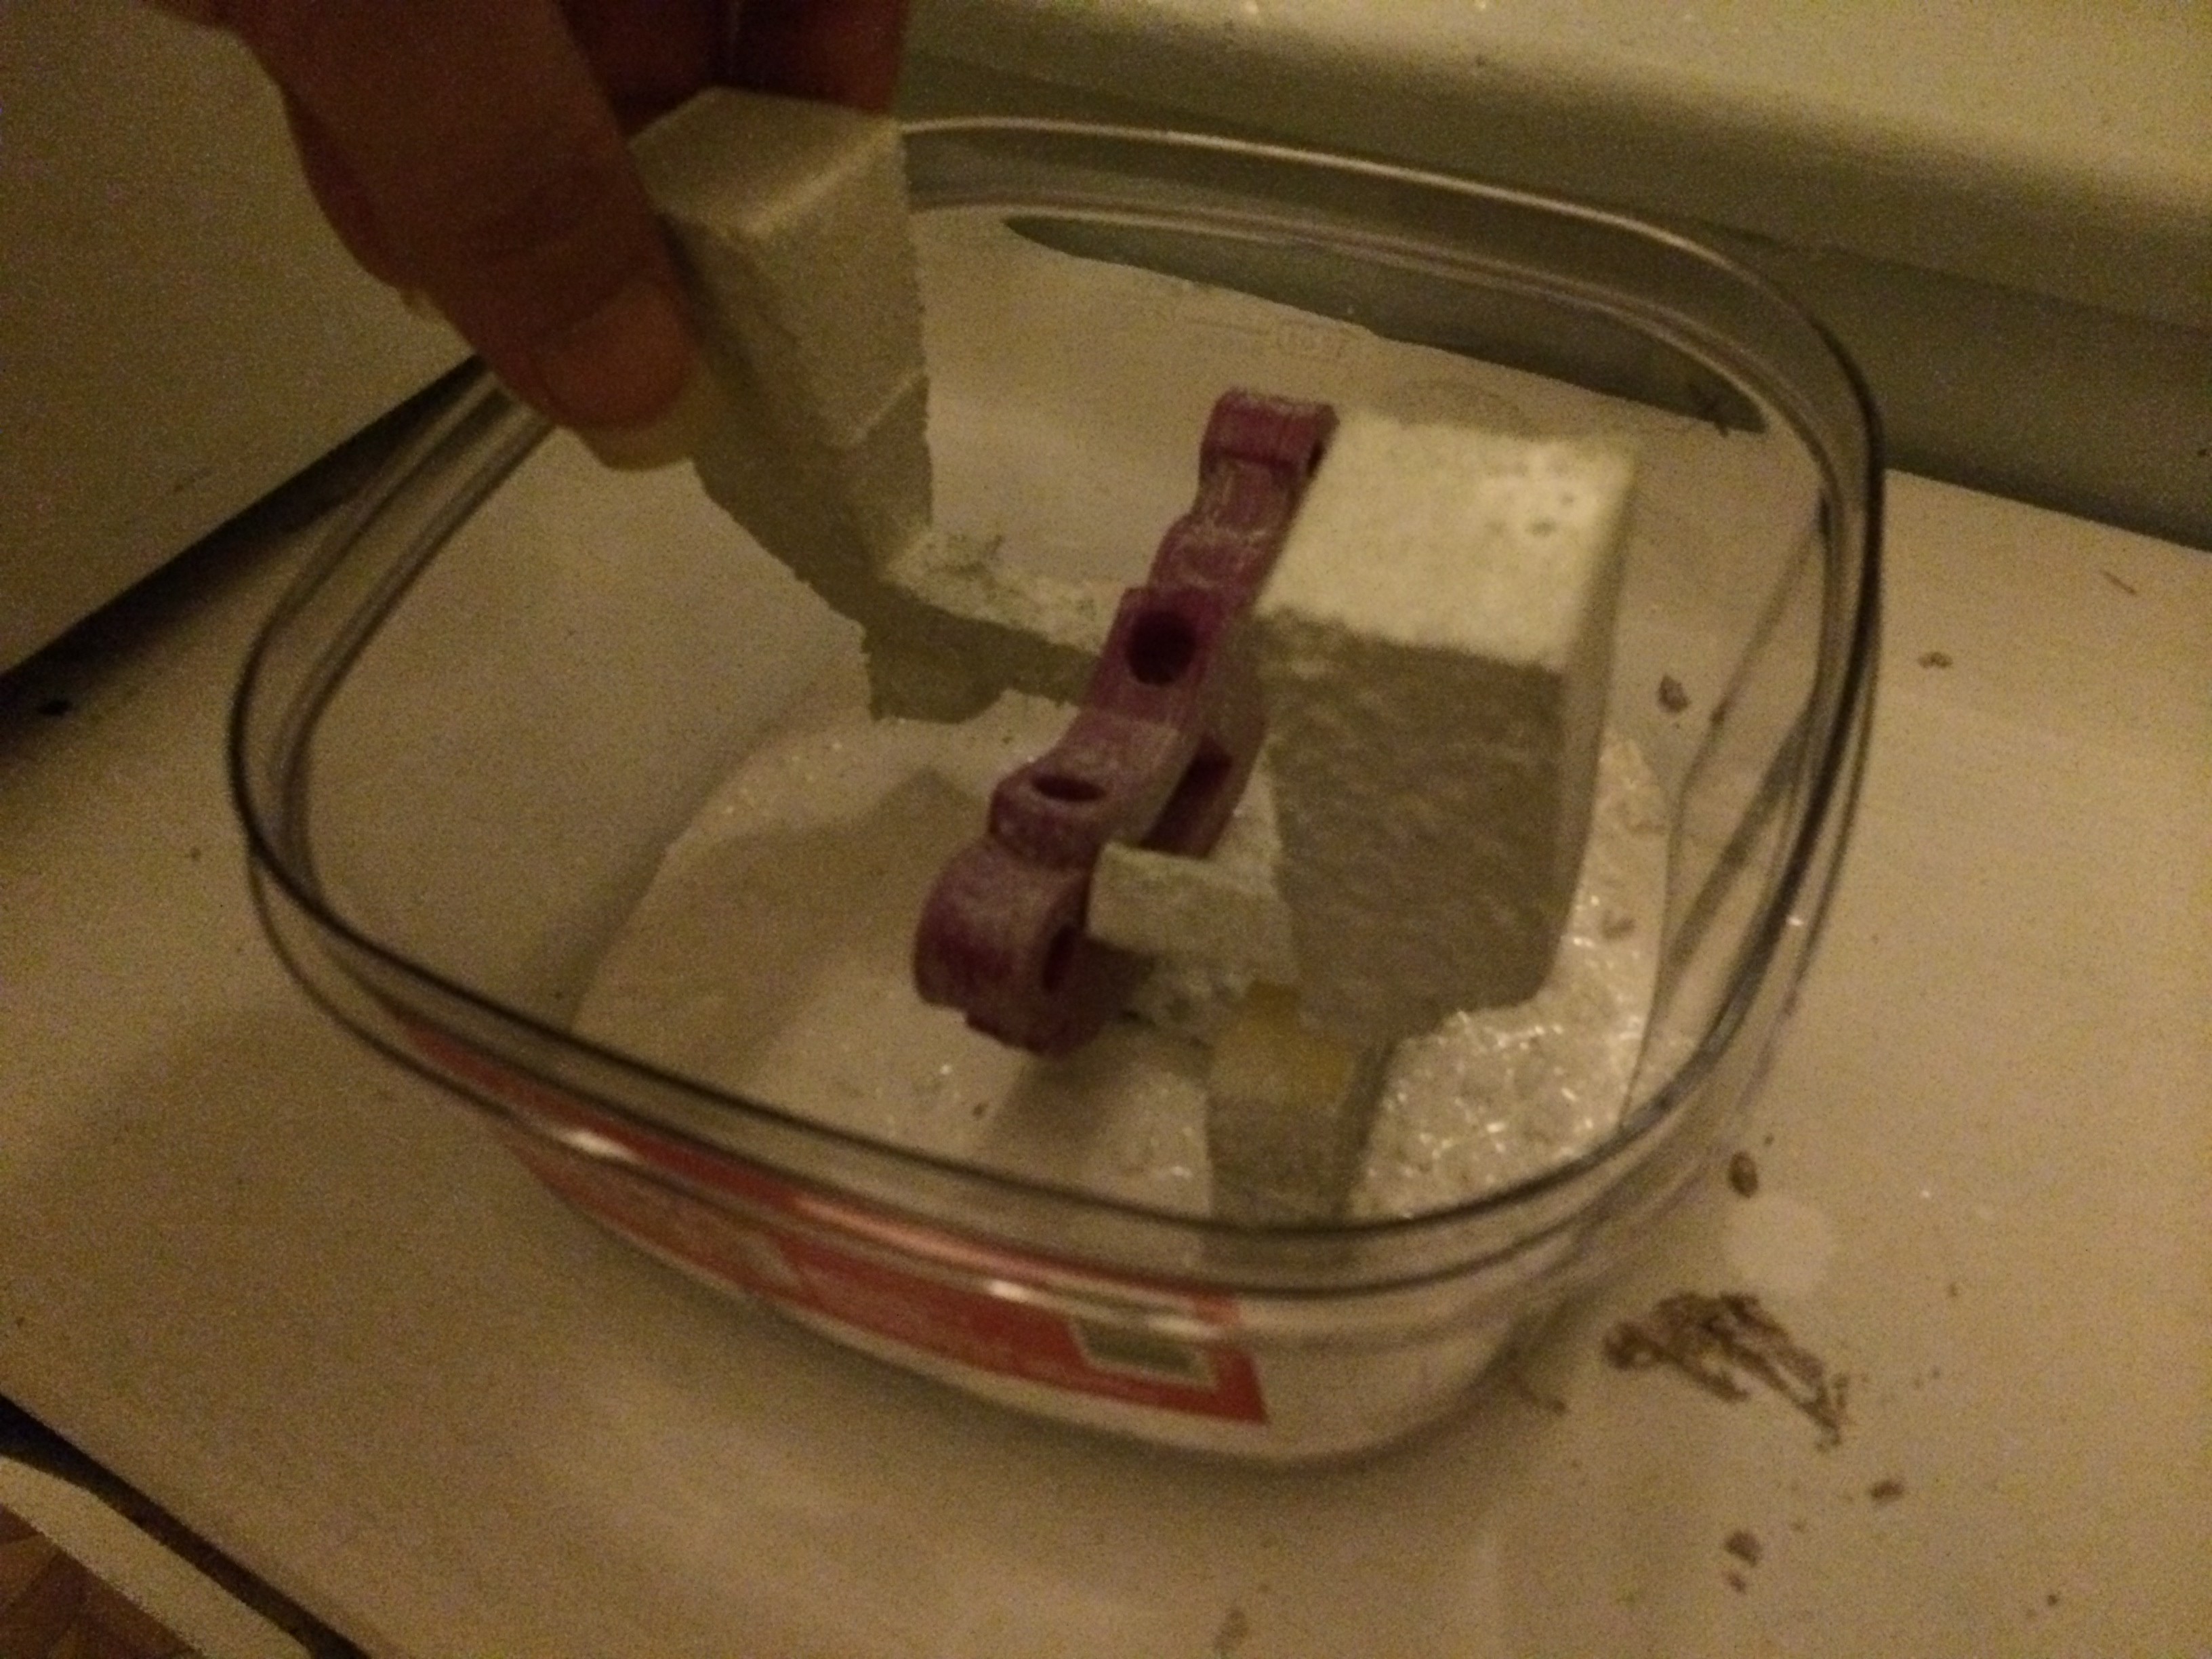
![]()
Place the object on top of the investment.
![]()
Cover the object with the remainder of your investment, until the object is no longer visible.
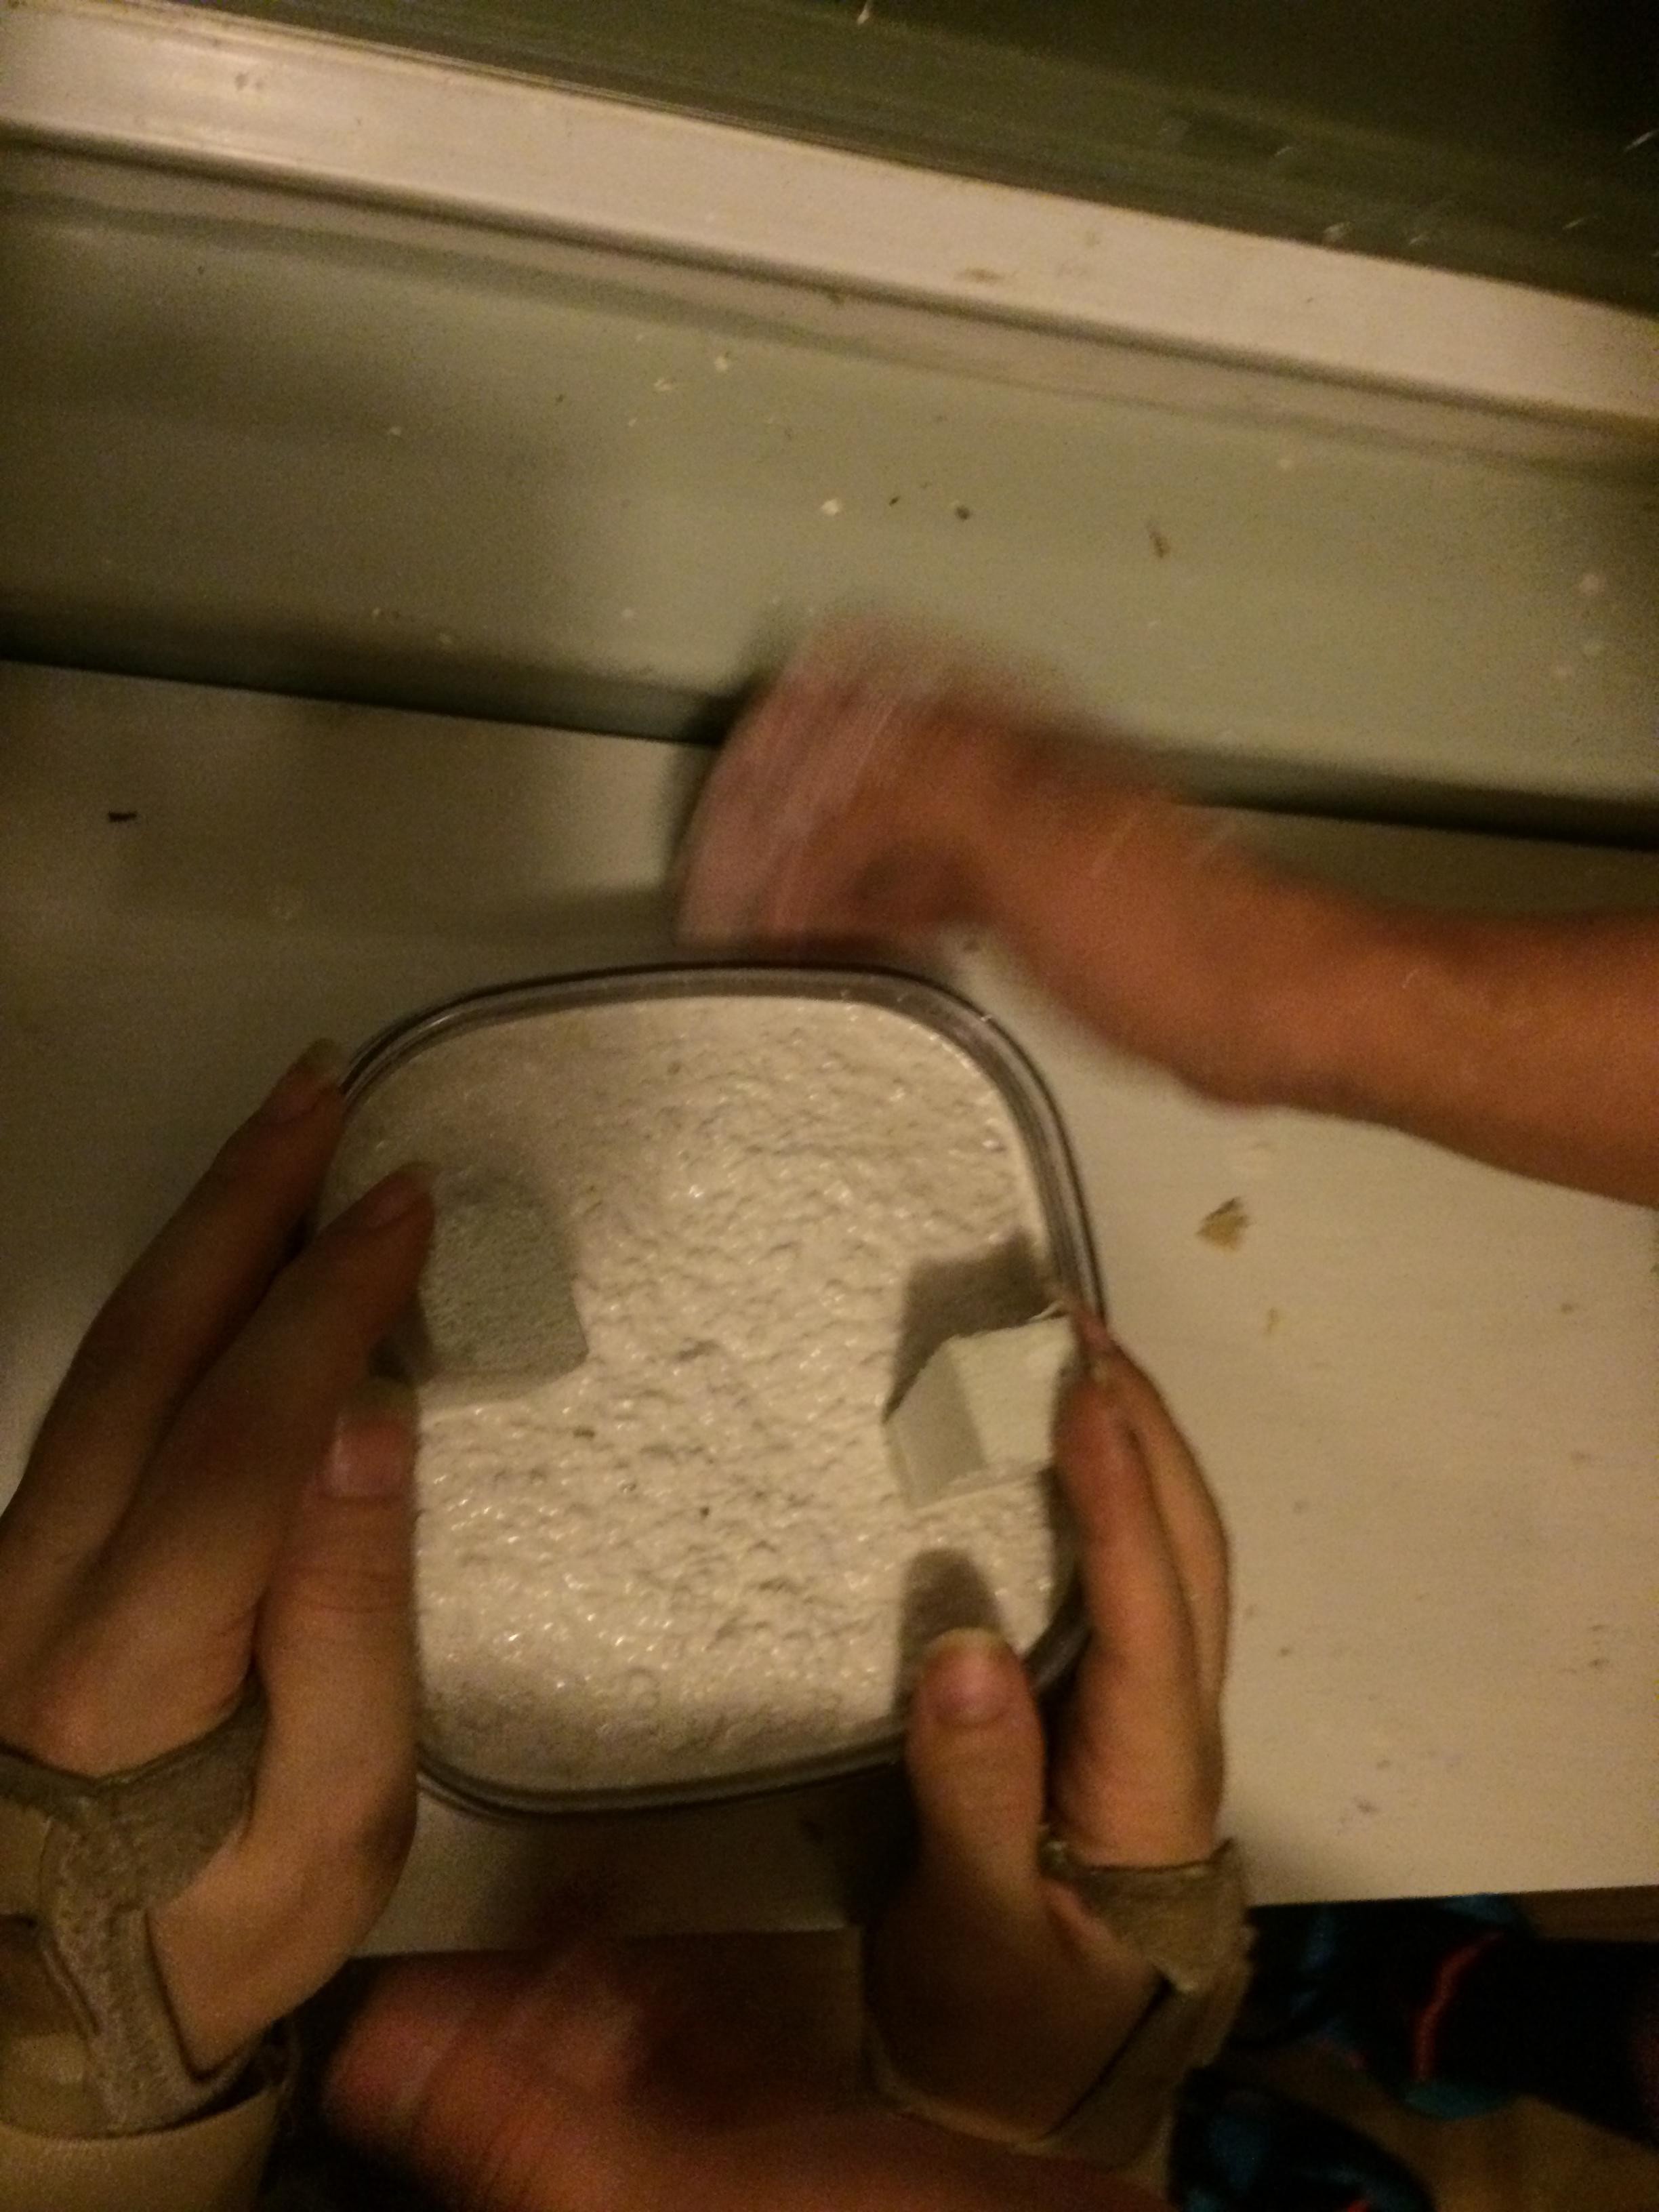
![]()
You will want to vibrate the mold with the container so that the air bubbles inside can escape. We might try to use a laundry machine next time and see how that goes.
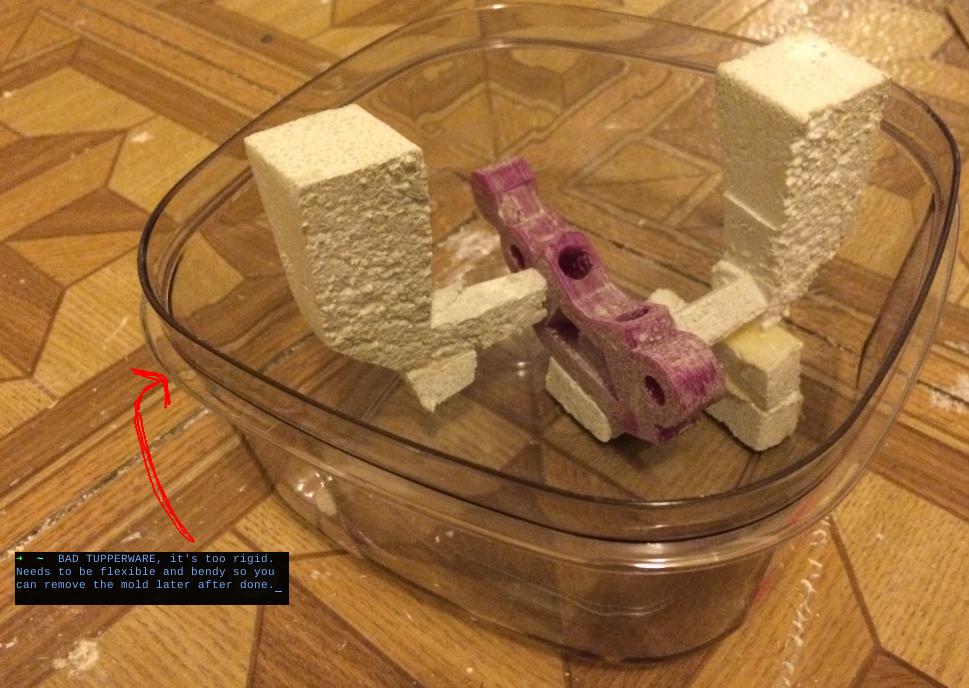
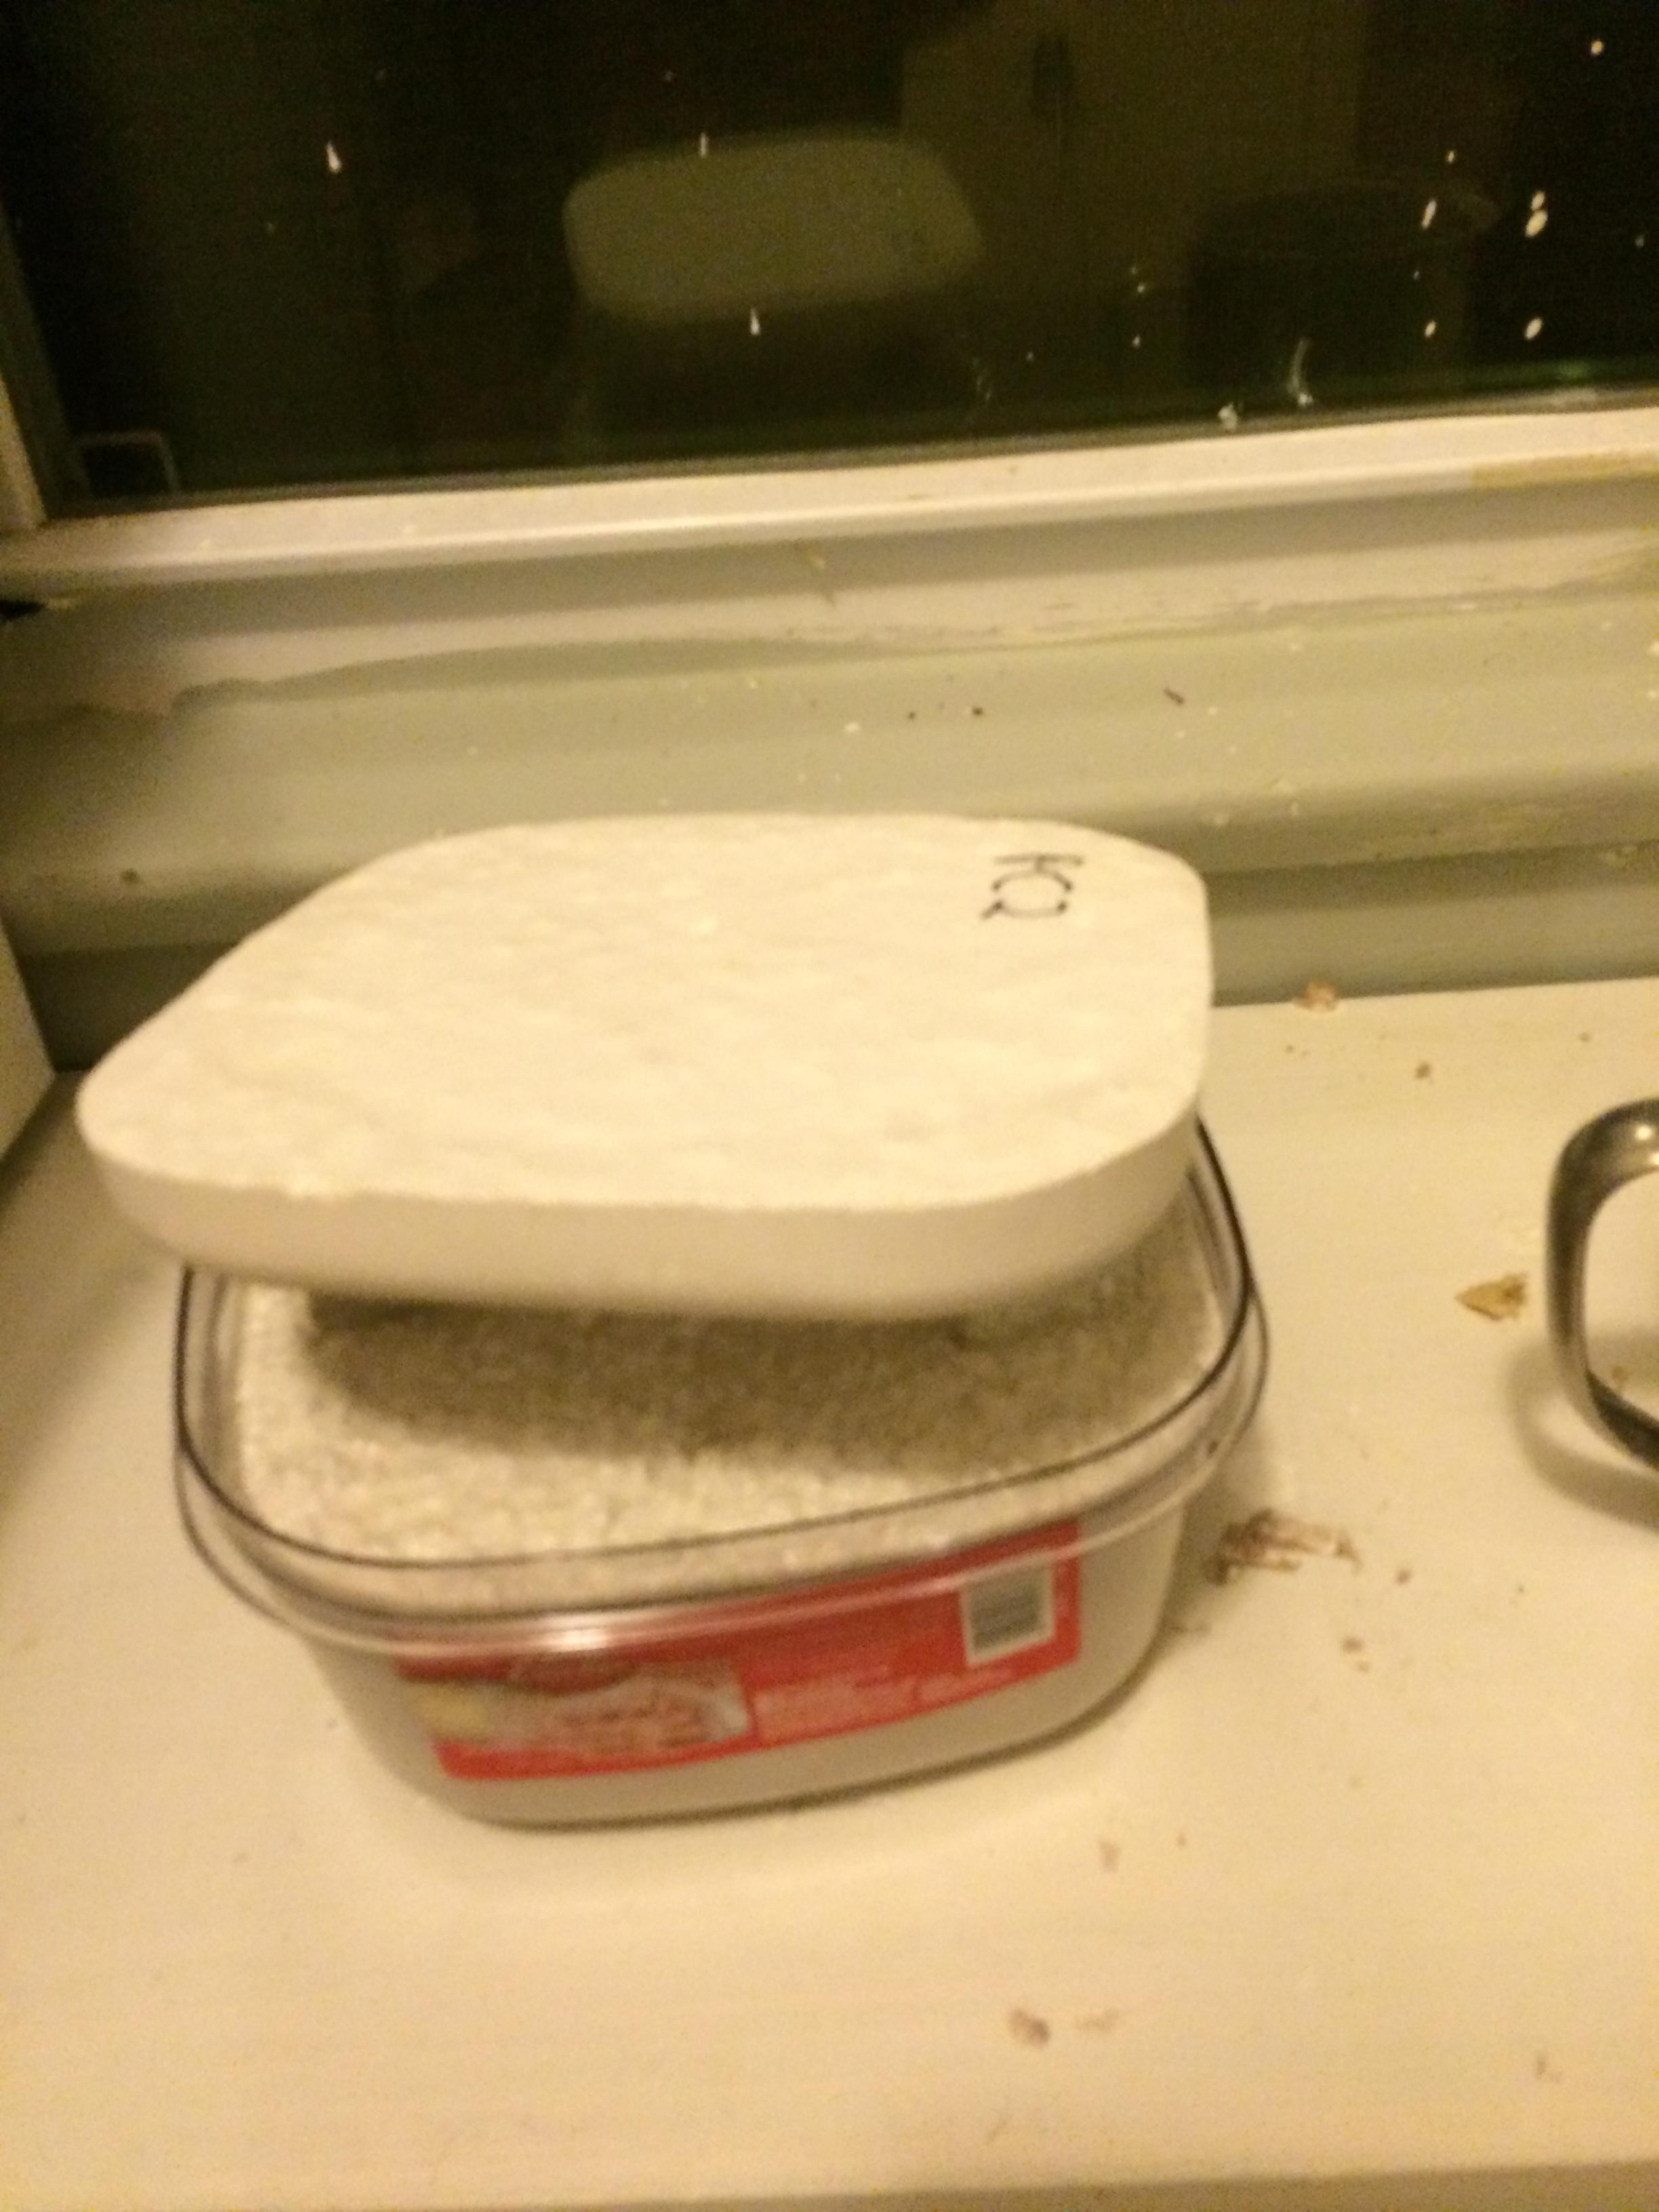
![]() We added a little weight atop of our mold while the investment hardened. Set for ~ 1 hour.
We added a little weight atop of our mold while the investment hardened. Set for ~ 1 hour. We had accidentally got Tupperware that was too firm it caused a problem to remove the settled mold.
Use older / plastic Tupperware that has flex and wiggle in it so that after the 'investment' has settled you can remove it easier :)
-
Molding Process
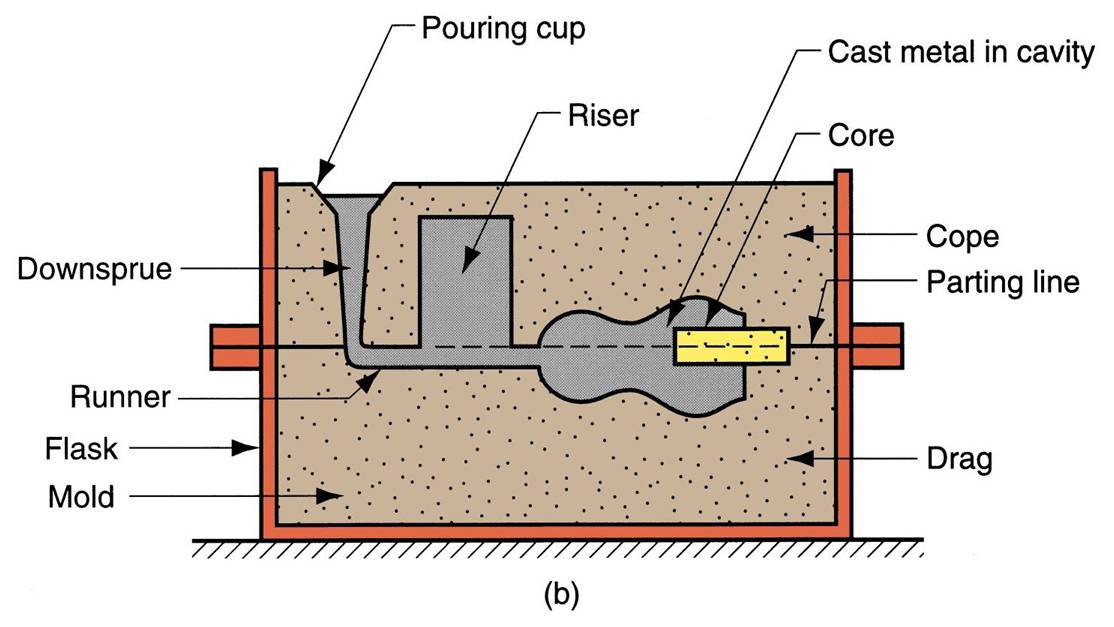
08/19/2014 at 07:09 • 0 commentsBefore showing the molding process, it'd be helpful to be familiar with the terminology associated with the gating system for metal casting.
![]()
Elements Of A Gating System:
Pouring Basin [cup]:
This is where the molten metal employed to manufacture the part enters the mold. we use red bull cans to extend the sprue into a basin, as pictured.
Down Sprue:
From the pouring basin, the molten metal for the casting travels through the down sprue. This should be tapered so its cross-section is reduced as it goes downward.
Ingate/Choke Area [Sprue Well]:
Once at the sprue base, the molten material must pass through the ingate in order to enter the inner area of the mold. we make these areas as small as "reasonable" since we later have to dremmel this part off.
Runners:
Runners are passages that distribute the liquid metal to the different areas inside the mold. We use at least one runner, to access the gate on the bottom of the object.
Main Cavity [Actual casting]:
The impression of the actual part to be cast is often referred to as the main cavity. this is the space left over after the PLA part has burned away.
Vents:
Vents help to assist in the escape of gasses that are expelled from the molten metal during the solidification phase of the metal casting process. Typically just a thin shaft from the top of the mold is made to the main cavity.
Risers:
Risers are reservoirs of molten material. They feed this material to sections of the mold to compensate for shrinkage as the casting solidifies. We are not yet using risers in any of our castings.
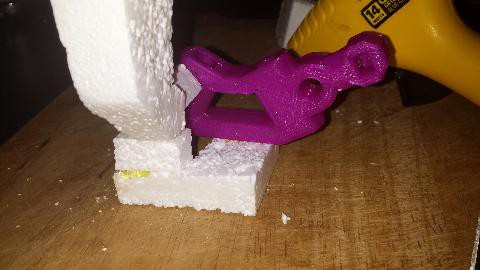
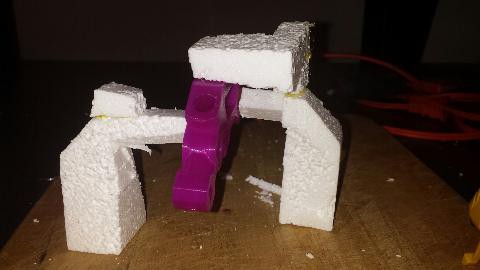
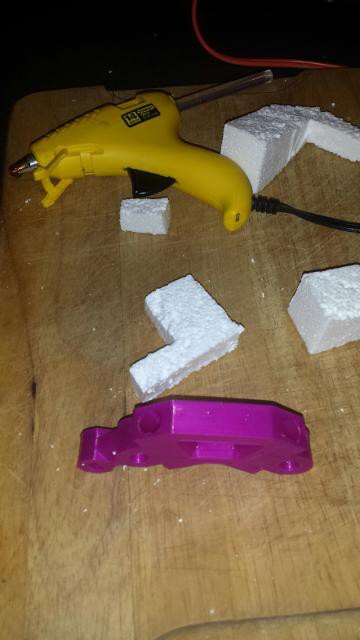
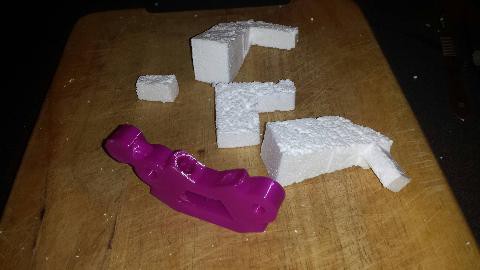
Plan the placing of gates and runners. Materials used include a cutting board / hot glue / xacto knife / styrofoam.
![]()
![]()
![]()
![]()
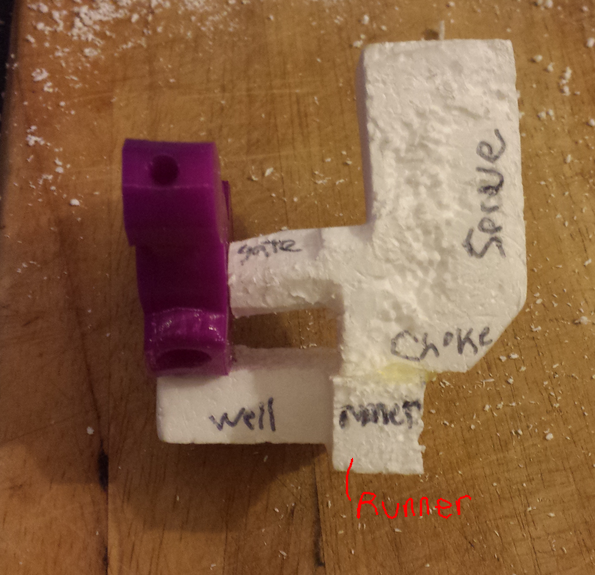
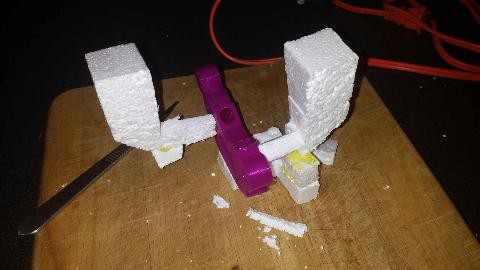
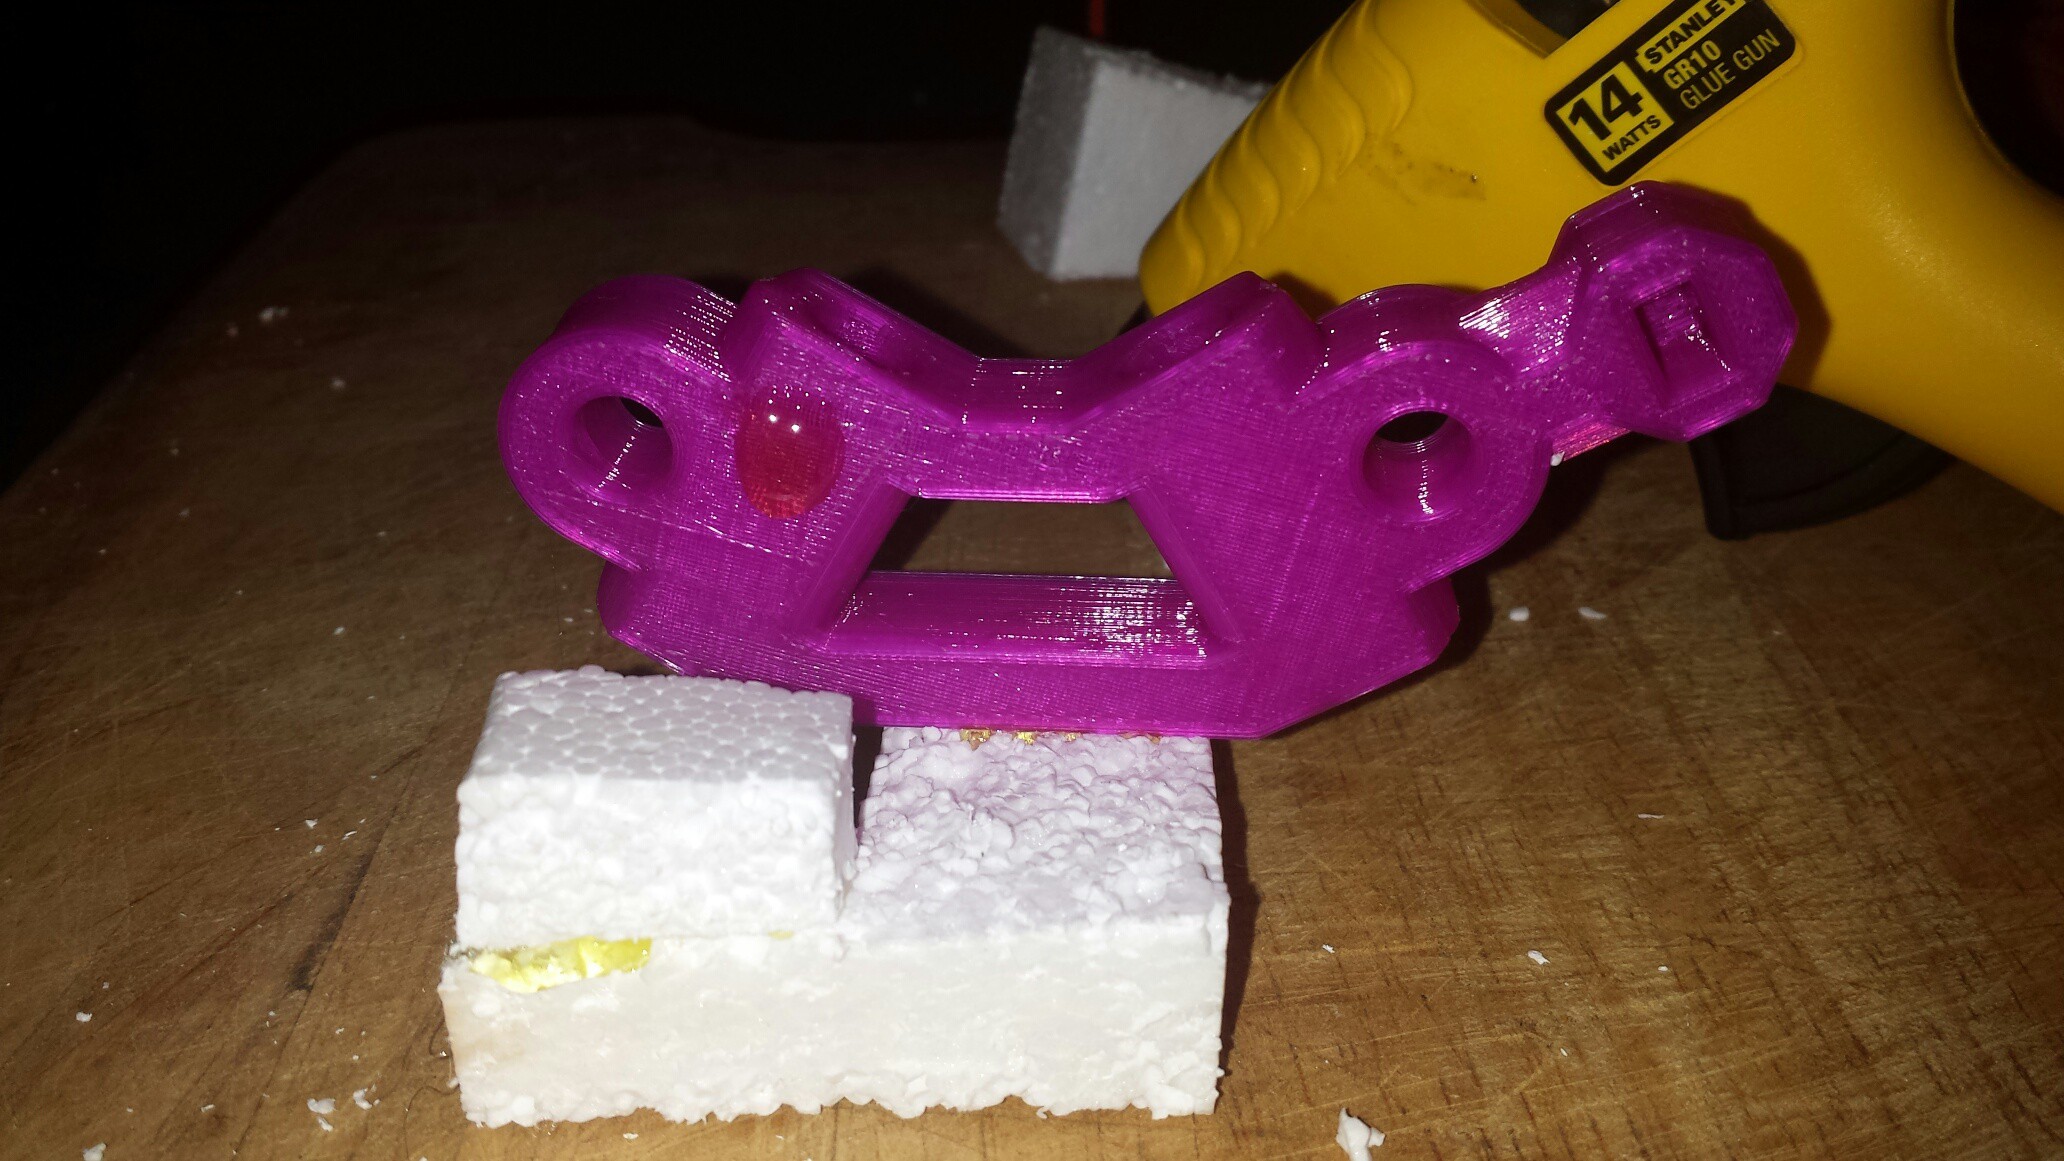
![]() The 3D printed part will serve as the main cavity. This bottom gate is for draining out any ash from the cavity. we run a runner to this gate from the downsprue used to pour aluminium into.
The 3D printed part will serve as the main cavity. This bottom gate is for draining out any ash from the cavity. we run a runner to this gate from the downsprue used to pour aluminium into.![]()
Sideshot of the downsprue, runner, and gates.
![]()
![]()
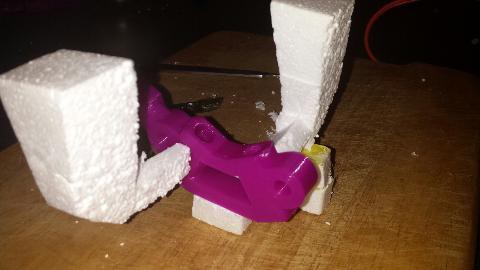
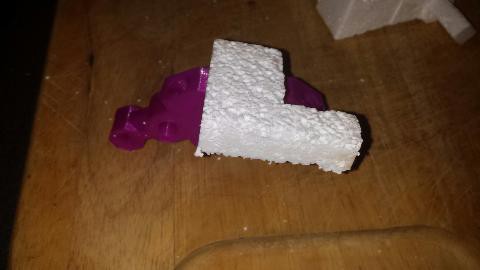
One downsprue for entry, and one for exit from the mold
![]()
The large inlets serve as the pouring basin for the material to run through.
![]()
![]()
![]()
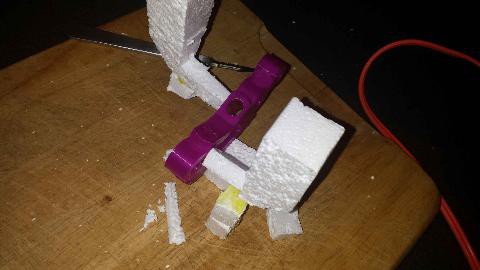
This is what will be going into the mold as documented in the next steps.
-
Homemade Susceptor for Induction Based Heating
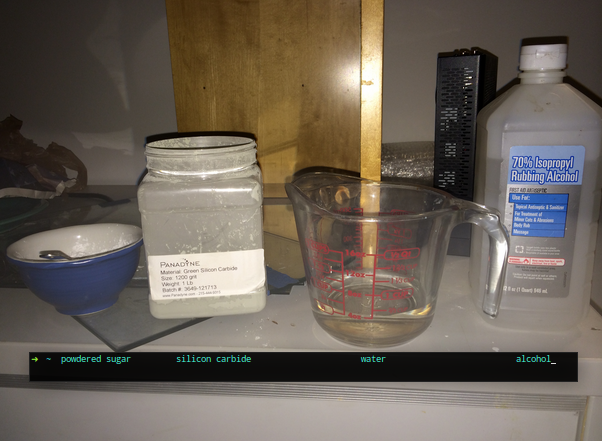
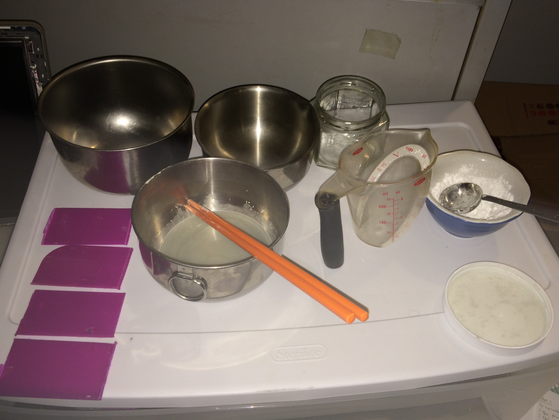
08/18/2014 at 08:51 • 0 commentsA suceptor is a material used for its ability to absorb electromagnetic energy and convert it to heat (which is sometimes designed to be re-emitted as infrared thermal radiation). The susceptor takes the microwaves and converts it into heat at a very high efficiency. A common example of susceptors everyone is familiar with may be the 'crisping sleeves' found in Hot Pockets and the like. This is used to burn away the object from within the mold. We need a tacky susceptor and used a combination of the following:
Sugar - to ensure the while the object is burning away, the susceptor does not run down the object and pool at the bottom. Sugar will carbonize the susceptor and leave it on the wall.
Water - The universal solvent, used to dissolve the sugar and silicon carbide.
Alcohol - We suspect that the alcohol will prevent the water from beading up too much.
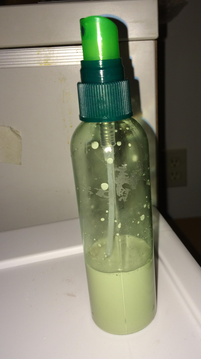
![]()
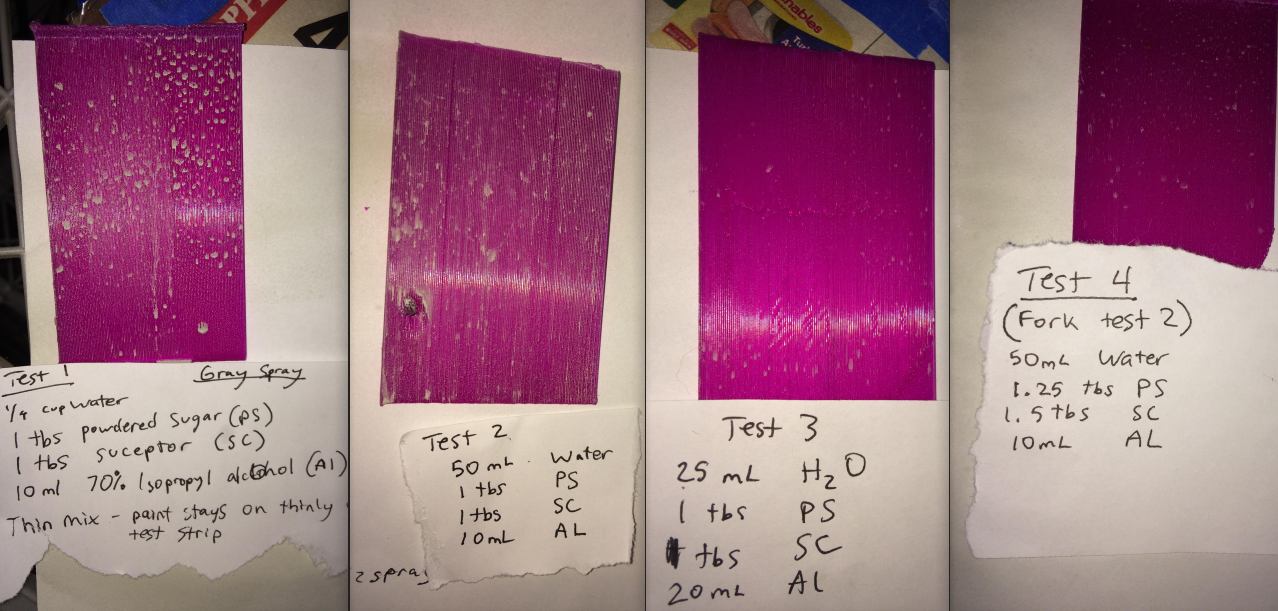
The spray is used as a medium to apply the mixture thinly and evenly across the surface area. We used some printed out PLA test strips for our experiment to design an ideal recipe.
![]()
![]()
![]()
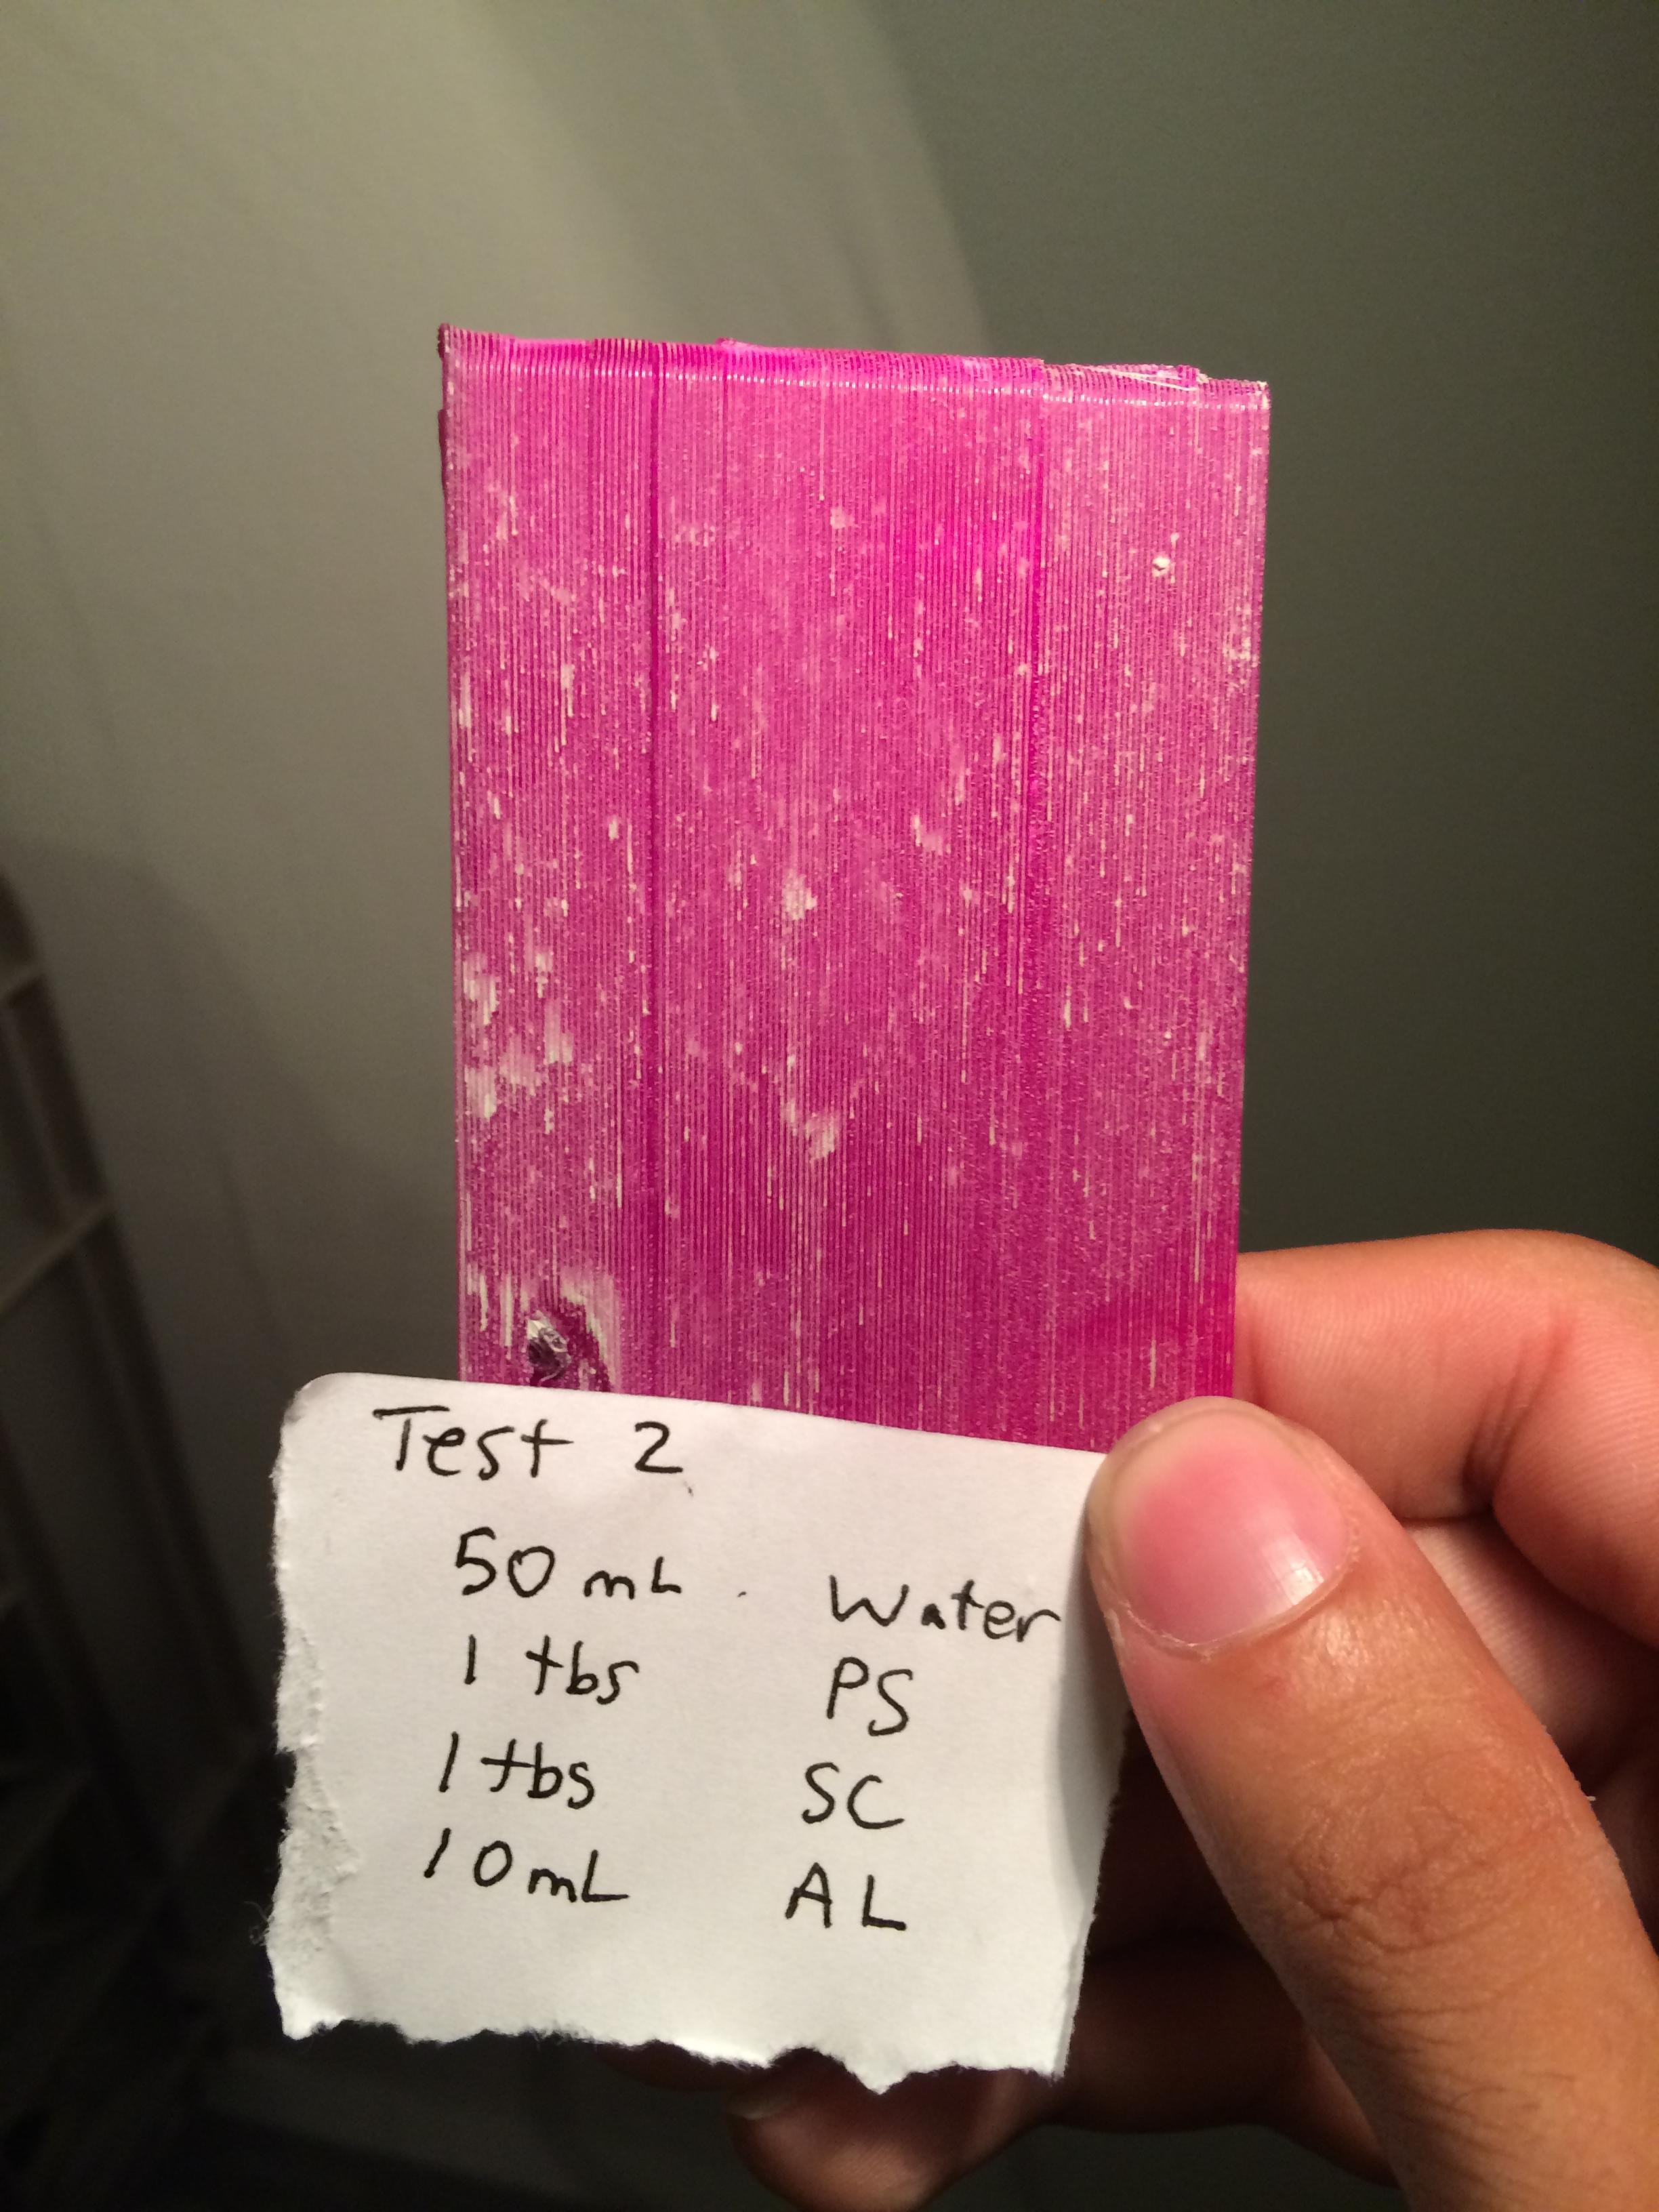
Results: Test 2 has been the most successful. Notice the clean, thin light grey layer that is produced :)
50 mL water
10 mL alcohol [70% I - AL
1 tbs powdered sugar - PS
1 tbs susceptor [silicon carbide] - SC
![]()
Use the widest available setting available for the nozzle [mist]. Hold about 6" away from the surface to avoid beading and apply a few even broad coats to the surface of the 3D printed part. We found that 2 layers with about 3-4 coatings each did the trick. Wait 15 minutes between each coat and careful not to spray too close or you will have undesirable dripping.
You will want to spray this mixture on the object, sprue, runners, and gates. Allow to dry and you'll be ready to move onto the next step, creating the mold!
-
Motion Control
08/18/2014 at 05:30 • 0 commentsThe hard work is done - we have successfully got the Aluminum to melt in our microwave kiln, and we have been able to cast objects from the molds that we designed. The system works - huzzah!
Now, we must build a simple remote-controlled automation system to remove the kiln from the microwave and pour the material into our mold. Design for this system is complete and the construction is underway.
The three main stages of design are:
I. Remove the kiln from the microwave.
II. Remove the top of the kiln.
III. Remove the crucible holding the aluminum, pour it into a heated steel funnel.
And then replace everything exactly as it was.
The proposition (Part I):
The base of the assembly consists of a plate mounted atop two long threaded rods. On the end of each rod is a 5/8" nut that is connected to a motor. The motor turns the stationary nut, and thus the rods move forwards and backwards. Both motors will be controlled by the same Pololu motor controller. On this plate will be 2" of firebrick to place the kiln on.
Two more long threaded rods are mounted perpendicular to the base, about 6" apart. The microwave will be resting roughly 18" from the ground - attached perpendicularly to these rods (oriented towards the front of the assembly), roughly 20" && 28" from the ground, will be two sets of 5/8" x 15" steel rebars. The bottom set will be equipped to move vertically through the same nut-motor system as the base.
How it works:
The threaded rods that the base of the assembly rests on will extend under an open table on which the microwave is seated. The kiln will have two sets of holes drilled through it - one set on the base, and one set on the top. The whole assembly will slide forward towards the microwave, in such a way that the steel rebars slide into the aforementioned holes. The bottom set of rebar will move upwards slightly (to obtain some traction), and the assembly will slide backwards, removing the kiln from the microwave. The bottom set of rebar will move the kiln down and set it on the firebrick atop the base; the top set will remain stationary and suspend the top of the kiln.
The first two stages are thus complete. Next time: Stage III! -
Design Process Thinking
08/16/2014 at 22:13 • 0 commentsDesign Process thinking: One of our early prototypes included an extruder for 3D printers.
![]()
After 3D printing the part, we can now begin the mold. The process of creating the mold requires planning and some new vocabulary. Gates allow the material to enter the cavity. Runners are passages that distribute the liquid metal to the different areas inside the mold. Risers are reservoirs of molten material. They feed the material to sections of the mold to compensate for the shrinkage as the casting solidifies.
![]()
![]()
Molding process: Plan the gates / runners. Attach runners to gates then the gates to object. Above is a completed mold, there will be another picture showing a cross section and making of the mold. Right now the 3D printed parts are coming out a bit off so the printer needs to be recalibrated for newer test pieces.
-
Status
08/15/2014 at 07:47 • 0 commentsmicrowaving aluminium until it melts was a success, and our molds are producing objects when we fill them with aluminium. now its 'just' the motion systems left!
Microwave Aluminium Printing
Metal parts for people other than blacksmiths. A system to perform aluminium "lost PLA" casting with no propane, and no danger to humans.

 We added a little weight atop of our mold while the investment hardened. Set for ~ 1 hour.
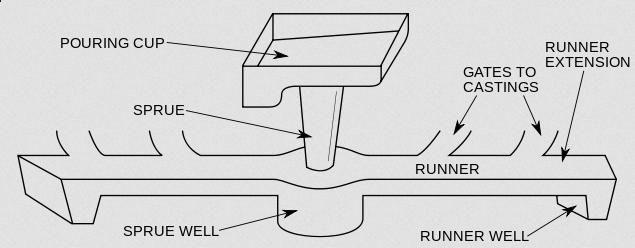
 The 3D printed part will serve as the main cavity. This bottom gate is for draining out any ash from the cavity. we run a runner to this gate from the downsprue used to pour aluminium into.