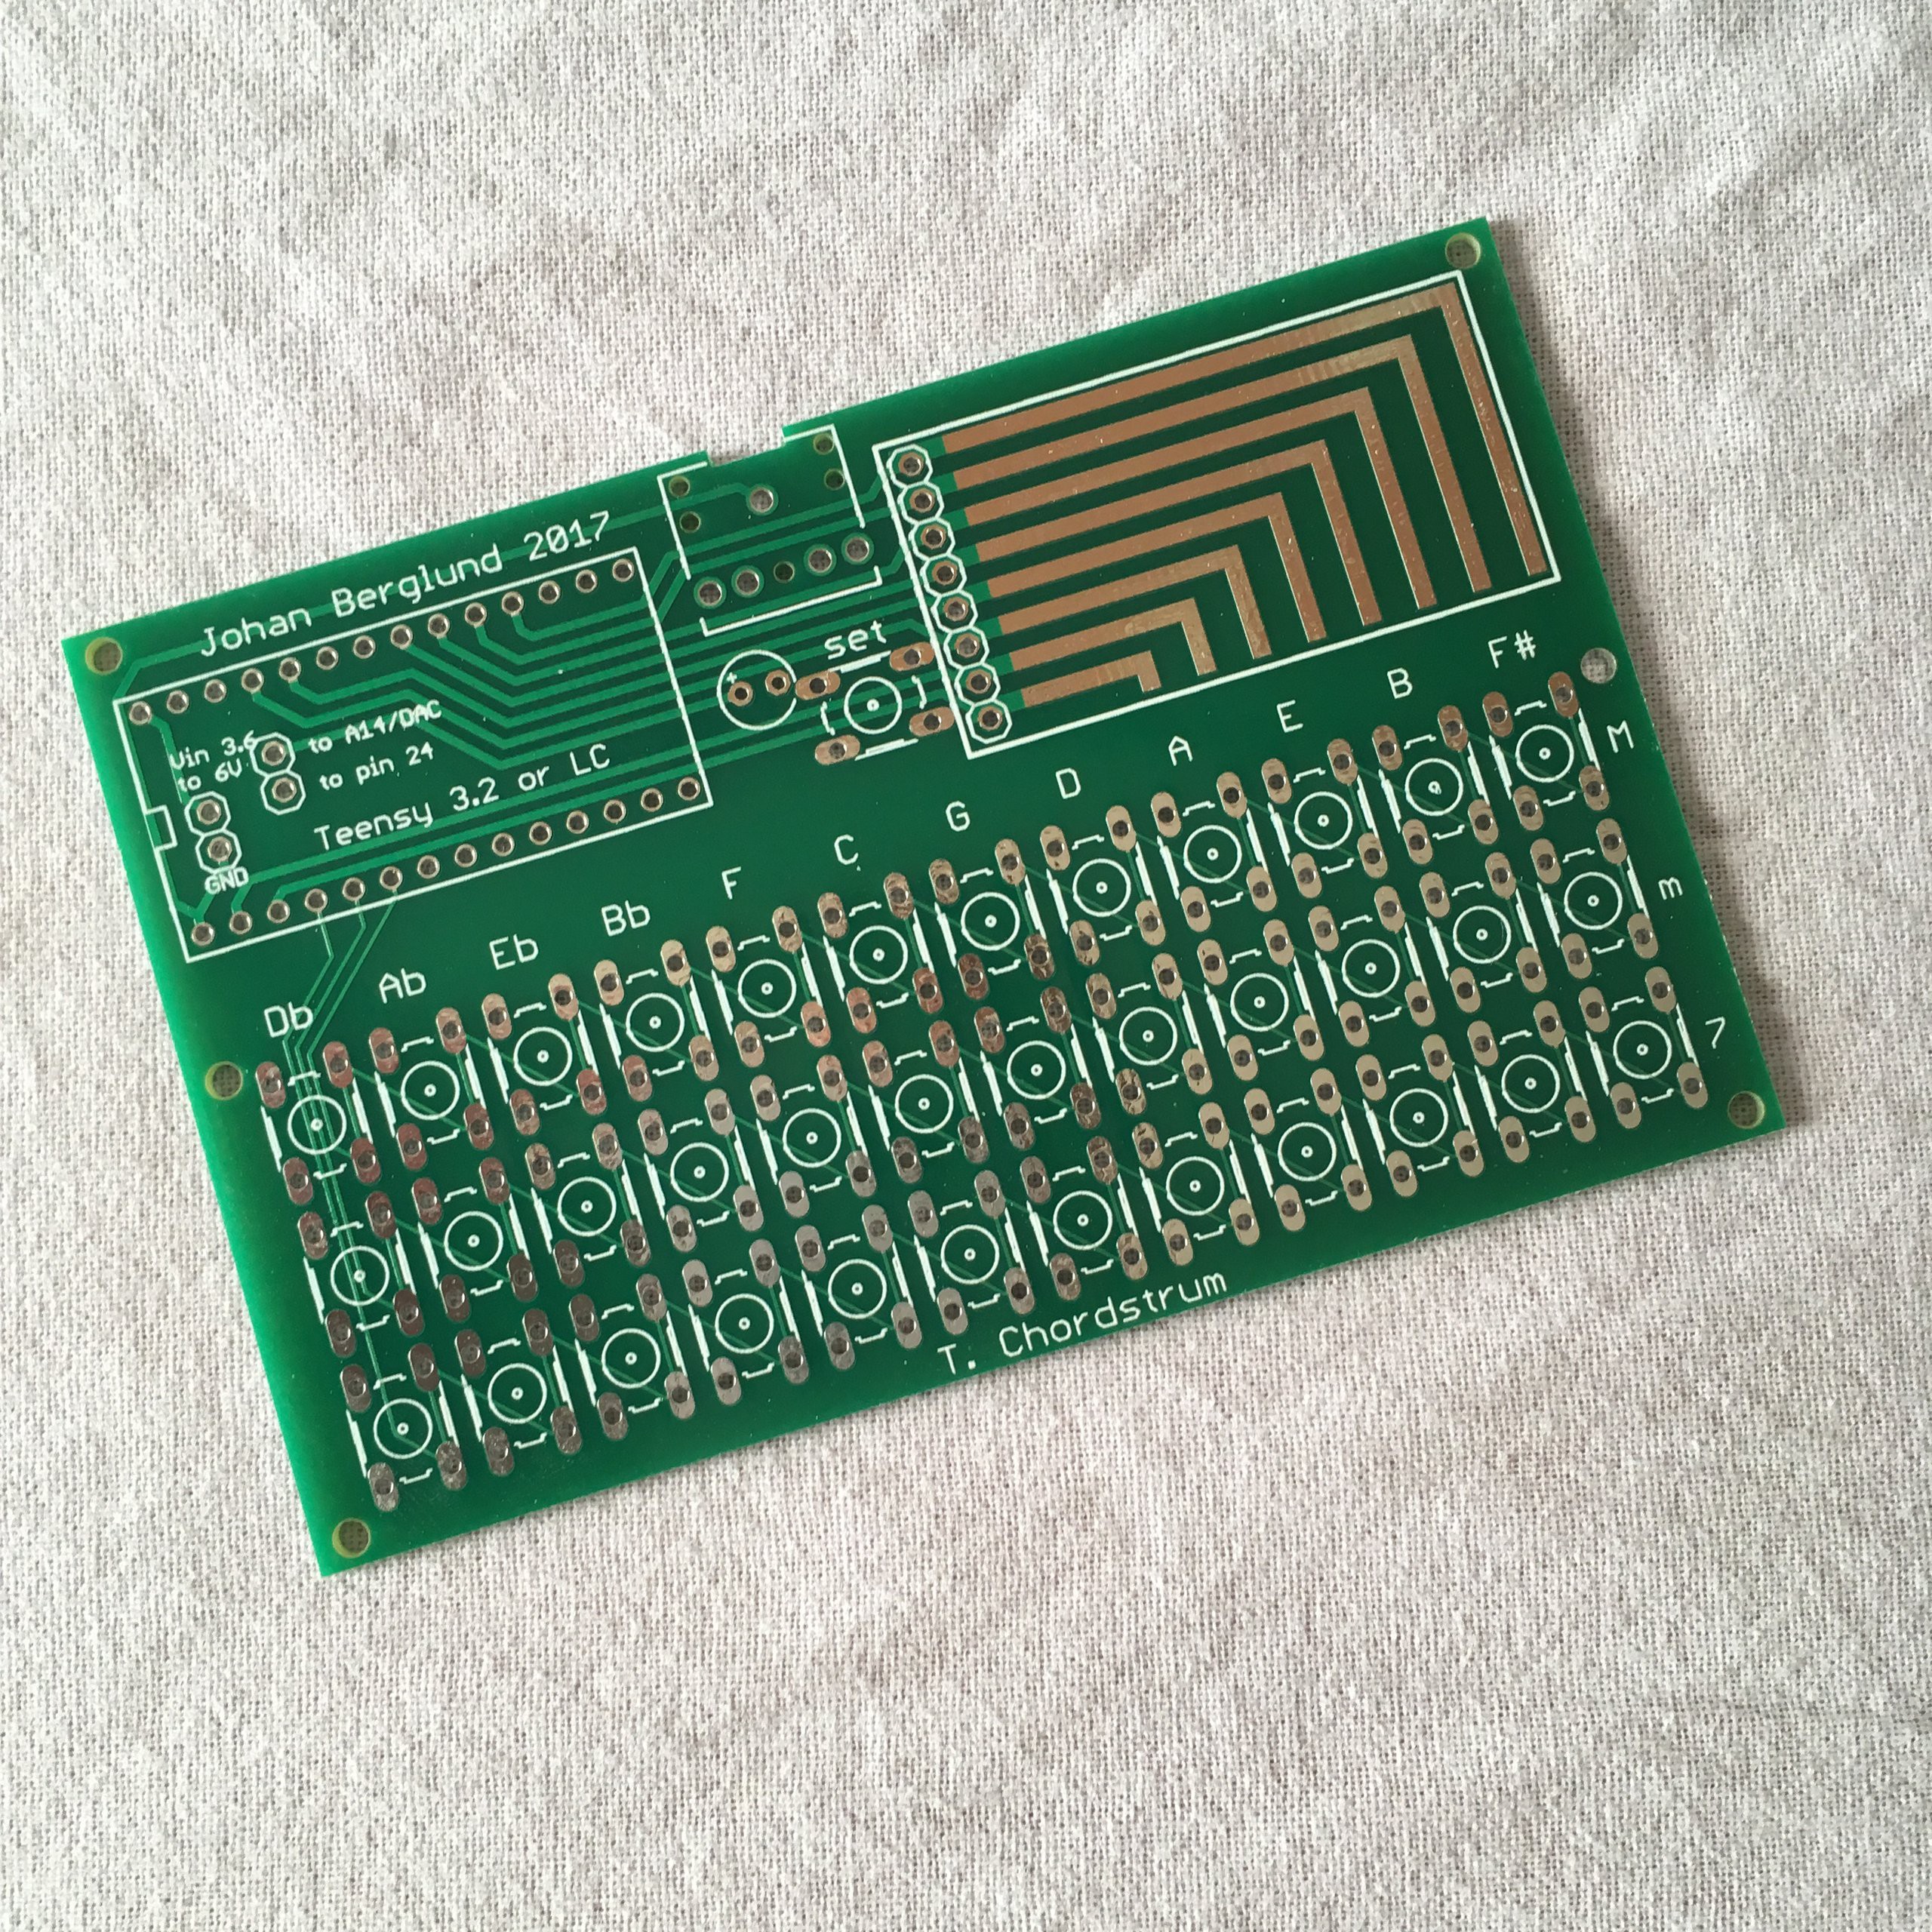
-
A nice and informative review
12/28/2017 at 16:32 • 0 commentsA very thorough review/demo/walkthrough of the T. Chordstrum was uploaded to YouTube a while ago. Check it out!
-
How-to videos
07/18/2017 at 09:46 • 0 commentsI made videos showing how to get the Teensy snug against the socket and how to solder the Dupont connector wires to the Teensy 3.2. Note that you don't have to mount the pin headers this way if you think it looks hard. It will just look better than soldering the pin headers in the usual way.
-
Kits now available on Tindie
07/14/2017 at 13:51 • 0 commentsFinally got enough stuff on hand to start selling the kits! You will find them at https://www.tindie.com/products/yoe/t-chordstrum/
-
Now on Tindie
06/23/2017 at 06:06 • 0 commentsI'm still waiting for the tact switches intended for the kits, so I haven't been able to start selling those. If you can't wait to start building one of these fun litte things, I've made the PCB's available on their own. You can get them here!
-
Uploading the firmware to your Teensy
05/30/2017 at 13:36 • 0 comments- Download and install the Teensy loader application. https://www.pjrc.com/teensy/loader.html
- Download the chordstrum-t32.hex (Teensy 3.2) or chordstrum-tlc.hex (Teensy LC) file.
- Run the Teensy loader application. Click the “Open HEX File” toolbar button. Navigate to the downloaded chordstrum hex file and click “Open”. (If there is a message saying file is to o big, just ignore it.)
- Connect your Teensy to the computer using a micro USB cable.
- Press the button on the Teensy. The Teensy picture in the app should go from dim to bright.
- Click the “Auto” toolbar button if automatic mode is not already selected. The auto button should be bright green, and the hex file should start uploading.
- When upload is complete, you may disconnect the USB cable.
For a more elaborate description on how to use the Teensy loader, there are platform specific guides on the PJRC website.
-
Using the T. Chordstrum
05/30/2017 at 13:33 • 0 comments1. As a USB MIDI controller
- Connect the T. Chordstrum via micro USB cable to a computer or other host device with a midi synth software installed and running.
- Select "Teensy MIDI" as MIDI input in synth software if necessary.
- Press and hold chord buttons and strum with a finger over the touch pads to play.
2. With built in audio- Connect micro USB port of Teensy to a 5V USB power source like a power bank, USB charger or a computer. You may also power the Cordstrum using a 3.6V to 6V DC power source (like a 3xAAA battery holder with switch) soldered to the dedicated input pin holes located under the Teensy on the T. Cordstrum pcb. If using this alternate way for power, do not connect USB power at the same time, unless Vin is separated from Vusb on the Teensy pcb (see Teensy documentation).
- Connect the T. Chordstrum 3.5mm line level audio output to powered computer speakers, mixer line input, or other amplification device with line level input. The line level output of the Teensy is not able to directly power headphones or speakers.
- Mind that the instrument emits a short burst of noise when powering up. If possible, connect the audio cable or switch the amplifier on after the power on LED blinks of the Teensy.
- The default setting of the audio is playing the Omnichord style strummed sound, with no backing chord or rhythm activated. To change these settings, refer to the settings chart. You press and hold the “set” button of the Chordstrum, and then momentarily press the button corresponding to the setting you want. Release the “set” key when you are done changing settings.
- There are 16 rhytm patterns available. They may or may not be accurate to their descriptions :) They are named as follows: Hard rock (default), Disco, Reggae, Rock, Samba, Rumba, Cha-Cha, Swing, Bossa Nova, Beguine, Synthpop, Boogie, Waltz, Jazz rock, Slow rock and Oxygene.
T. Chordstrum
USB MIDI chord strummer kit for Teensy 3.2 (MIDI and built in audio output) or Teensy LC (MIDI only).
 Johan Berglund