Scott Clandinin
-
IR Remote Control
06/09/2017 at 03:21 • 0 commentsIR Remote
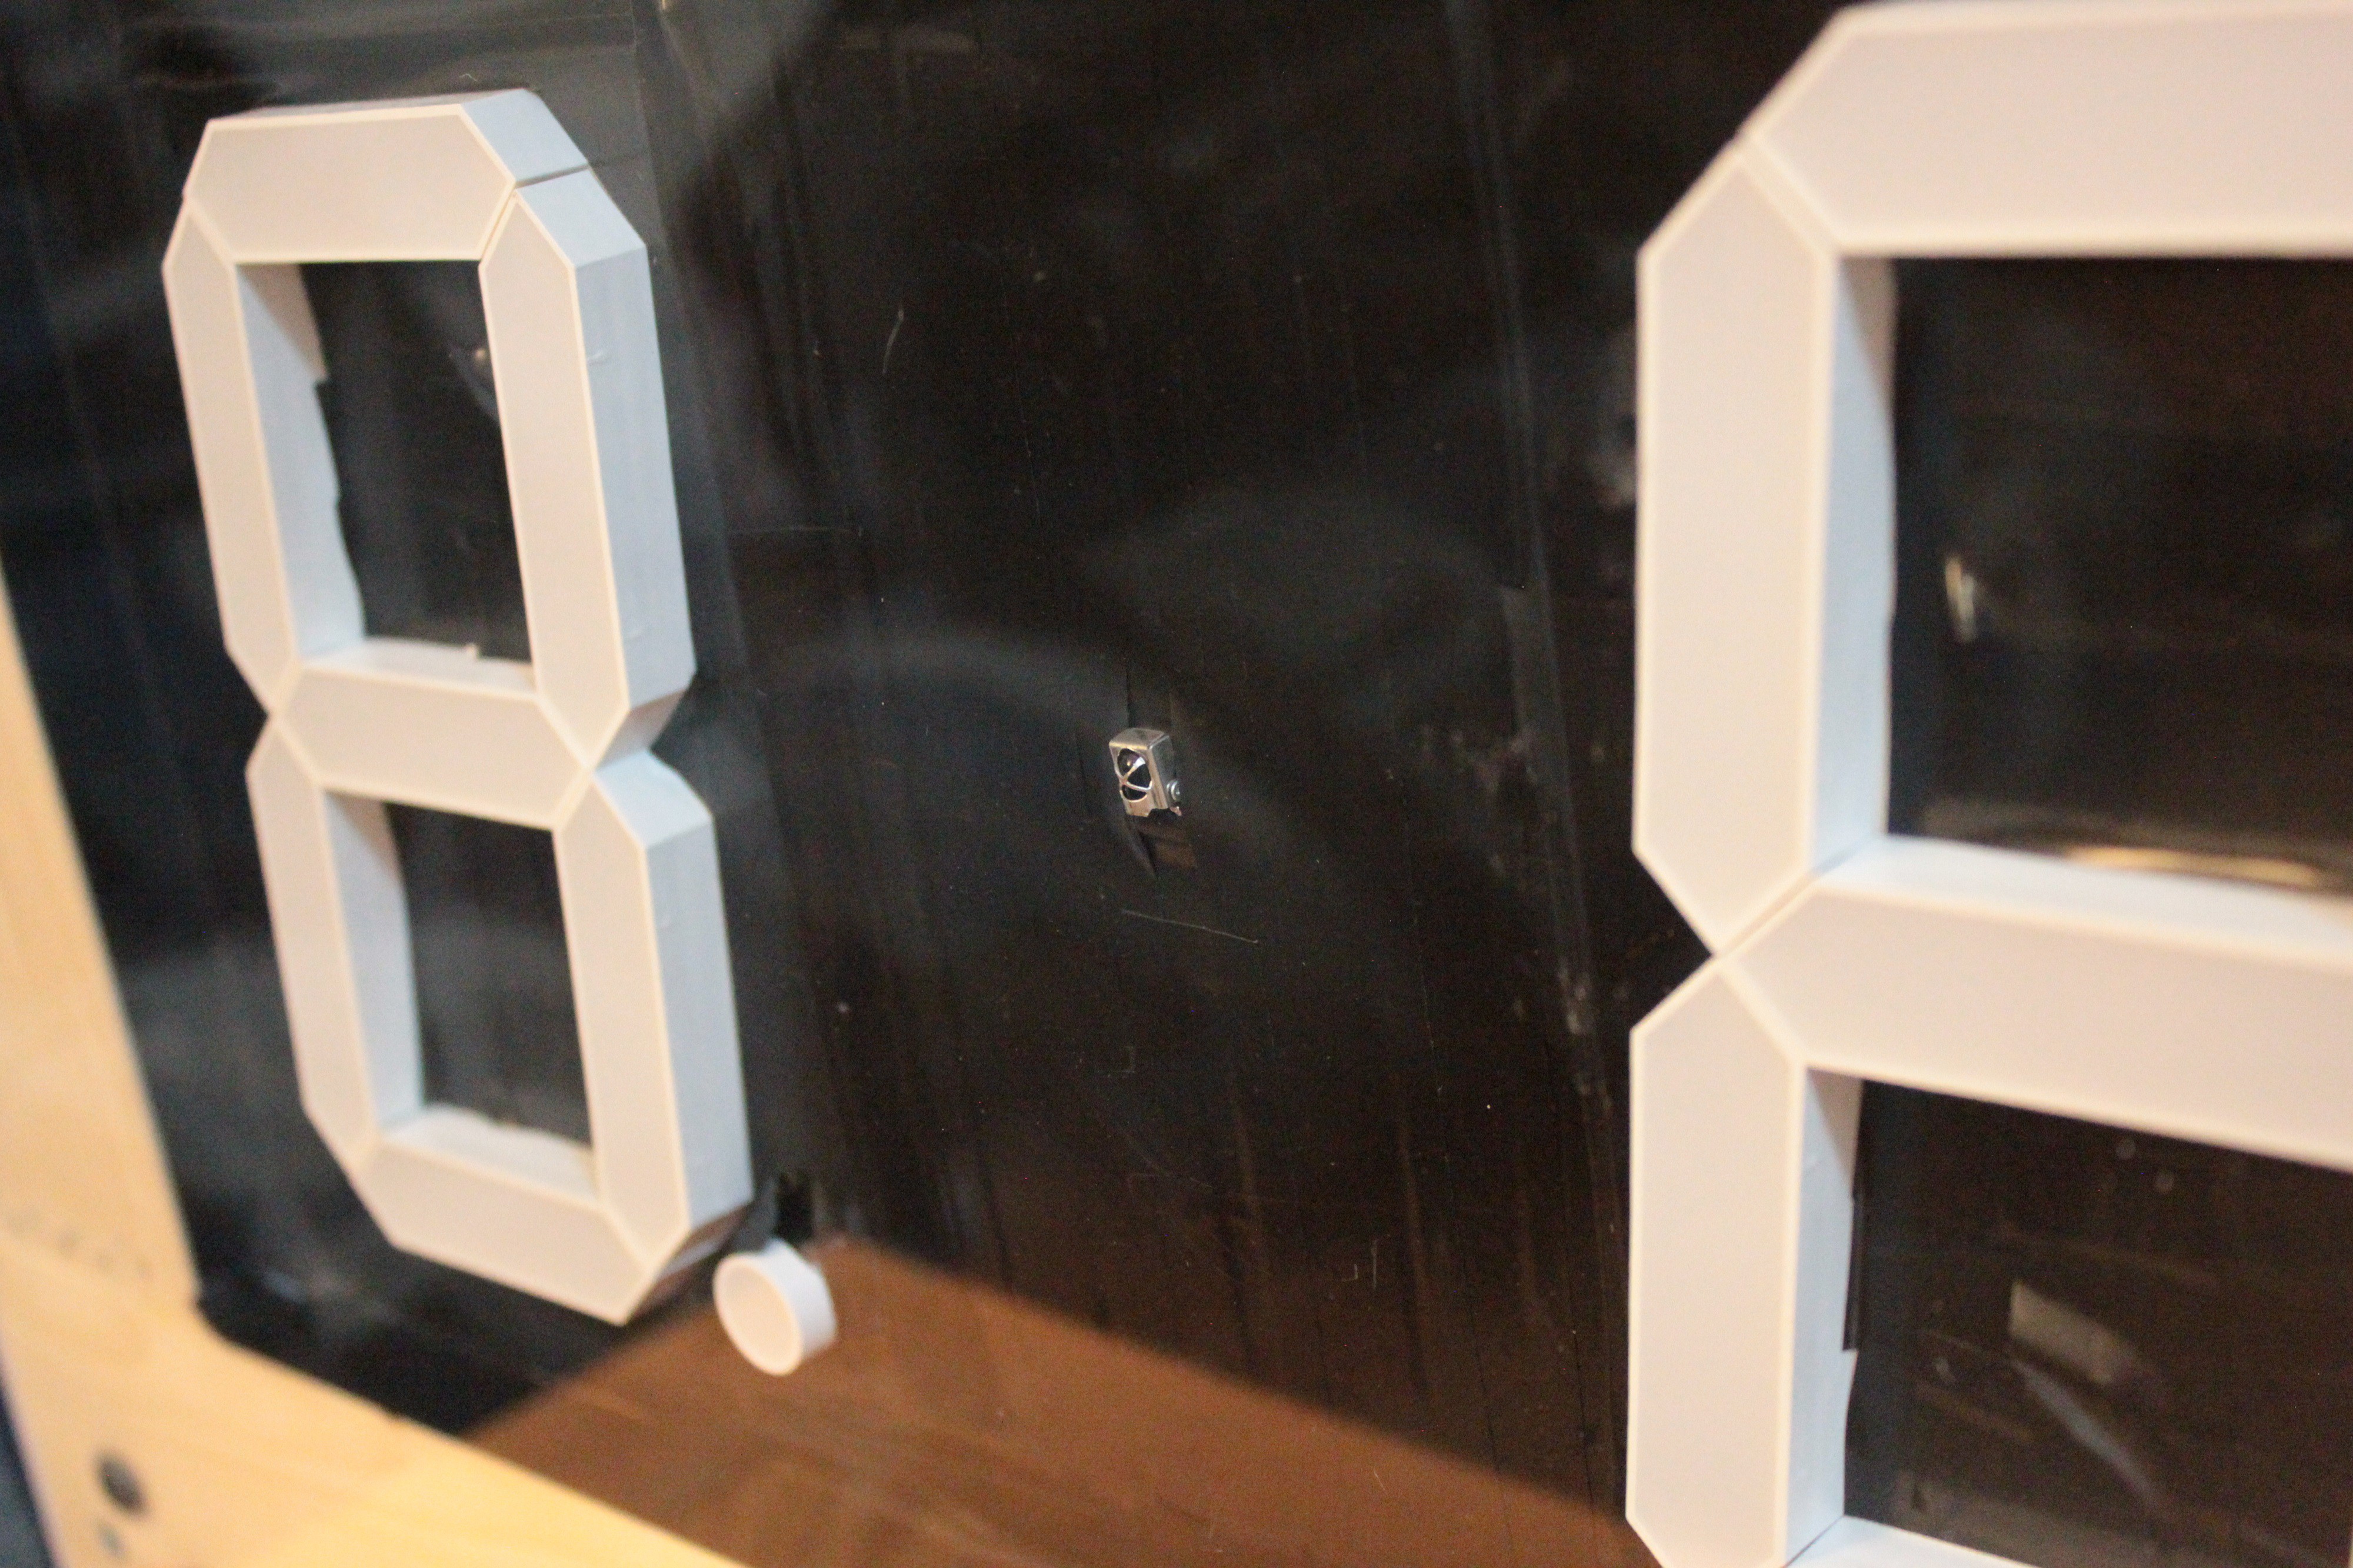
I had a couple of the below IR remotes and tested it out. The remote works (most of the time) when a foot away pointed directly at it. Any further away and not directly pointed at the receiver and it only receives random garbage. All it contains is a 1.5V battery, which must not be enough for a decent signal?
![]()
But what about a regular remote? We tried a regular TV remote and got very consistent results. Next thing we did was look online to see if any local places had any over sized novelty remotes. And to our luck we found one! The receiver even picked up on it too.
![]()
-
Heat Dissipation
06/08/2017 at 04:51 • 0 commentsWe were finally back on track and had a things working as intended with the new BCD to seven seg drivers. I had been running these chips as well as the audio playback module off of the 5V from the Arduino Nano regulator. This didn't turn out to be a great decision as it had the Arduino regulator running very hot, too hot for comfort.
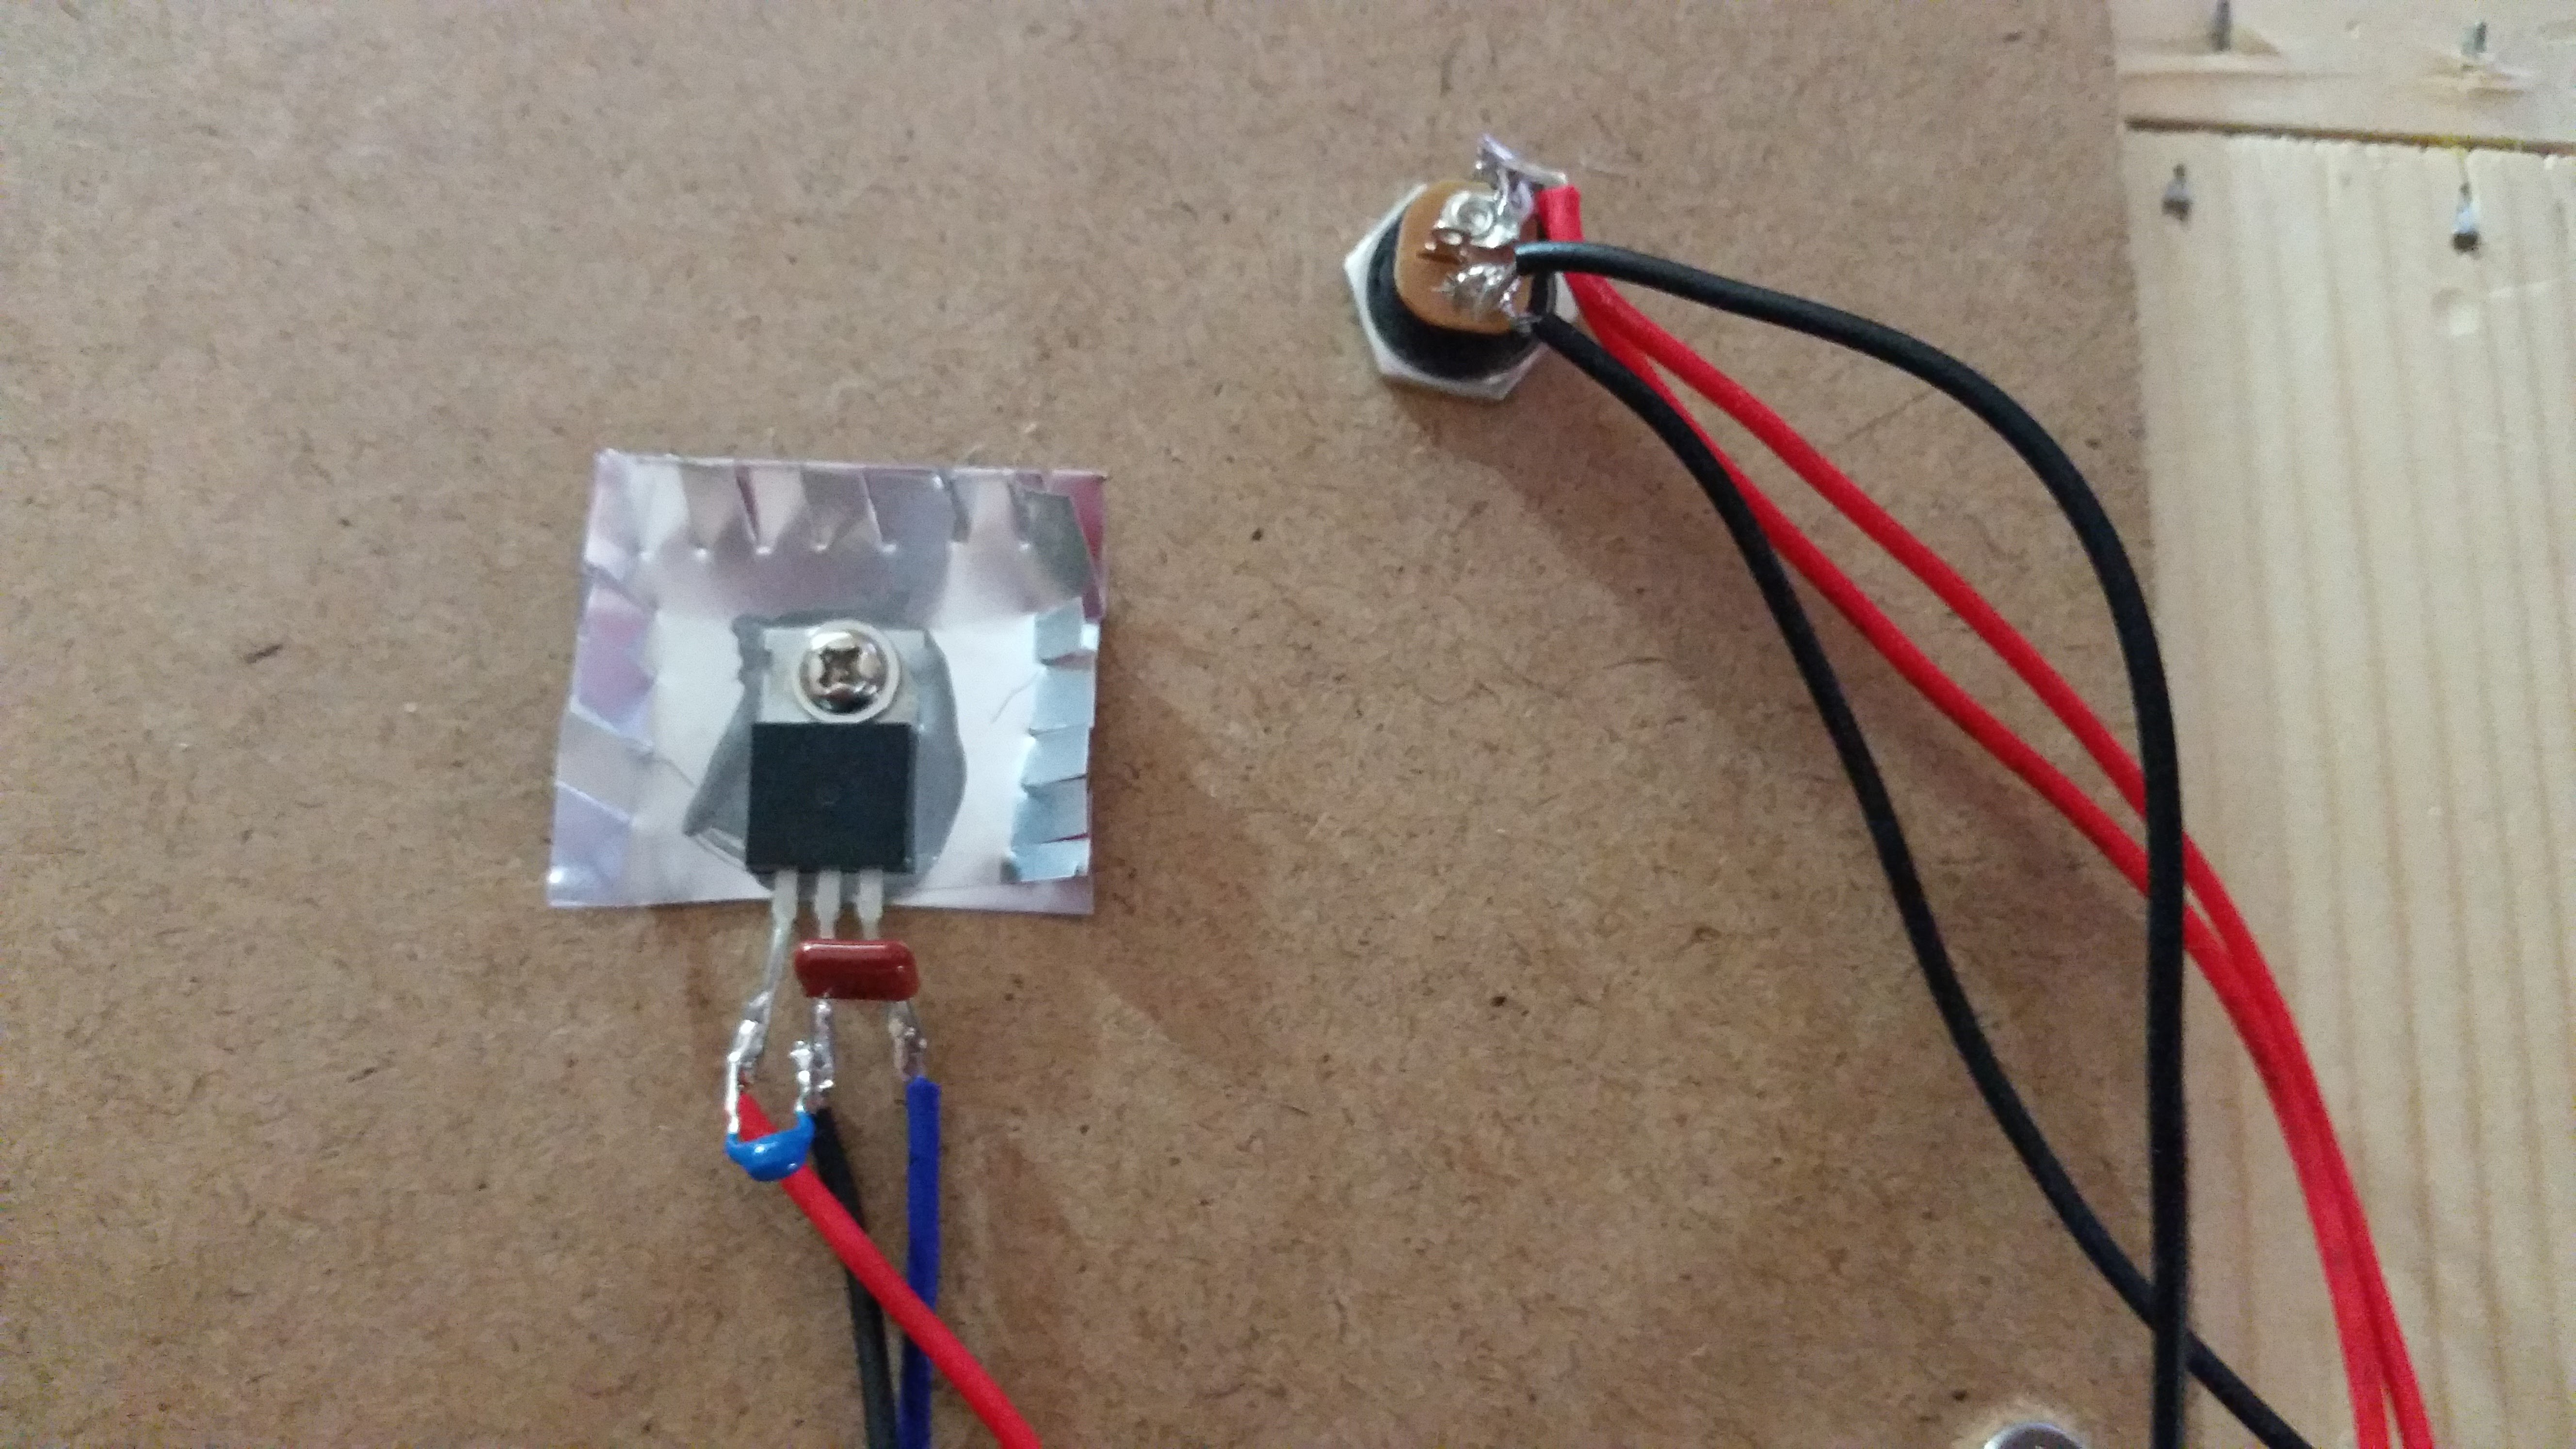
I quickly soldered together an LM7805 regulator and ran the 5V components from this instead. The Arduino was no longer running hot, but as you could expect, the regulator was now too hot. The good thing is these TO-220 packages are easy to mount to a case or heatsink.
The bad thing is I didn't have a heatsink or any plan for this. I asked my buddy Jeff (whose place we were building this at) if he had any metal we could mount to the back of this regulator. Eventually he suggested that we could use a beer can. Good old Jeff. I cut up a couple squares from a beer can, threw some thermal paste on it, and screwed the can bits + the regulator into the scoreboard case.
![]() Worked like a charm!
Worked like a charm!![]()
I even added some fins to help with dissipation and of course to make it look cooler.
-
Accidentally turning micros into heaters
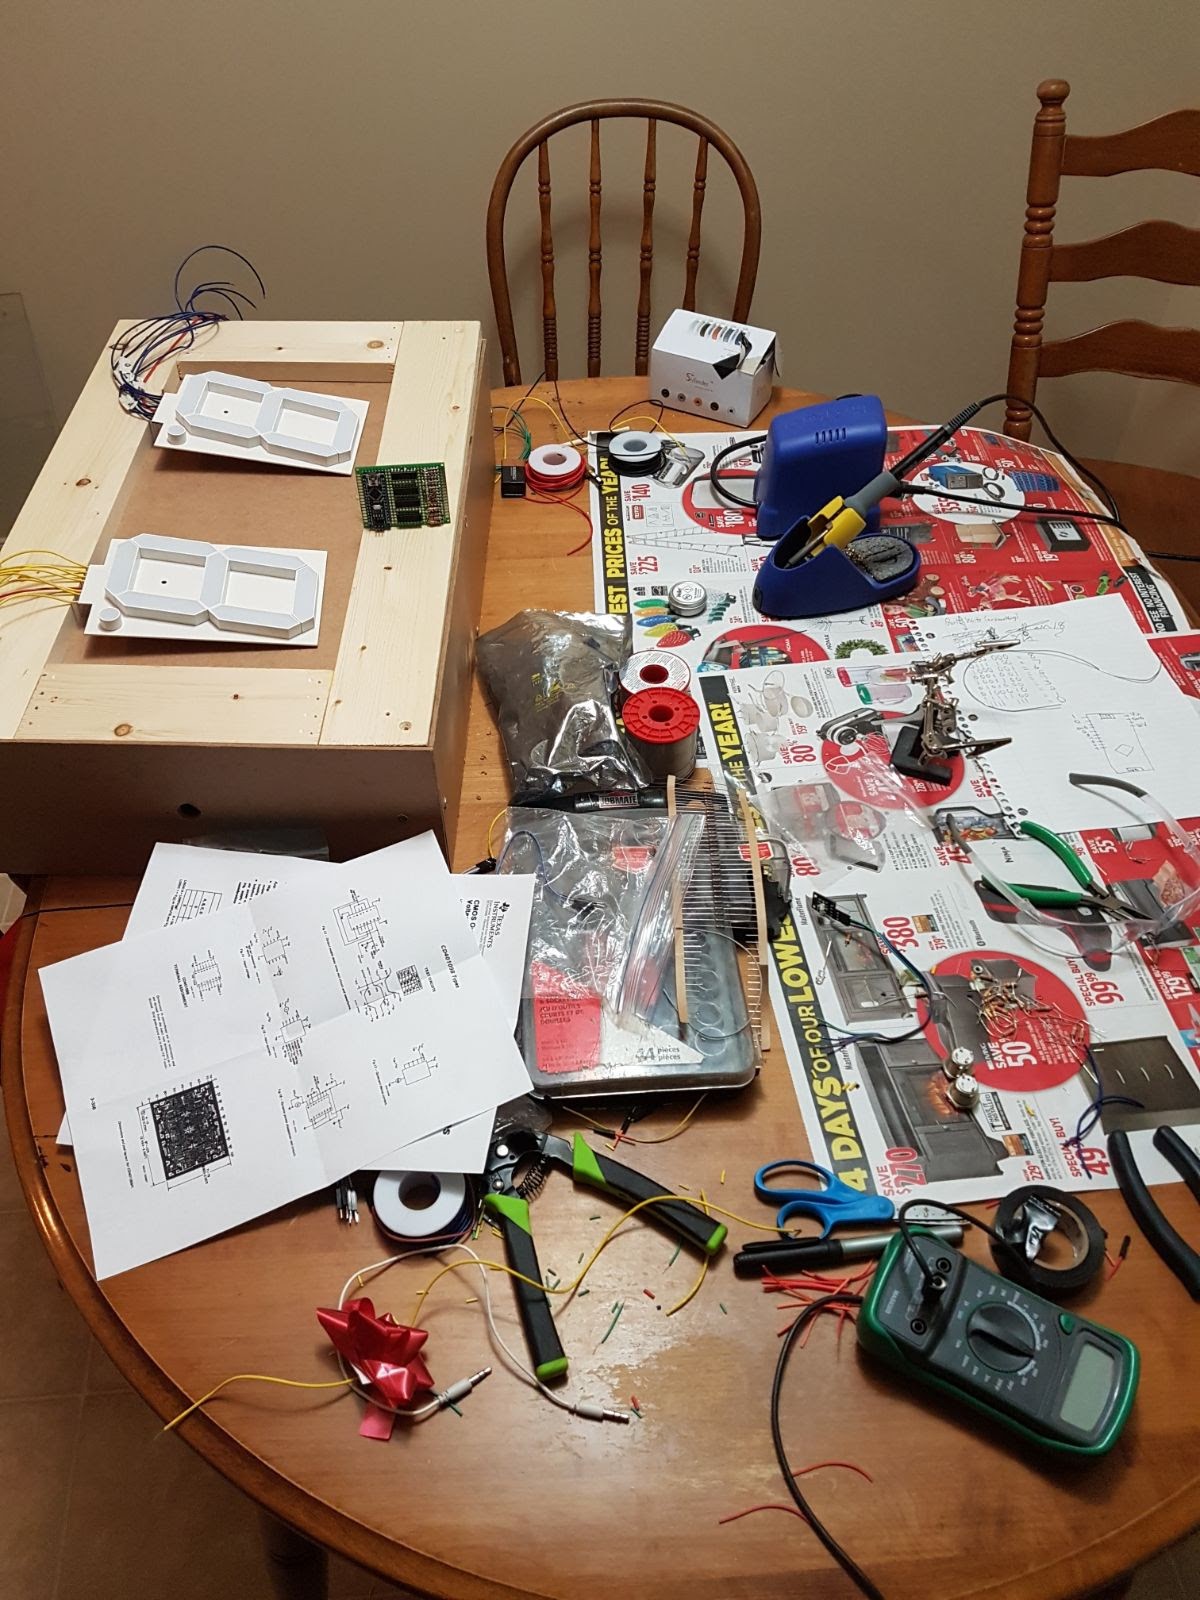
06/07/2017 at 04:47 • 0 comments![The workshop]()
I destroyed 3 Arduino Nanos during this project. My downfall was using an obscure voltage level shifting chip without testing it's operation first. This chip was the CD40109B that I got from Digikey. My plan was to send out 7 data bytes to 2 sets of these chips, and shift the voltage out to one seven-seg at a time with the enable pins, because at the time of ordering, we were considering having numbers on each side of the scoreboard.
![]()
After many hours of testing and verifying that I didn't make any soldering errors (and killing two Nanos), I finally decided to test one of these chips on its own (which should have been step one) . I checked over and over again to make sure my connections matched the pinout in the datasheet, and applied power to it. Once again the thing instantly burned up.
Either the pinout was incorrectly labeled, the datasheet said "top view" when it should have said "bottom view", or I am totally hopeless. All seemed possible at that point.
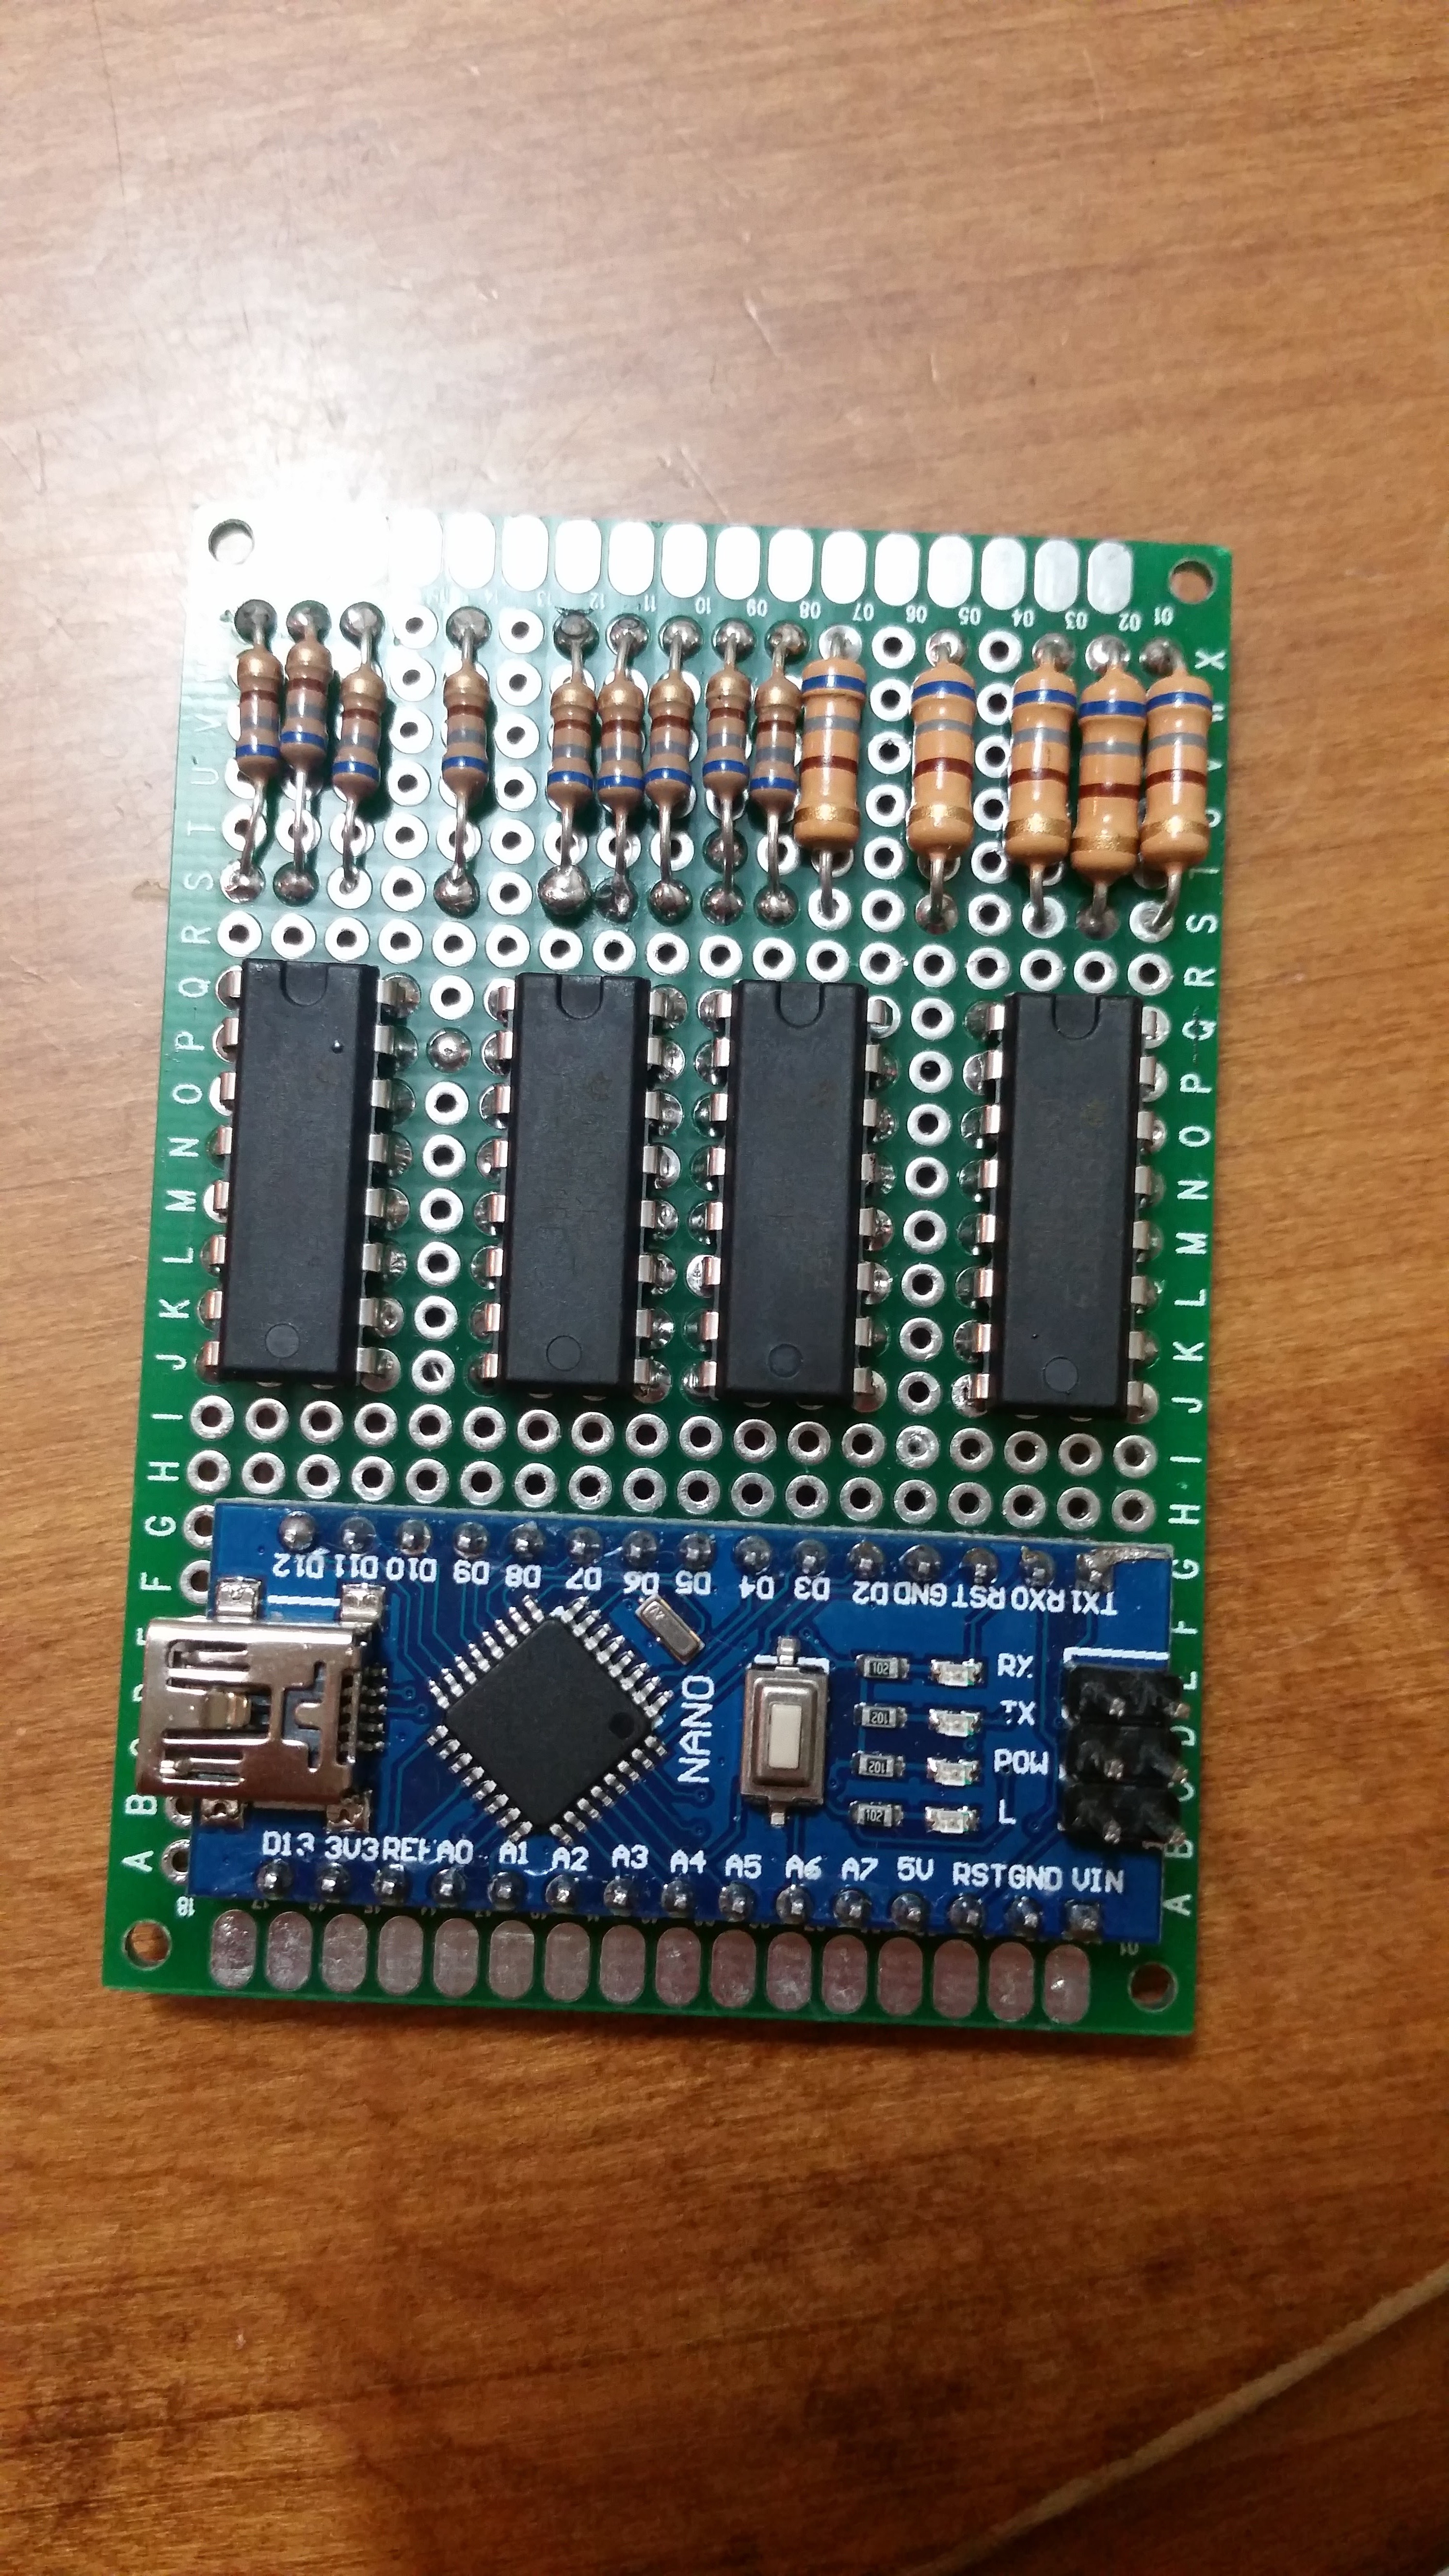
Luckily I had also ordered some 74LS47 BCD to seven-seg driver chips, so I threw out the other cursed ones and gave those a try. There was still hope to have this completed before the Beersbee tournament.
Oh, and how did I killed the 3rd Nano? By programming it out of the circuit with a short usb cable as it was hanging beside a metal computer case. That one was definitely my fault.
-
Design Planning/Brainstorming
06/06/2017 at 01:31 • 0 commentsThe idea was to make a scoreboard with two seven segment displays, and an MP3 playback module that could connect to a stereo through RCA cable.
Seven segment display: YSD-1100AR7B-15
![]()
![]()
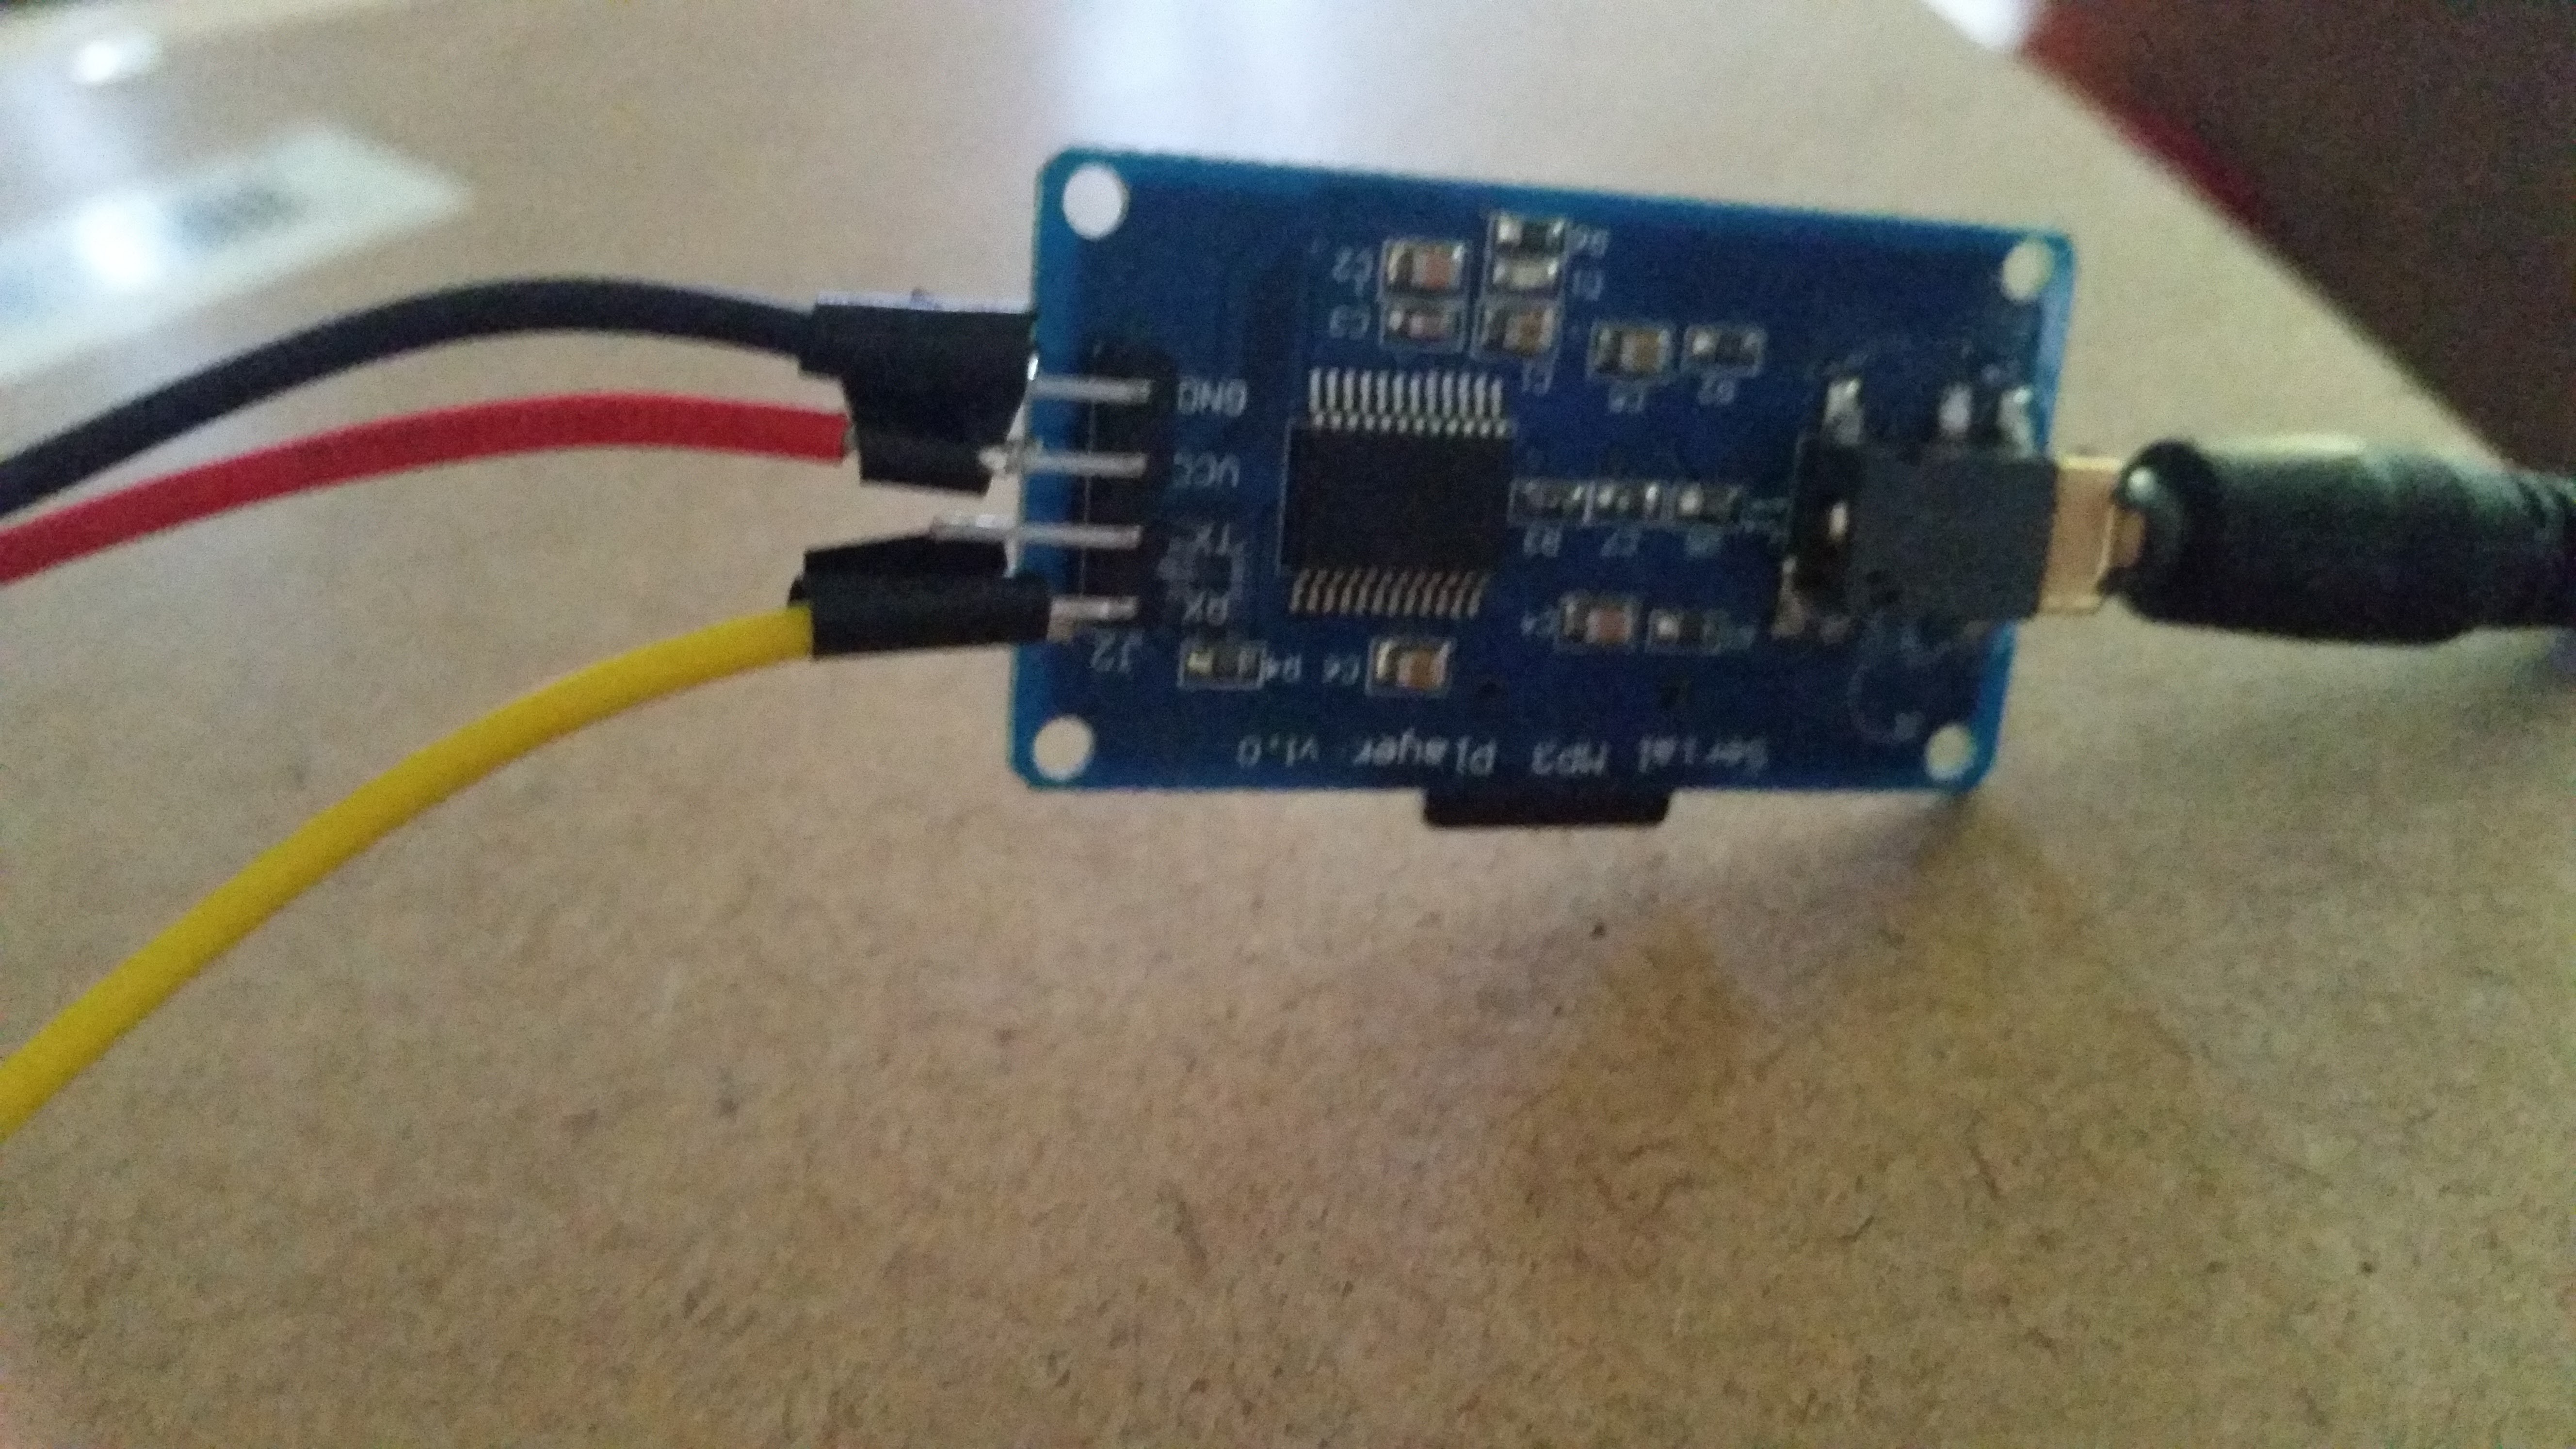
MP3 playback module: Catalex MP3 Playback Module
![]()
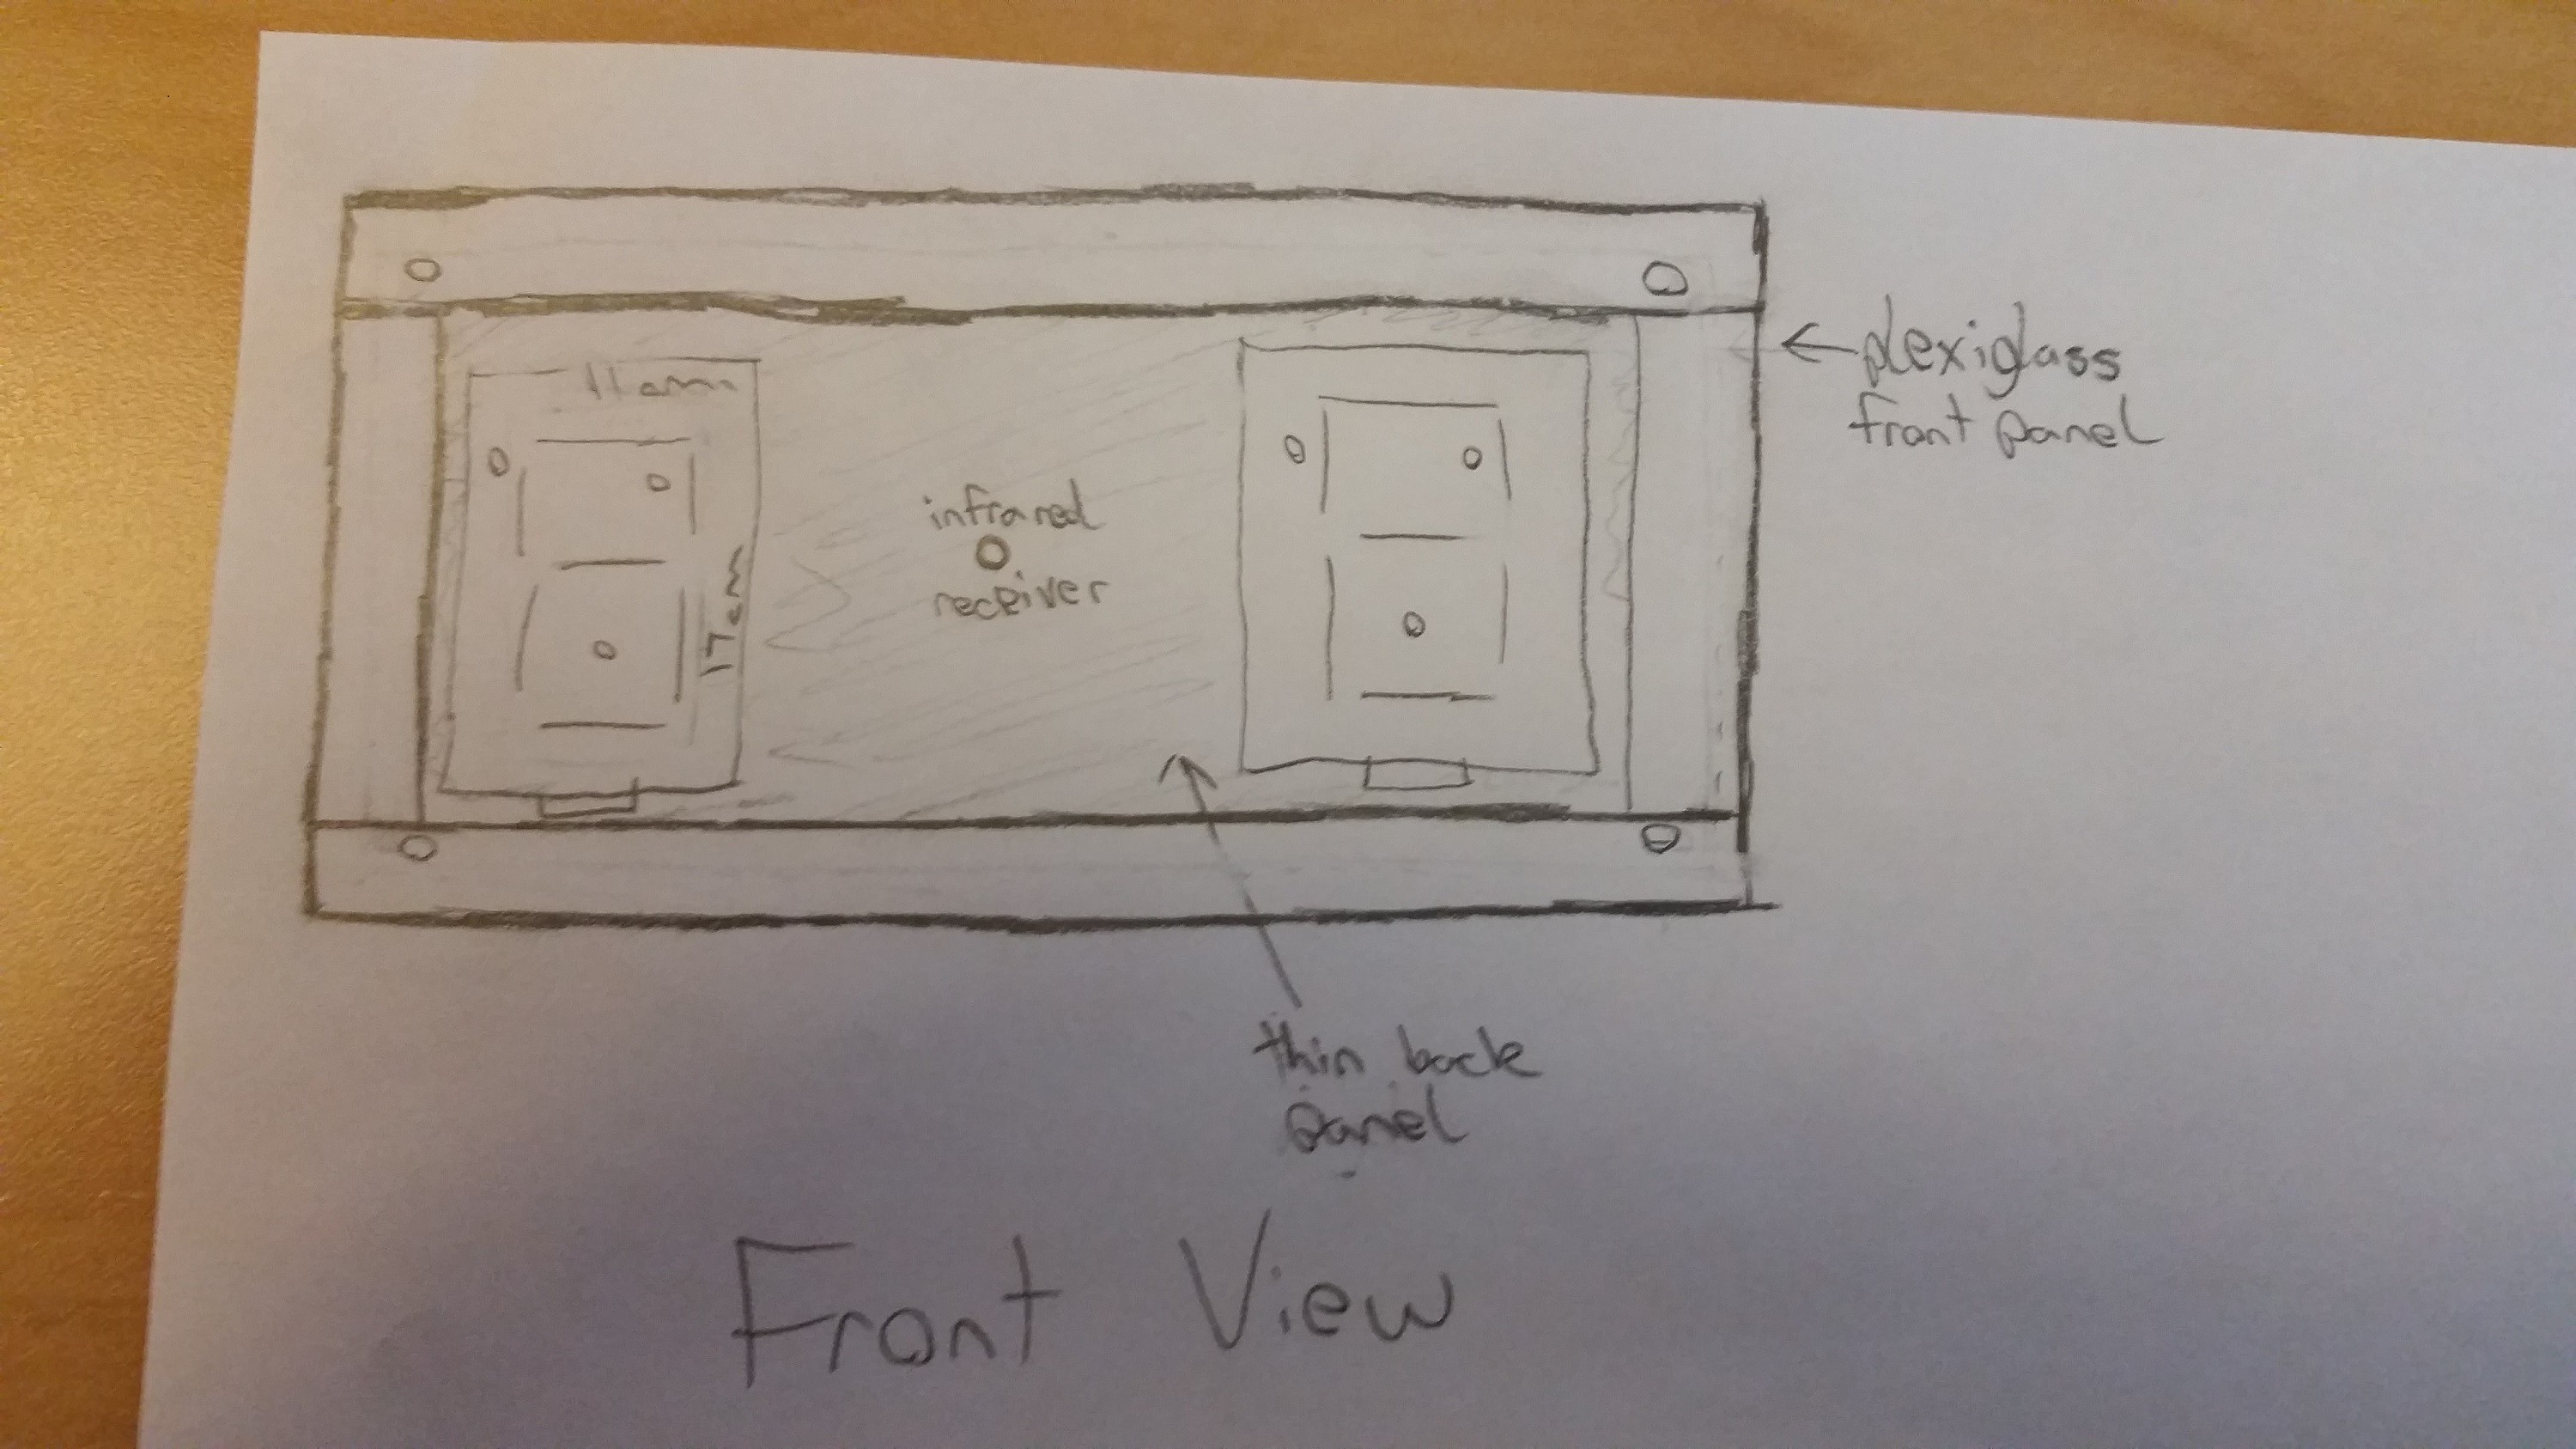
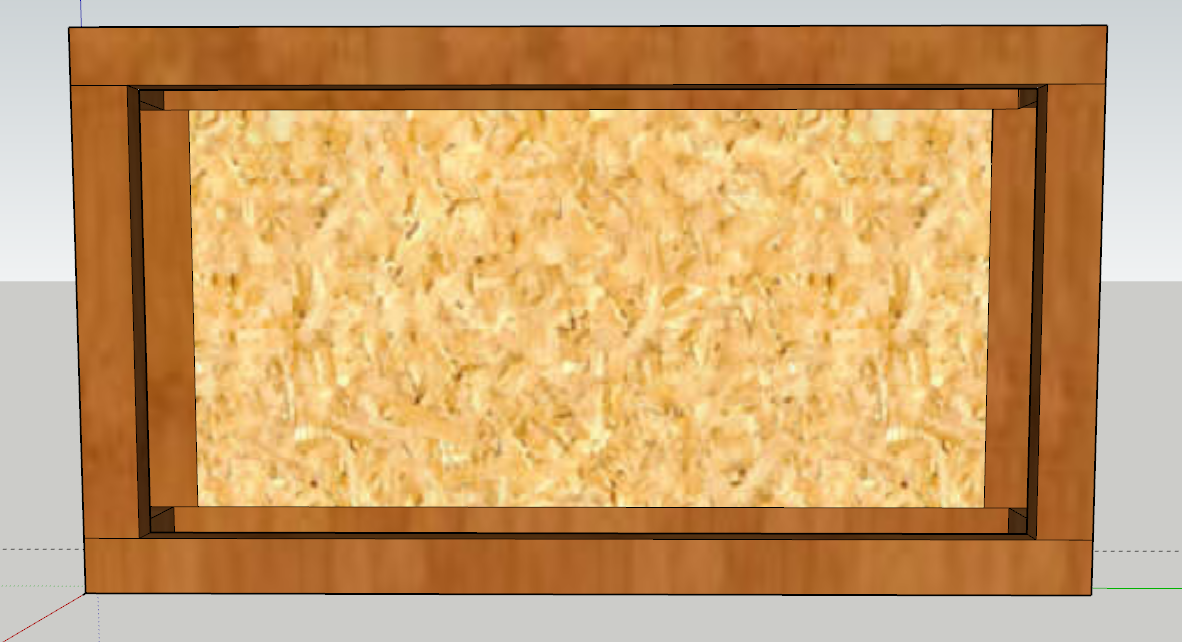
Visualizing the board
![]()
![]()
![]()
![]()
Block Diagram
![]()
Remote Controlled Scoreboard/Soundboard
This remote controlled scoreboard not only keeps score, but also includes a customizable soundboard.

 Worked like a charm!