 Matthias
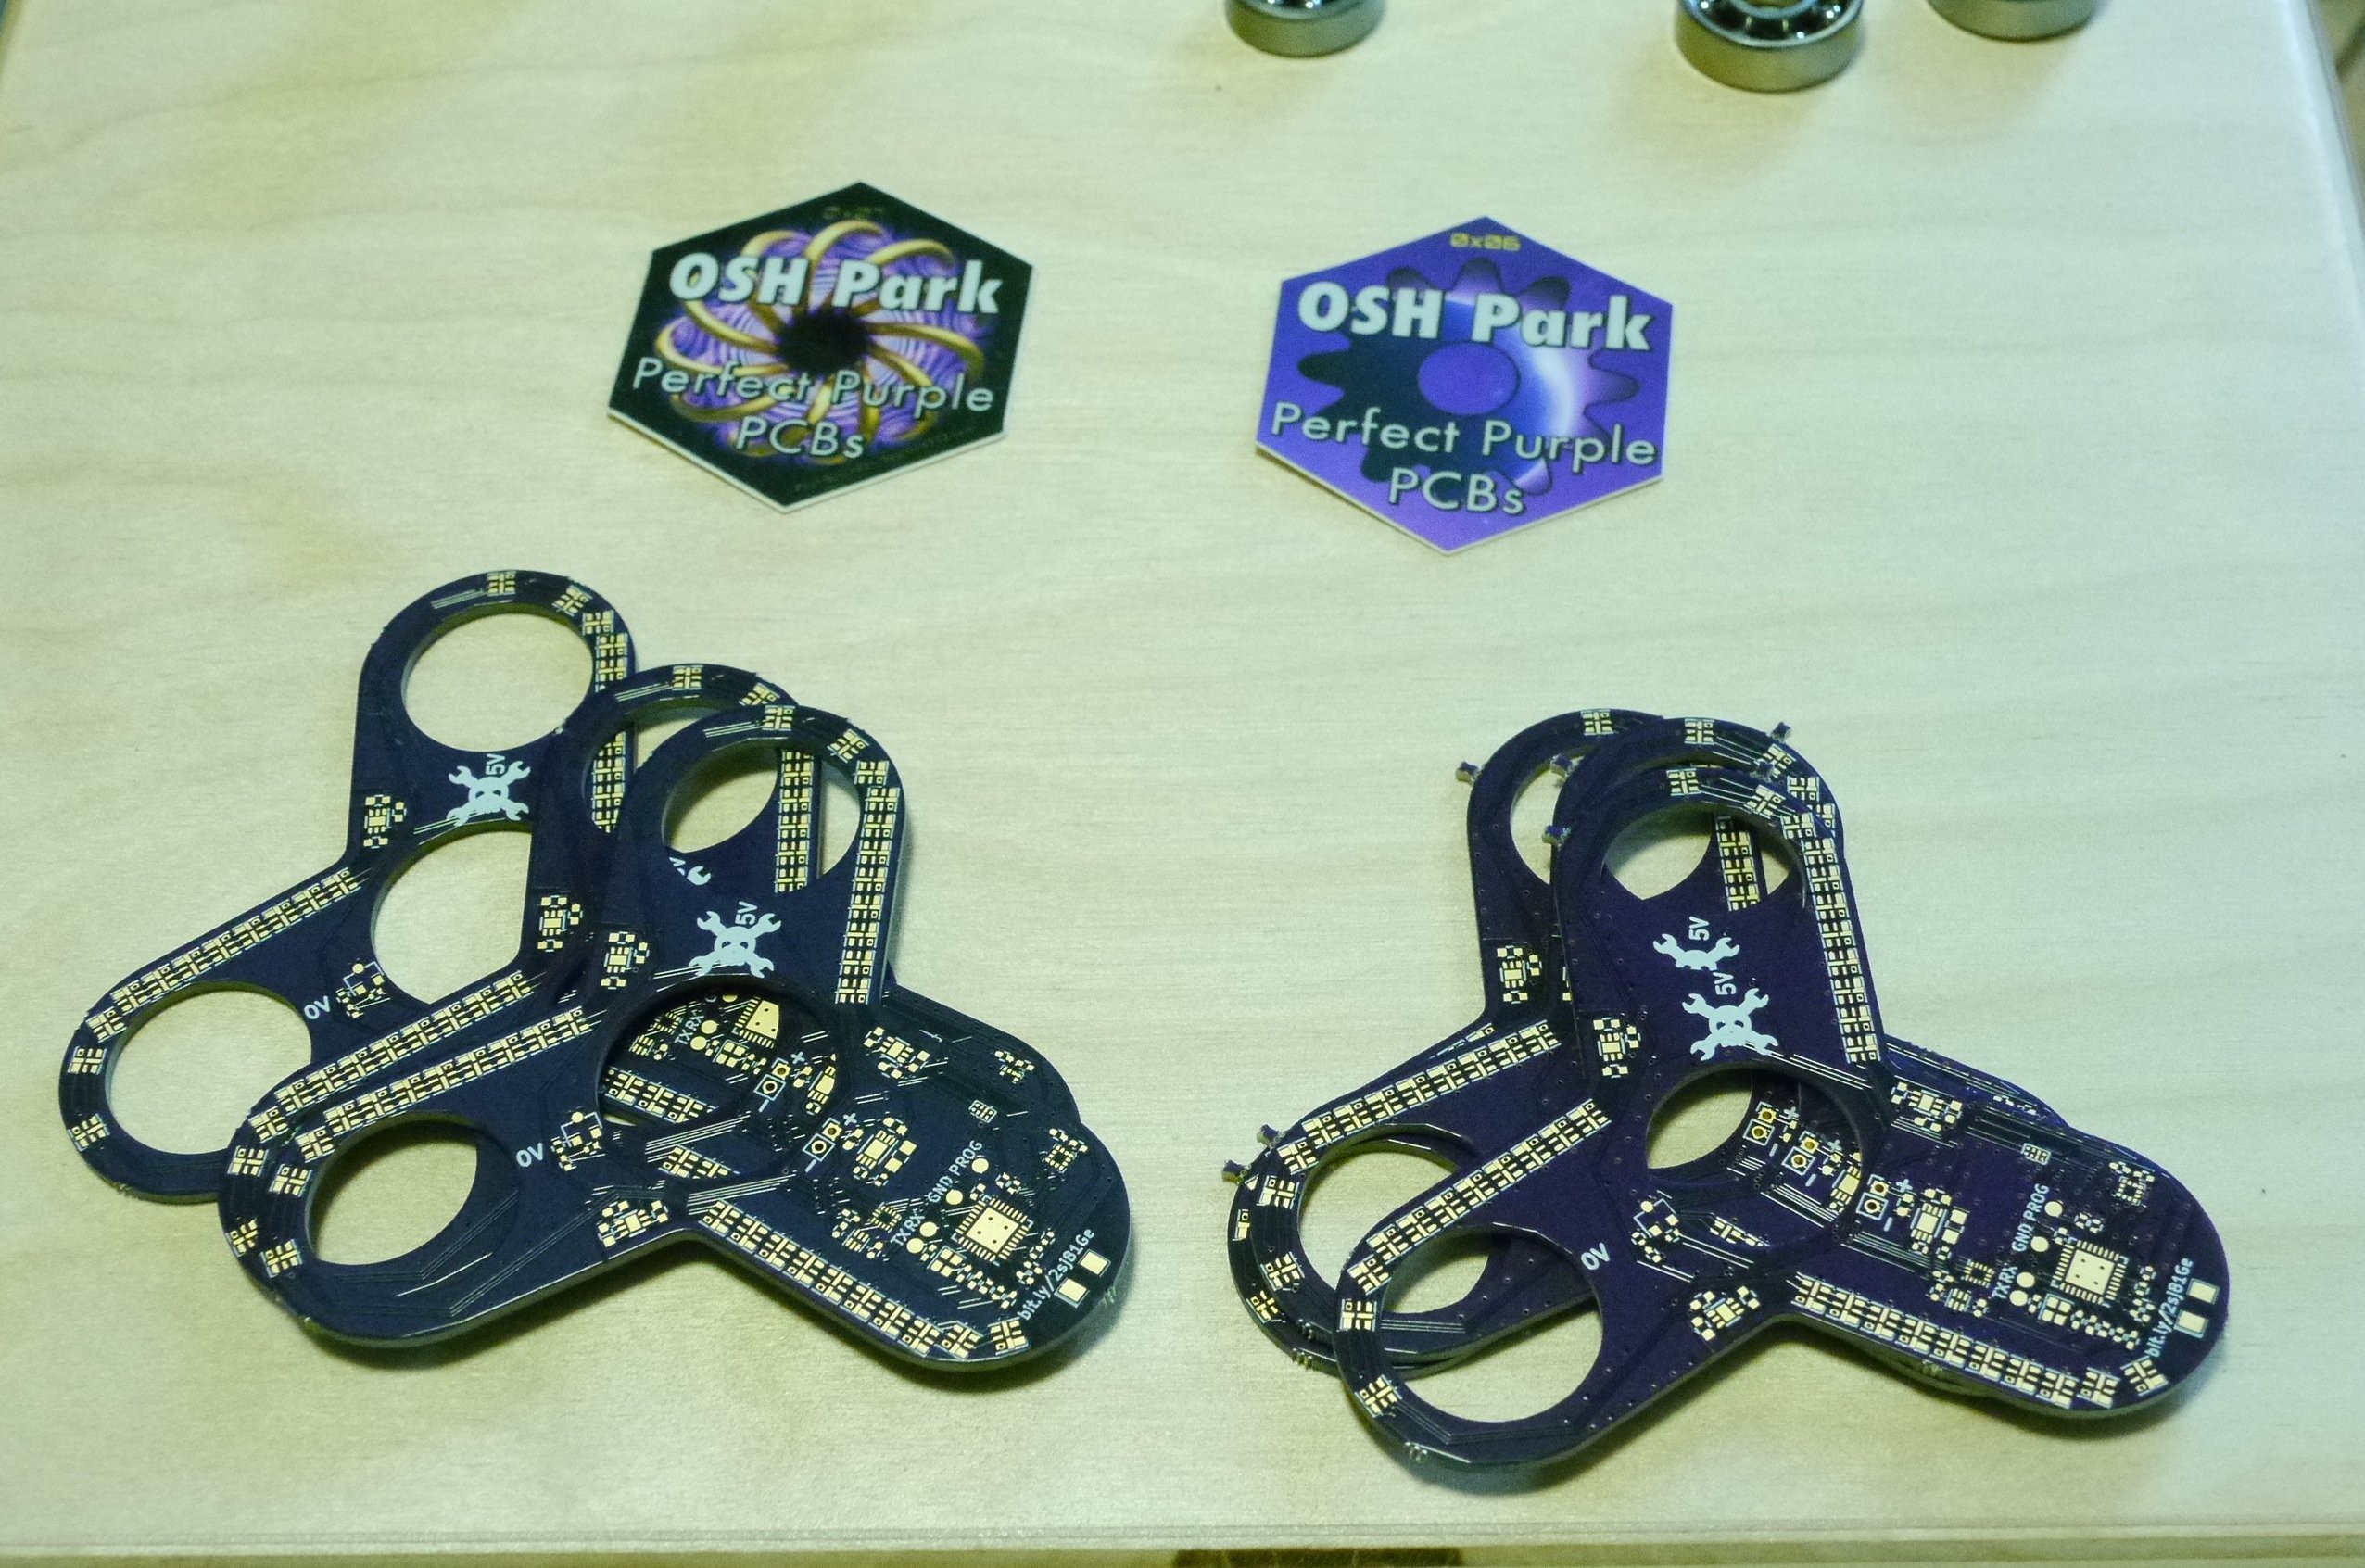
Today, a package with my PCBs arrived. Actually, it was two packages, because I messed up the orders (as you probably read in my previous log).
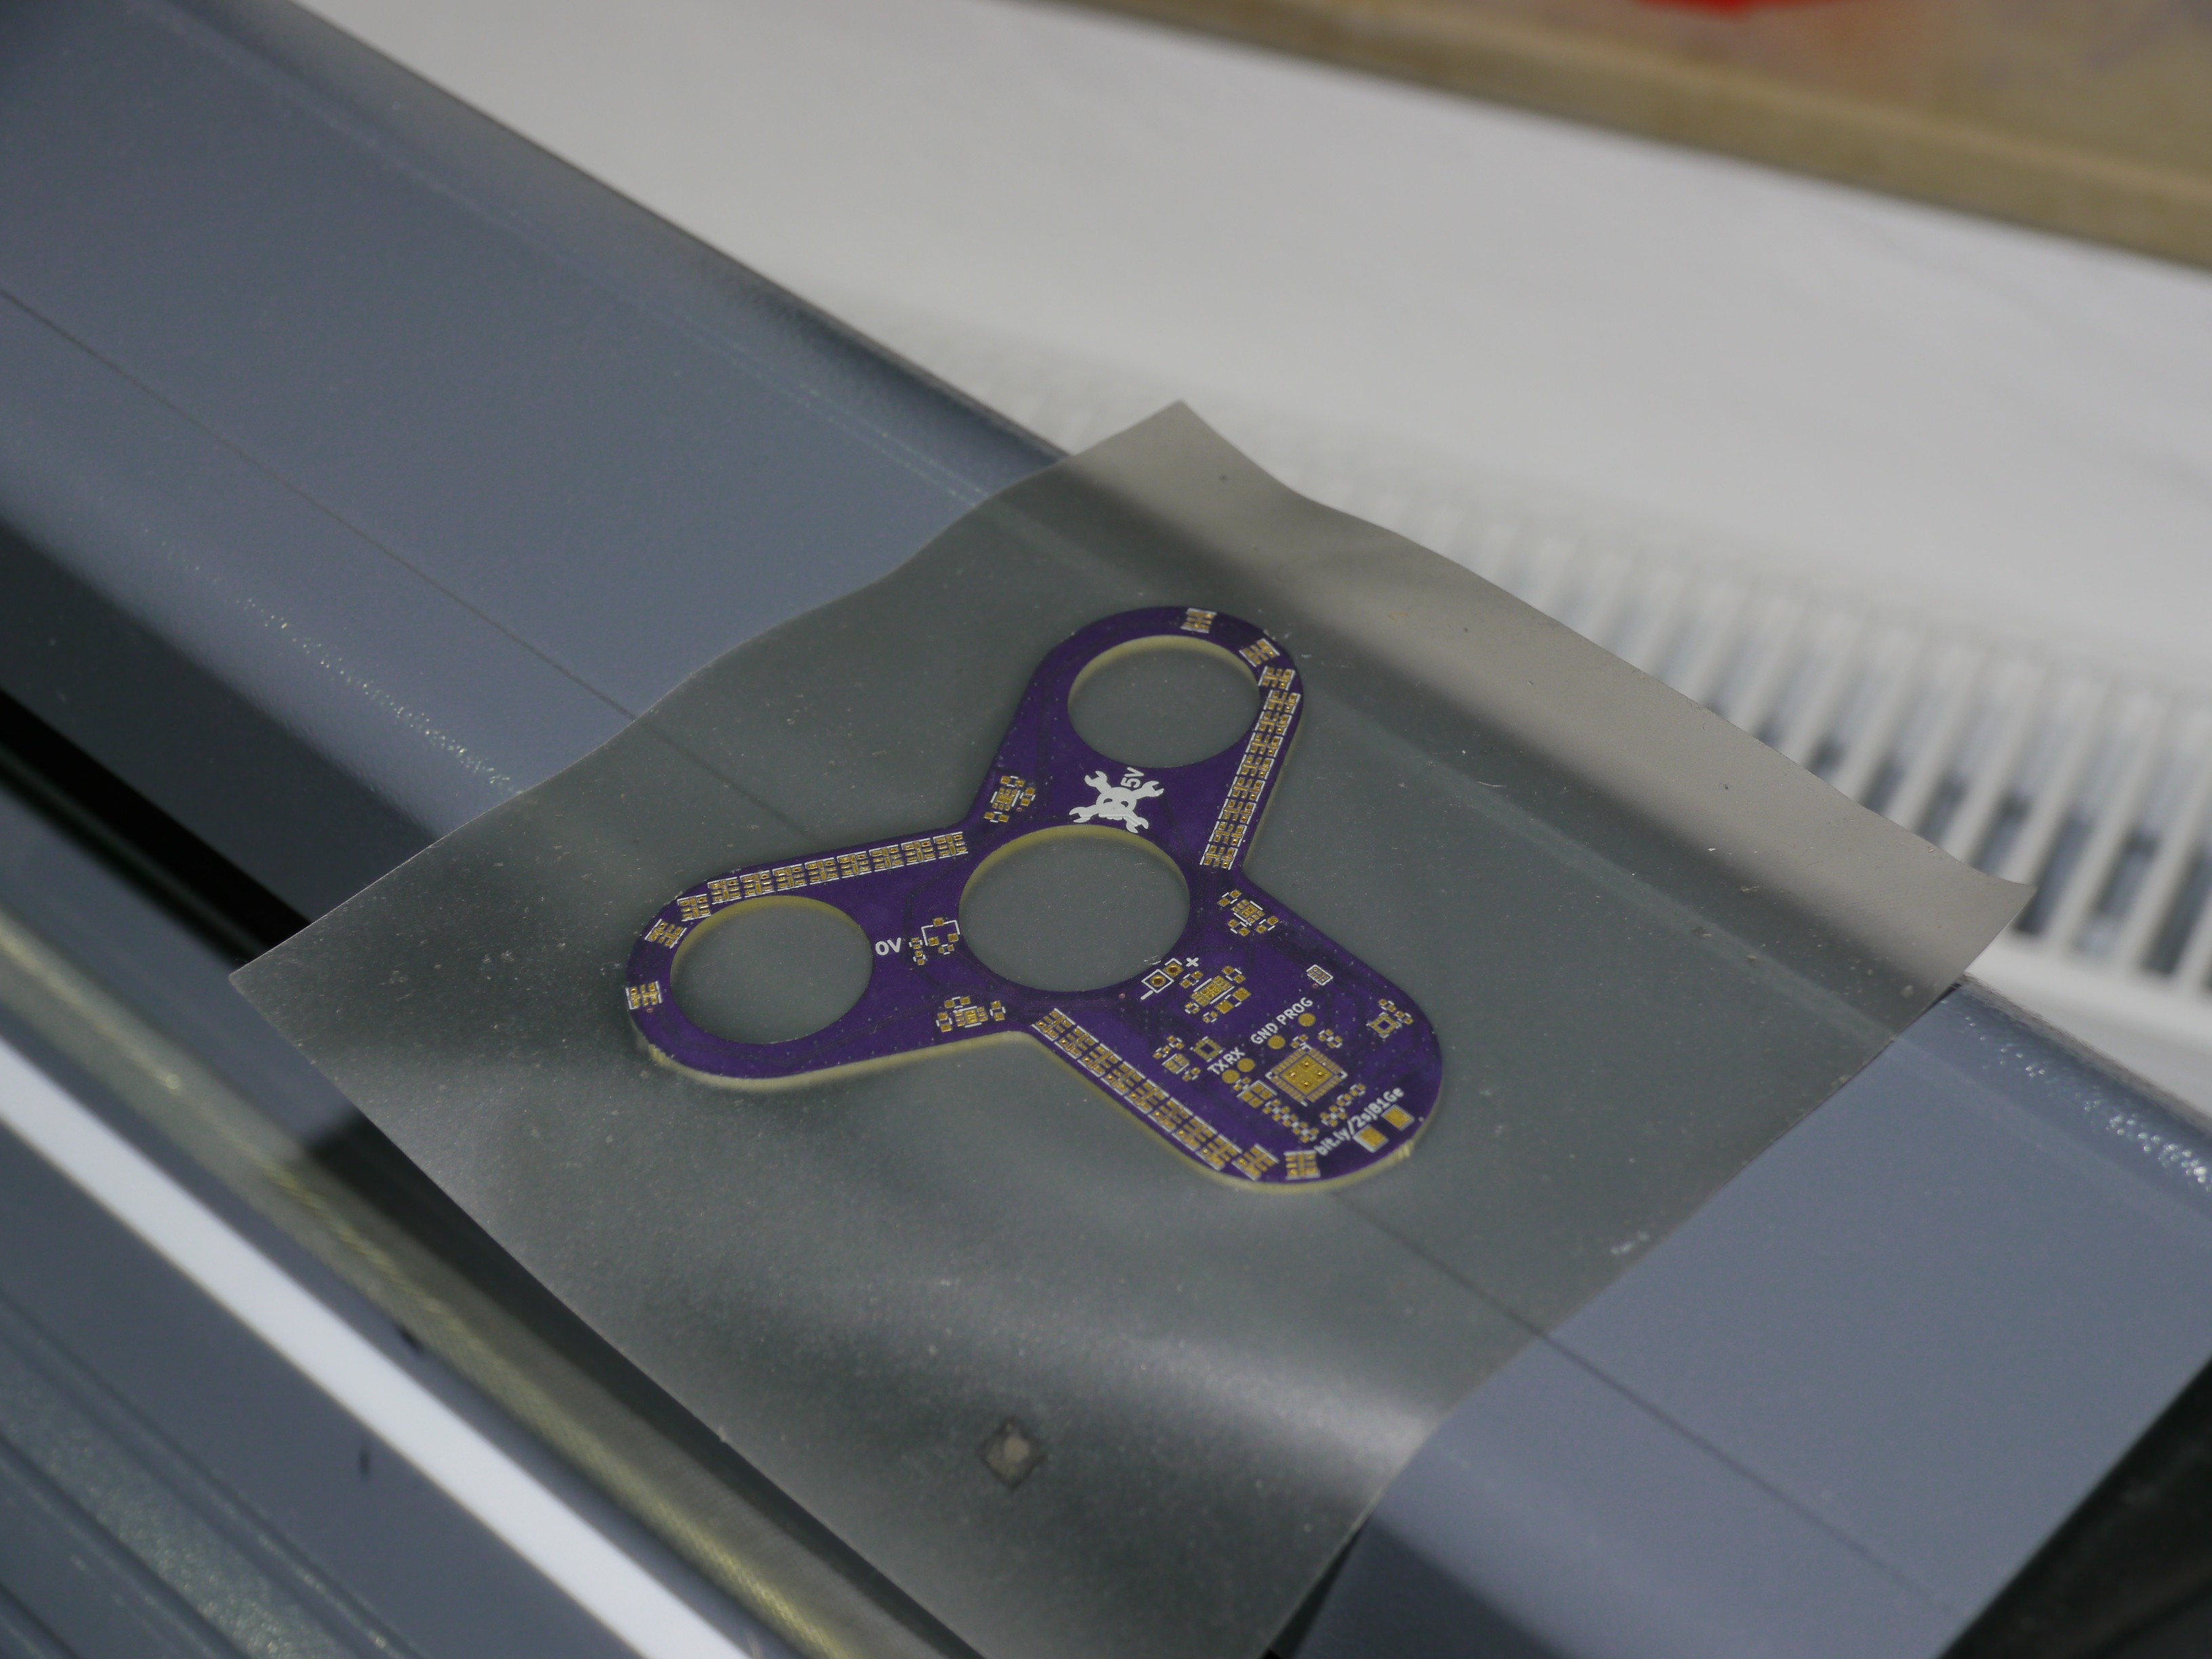
Armed with almost all the required parts, I started assembly. First, I cut out a stencil on my vinyl cutter. While my vinyl cutter produces fairly low quality stencils which don't work reliably work with .5mm pitch QFNs, these stencils are almost free for me. So for a single PCB, that's fine.
[I will add a video of the stencil cutting right here...]
The finished stencil applied to a PCB:
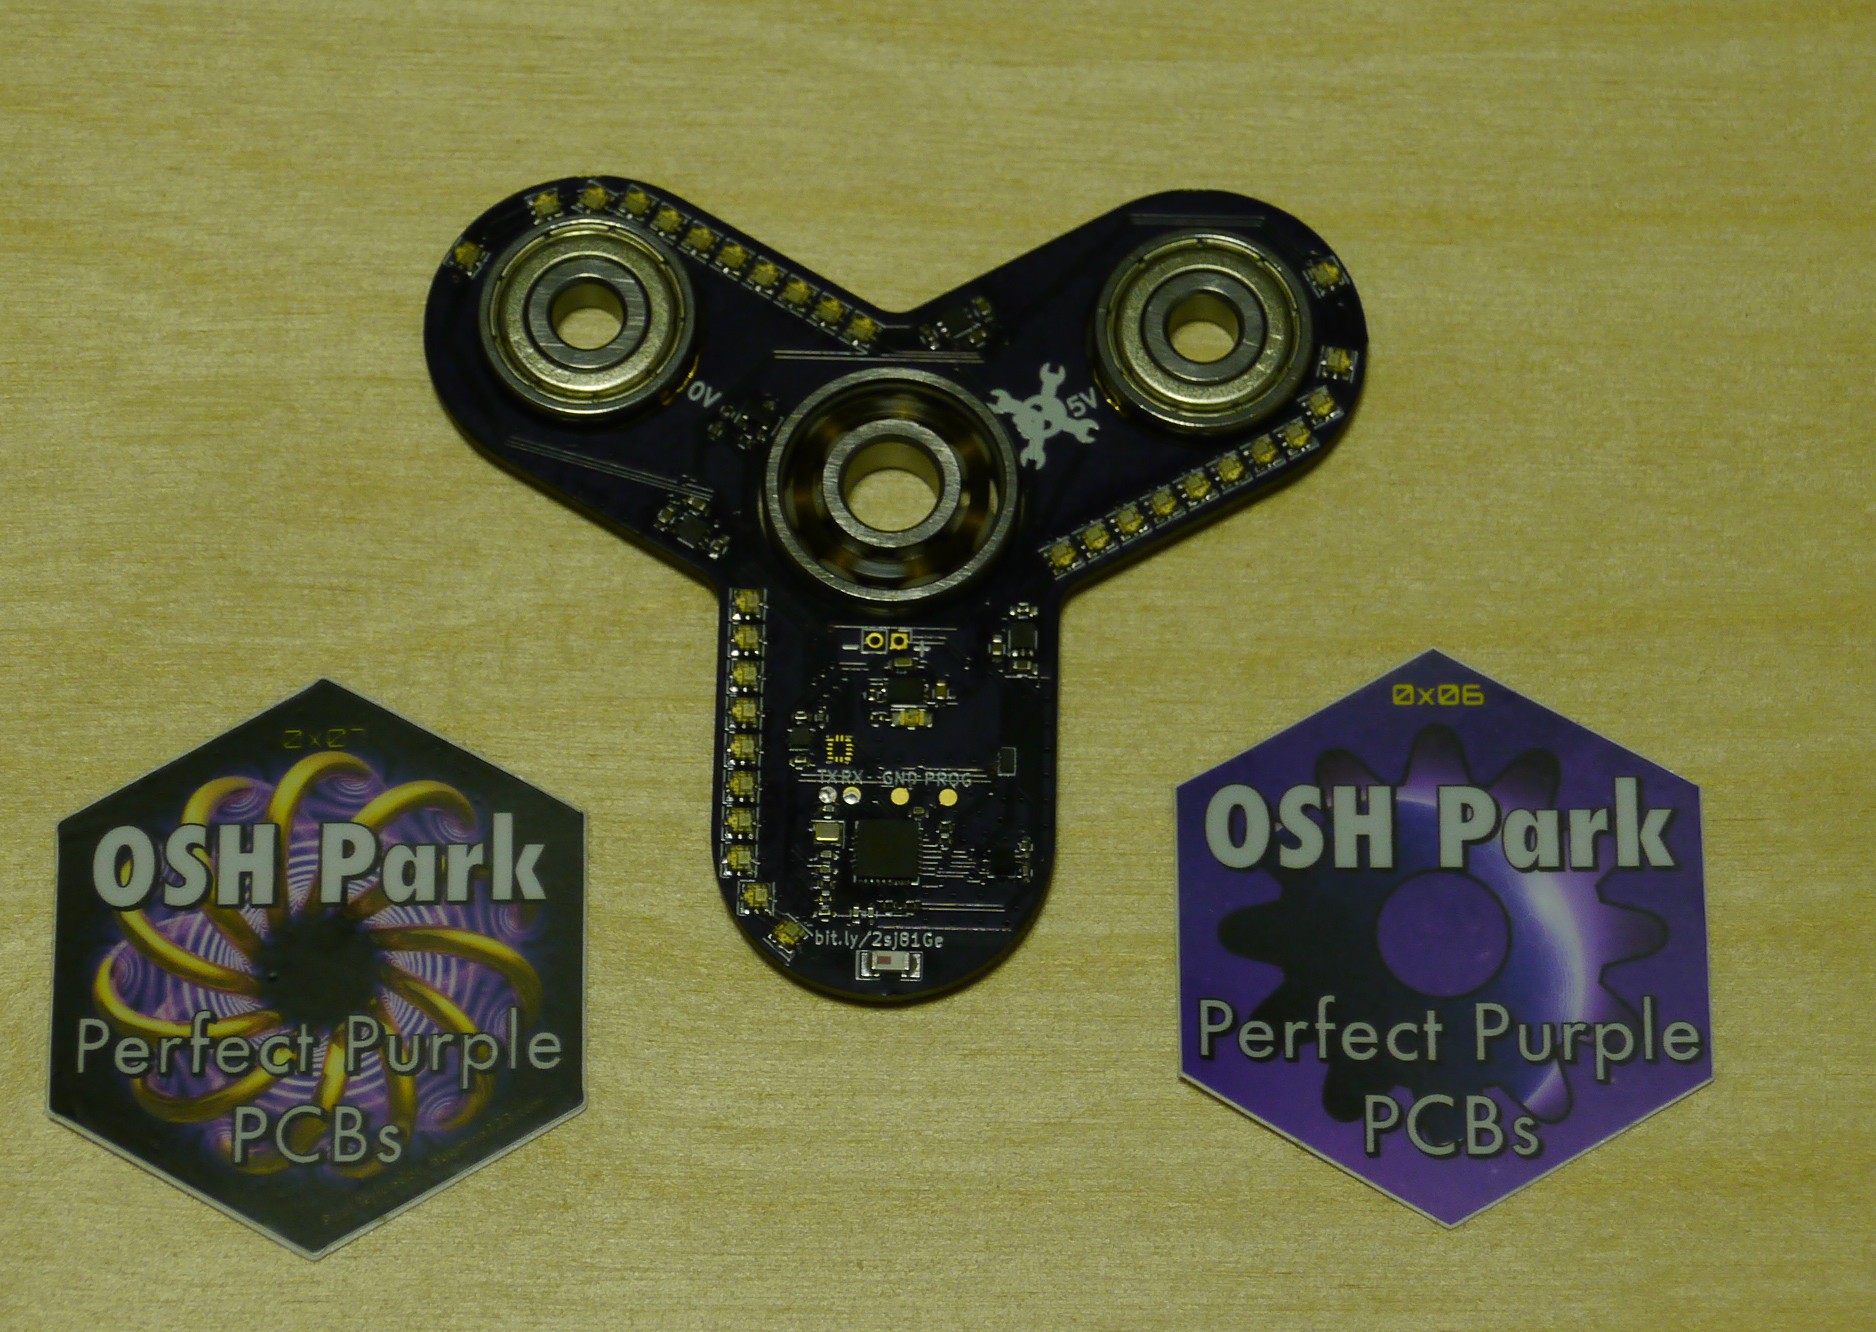
Next, I added some solder paste and all the parts. Placing 32 LEDs tends to be a bit tedious, but I got through it just fine. After touching it up a bi, the PCB now looks like this:
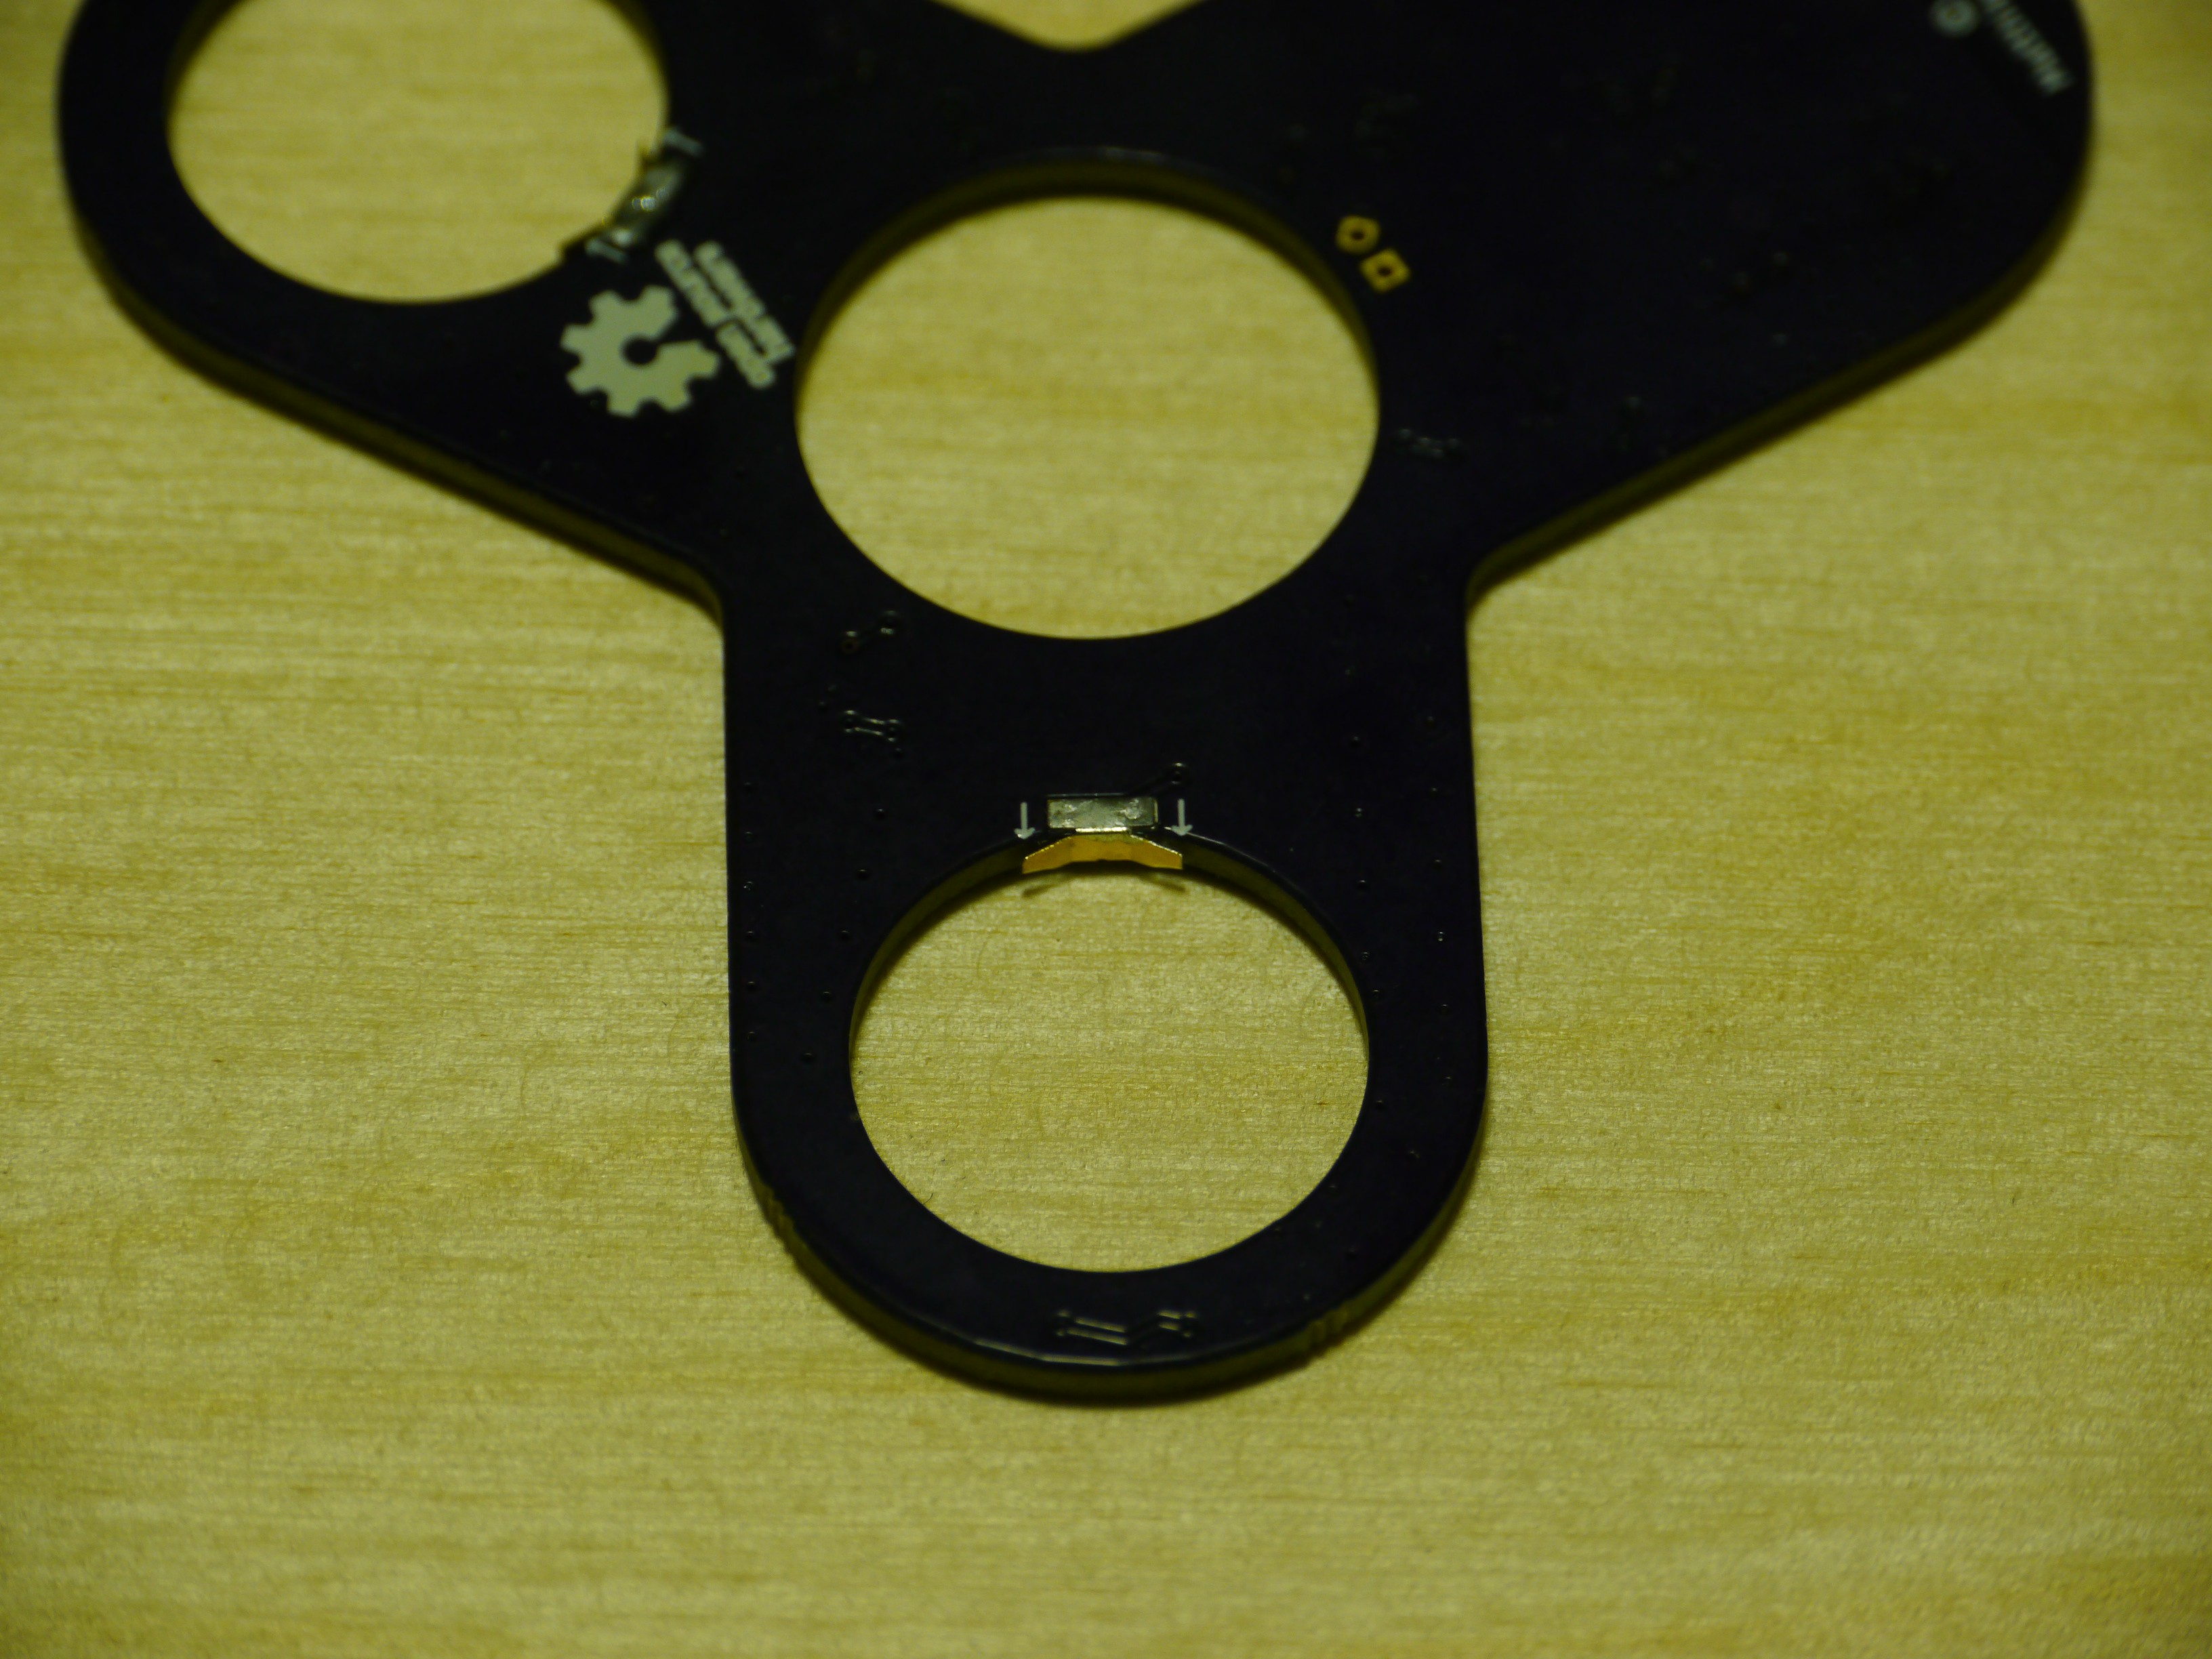
Since I need electrical contact on the outer bearings (they will be used for charging), I used the battery contacts I described in one of the earlier logs. They fit really well and are even able to hold the bearings in place.
Tomorrow, I plan to finally mill the back cover, upload the videos (both of stencil cutting and milling), put everything together and finally do a smoke test. Hopefully, the magic smoke will stay inside...
Discussions
Become a Hackaday.io Member
Create an account to leave a comment. Already have an account? Log In.
Very exciting!
Are you sure? yes | no
I missed the battery contact trick before - nice!
Are you sure? yes | no
those stickers though! and also nice boards :)
Are you sure? yes | no
This is looks great, thanks for the updates!
Can't wait to see the videos :-D
Are you sure? yes | no
Those boards look awesome! Good job!
Are you sure? yes | no