MasterOfNull
-
A long time ago..
05/05/2019 at 00:54 • 0 commentsA long time ago in a house far, far away I started this project.
It's still waiting on an elegant, more civilized crystal chamber to be designed and fabricated.
May the 4th be with you.
-
I finally saw Last Jedi
10/03/2018 at 23:22 • 0 commentsI realized that in my fever for the other projects, that I had never actually seen The Last Jedi, so I remedied that.
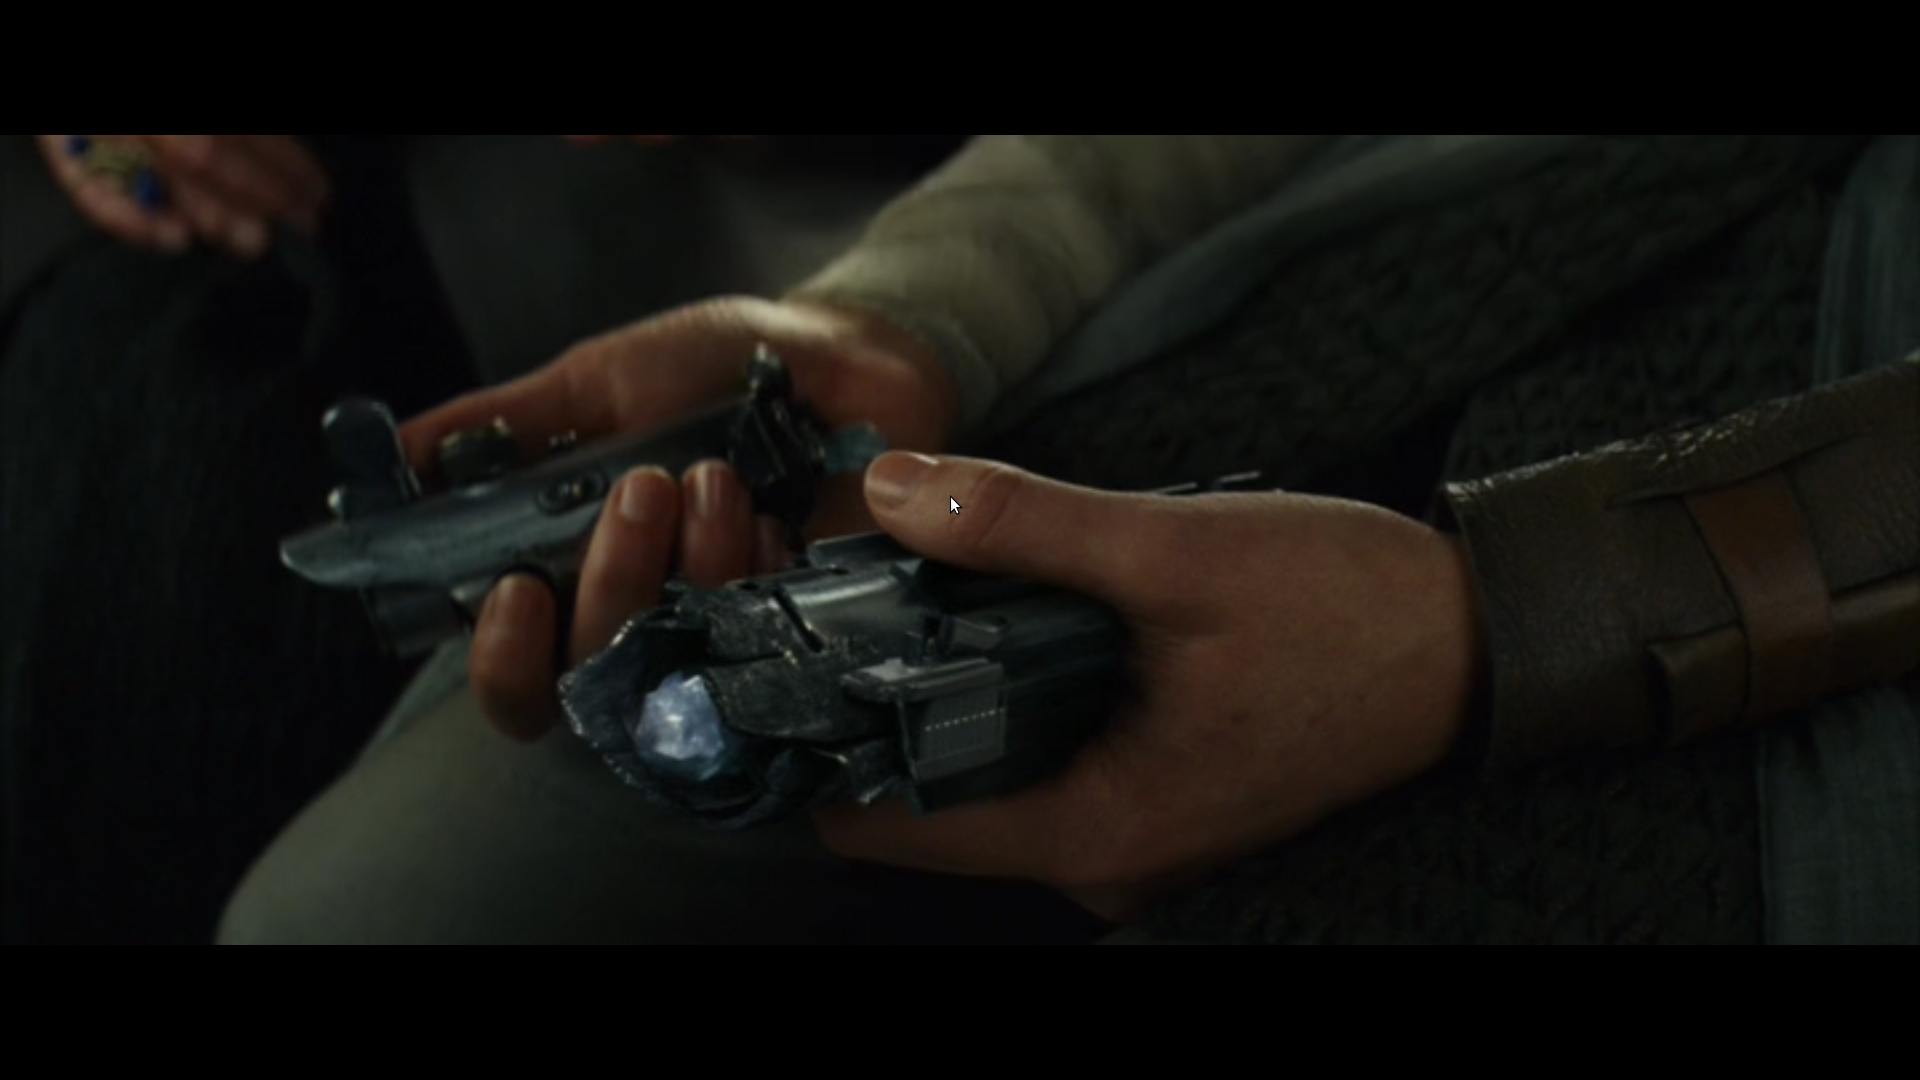
At timecode 2:22:22 (what a cool coincidence...) in the movie we see it split down the middle with the crystal exposed.
![]()
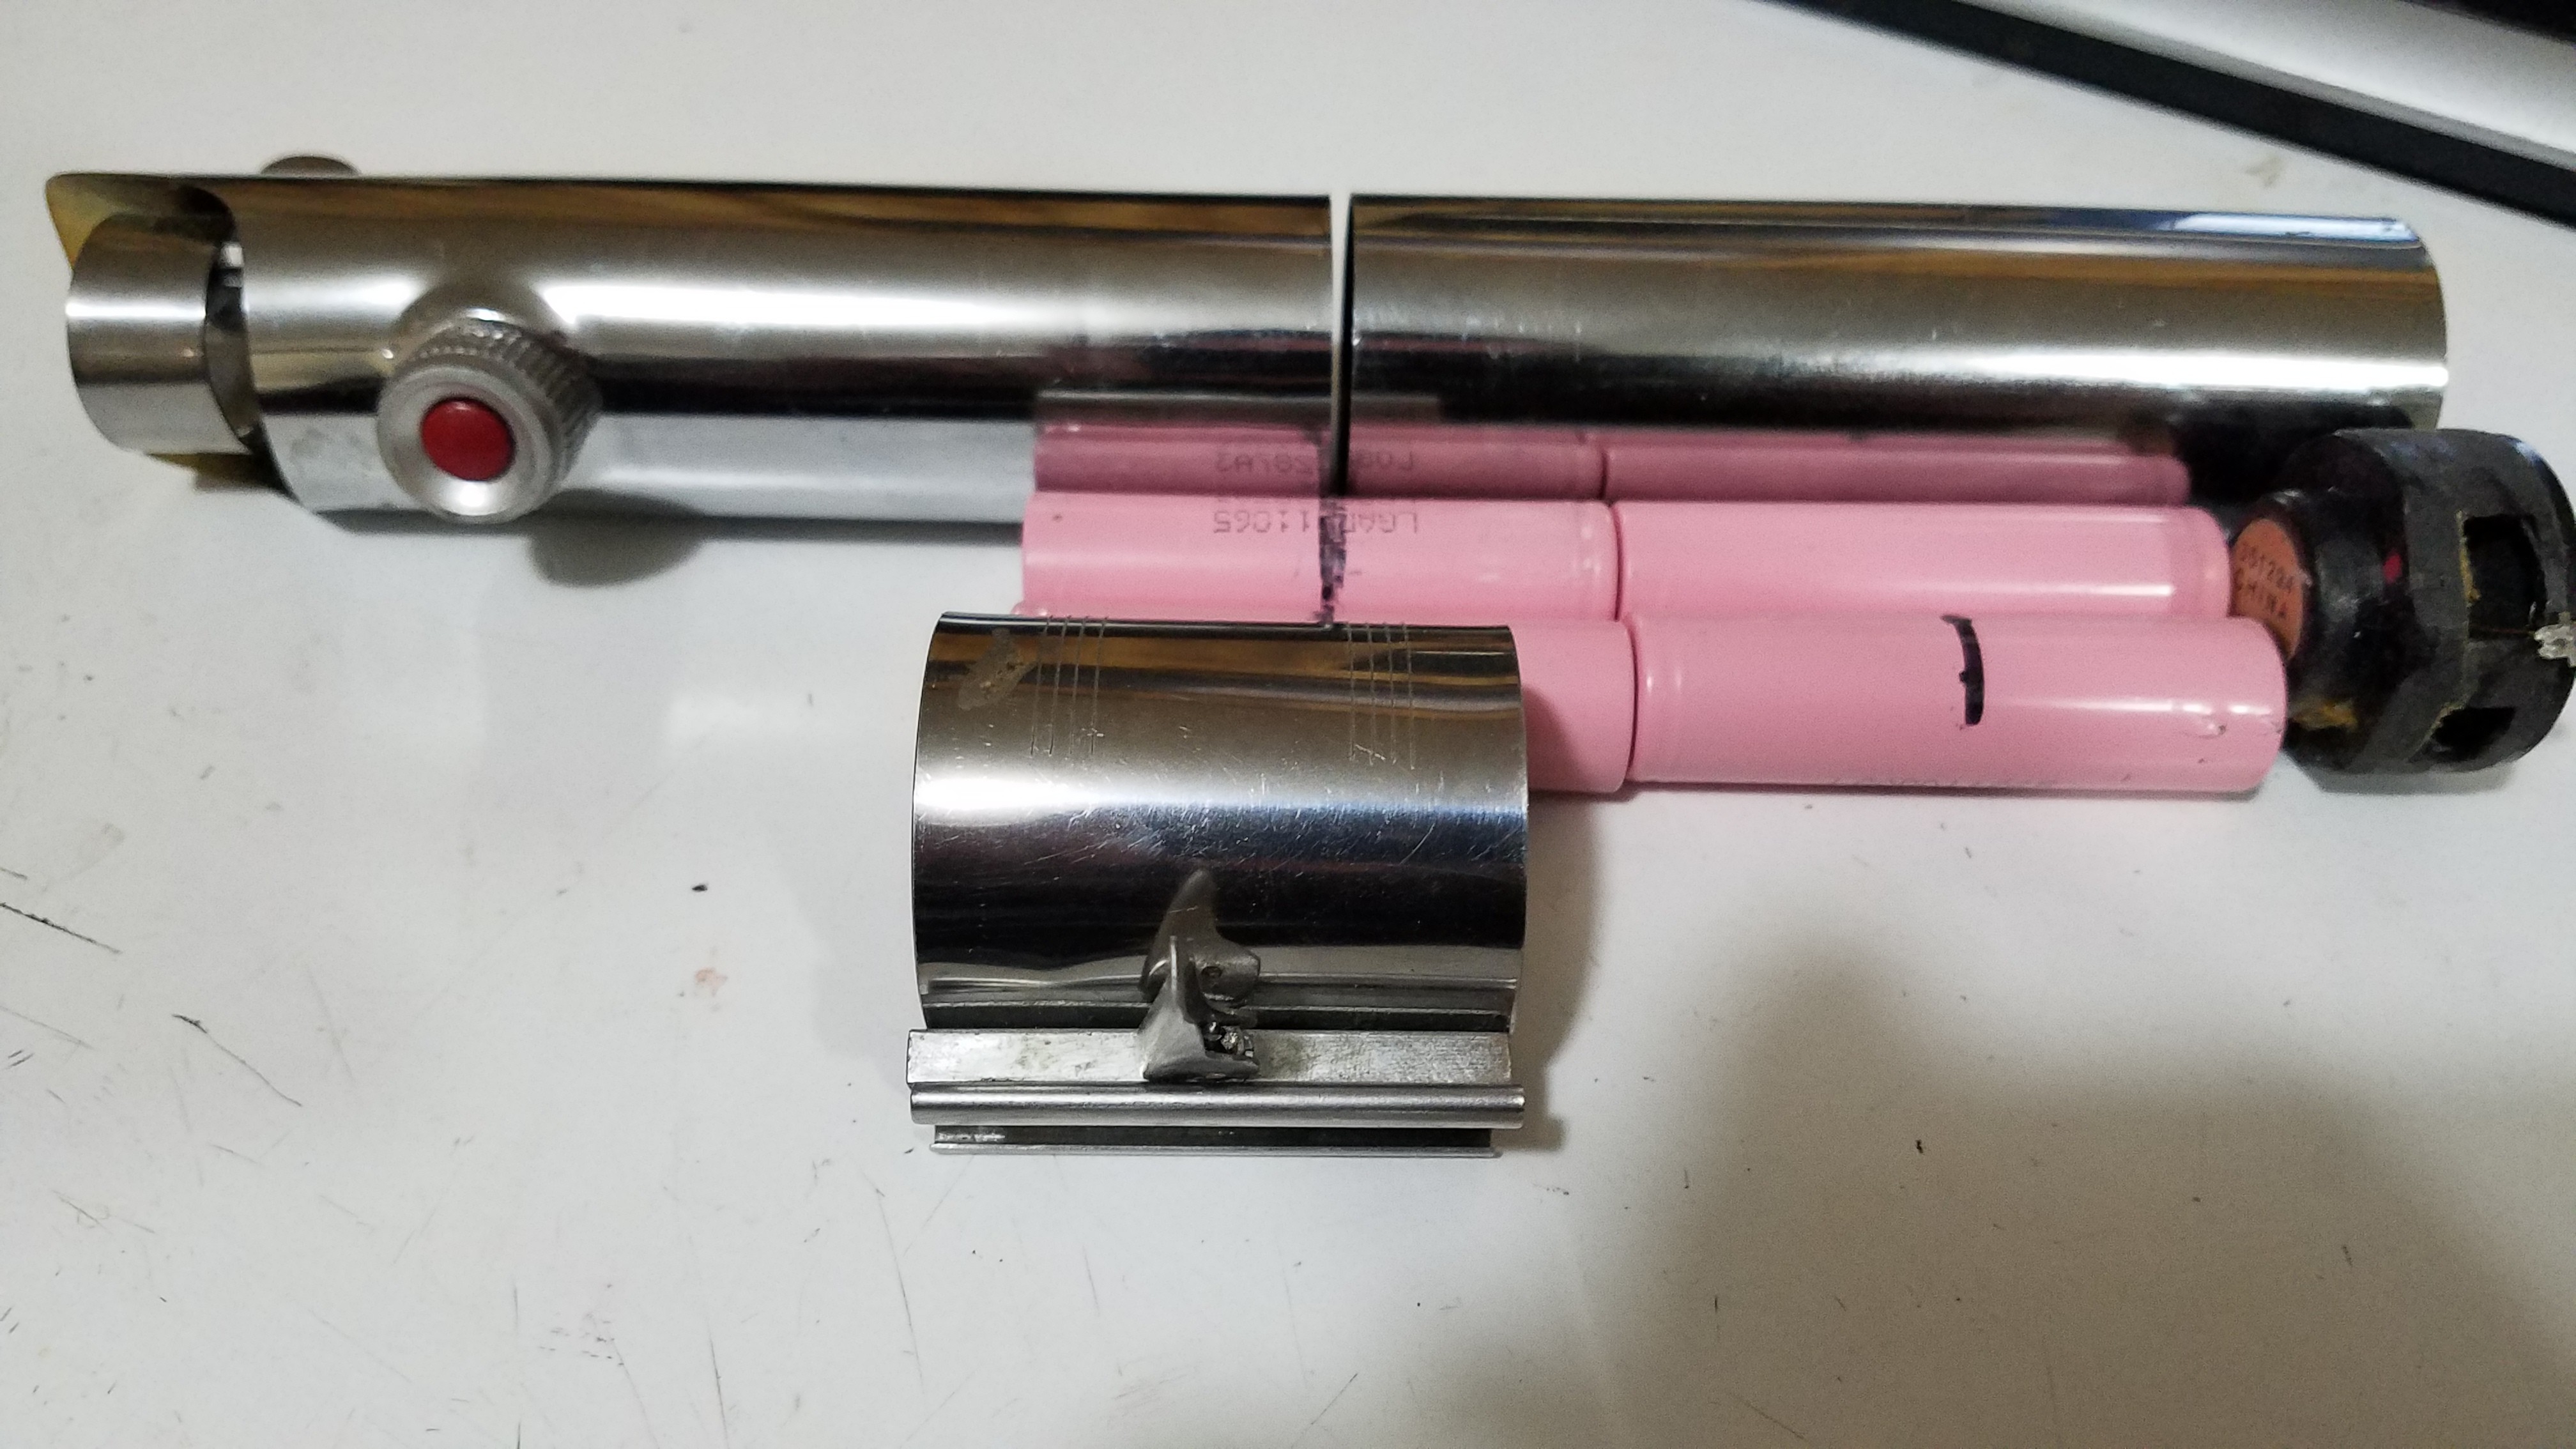
This got me thinking. In the capture, the crystal appears to sit just about even with the end of where the retaining ring goes. If I cheat a little by sliding the retaining ring up, I can then fit 4 18650's and my oversized speaker, fully behind that in the lower handle. That gives me 14.8v-16.8v for driving the blade directly and enough Ah to run it for a good long time.
![]()
A little PWM will manage regular (full) brightness, with the ability to surge to 130% brightness for simulating strikes. Sounds like a plan.
This is also the best spot for them weight wise as it will balance out the blade much better than having them further up top. I think I might extend the lower tube so the joint is back in the middle, but measurement wise, those were the 'correct' dimensions. I just don't want to sacrifice the crystal chamber, or battery life, so this seems like the next best compromise.
-
The bits.
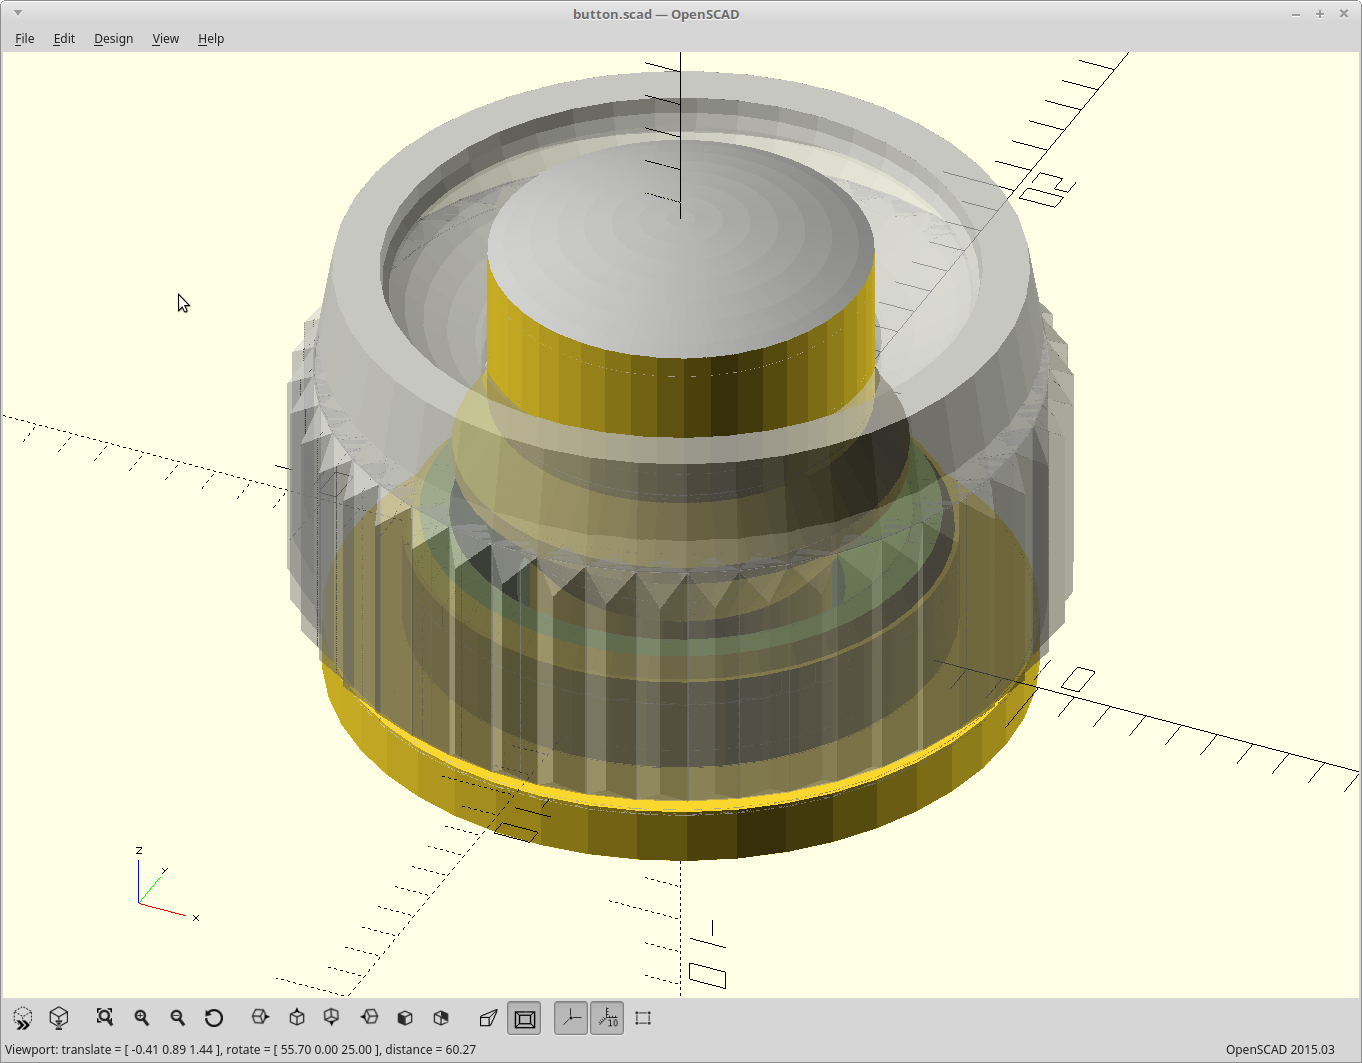
08/06/2018 at 10:00 • 0 commentsSo far I've only generated the replica buttons and the blade tip for the 3D printed parts, but they turned out nice...
Somewhere along the line I also generated screen accurate grips and I have the sliced gcode from it, but I don't seem to have the STL's or the OpenSCAD source code for that anymore. :(
Snaps together, retains the moving button between the two parts, is printable flat, and is accurate enough.
![]()
The bottom sticks out a bit when pressed so I can use it to trigger a microswitch in the body parts later.
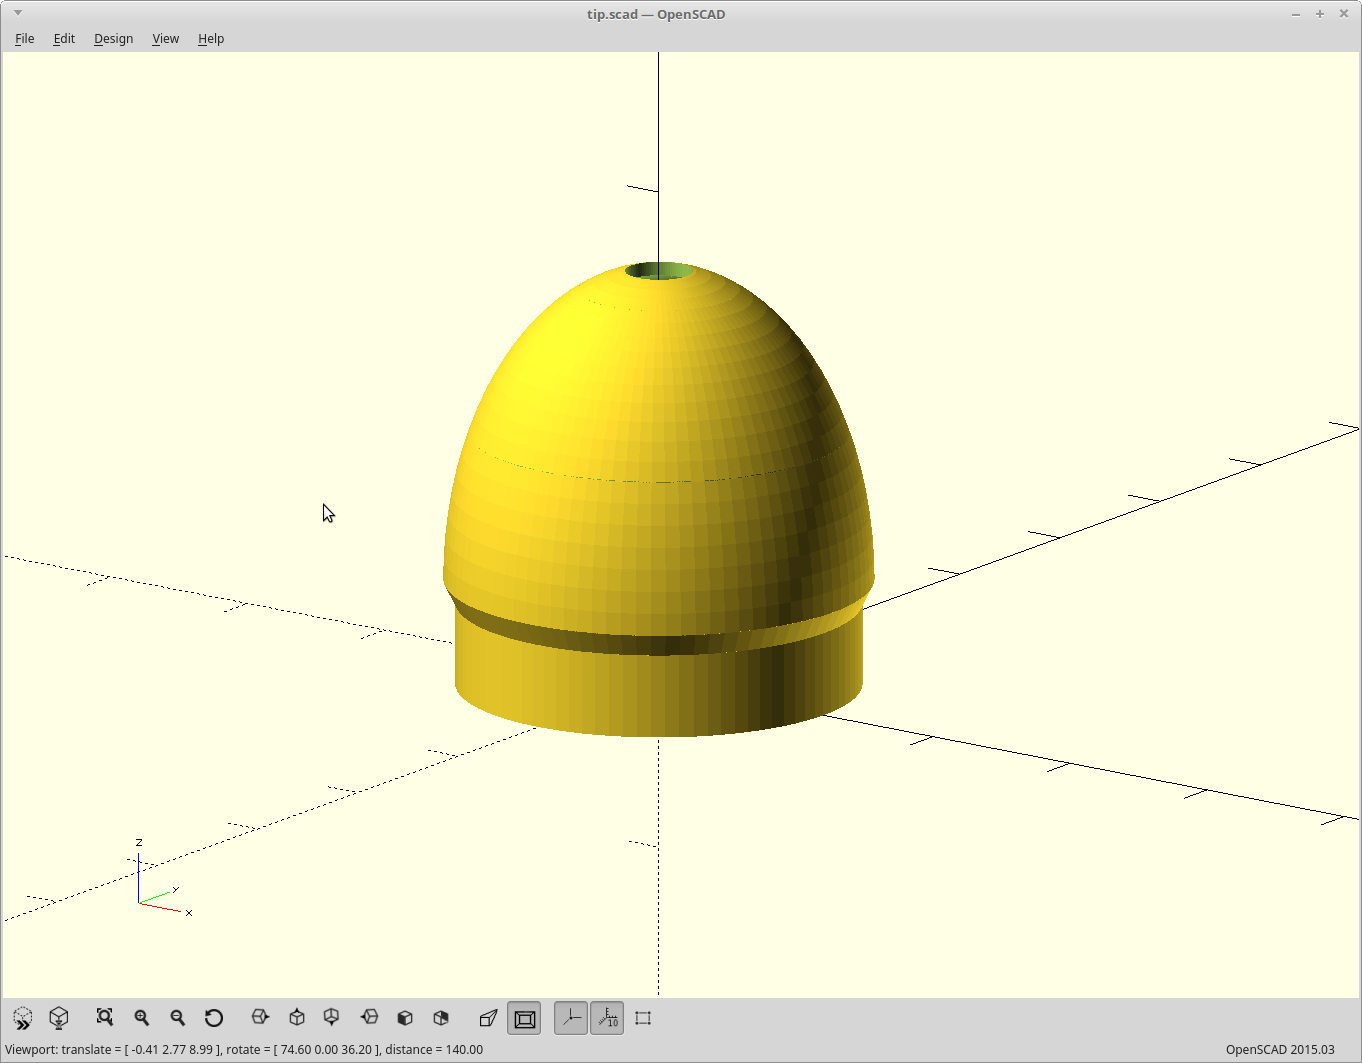
The tip is a press fit for the polycarbonate tubing I have for the blade, and has a hole to allow air to move through if I end up needing that. I have 4m of LED strips in my blade, so I might.
![]()
-
A photo!
10/04/2017 at 19:14 • 0 commentsTook the time to add a photo of the mostly completed body.
It was made from 2 sink extension tubes, some square stock, a drywall mud tray, and a few 3D printed bits. Total parts cost so far ~$20.
The only batteries I have suitable to power the 12v blade are 18650's but using those without a DC-DC boost converter doesn't leave a whole lot of space for the crystal chamber.
On hold for now.
-
I'm terrible
08/24/2017 at 02:09 • 0 commentsThe blade and body are done, and I haven't posted a single update.
I have a multitude of pictures, a couple how-to videos and I've started on the code.
The same goes with three other concurrent projects all of which are nearing completion.
I need a publicist, or at least more self discipline.
YaLS2 - Yet another Luke Skywalker LightSabre
The force is strong with this one.