First I soldered the USB 3.0 micro female connectors for the controllers on the wires I had soldered on the main board. ( I used a breakout board to make the soldering easier. ) After some tests I recognized that the 4th pin / ID-Pin of USB 3.0 micro isn't usable at all. Now I needed a new 4th pin and found out that the shell goes through the wire as well. So I just used a piece of wire and connected the 4th pin with the shell.
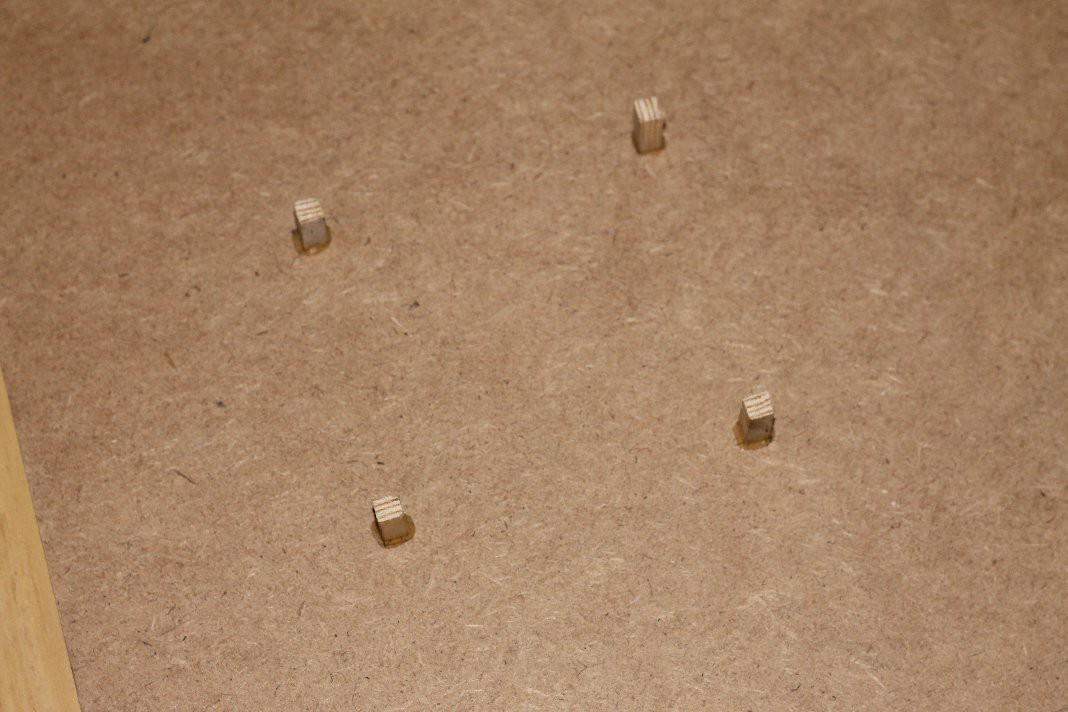
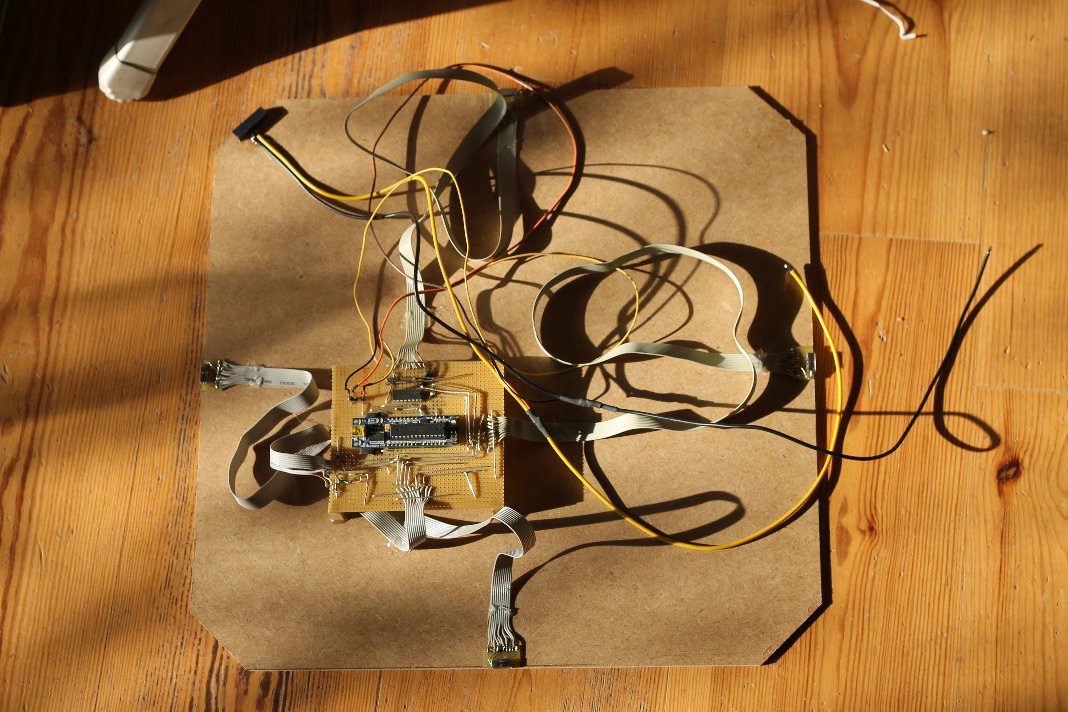
Next I glued some short sticks on the bottom to glue the main board on it.
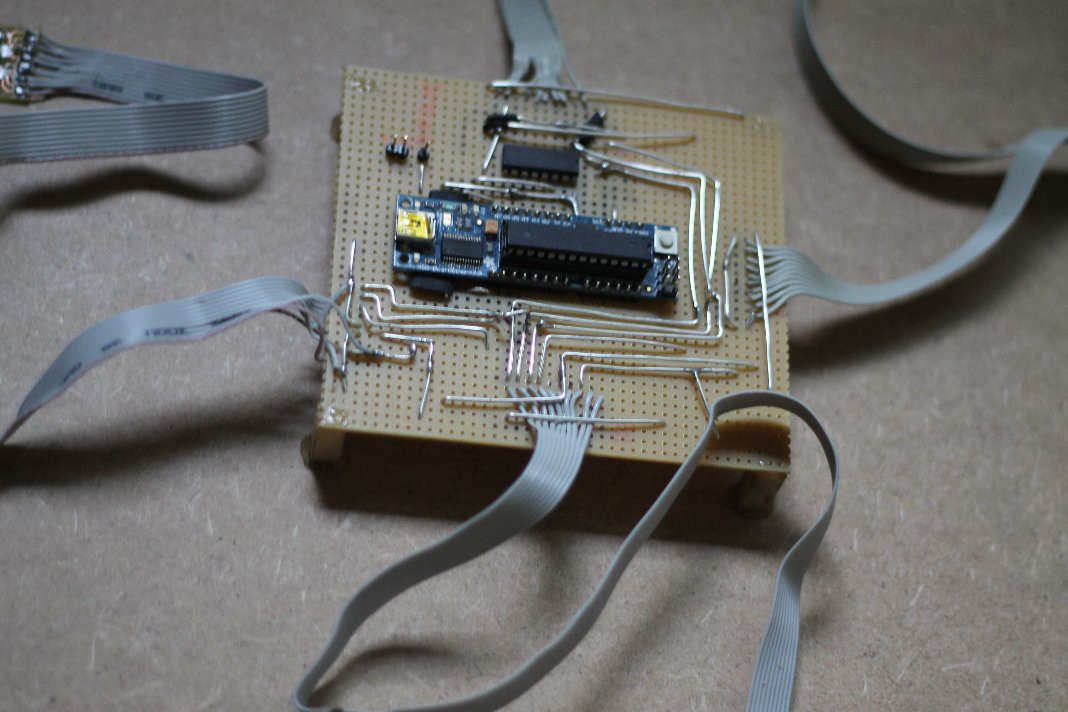
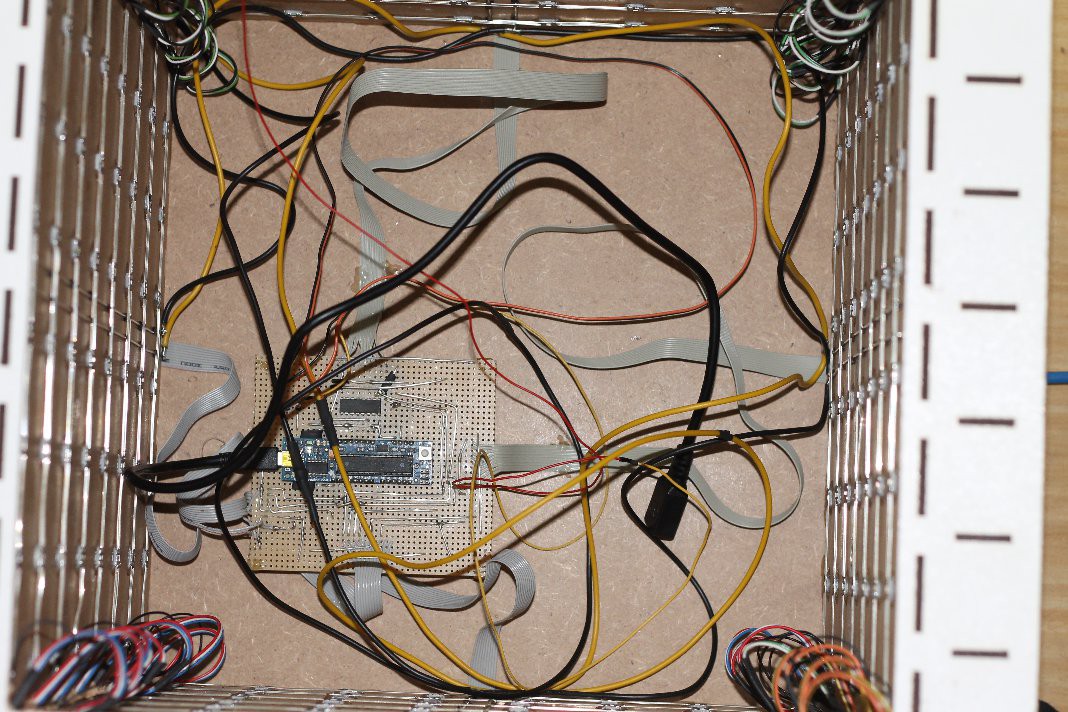
Next I glued the main board and the connectors on the bottom.
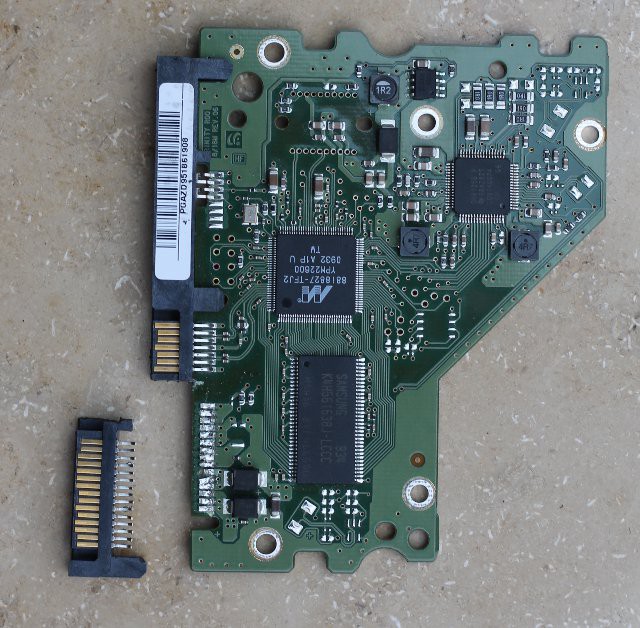
Then I needed a as small as possible power suply. I ended up with SATA. The problem was: where to get a female SATA connector ? The answer is: out of a broken hard disk.
Next I pulled out the pins i didn't needed, wired the connector with the main board and glued the connector on the bottom.
 sisam
sisam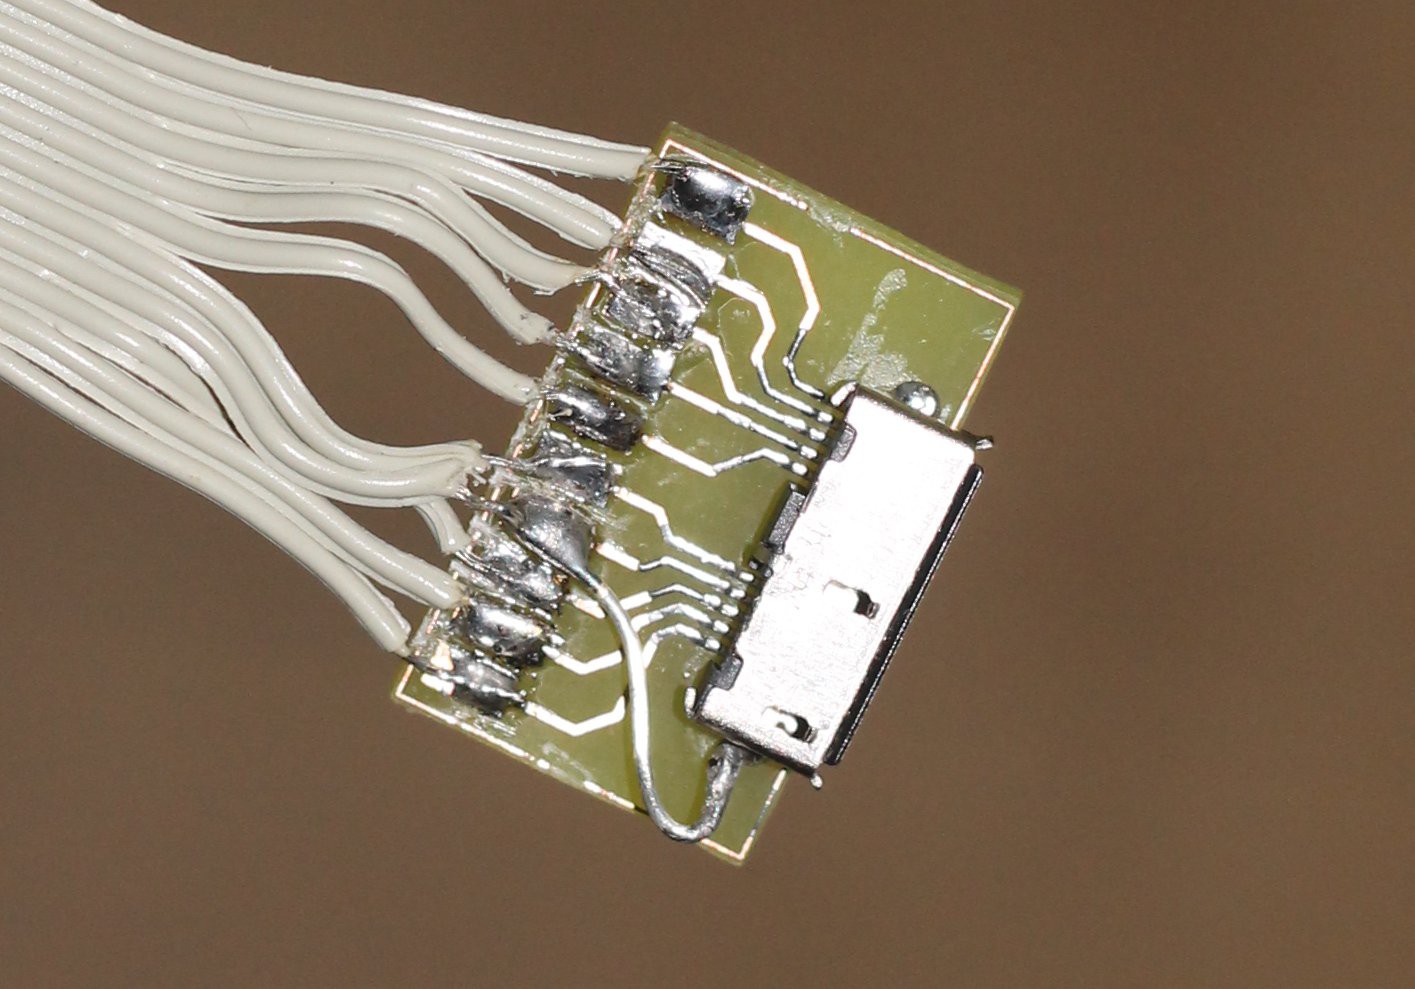
Discussions
Become a Hackaday.io Member
Create an account to leave a comment. Already have an account? Log In.