 slantconcepts
-
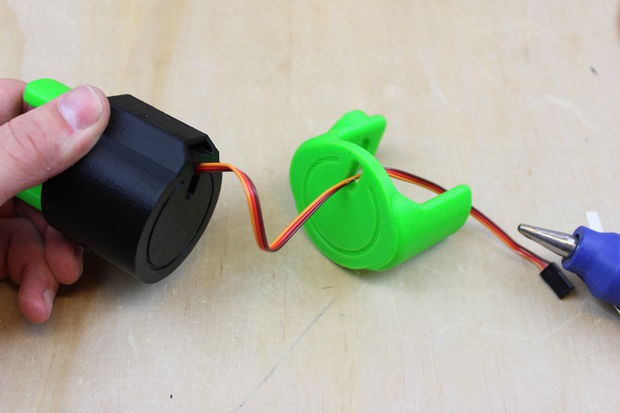
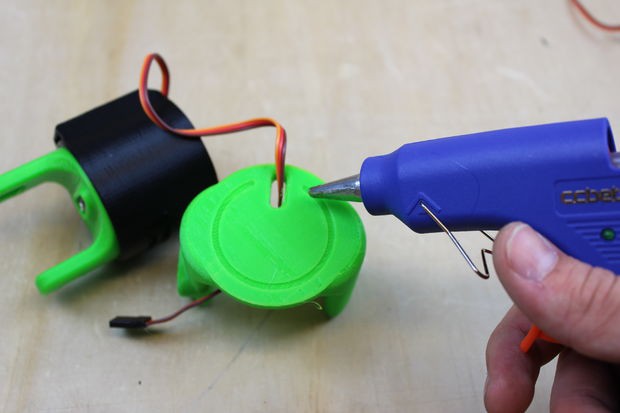
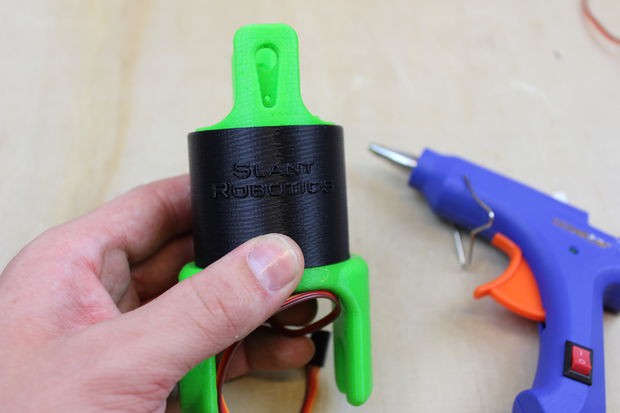
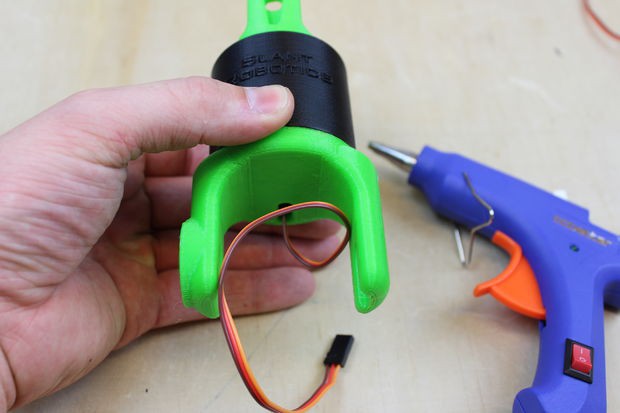
11Join Elbow and Wrist Cuff
- Feed the Cuff servo wire through the holes in the Cuff and the Elbow Yoke
- Apply hot glue to the channel at the base of the Elbow Yoke and then press the Yoke to the Cuff so that the wire slots align
![]()
![]()
![]()
![]()
-
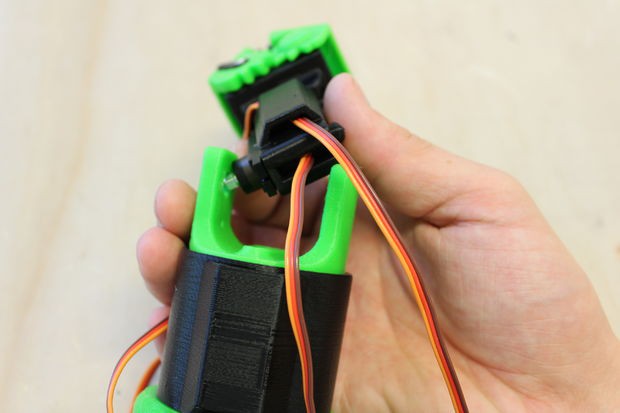
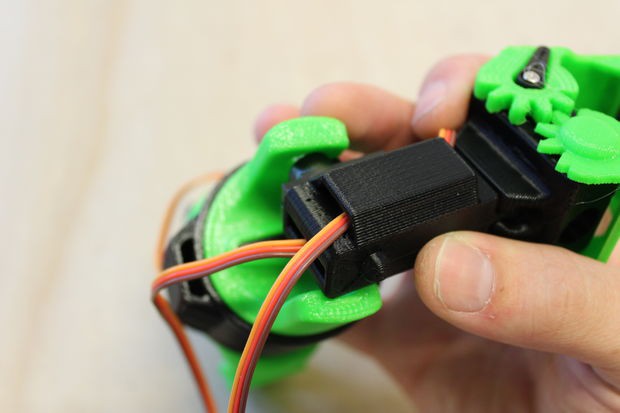
12Join Wrist and Gripper
- Connect the Gripper and Wrist End to the Wrist Yoke. Lead with the servo armature.
- Position the Wrist at a 90 degree angle to the Wrist Yoke and apply the servo horn as shown. Secure with screw.
![]()
![]()
![]()
![]()
-
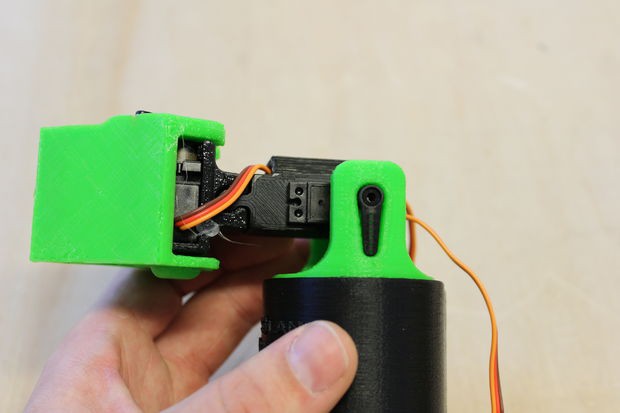
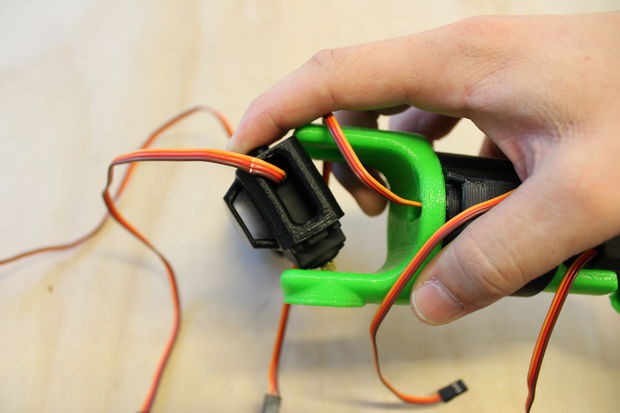
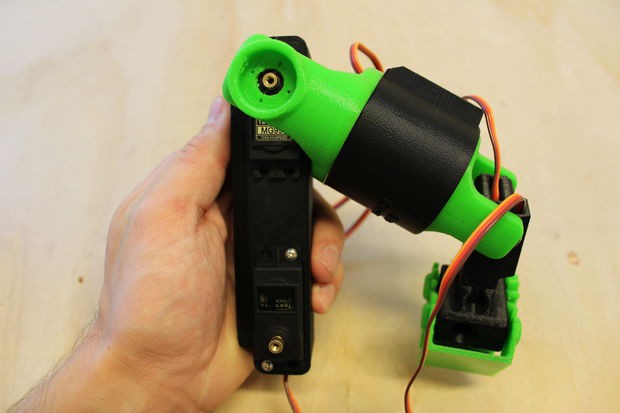
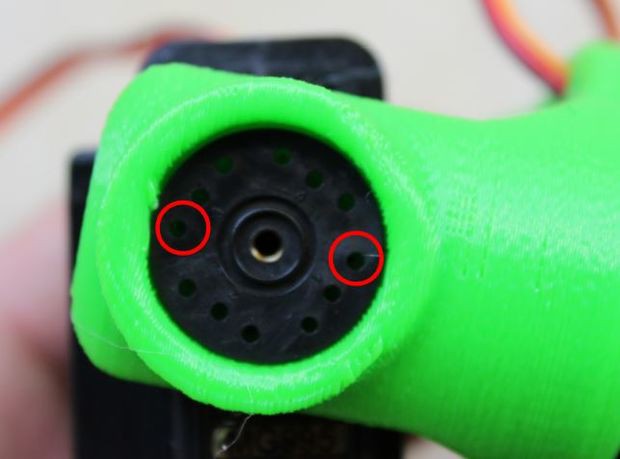
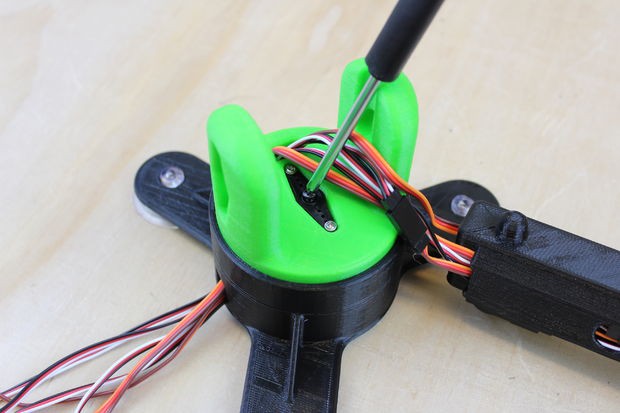
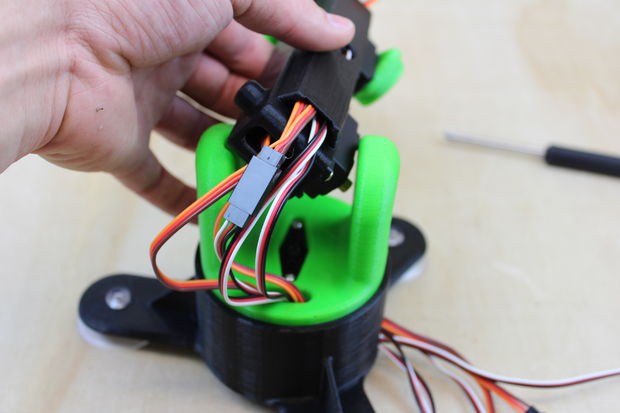
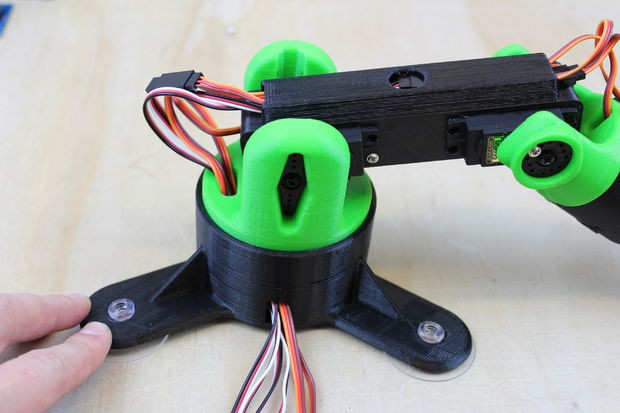
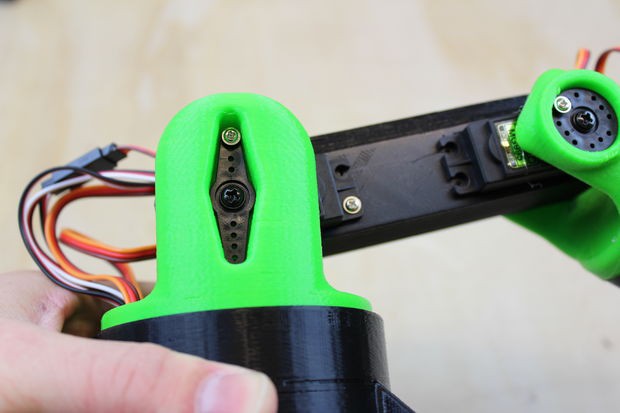
13Join Forearm With Upperarm
- Remember that the small nub on the Upperarm is the elbow rotation nub
- Connect the Elbow and Uppearm. Lead with the servo armature
- Rotate the Forearm to the clockwise extreme and apply the circular servo hub
- Align the holes of the servo hub with those in the elbow yoke.
- A single short servo mounting screw is sufficient to secure the Elbow Hub at either of the two locations
![]()
![]()
![]()
![]()
![]()
-
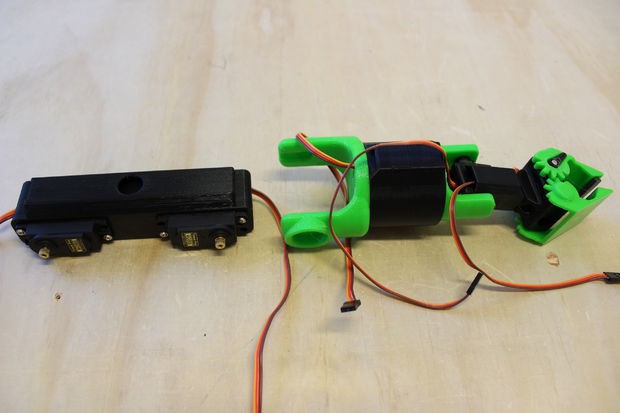
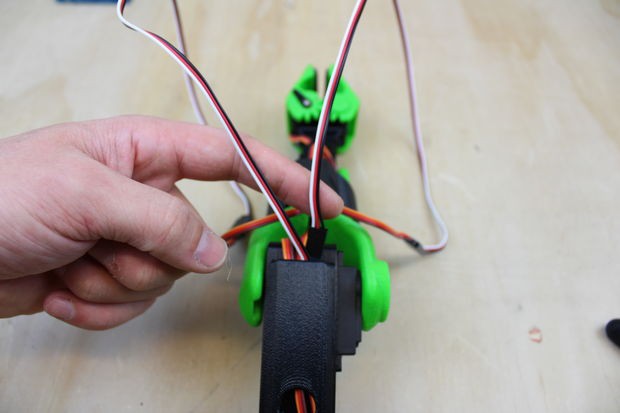
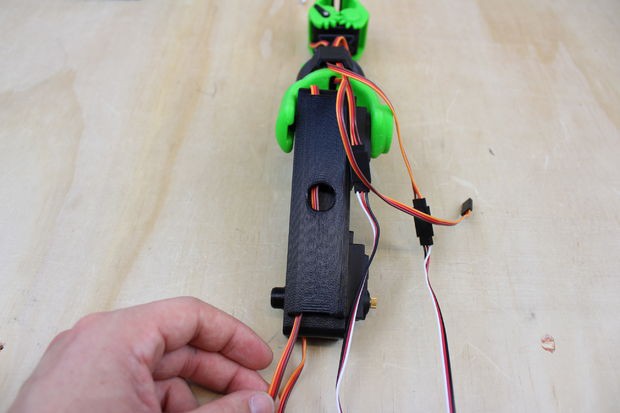
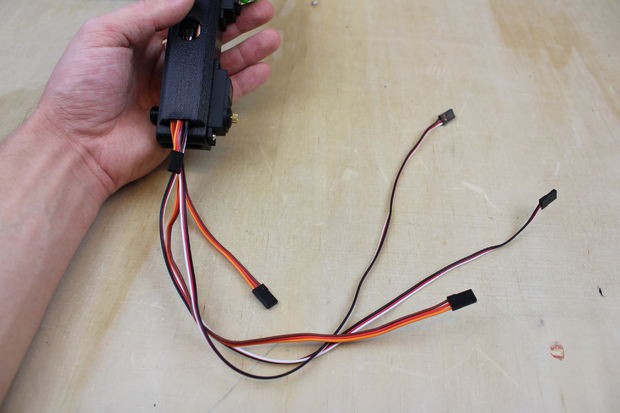
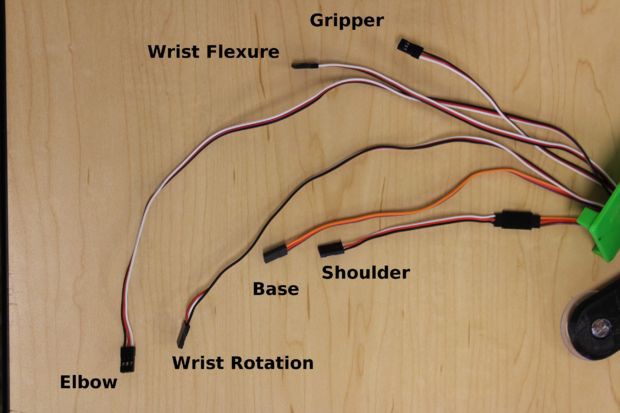
14Running Wires
1. Run the Gripper and Wrist End Servos through the Wrist Cuff channel. Leave slack so motion is not impaired
2. Connect the long (50 cm) wire extensions to the Gripper, Wrist End, and Wrist Cuff servos.
- Black to Brown
- Read to Red
- Yellow to White
3. Run the servo wires through the Upperarm in the following order
- Elbow Servo
- Wrist Cuff Servo
- Wrist end Servo
- Gripper Servo
4. When complete all wires should be through the Upperarm with slack at the top for motion.
5. Thread all wires through the Shoulder Yoke and base.
![]()
![]()
![]()
![]()
![]()
![]()
![]()
-
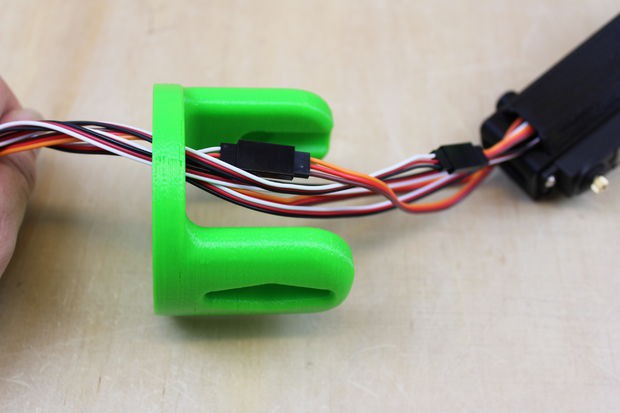
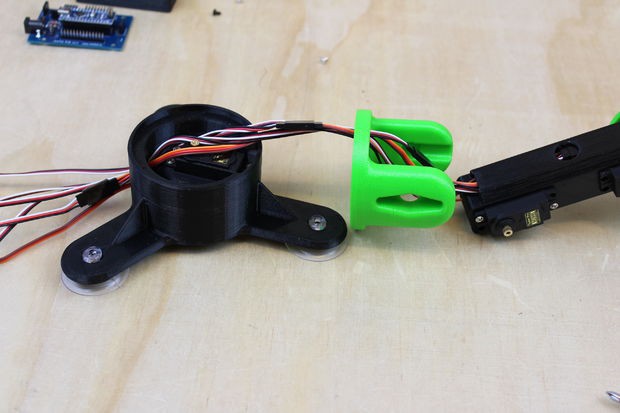
15Attach Shoulder
Coil wires through clockwise side of base and apply the shoulder as shown to Base.
![]()
-
16Connect Arm to Base
- Connect the Shoulder to the Shoulder Yoke. Lead with Servo Armature
- Place the Upperarm at a 90 degree angle to the Base and apply the servo horn
- You may use a Short Servo Mounting Screw to secure the horn and improve the precision of the arm. But it is not necessary.
- At this point the arm should be pointed down and to the right as shown.
![]()
![]()
![]()
![]()
-
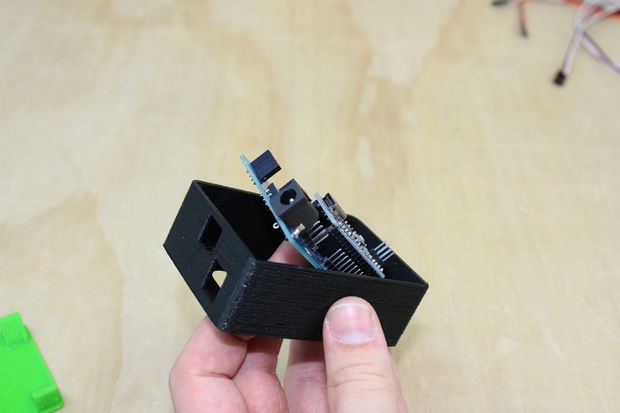
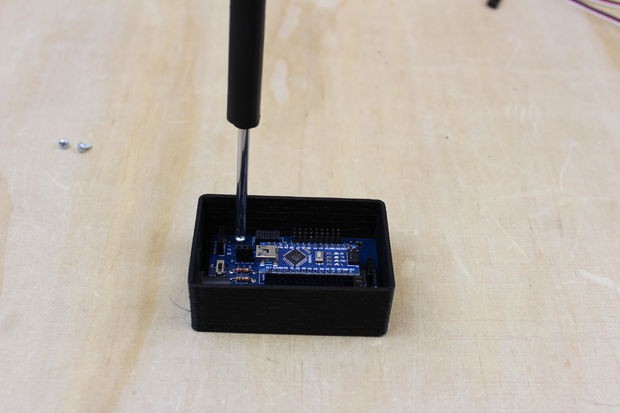
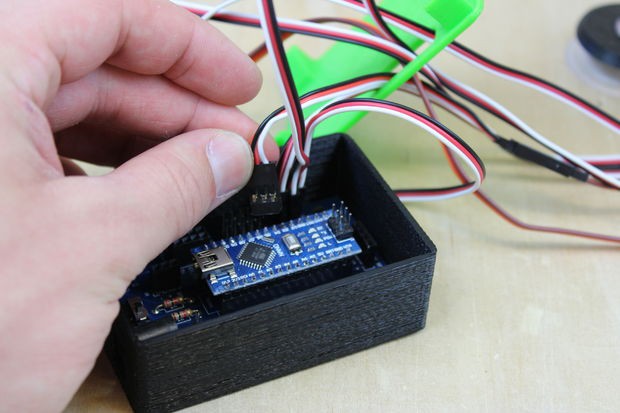
17Electronics
- Insert the Board into the electronics box so the power adapter and USB connection point toward the matching holes in the box.
- Secure the board with the 4 Arduino Board Screws.
- Connect the short (10 cm) servo extension wire the shoulder servo wire.
- Thread all servo wires through the electronics box lid.
![]()
![]()
![]()
![]()
![]()
-
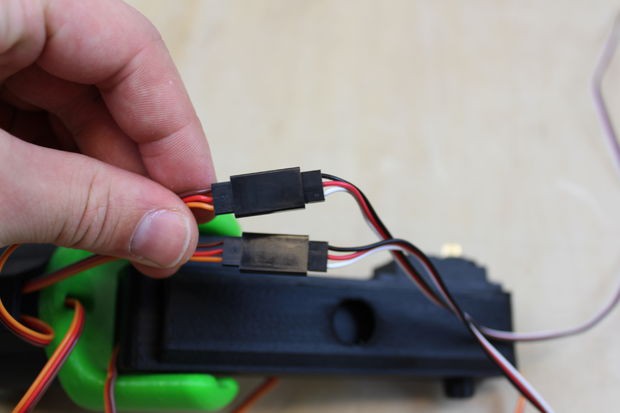
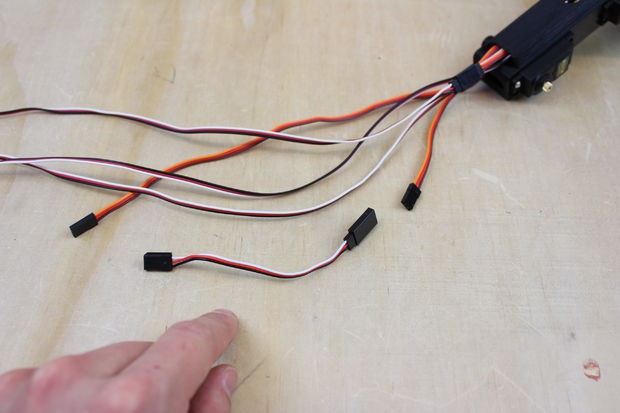
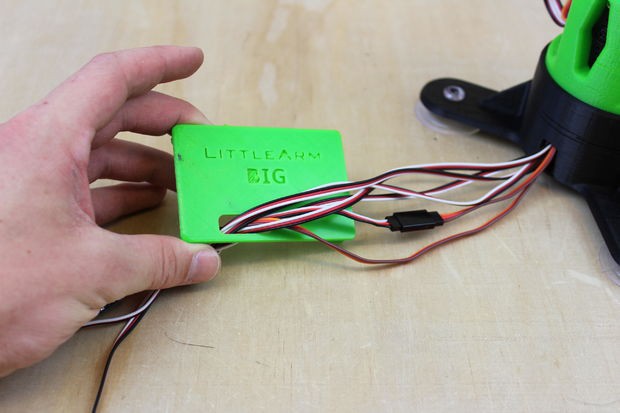
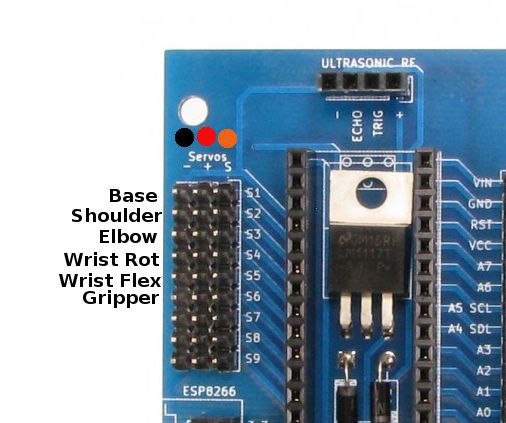
18Electronics 2
- Connect Servo Wires according to the diagram.
- Seal the electronics box
It is easier to identify servos based on the length of the wire.
![]()
![]()
![]()
![]()
-
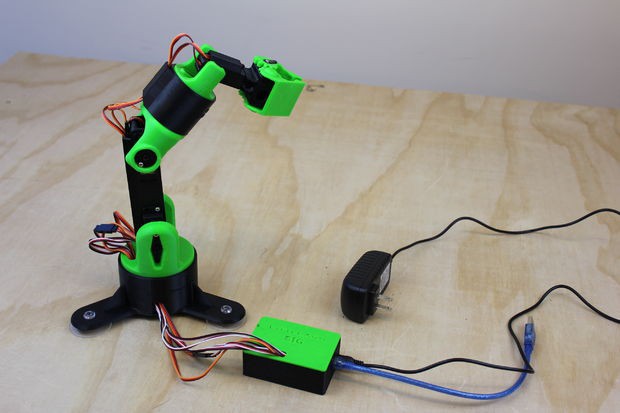
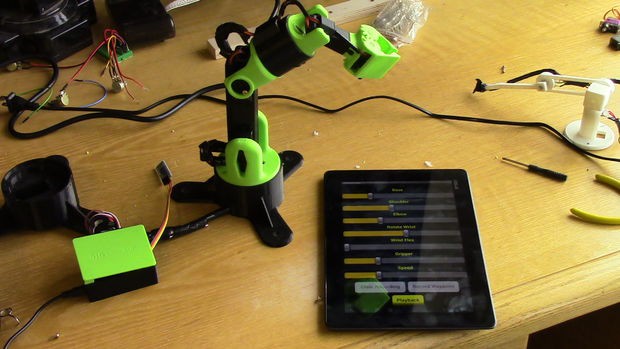
19Finished
The Arm is finished!
You may download the arduino code and desktop software here.
Here is the Bluetooth App.
![]()
![]()


Discussions
Become a Hackaday.io Member
Create an account to leave a comment. Already have an account? Log In.