 slantconcepts
-
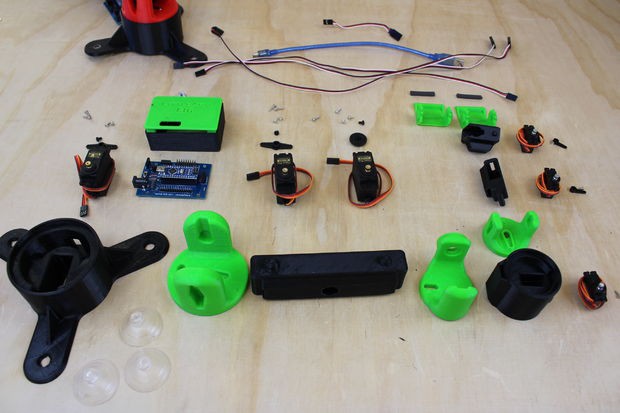
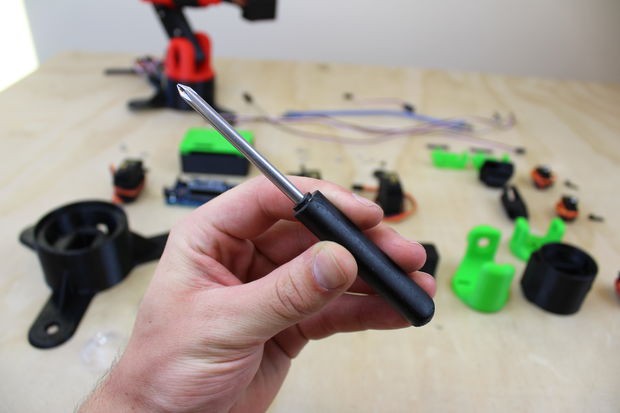
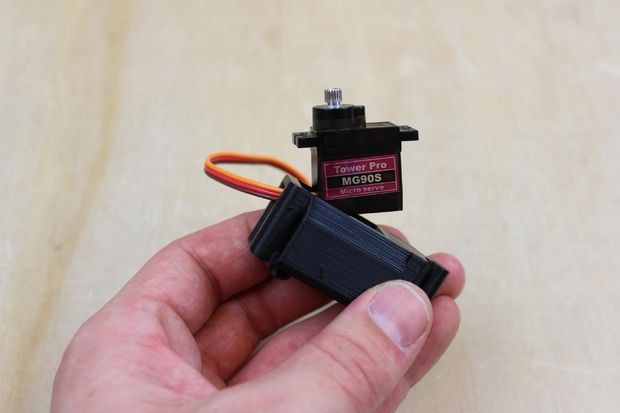
1Parts and Tools
This tutorial outlines all of the mechanical assembly of the LittleArm Big.
All code and files are available on the LittleBots Website.
All Parts for the LittleArm Big are included in the kit. The Parts for the Kit can be purchase from the LittleBot Store.
![]()
![]()
![]()
![]()
-
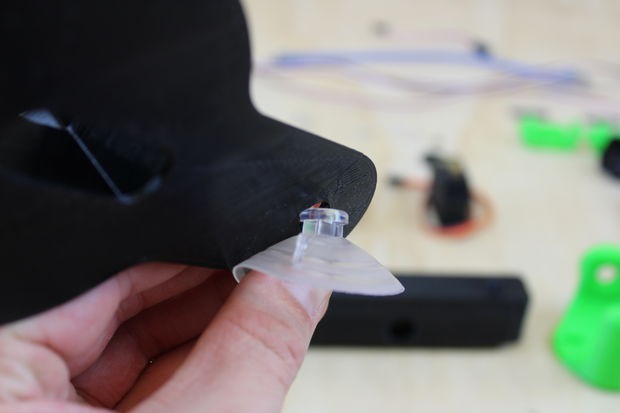
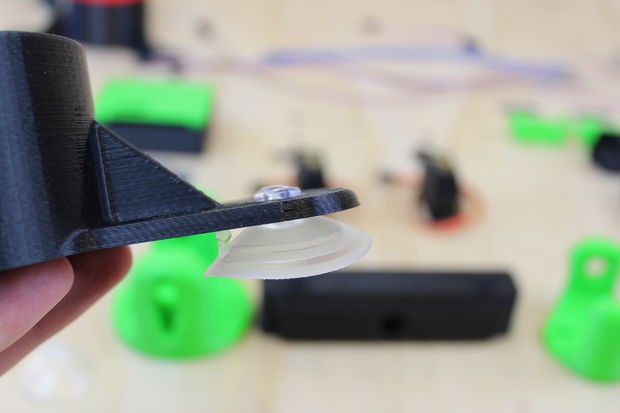
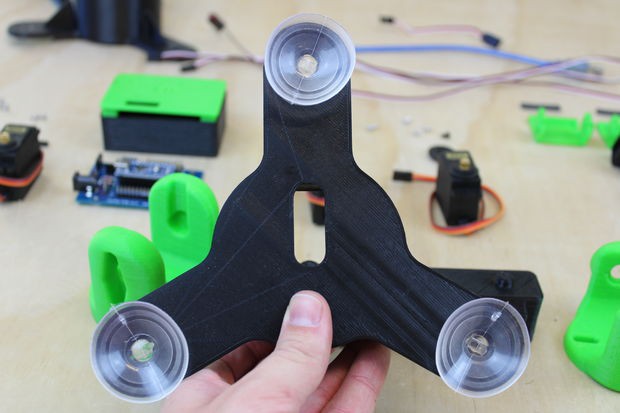
2Attach Suckers
![]()
![]()
![]()
-
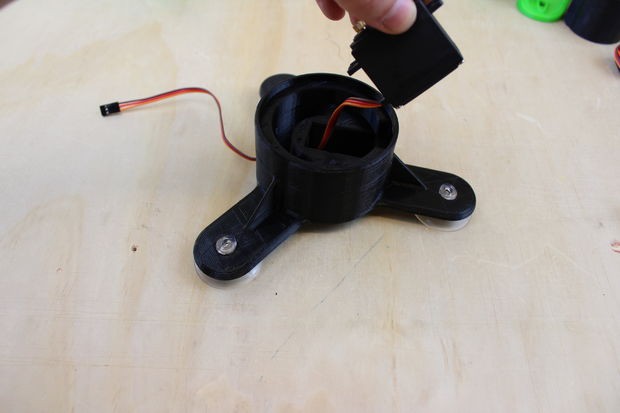
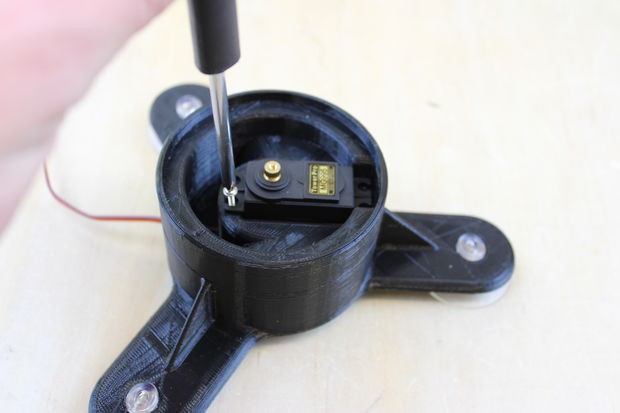
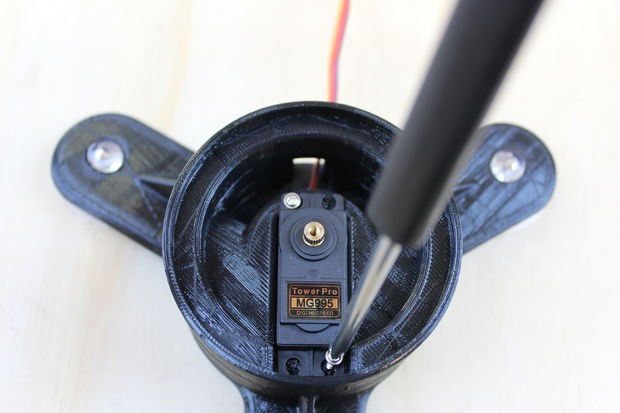
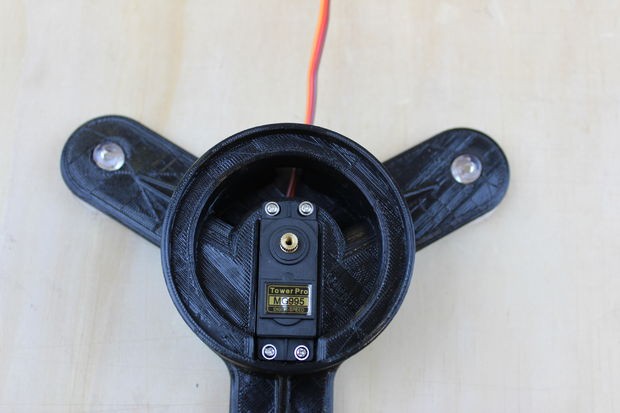
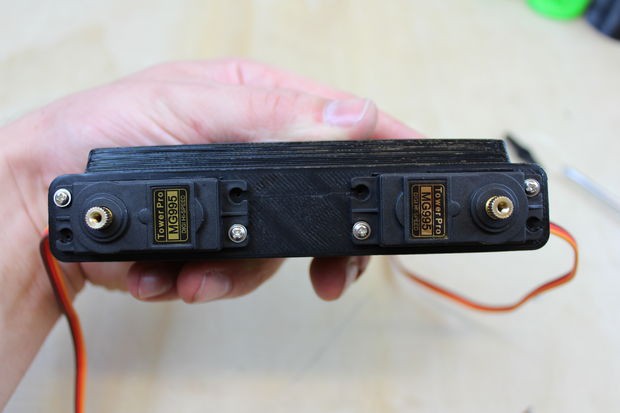
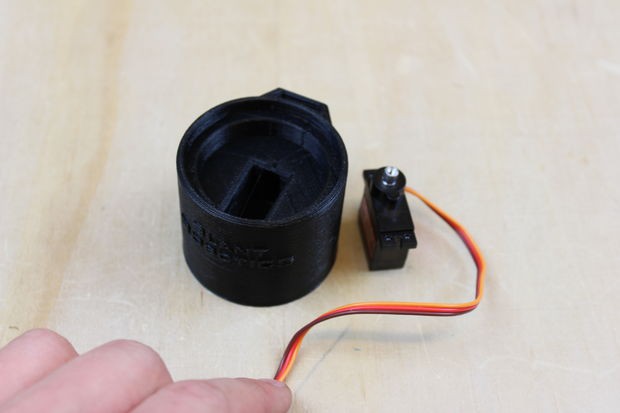
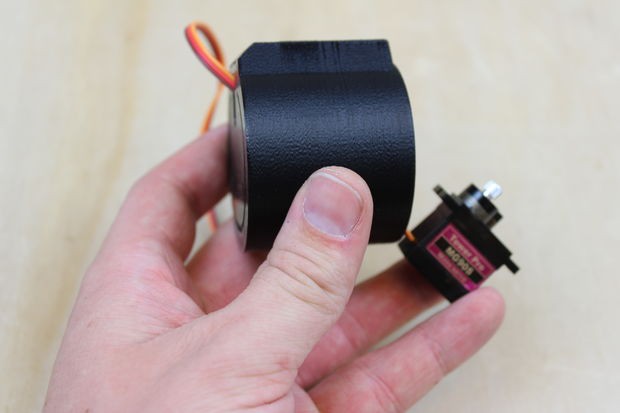
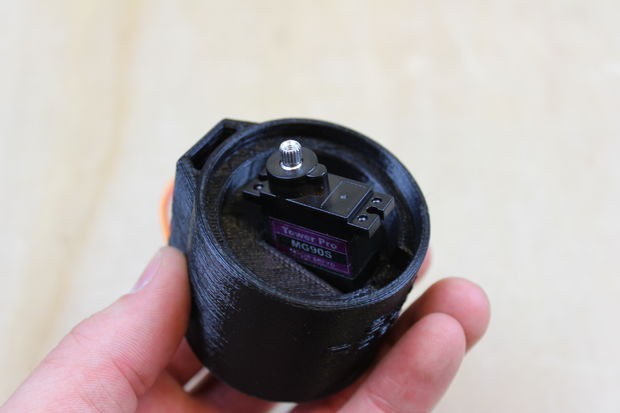
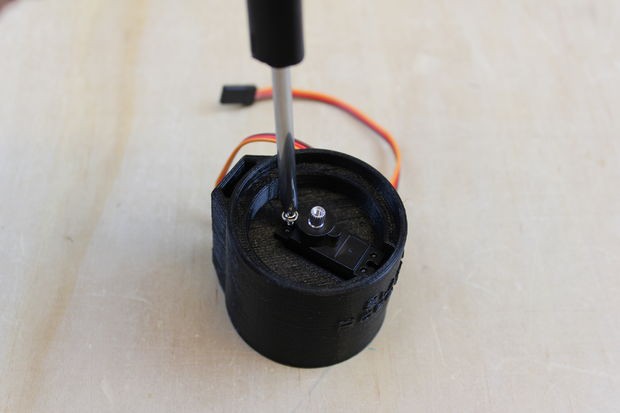
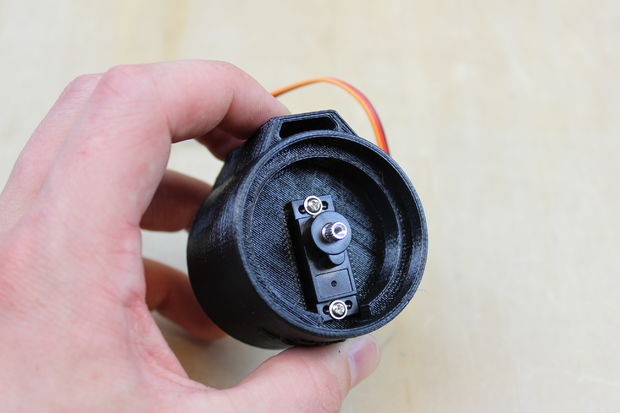
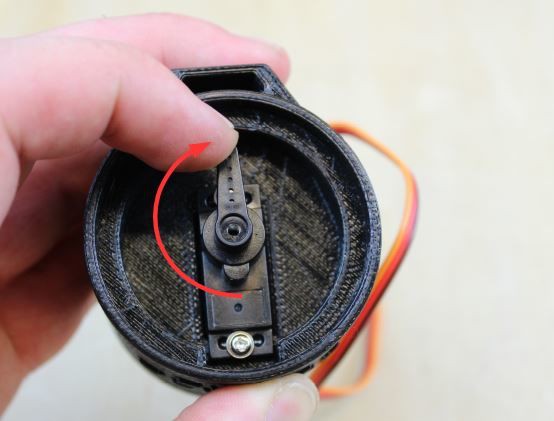
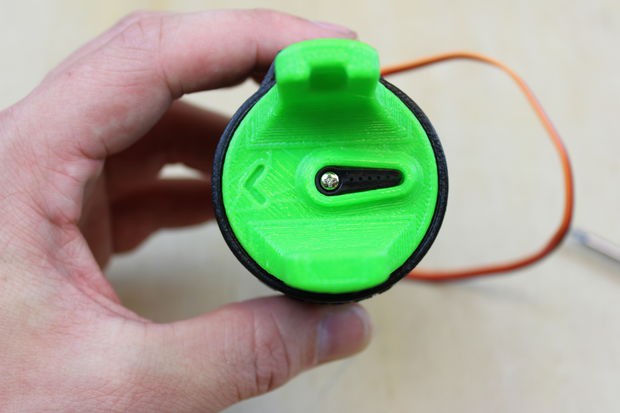
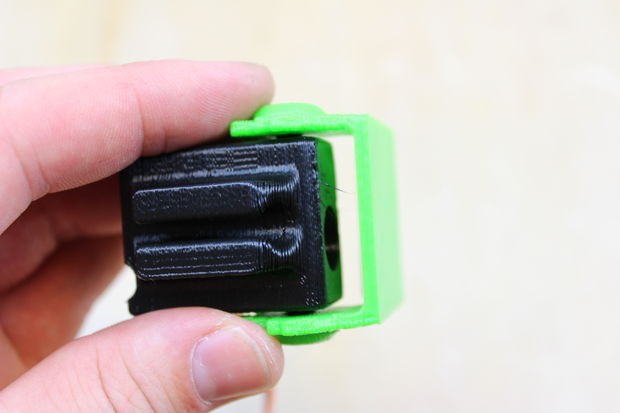
3Insert Base Servo
Feed servo wire through the tunnel out the back of the servo slot.
Start the servo into the slot angled so that the wire-side leads. Then press firmly to set the servo.
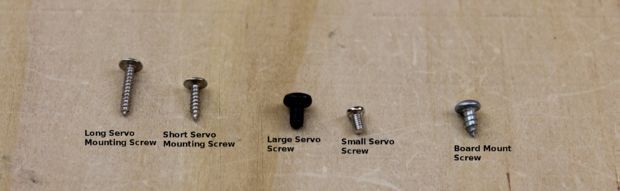
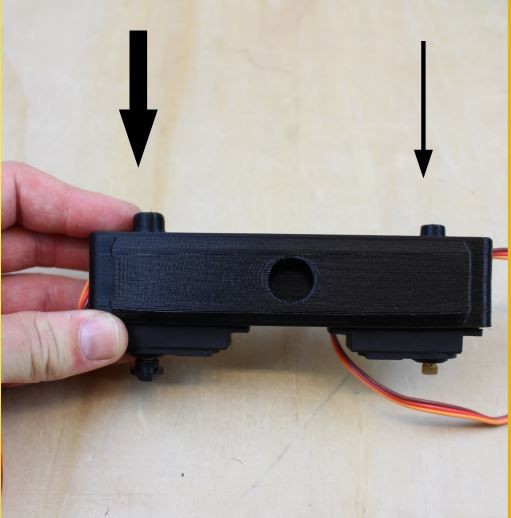
Use 2-4 long servo mounting screws to secure the servo into the base. Insert screws in a star pattern
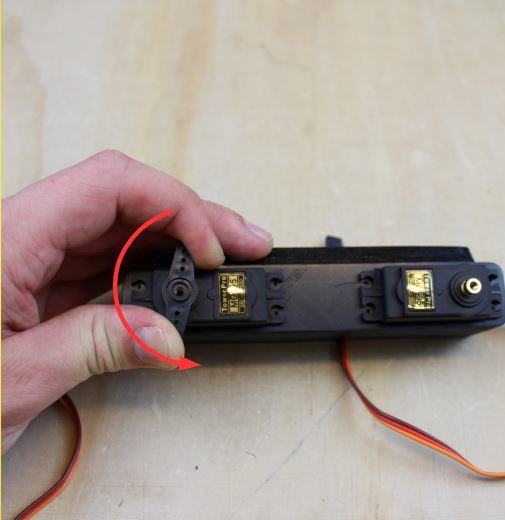
Use a servo horn to gently rotate the servo fully clockwise. Then remove the horn. (Servos have a range of motion of only 180 degrees)
![]()
![]()
![]()
![]()
![]()
-
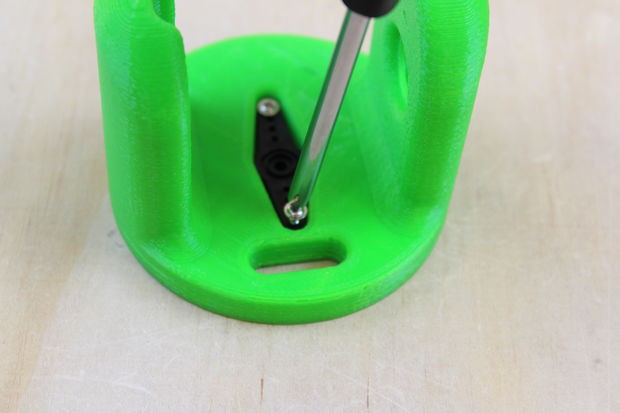
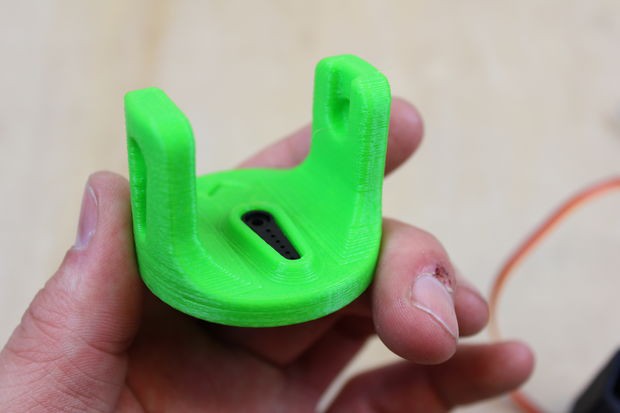
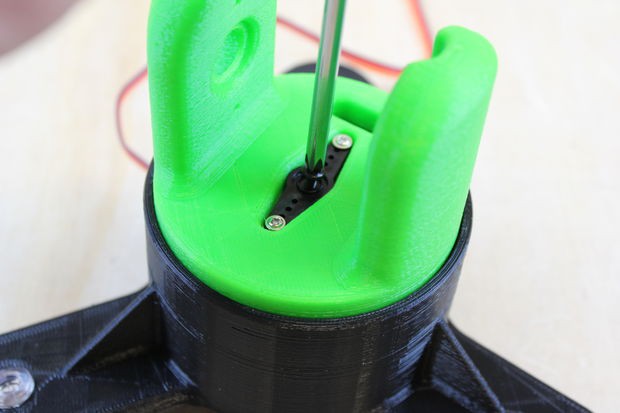
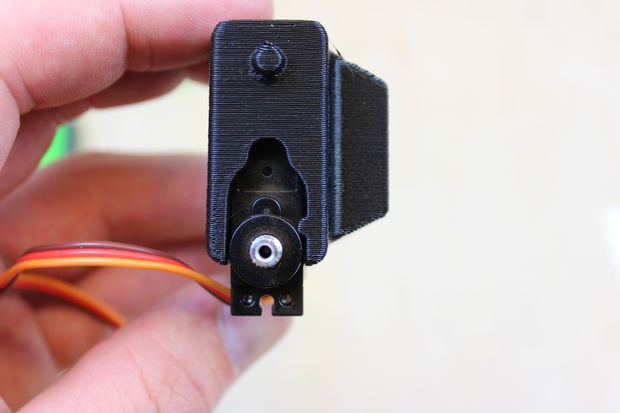
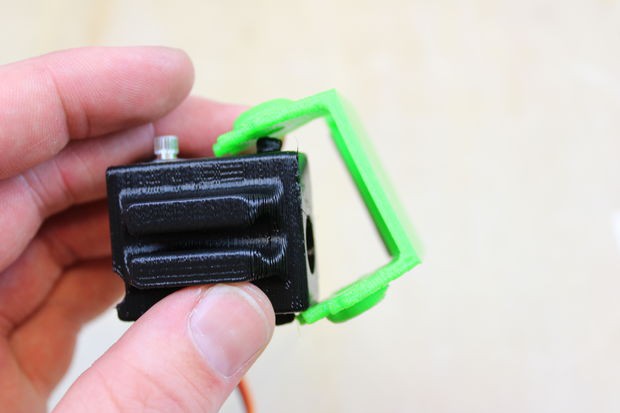
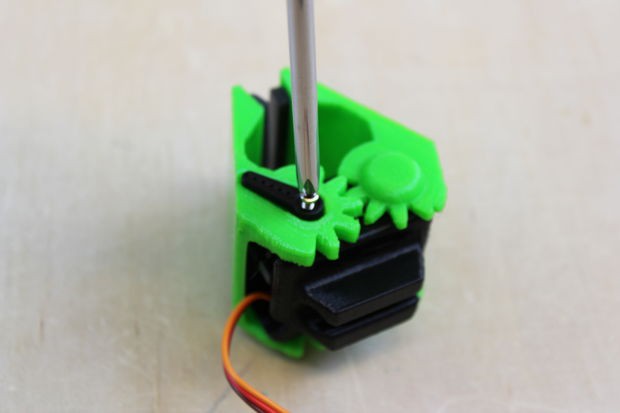
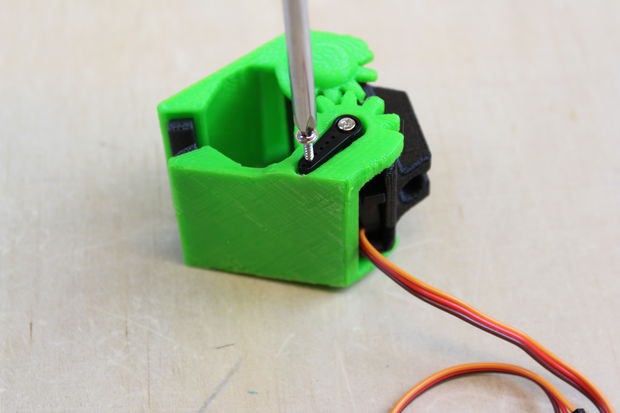
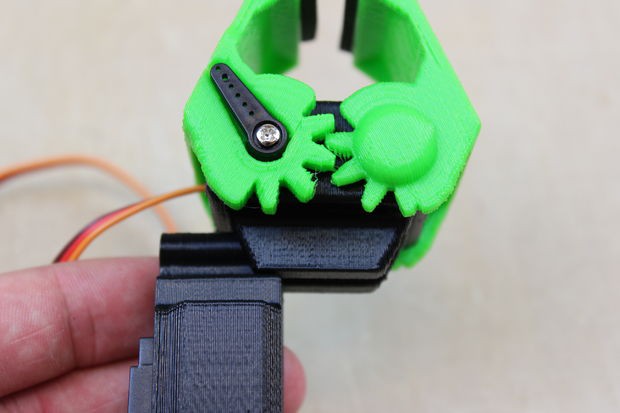
4Prep Shoulder Yoke
Insert a servo horn into the slot on the Shoulder Yoke. Secure with two short servo horn mount screws
![]()
![]()
-
5Prepare Upper Arm
- Feed the wire through the hole on the side of the servo slot
- Lead with the wire side of the servo and set into the servo depression. (To allow the servo to enter more easily you may file the edges of the servo slot)
- Repeat for the partner servo.
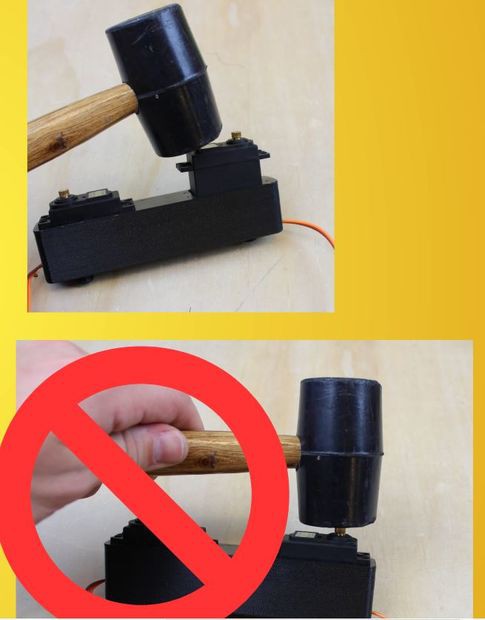
You may use a rubber mallet to gently set the servos. DO NOT hit the servo armature with the hammer
Note: The end of the Upperarm with the small nub is the top or elbow joint. The large nub is the shoulder joint
- Rotate the the Shoulder Servo fully counter-clockwise
- Rotate the Elbow Servo fully clockwise
- While not necessary you may use 2 screws per servo to secure the servos in their slots. Stagger the screw positions.
![]()
![]()
![]()
![]()
![]()
![]()
![]()
![]()
-
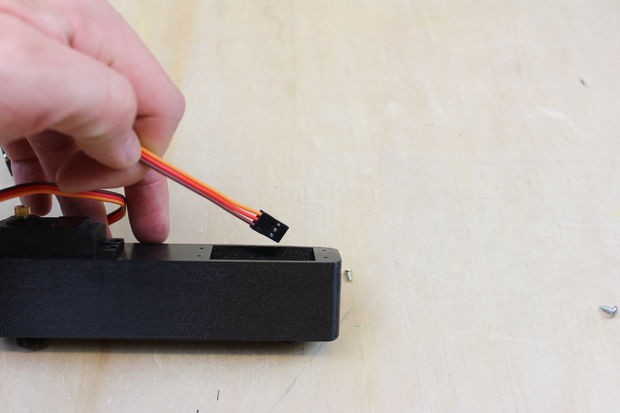
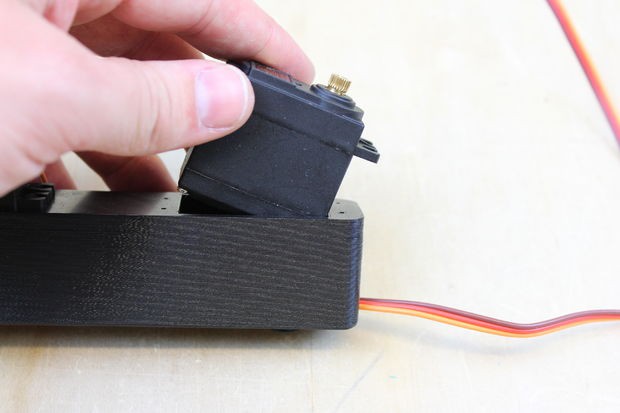
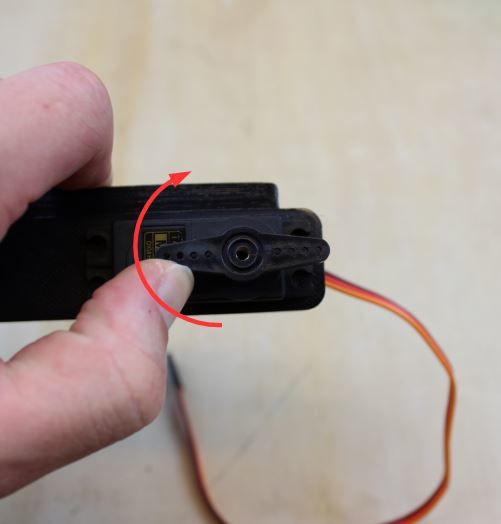
6Prepare Wrist Cuff
- Feed the servo wire through the hole in the back of the servo slot.
- Set Servo into Servo Slot
- Secure with 2 short servo mounting screws
- Use a spare servo horn to GENTLY rotate the servo fully clockwise
![]()
![]()
![]()
![]()
![]()
![]()
-
7Prepare Wrist Yoke
- Set the servo horn into the slot on the Wrist Yoke
- Attach the Wrist Yoke to the wrist yoke servo so the horn points to the right and the arrow points to the left.
![]()
![]()
![]()
![]()
-
8Prepare Wrist End
Set servo into the Wrist End. If it is difficult remove a sticker from the side of the servo. There is no need for screws.
![]()
-
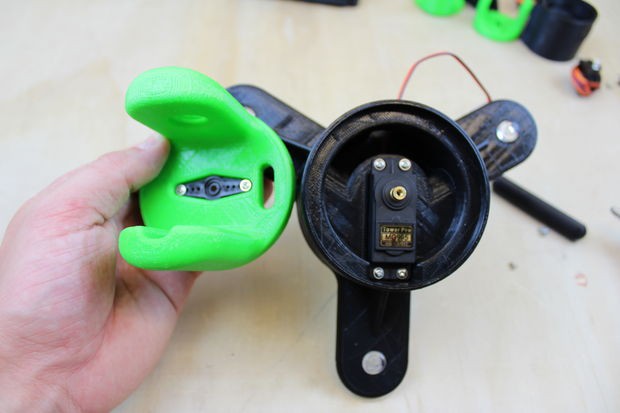
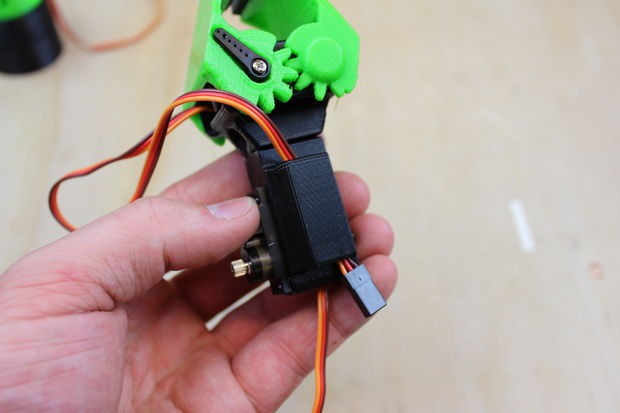
9Prepare Gripper
- Press the servo into the Gripper Palm
- GENTLY rotate the servo fully clockwise
- Attach the servo gripper finger. Place the armature hole onto the servo first then press the other side of the gripper onto the rotation nub. BE CAREFUL not to spread the finger gears too far or they may break.
- Apply the Idler Finger similarly. Ensure that the finger gears mesh so that the fingers are symmetrical.
- Close the fingers firmly and apply the servo horn.
- You may use a short servo mounting screw to secure the horn to the finger. BUT this can result in damage to the servo if the finger is jammed. We recommend leaving the horn loose.
![]()
![]()
![]()
![]()
![]()
![]()
![]()
![]()
-
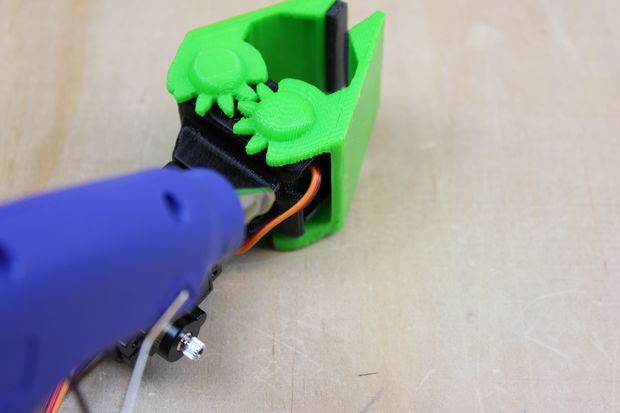
10Attach Gripper to Wrist End
- Press the Wrist into the slot on the Gripper.
- Feed the gripper wire through the wrist organizing loop.
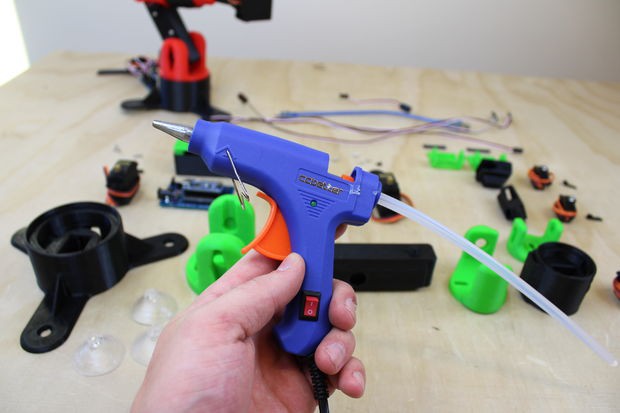
- Hot glue the gripper wire into the small depression in the Gripper Palm
![]()
![]()
![]()


Discussions
Become a Hackaday.io Member
Create an account to leave a comment. Already have an account? Log In.