 AndyMac
-
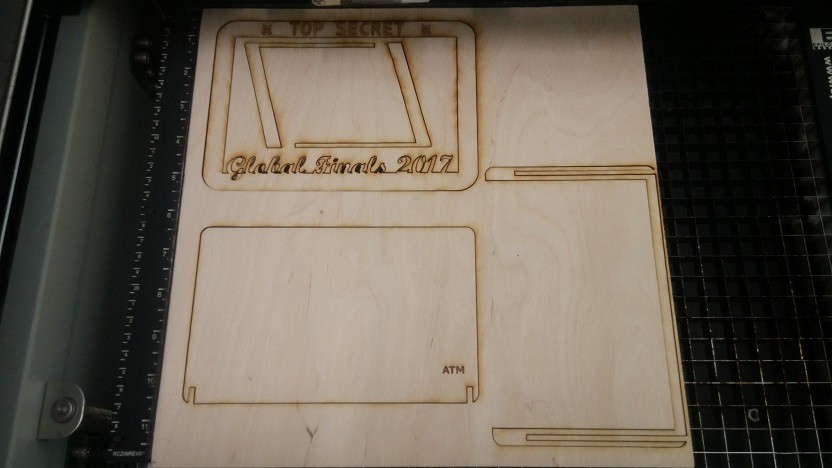
1Cut out pieces
These were arranged to print on a 12x12 piece, but the individual pieces are no larger than about 5x7
![]()
-
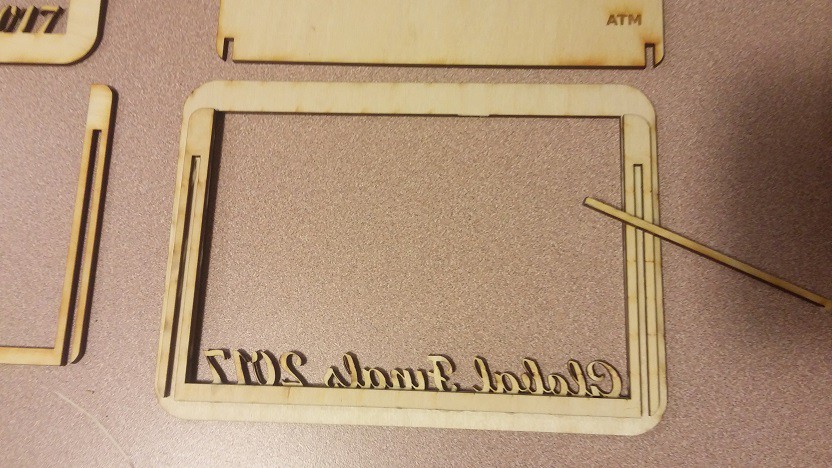
2Glue spacer to front panel
You can start with either the front or the rear panel, but this makes it easier to line up the spacer with the inside edges of the frame. I suggest taking a scrap piece or one of the stand legs to wedge into the spacer temporarily. If you glue the thin arms of the spacer piece too close together it will be difficult to insert the legs later. Similarly, make sure you remove and large glue beads from the spacer slots. Give the glue a few minutes to set before proceeding.
![]()
-
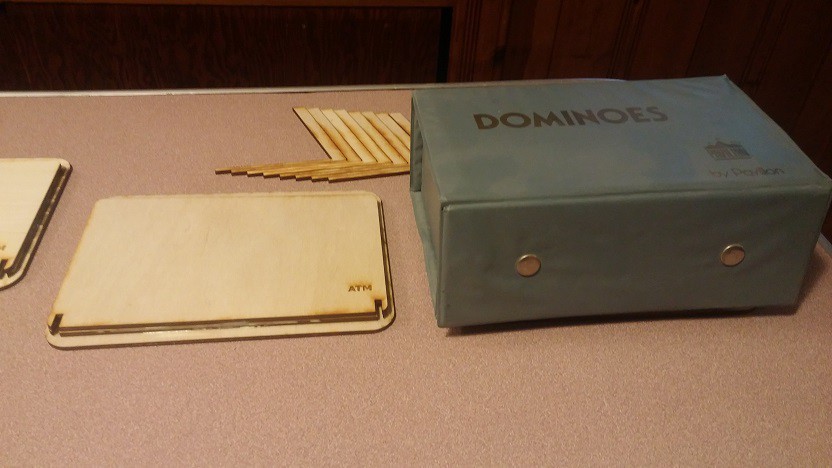
3Add rear panel
Line the rear panel up and glue to the assembly. Excess glue is easy to wipe up now, but will be hidden anyway.
![]()
Weighing down the piece is not necessary unless the wood is warped. A couple of textbooks (or a box of dominoes in this case) while the glue is drying works very well.
-
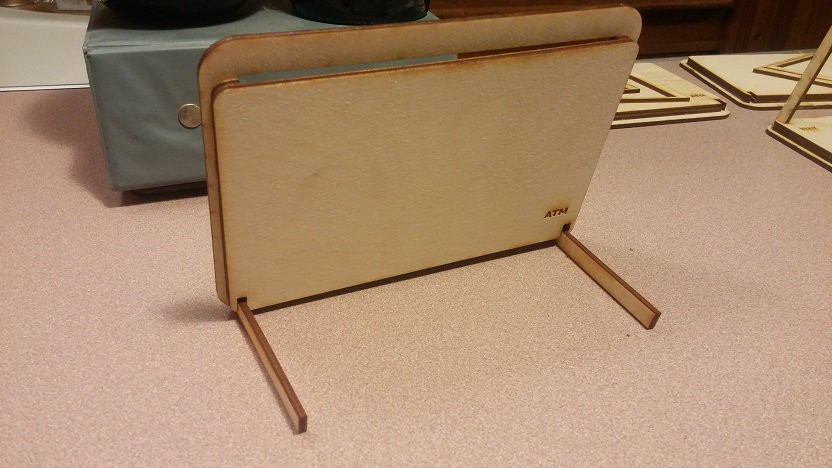
4Insert legs
Once all of the glue is dry, test fit the legs. You may need to shave them down if the fit is too tight.
![]()
The picture should drop right in the top of the frame.
Laser Cut Picture Frame
A self-supported picture frame for a standard 4"x6" photo out of laser cut wood
Discussions
Become a Hackaday.io Member
Create an account to leave a comment. Already have an account? Log In.