Close
0%
0%

Flip.Clock

A clock that uses flip display and show deadline time, clock time and other things..

Similar projects worth following
Remember those displays that you saw in airports and other places that produce this clicky sound when message changes? I know I do, and with the resurgence on nixie tubes back in something like 2000s I can't help but want to make yet another clock, but with a twist — it would show you how much time you left for some project or goal, to put it simply, a deadline timer. Mind you it would have the option to Show you time and other things as well. Instantly got the idea from EEVblog #906 - Mailbag video https://youtu.be/0ZWSOx-T6lg where Dave unboxes some flip dot modules :)Also found some relevant info here: https://hackaday.io/project/18541-dot-flippers

Features:
* Flip dot display 7x7 pixels.
* Has Bluetooth 5 for connecting to phones (Nordic nRF52832) (Nordic Bluetooth UART).
* Uses 24V power supply (because display module needs that much).
* Has 2 tact switches (haven't decided their functionality yet).
* An RGB LED shows pairing/connected status as well as potentially other things.
* The clock should work standalone (ie. not need a phone connected all the time) so it remembers all settings and has sufficiently accurate timekeeping with accuracy of about 2 seconds per week.
* You can remove power and the clock wont lose time. The next time you apply power it will still be able to display the correct time left. The time how long the RTC will keep its time is to be estimated.
* Stacking up to 3 clocks side by side to combine their displayed image. Would use IRDA transceivers on both sides of the clock to send data.

BUTTONCAP-198842.STL

Standard Tesselated Geometry - 153.21 kB - 08/21/2017 at 19:20

Download

MINI-CORNER-198842.STL

Standard Tesselated Geometry - 77.23 kB - 08/21/2017 at 19:20

Download

  • And another one..

    makufelis-xyz08/23/2017 at 20:41 0 comments

    Nothing I like more than getting my packages delivered in the morning... actually not true, among other things I like making devices more!

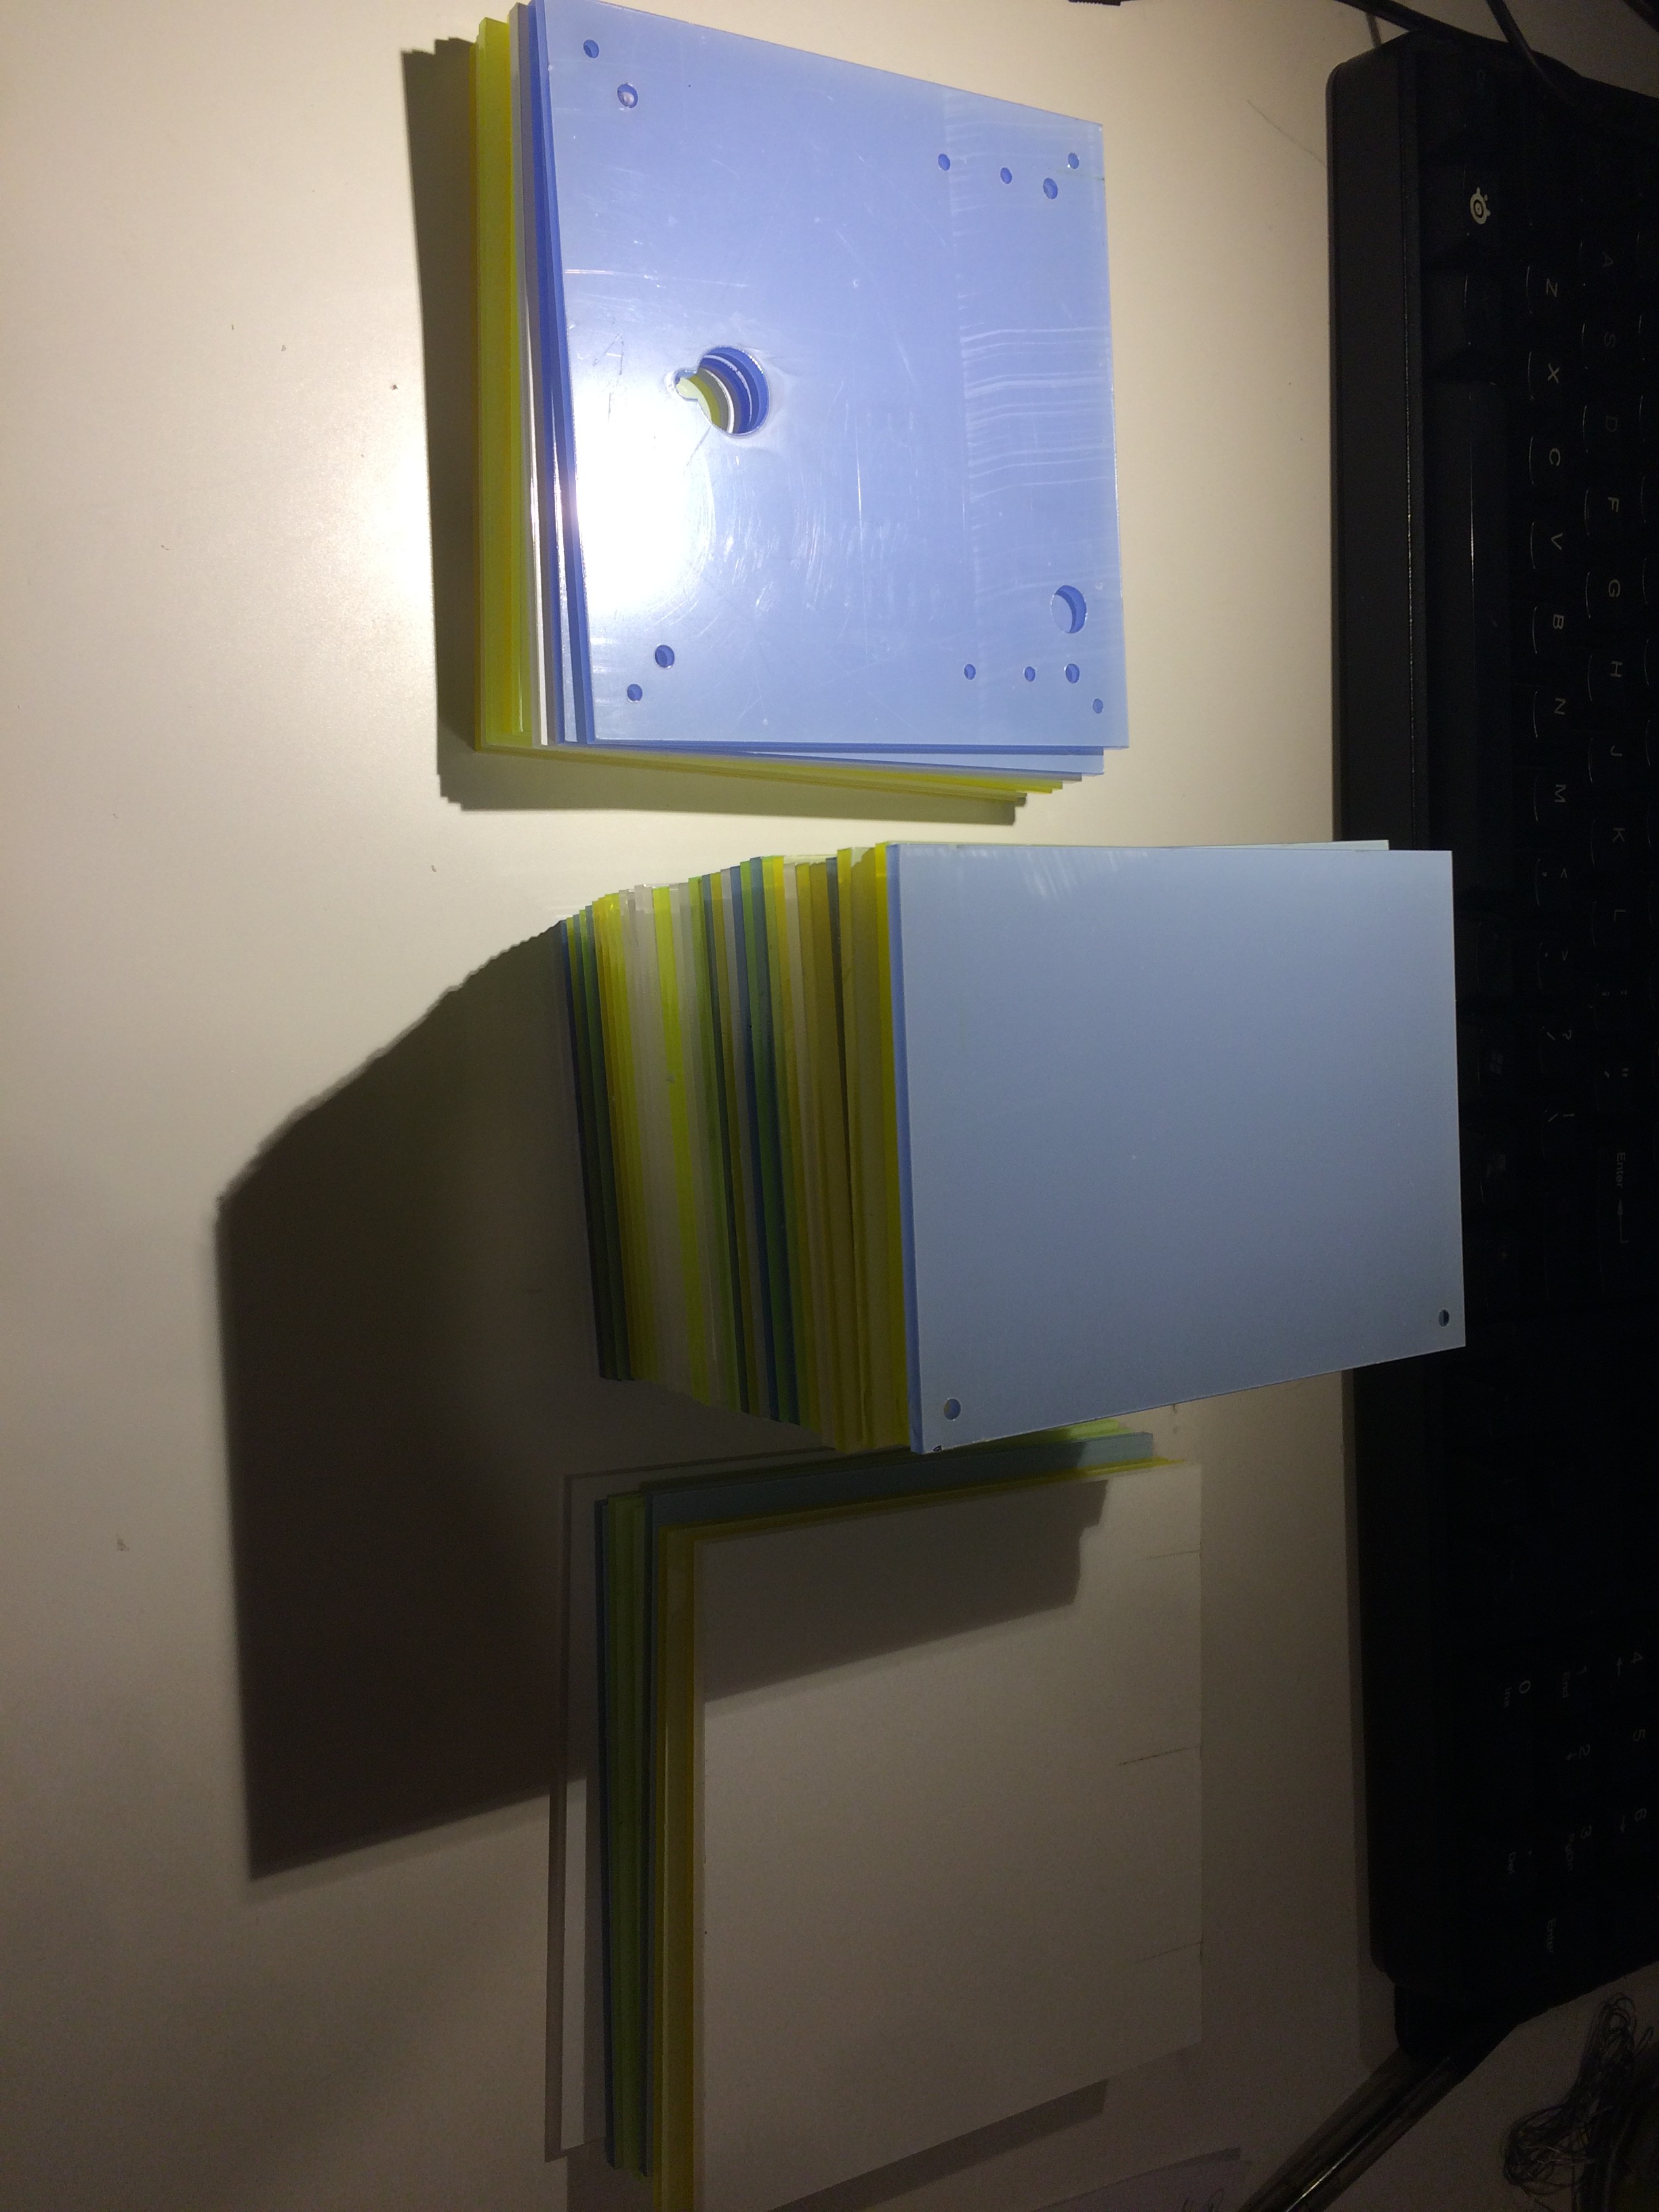
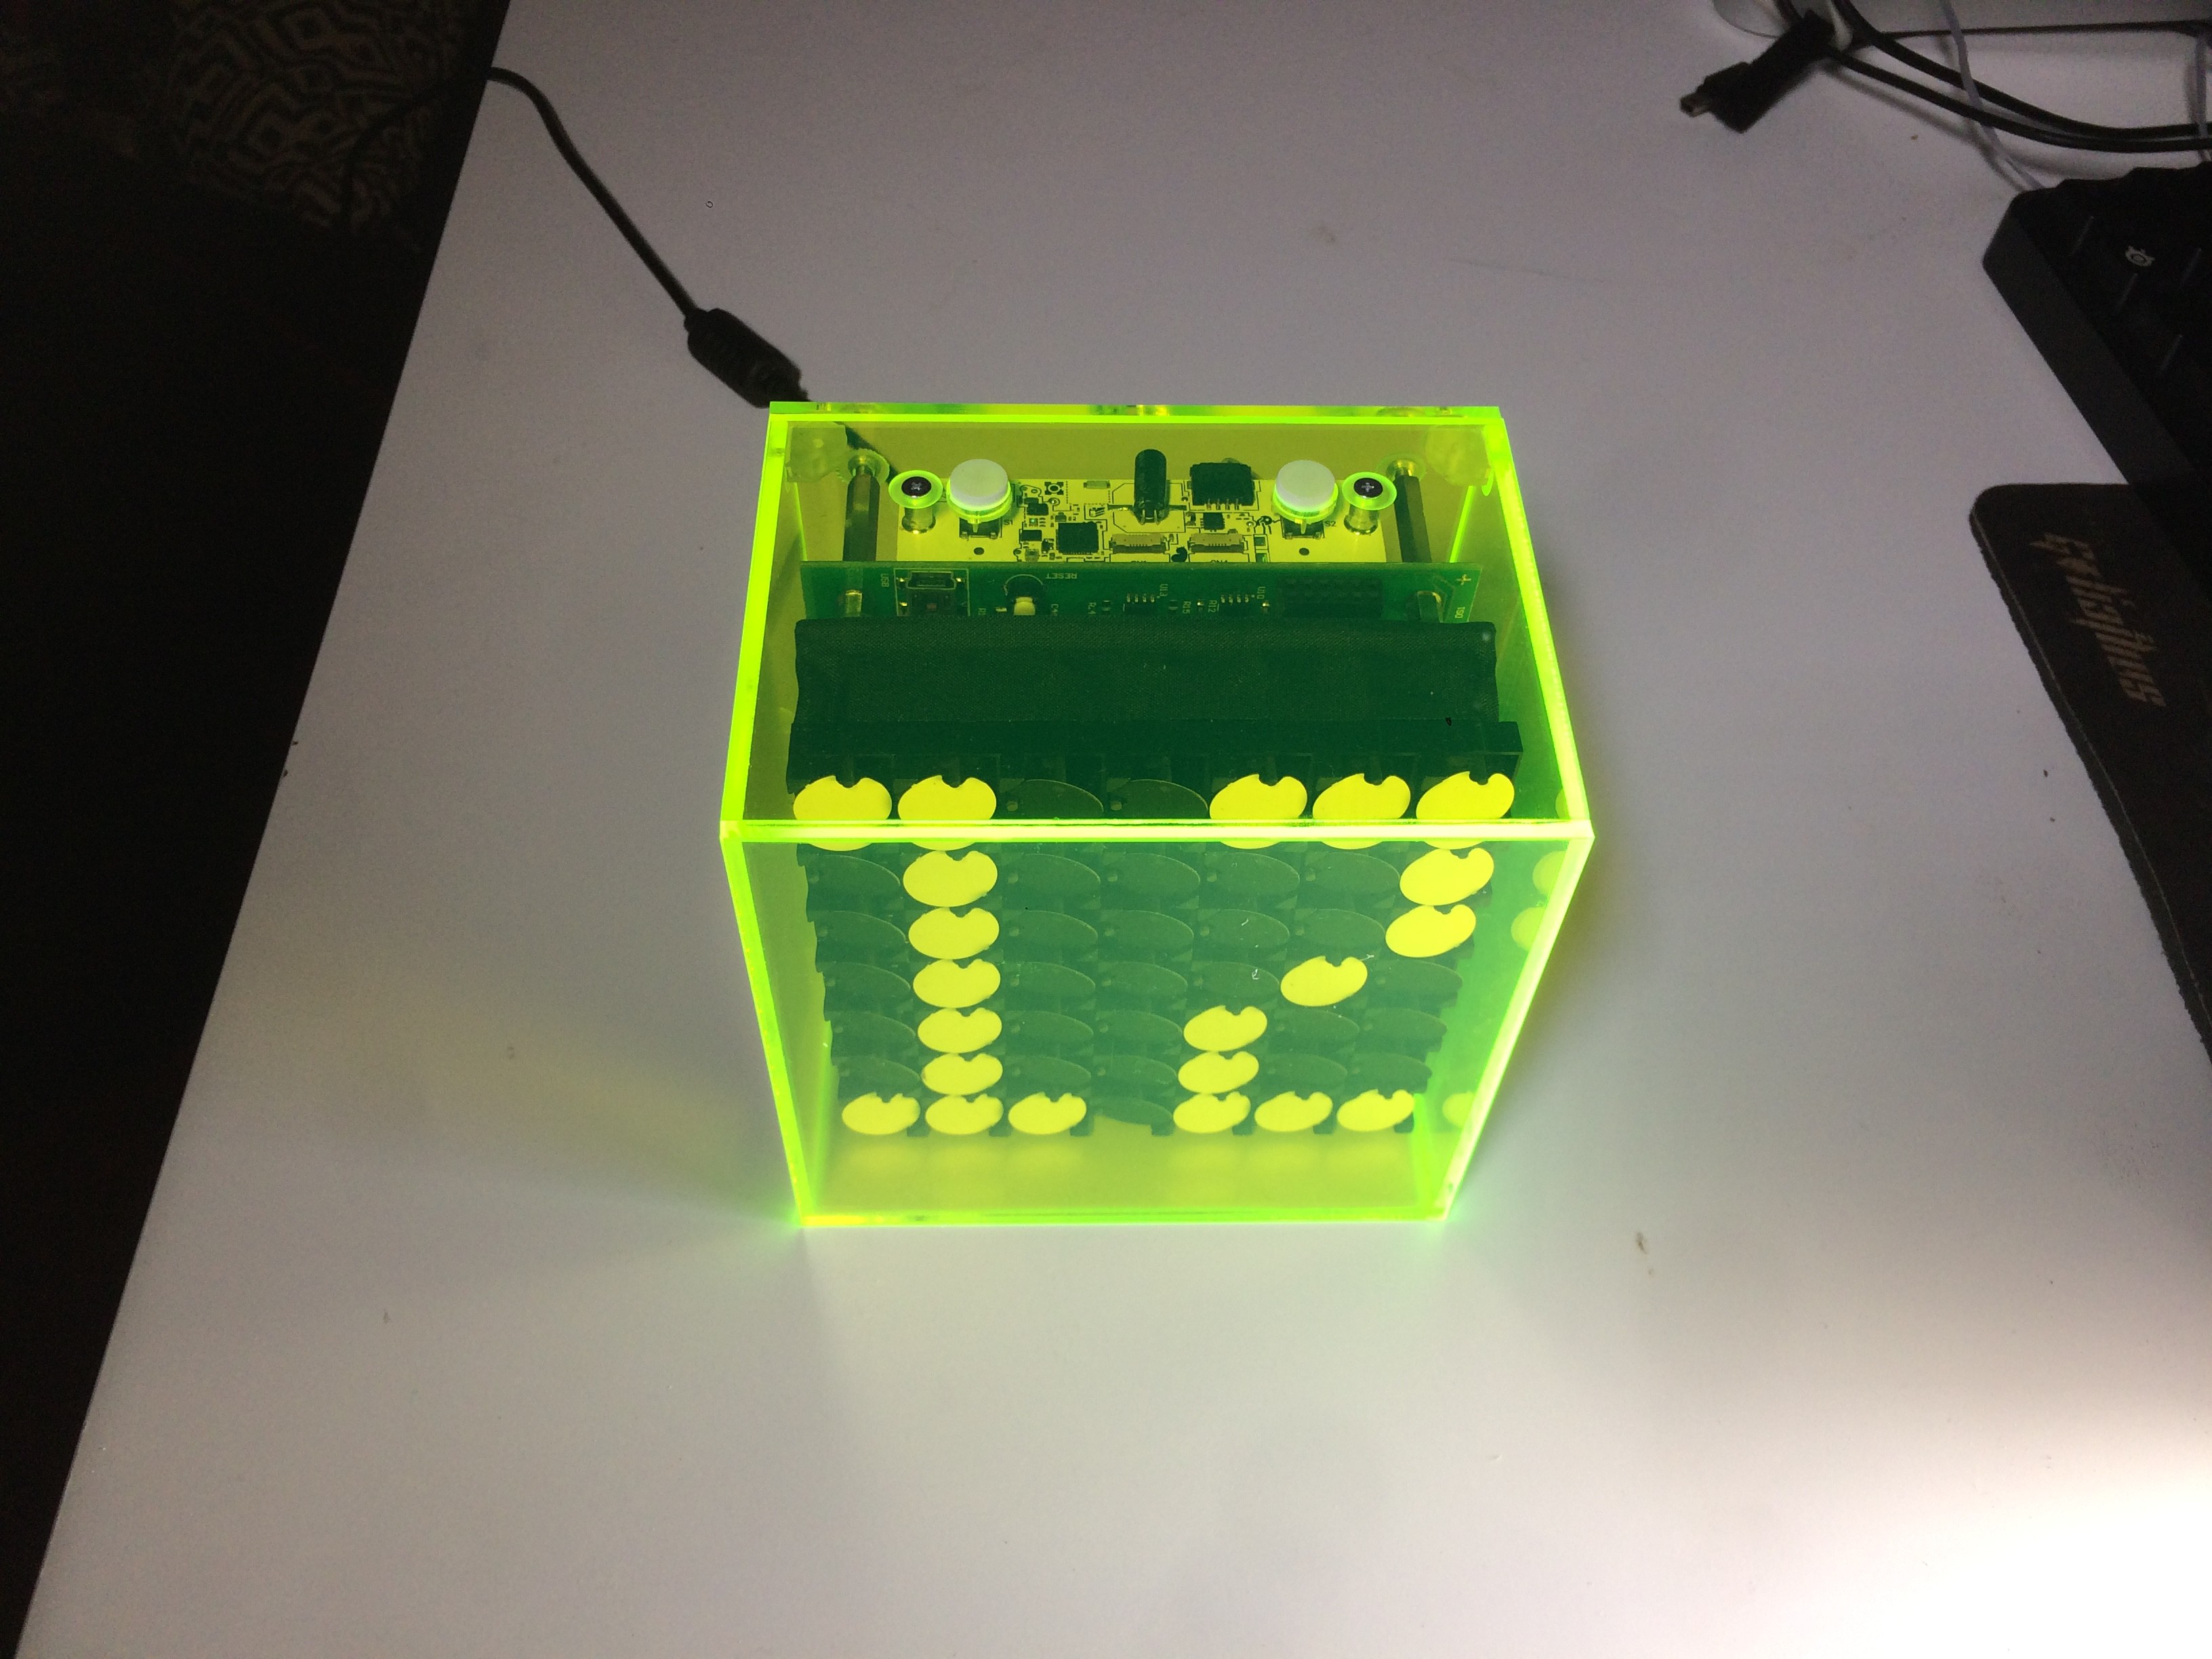
    Alright, I've got here my laser cut acrylics, ready to enclose those PCBs I built earlier.

    And so.. Three, two, one..

    The problem now is that there's just no way to describe how amazing those clicky switches feel, a shame really.. To add to that, they don't do anything yet, but that functionality is yet to come!

  • The 3D prints!

    makufelis-xyz08/21/2017 at 19:09 0 comments

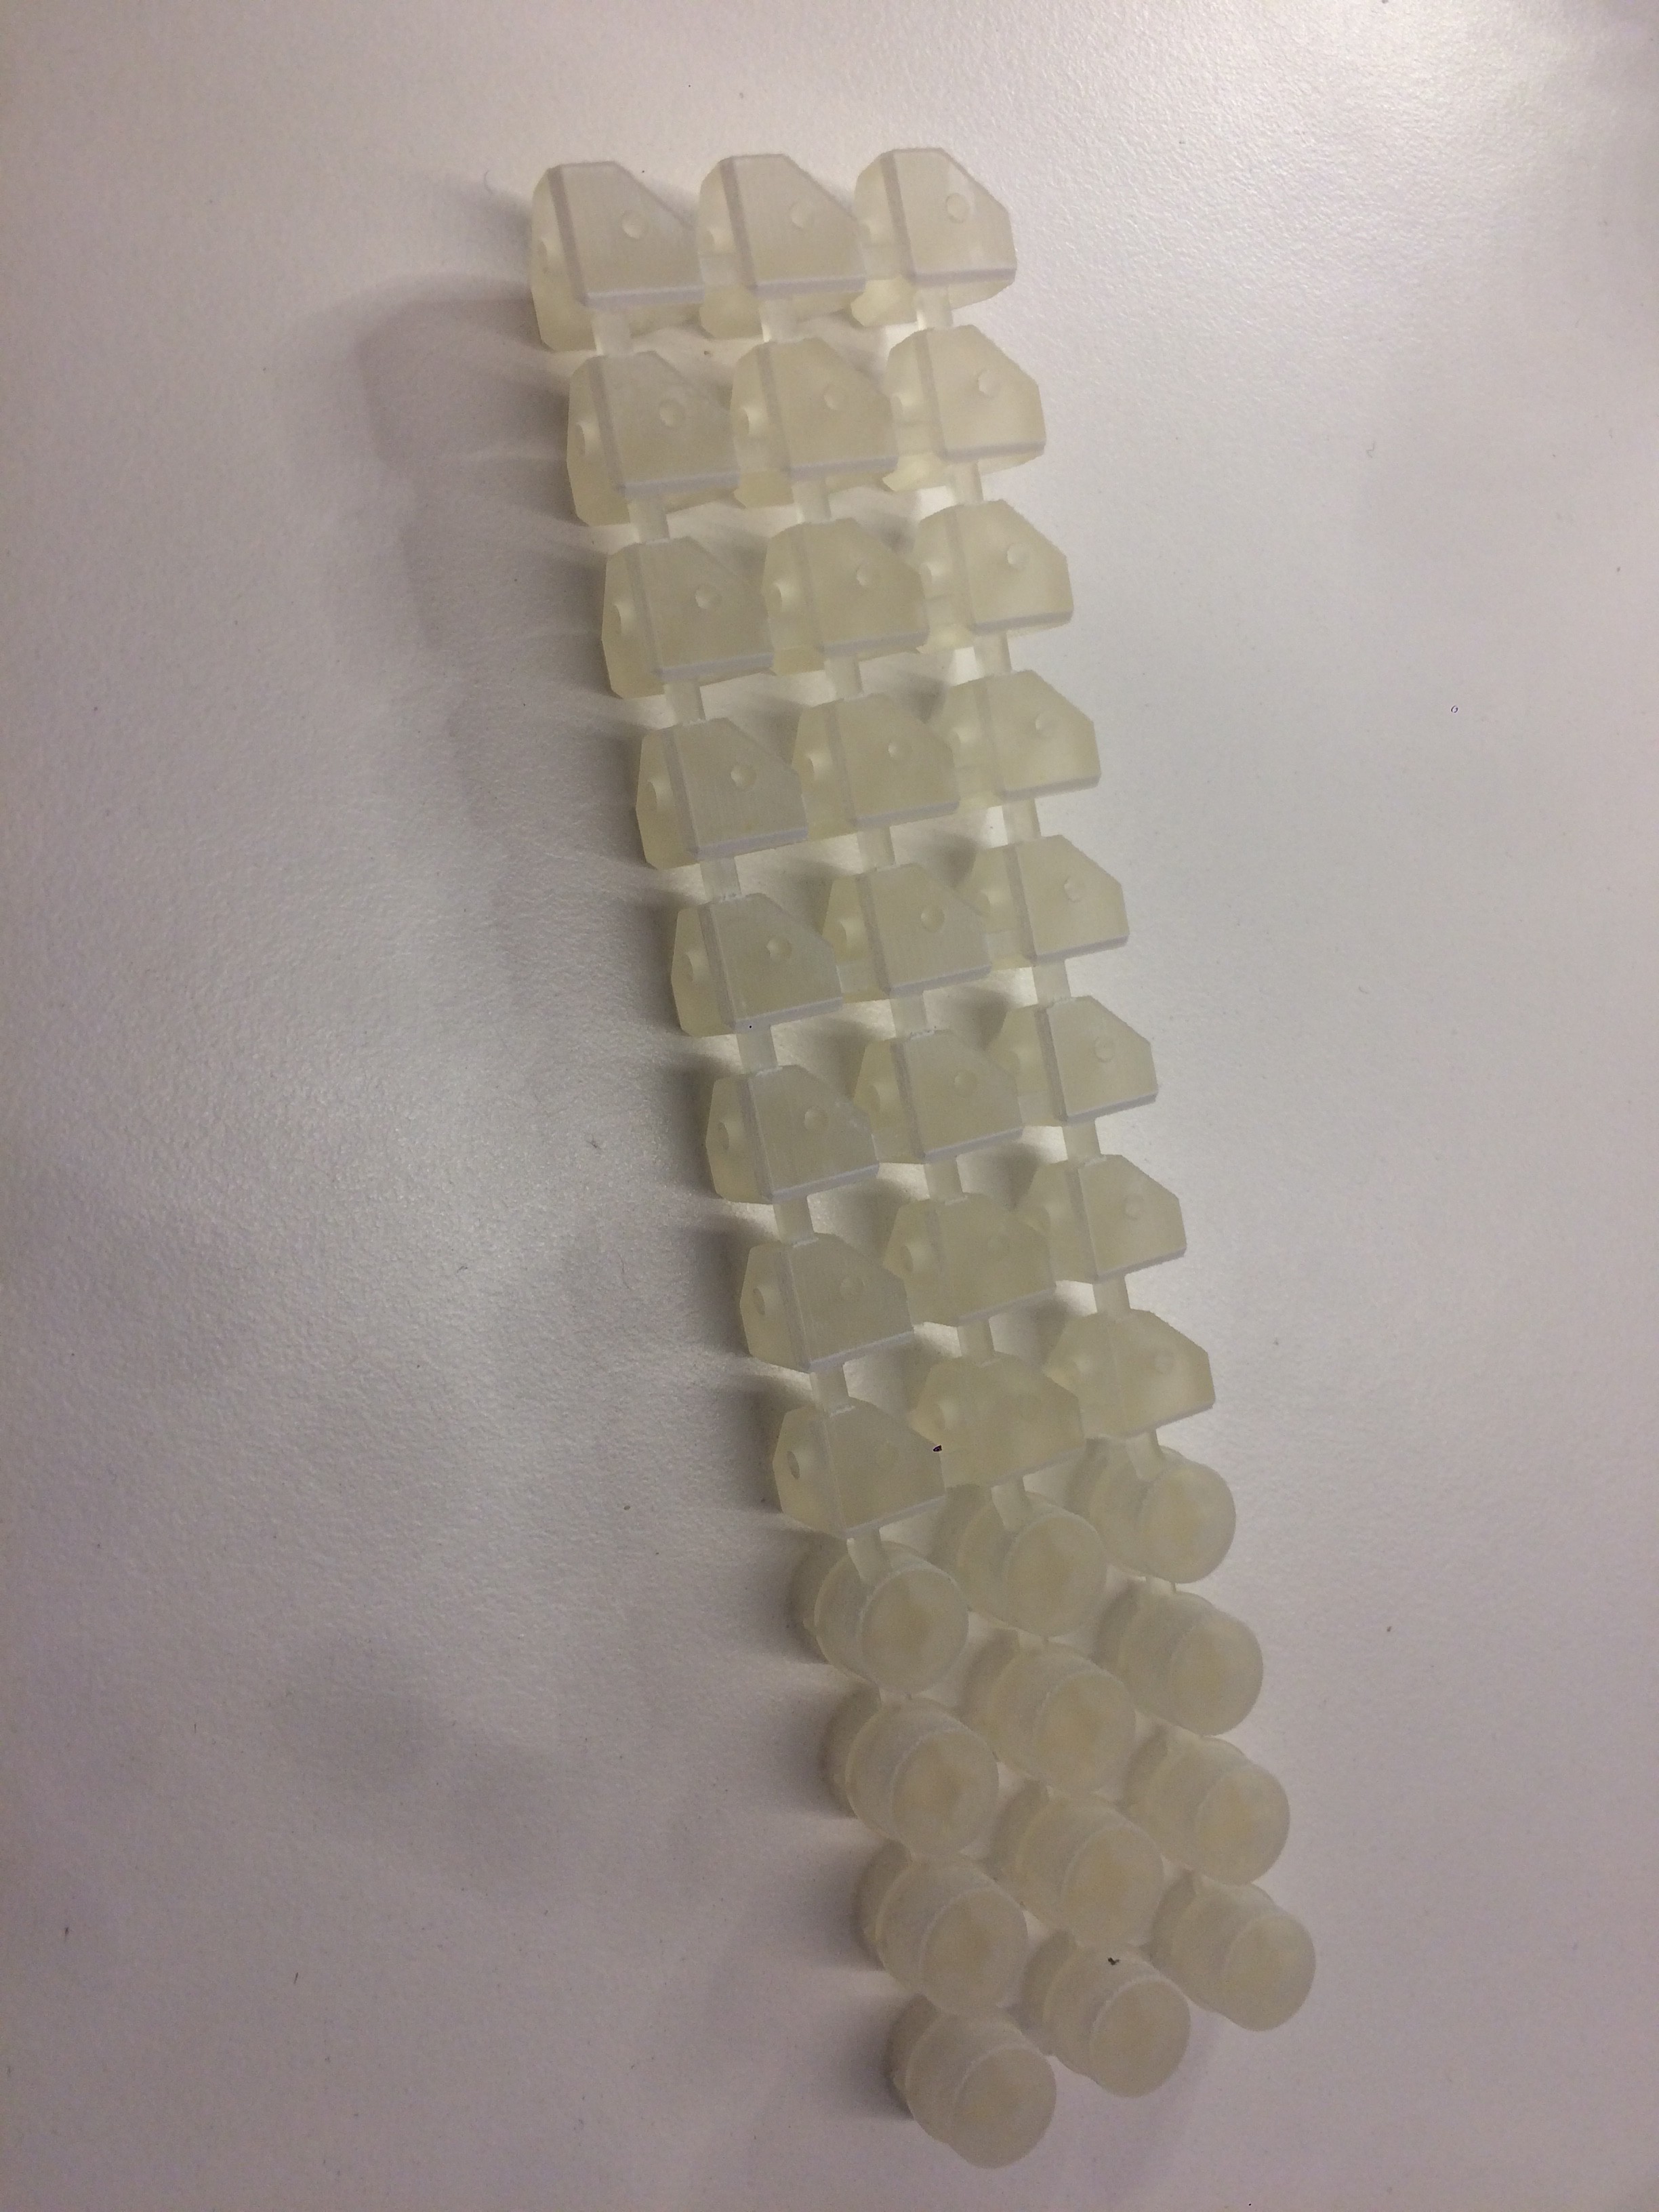
    Alright, so my 3D prints arrived, printed from clear acryllic, these don't look completely clear though..

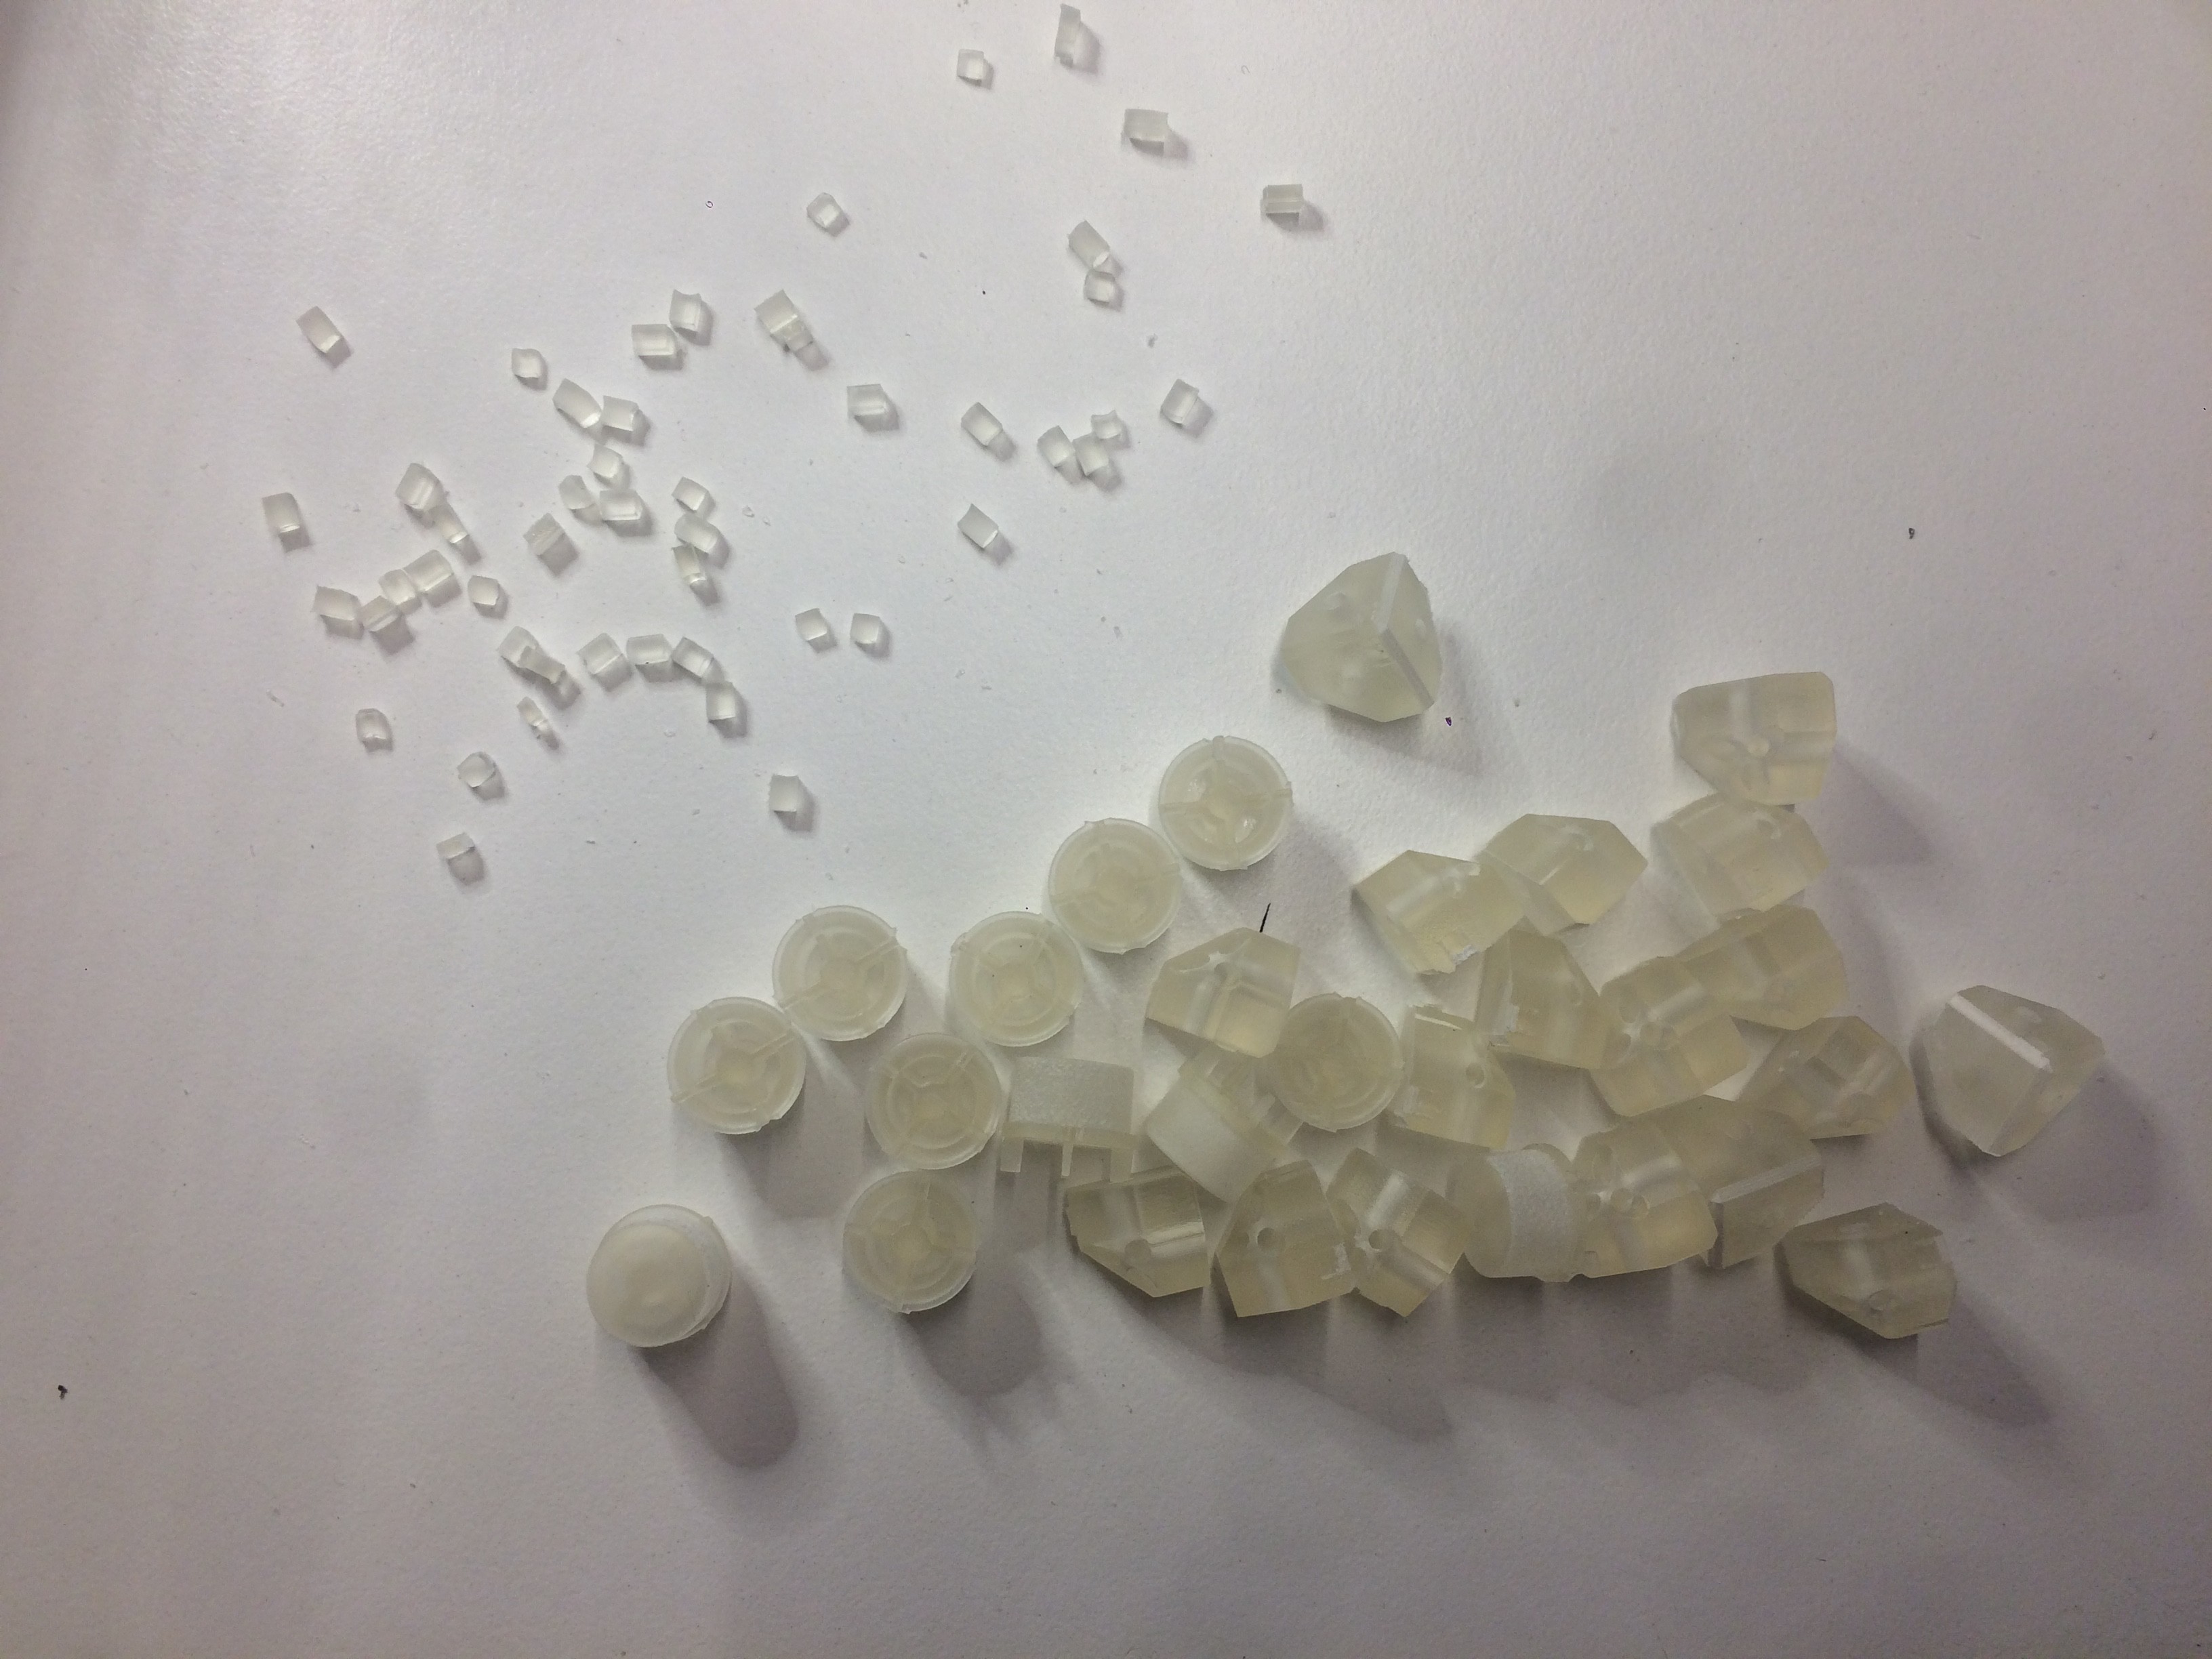
    Now onto the fun part - snipping those sprues!

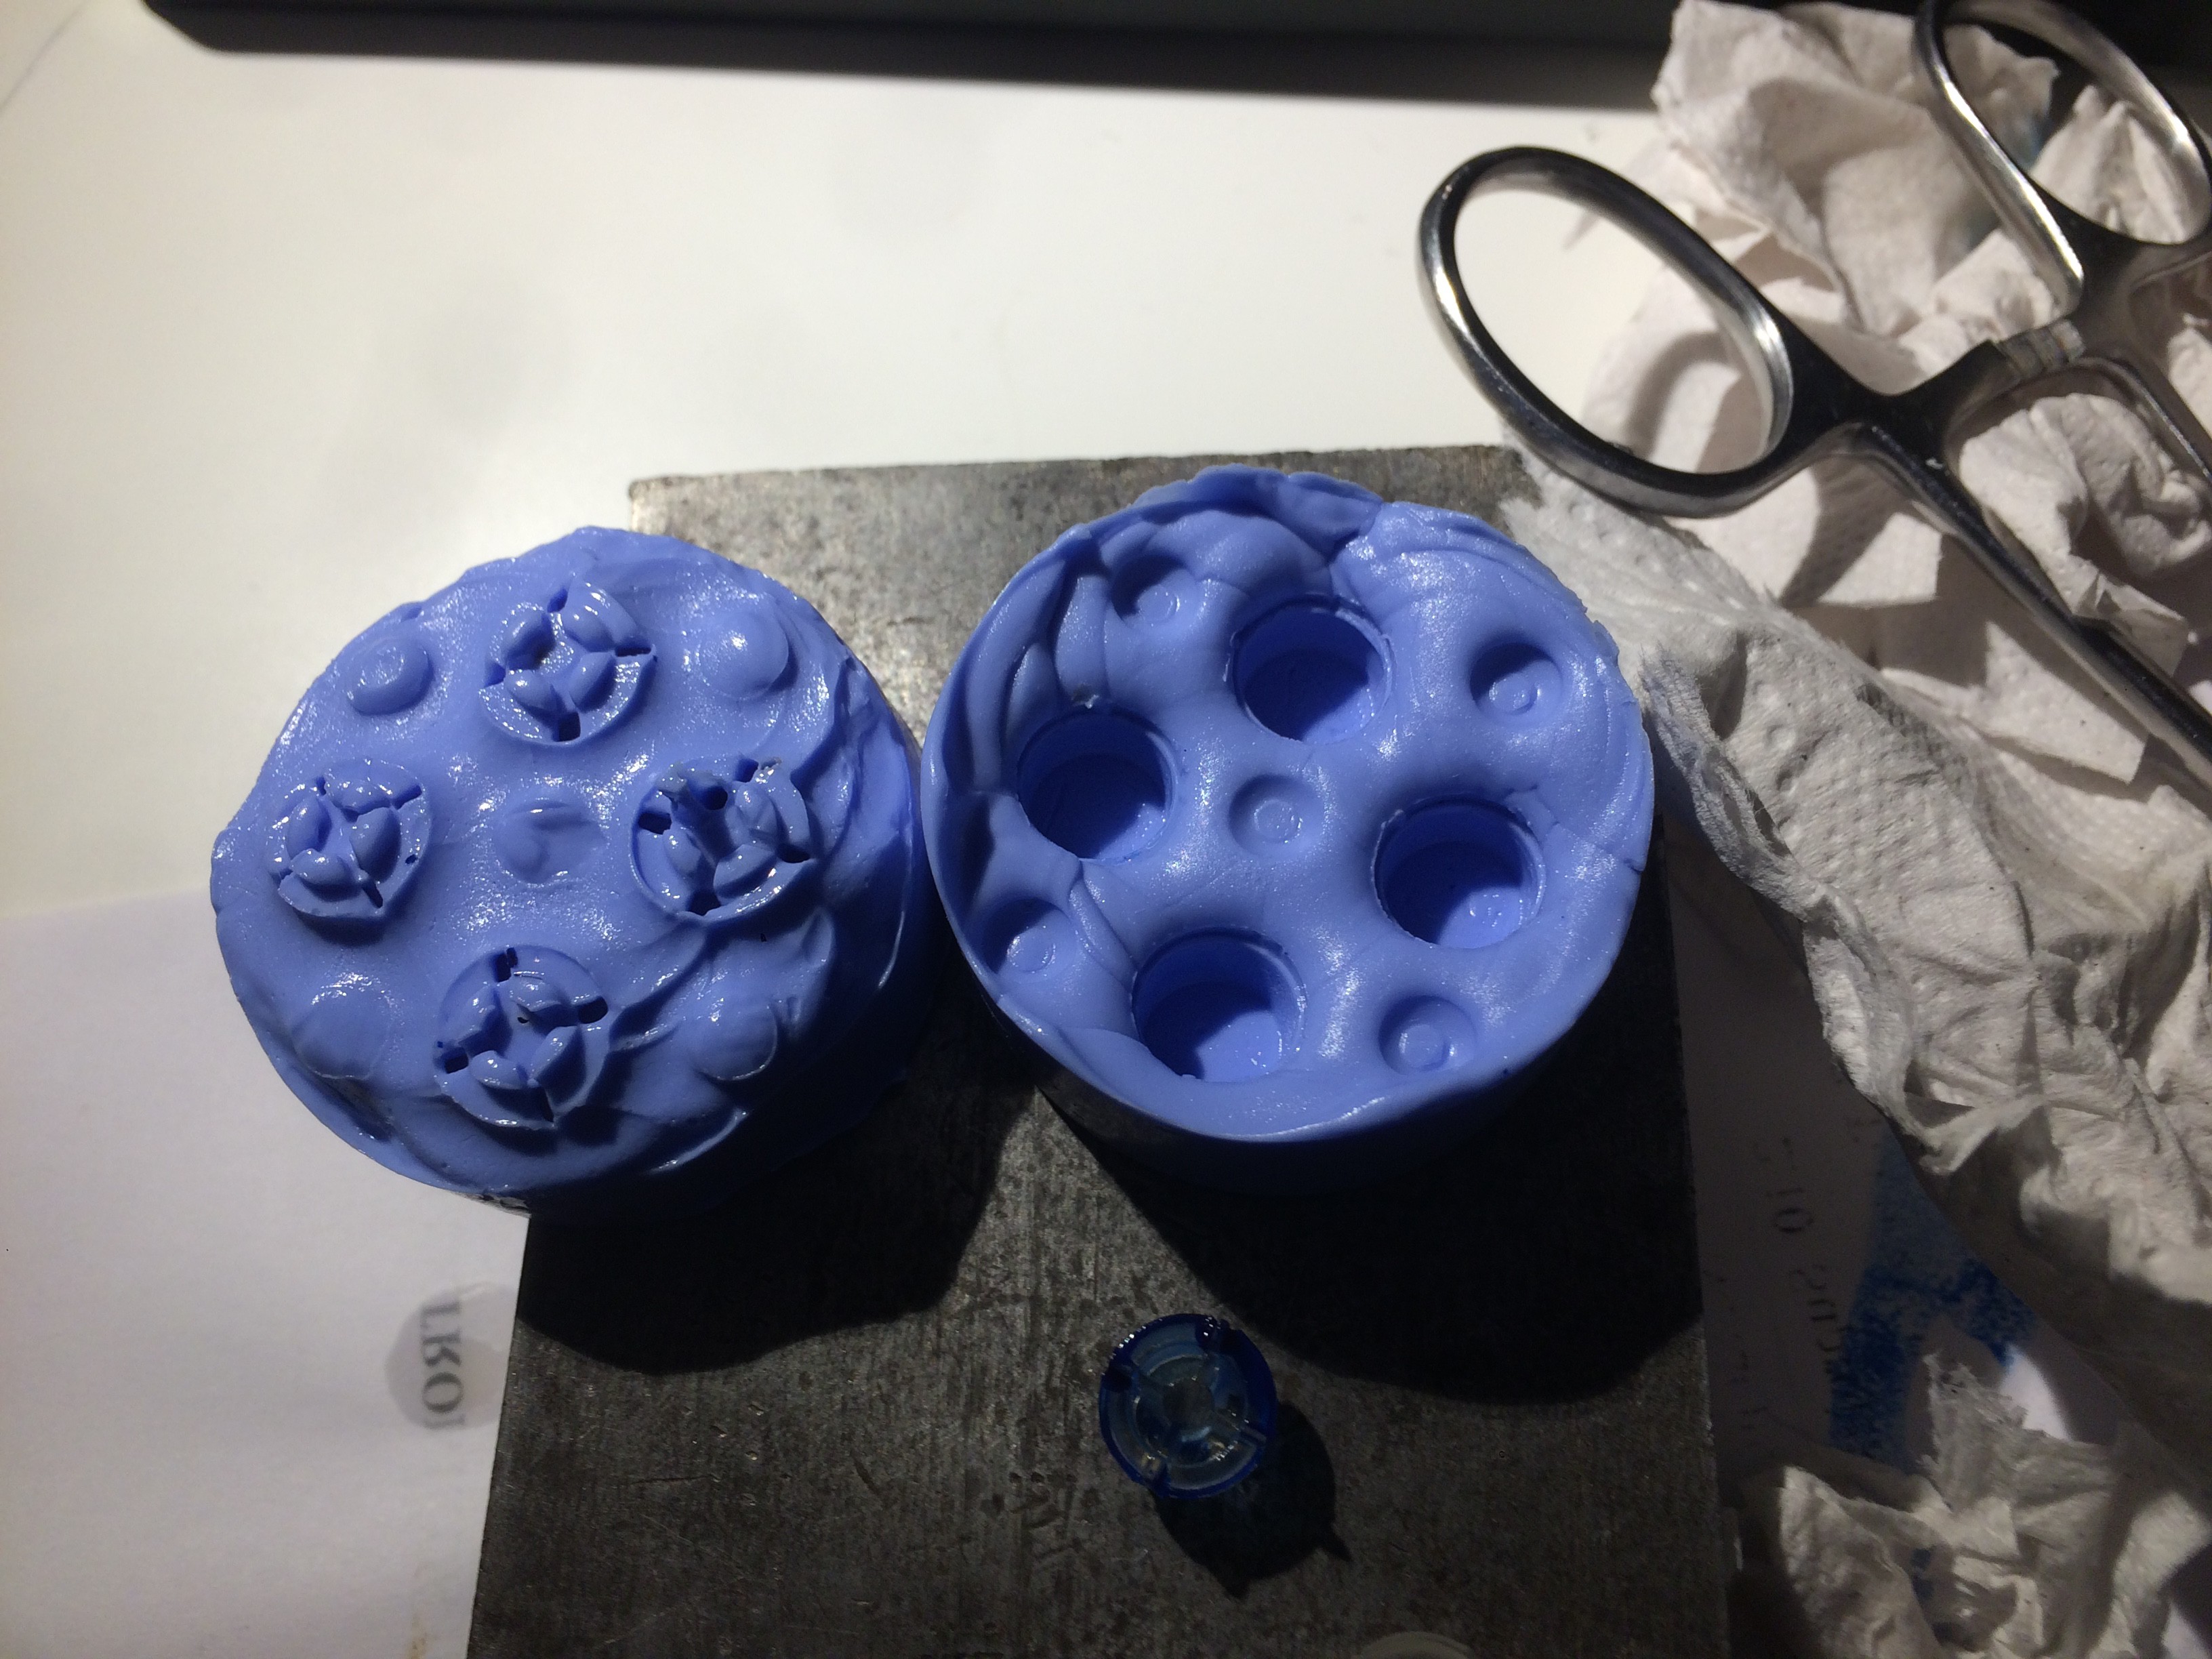
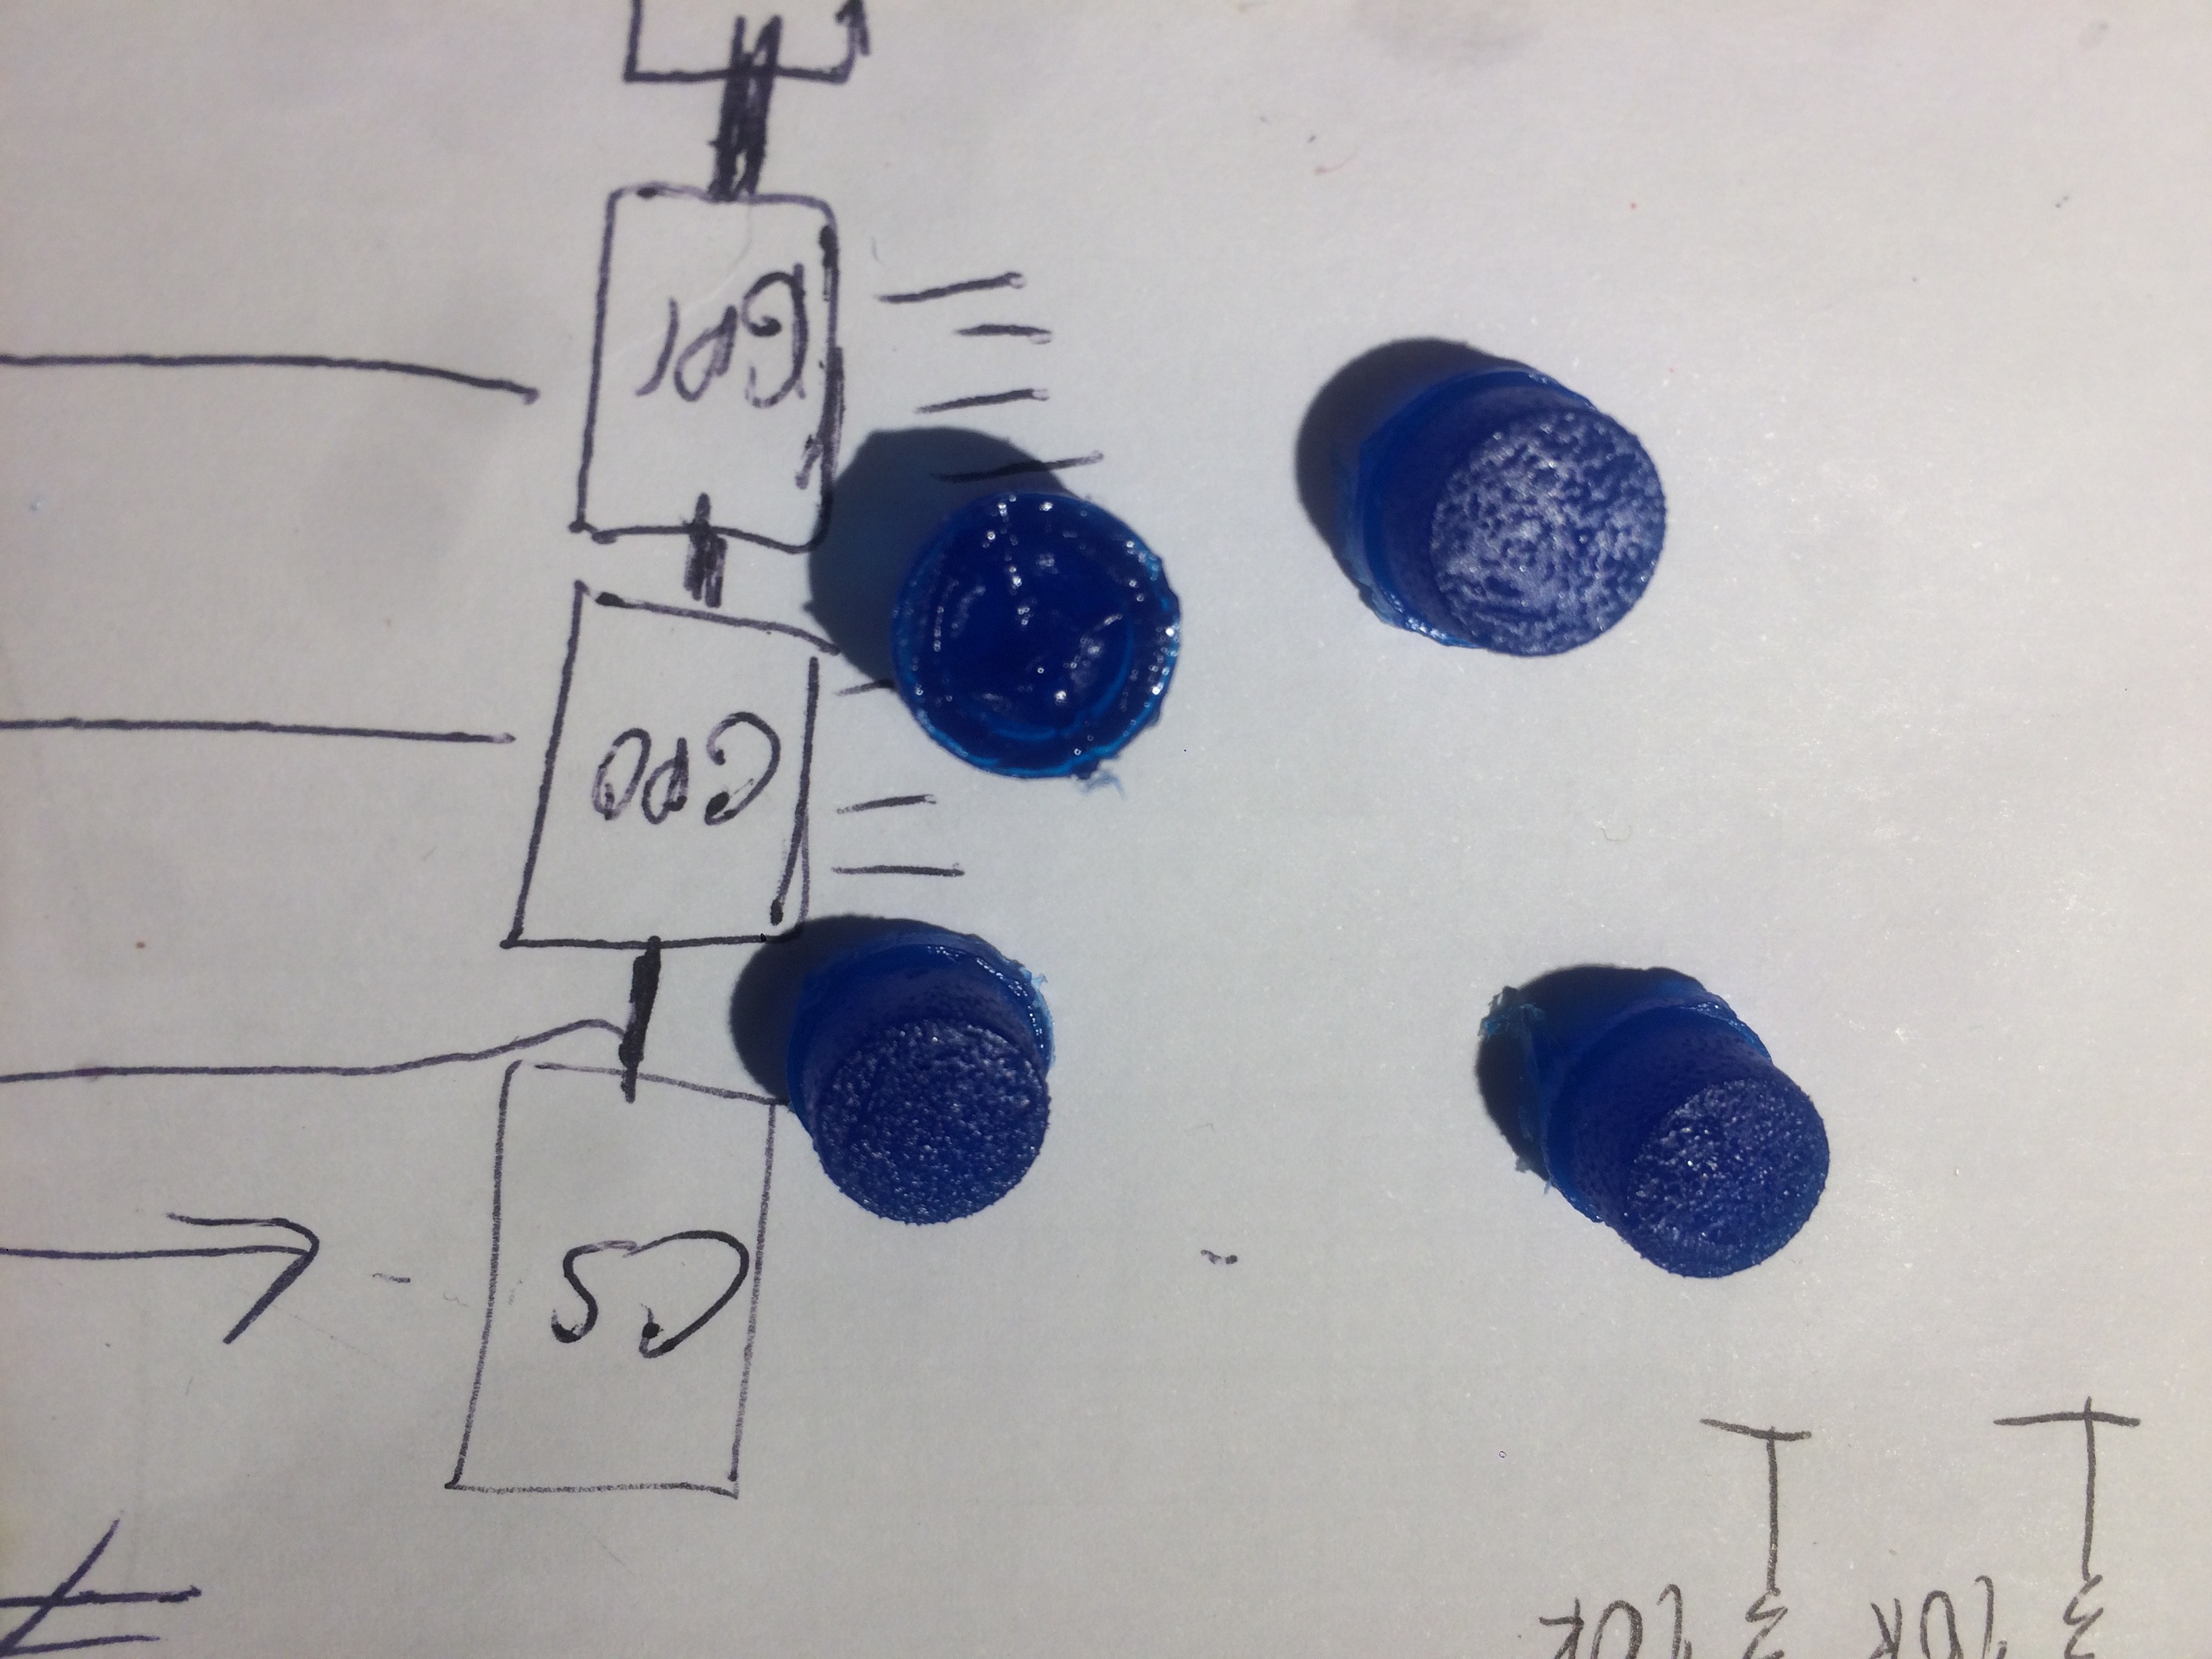
    Having all those tiny prints I couldn't help but want to paint them, one problem though - I don't have any spray paint but I do have some epoxy resin and a bit of blue acrylic paint. OK so what if I did a recast of those buttons caps in a different color, took some general use silicone mold putty and made a mold.. And that's just What I did:

    They definitely not the work of art but judging from the lack of a vacuum pump during this process I think these will be OK for a prototype. As for the setting time, it was about 8 hours. It was a slow setting epoxy, and the parts were tiny.. 

    Threw the molds out right away, need to up the game the next time I try this sorta thing :D

  • The PCBs are in

    makufelis-xyz08/10/2017 at 22:27 0 comments

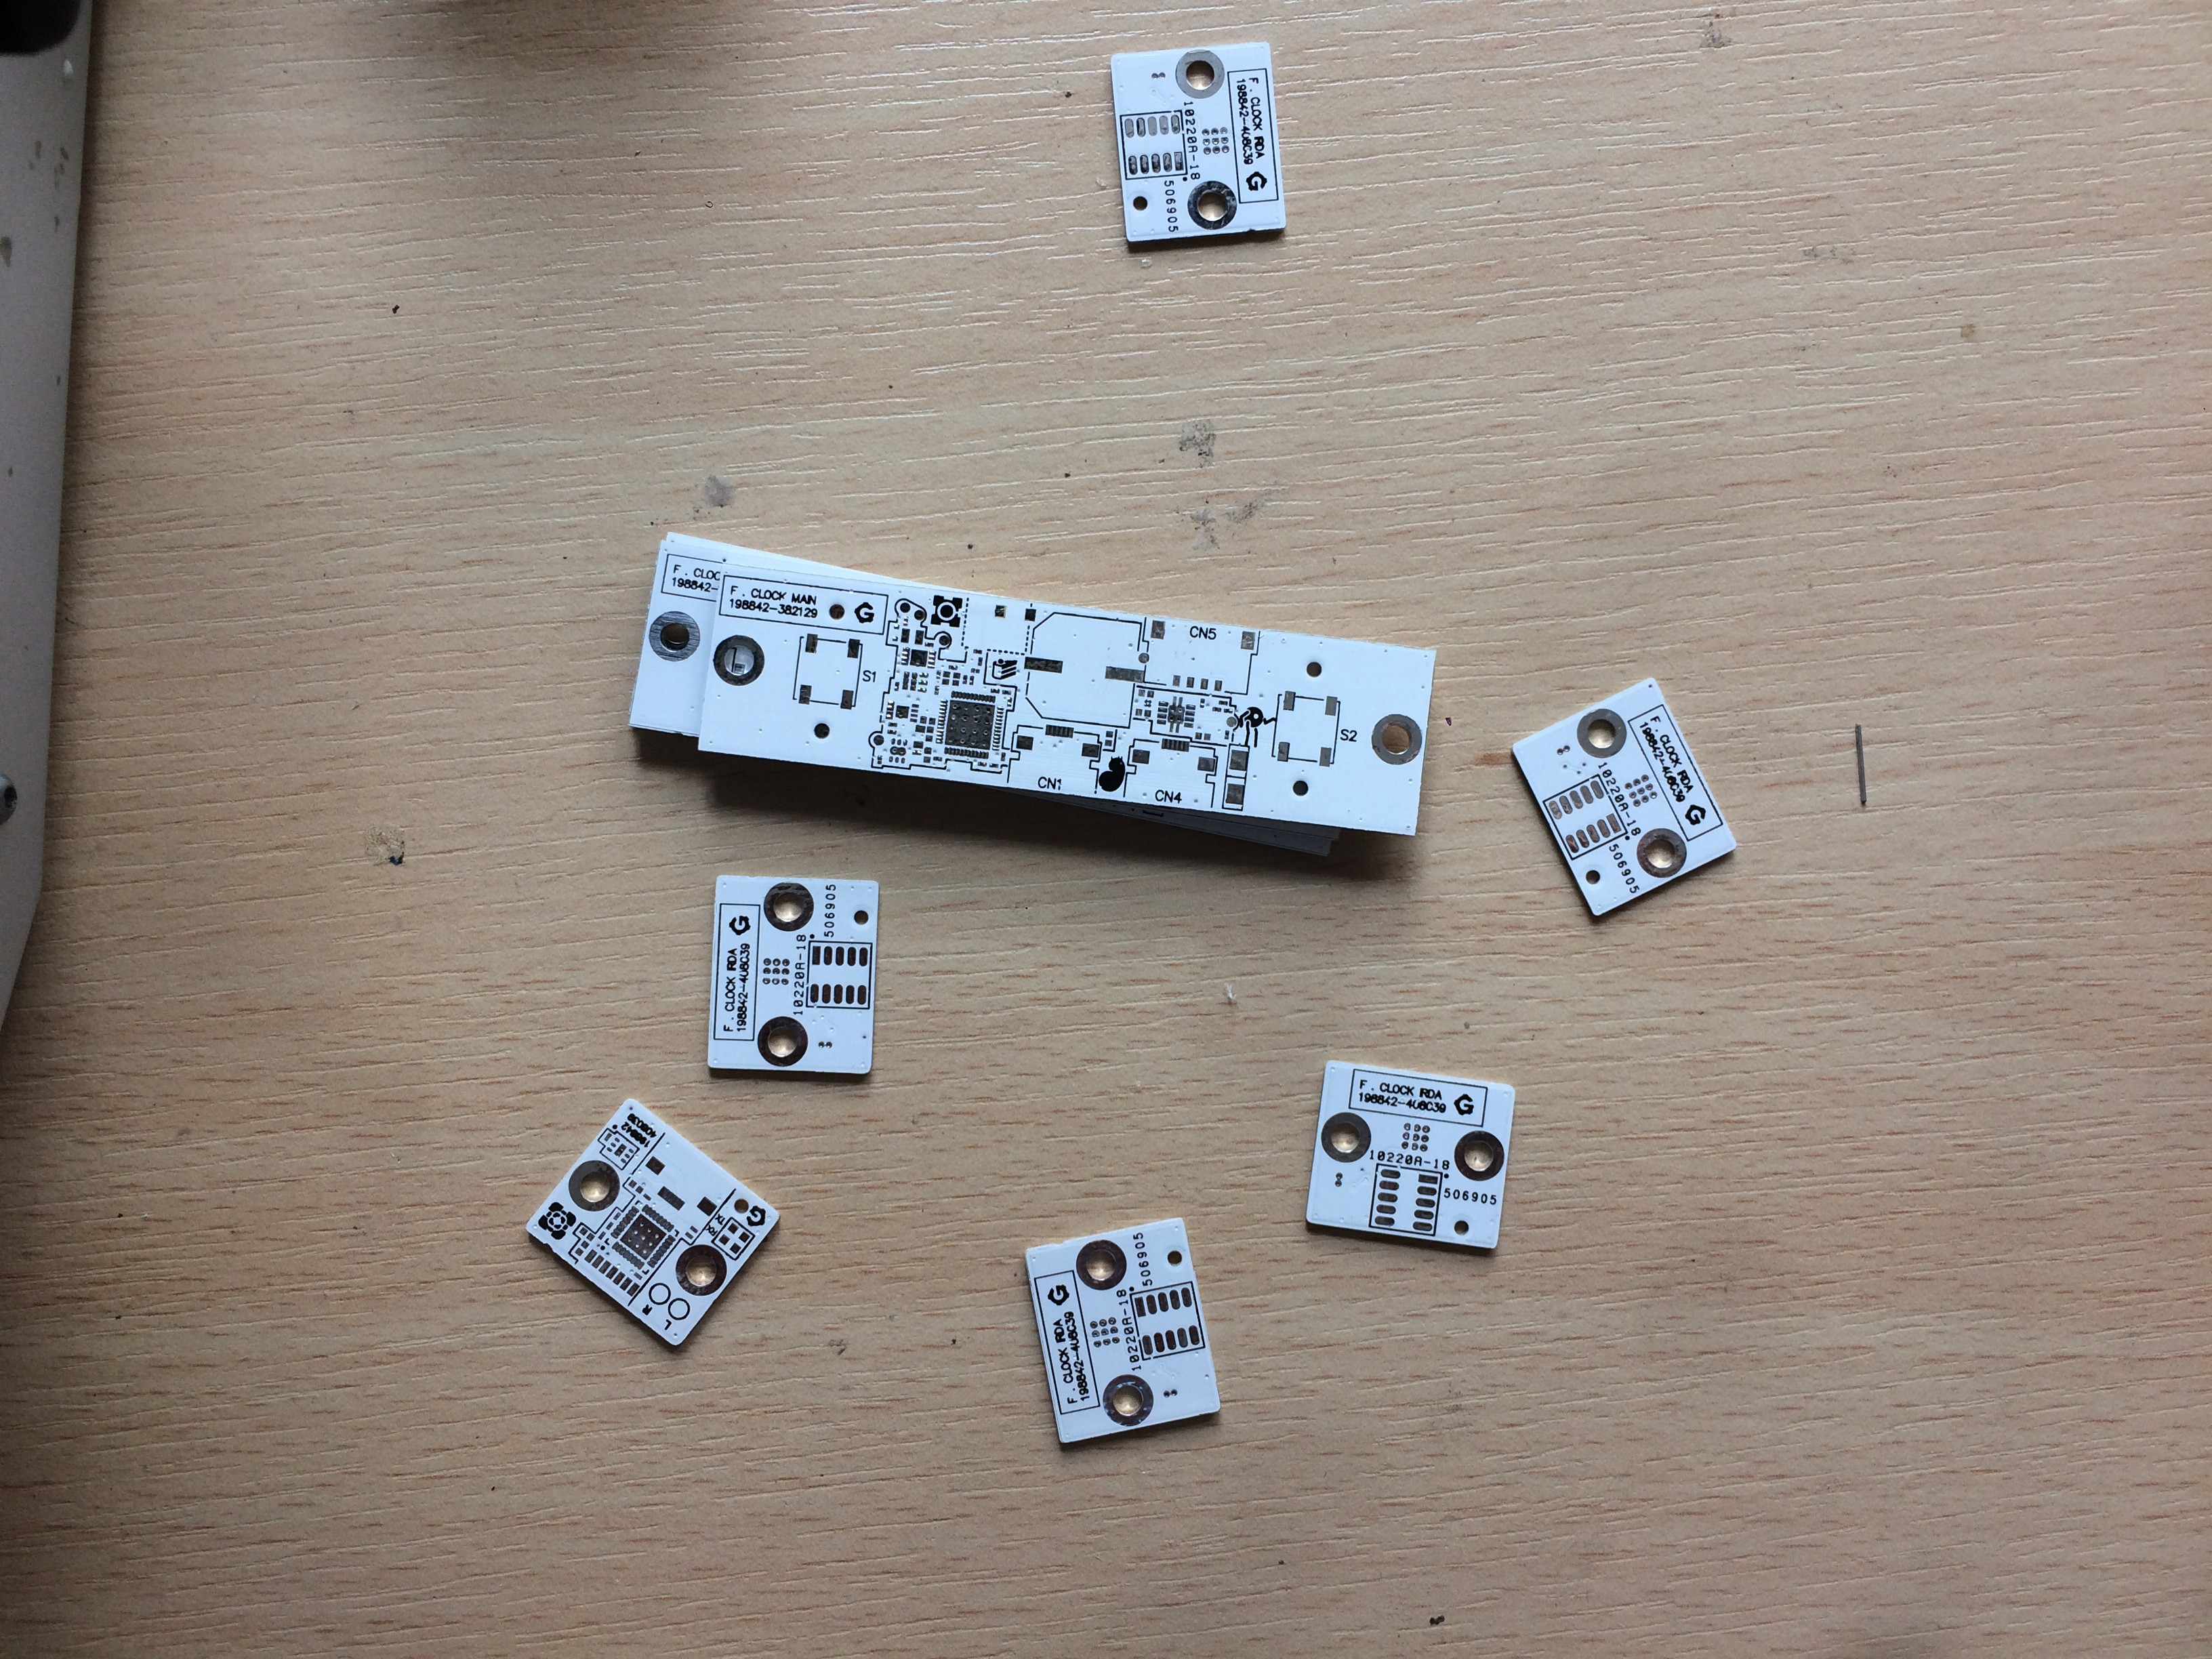
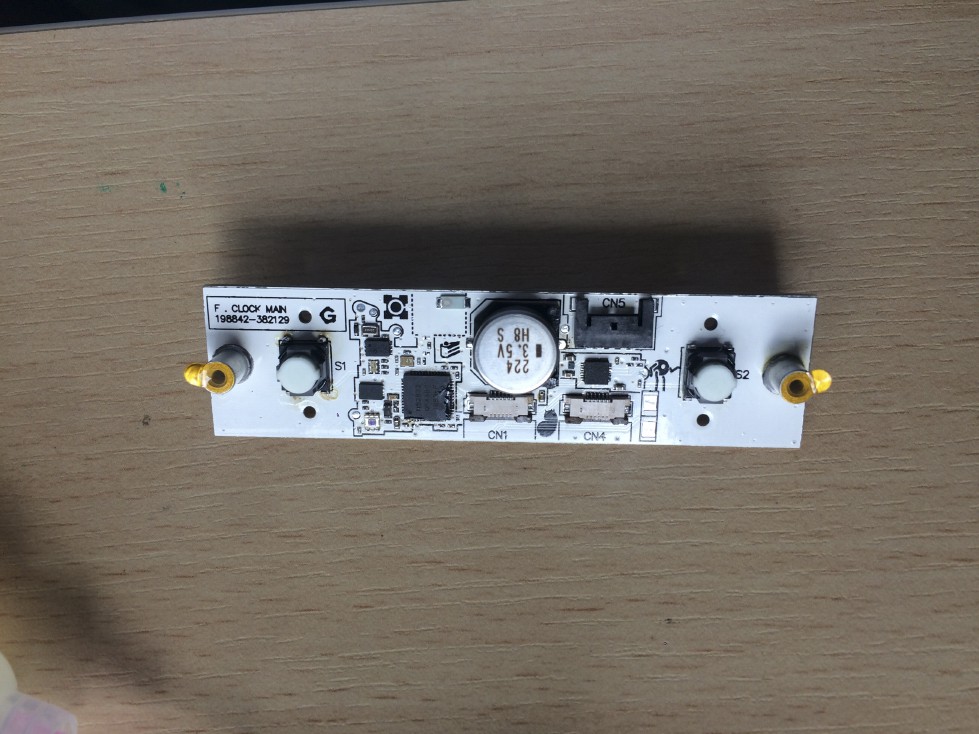
    OK so I ordered the pcbs quite a while back from seeedstudio and upon receiving them I'm quite surprised - pretty good quality overall. The silkscreen is a bit off but that's not a huge issue.

    Considering what the service used to be some years ago, its definitely a step up!

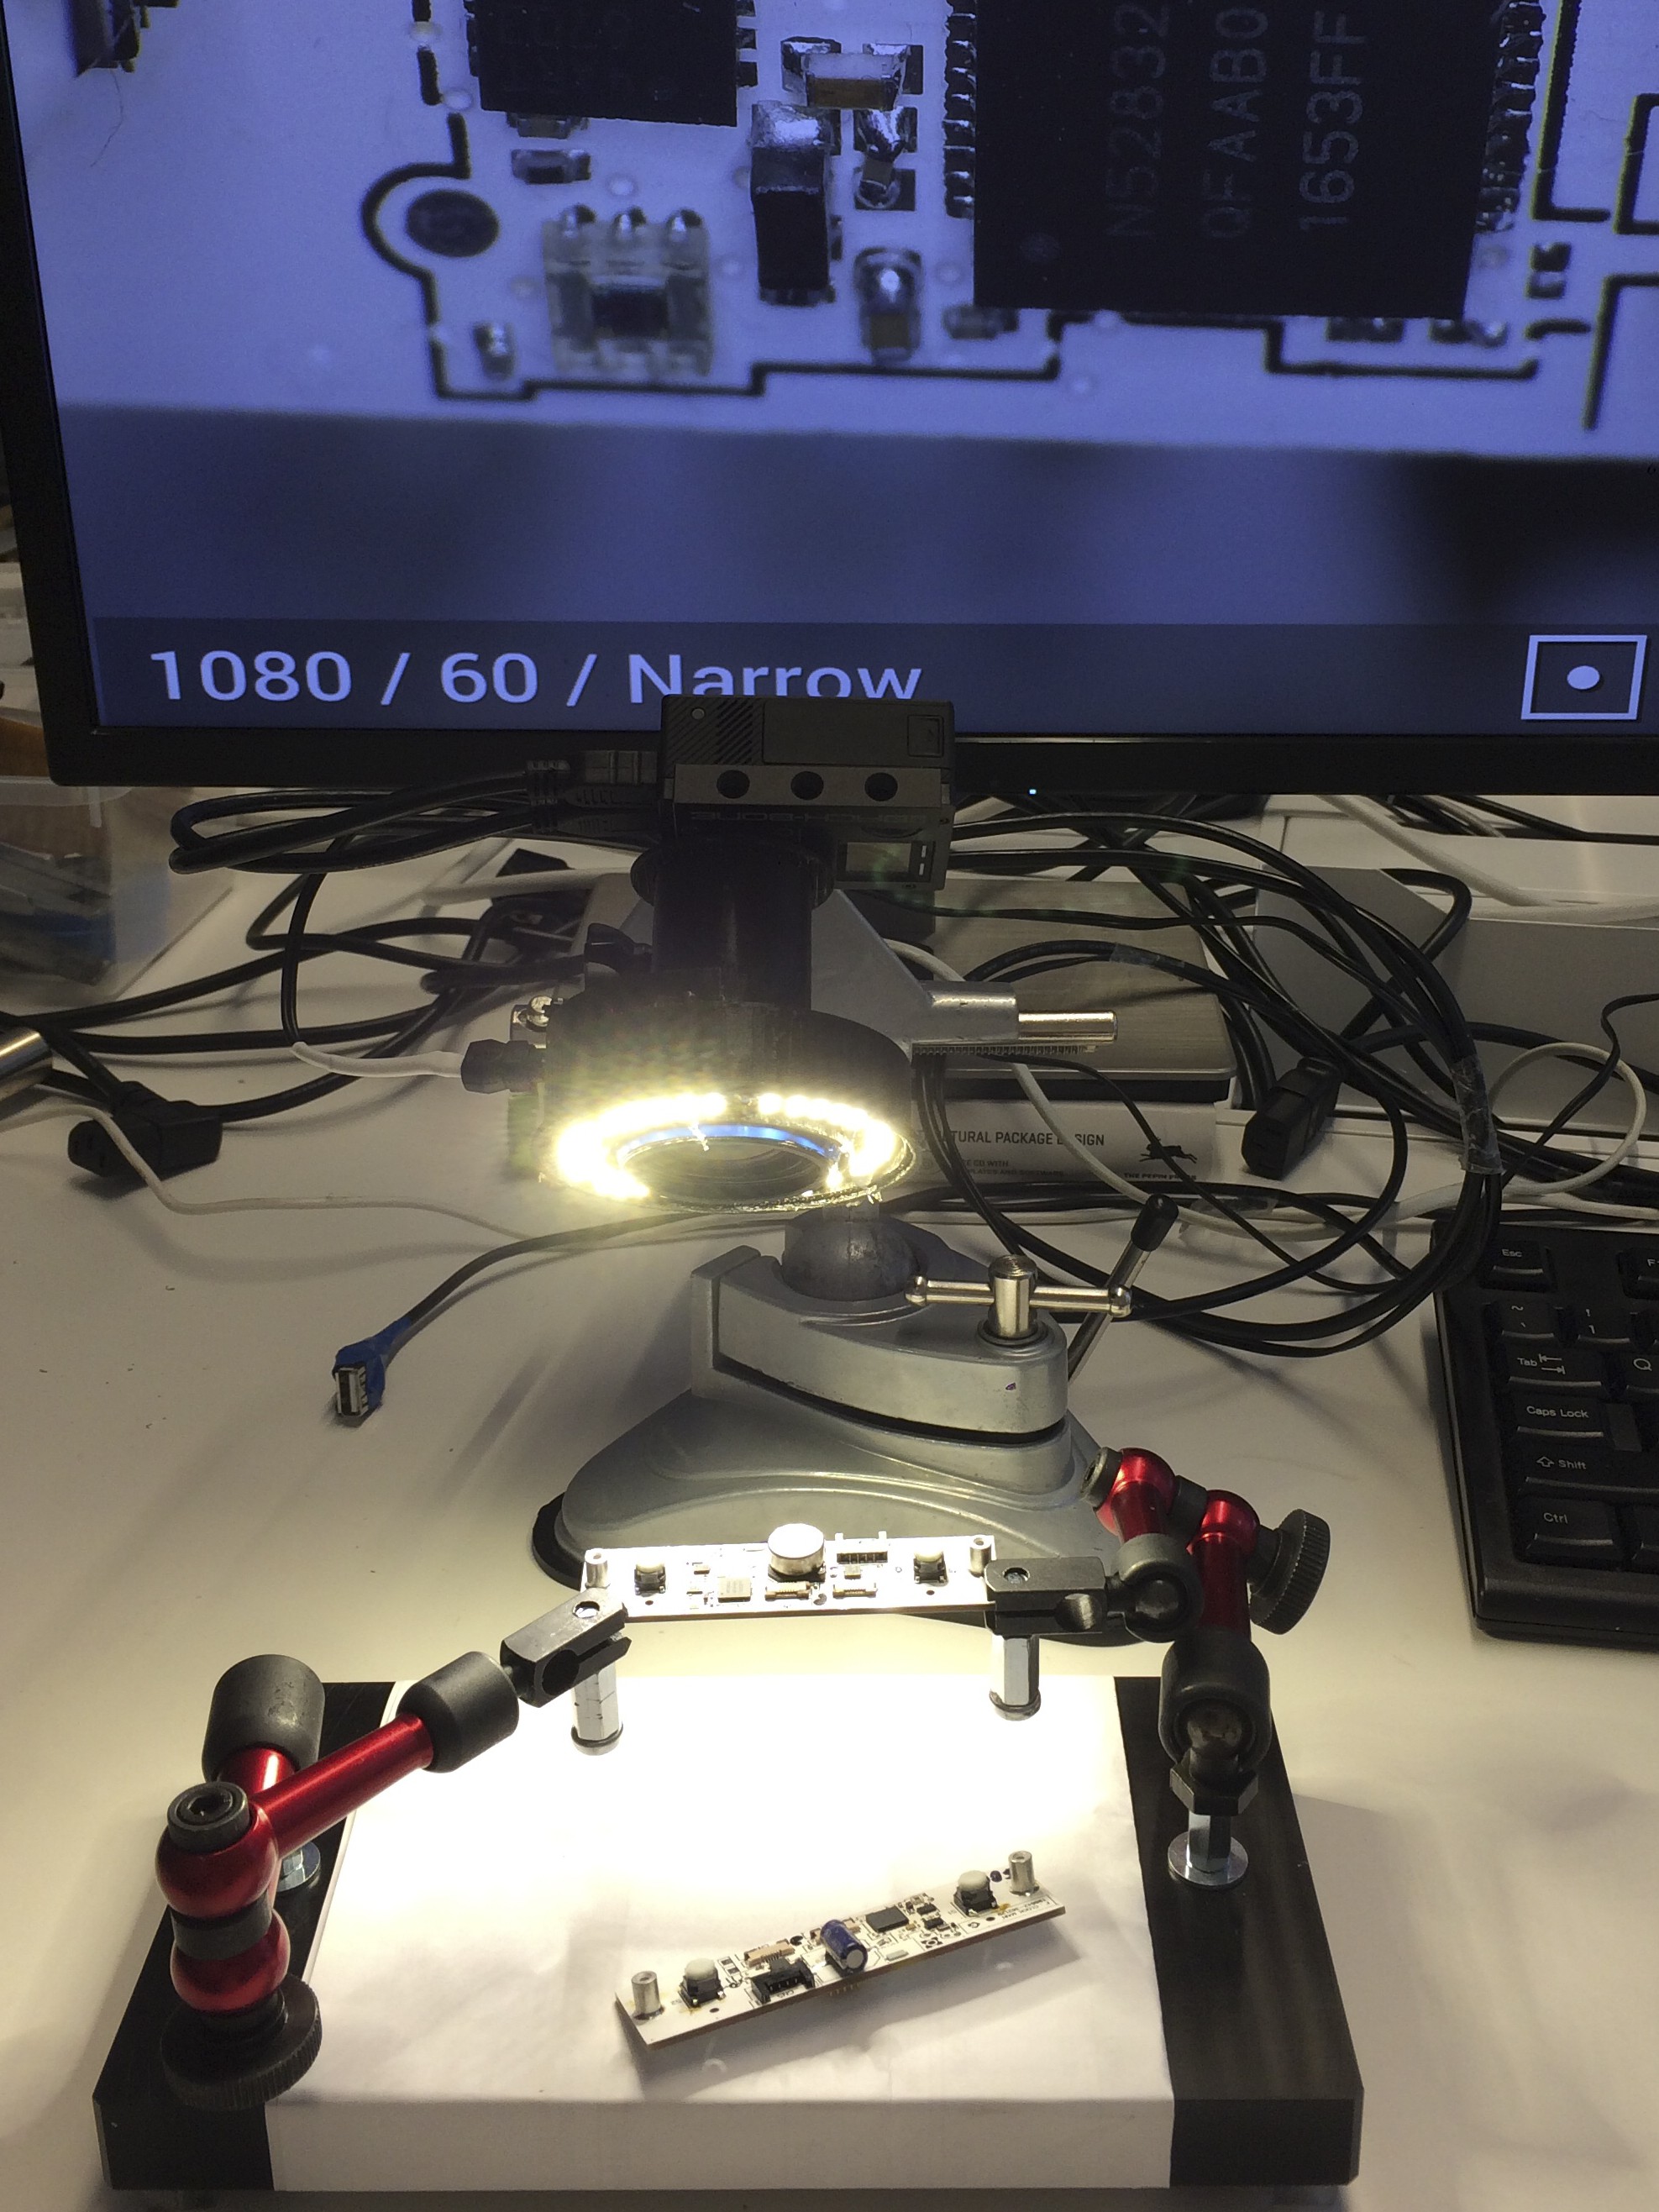
    And so I assembled three prototype boards, programmed them all worked pretty well so far except for the ambient light sensor.. I'm having this feeling that the sensors are being affected the LED blinking, gosh darn it! :D It appears that now I'm going to be fixing that in code..

  • What's done and what's on the list

    makufelis-xyz08/06/2017 at 19:57 0 comments

    So I'm a bit late on putting this project on the interwebs since its way past its first prototype stage, in fact I've sold my first prototype :D I designed the clock, built the first prototype from scrap parts and so my friend brought me here. 

    Nonetheless I'll do my best to document the stuff I've done and make it not look weird :D

    OK, here's what I've done:

    • Designed the whole thing in 3D.
    • Designed the PCB.
    • Adapted the Nordic Semi nRF52832 UART example to do the stuff I want.
    • Built the device from scrap materials.
    • Update the Github page with code-specific to-dos and fixes needed, schematics and the rest.

    I'm gonna post on the things I wrote in the list above.

    Here's what the clock does now:

    • Connects to a mobile device through Bluetooth Low Energy
    • Works through the Nordic Toolbox app and communicates with UART commands.
    • Shows time of the day in two digit sequences (both 12 and 24-hour mode).
    • Shows time of the day in dots (all dots light up when the whole day has passed).
    • Disables the display when its dark (uses ambient light sensor).
    • Disables the display on a specific time span.
    • Uses RTC offset calibration.
    • Uses six show slots to program what to display and for how long.
    • Has draw mode that overrides the six show slots so you can draw your own images by UART commands.

    And here's what's on the higher-level to-do list:

    • Sell and then make a couple more (proper ones) of these devices.
    • Fix some code problems and add new features (long-term).
    • Make a kit so that people could build it themselves.

View all 4 project logs

Enjoy this project?

Share

Discussions

Elliot Williams wrote 12/14/2018 at 14:04 point

So nice.  I really love the low-res analog clock option.  Kinda like the word clocks, which only show the time approximately (but good enough).  

  Are you sure? yes | no

Similar Projects

Does this project spark your interest?

Become a member to follow this project and never miss any updates