Today I printed the ART2BODYACOVER_01 so I could build the ART2 completely.
Yesterday I was planning to use nuts and lock washers. But there is no room to work inside the printed part. So I changed it and used a simpler and better way.
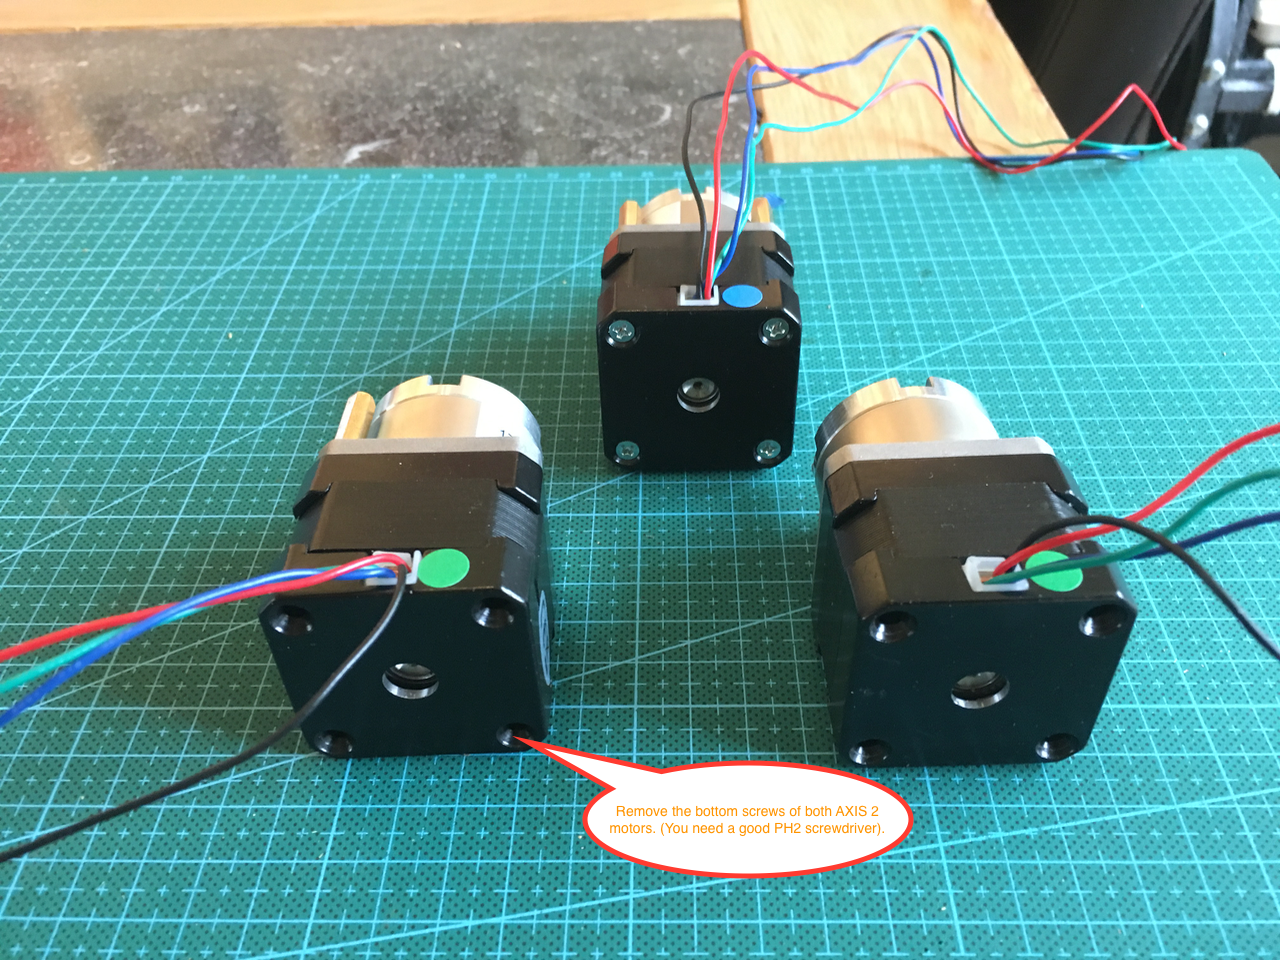
Remove the bottom screws of the AXIS2 Motors.
Remove 10 of the 12 top screws.
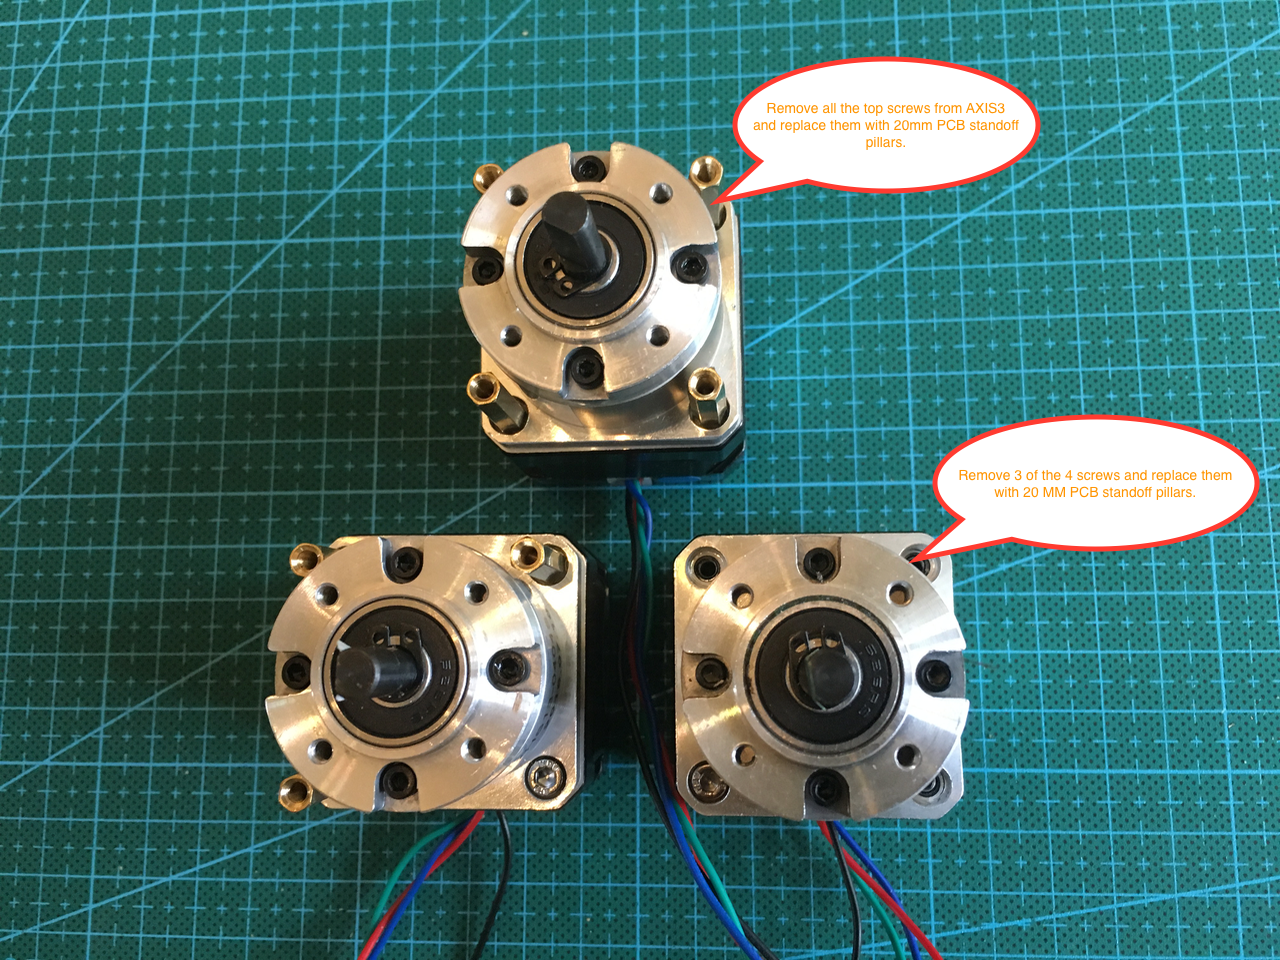
I replaced the top screws with M3 20mm PCB standoff pillars. This way I could secure the gearbox before inserting the motors in the printed part.
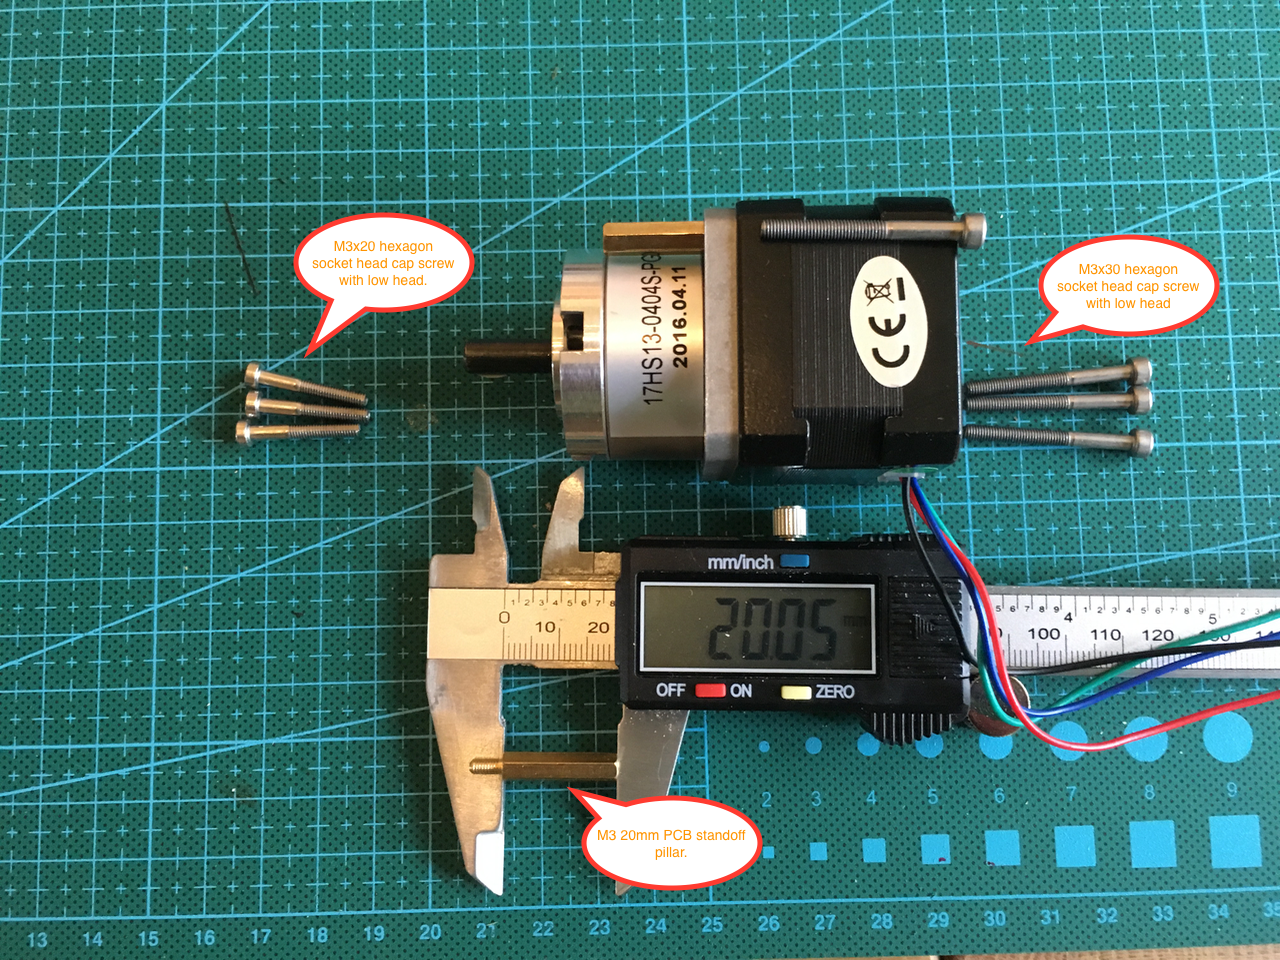
Don't forget the nuts on the inside.
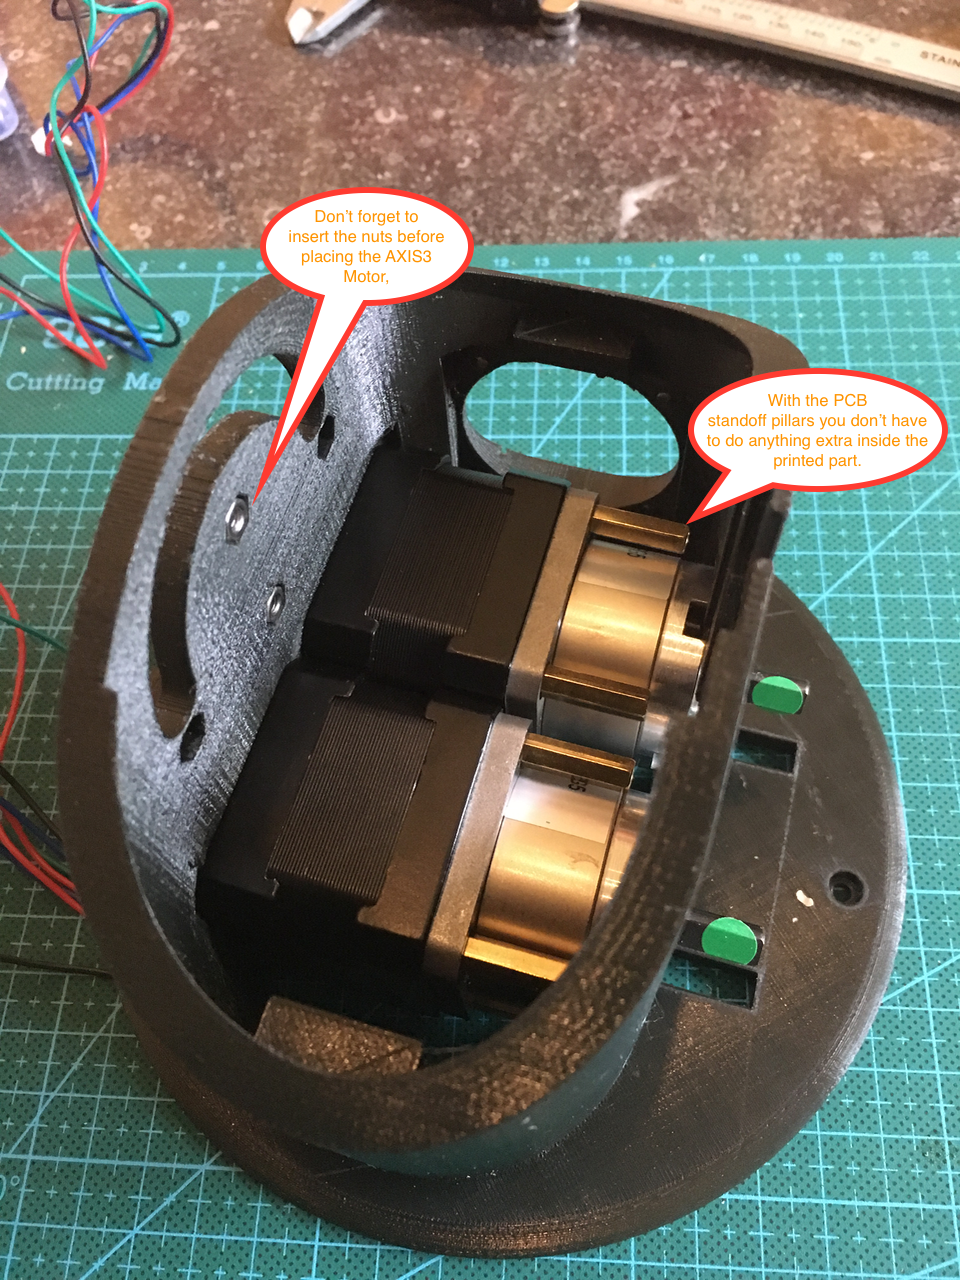
Add the backside screws.
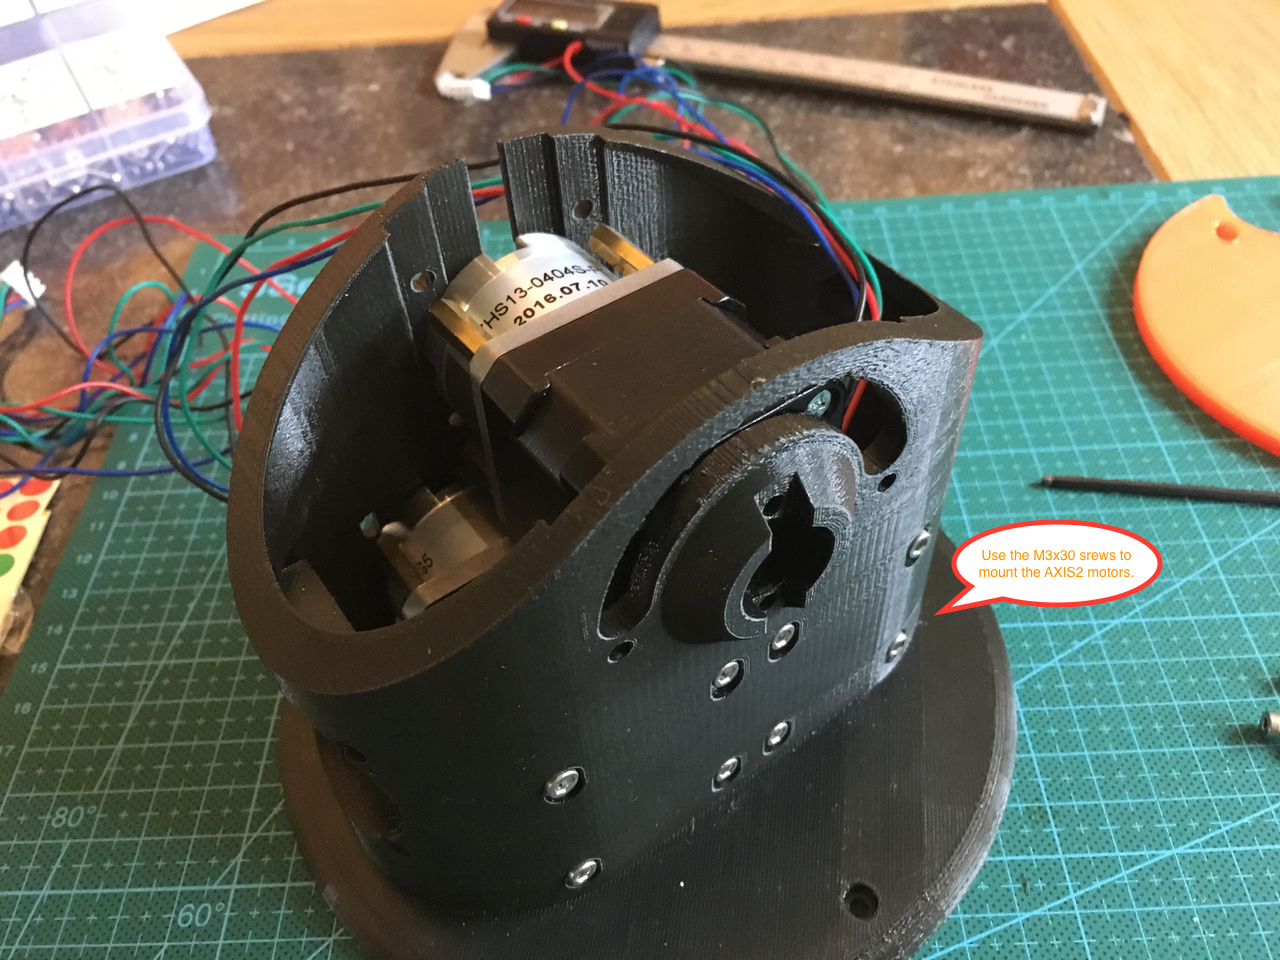
Make sure you add the AXIS 3 motor before mounting the orange ring and adding the top screws of the AXIS 2 motors. Leave some room between both layers of motors for the fan to cool them.
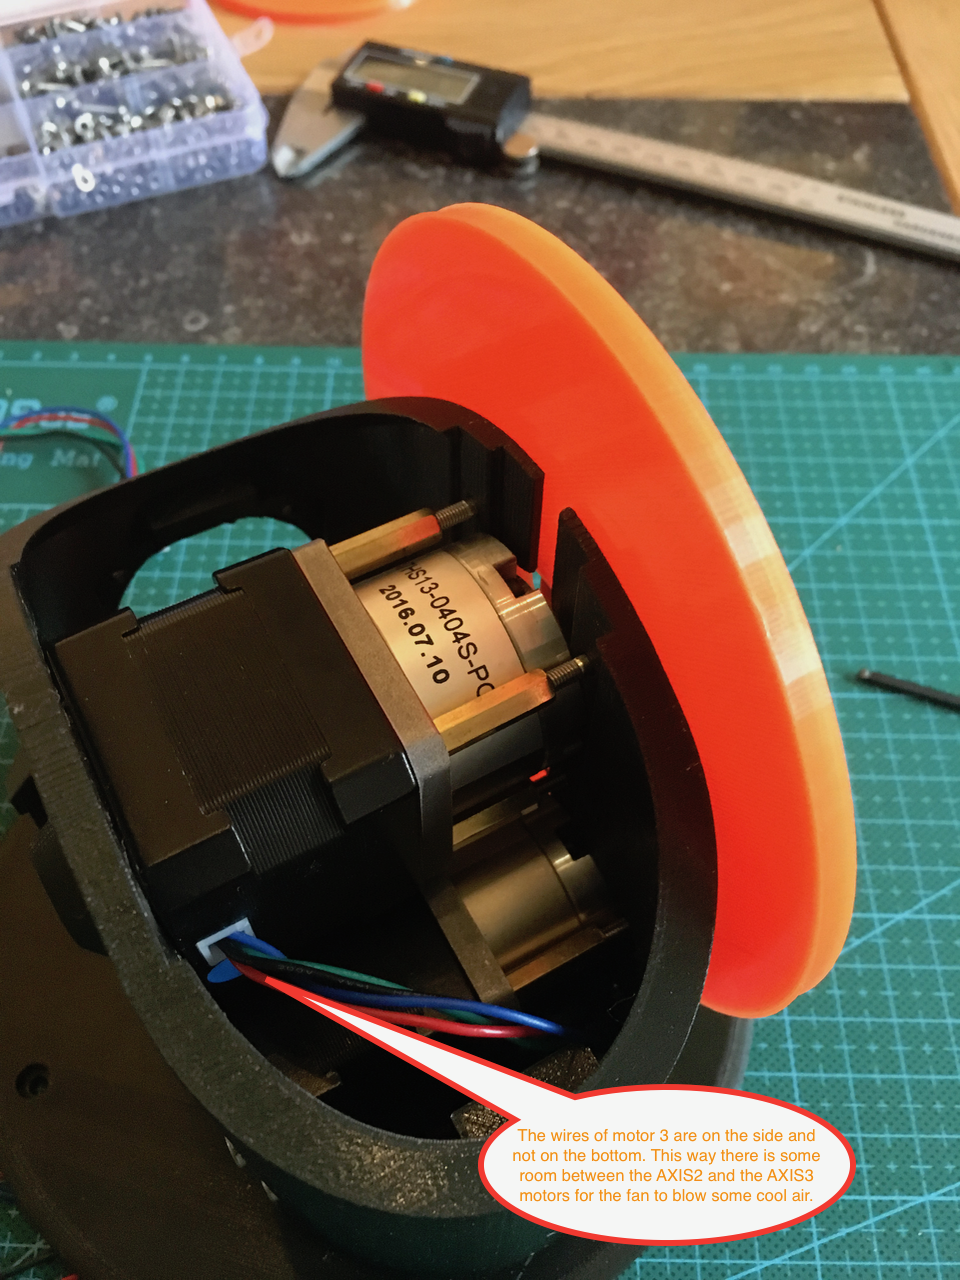
Mount the ring and the stepper motors with the top screws. By using the PCB standoffs is is much easier to adjust the AXIS2 motors. Just loosen the top an back screws and press on the motors.
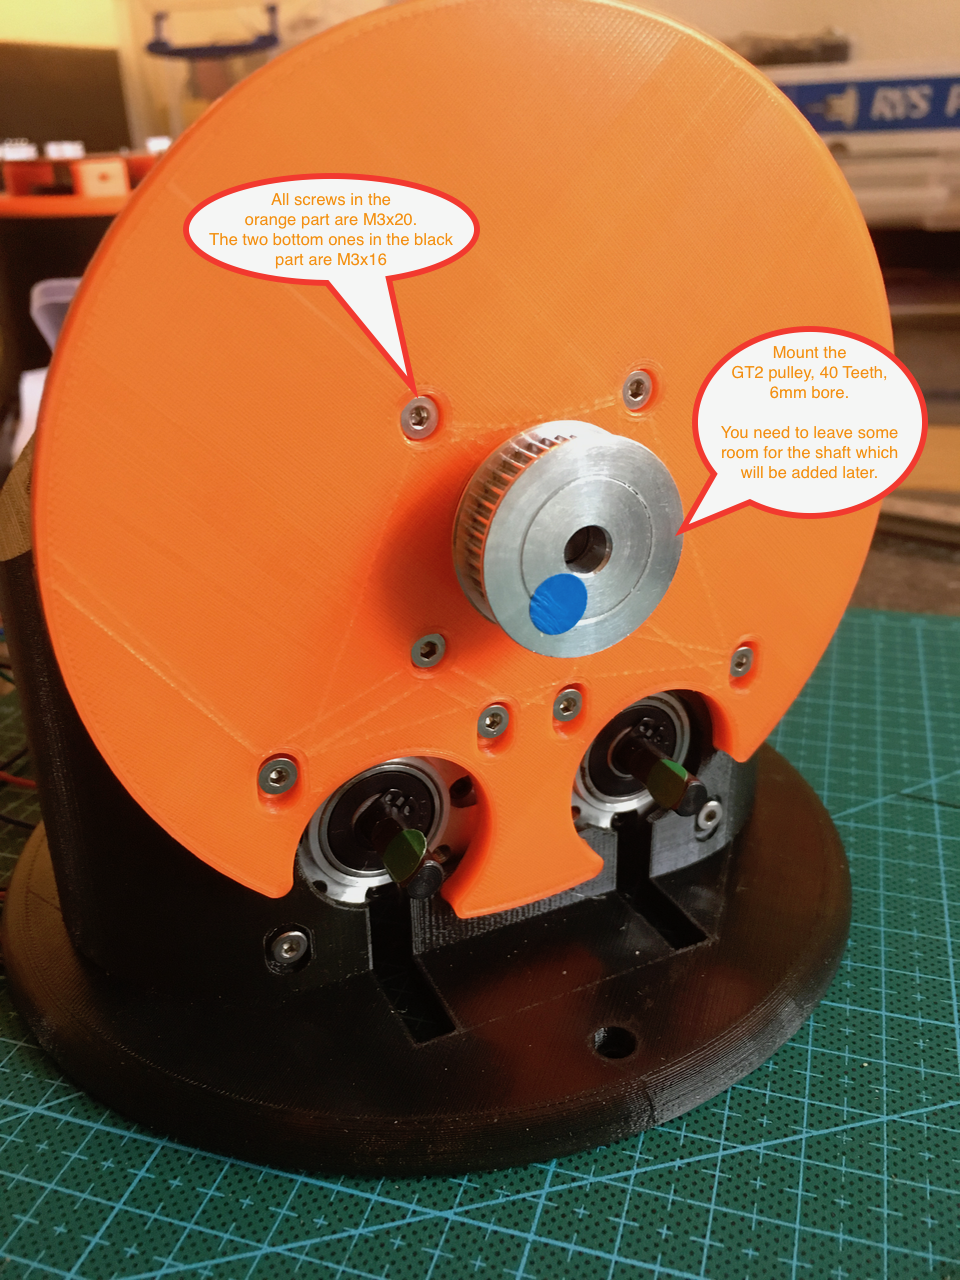
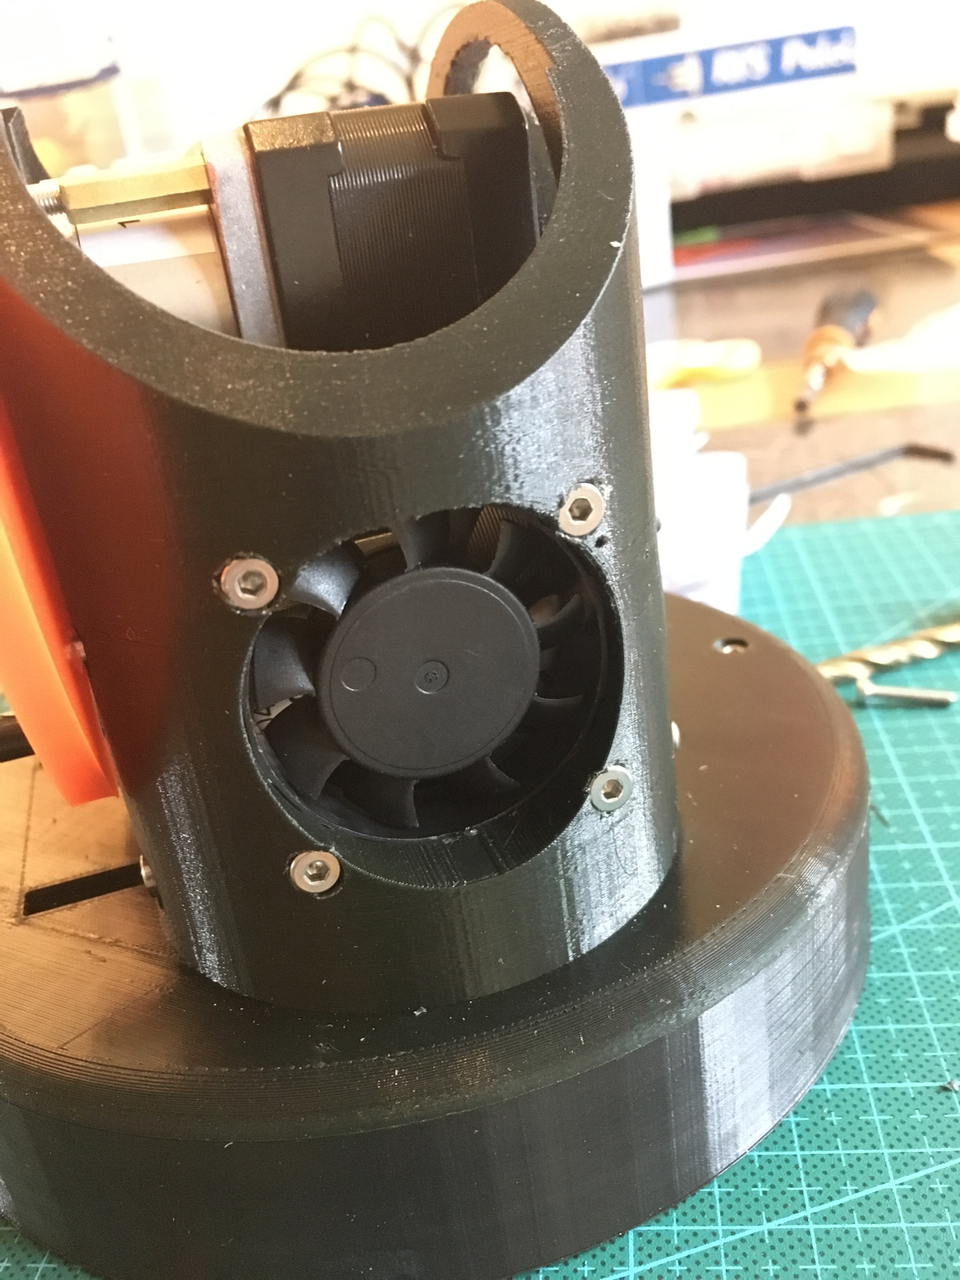
Now it was time to add the fan. You need a 5V fan instead of the 24V on Danny's sheets. There is no room for a 24v wire inside the 24 wire slip ring. 5 steppers x 4 wires, ground, 5V, TX and RX = 24 wires. (Both Axis 2 motors are connected with the same wires).
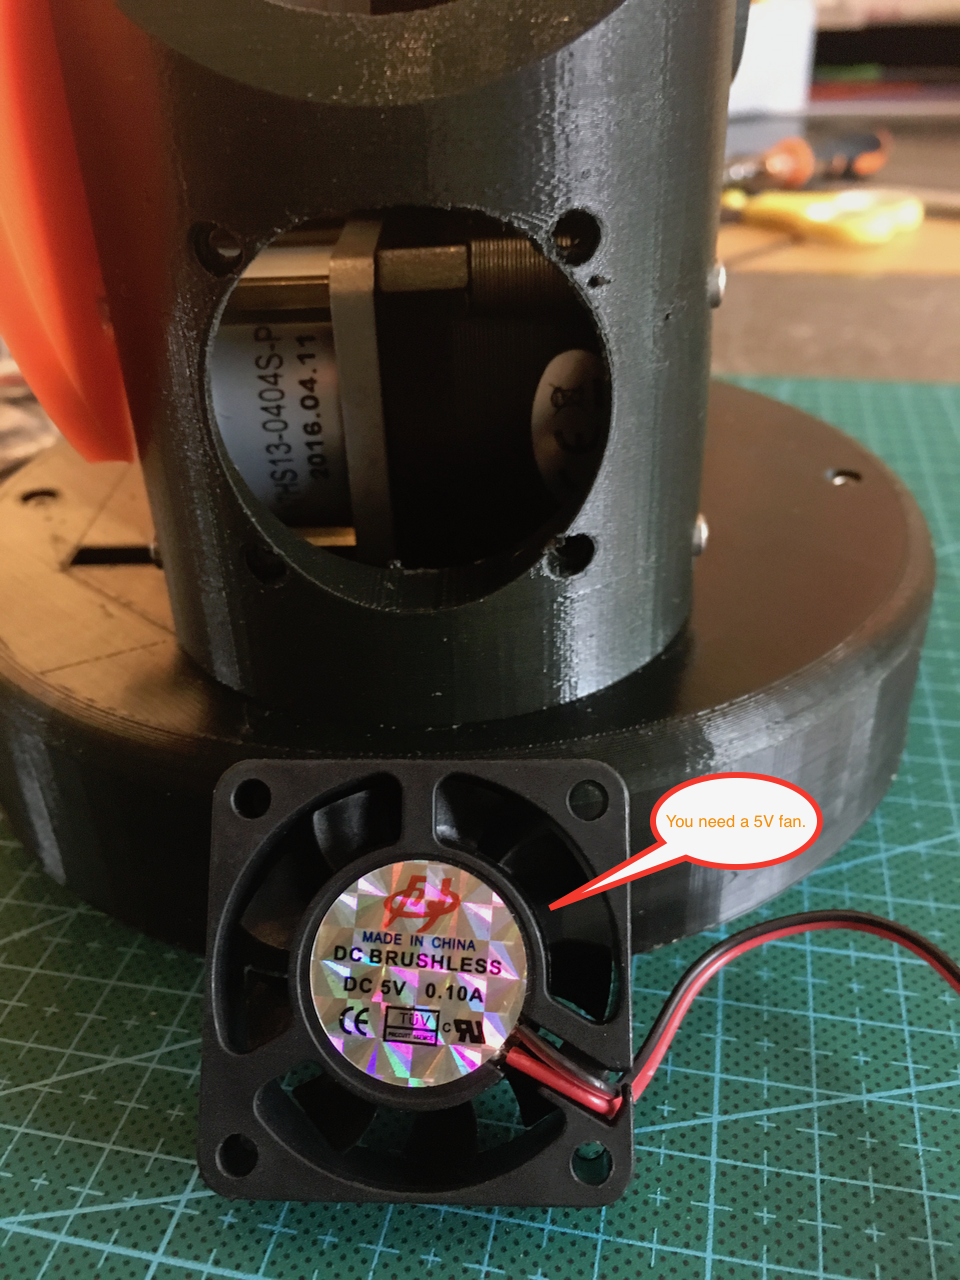
The fan is mounted. I had to make the screw holes a little bit bigger.
Tomorrow I want to finish the AXIS1 and the base. The printer is busy printing the last part..
 Sepio
Sepio
Discussions
Become a Hackaday.io Member
Create an account to leave a comment. Already have an account? Log In.
I really like the way you show details in the pictures.
Are you sure? yes | no