-
1Measure first
Make sure you get everything that you need to mod your extruder. Measure everything, check the spacing and clearance of parts, and be ready to get creative.
-
2Order what you need, use what you can
![]()
![]()
![]()
![]()
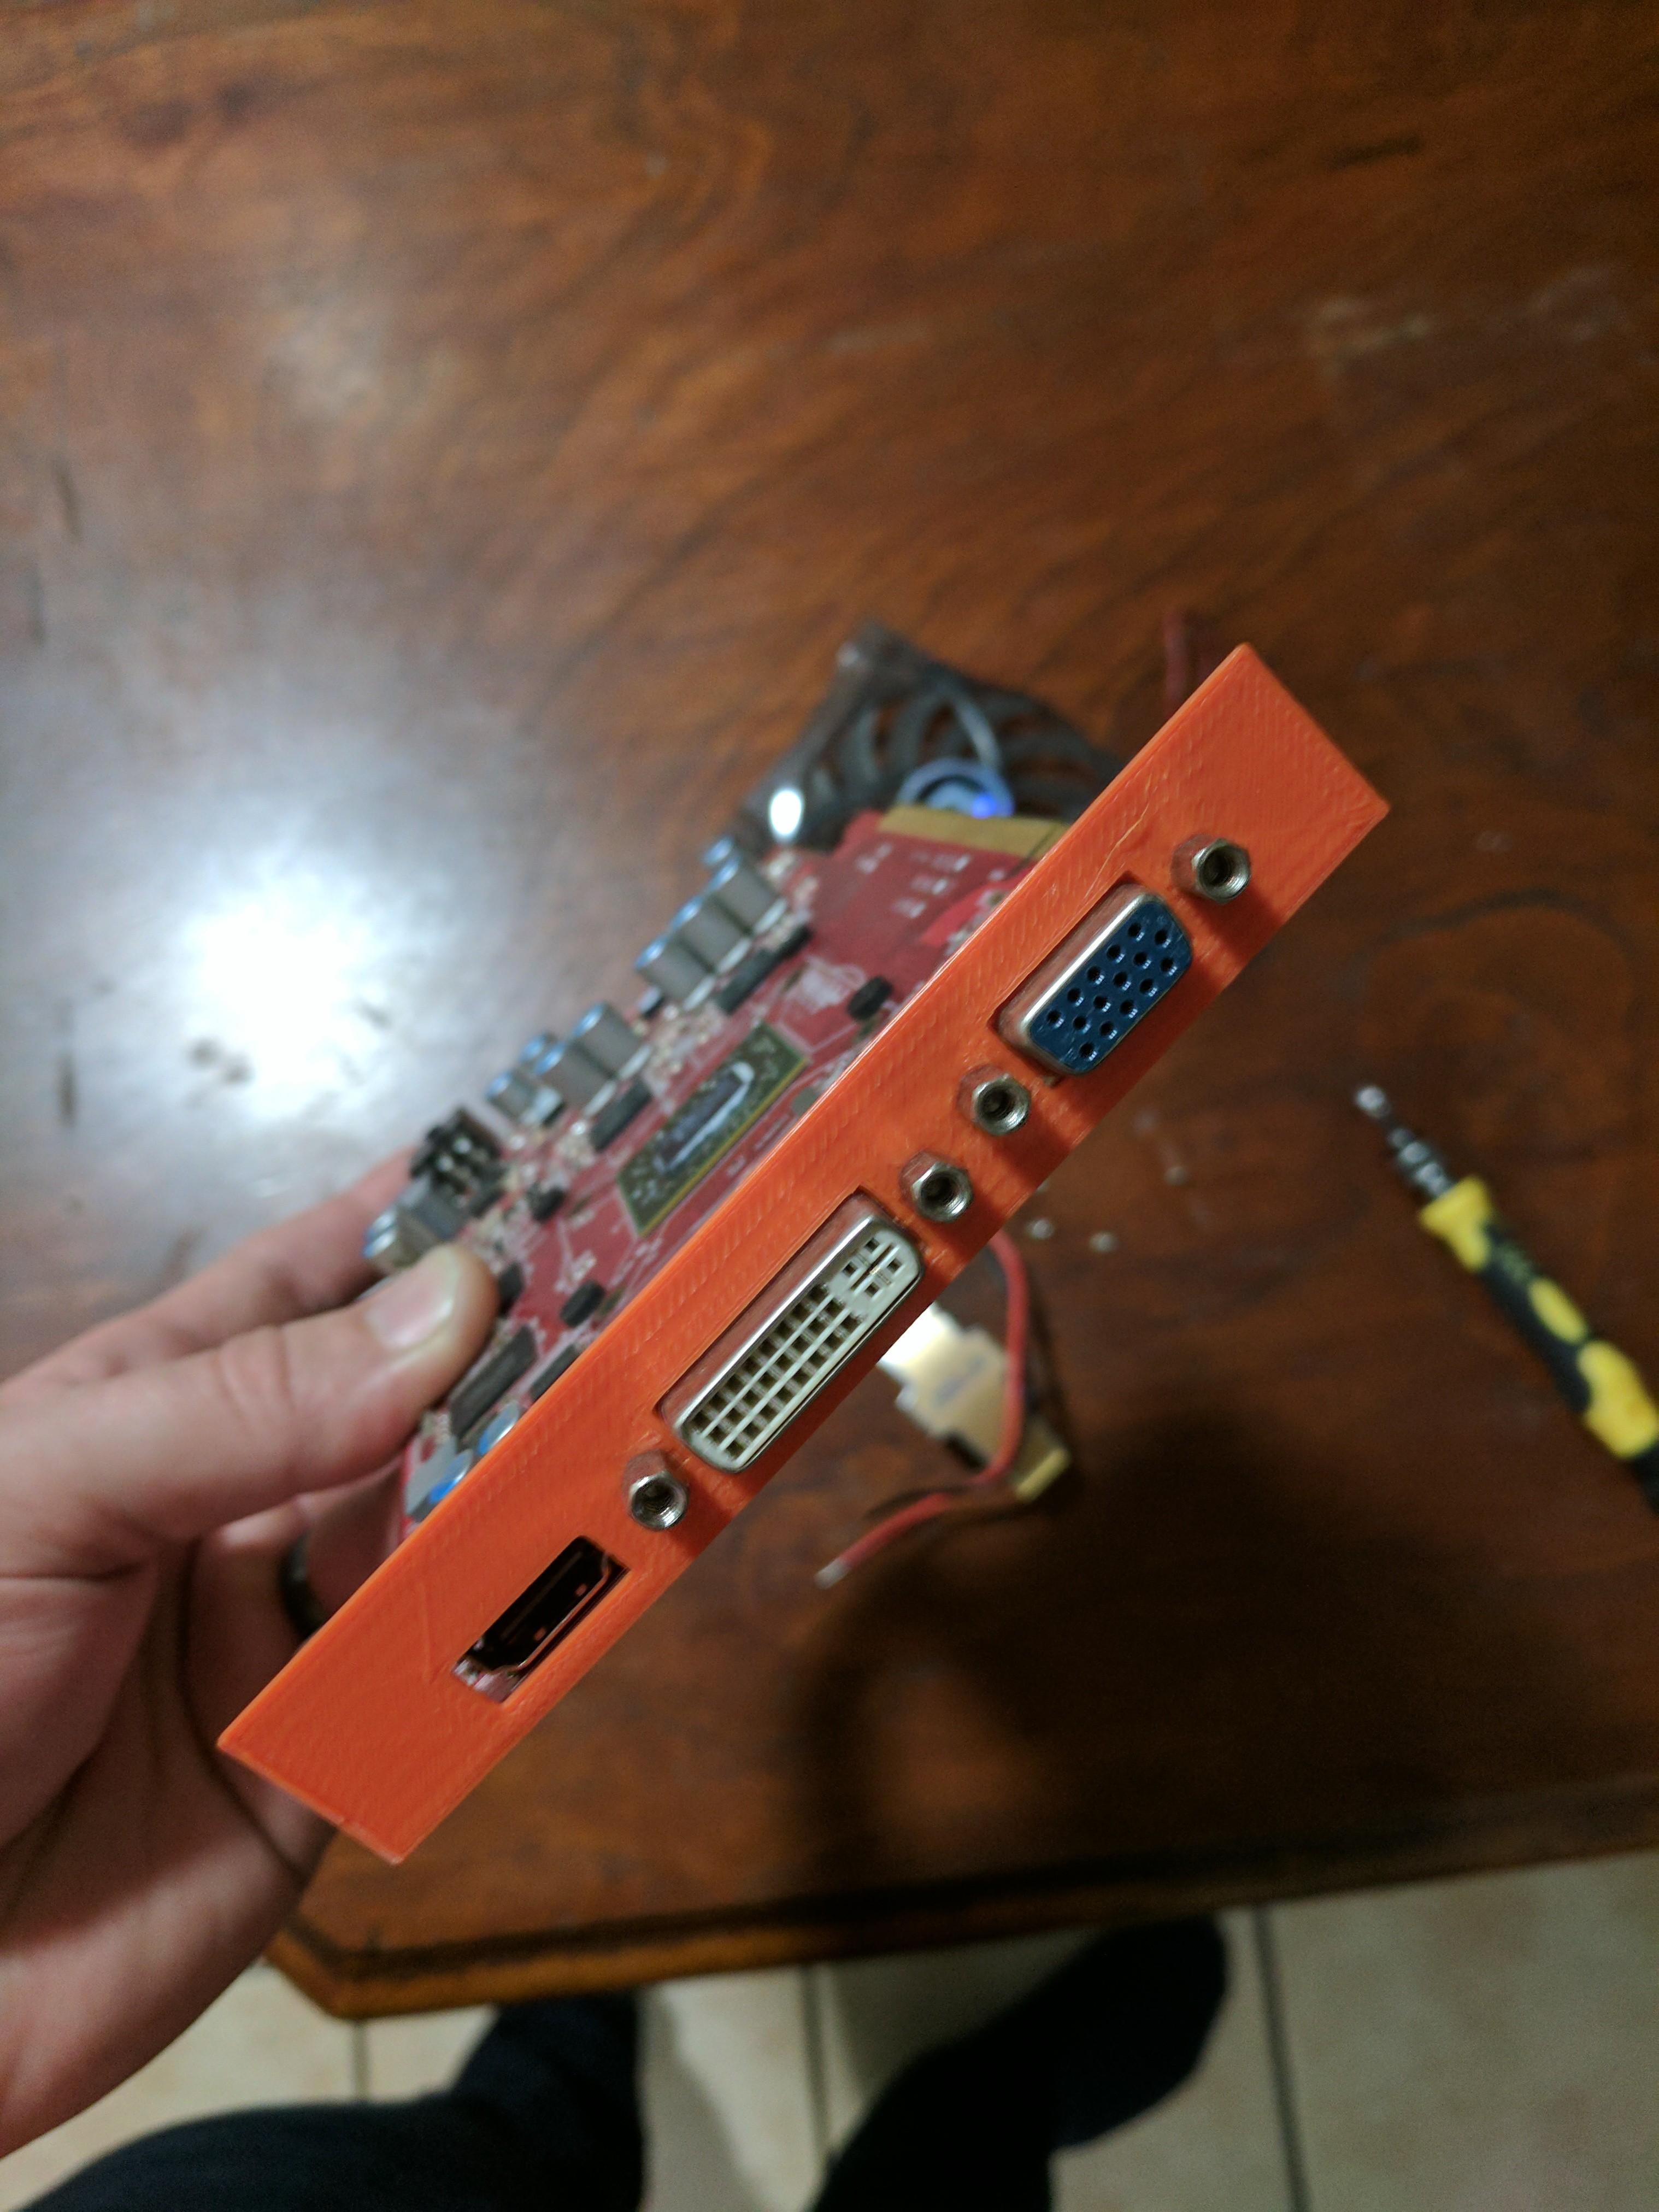
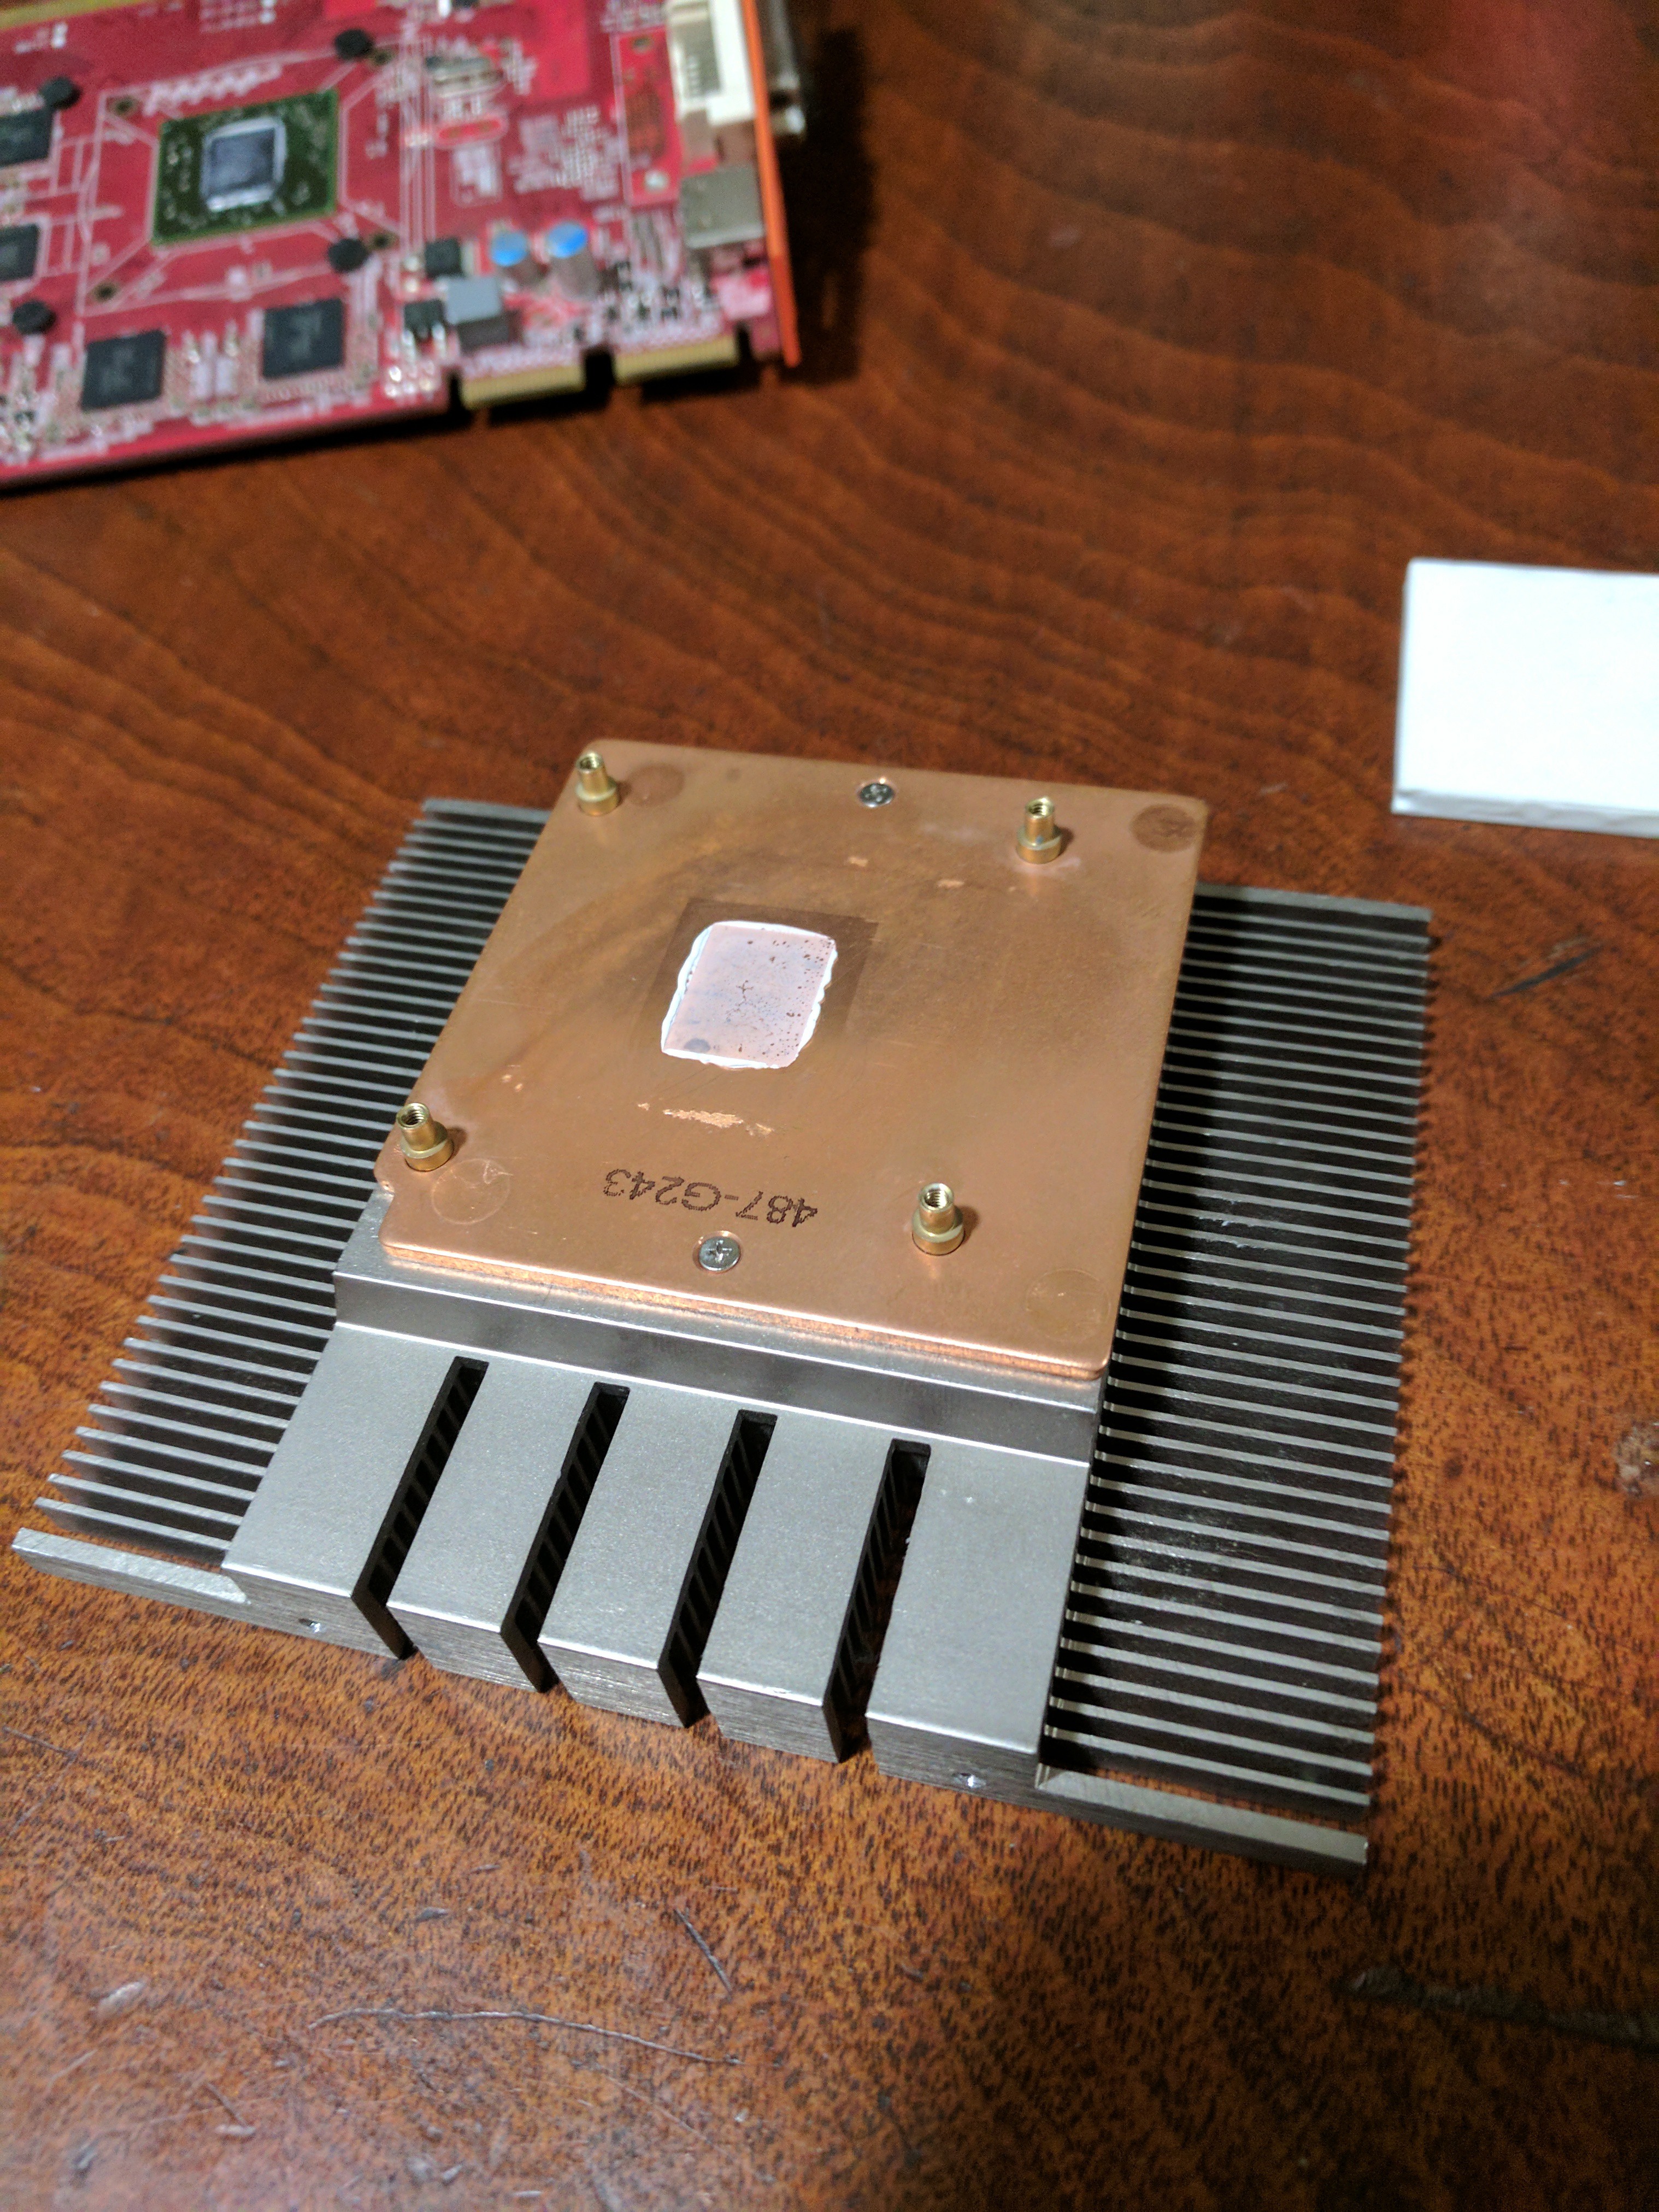
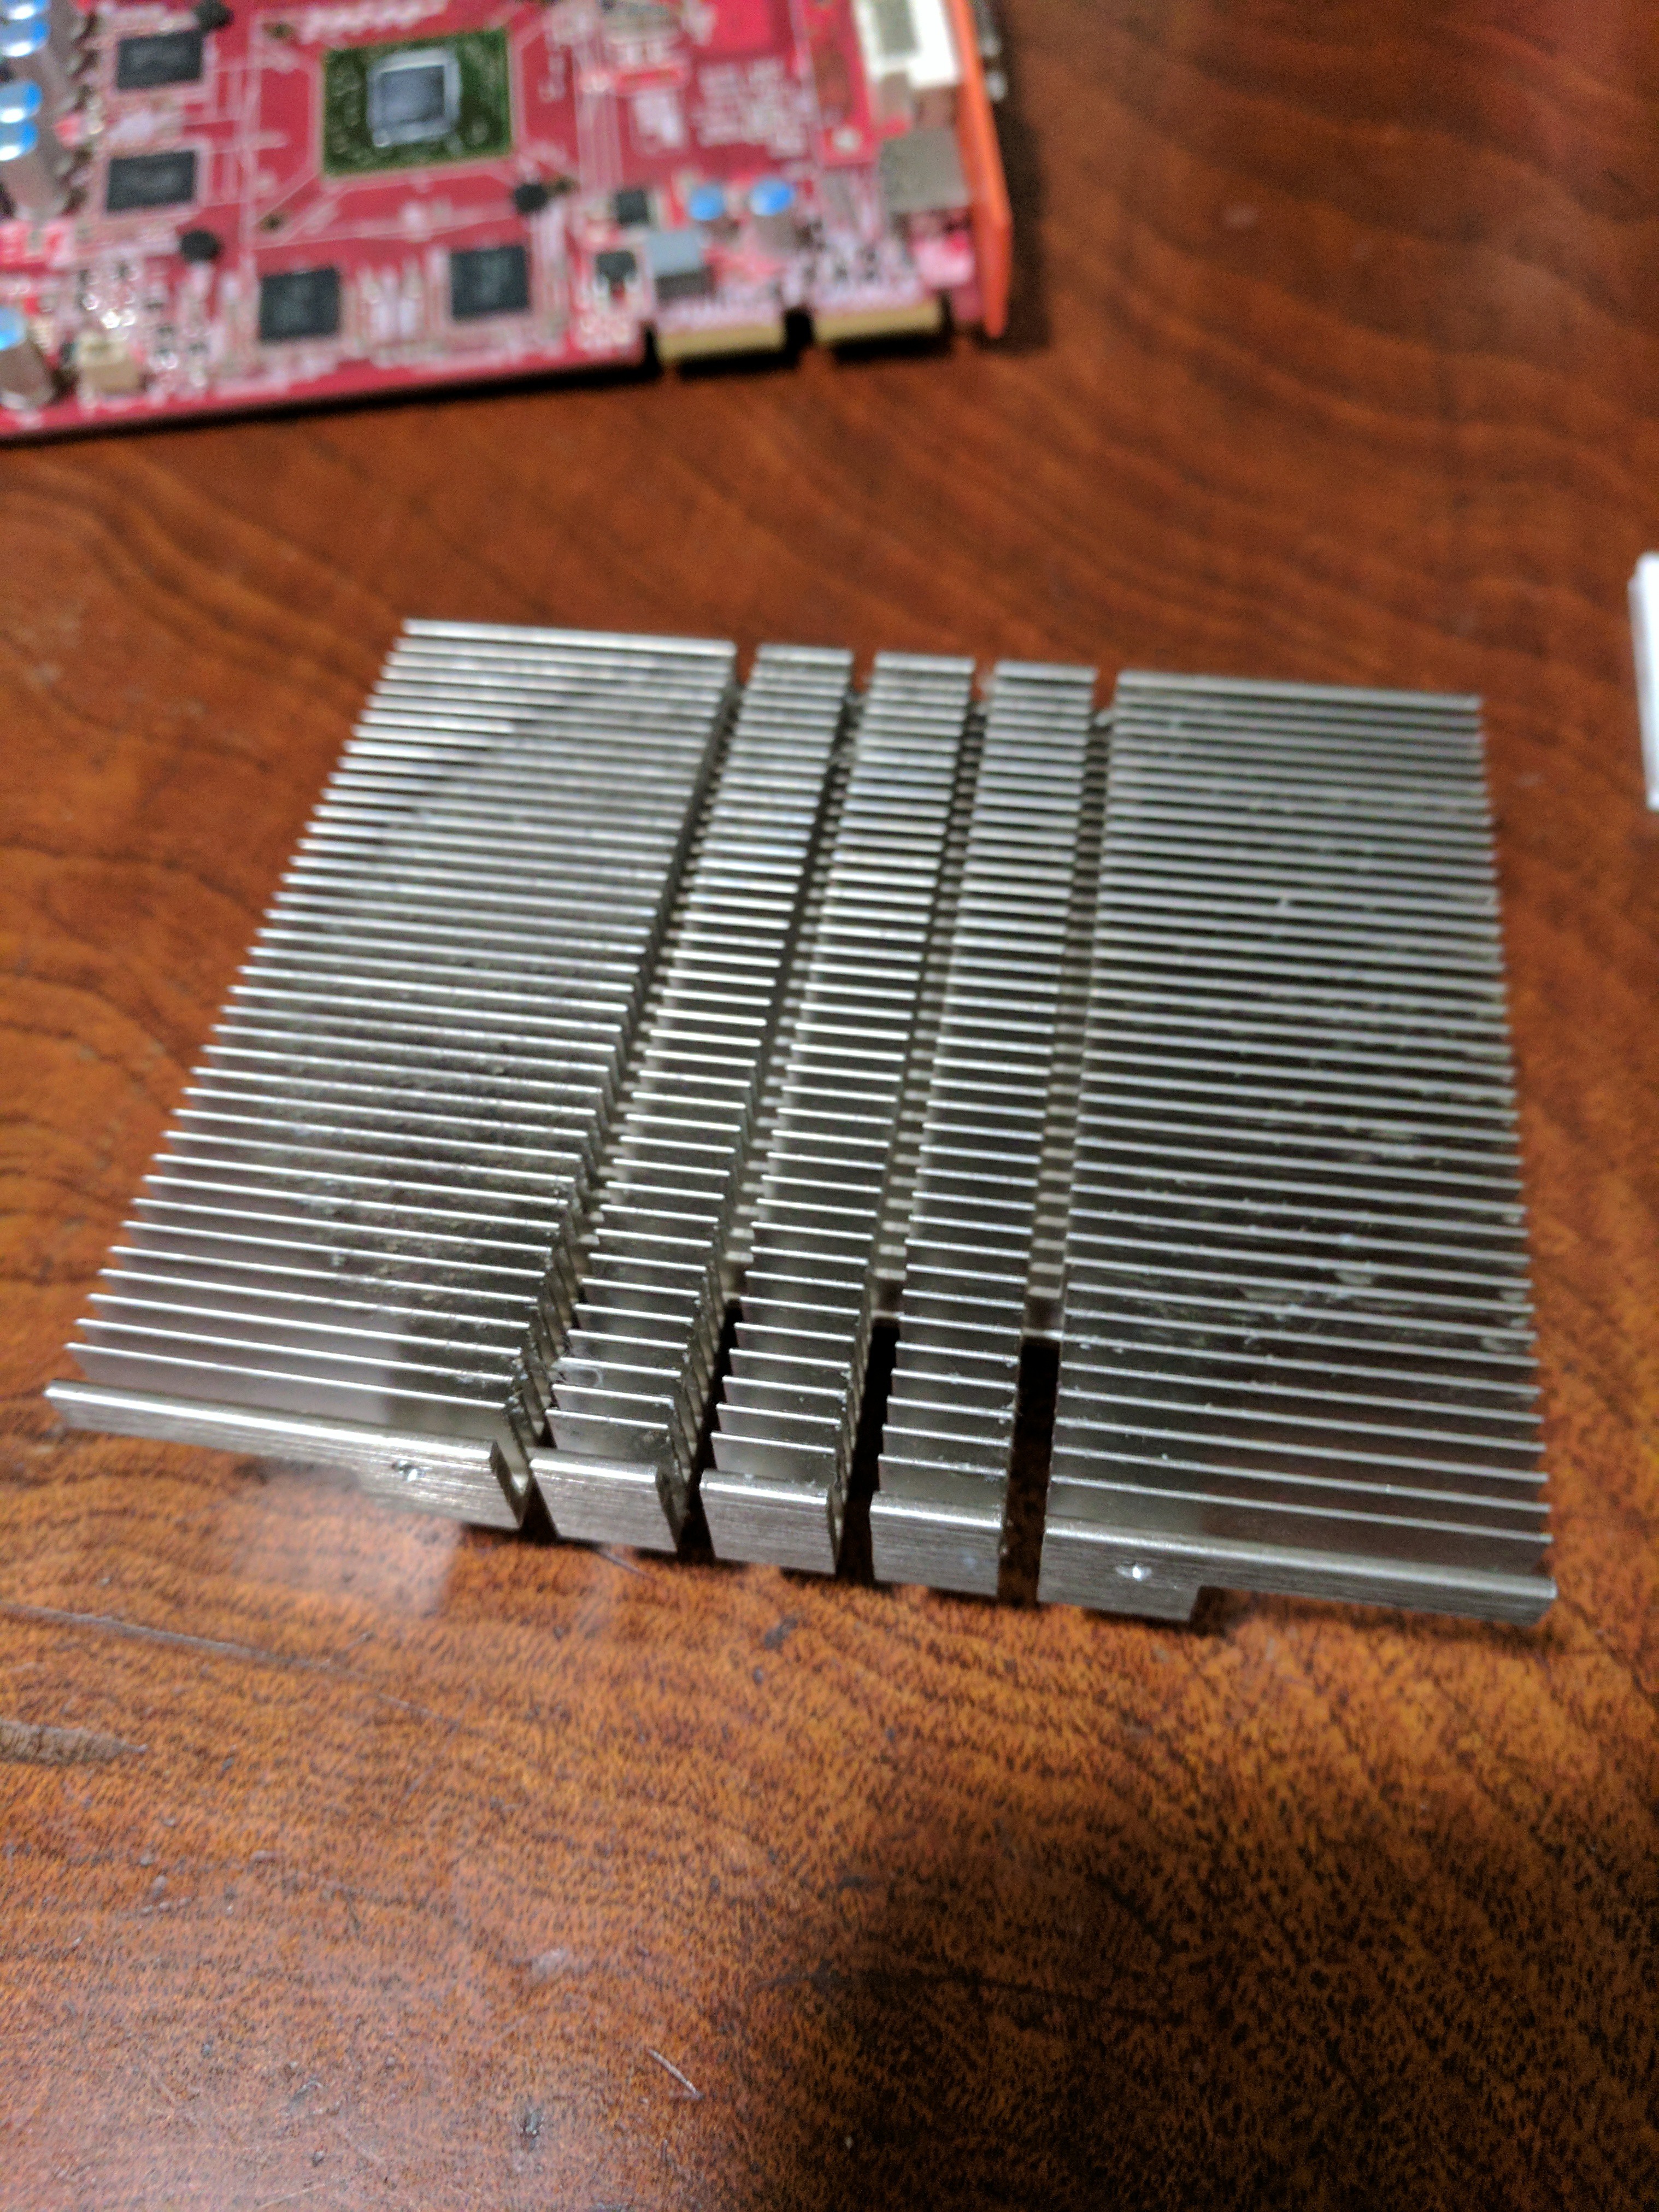
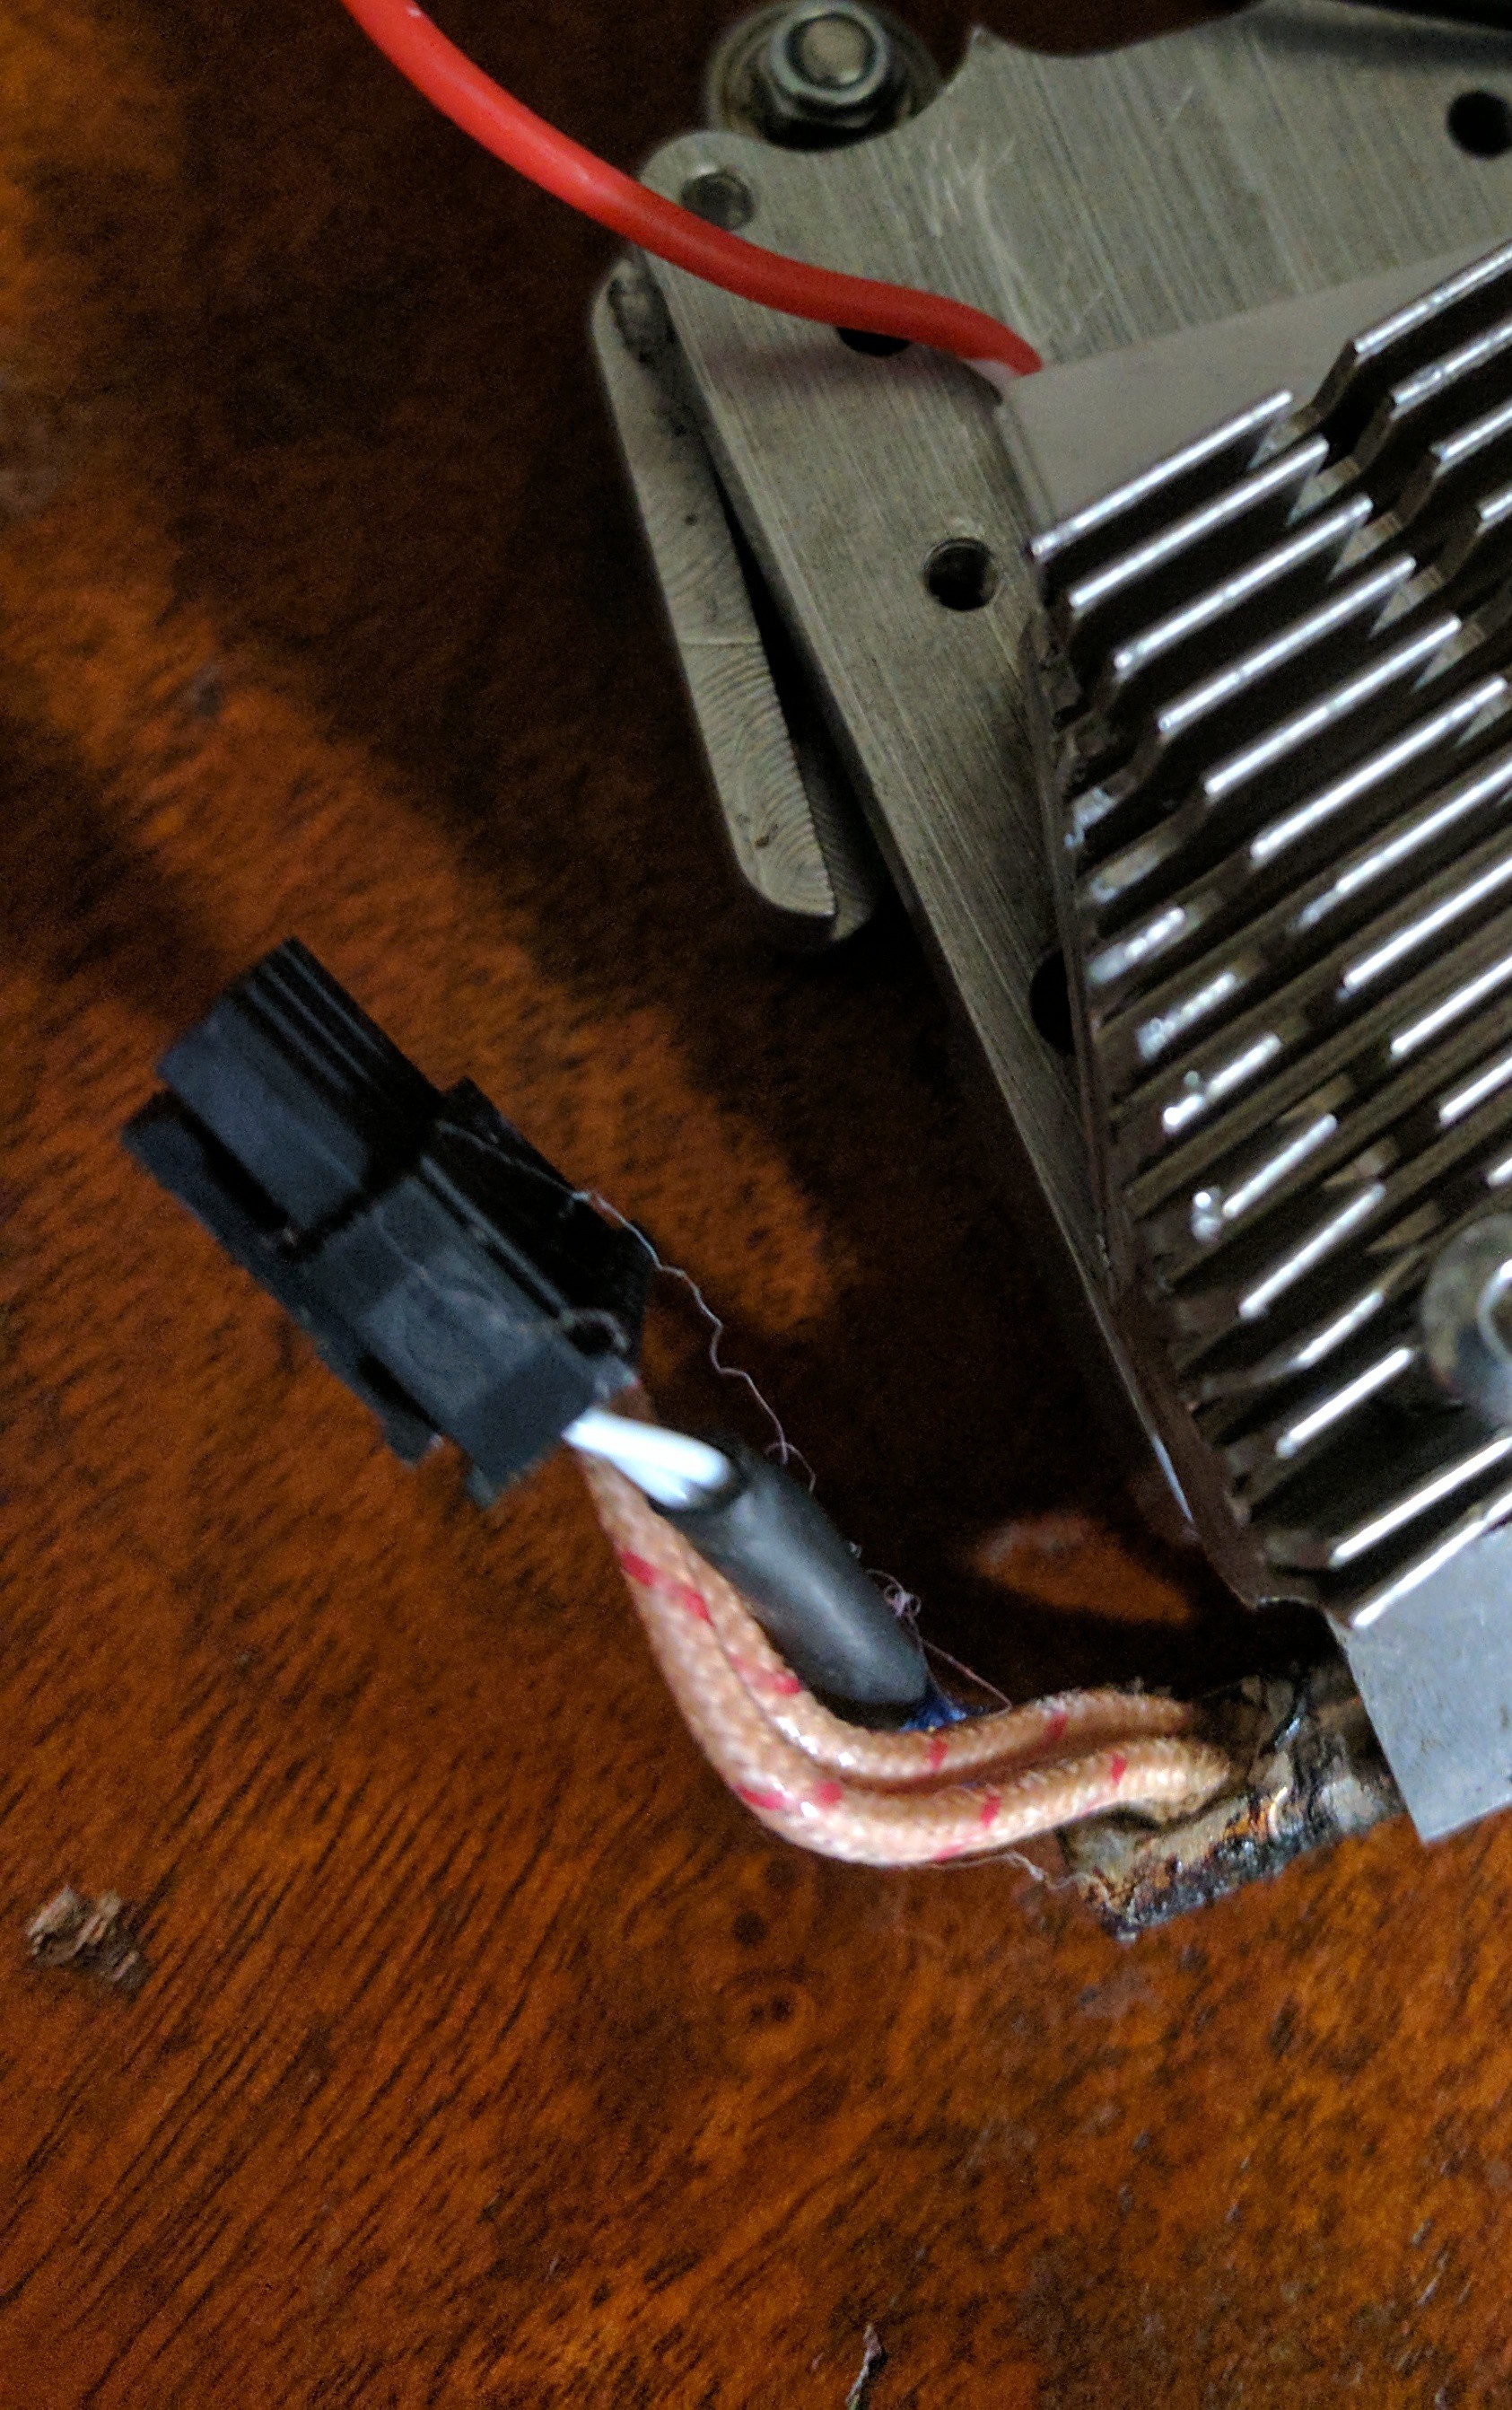
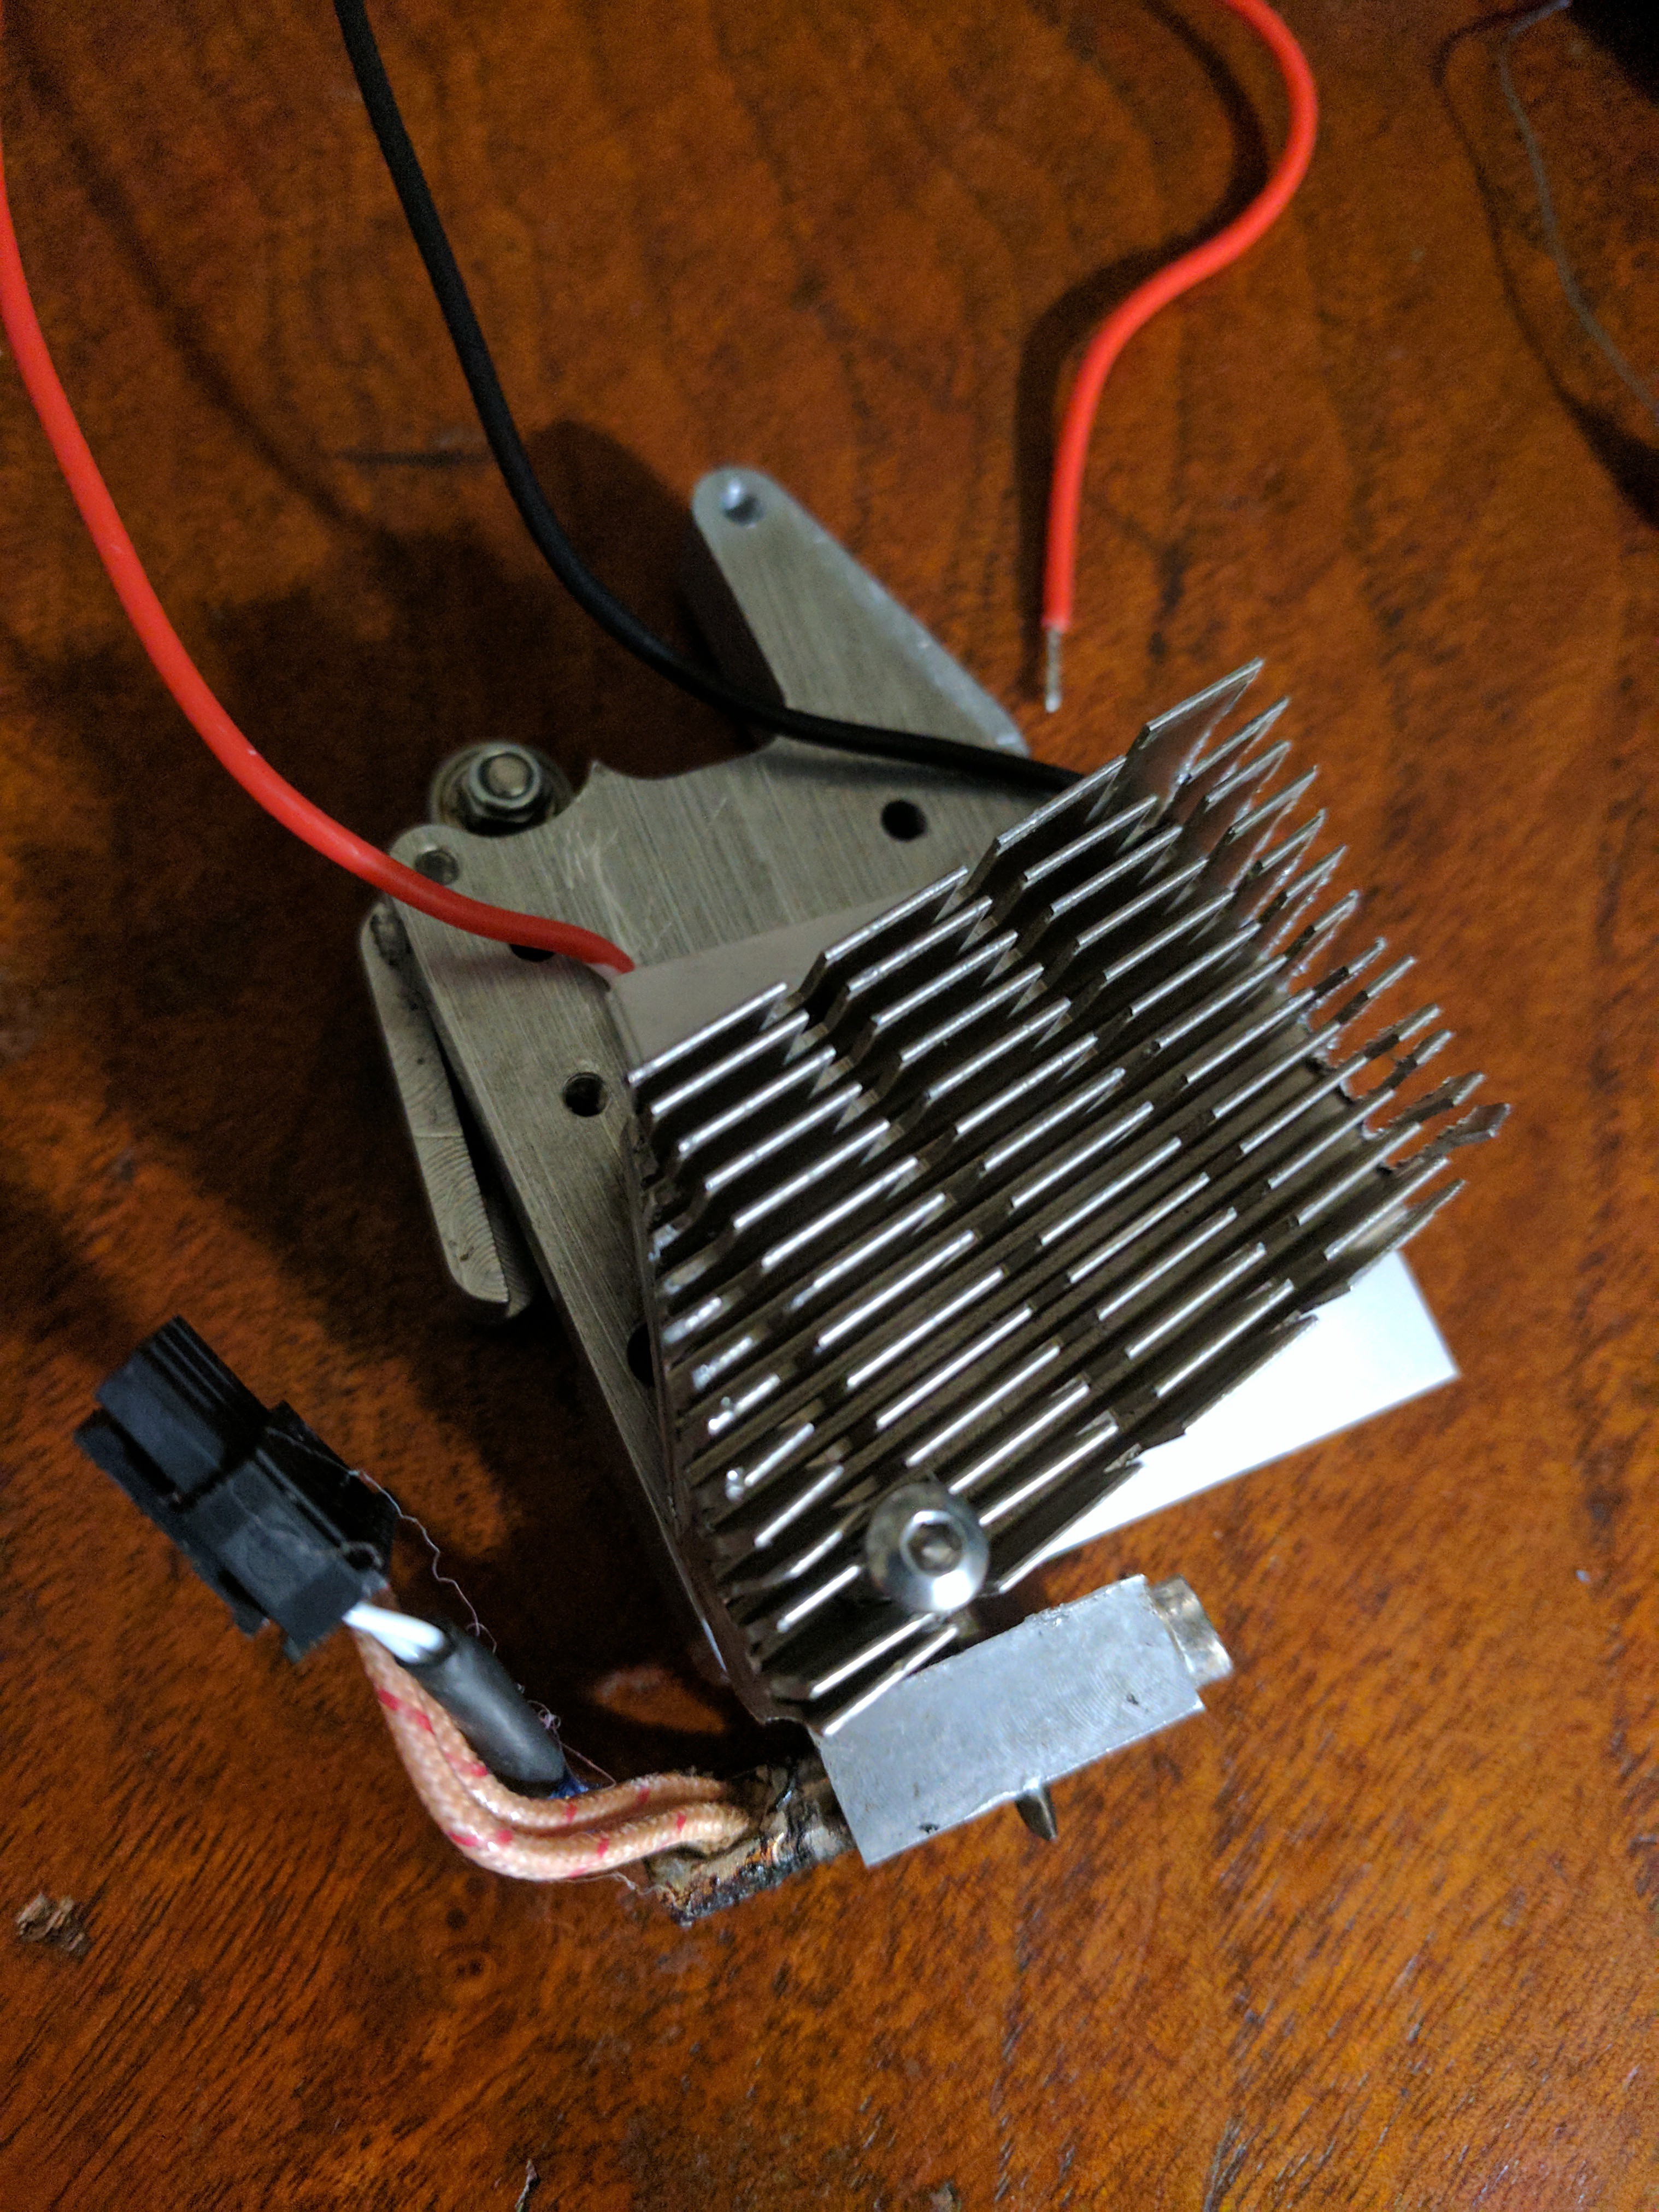
I got most parts from scrap: heat sink from a discarded and very out of date PC graphic card, wiring from old power cables, 12v PSU from an old printer, etc. I had to order the 12V 40x40mm TECs and those took a while, free shipping on e-bay. I also picked up thermal cement (glue). In my case the heat sink was going to be heavy and I was, likely, going to have only one screw to use as anchor. The glue works like thermal grease but adds support I would, and did, need.
-
3Test parts and fit
![]()
![]()
The heat sink had to be cut to size. Just chopped it up with a hacksaw and Dremel cutting wheel.
I used a broken fan to align the holes to be drilled.
It took a few tries to get the heat sink to clear everything. There was a metal bracket on the print head I hadn't accounted for. I was test fitting on the print head bracket and discovered my mistake.
Do a test run of the peltier to:
1. Make sure which side is hot and which is cold. For me the labeled side was cold.
2. That it worked properly. They're cheap, ceramic, and ship from China in bubble wrap.
-
4Wiring
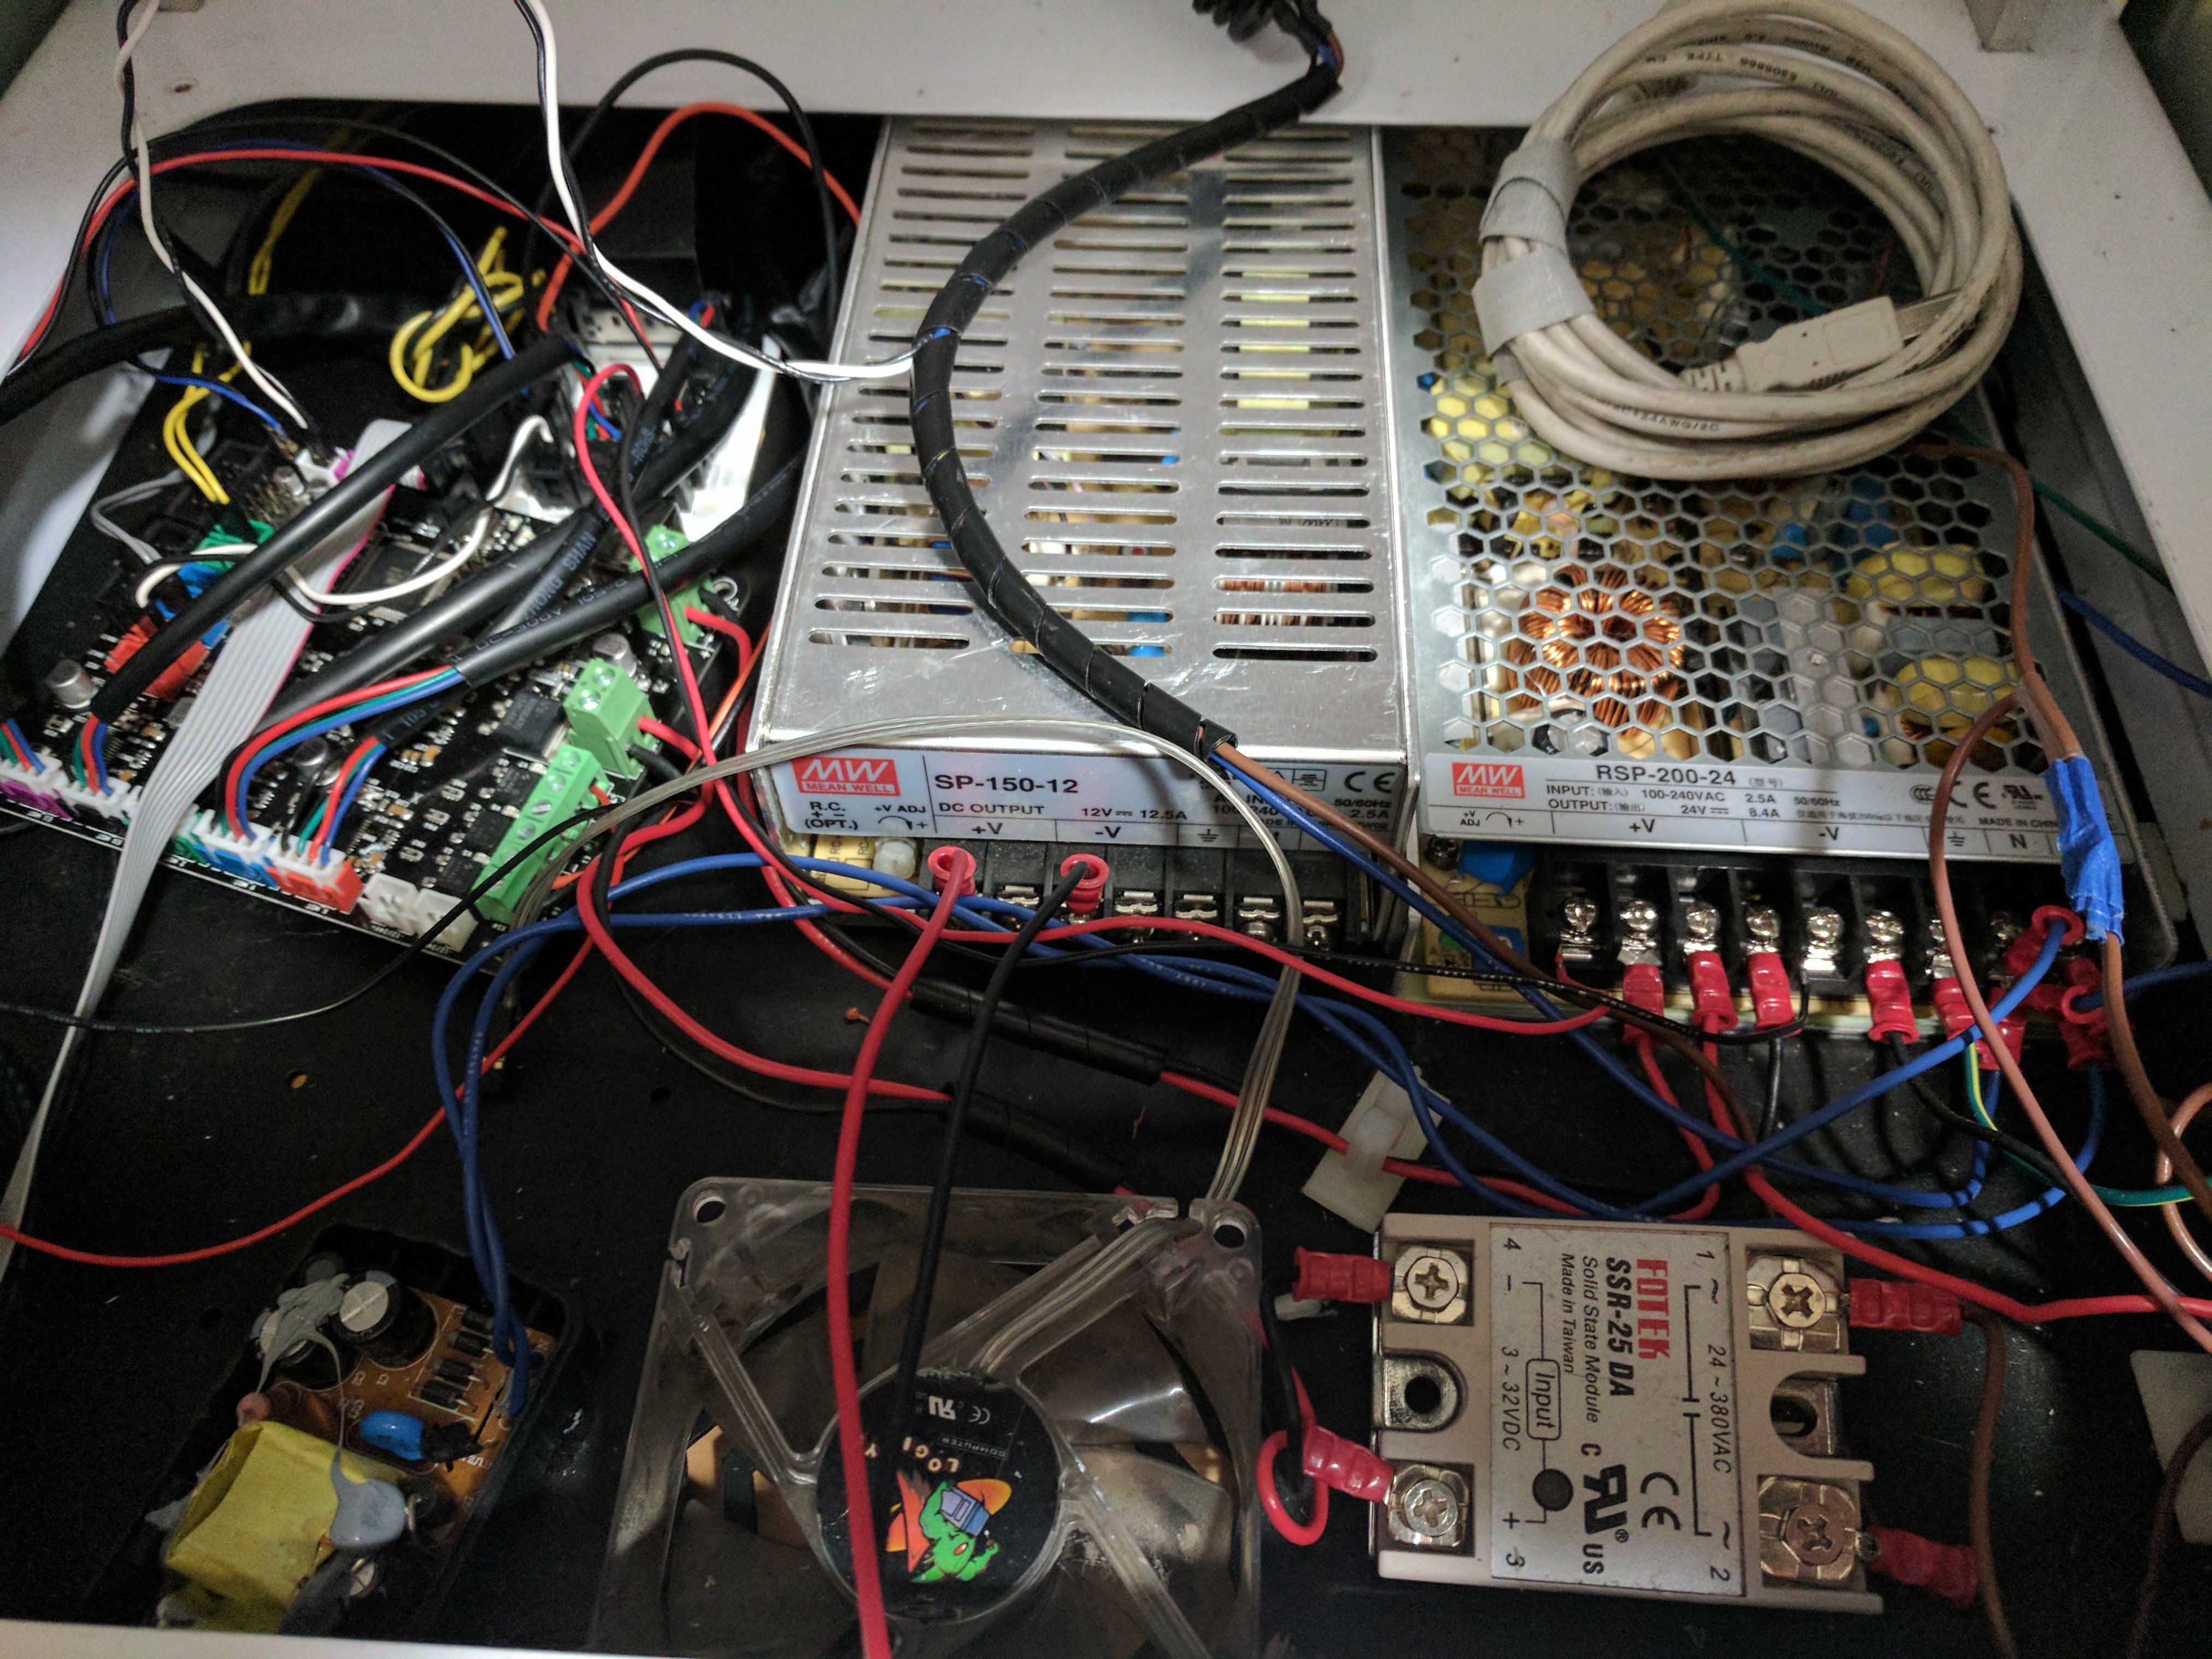
I'm using an unused port on the manufactured PCB. One of the pins I measured as being tied to neutral already, lousy design but it'll work. The other three I'll use as ++- to get two positive 12V lines and two neutrals. I'll connect these to the proper red (+) and black (-). This will ensure the ribbon cable can carry enough current to the TEC.
-
5Needs Cooling
If your heat sink isn't large enough or effective enough the hot side fins do require cooling. I need to add a fan to the back of mine to maintain the cooling effect on the extruder. Bit of a surprise there.
Better Cooling for 3D Printer Extruders
Installing a peltier device (TEC) in place of the 40mm cooling fan of an all metal extruder.
 Brandon Langdon
Discussions
Become a Hackaday.io Member
Create an account to leave a comment. Already have an account? Log In.