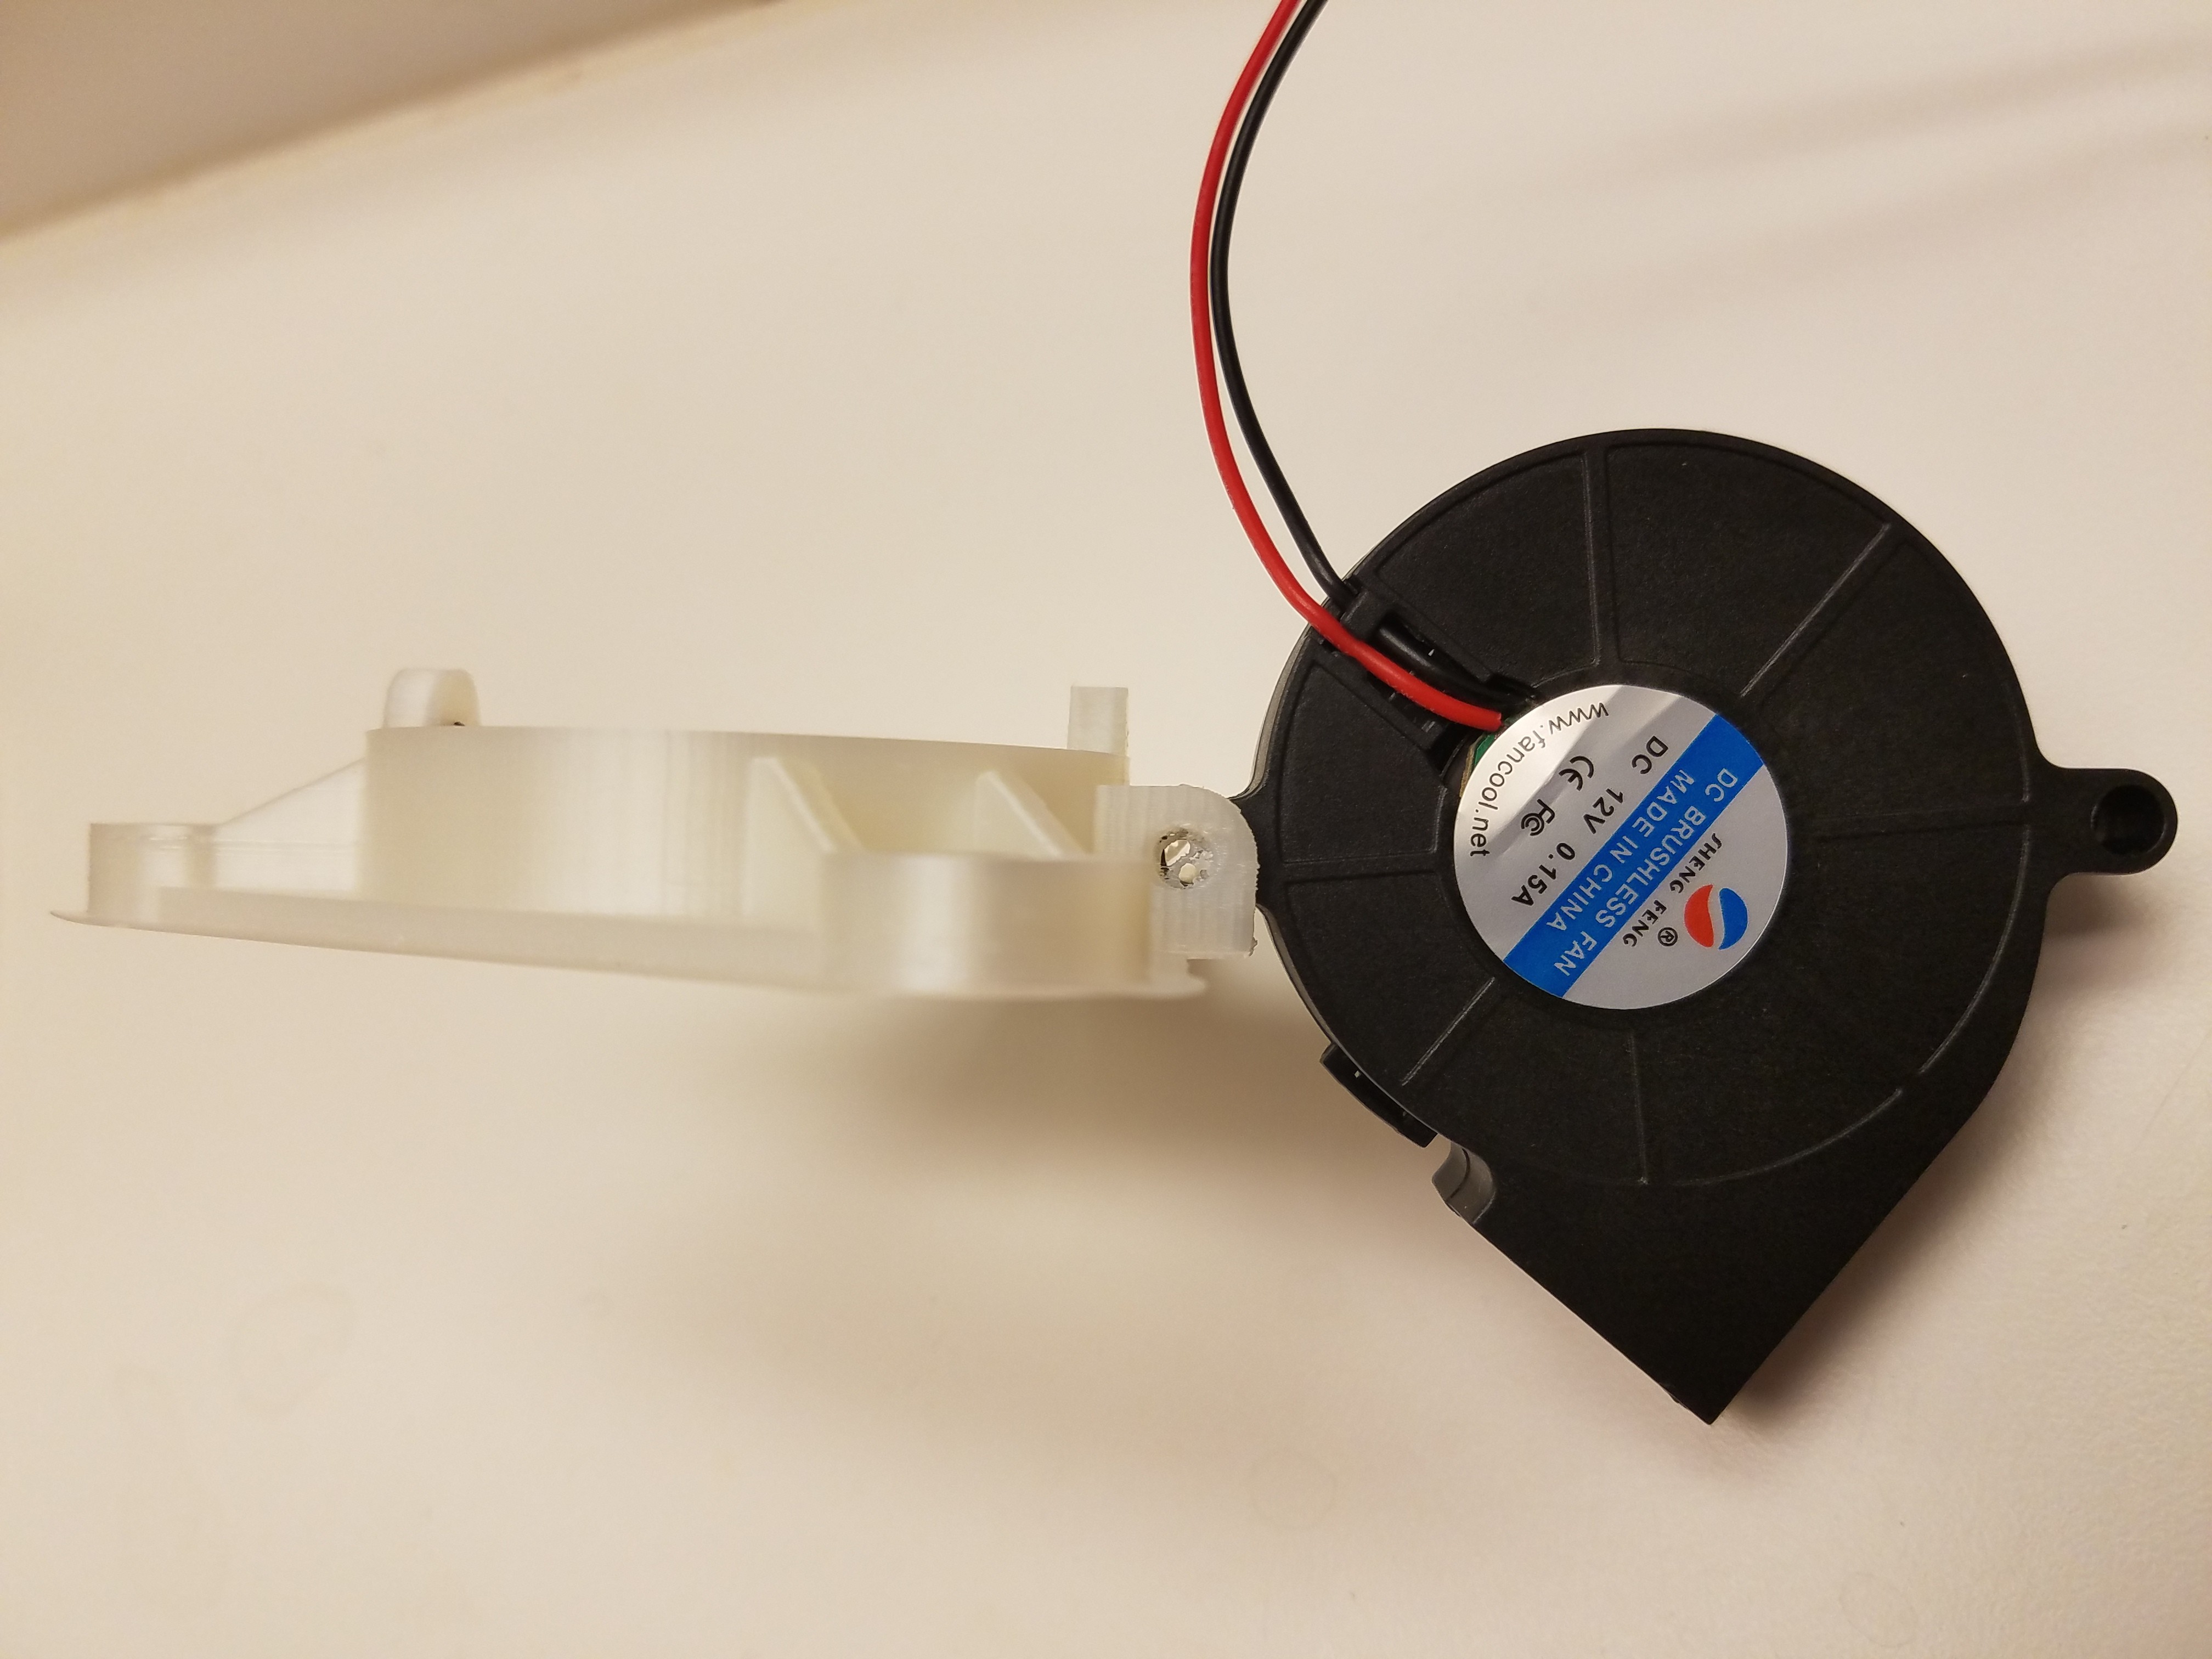
After 3 more false starts I got tired of wasting filament and looked at my model more closely.
- Corrected a few dimensions so they are multiples of my nozzle size.
- Offset the small bottom holes so they start at the second layer.
- Changed to 50% infill for a couple of the base layers.
- Slowed down to 45mm/sec. I normally run it at 60-80 for structural parts.
Printed perfectly first try.
Pardon my dirty print-head. It works for a living.
Other changes:
Changed the part cooling blower mount from going through a channel in the end effector to simply mounting by one of the screw holes. This will be more universal, siting lower so the cables won't impact it for a wider possible printing arc. I'm not using the entire printable area here so not an issue for me, but someone might.

Redesigned the cooling duct so it now snaps on the blower supported by a strand of TPU filament so it can break-away without breaking.
Added screws holes so the leveling can be done by twisting a screw, maybe. If not, it gives me a way to hold it in a position without gluing it down at least.
<rant>
Also discovered my new 'Ball Bearing' blower has a sleeve bearing.
It basically doesn't match anything in the description other than the size and voltage. It looks like the company just Photoshop'd their logo on a Sheng Feng $2 blower and called it a day. It's going back.
After my complaint they have since removed the 'dual ball bearing bit' from the description, but the rest including 50000 hour life and high temperature plastic remain. I'm tempted to burn it and send it back to prove them wrong.
This was the blower and vendor who did this for public ridicule purposes. I hate companies that waste my time.
EDIT: The updated Amazon description now includes the following "Fourthly, please do not dismantle the product privately". LOL
</rant>
Updated the github source, and the other parts to support the changed dimensions are printing now.
 MasterOfNull
Discussions
Become a Hackaday.io Member
Create an account to leave a comment. Already have an account? Log In.