-
Tower coating and making some hardware
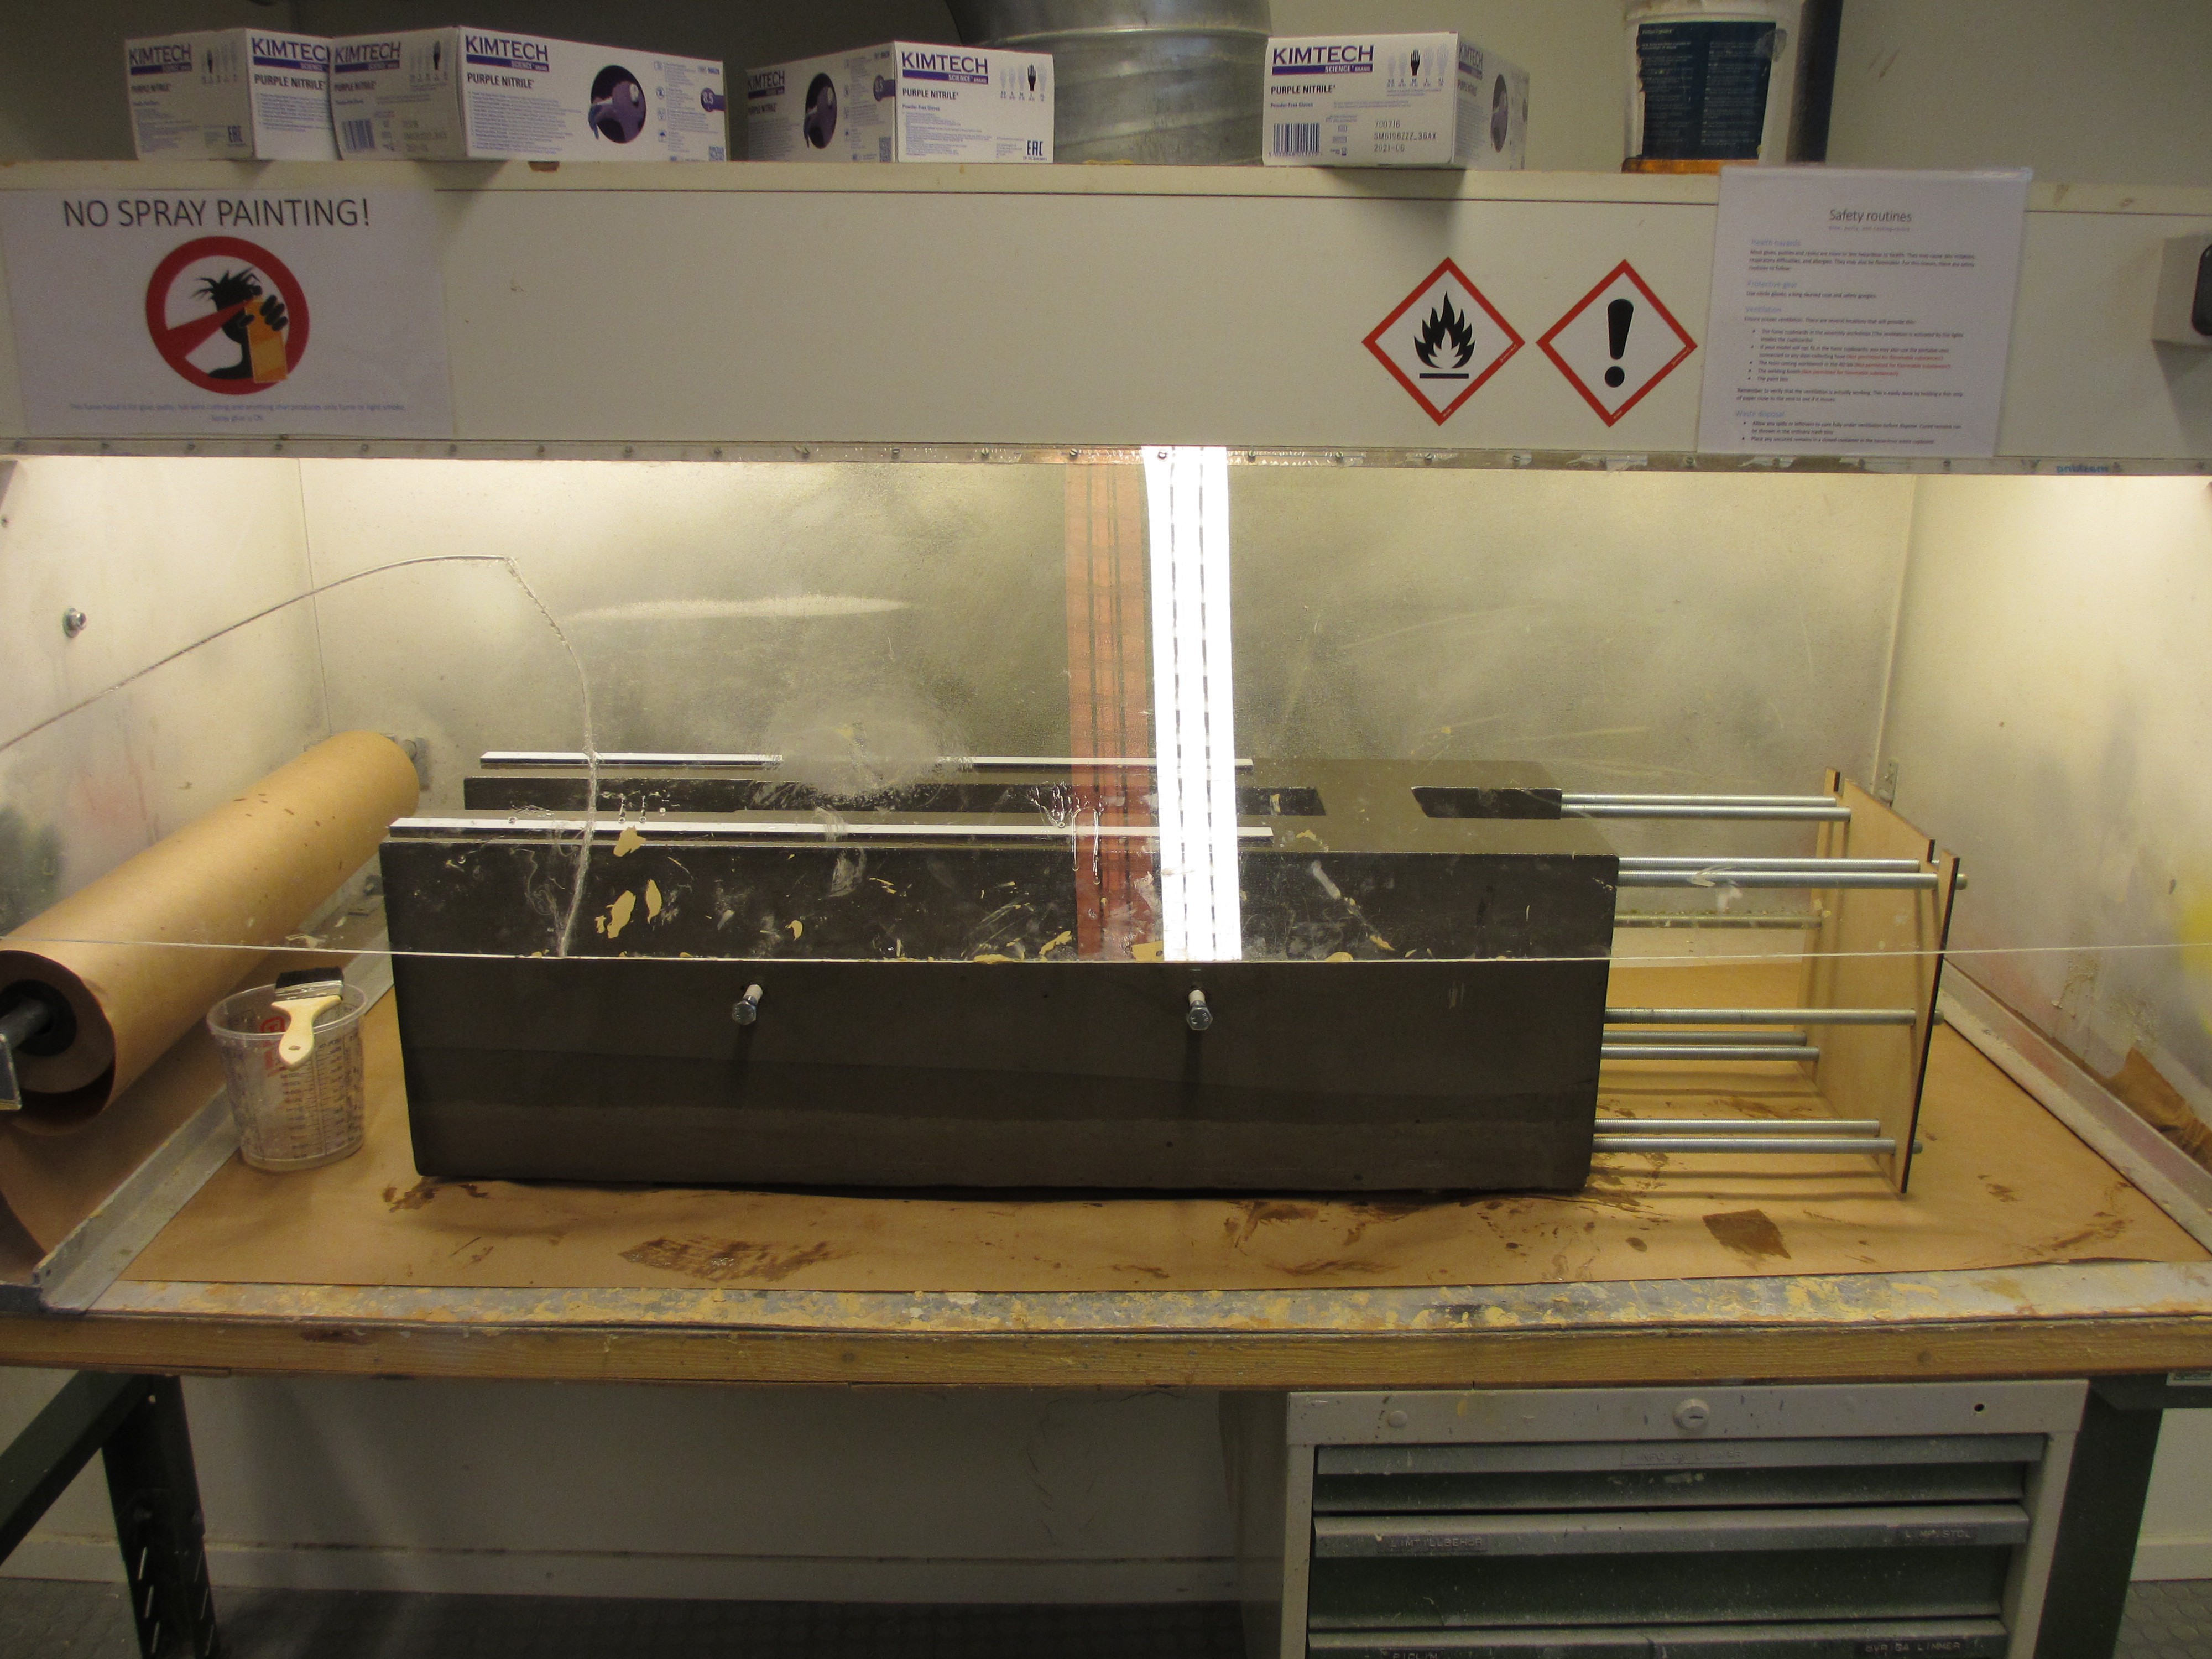
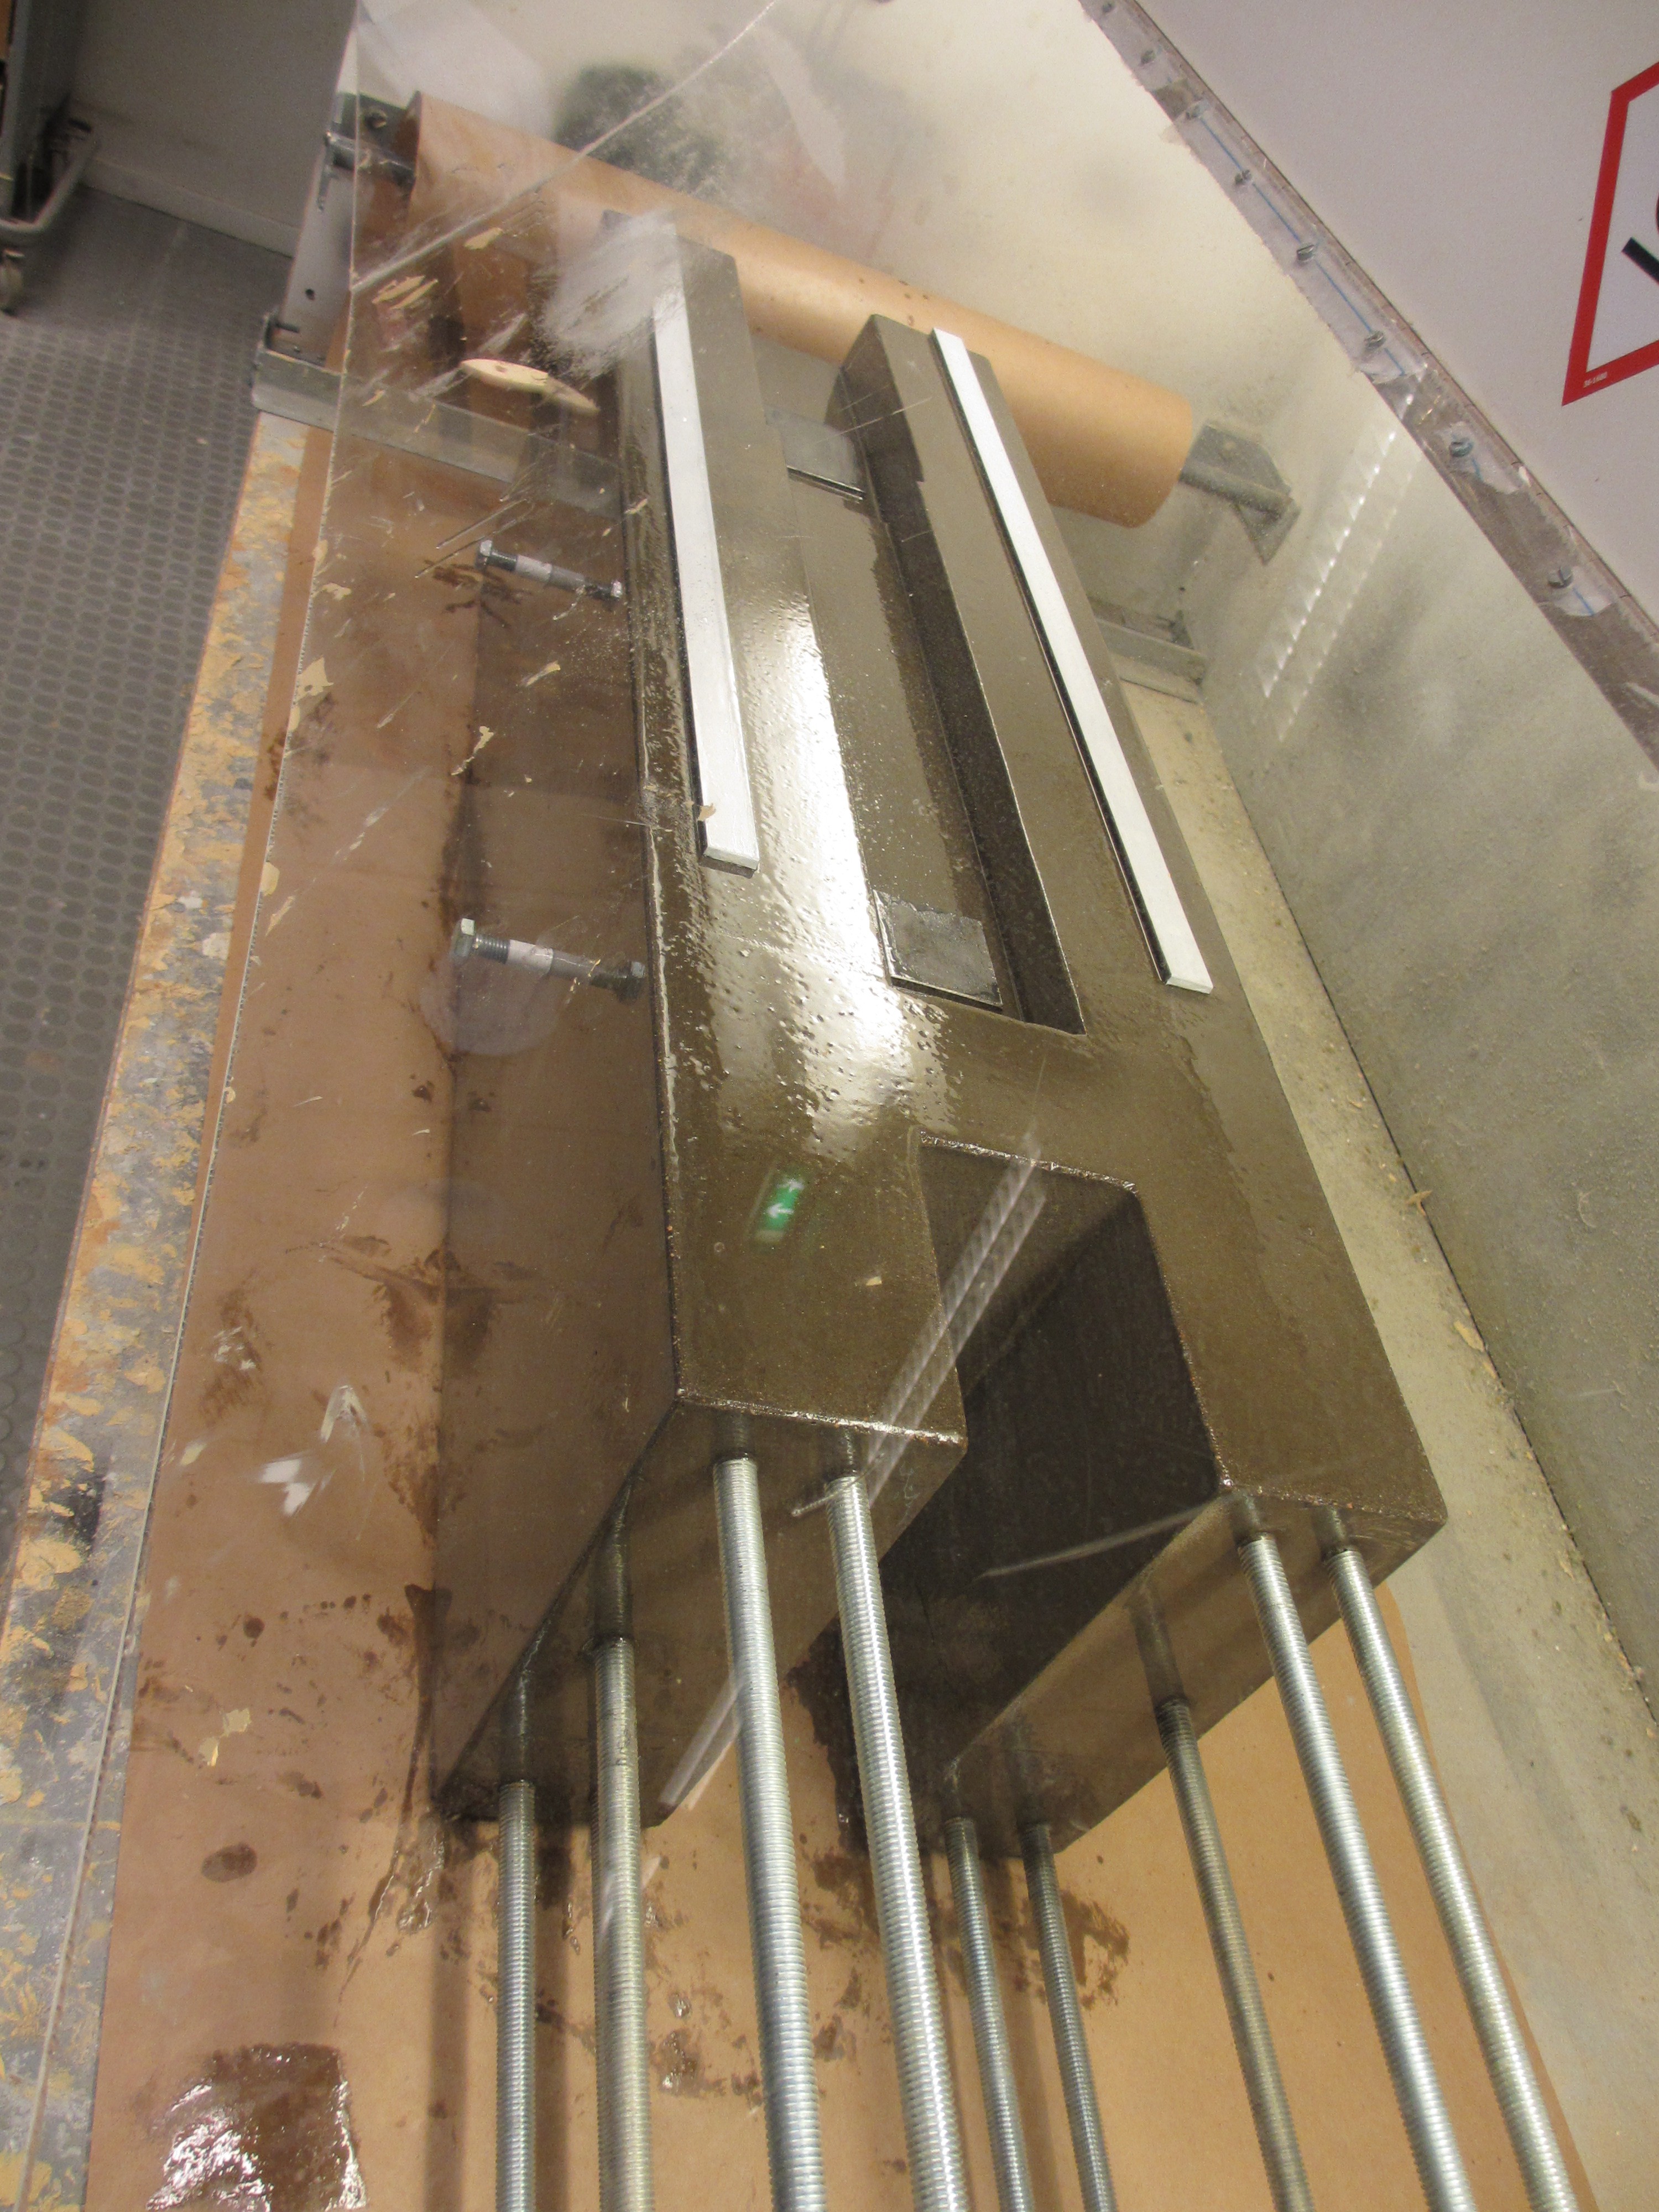
09/09/2017 at 15:20 • 0 commentsThe tower was coated with epoxy as soon as it had cooled down. It was coated inside a fume cupboard. While modern epoxy is not very toxic, proper ventilation is still fantastic.
![]()
Besides sealing the concrete, it gives a nice glossy finish to the part.![]()
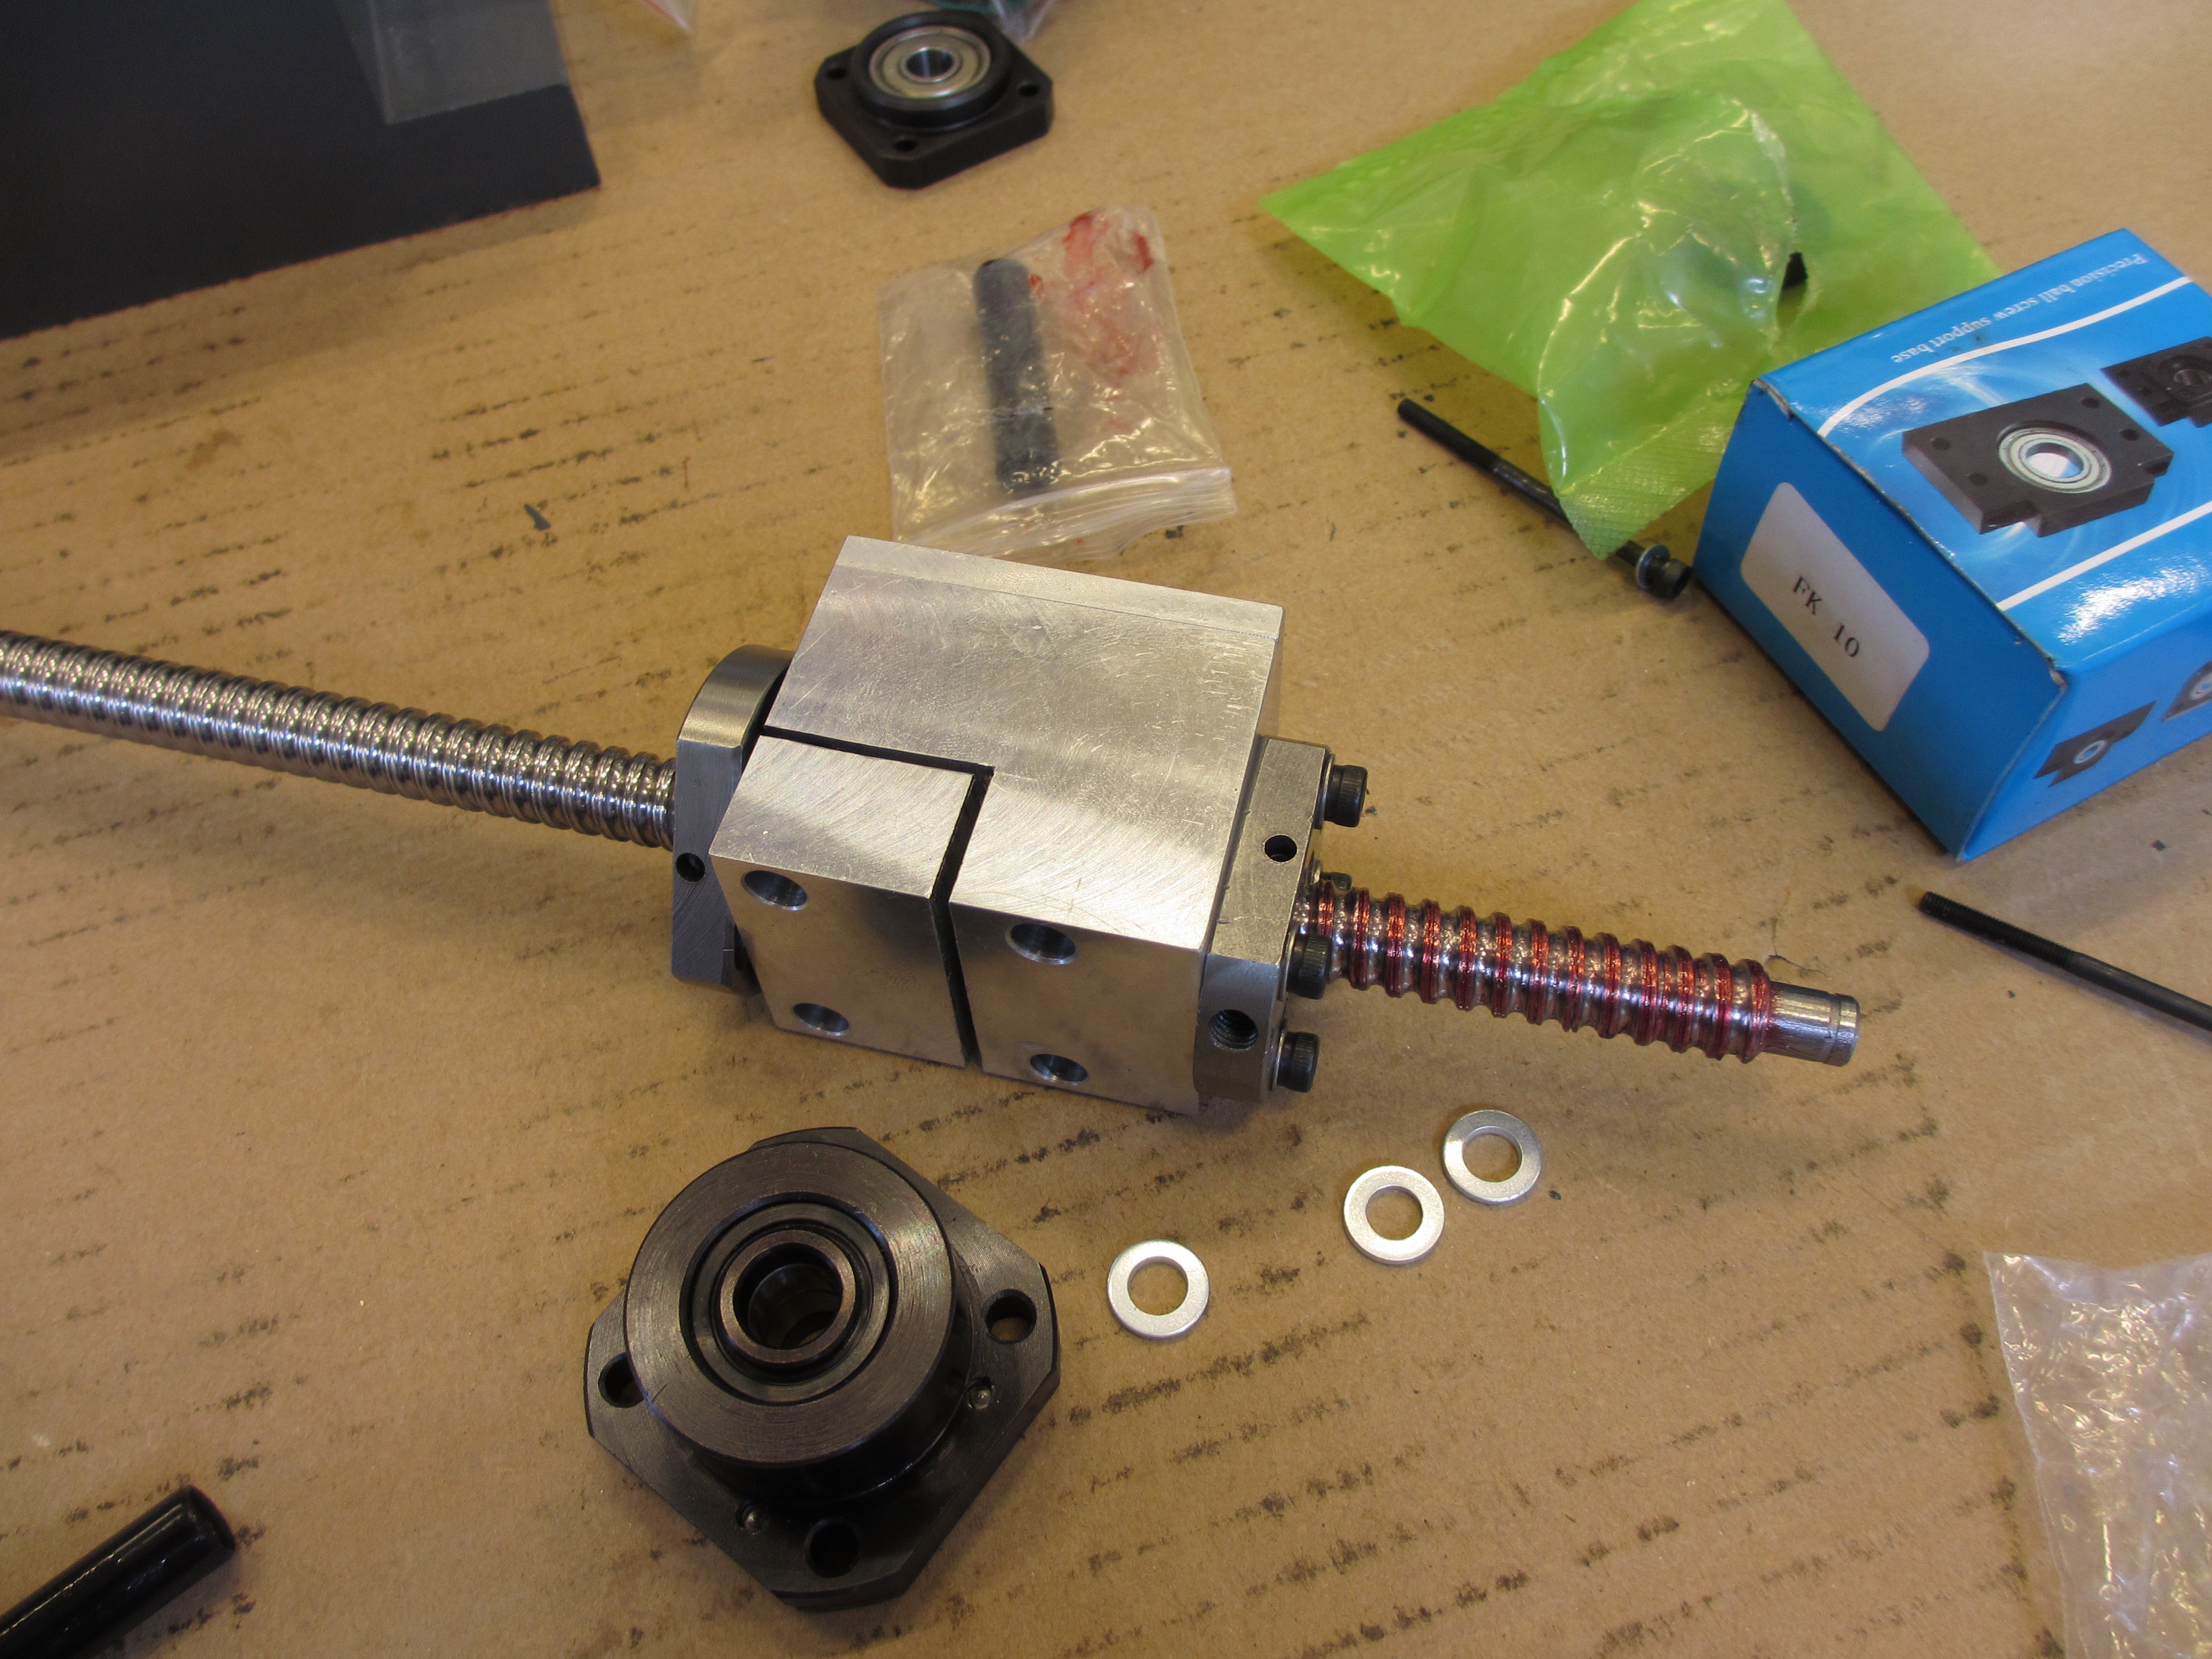
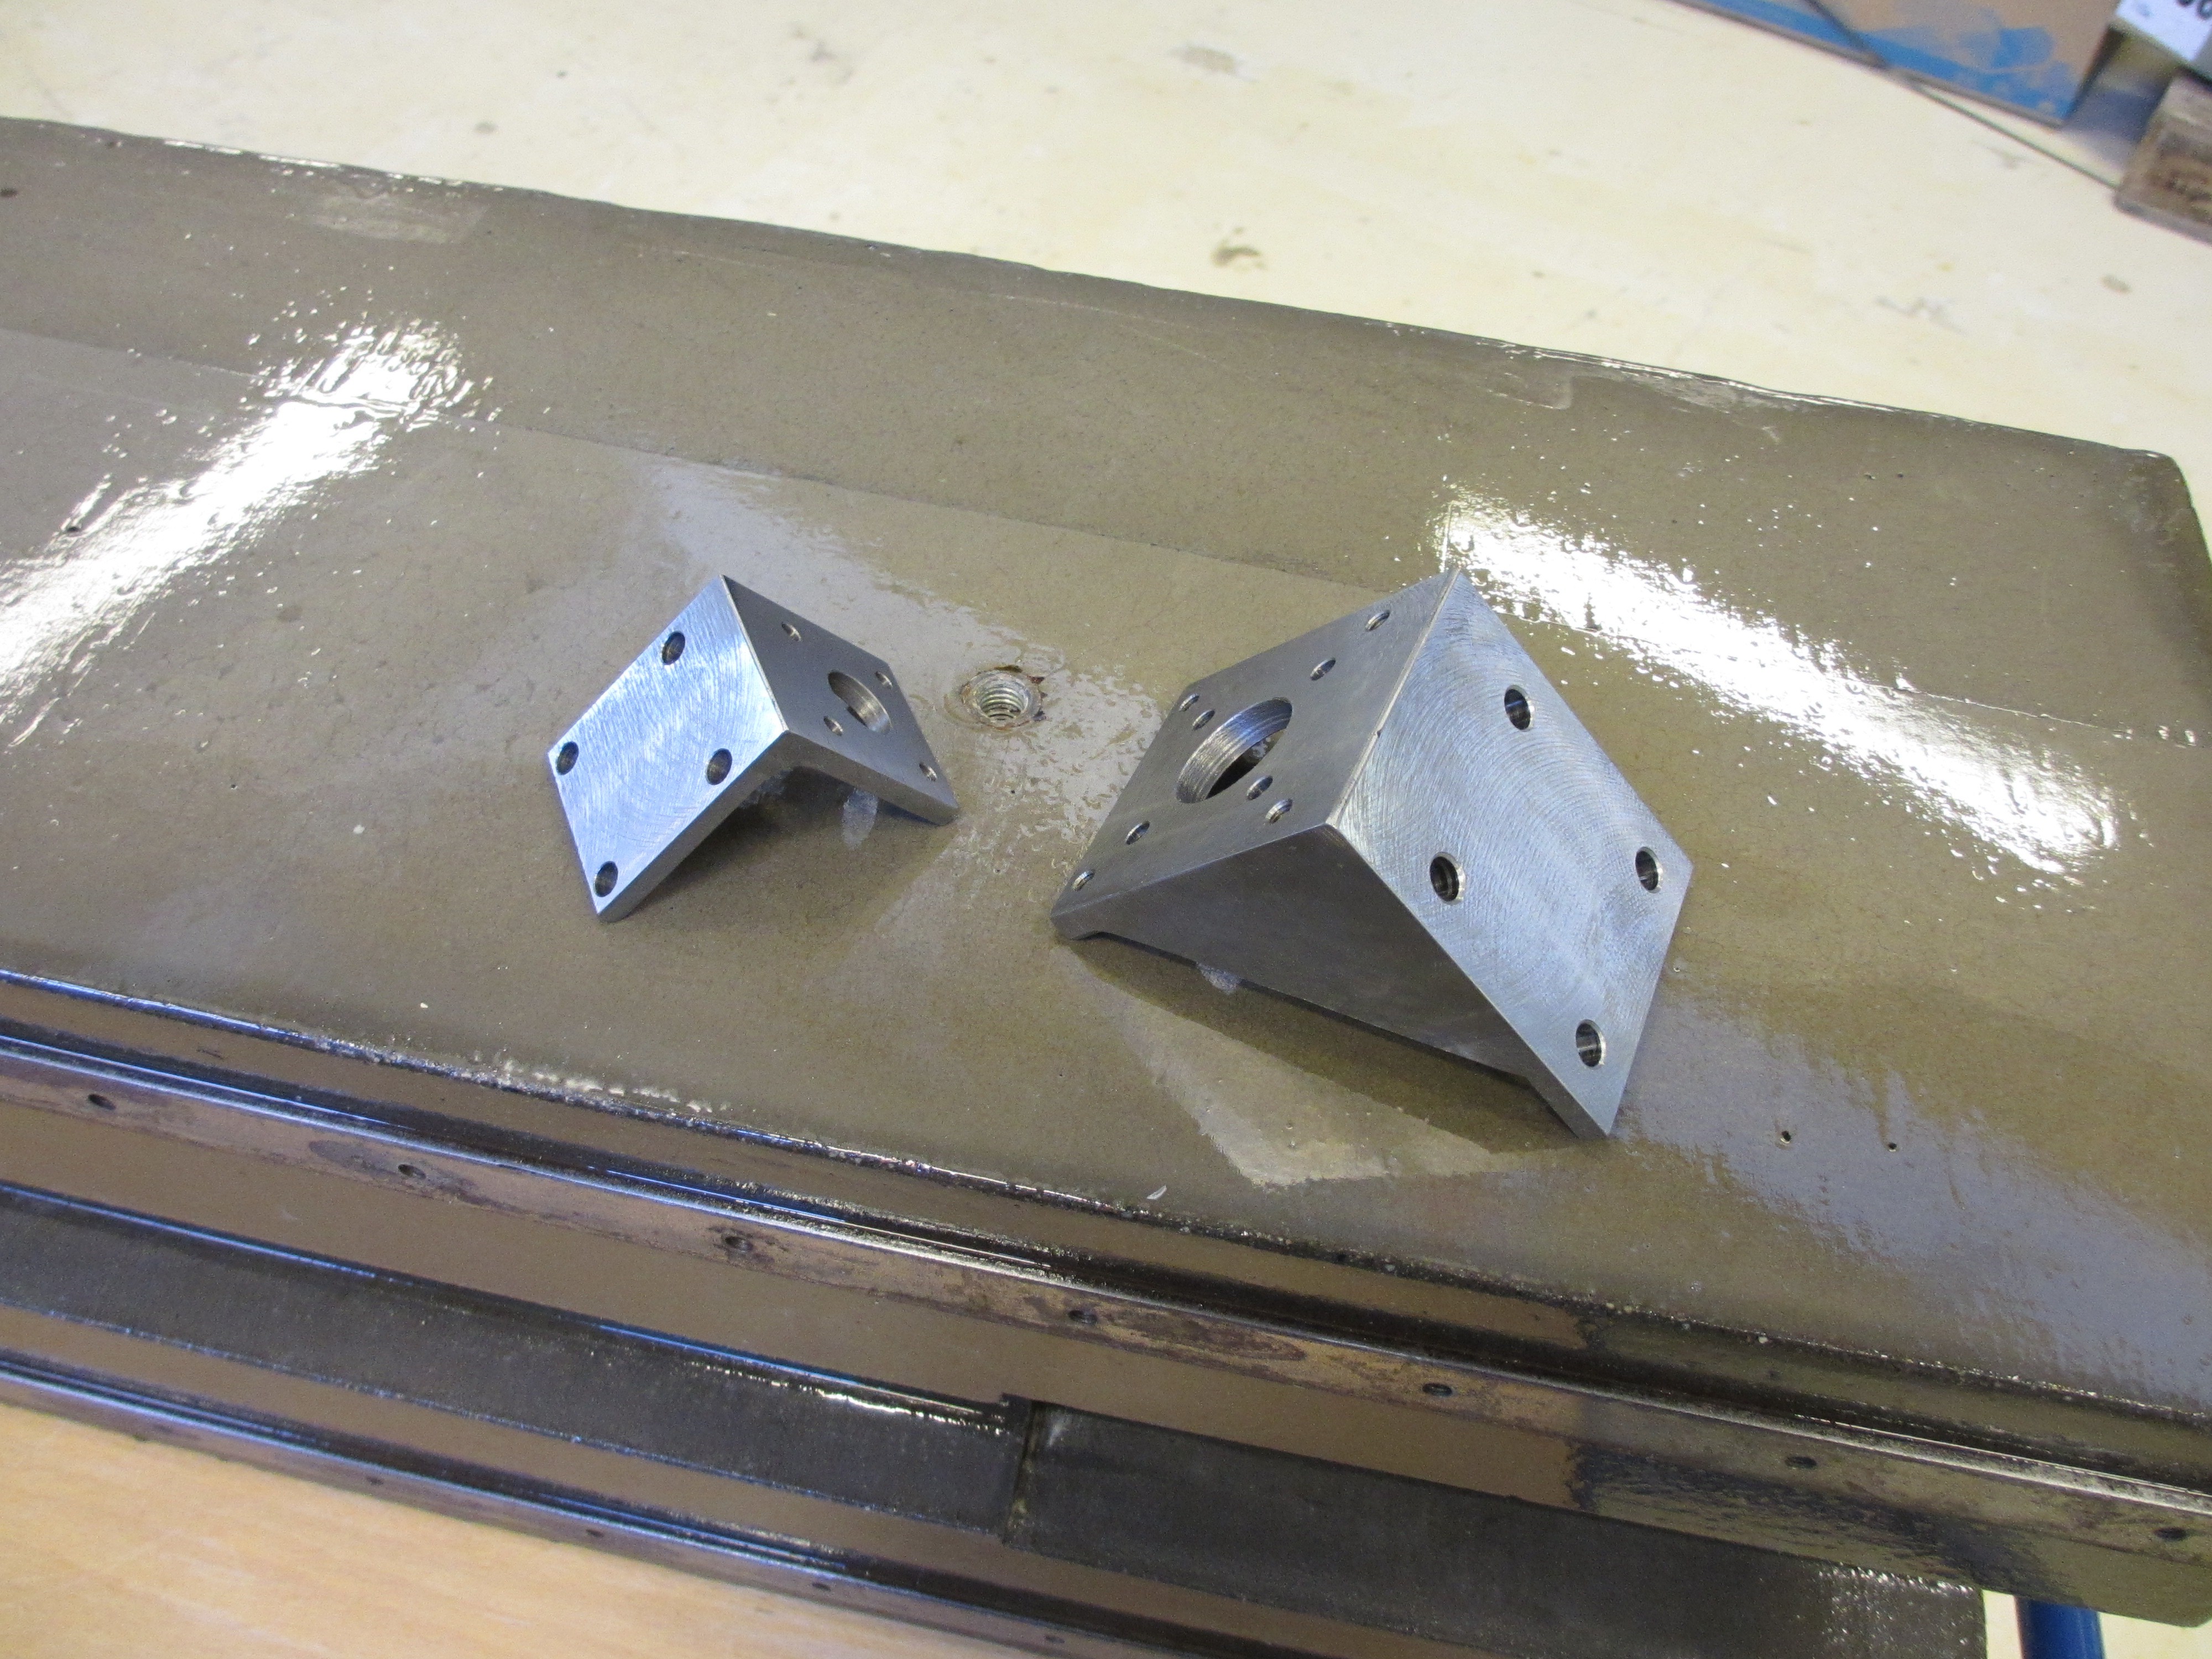
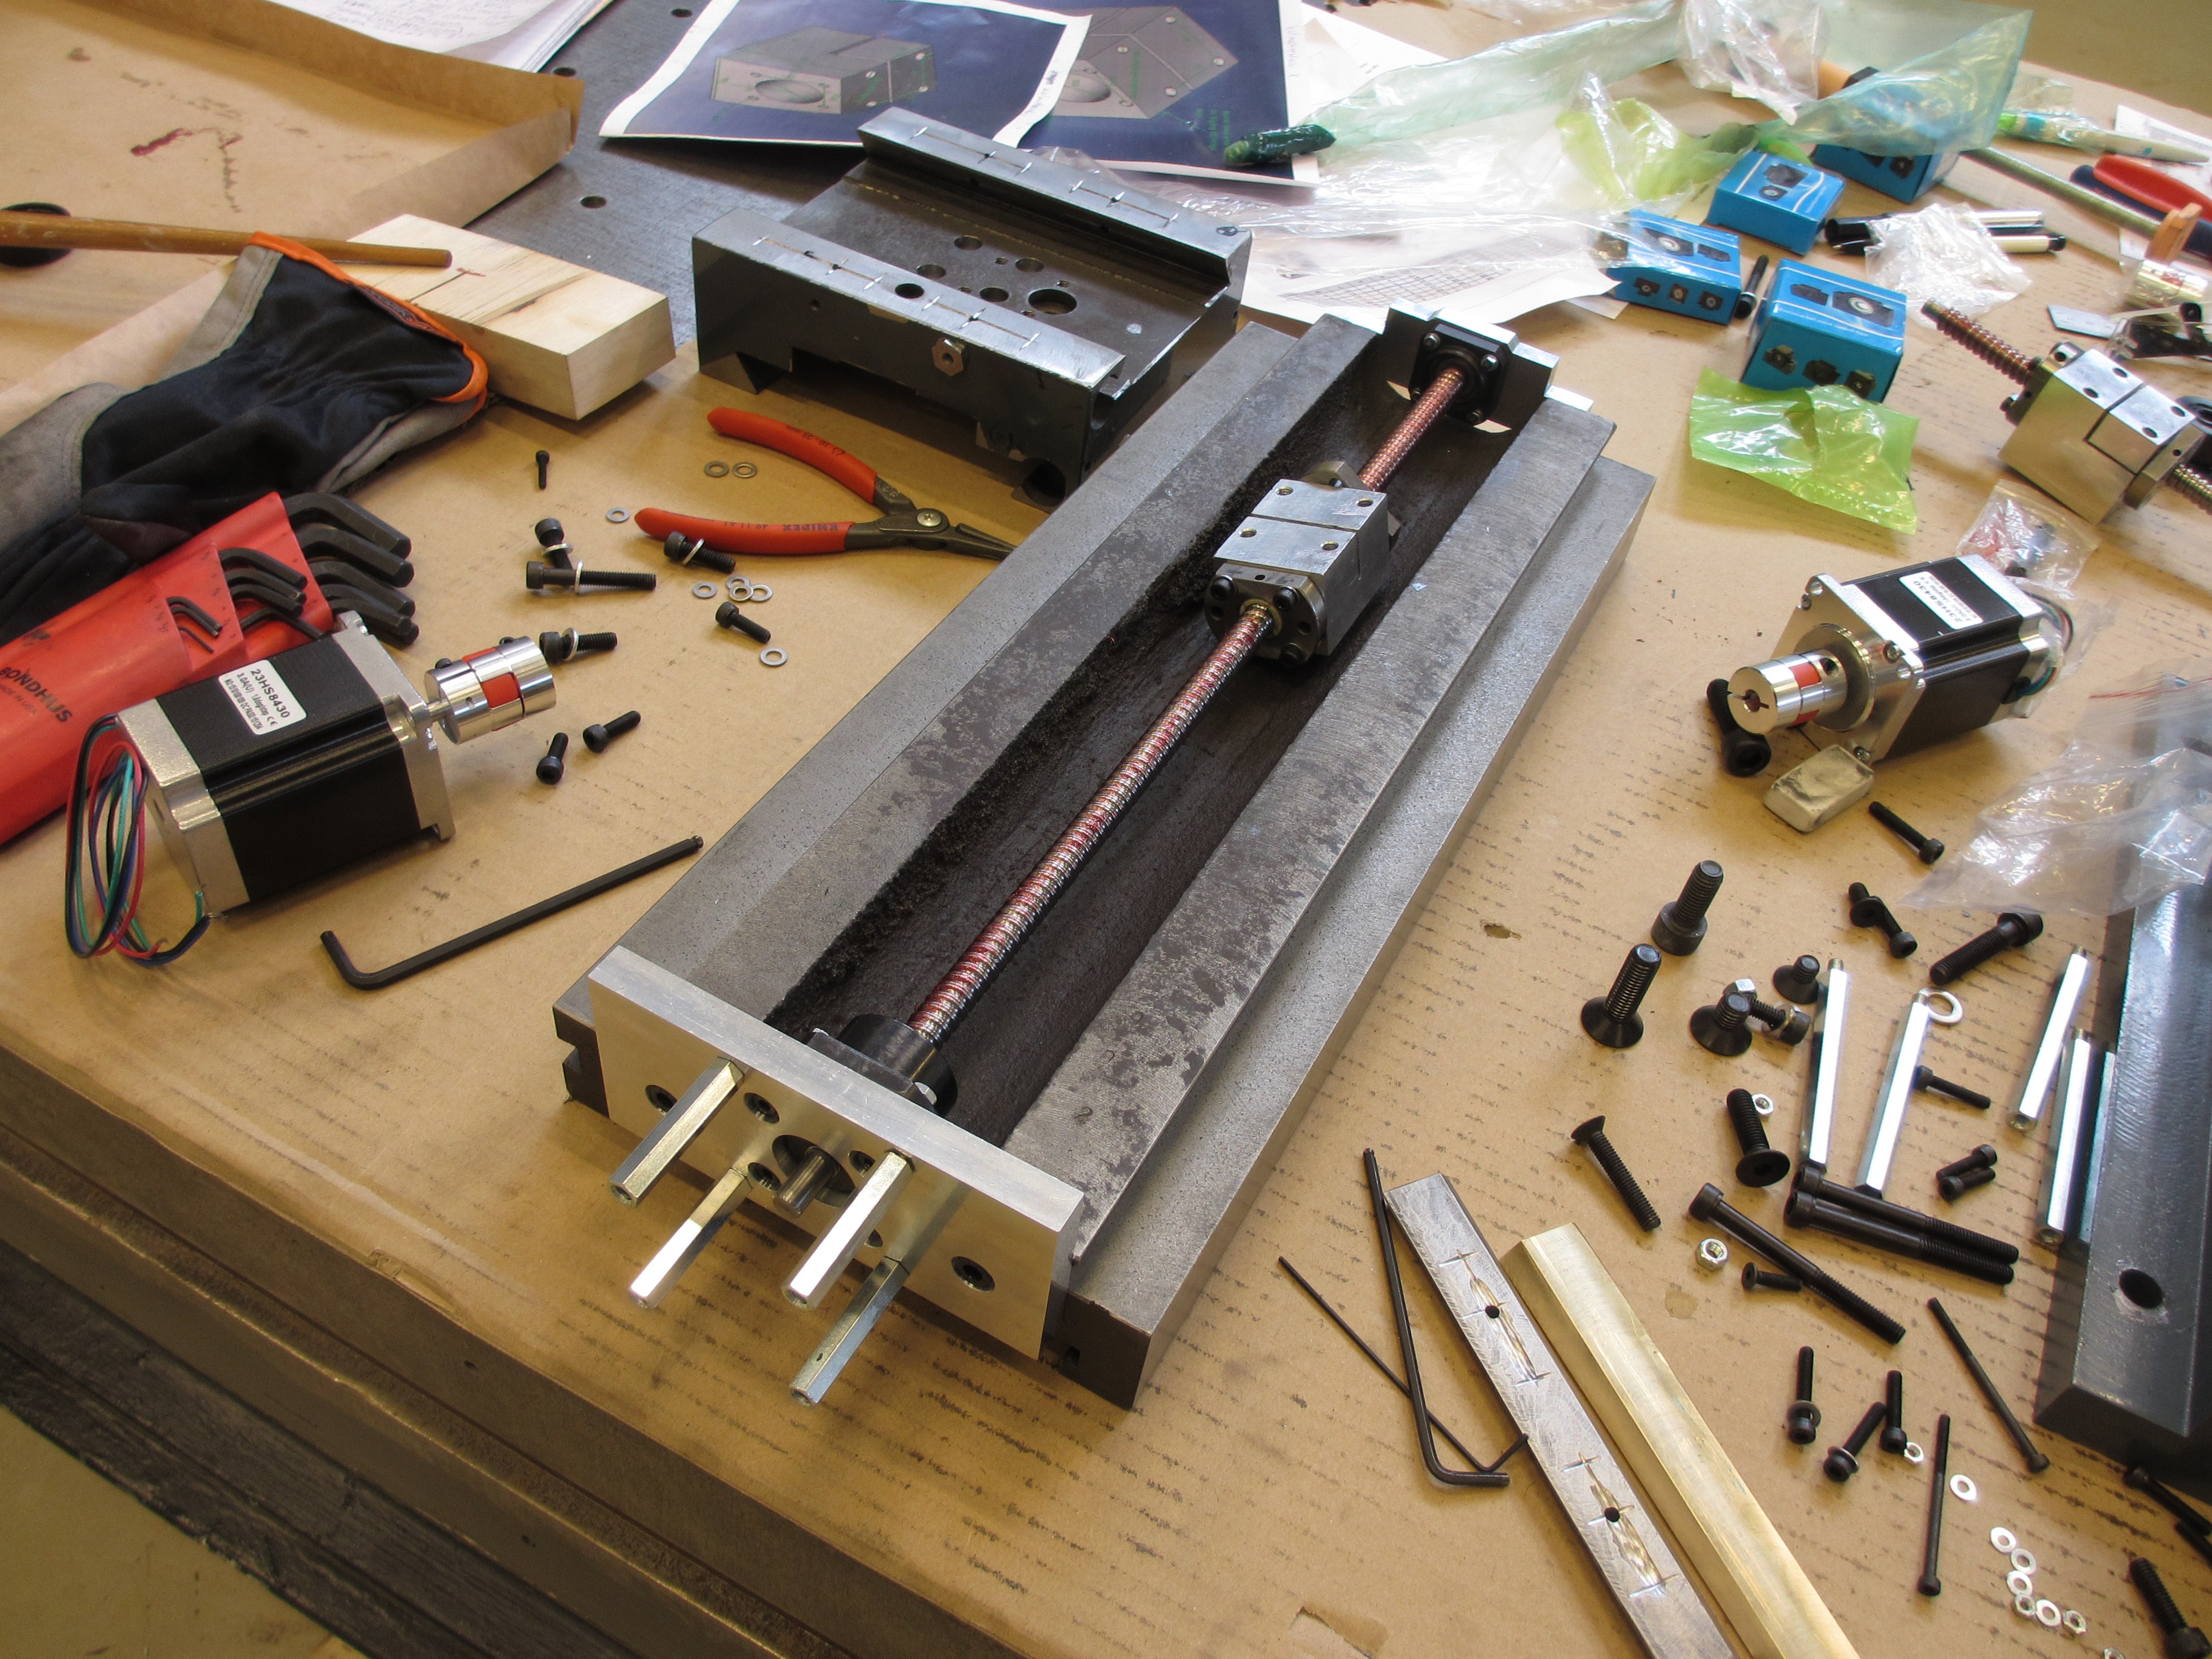
Next up is some mounting hardware for the Z-axis ballscrew.
![]() The one for the floating side is simple, but the one for the fixed side is stiffened and machined on both sides, since it will also hold the stepper motor.
The one for the floating side is simple, but the one for the fixed side is stiffened and machined on both sides, since it will also hold the stepper motor.![]()
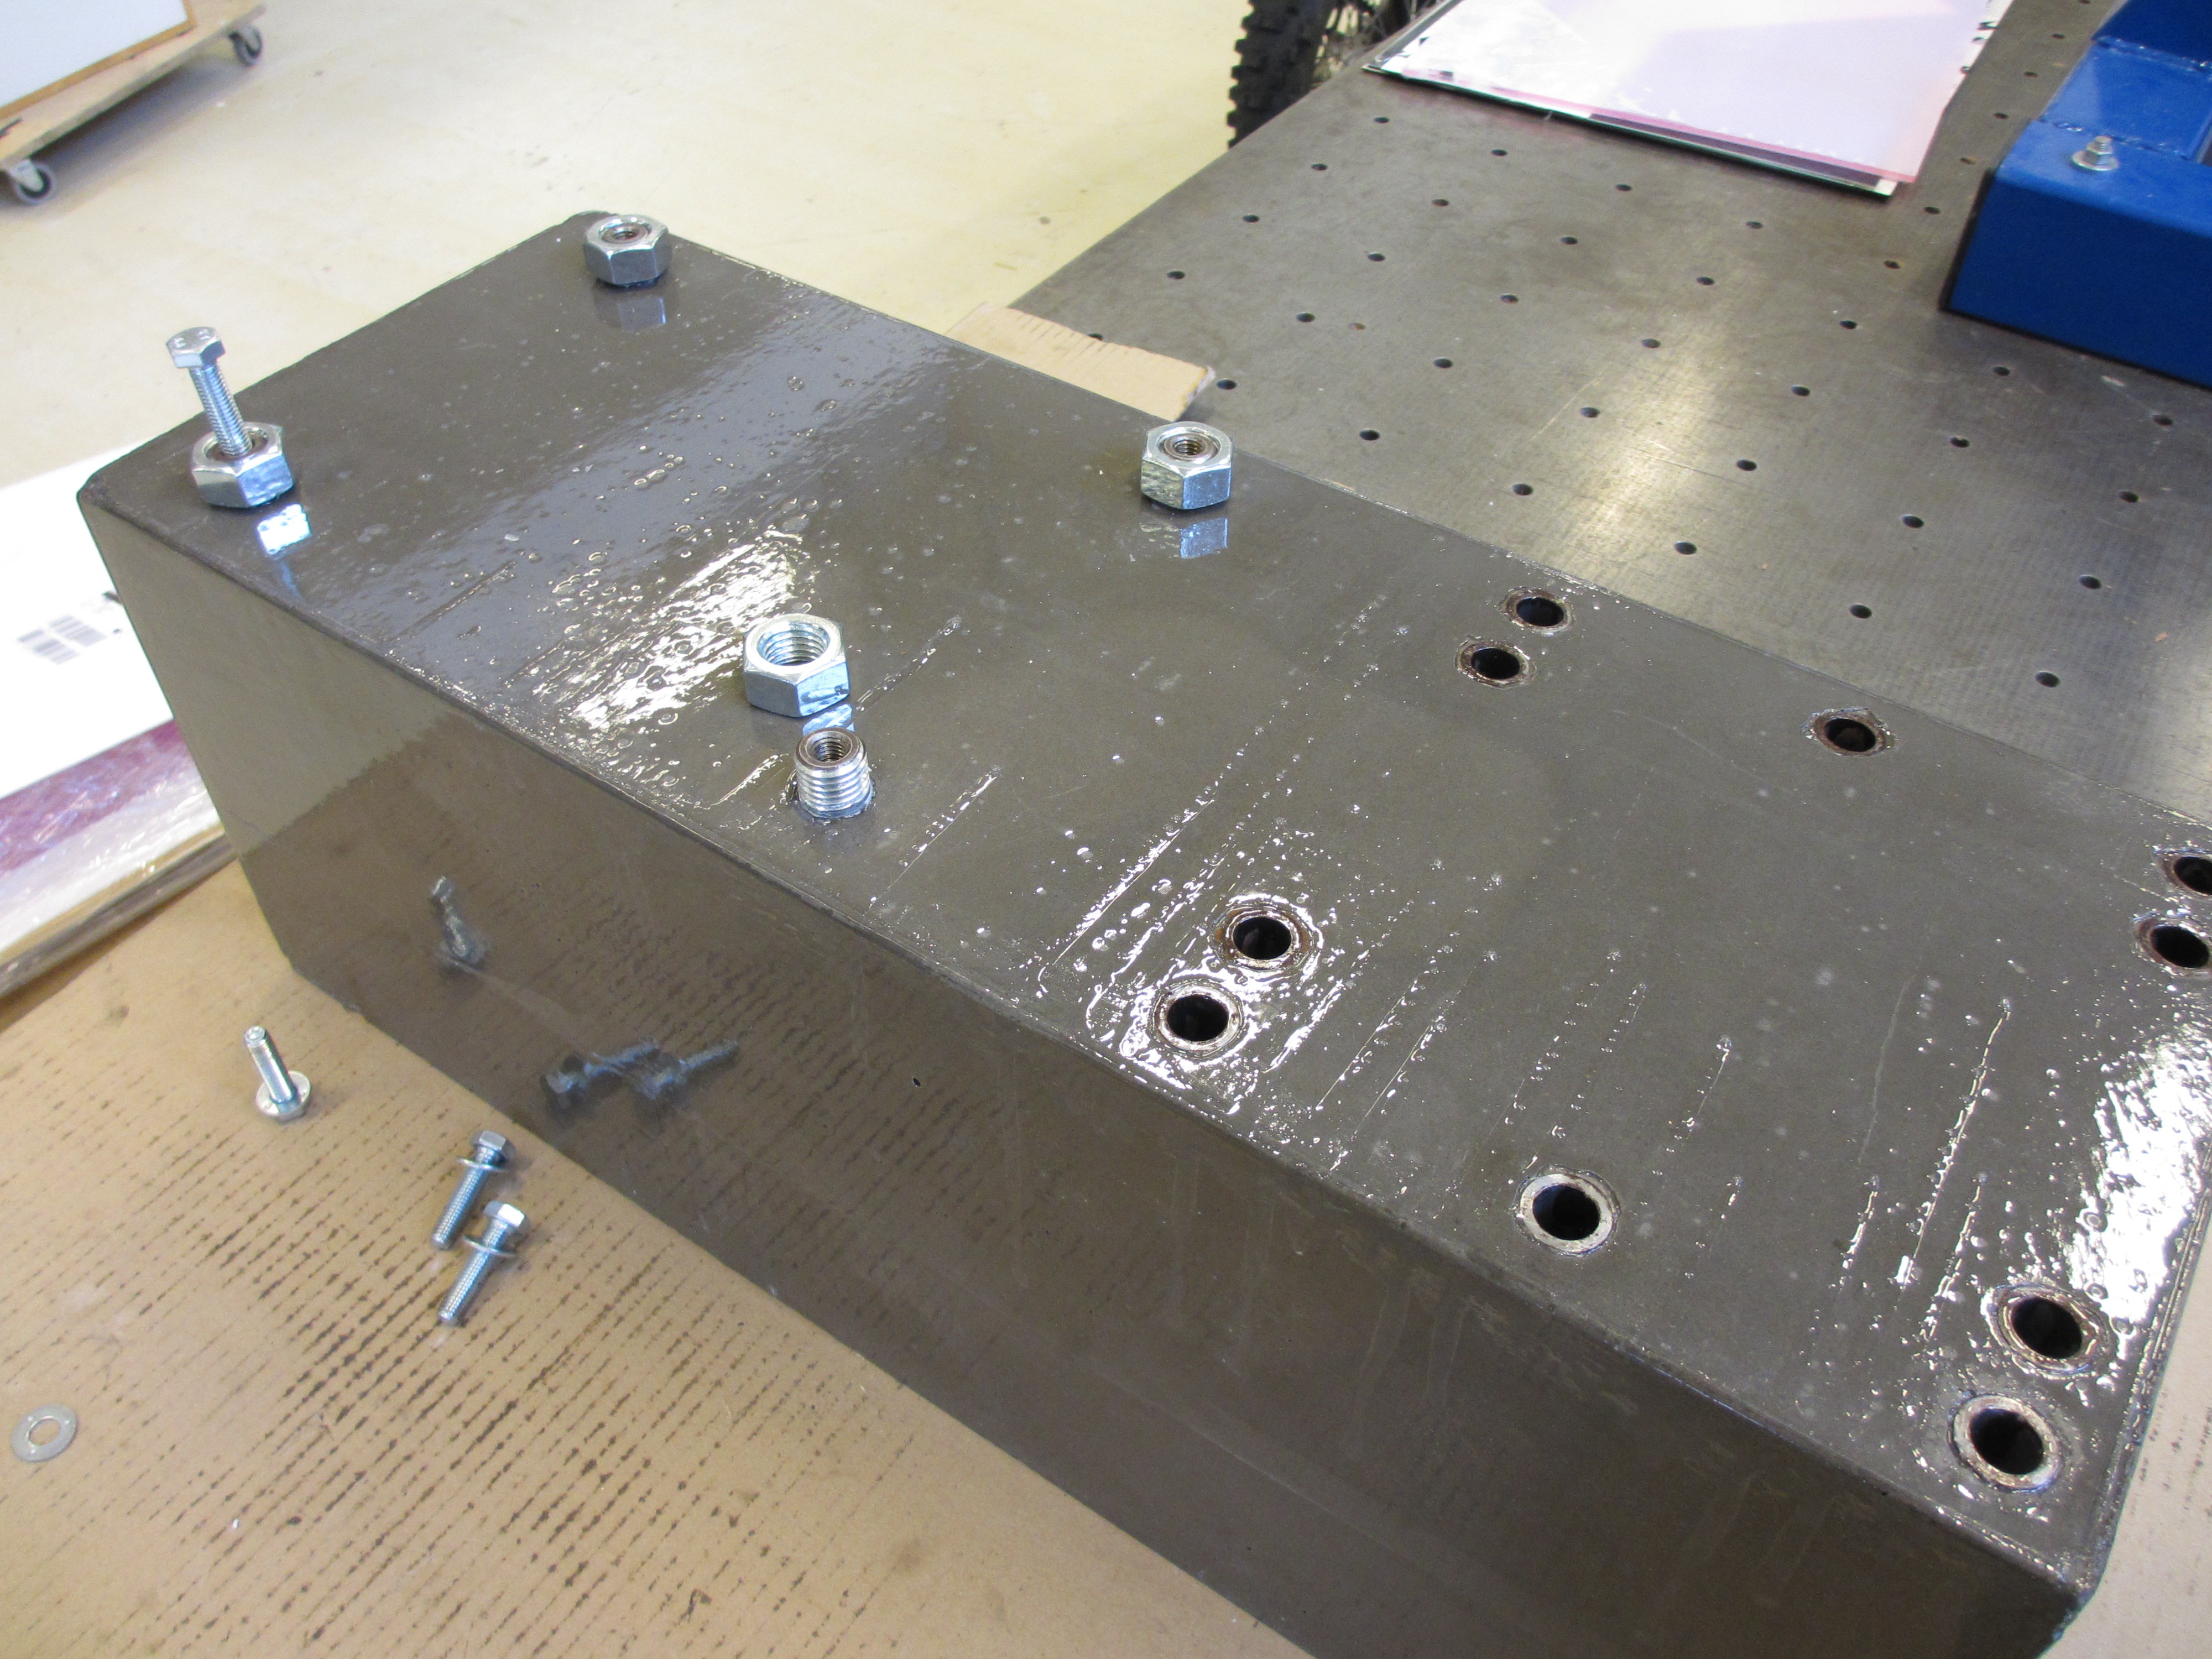
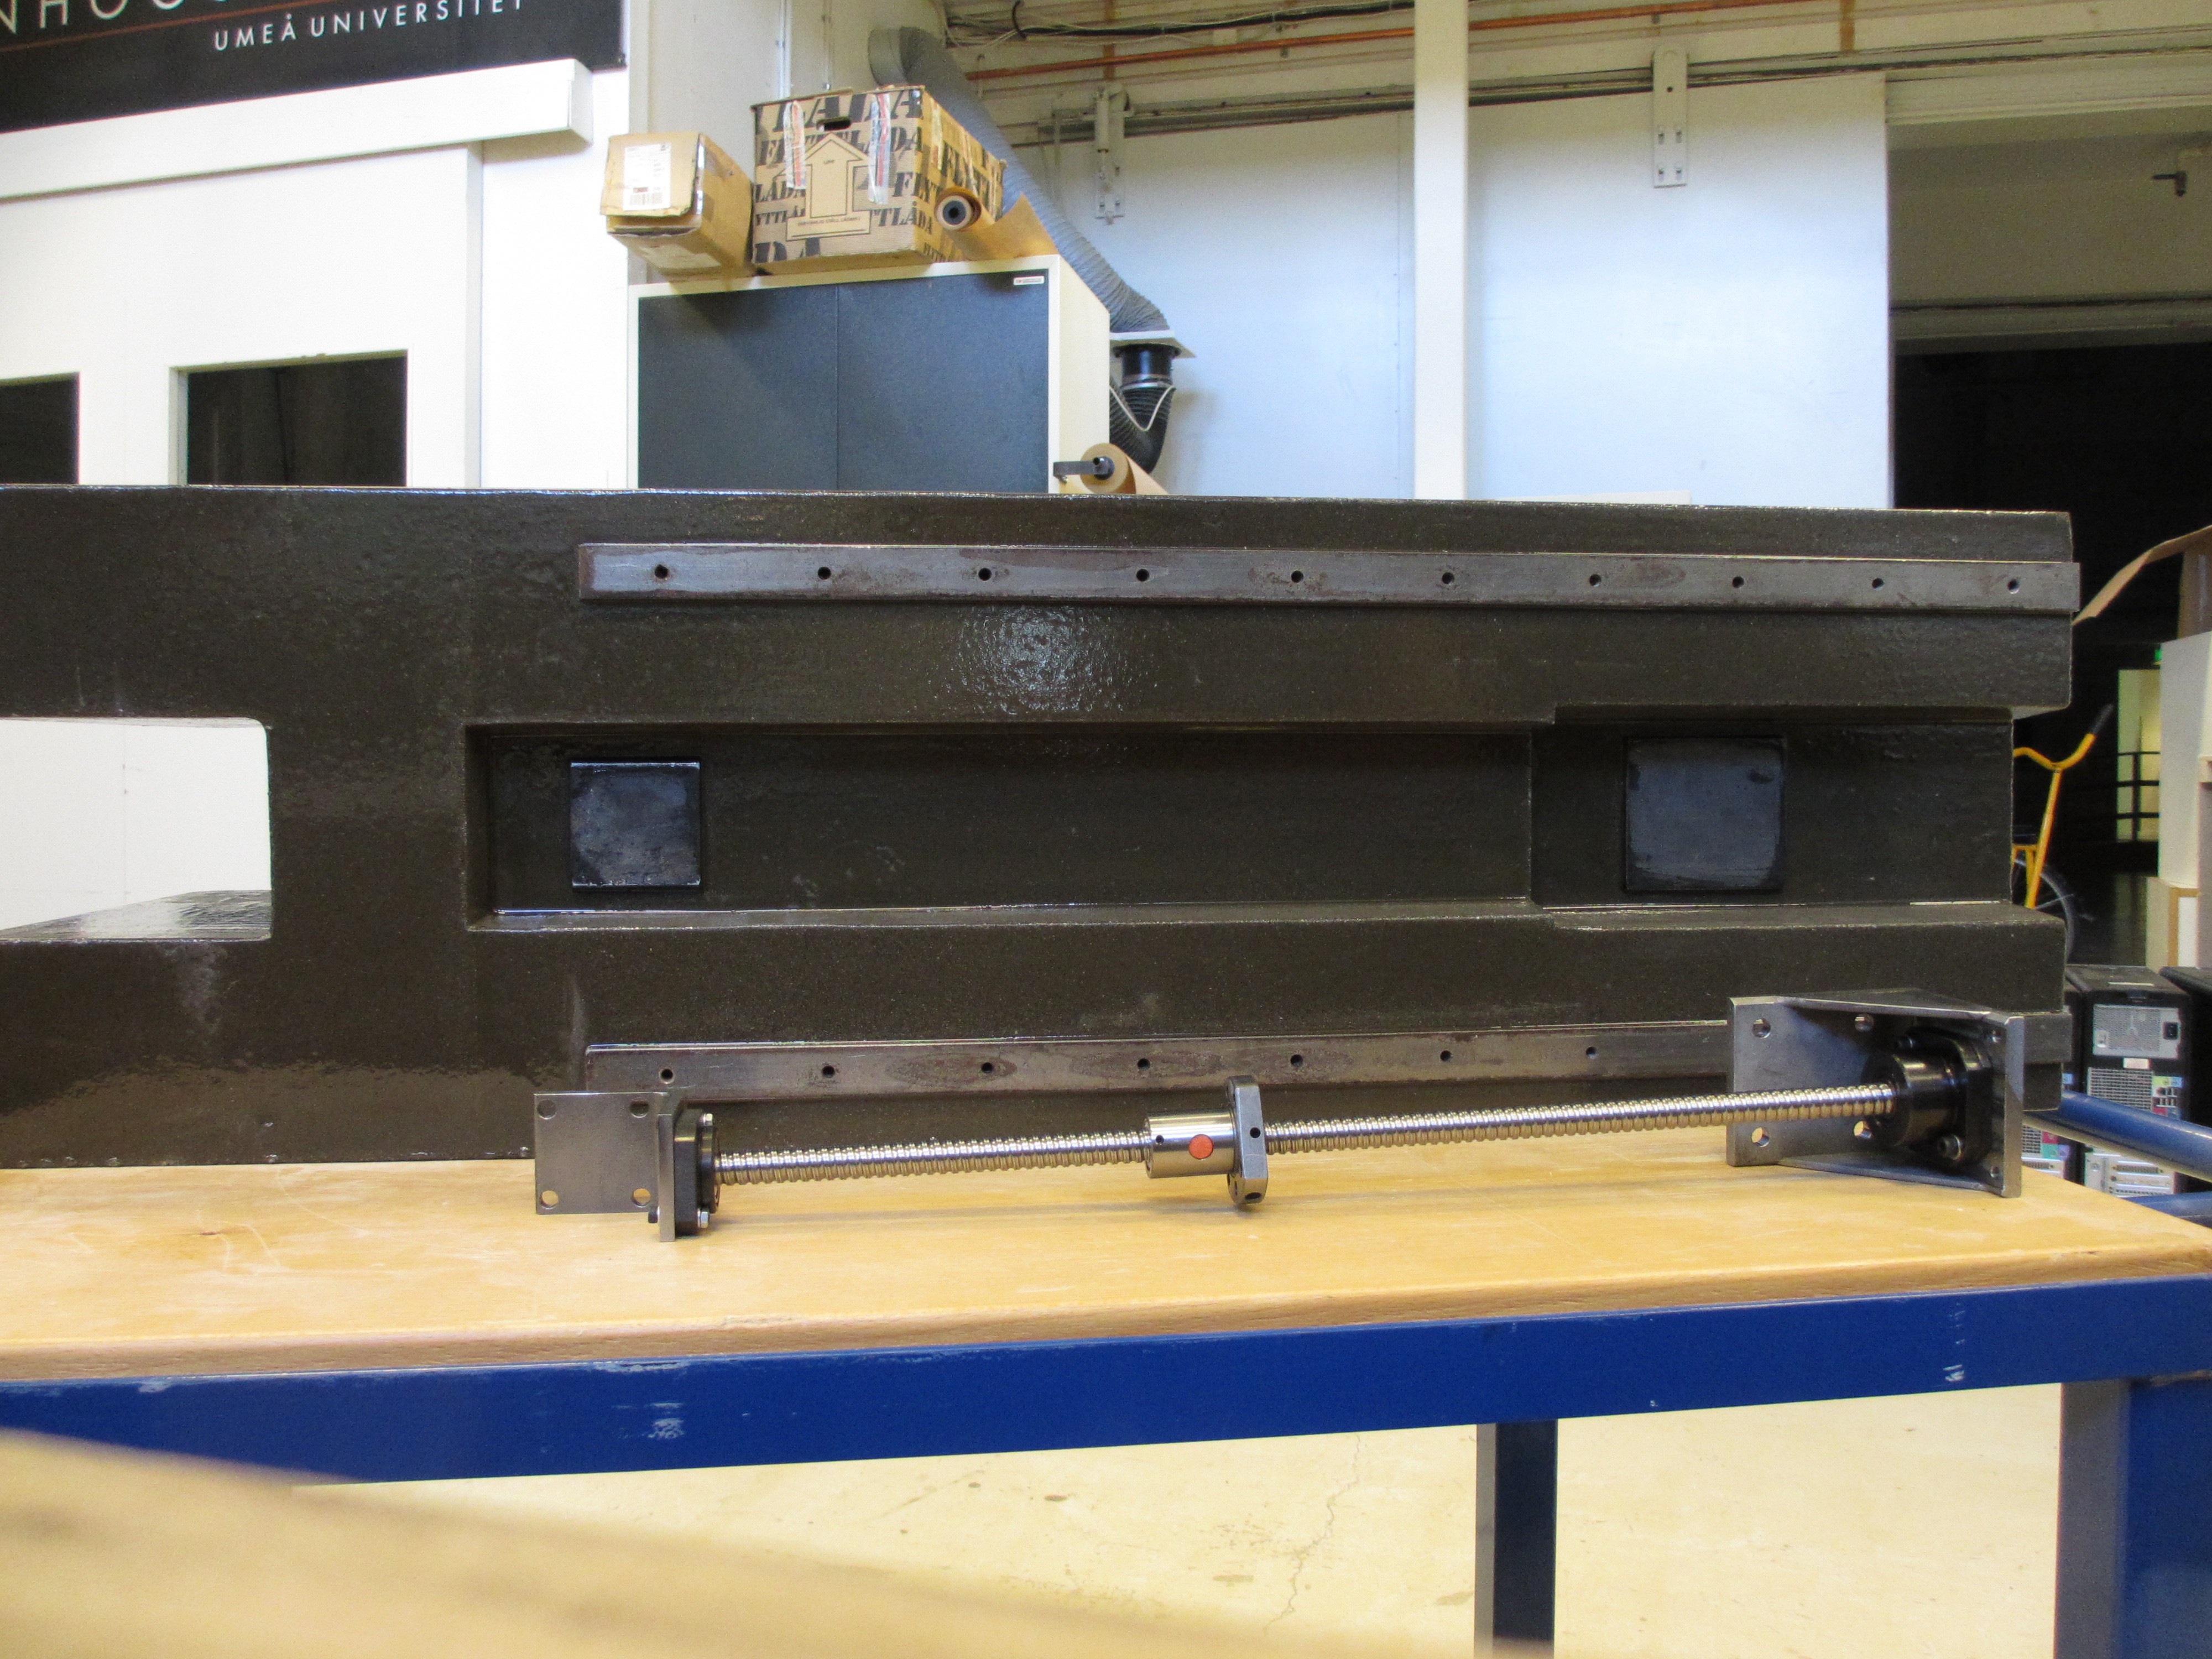
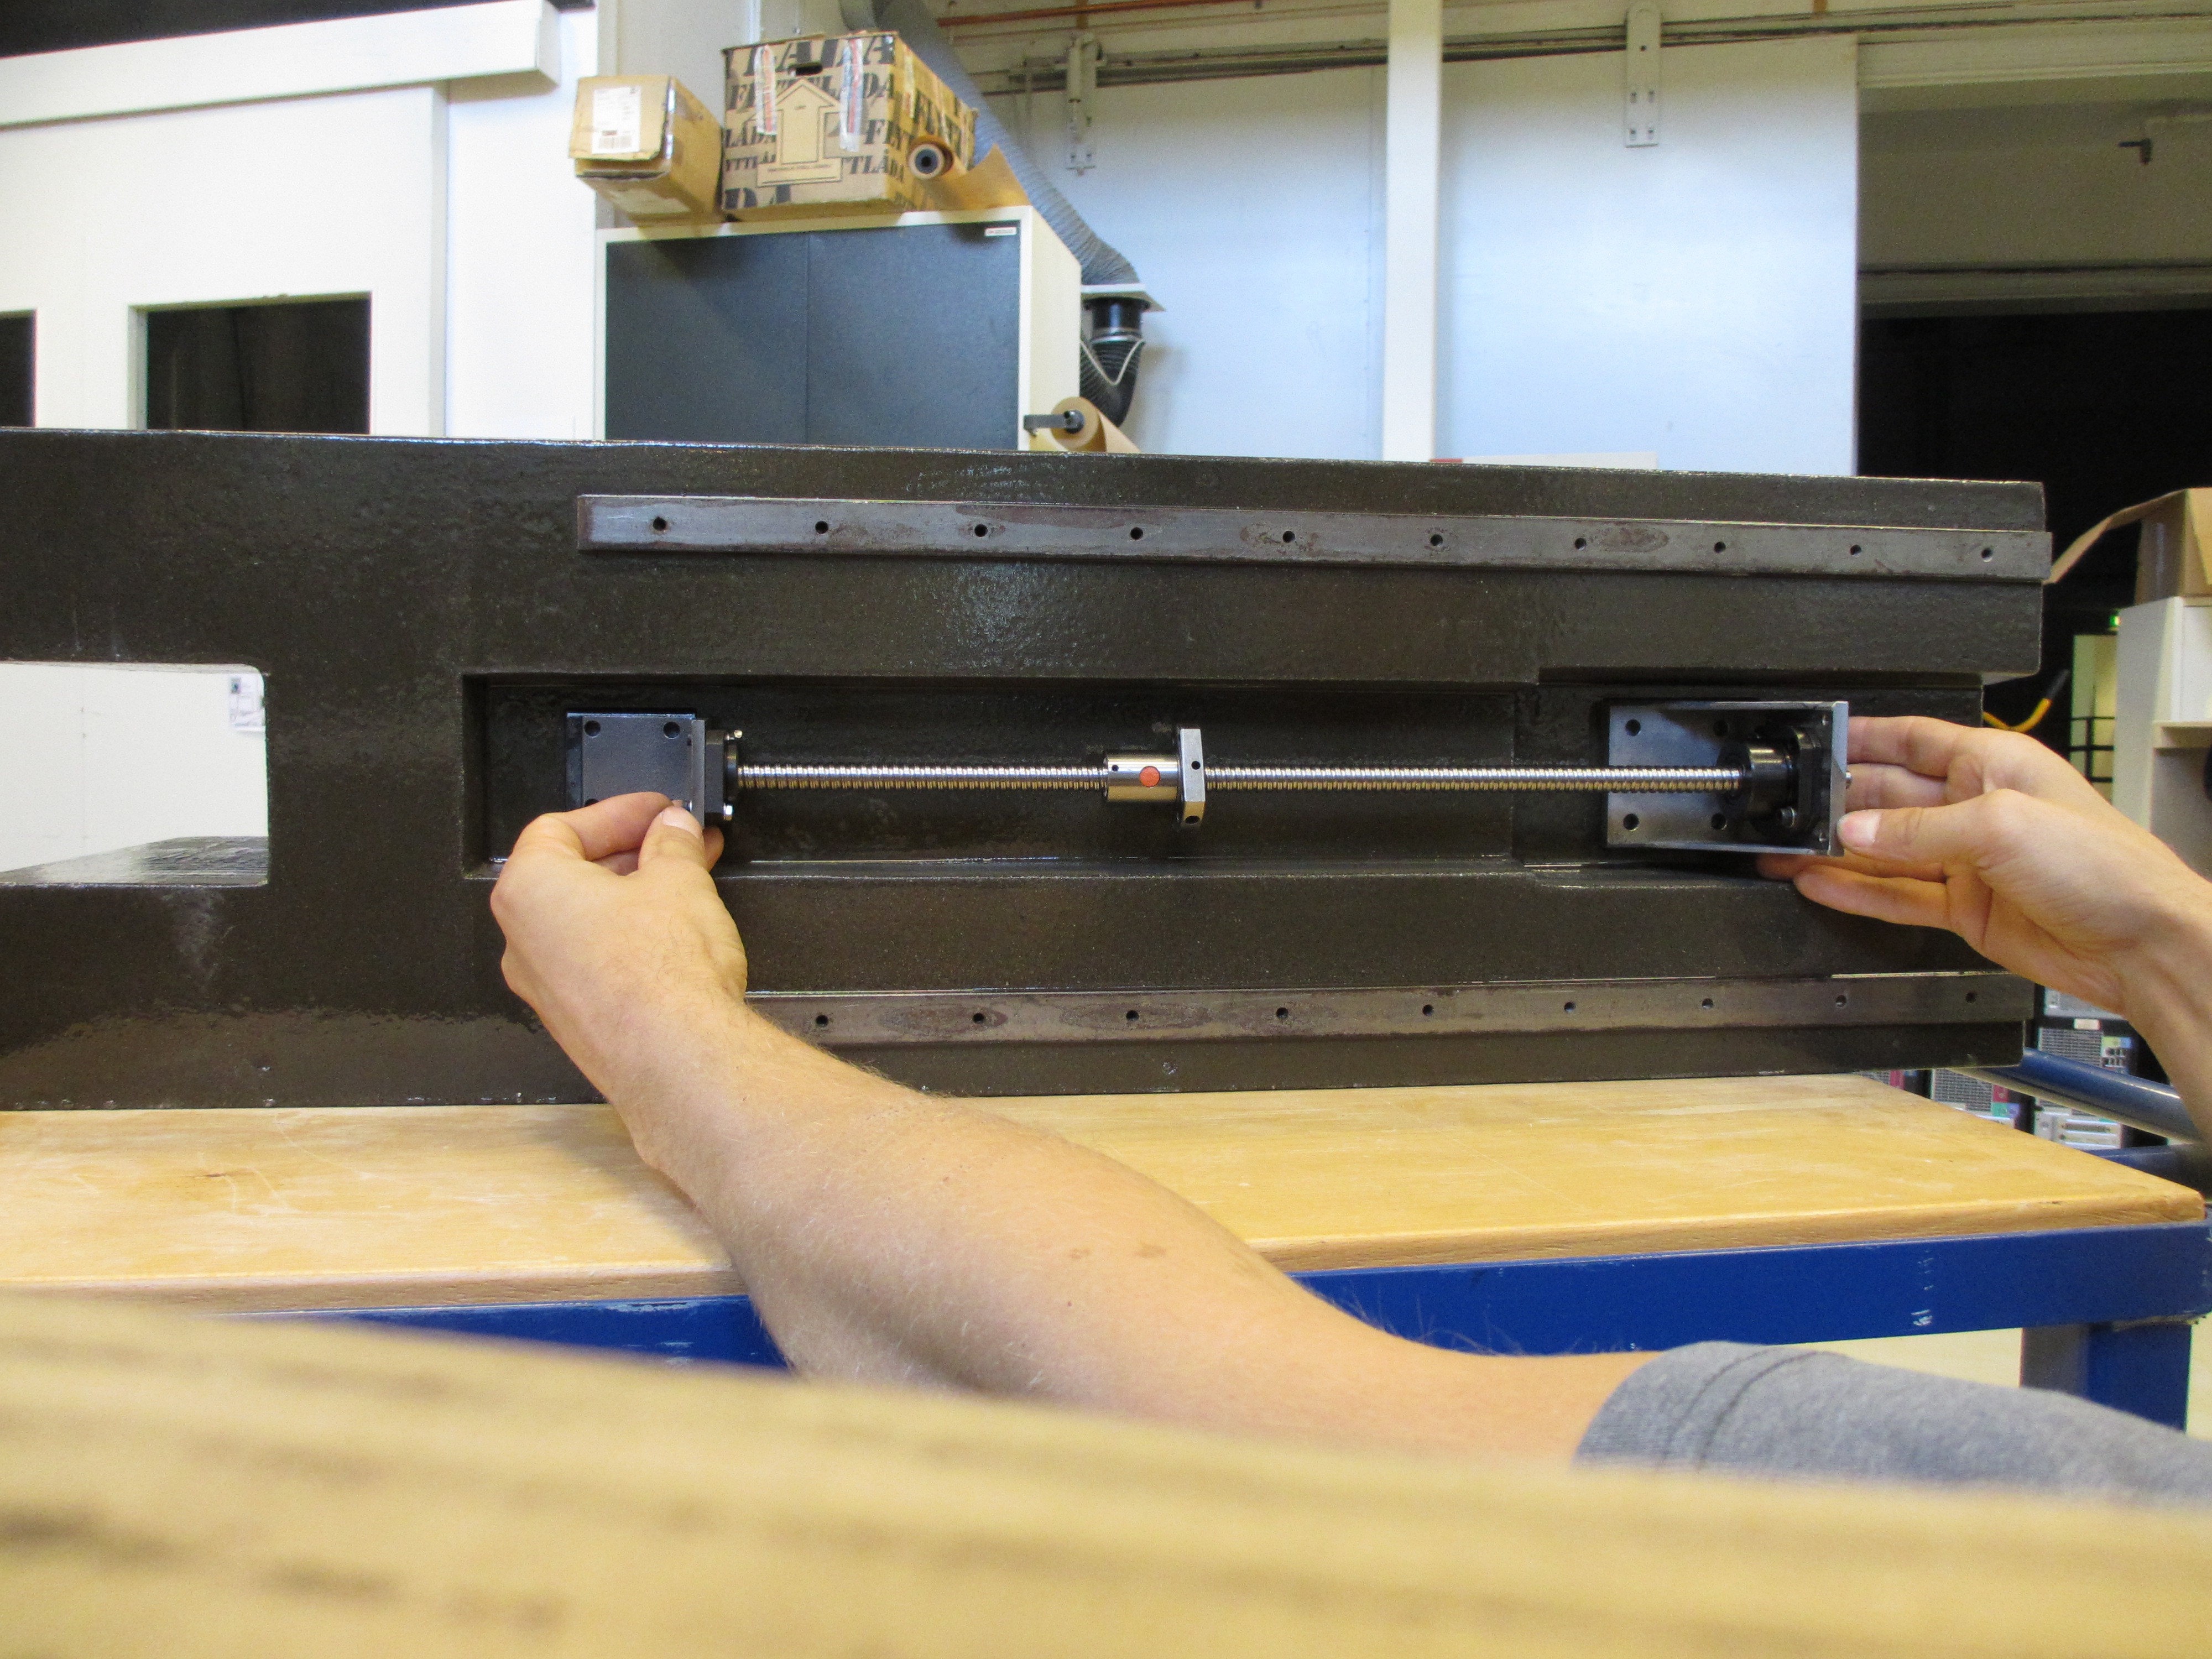
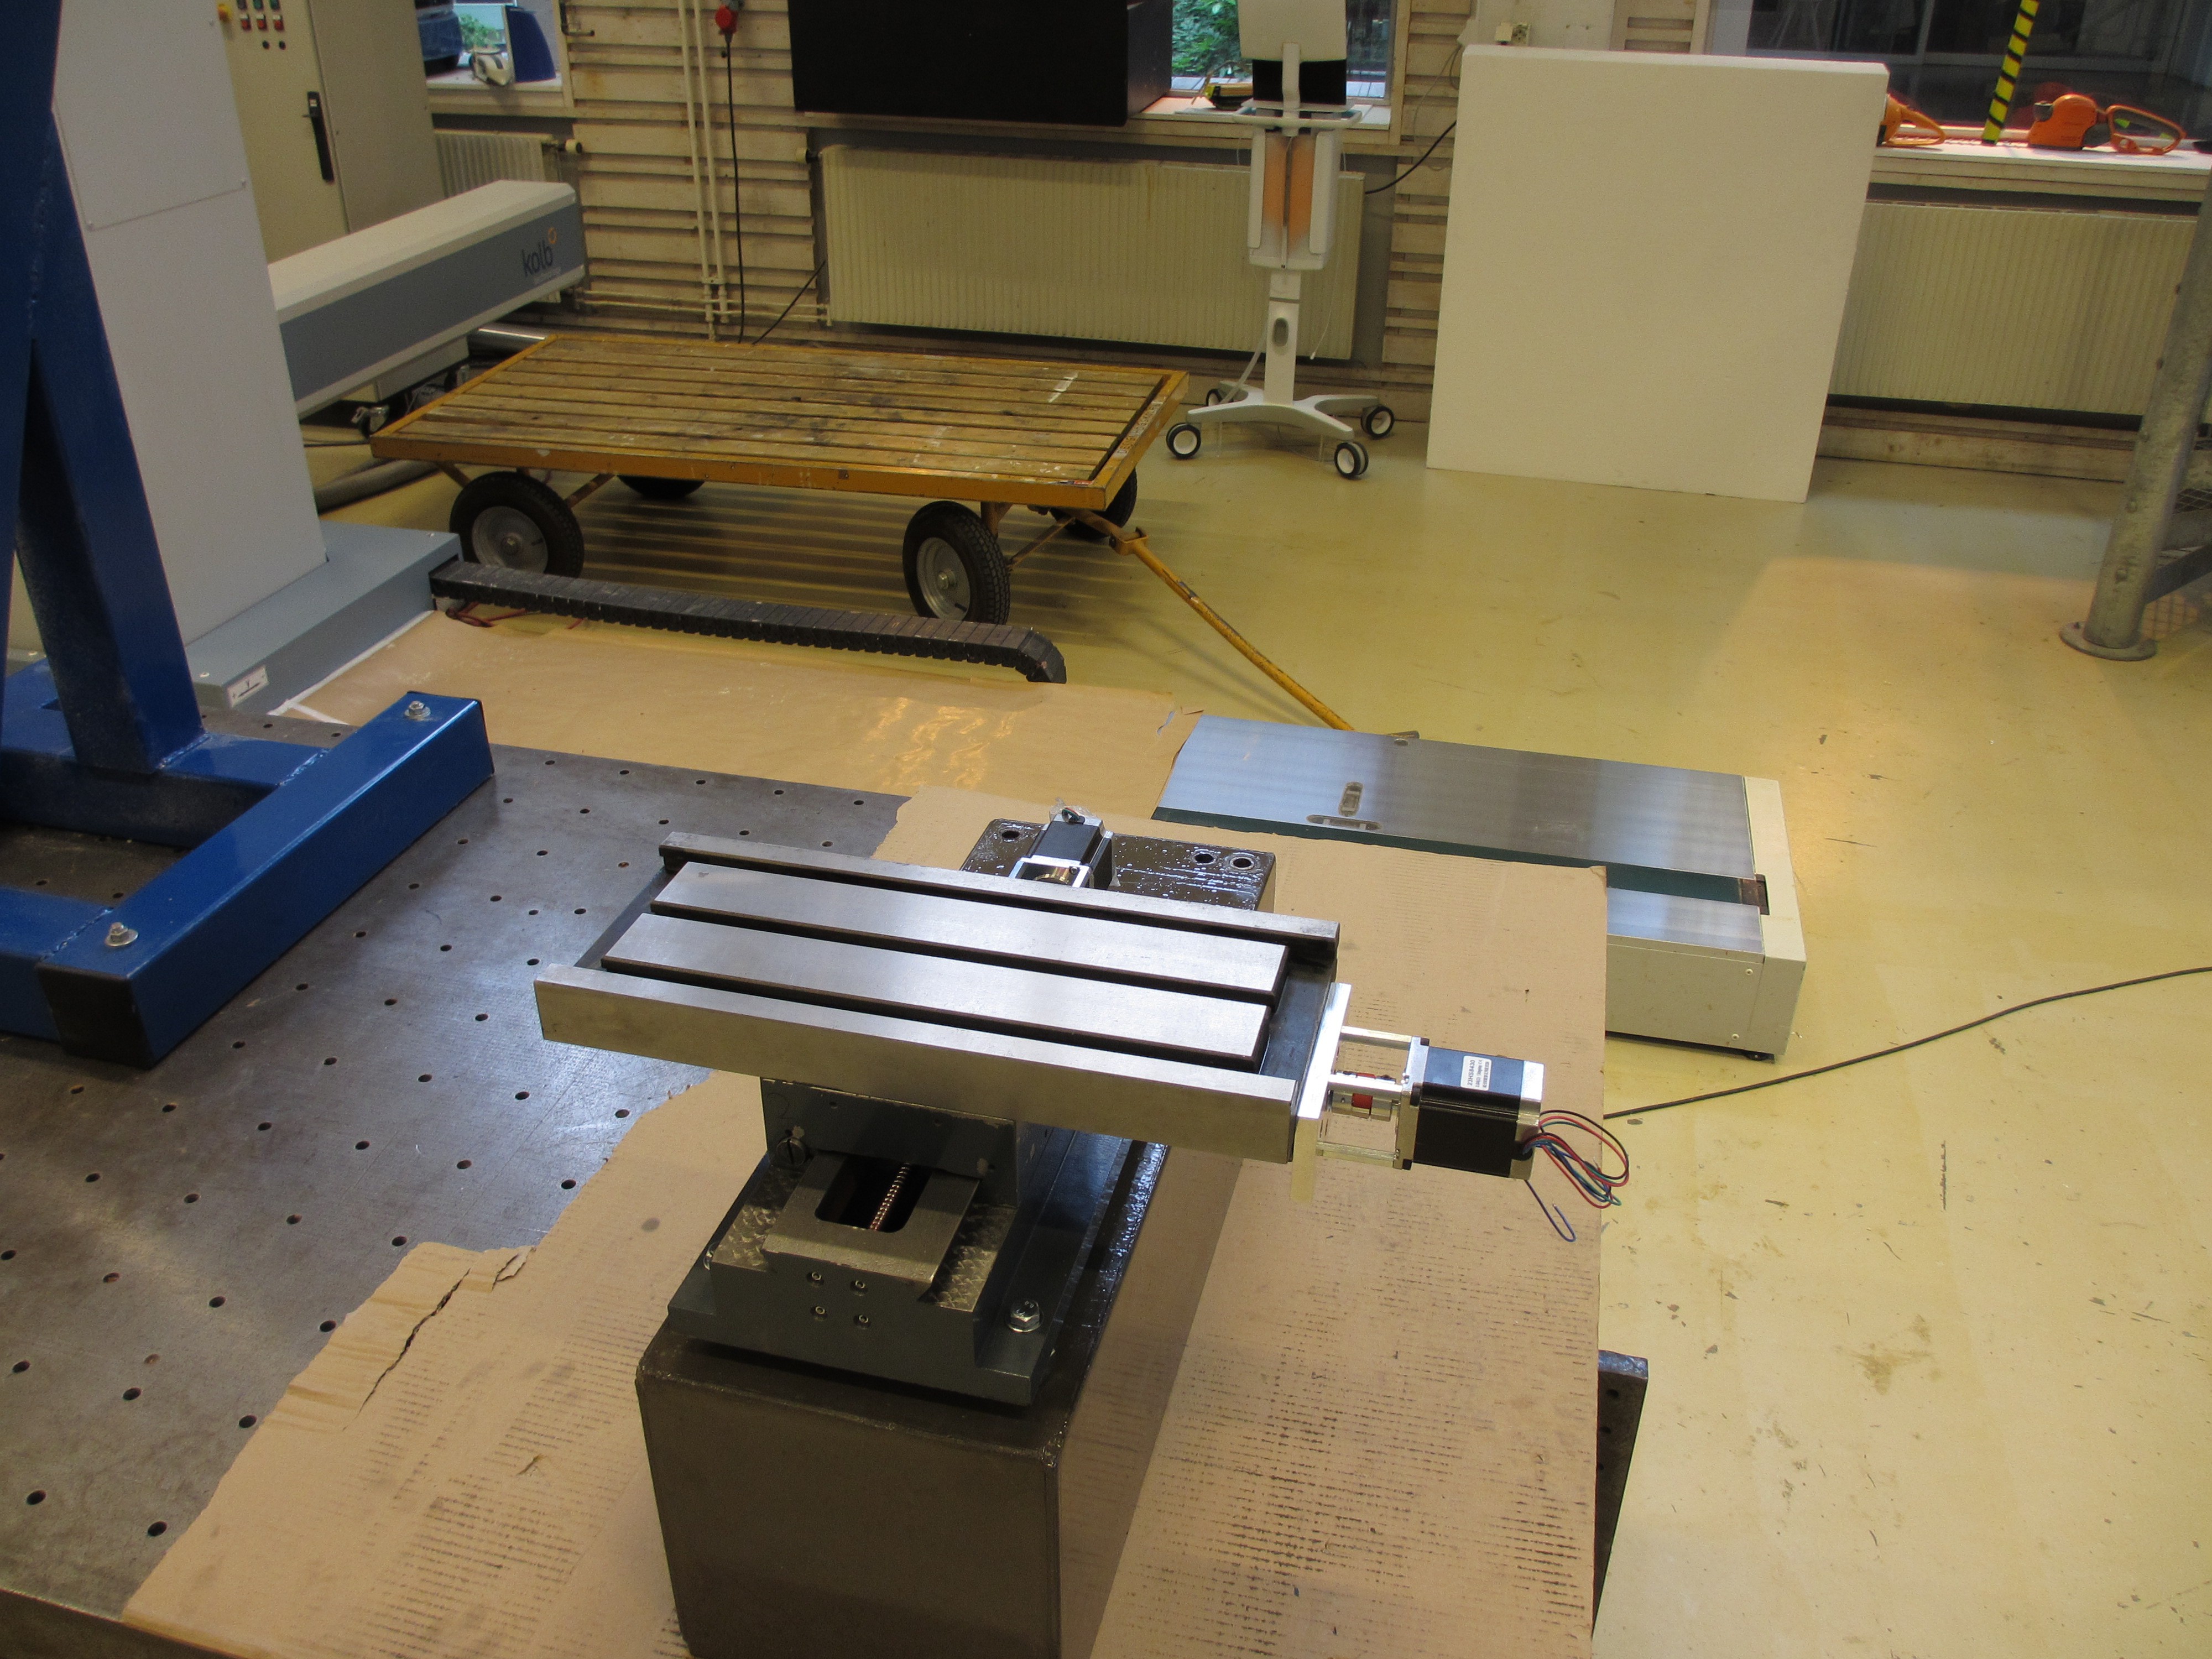
Next up is a sanity check regarding the fit. I want to make sure that the steel inserts in the tower matches the mounts and the ballscrew. This is especially important since I'm not drawing anything in CAD, but only building it on the fly.
![]()
Looks good!
![]()
Next up is machining the steel inserts for precision, and drilling and tapping some holes for the ball screw mounts.
-
Tower casting and curing
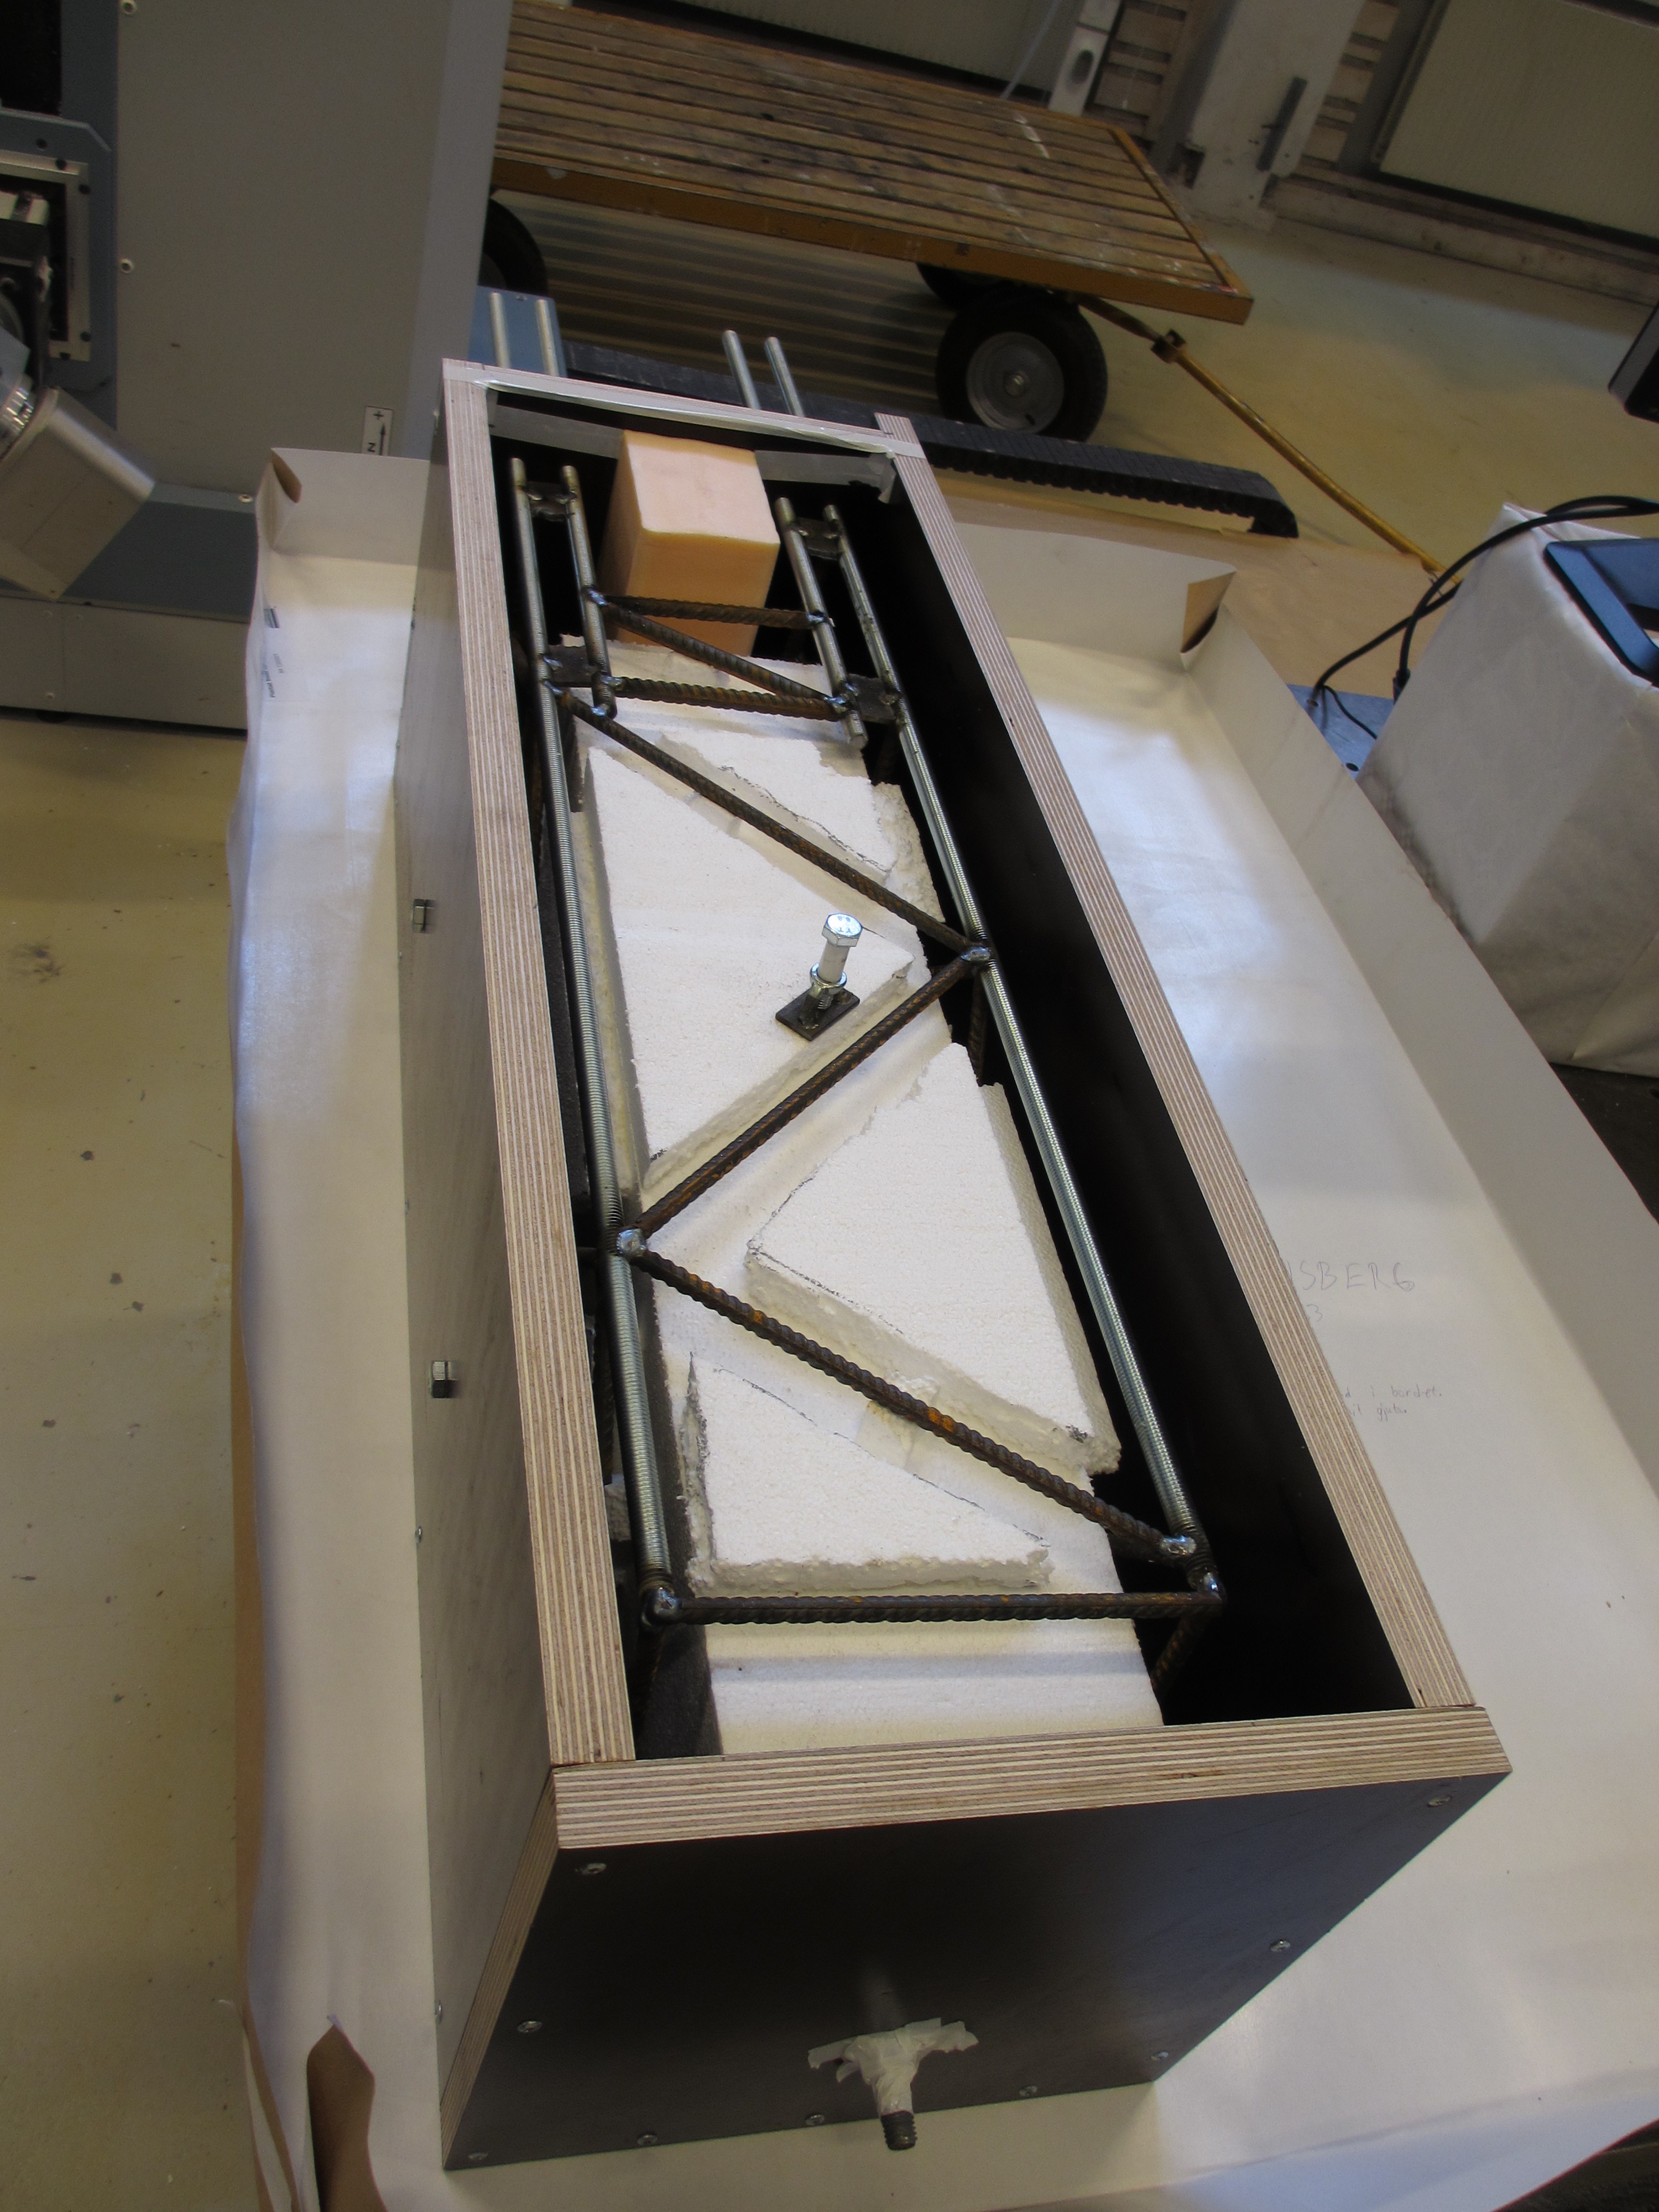
08/26/2017 at 15:49 • 0 commentsThis first picture is of the welded framework inside the mold prior to casting. There is also a block of styrofoam in place to make it hollow. This reduces the weight and concrete consumption, making it easier to work with. In the bottom you will find a few pieces of steel that will be machined after casting, to get precision surfaces for the rails and the ballscrew mounts
![]() The mold is placed on a cast iron fixture table and clamped down by screws to make sure it is as flat as possible. This was not necessary when casting the base since the base is adjustable, but the tower will have rails bolted directly onto it so it is important to have a precise mold.
The mold is placed on a cast iron fixture table and clamped down by screws to make sure it is as flat as possible. This was not necessary when casting the base since the base is adjustable, but the tower will have rails bolted directly onto it so it is important to have a precise mold.![]()
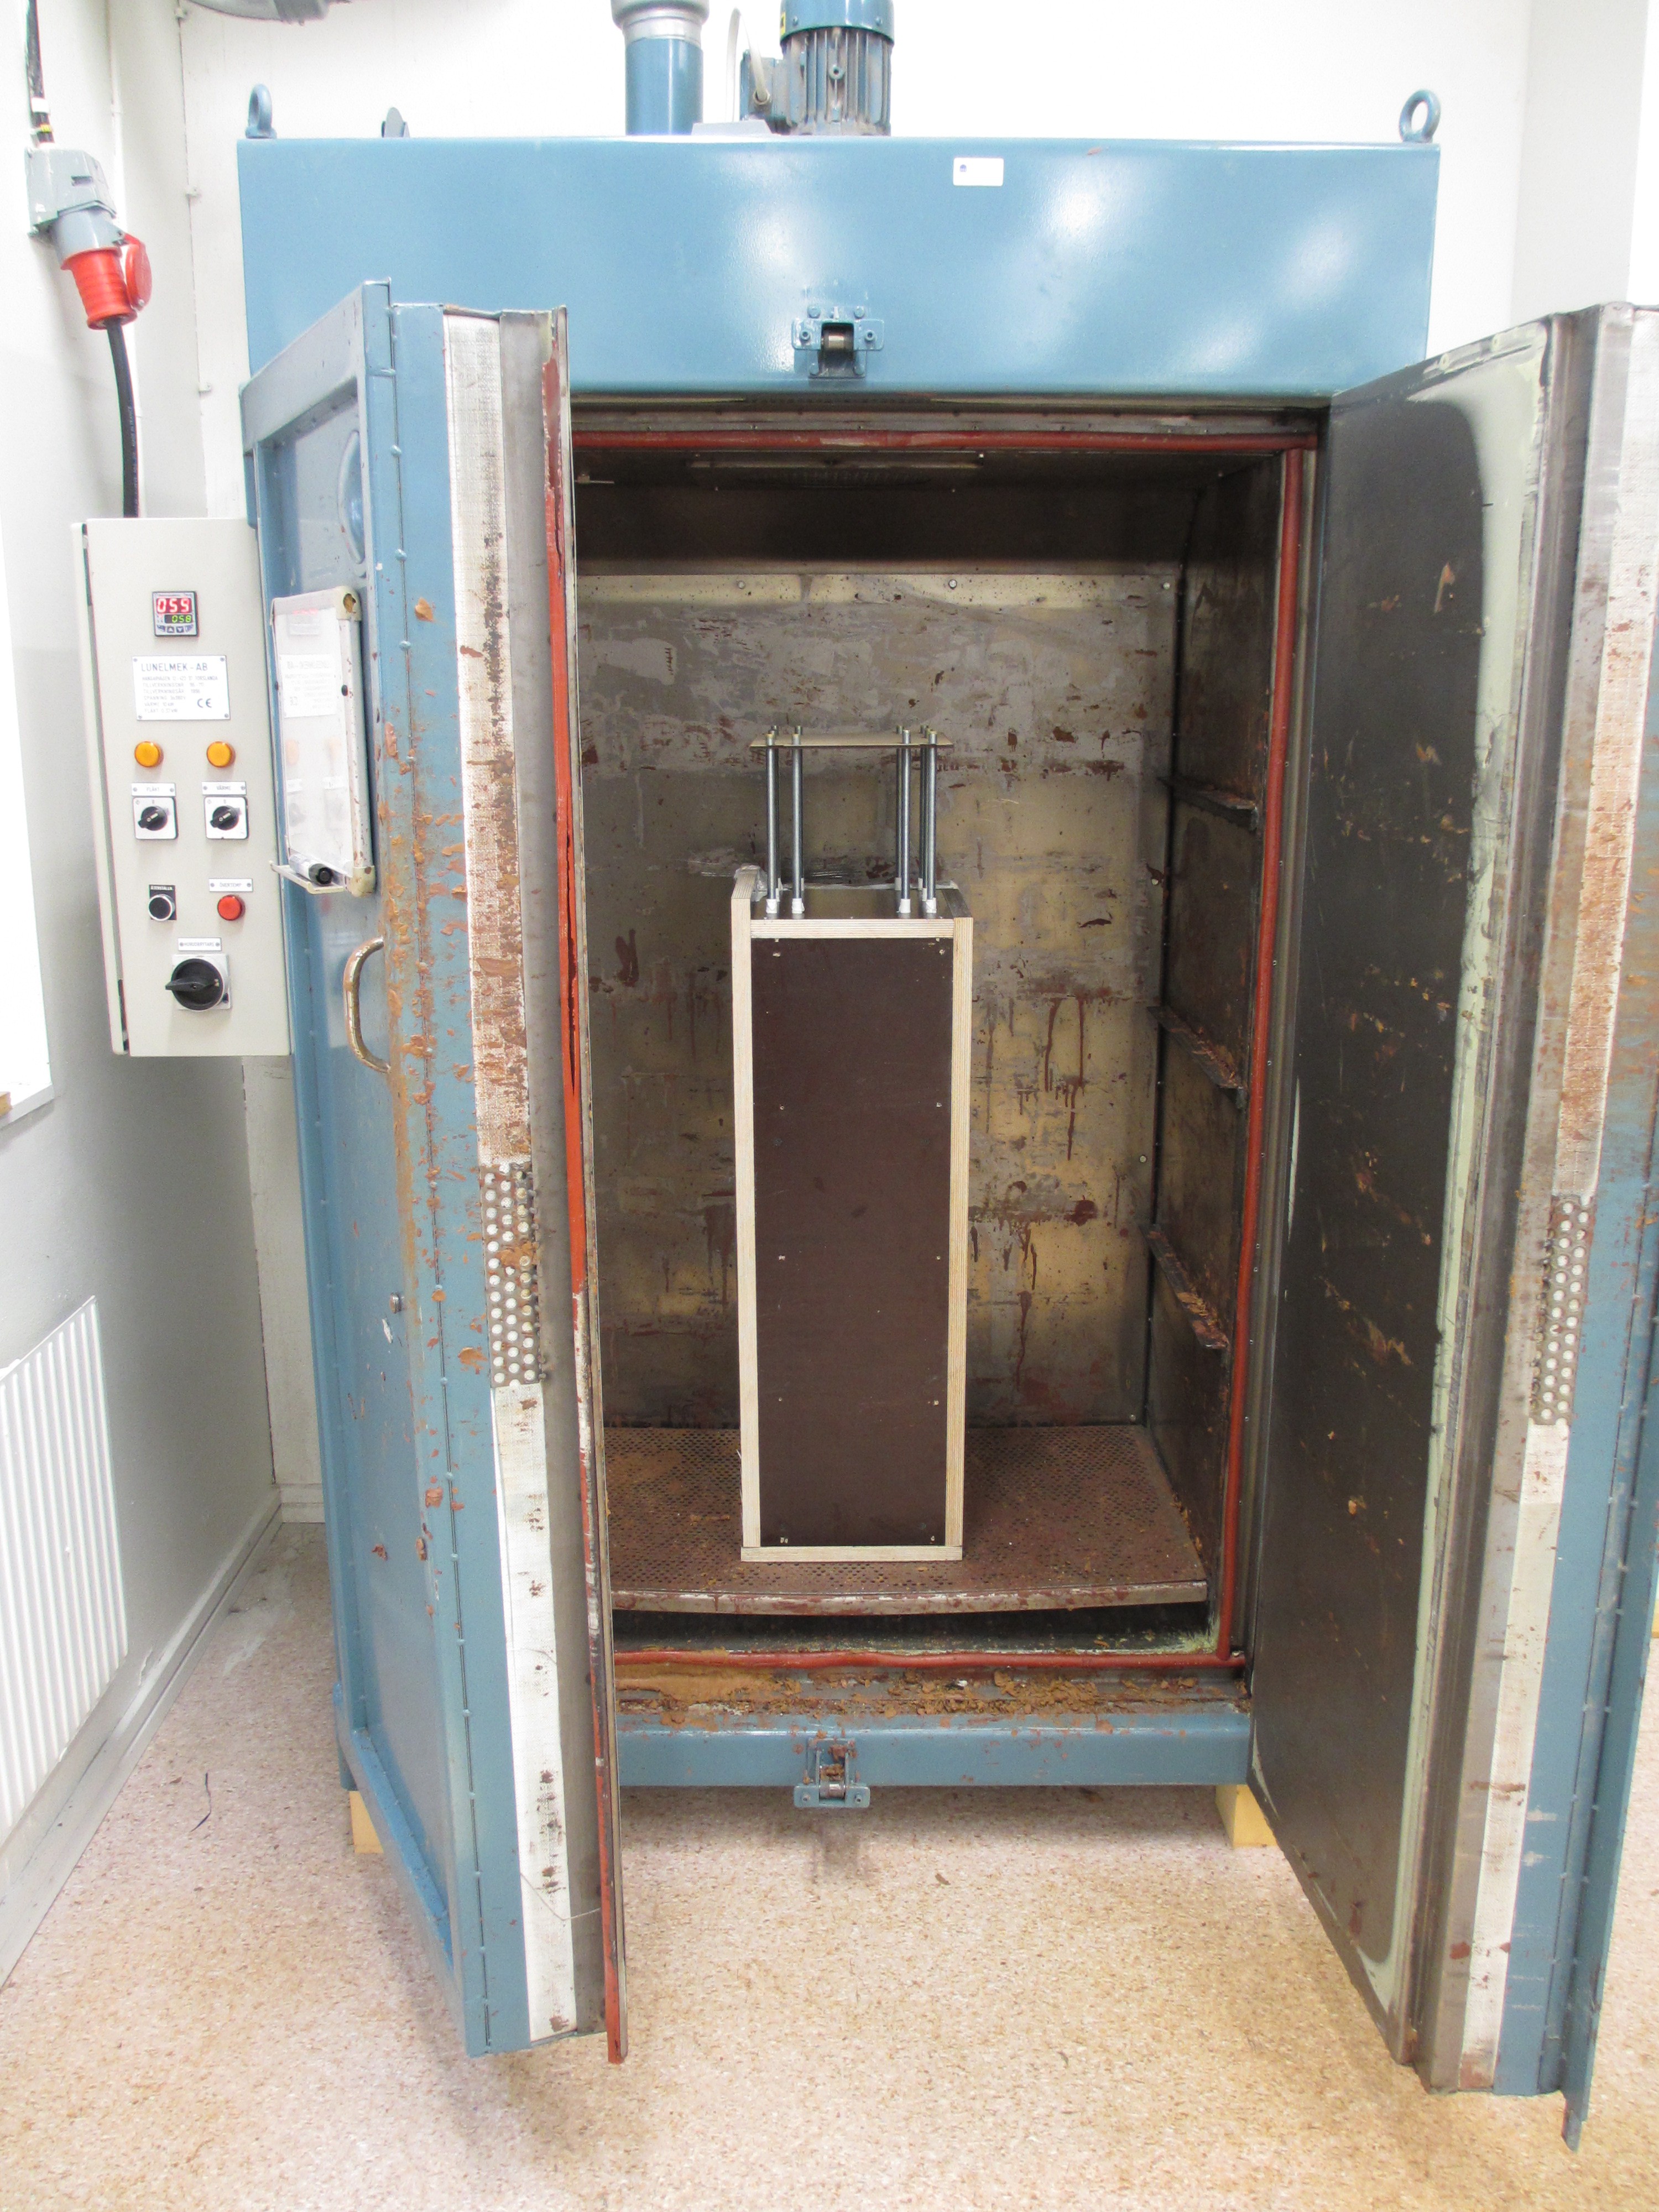
After pouring the concrete, the mold top was covered with plastic to keep it from drying too quickly. It was allowed to cure for 48 hours at room temperature, before going into an oven at 60 degrees for 96 hours (still covered in plastic). This should help it cure faster.
![]() After curing, the concrete was taken out of the mold and placed back in the oven at 40 degrees for 72 hours to allow it to dry out properly. At the time of writing, 24 hours have passed. On Monday it will be taken out of the oven and, after cooling and some light finishing, be coated with a thick layer of epoxy.
After curing, the concrete was taken out of the mold and placed back in the oven at 40 degrees for 72 hours to allow it to dry out properly. At the time of writing, 24 hours have passed. On Monday it will be taken out of the oven and, after cooling and some light finishing, be coated with a thick layer of epoxy.![]() Final machining of the steel inserts will take place a few days after the epoxy coating, to allow the concrete to set fully. The accelerated curing and drying, along with a thick coating, should greatly improve the dimensional stability of the concrete. Concrete shrinks considerably over time, but with this heat treatment most of the shrinkage should be over and done with, and should prevent the tower from warping. Only time will tell how well it worked, but I'm certain that it will be an improvement over not heat treating it.
Final machining of the steel inserts will take place a few days after the epoxy coating, to allow the concrete to set fully. The accelerated curing and drying, along with a thick coating, should greatly improve the dimensional stability of the concrete. Concrete shrinks considerably over time, but with this heat treatment most of the shrinkage should be over and done with, and should prevent the tower from warping. Only time will tell how well it worked, but I'm certain that it will be an improvement over not heat treating it. -
First entry
08/25/2017 at 20:02 • 0 commentsThis project actually started in February, so this first entry is 6 months in to the project. Luckily, most of the interesting stuff will be happening from here on.
First up is a picture of the already finished cast iron compound table and the concrete base. The compound table was purchased separately, and has been modified with ballscrews with double ballnuts that are manually preloaded.
The holes you see in the concrete base are through holes. They will match ten M12 threaded rods that will be cast into the tower. There are countersunk holes under it for the nuts. The concrete has been cured at an elevated temperature, and then dried at an elevated temperature, to reduce shrinkage and warping. After this process it was coated with epoxy to prevent moisture exchange with the surroundings for the same reason.
![]()
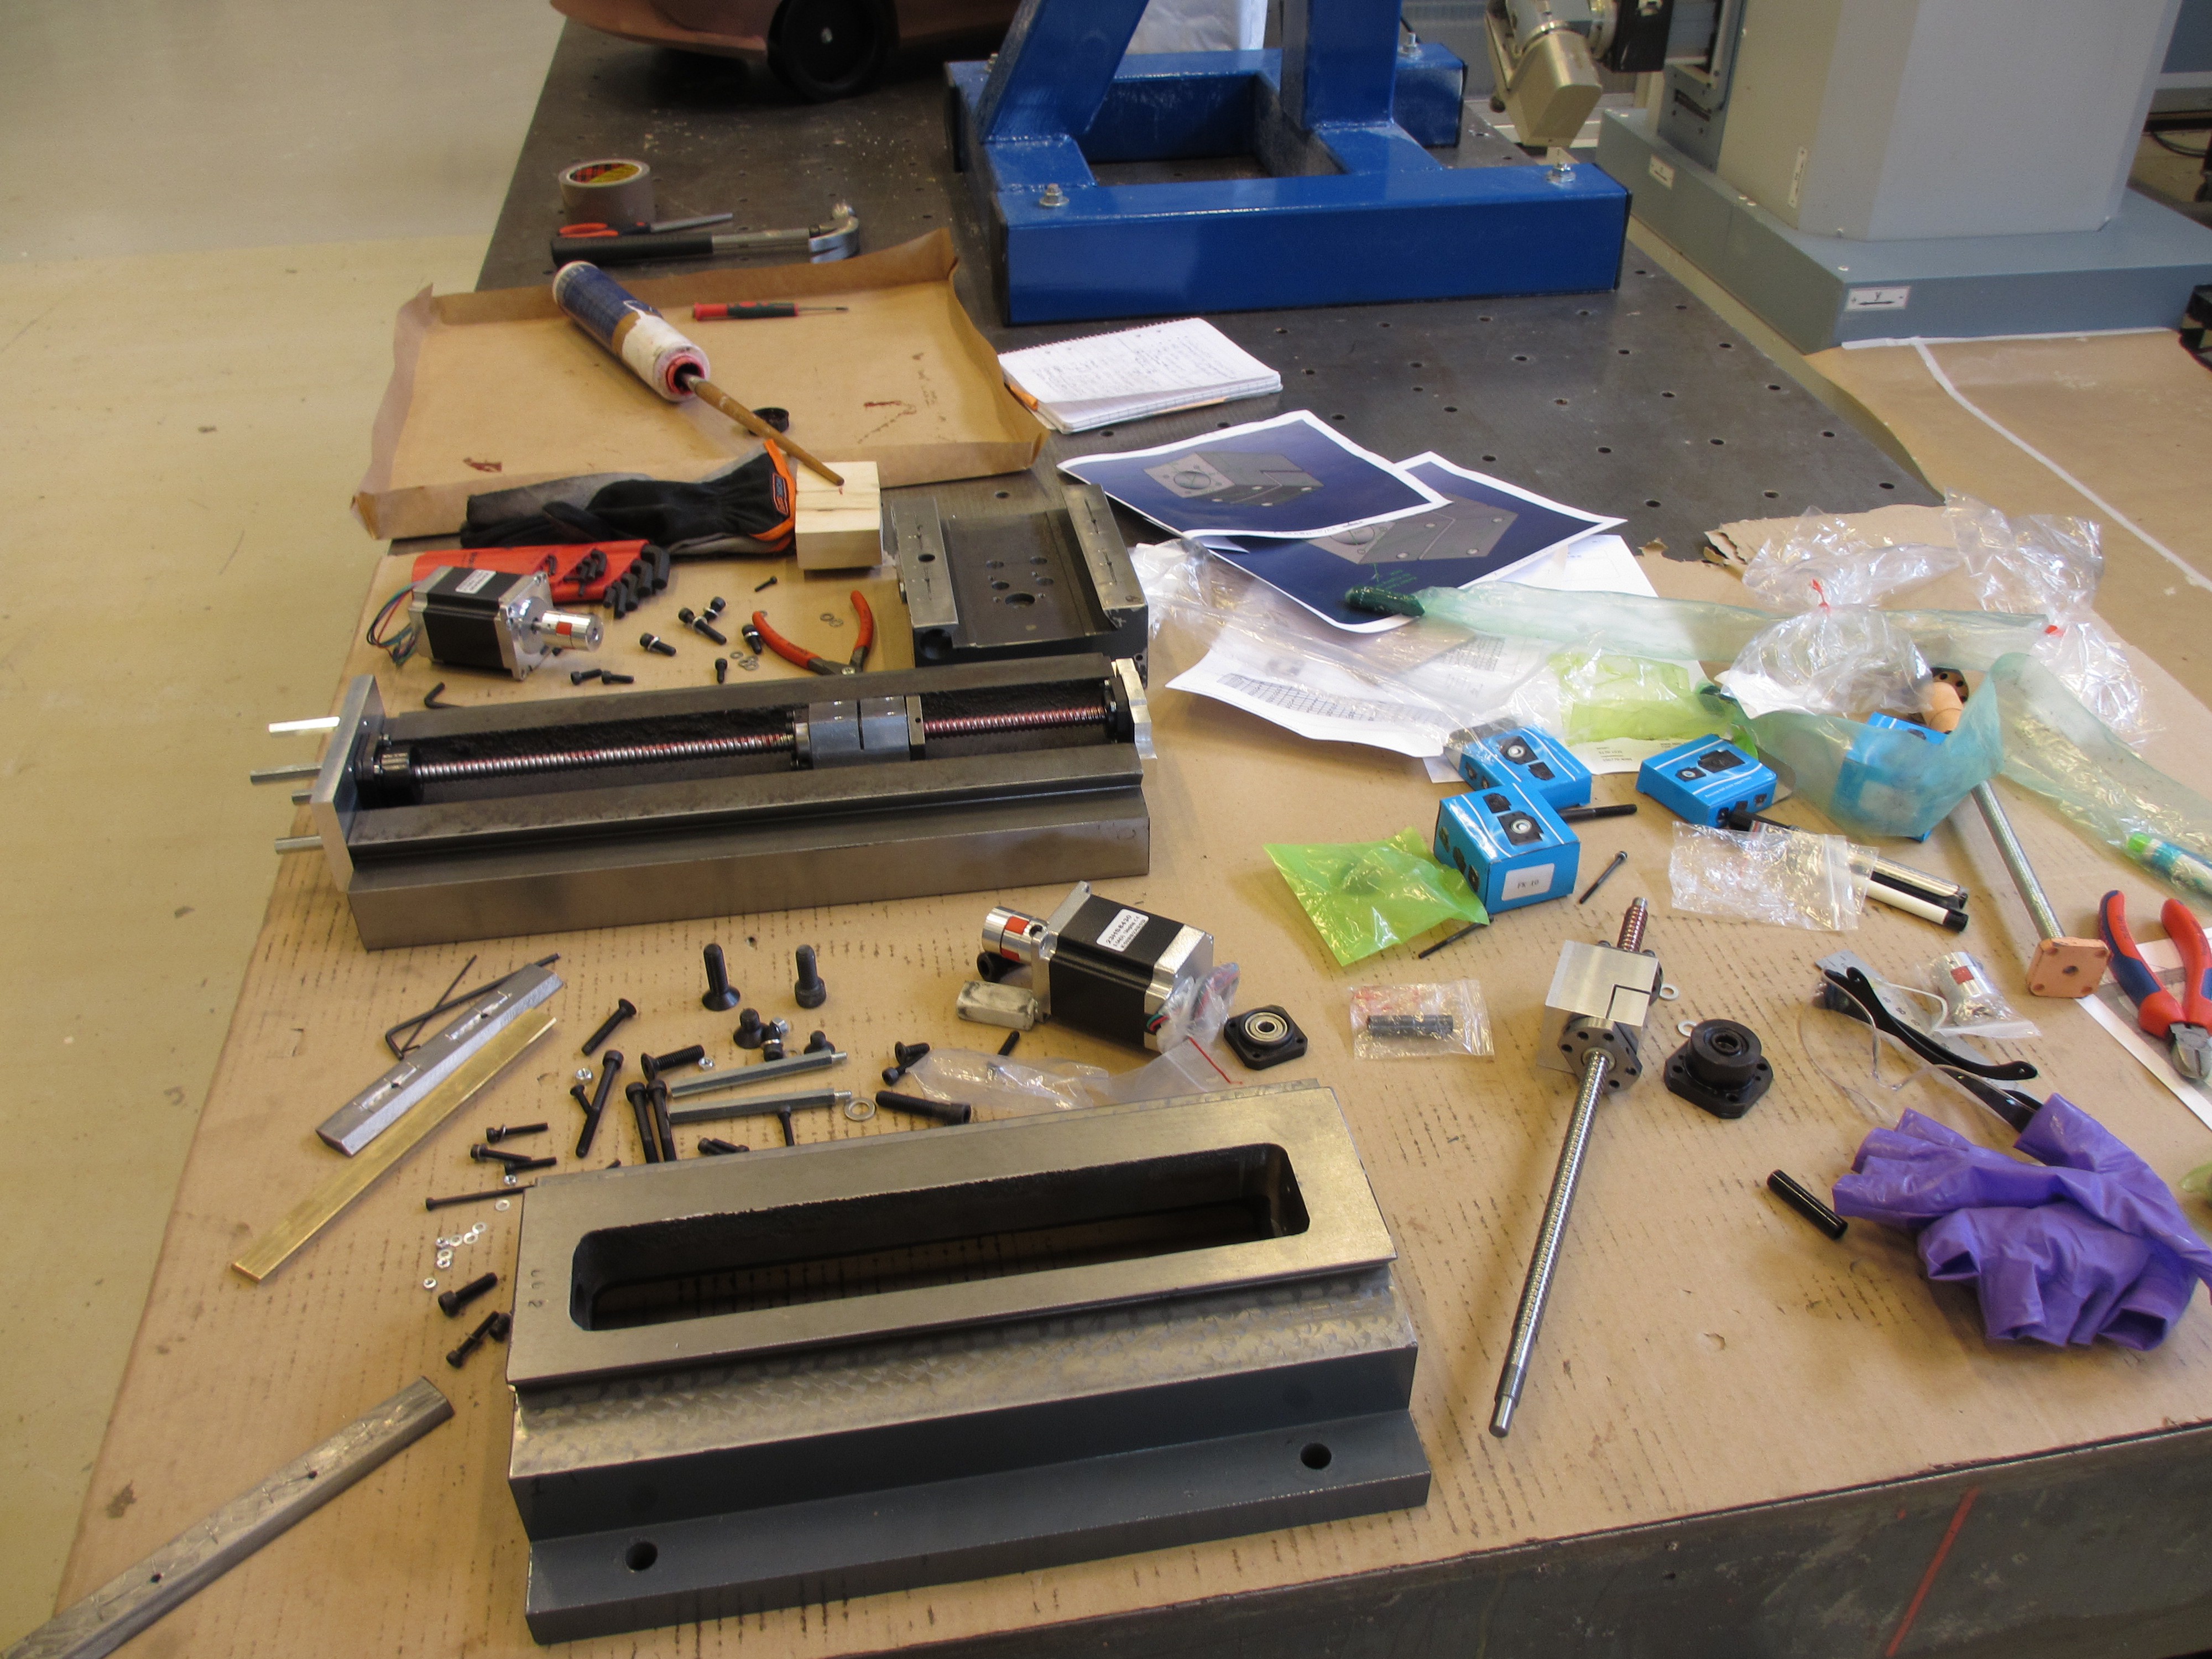
next is an overview prior to assembly![]() closeup of the newly machined floating ballscrew mount
closeup of the newly machined floating ballscrew mount![]()
Front view of the compound table and the base casting. The base is hollow, and contains a polystyrene block. Wall thickness is about 50 mm, and total cross section is 250x250mm. This adds up to about 80kg of concrete and steel reinforcements. The compound table adds about 40kg.
![]()
Fixed ballscrew mount and stepper motor mount.![]() Compound table again.
Compound table again.![]() Sideview of the compound table and the concrete base. Notice that the compound table is not bolted flat on the concrete, but it is standing on four M20 nuts that are threaded on M20 rods cast into the concrete. This makes the tilt adjustable, to make sure it can be perfectly perpendicular to the Z-axis. The M20 rods extend all the way to the bottom of the casting, and are welded to an internal framework that spans the entire part.
Sideview of the compound table and the concrete base. Notice that the compound table is not bolted flat on the concrete, but it is standing on four M20 nuts that are threaded on M20 rods cast into the concrete. This makes the tilt adjustable, to make sure it can be perfectly perpendicular to the Z-axis. The M20 rods extend all the way to the bottom of the casting, and are welded to an internal framework that spans the entire part. ![]() Compound table again. Steppermotors are rated 1.89 Nm at 3A. With 4mm pitch ballscrews that could reach close to 2 kN of linear force if friction is low. At any rate it should be sufficient, but feedrates may be dissapointing. I'm hoping 5 m/min, but expecting 3 m/min or less. Time will tell if servos are needed.
Compound table again. Steppermotors are rated 1.89 Nm at 3A. With 4mm pitch ballscrews that could reach close to 2 kN of linear force if friction is low. At any rate it should be sufficient, but feedrates may be dissapointing. I'm hoping 5 m/min, but expecting 3 m/min or less. Time will tell if servos are needed.![]() Closeup off ballnut assembly. One nut is bolted onto directly onto the block, the other nut can then be carefully rotated and clamped at an angle to eliminate backlash. This will done on all 3 axis.
Closeup off ballnut assembly. One nut is bolted onto directly onto the block, the other nut can then be carefully rotated and clamped at an angle to eliminate backlash. This will done on all 3 axis.![]()
Closeup of the adjustable feet for the compound table. The M20 rods are internally threaded M10 for holding the table in place.
![]()
Concrete CNC
This is an attempt at a cheap but rigid CNC machine (budget approx. 2000€)
 The one for the floating side is simple, but the one for the fixed side is stiffened and machined on both sides, since it will also hold the stepper motor.
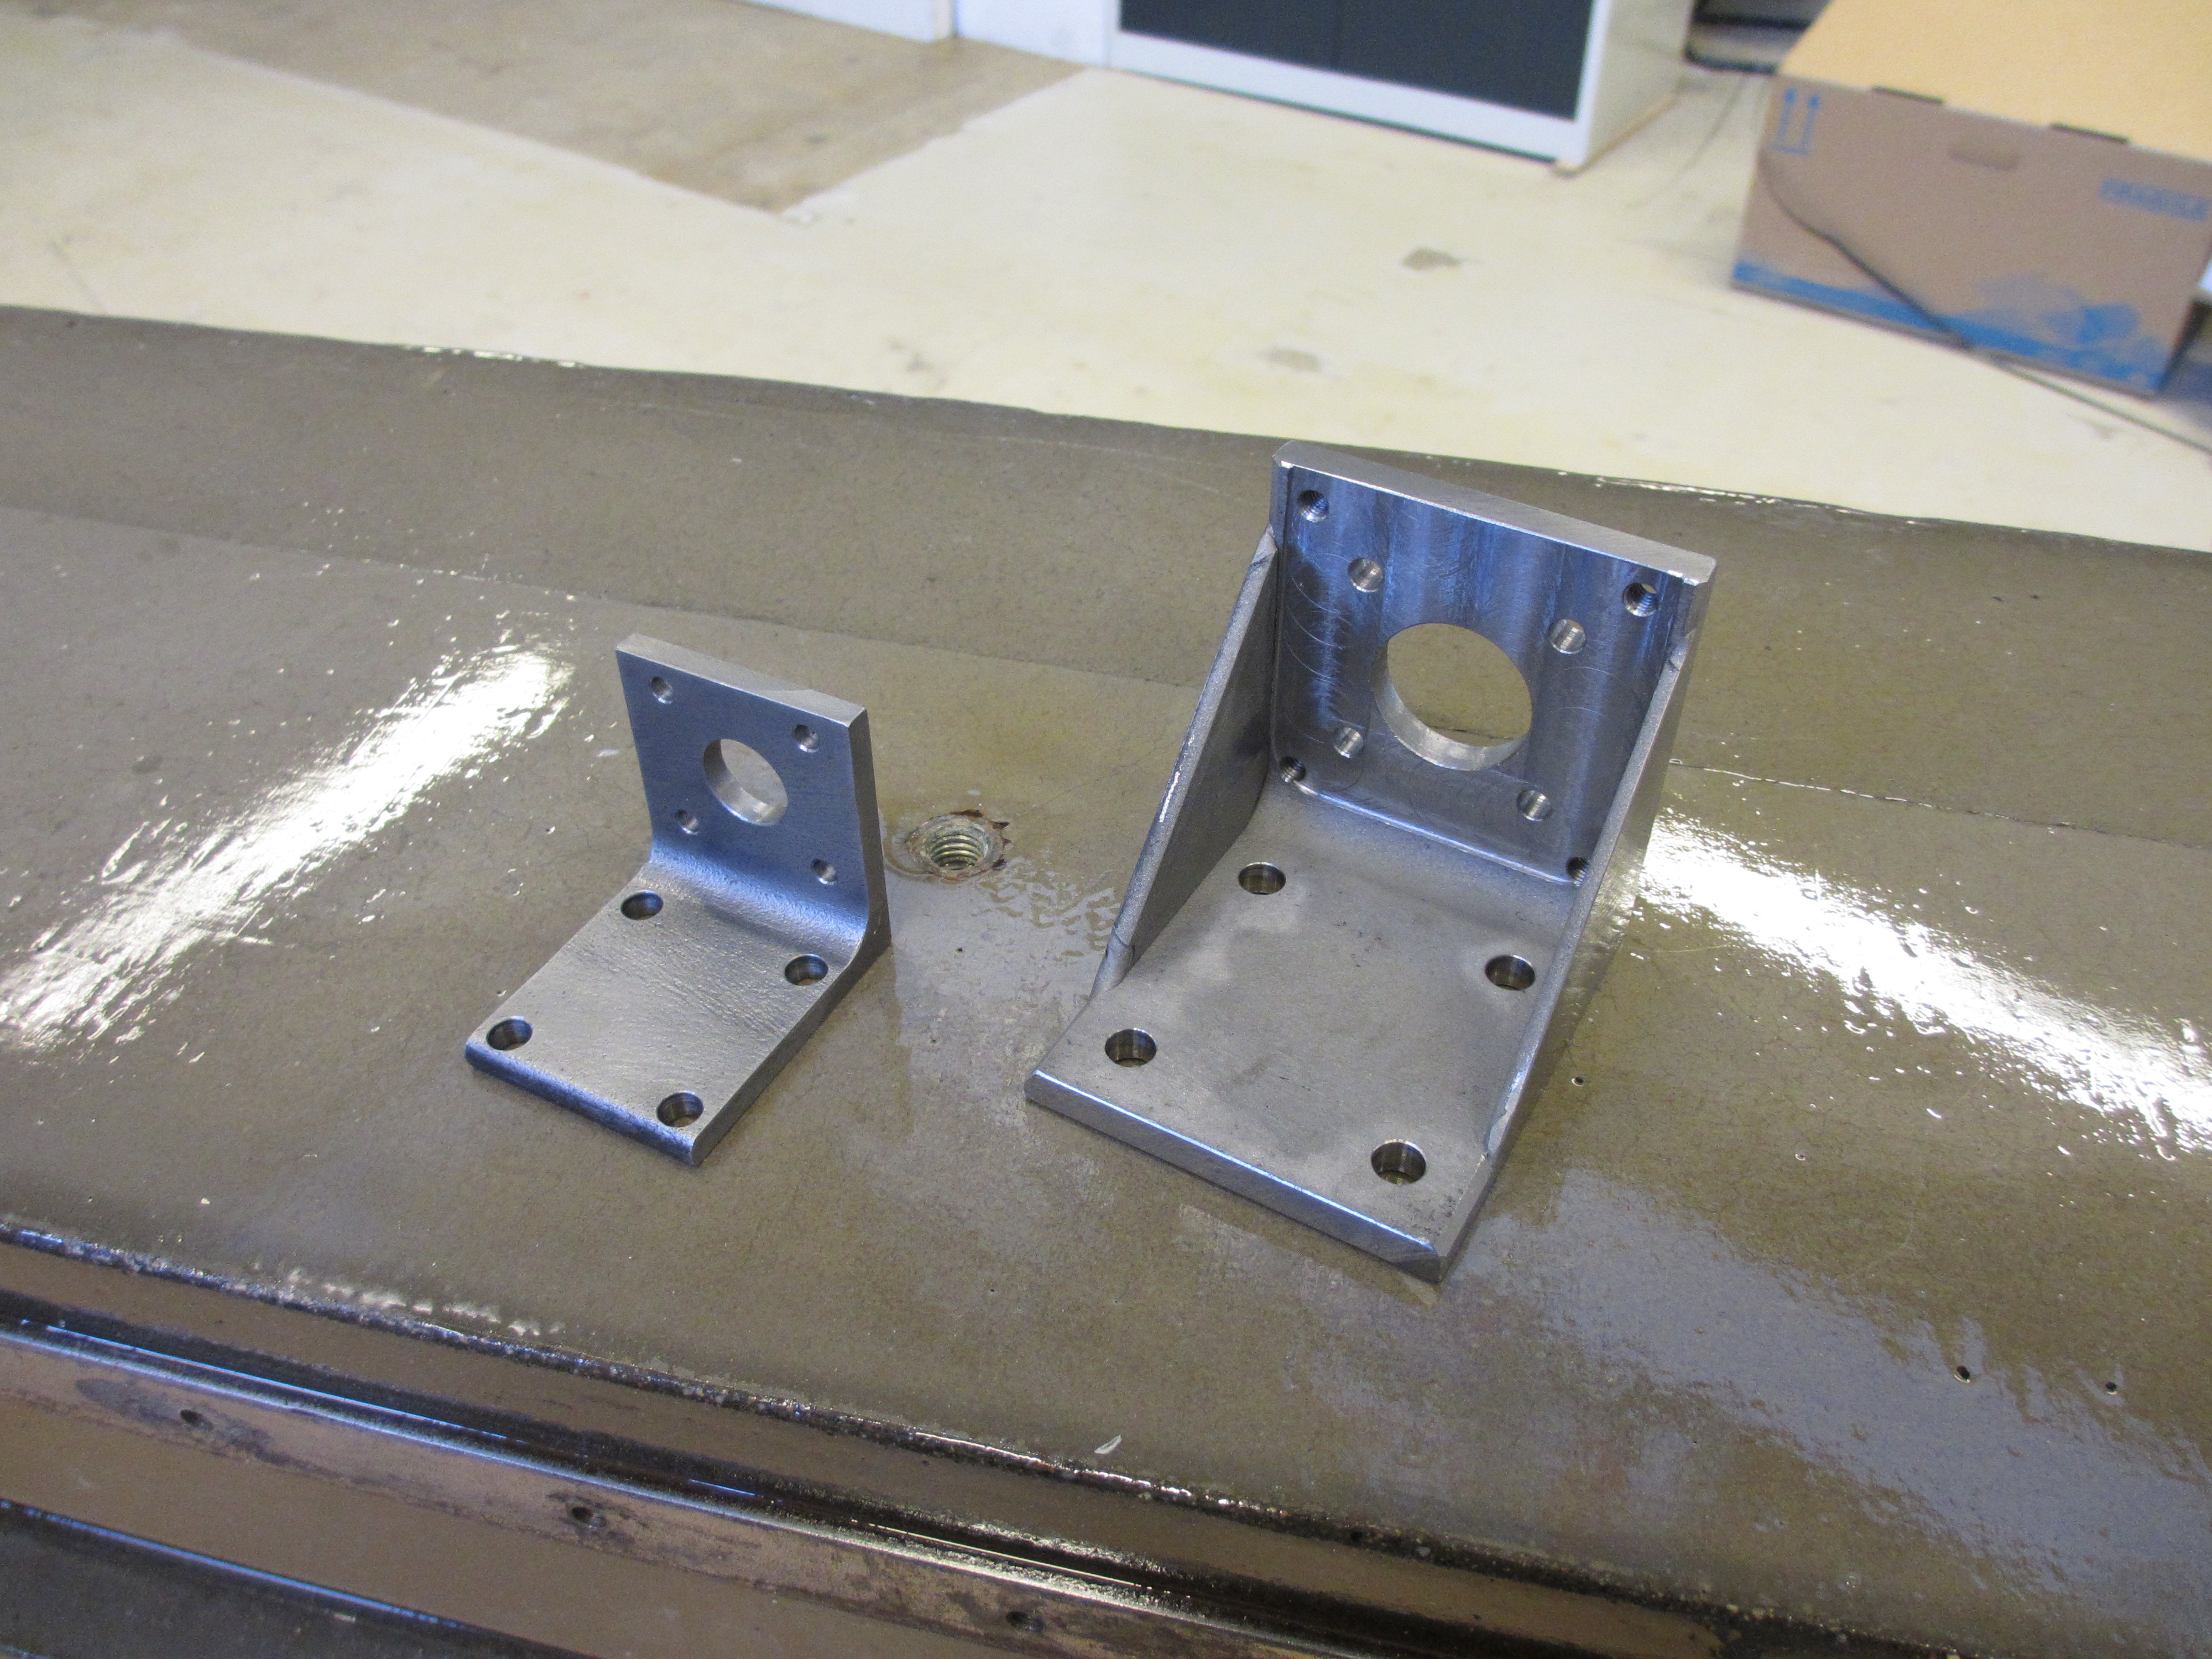
 The mold is placed on a cast iron fixture table and clamped down by screws to make sure it is as flat as possible. This was not necessary when casting the base since the base is adjustable, but the tower will have rails bolted directly onto it so it is important to have a precise mold.
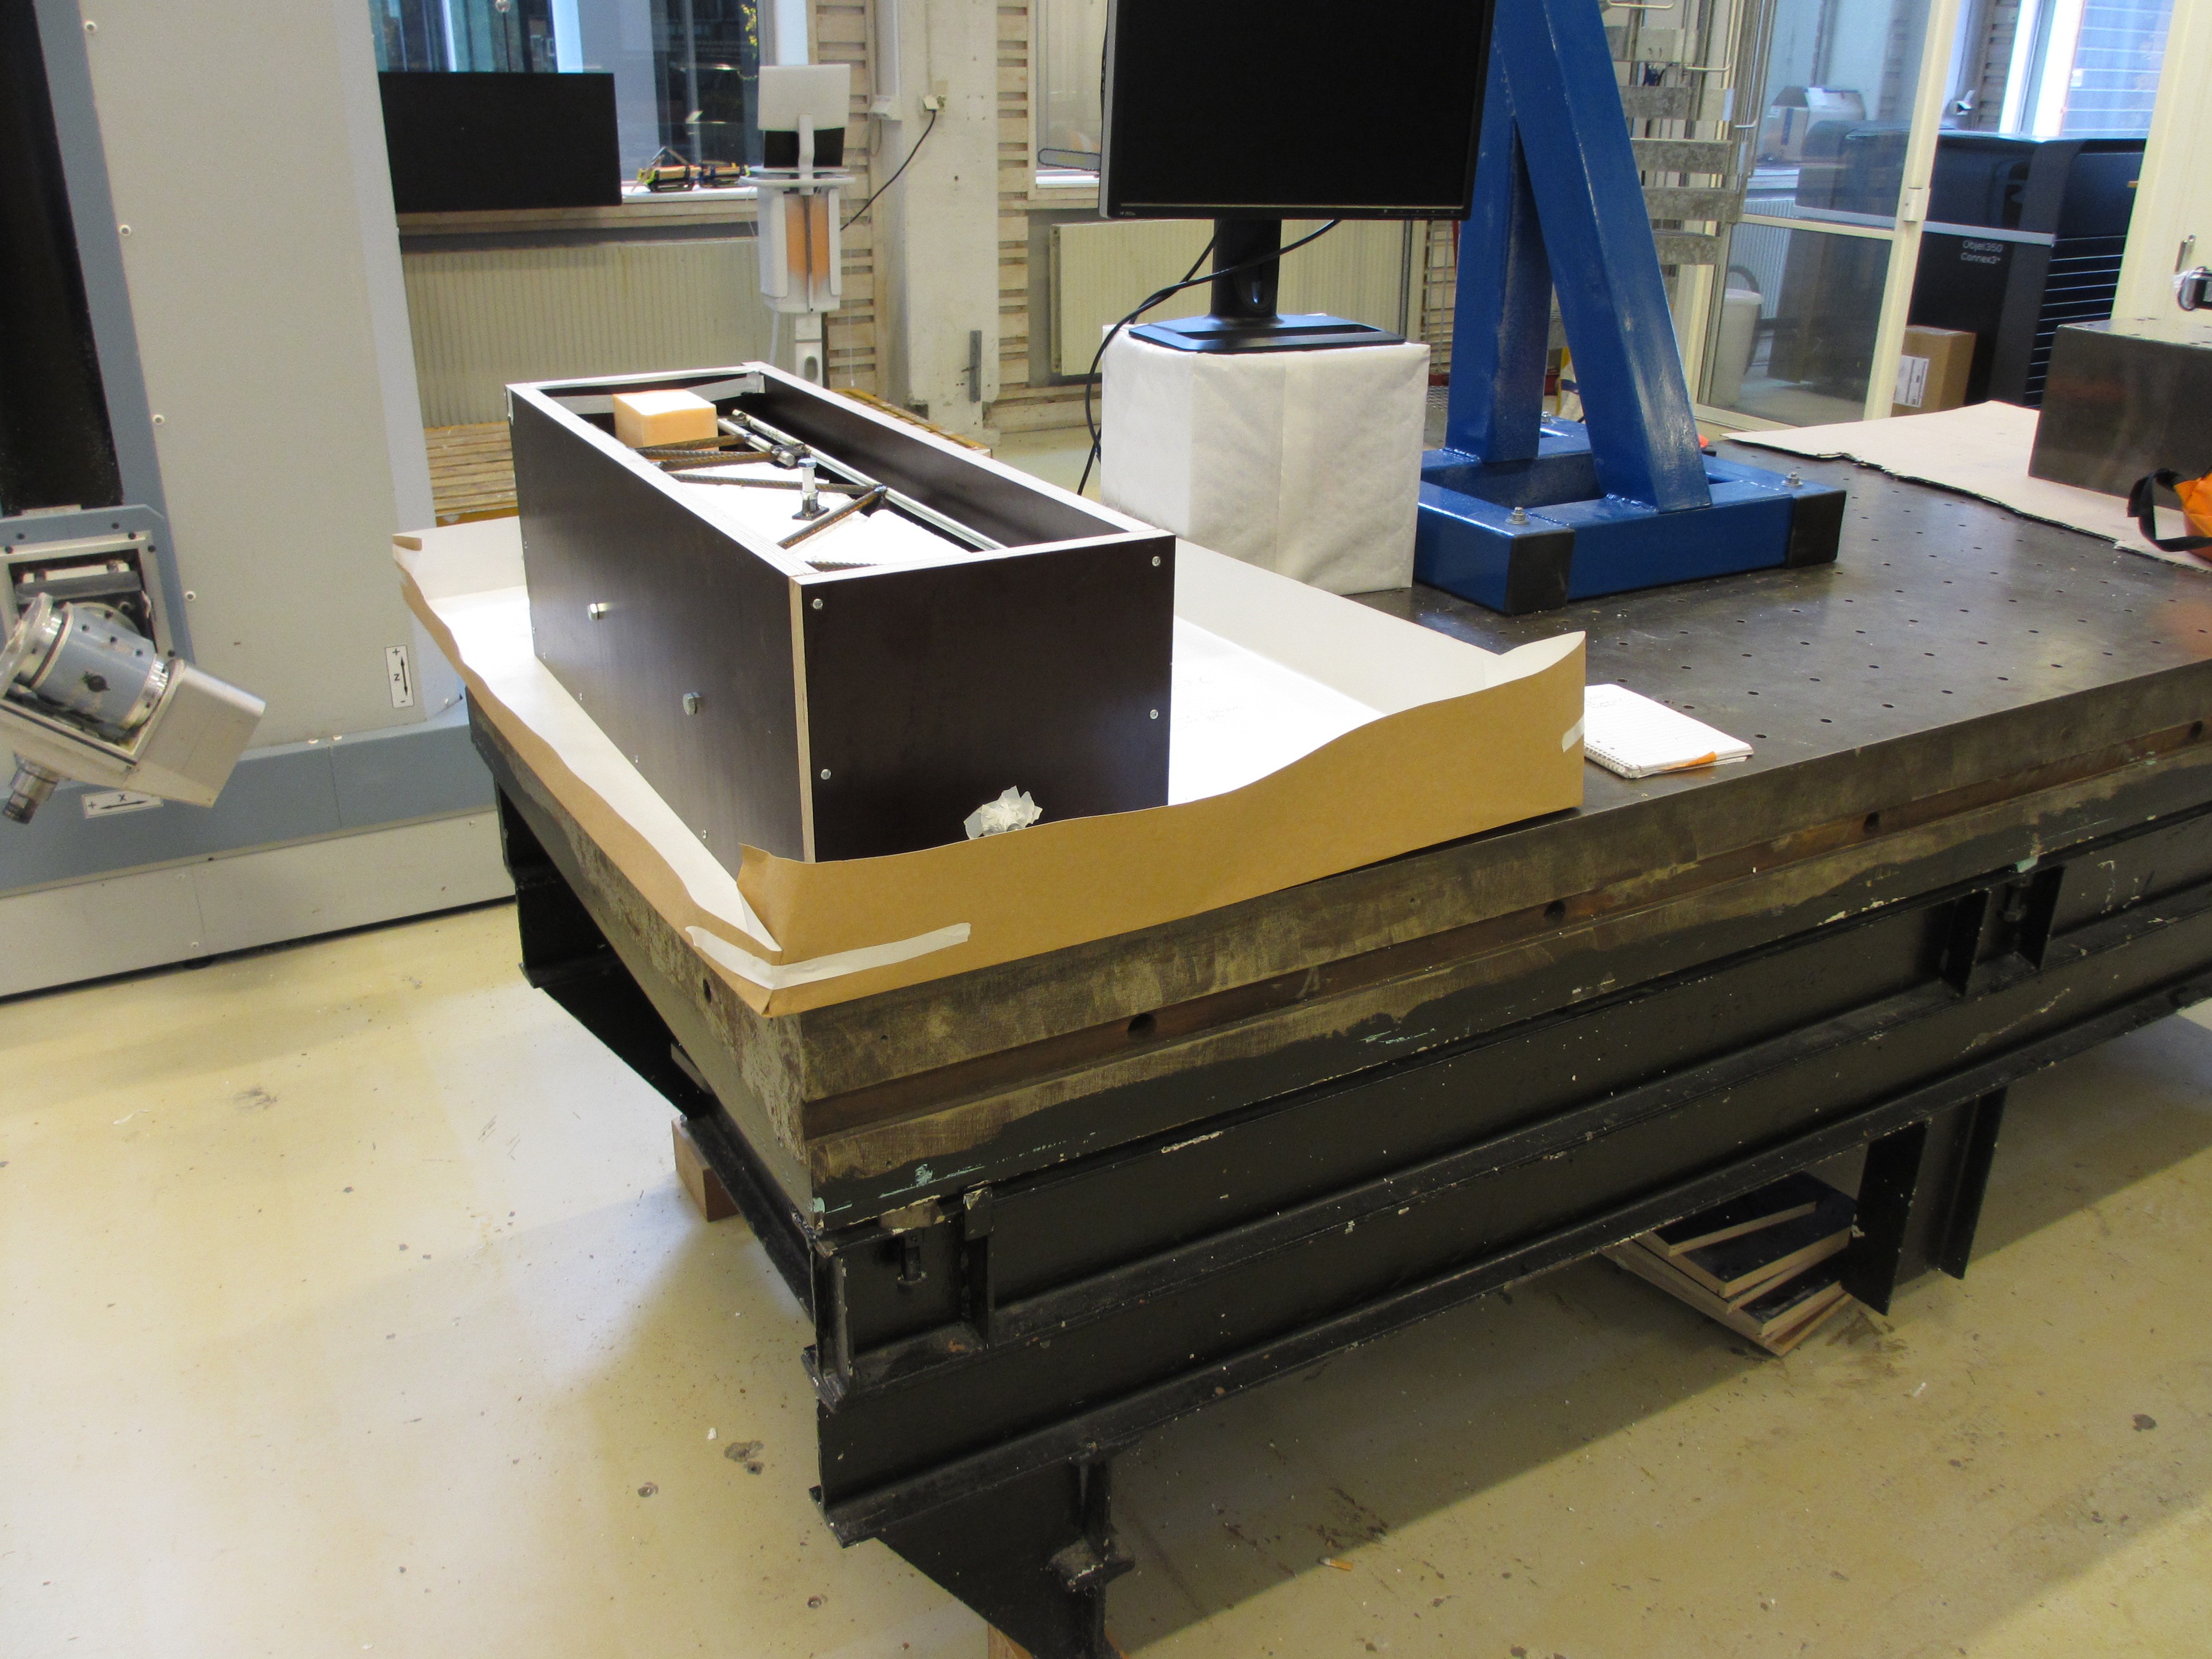
 After curing, the concrete was taken out of the mold and placed back in the oven at 40 degrees for 72 hours to allow it to dry out properly. At the time of writing, 24 hours have passed. On Monday it will be taken out of the oven and, after cooling and some light finishing, be coated with a thick layer of epoxy.
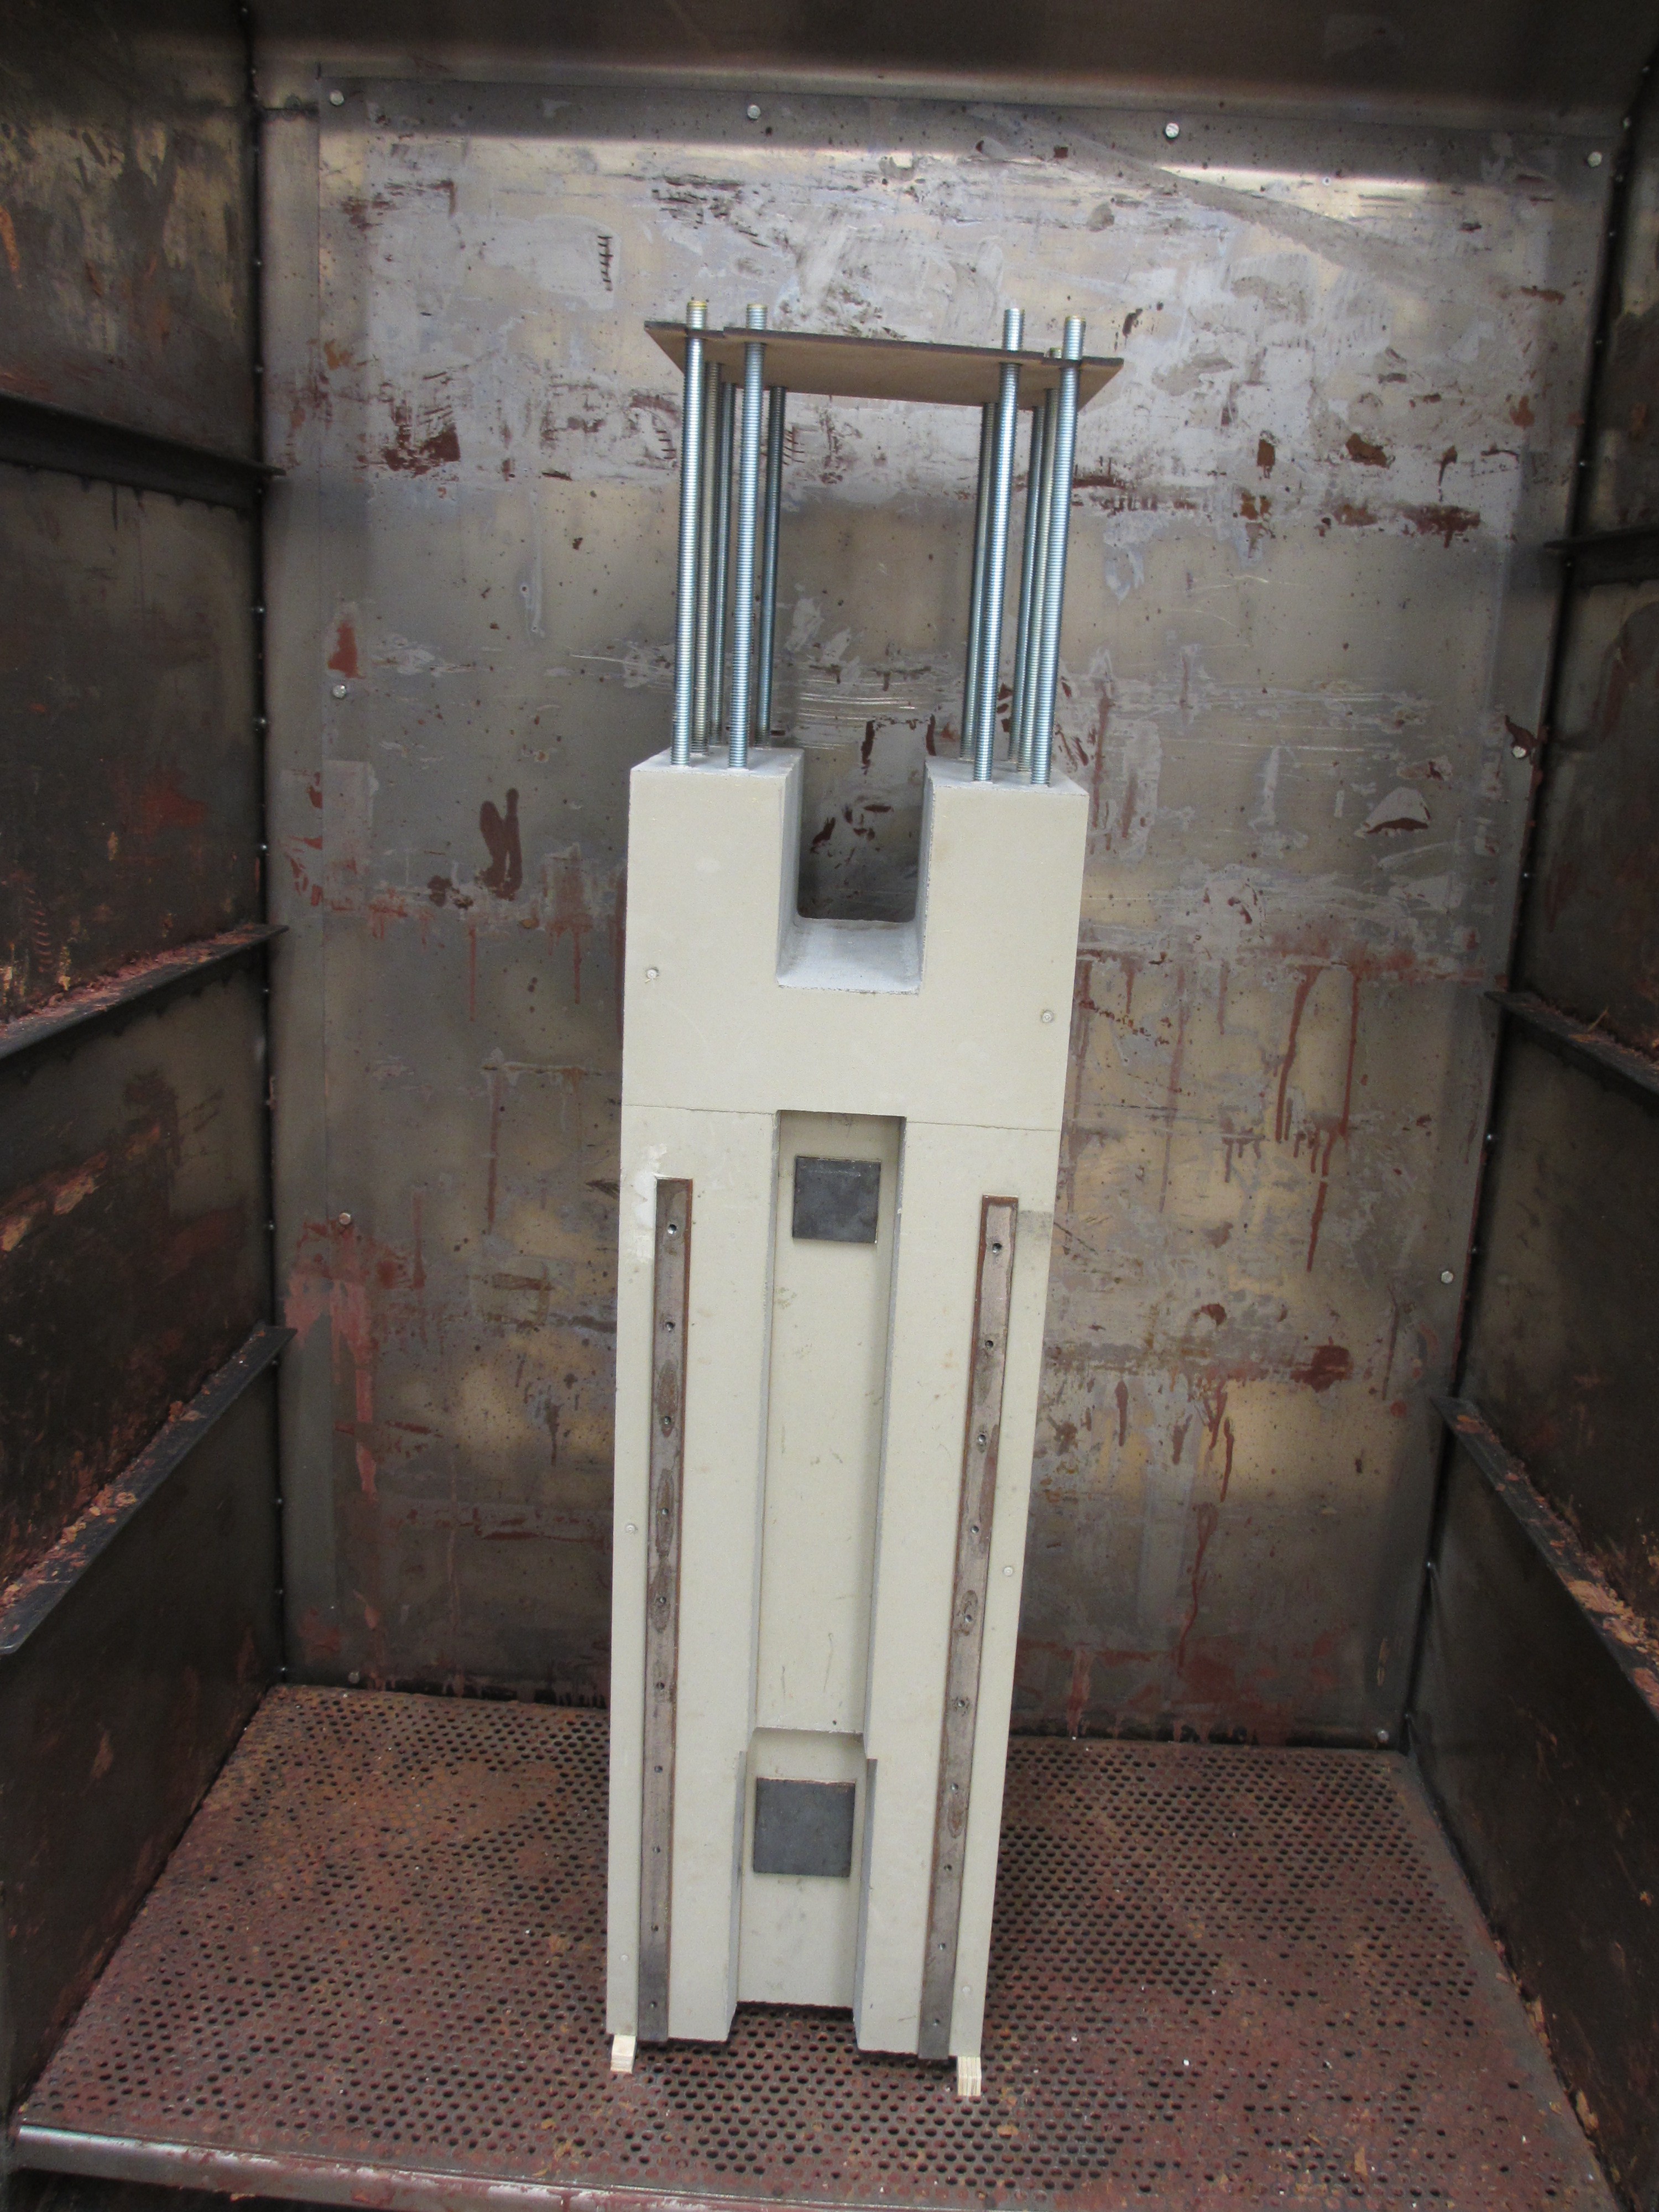 Final machining of the steel inserts will take place a few days after the epoxy coating, to allow the concrete to set fully. The accelerated curing and drying, along with a thick coating, should greatly improve the dimensional stability of the concrete. Concrete shrinks considerably over time, but with this heat treatment most of the shrinkage should be over and done with, and should prevent the tower from warping. Only time will tell how well it worked, but I'm certain that it will be an improvement over not heat treating it.
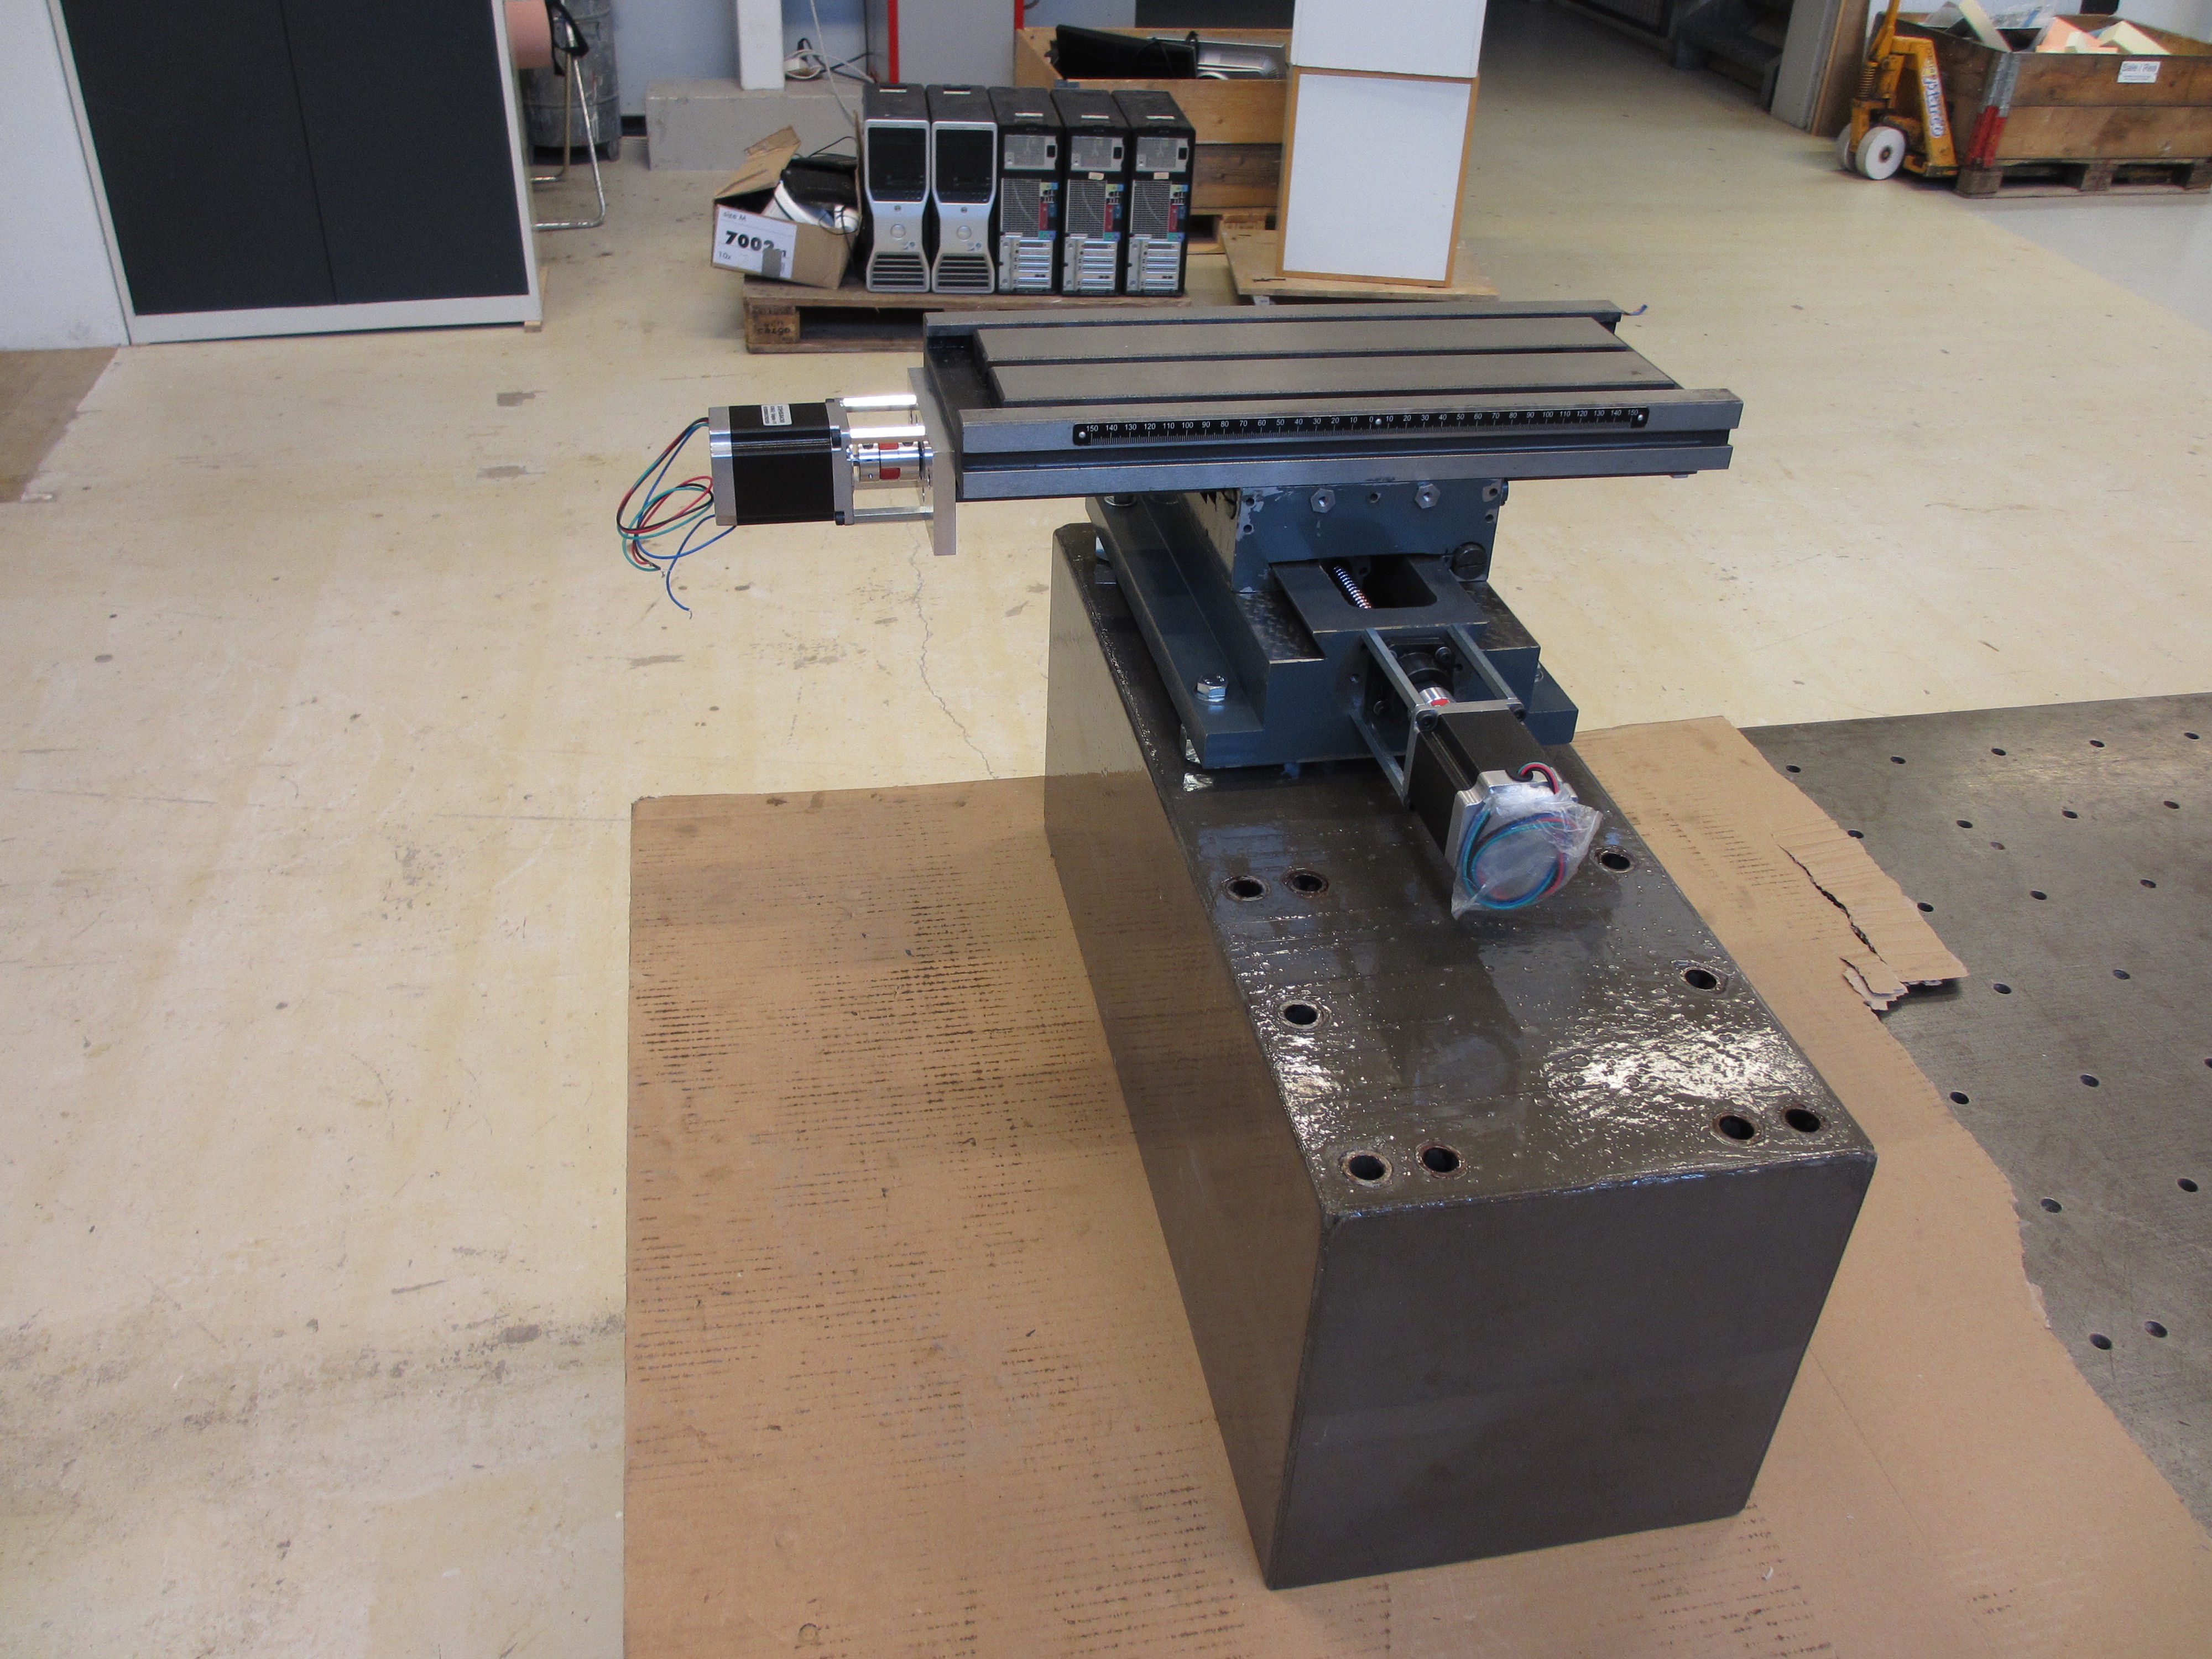
 closeup of the newly machined floating ballscrew mount
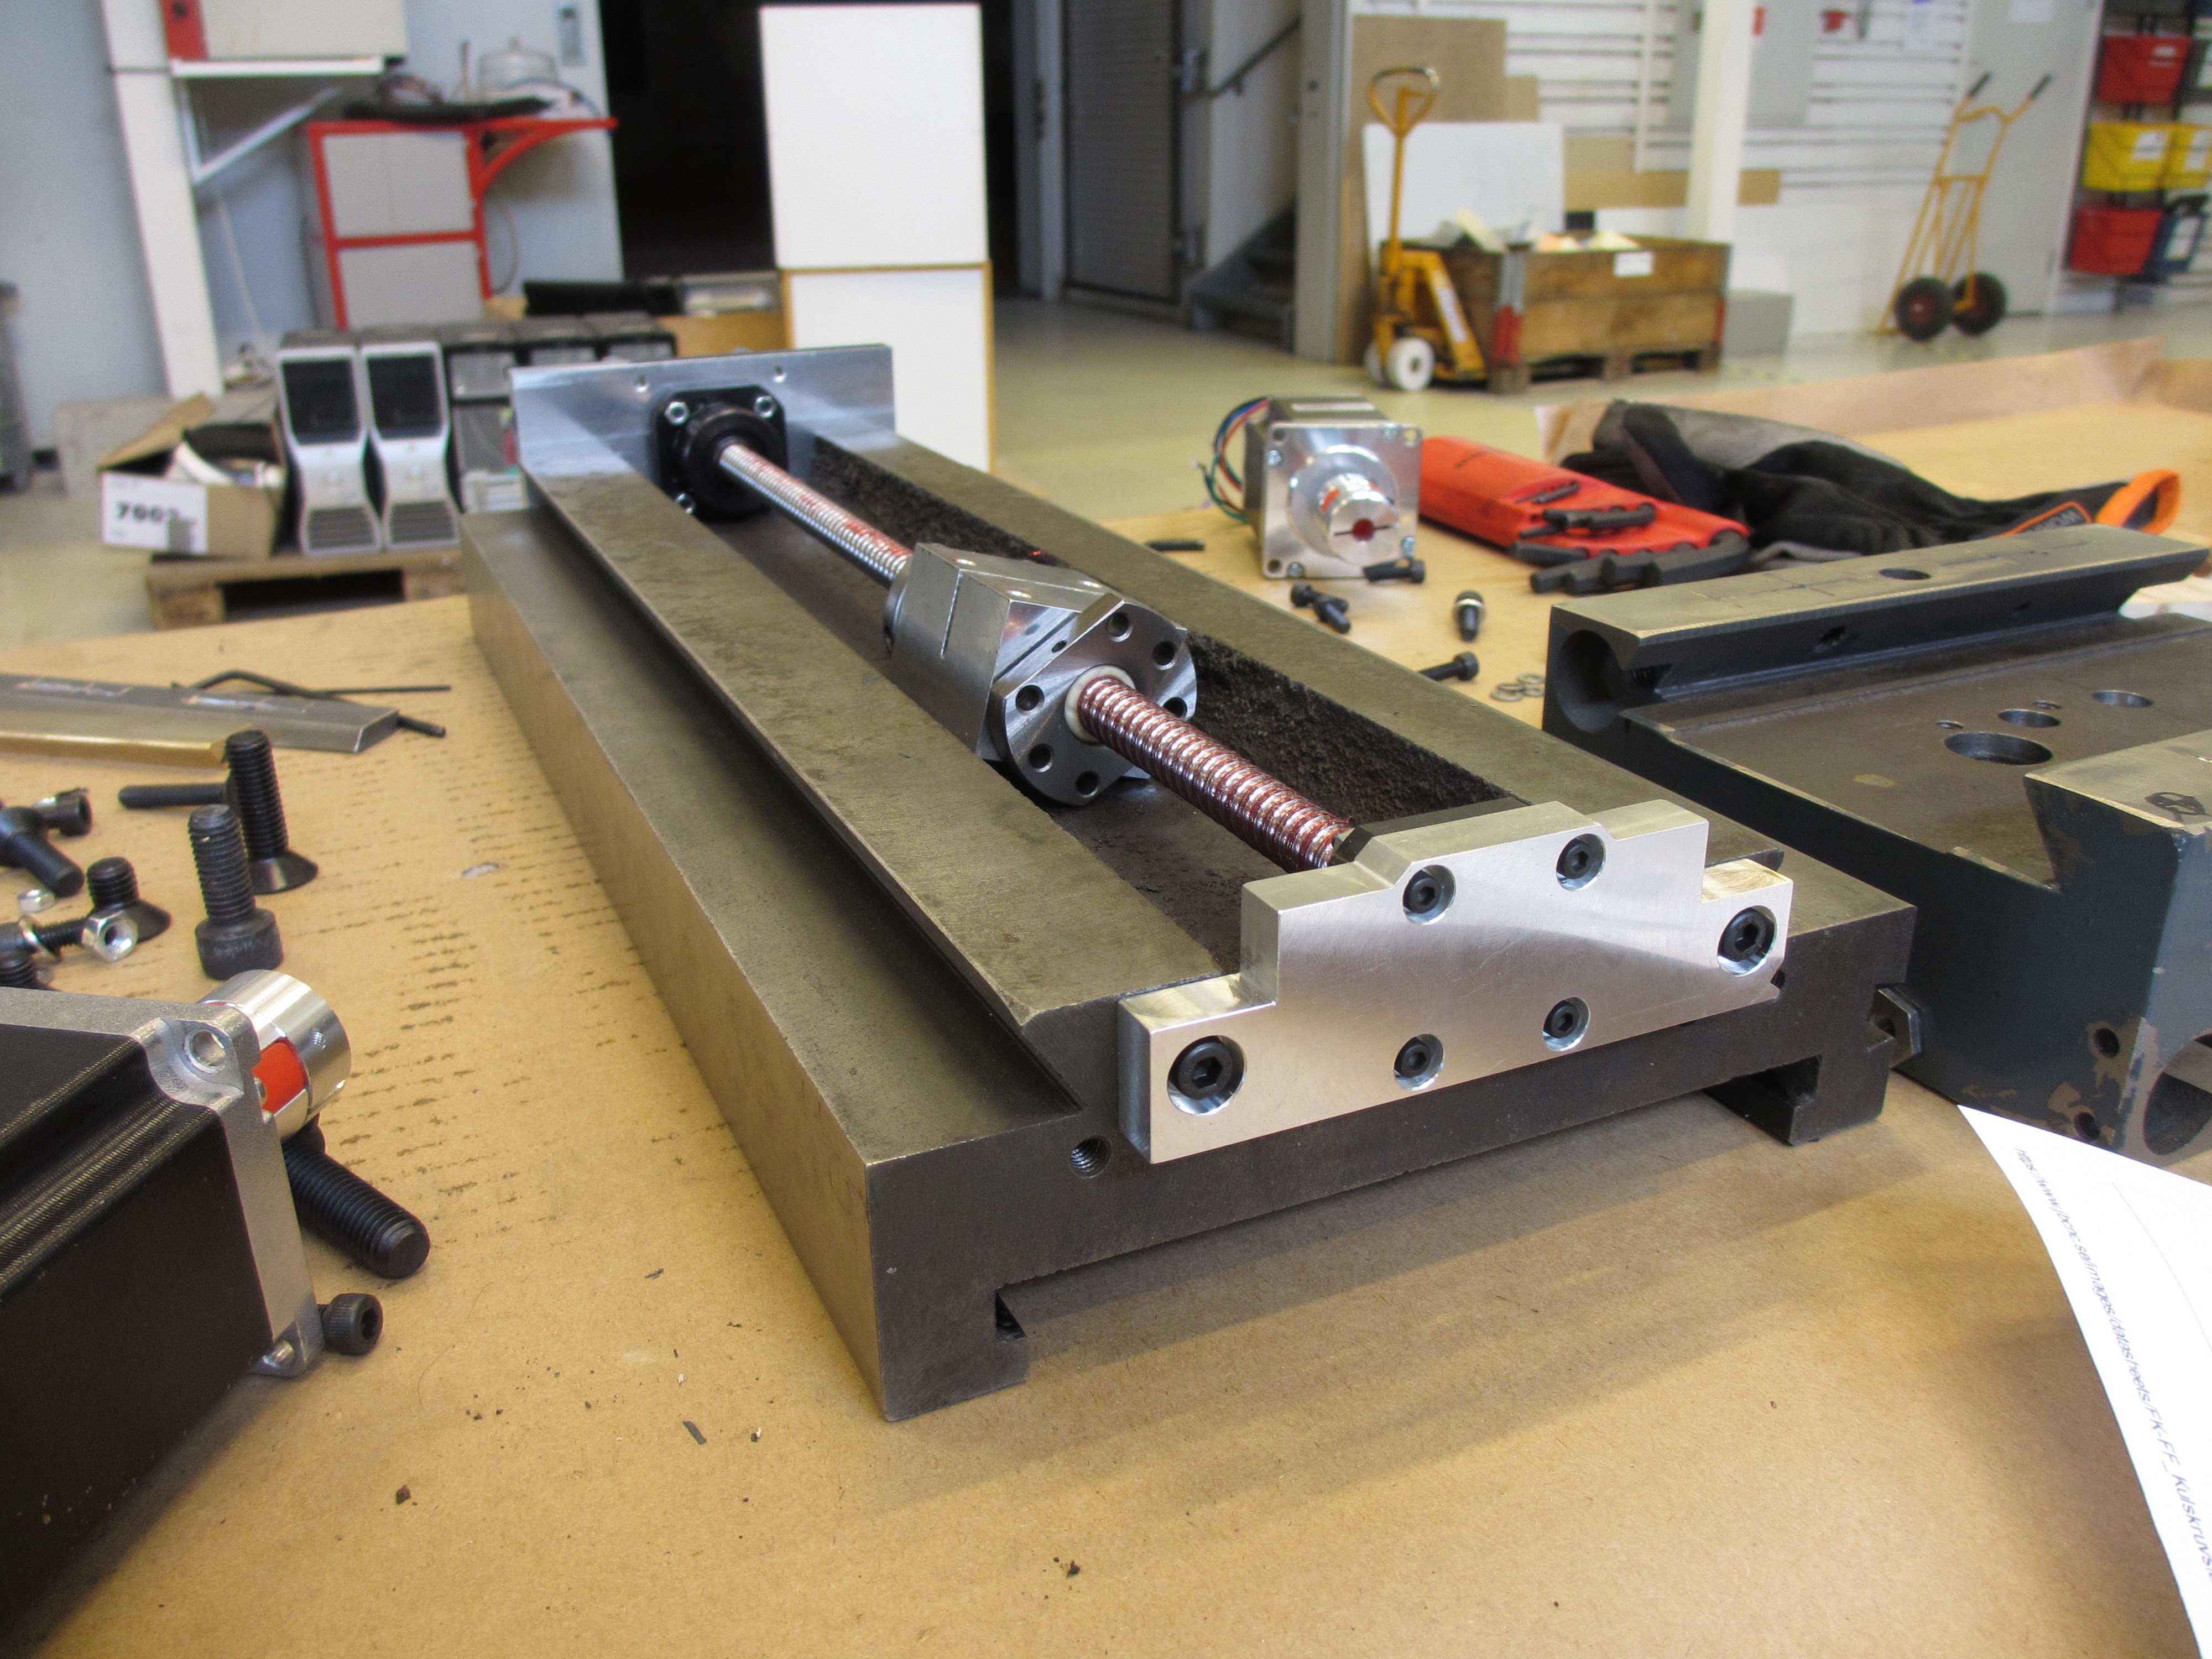
 Compound table again.
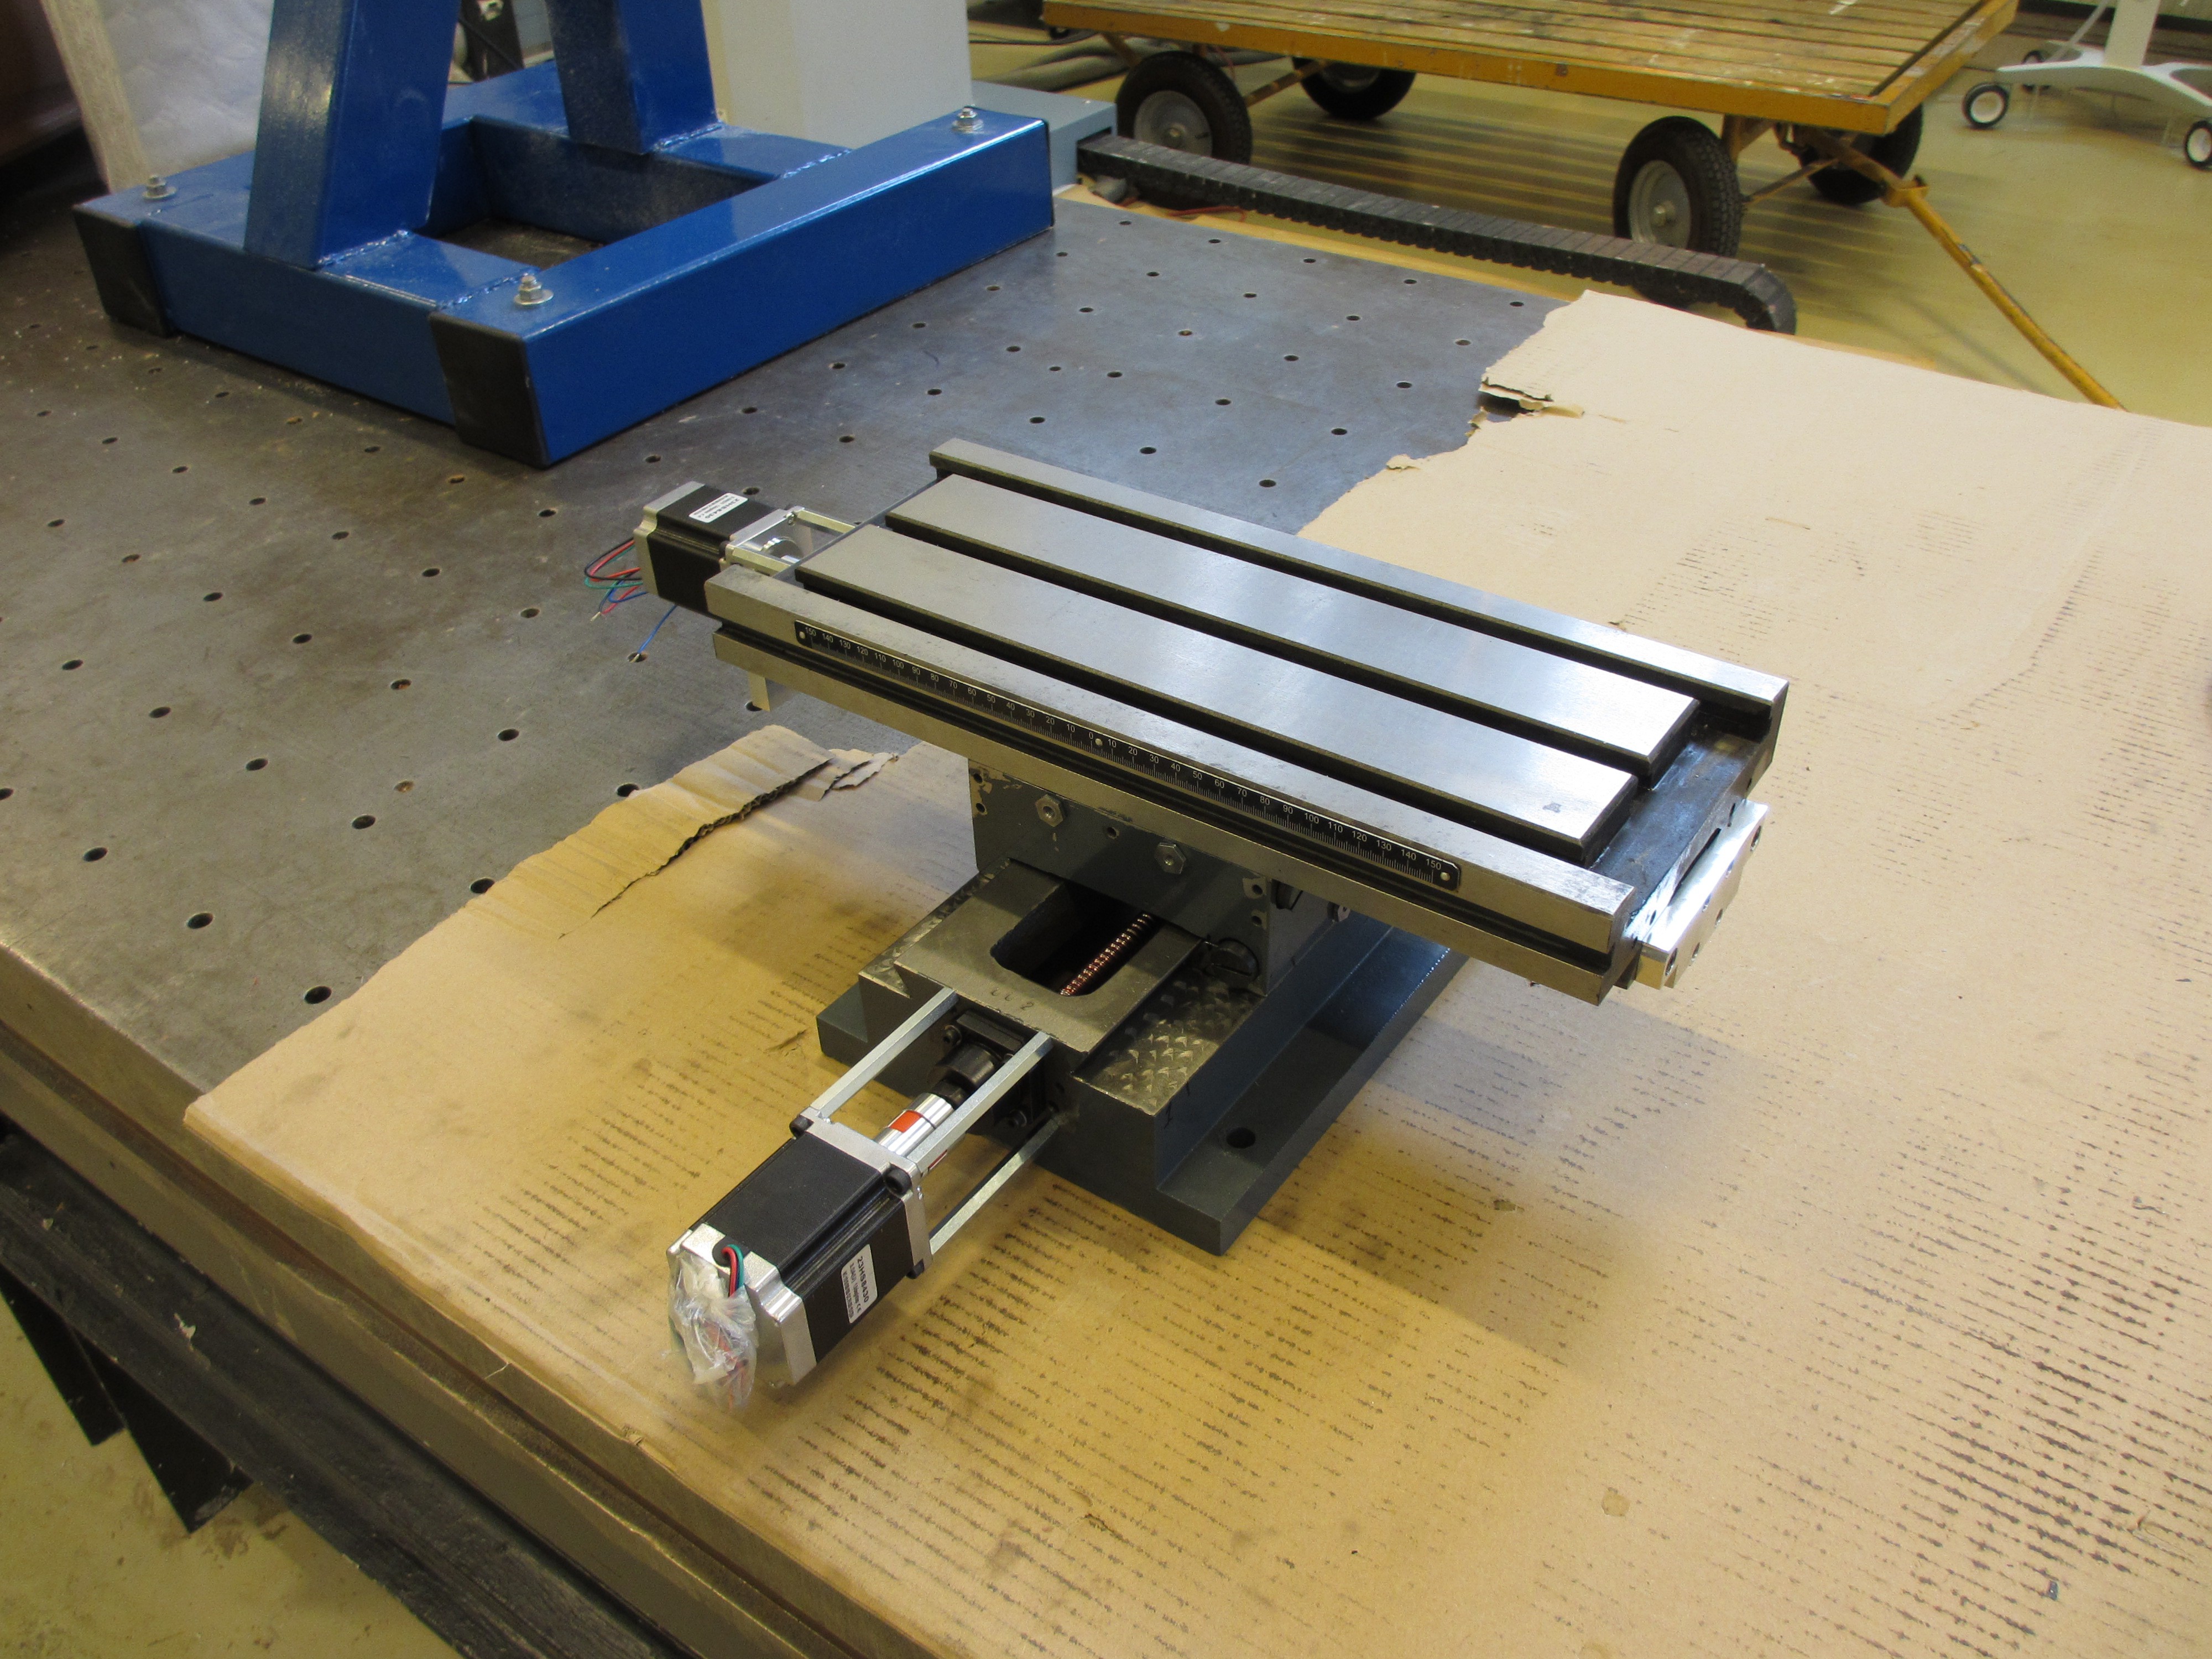 Sideview of the compound table and the concrete base. Notice that the compound table is not bolted flat on the concrete, but it is standing on four M20 nuts that are threaded on M20 rods cast into the concrete. This makes the tilt adjustable, to make sure it can be perfectly perpendicular to the Z-axis. The M20 rods extend all the way to the bottom of the casting, and are welded to an internal framework that spans the entire part.
 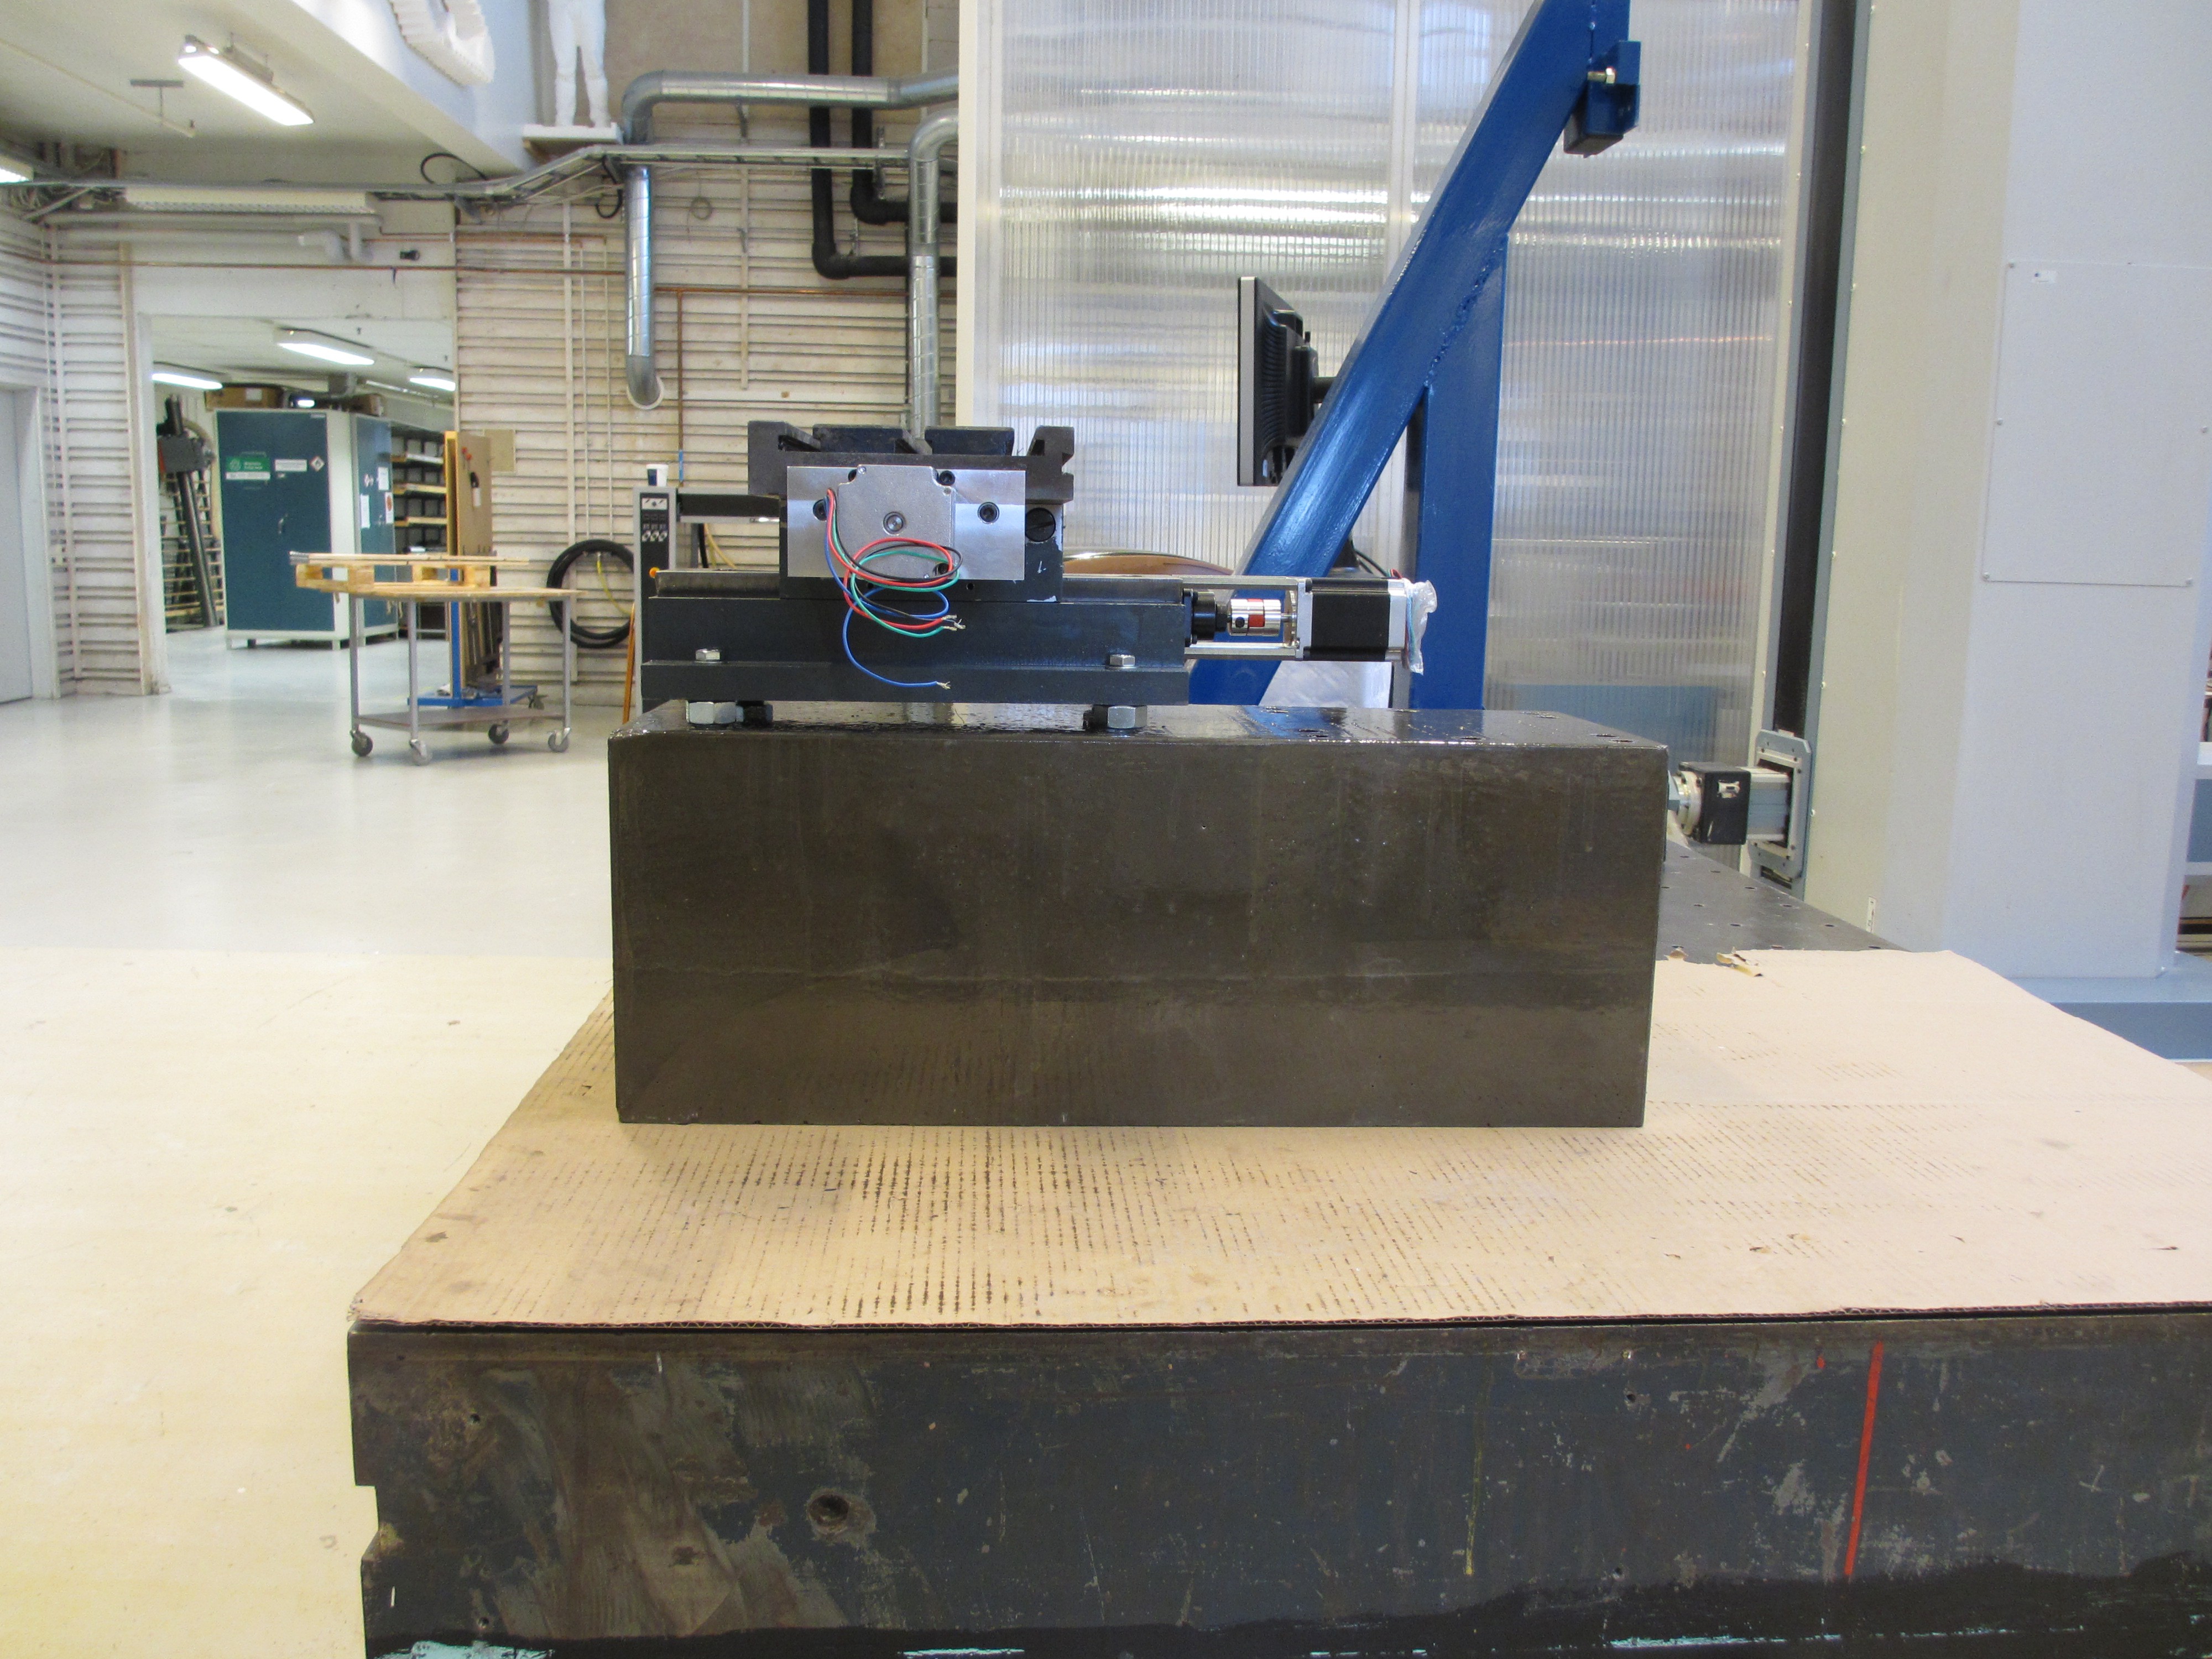 Compound table again. Steppermotors are rated 1.89 Nm at 3A. With 4mm pitch ballscrews that could reach close to 2 kN of linear force if friction is low. At any rate it should be sufficient, but feedrates may be dissapointing. I'm hoping 5 m/min, but expecting 3 m/min or less. Time will tell if servos are needed.
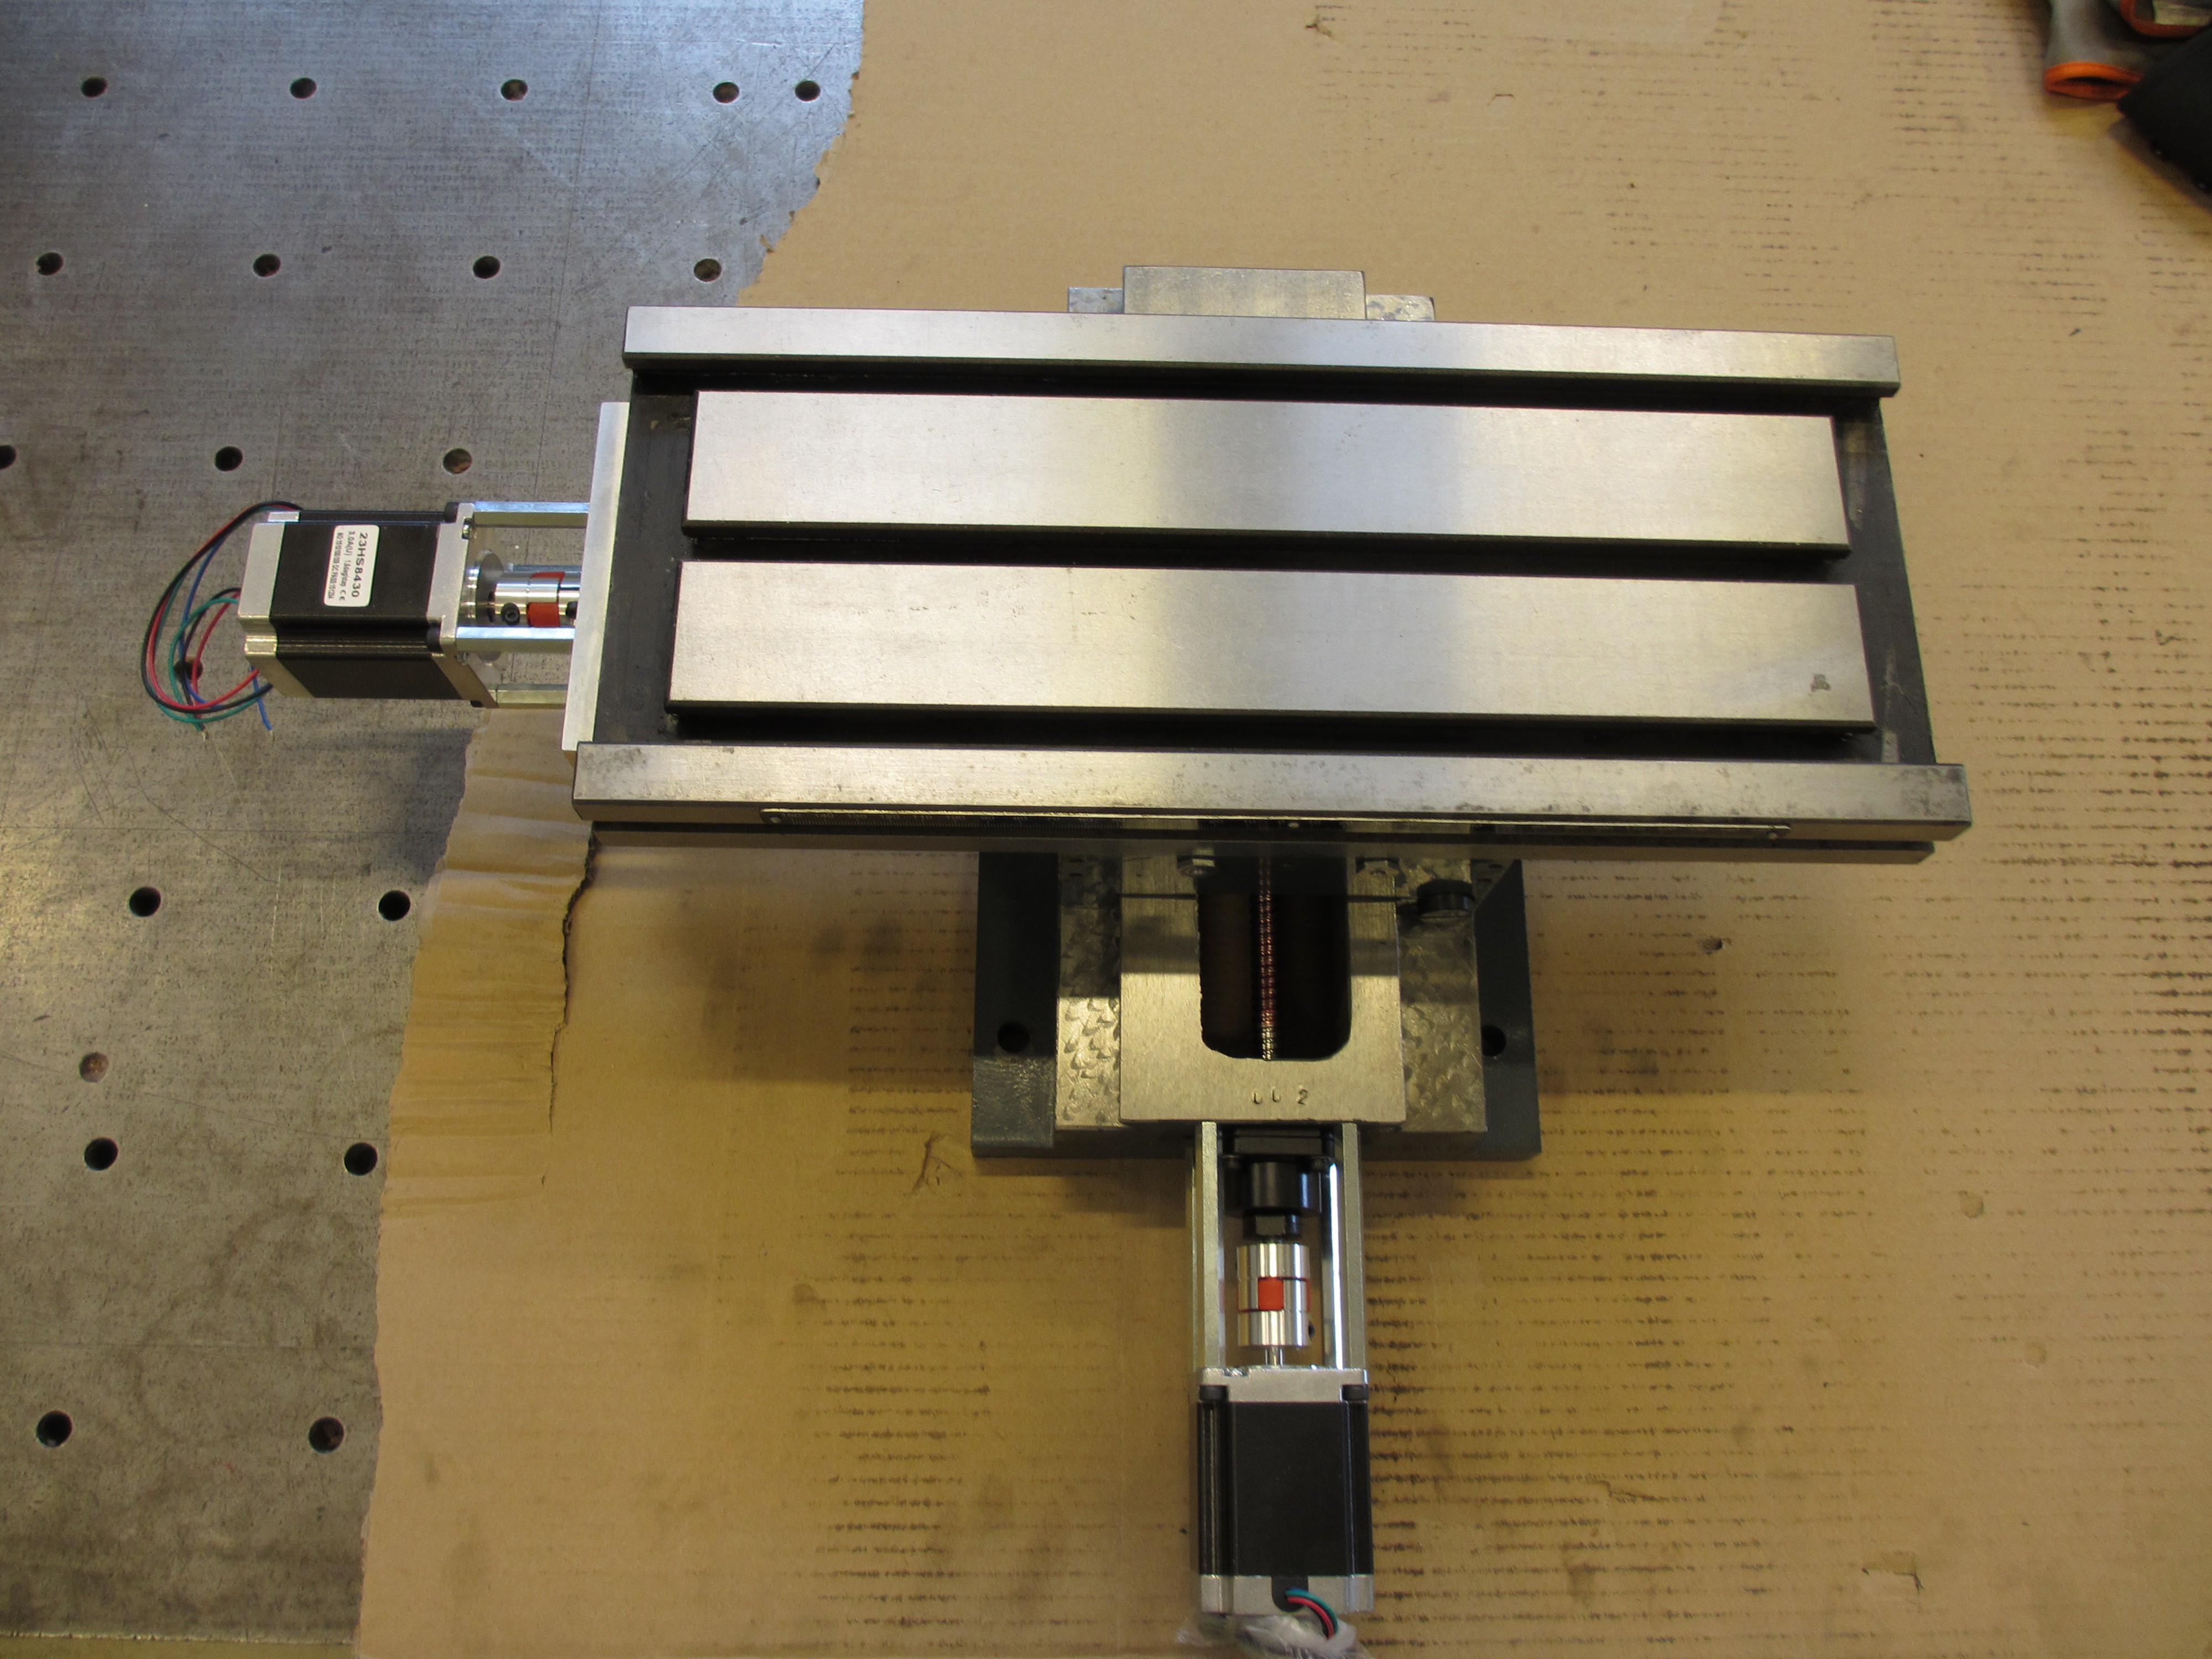 Closeup off ballnut assembly. One nut is bolted onto directly onto the block, the other nut can then be carefully rotated and clamped at an angle to eliminate backlash. This will done on all 3 axis.