-
1Keep the temperature running
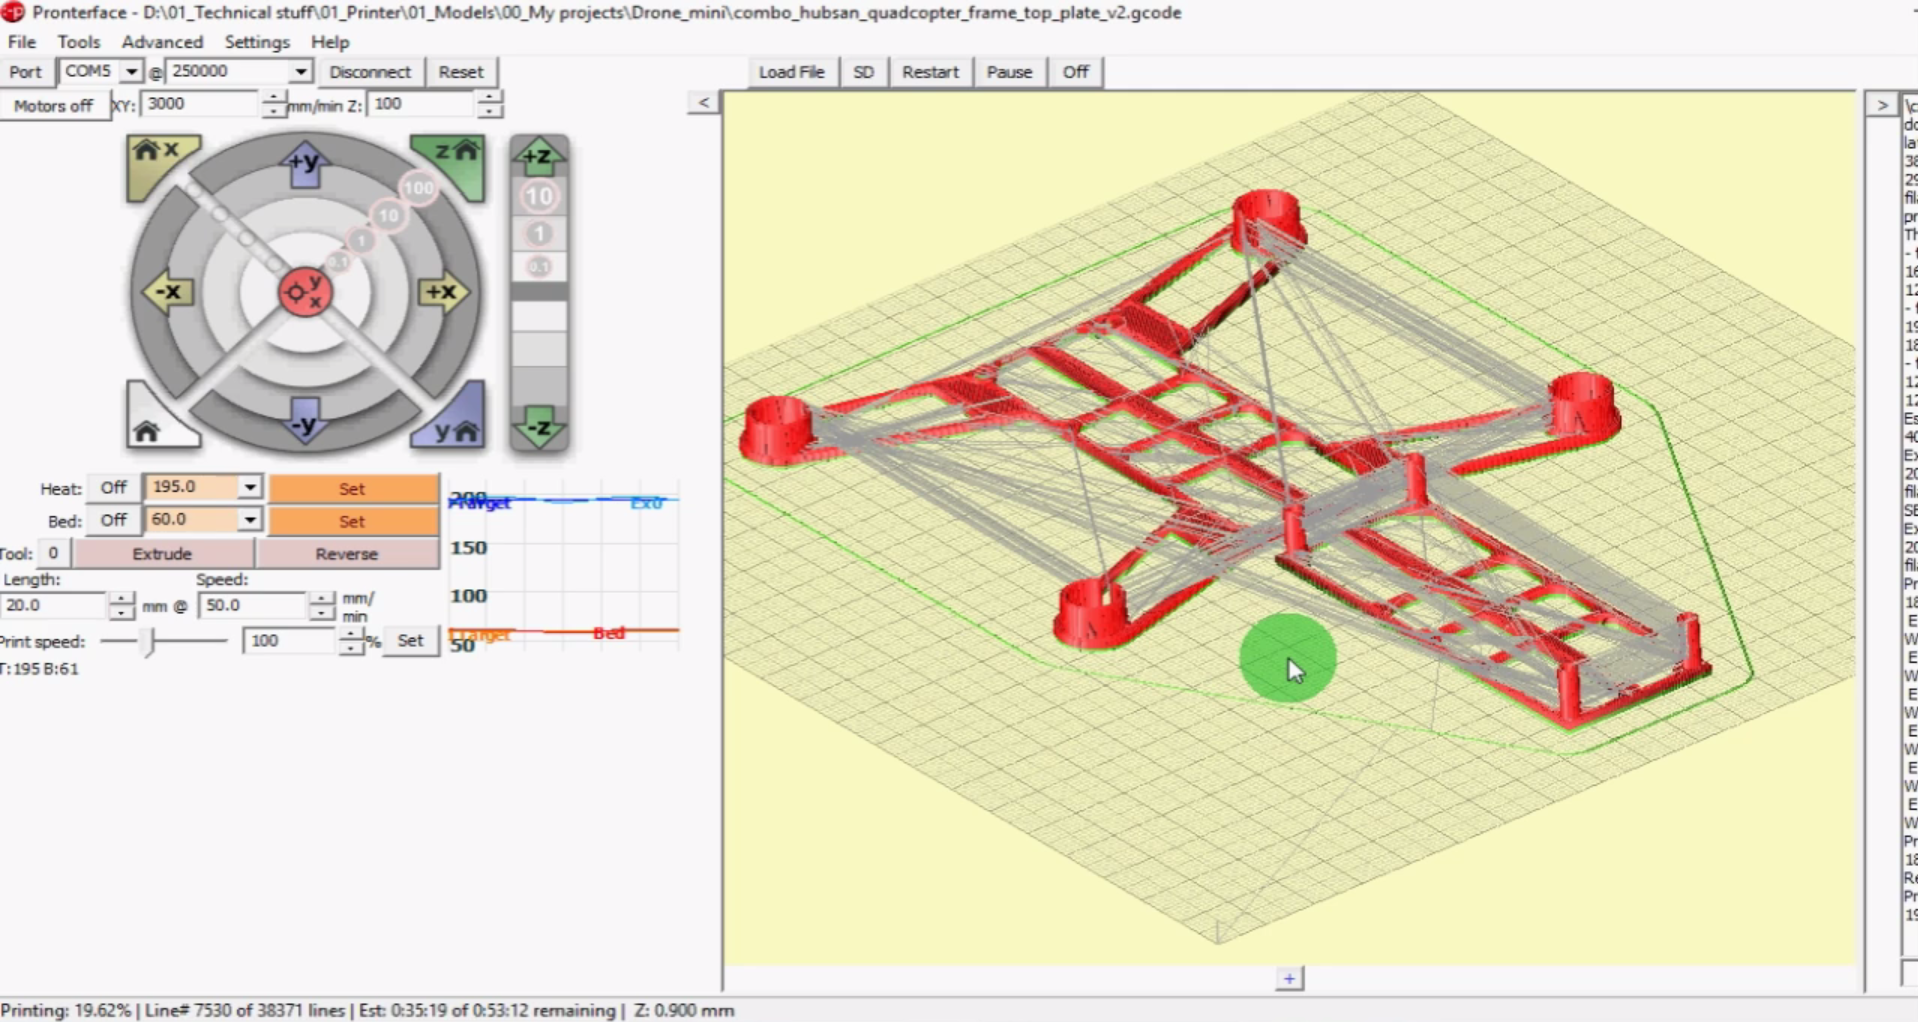
When the printer stops, do not allow the printing head to cool down, because this might lead to the print to come off the printing plane and we don't need that. Go to the printer interface and as soon you establish the communication, re set the temperatures.
![]()
-
2Measure or remember the print height
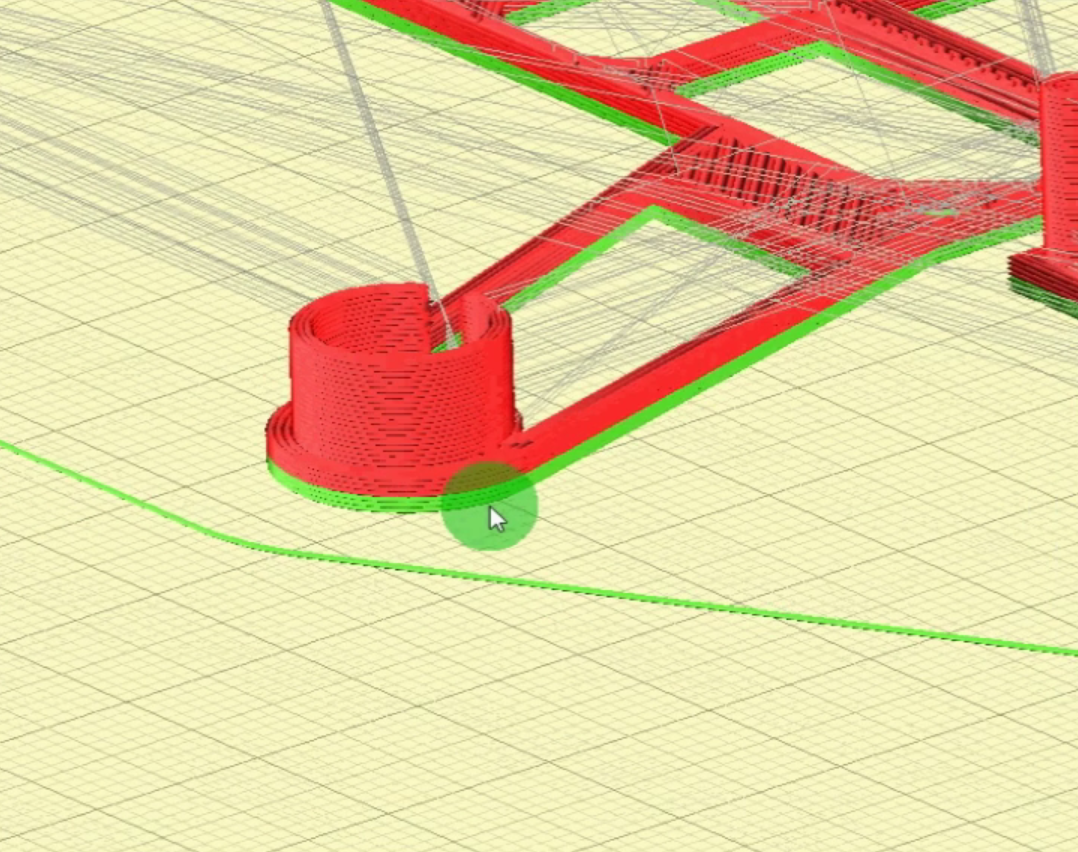
After the print stops, make sure you remember the printer interface reading about the number of deployed layers and layer height. If the interface crashes so badly, you can use a caliper to measure the print height and divide this number by the known layer height (in my case 0.3mm).
![]()
-
3Modify the gcode file
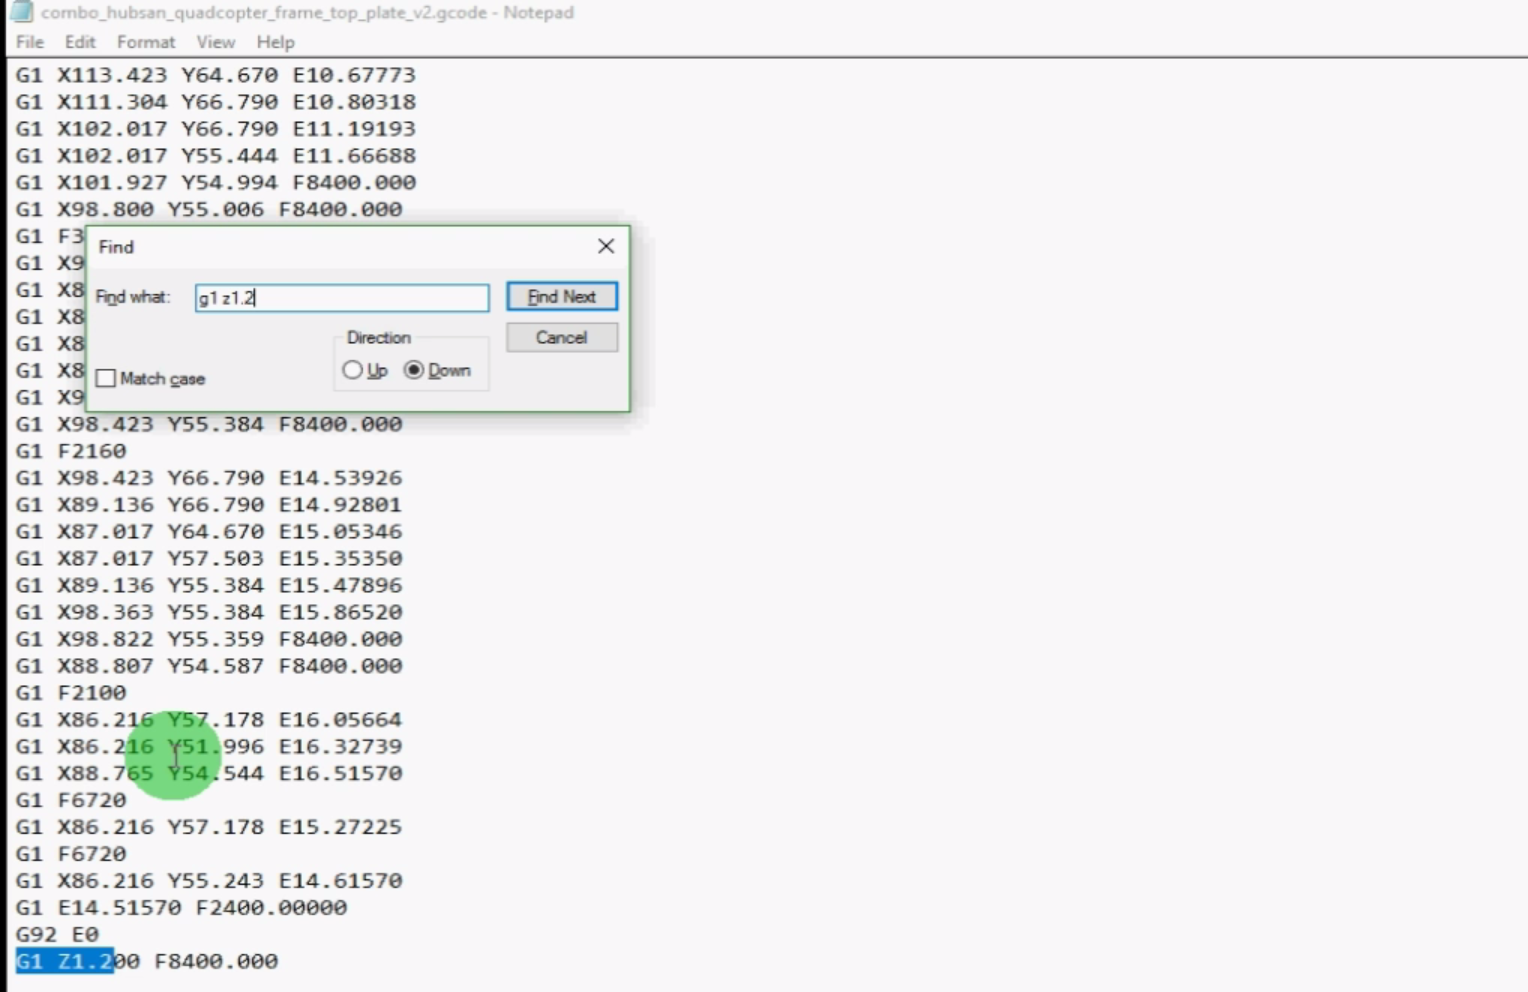
Open the gcode file for the specific print and search in the document (Ctrl+f) to find the specific height command for the z axis movement. you should search for the respective height that belongs to the following layer. In my case, I had only three layer being deployed and I searched for 1.2mm which in the height of the printing head while it's printing the 4th layer.
![]()
select everything in between this line and the G92 commend that precedes the first z axis movement in the document and delete this section. See video for a more accurate description of the method.
Make sure you "SAVE AS" a different name!!!
-
4Hit print and lower the speed
By lowering the speed, of the printer, you allow yourself time for manual adjusting the height of the z axis. If your printer does not have this possibility, you at least decreasing the acceleration that can cause large bumps in the case your printing head hits something in it's way. If you don't have and auto level distance sensor and you are using mechanical end stops, you have a very high probability of ending up at a lower height at least with 0.1mm.
-
5Manually adjust the z axis height
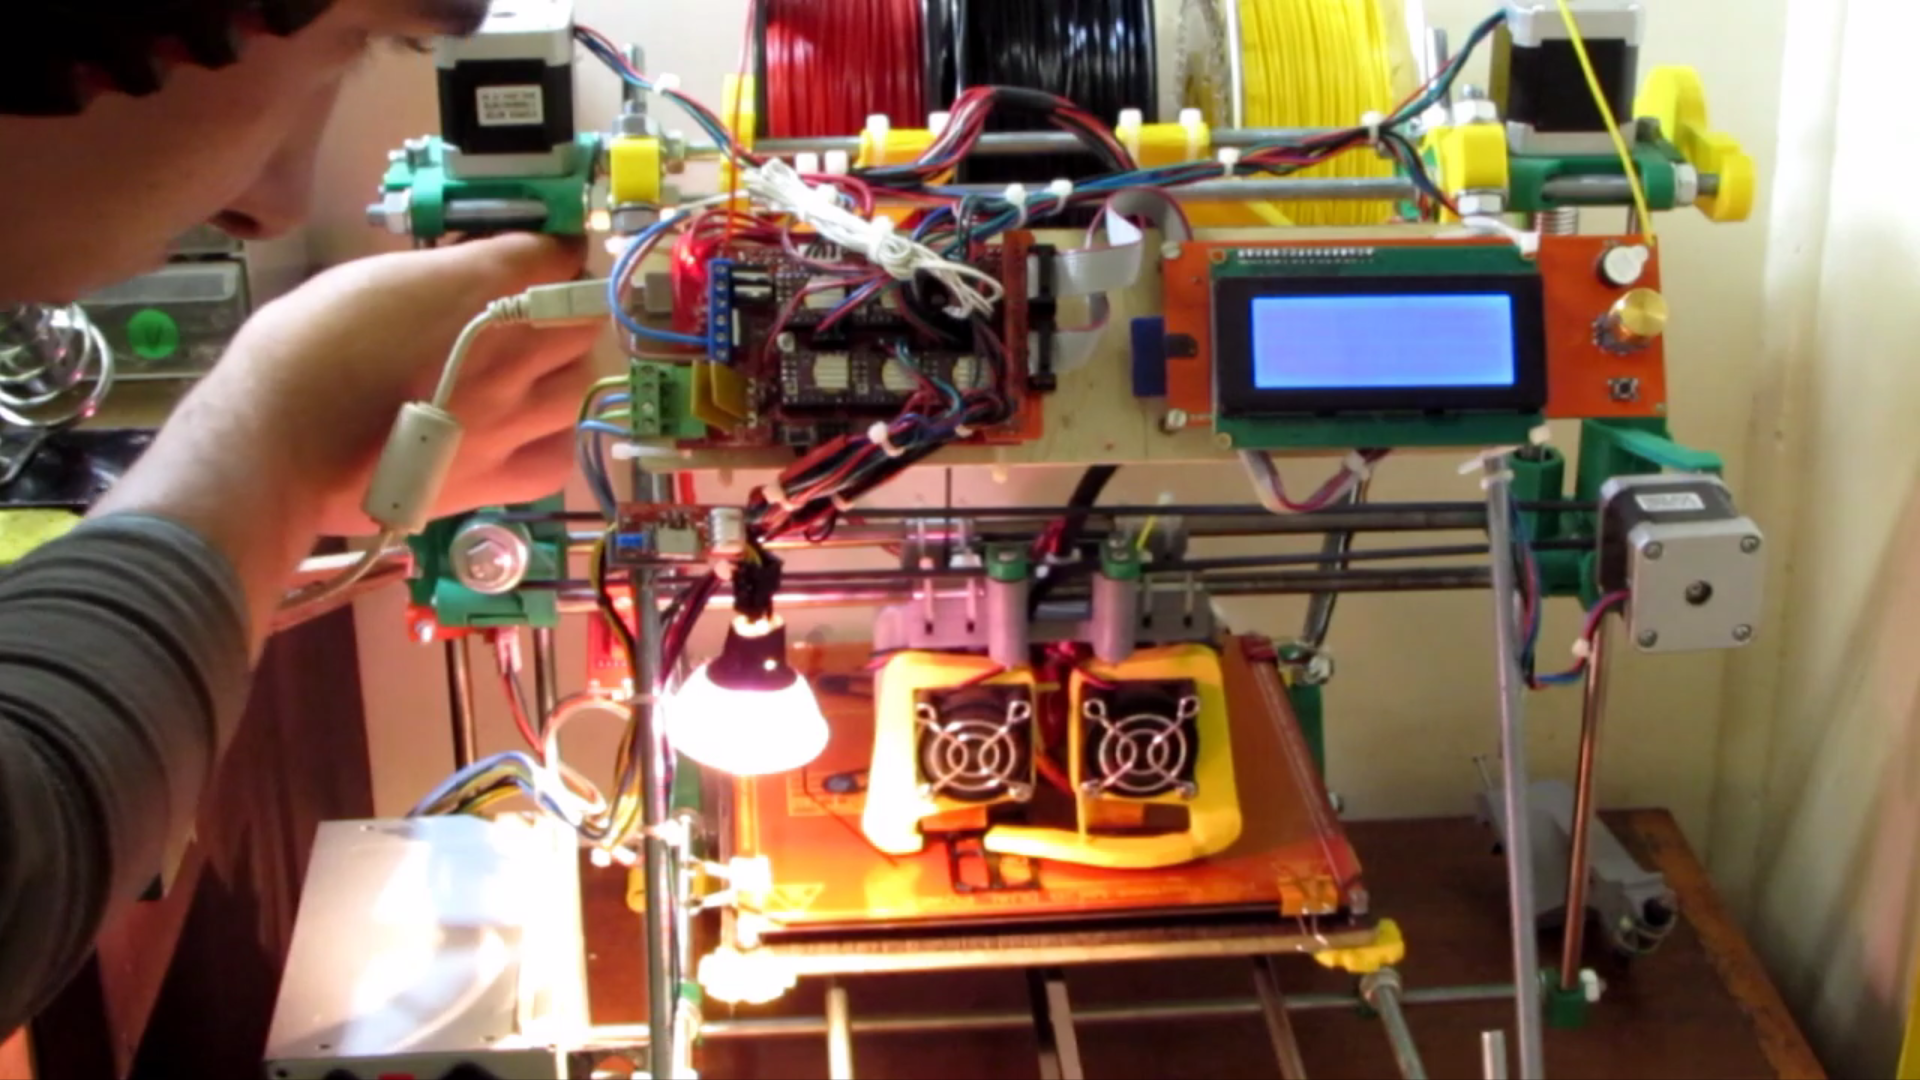
if you have a Mendel type printer, you can easily adjust the z axis knobs by turning them a few steps up or down. You can press pause while you do. If you have a Makerbot or another printer that is a little more precise than mine, this step won't be necessary.
![]()
-
6Finish the print and enjoy
When the print is finished, you can end up having a few plastic drops or blobs around the layer you "knotted" the print. If so, use a cutter or a wood carving knife to trim that up.
Enjoy and like my project :)
How to fix a stopped 3D print
Solution for modifying the gcode to make the printer restart from where it left
 Marius Taciuc


Discussions
Become a Hackaday.io Member
Create an account to leave a comment. Already have an account? Log In.