 andrew
-
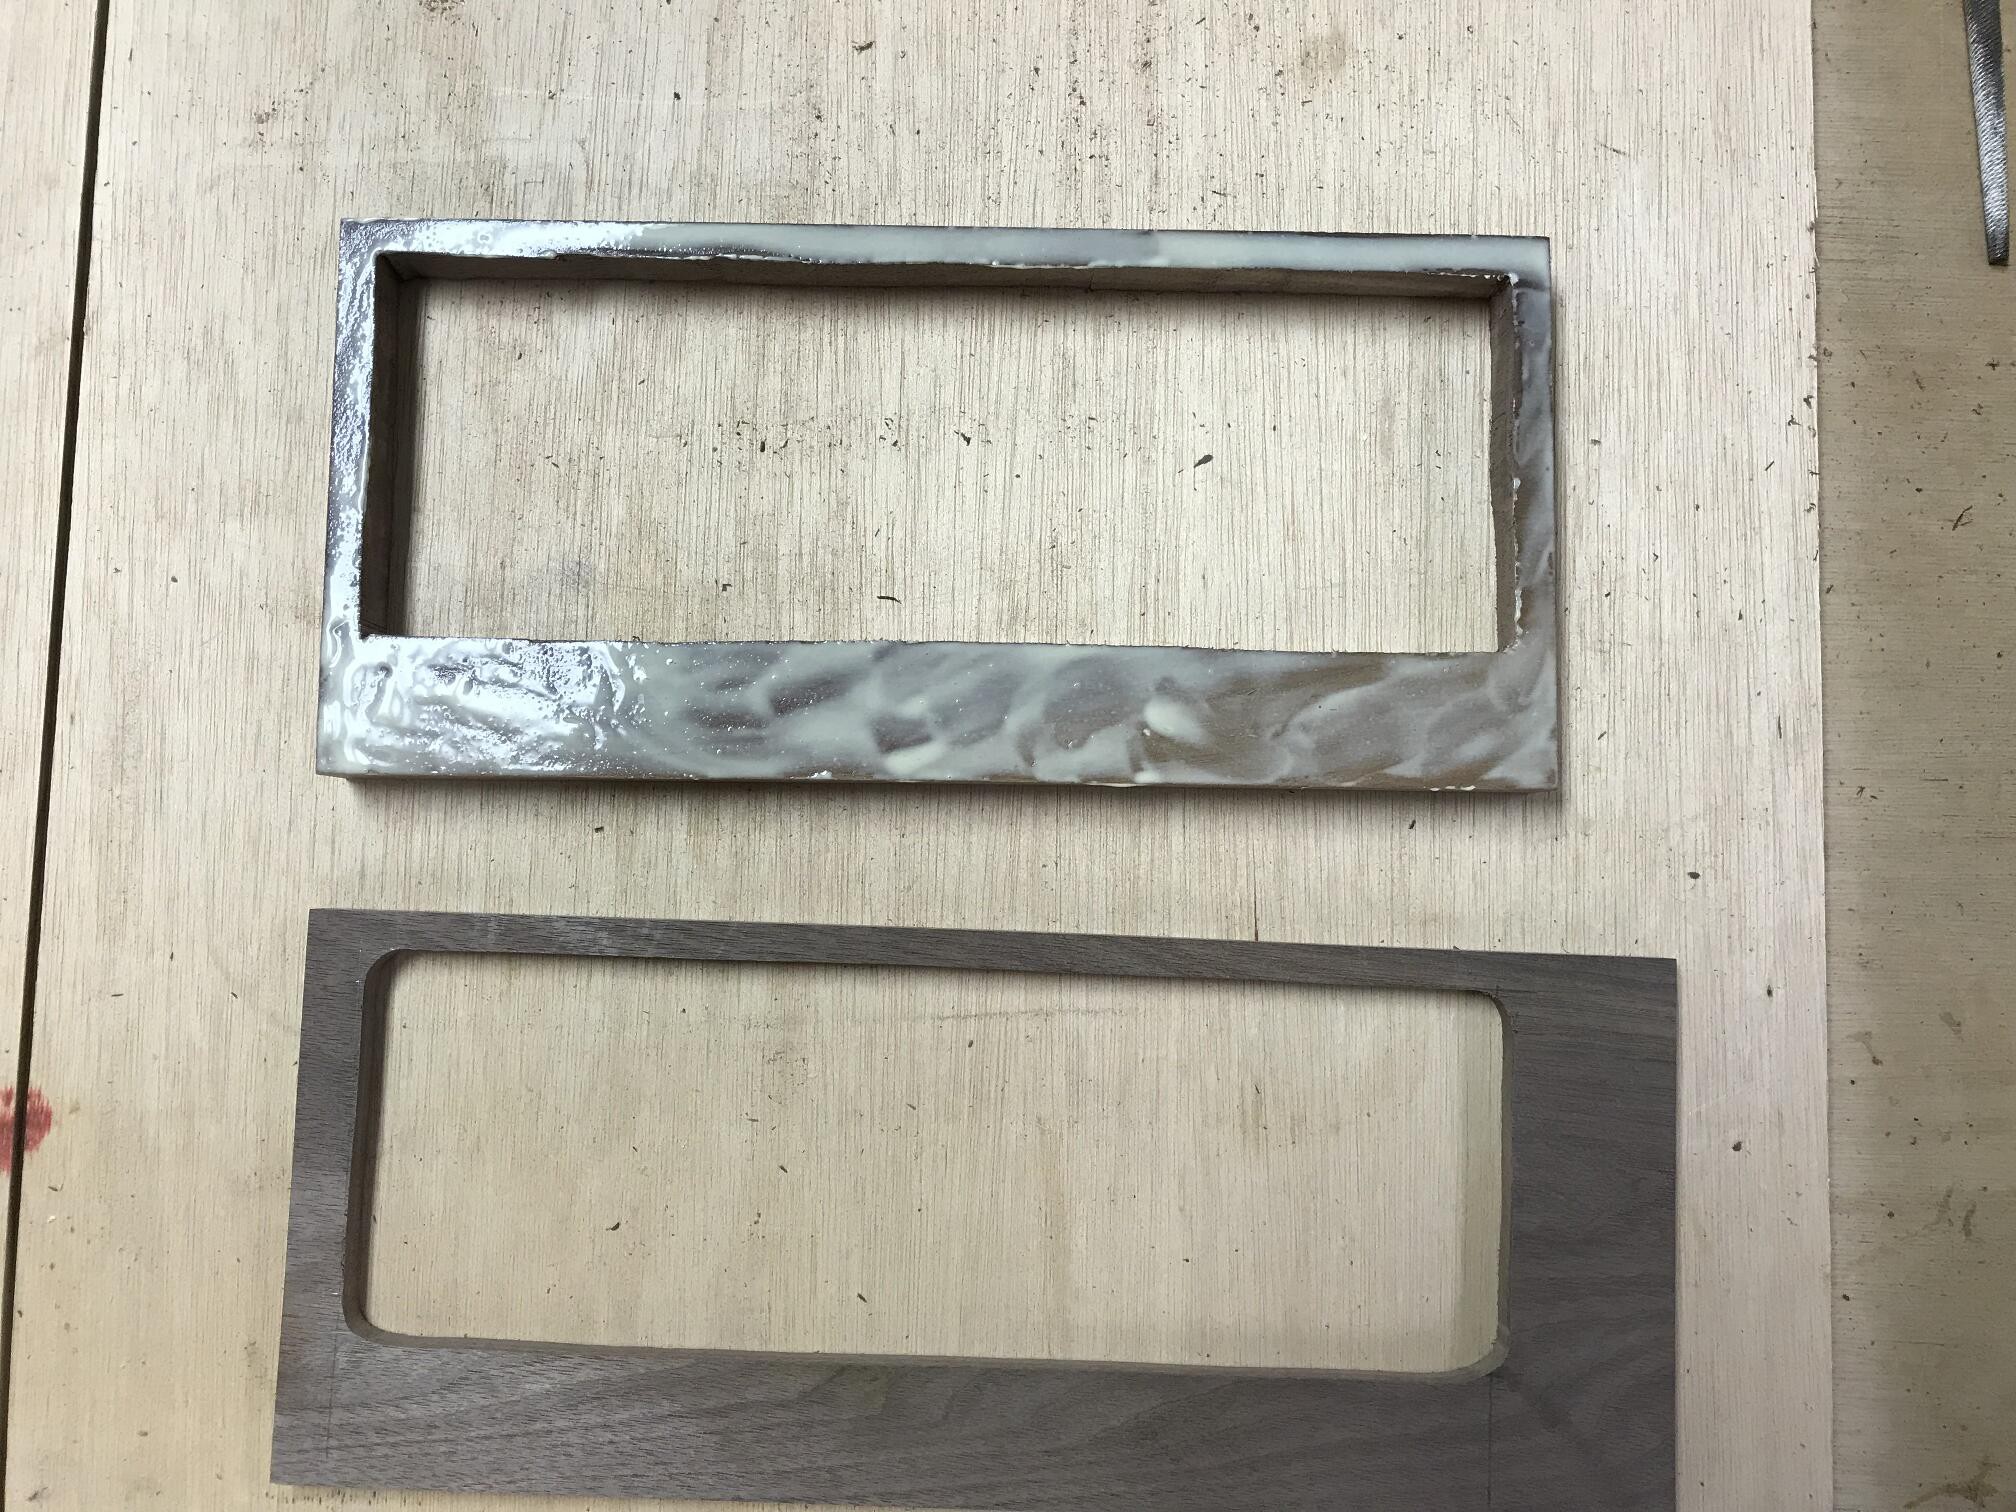
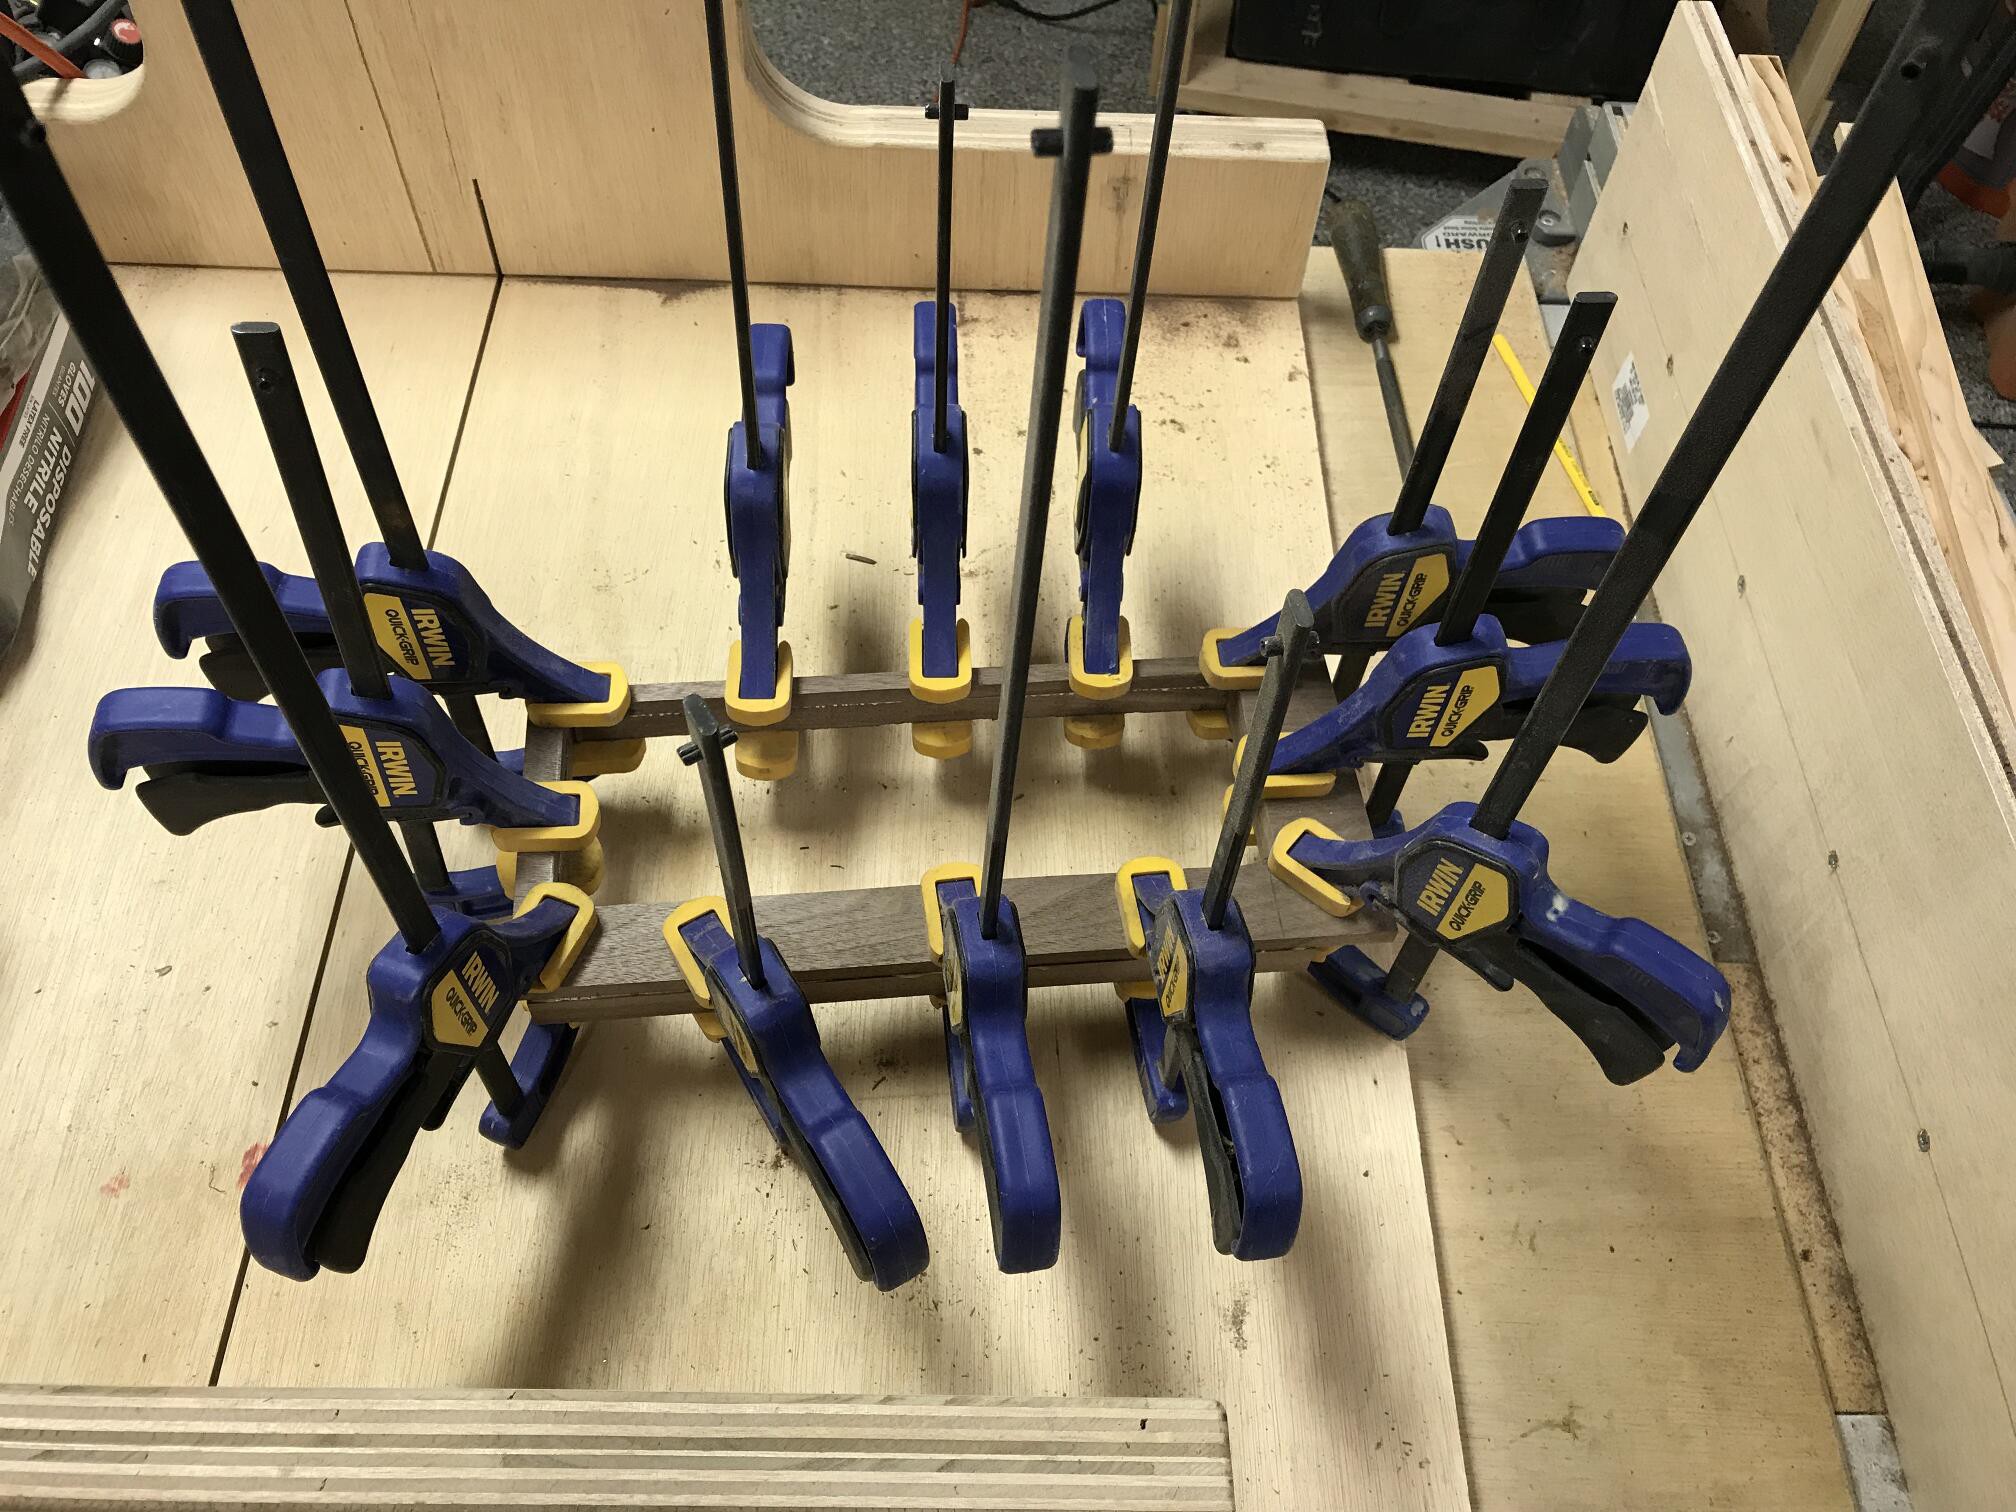
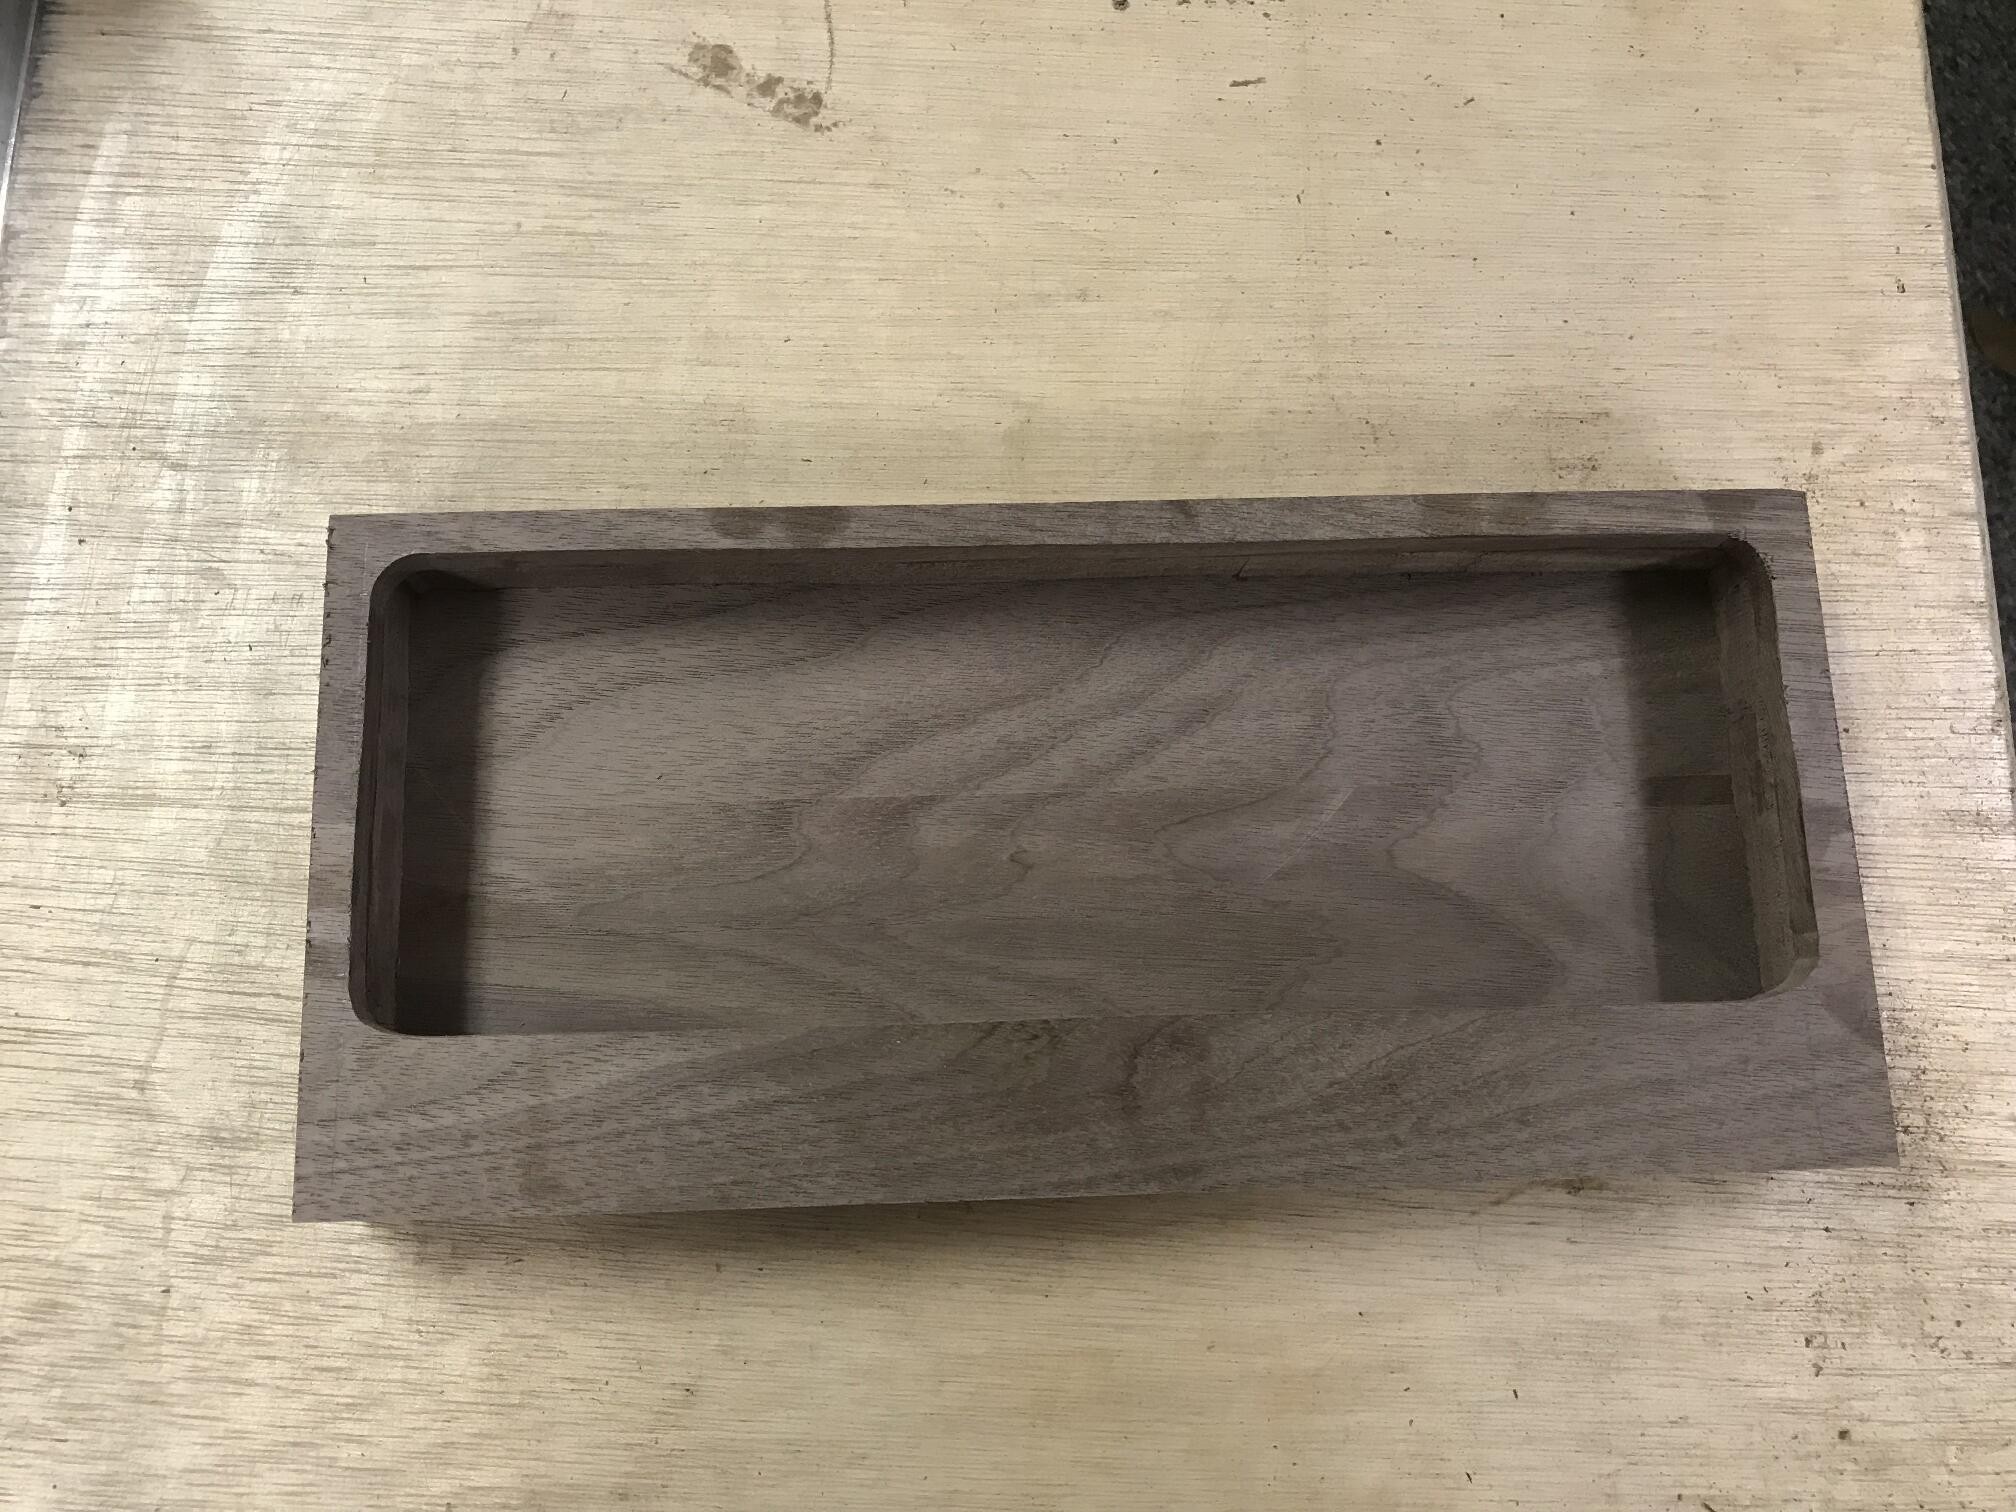
11Glue the top and middle layer together
![]()
![]()
Glue the top and middle layer together. Clamps are your friend here. Also, anyone who has ever tried gluing and clamping flat pieces of wood, you know they have a tenancy to slide all over. A cool trick is to drop some salt into the clue... it only takes a few grains but the grid helps to keep the pieces from sliding as the clamps begin to apply pressure.
-
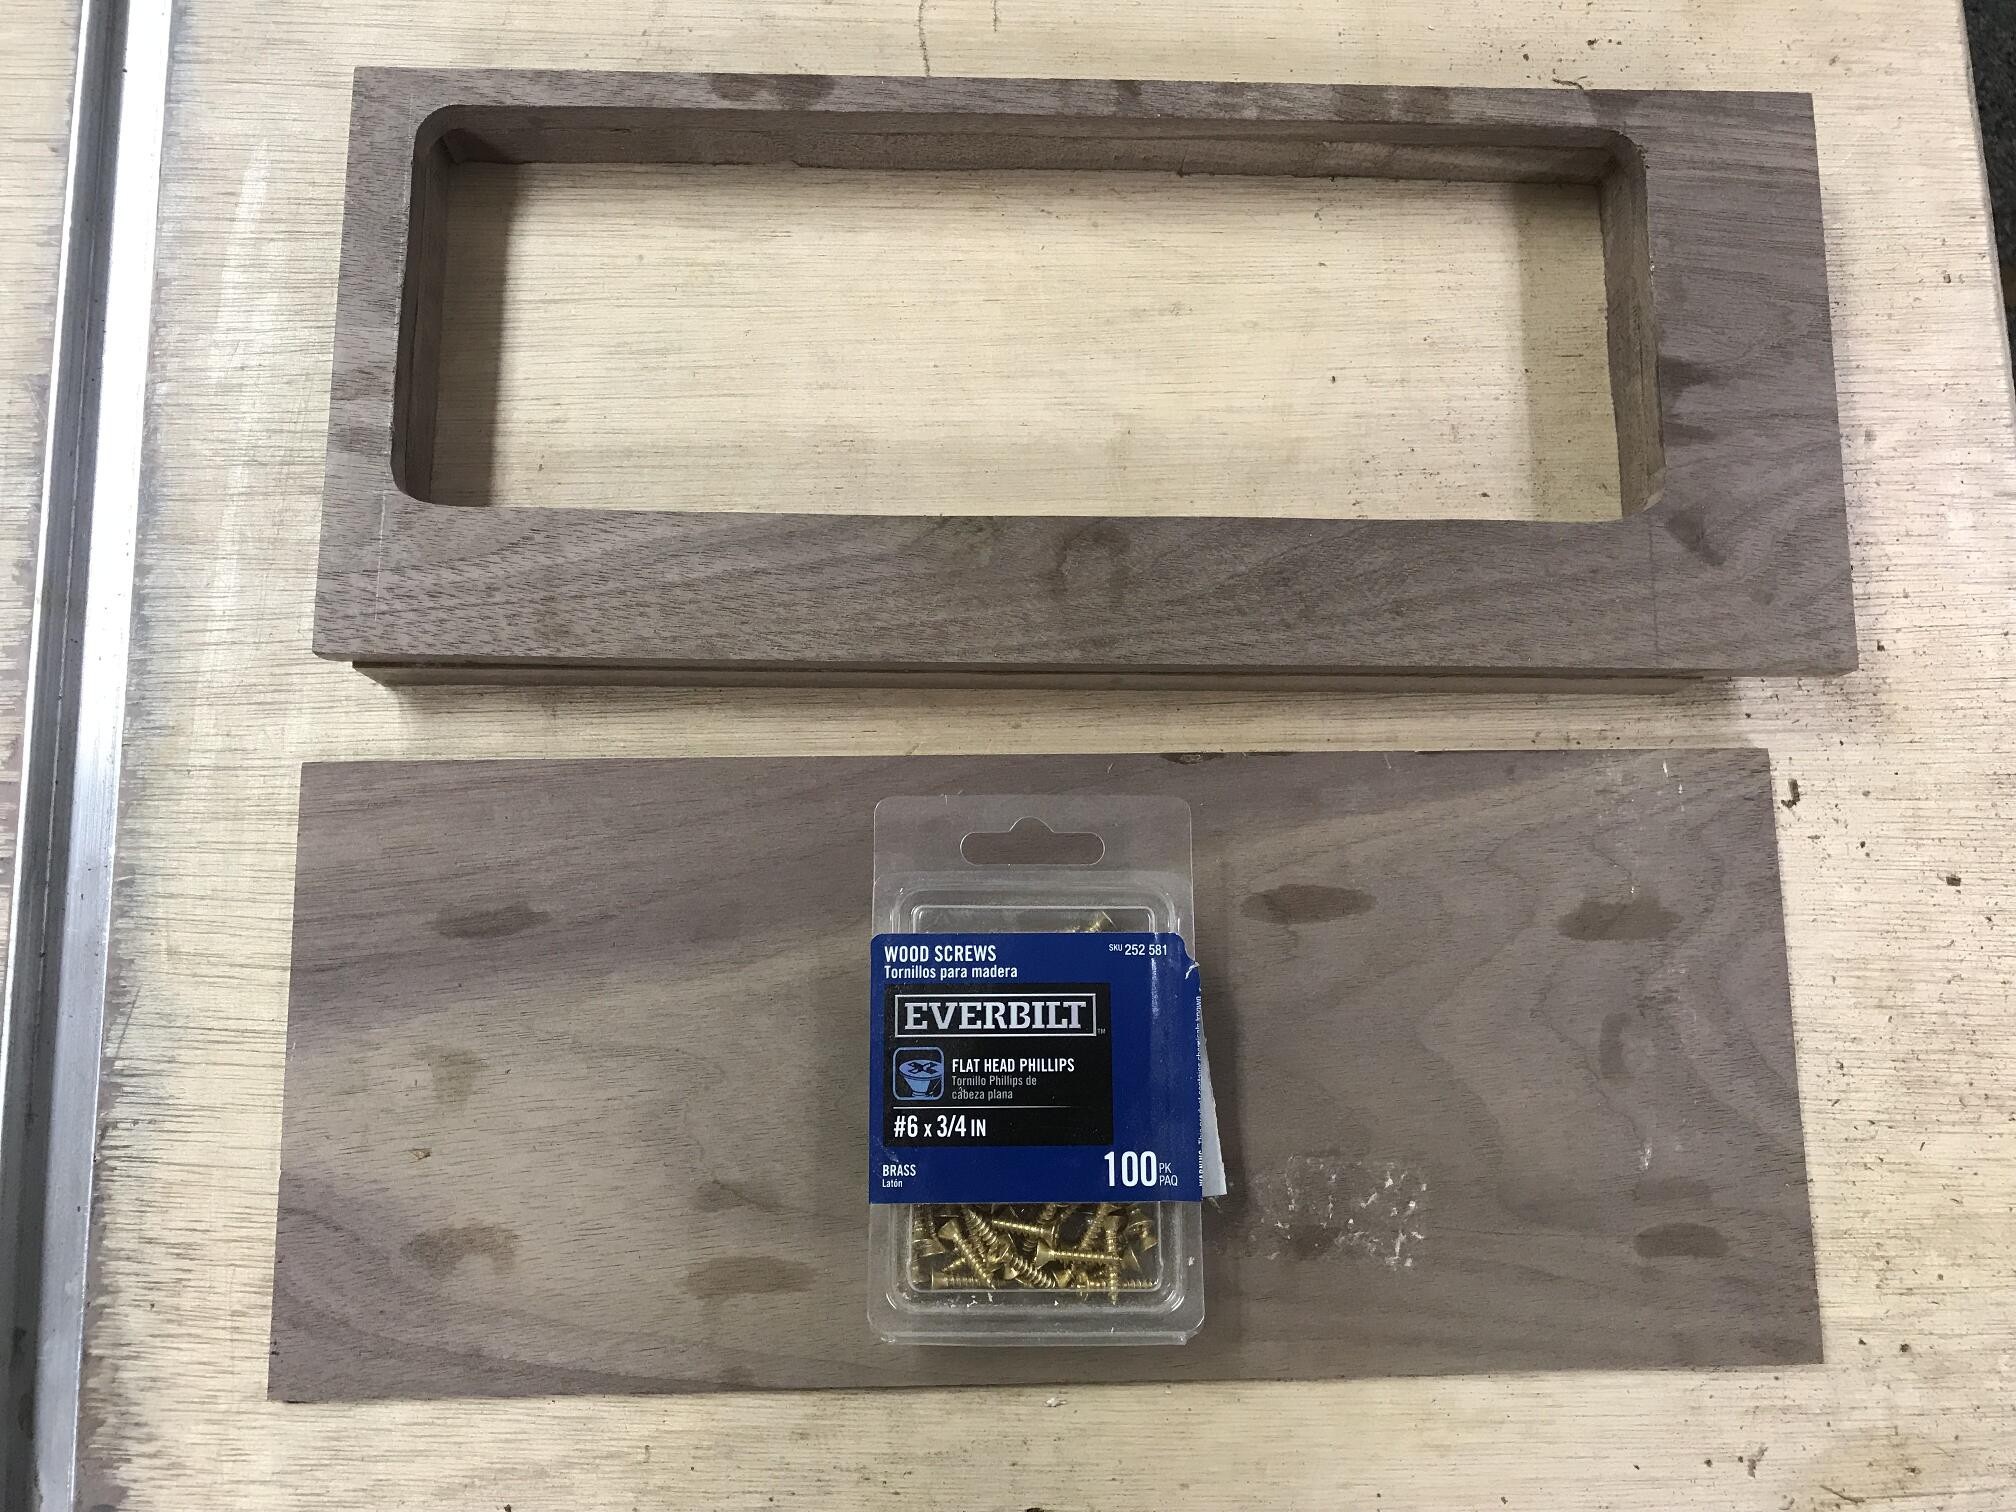
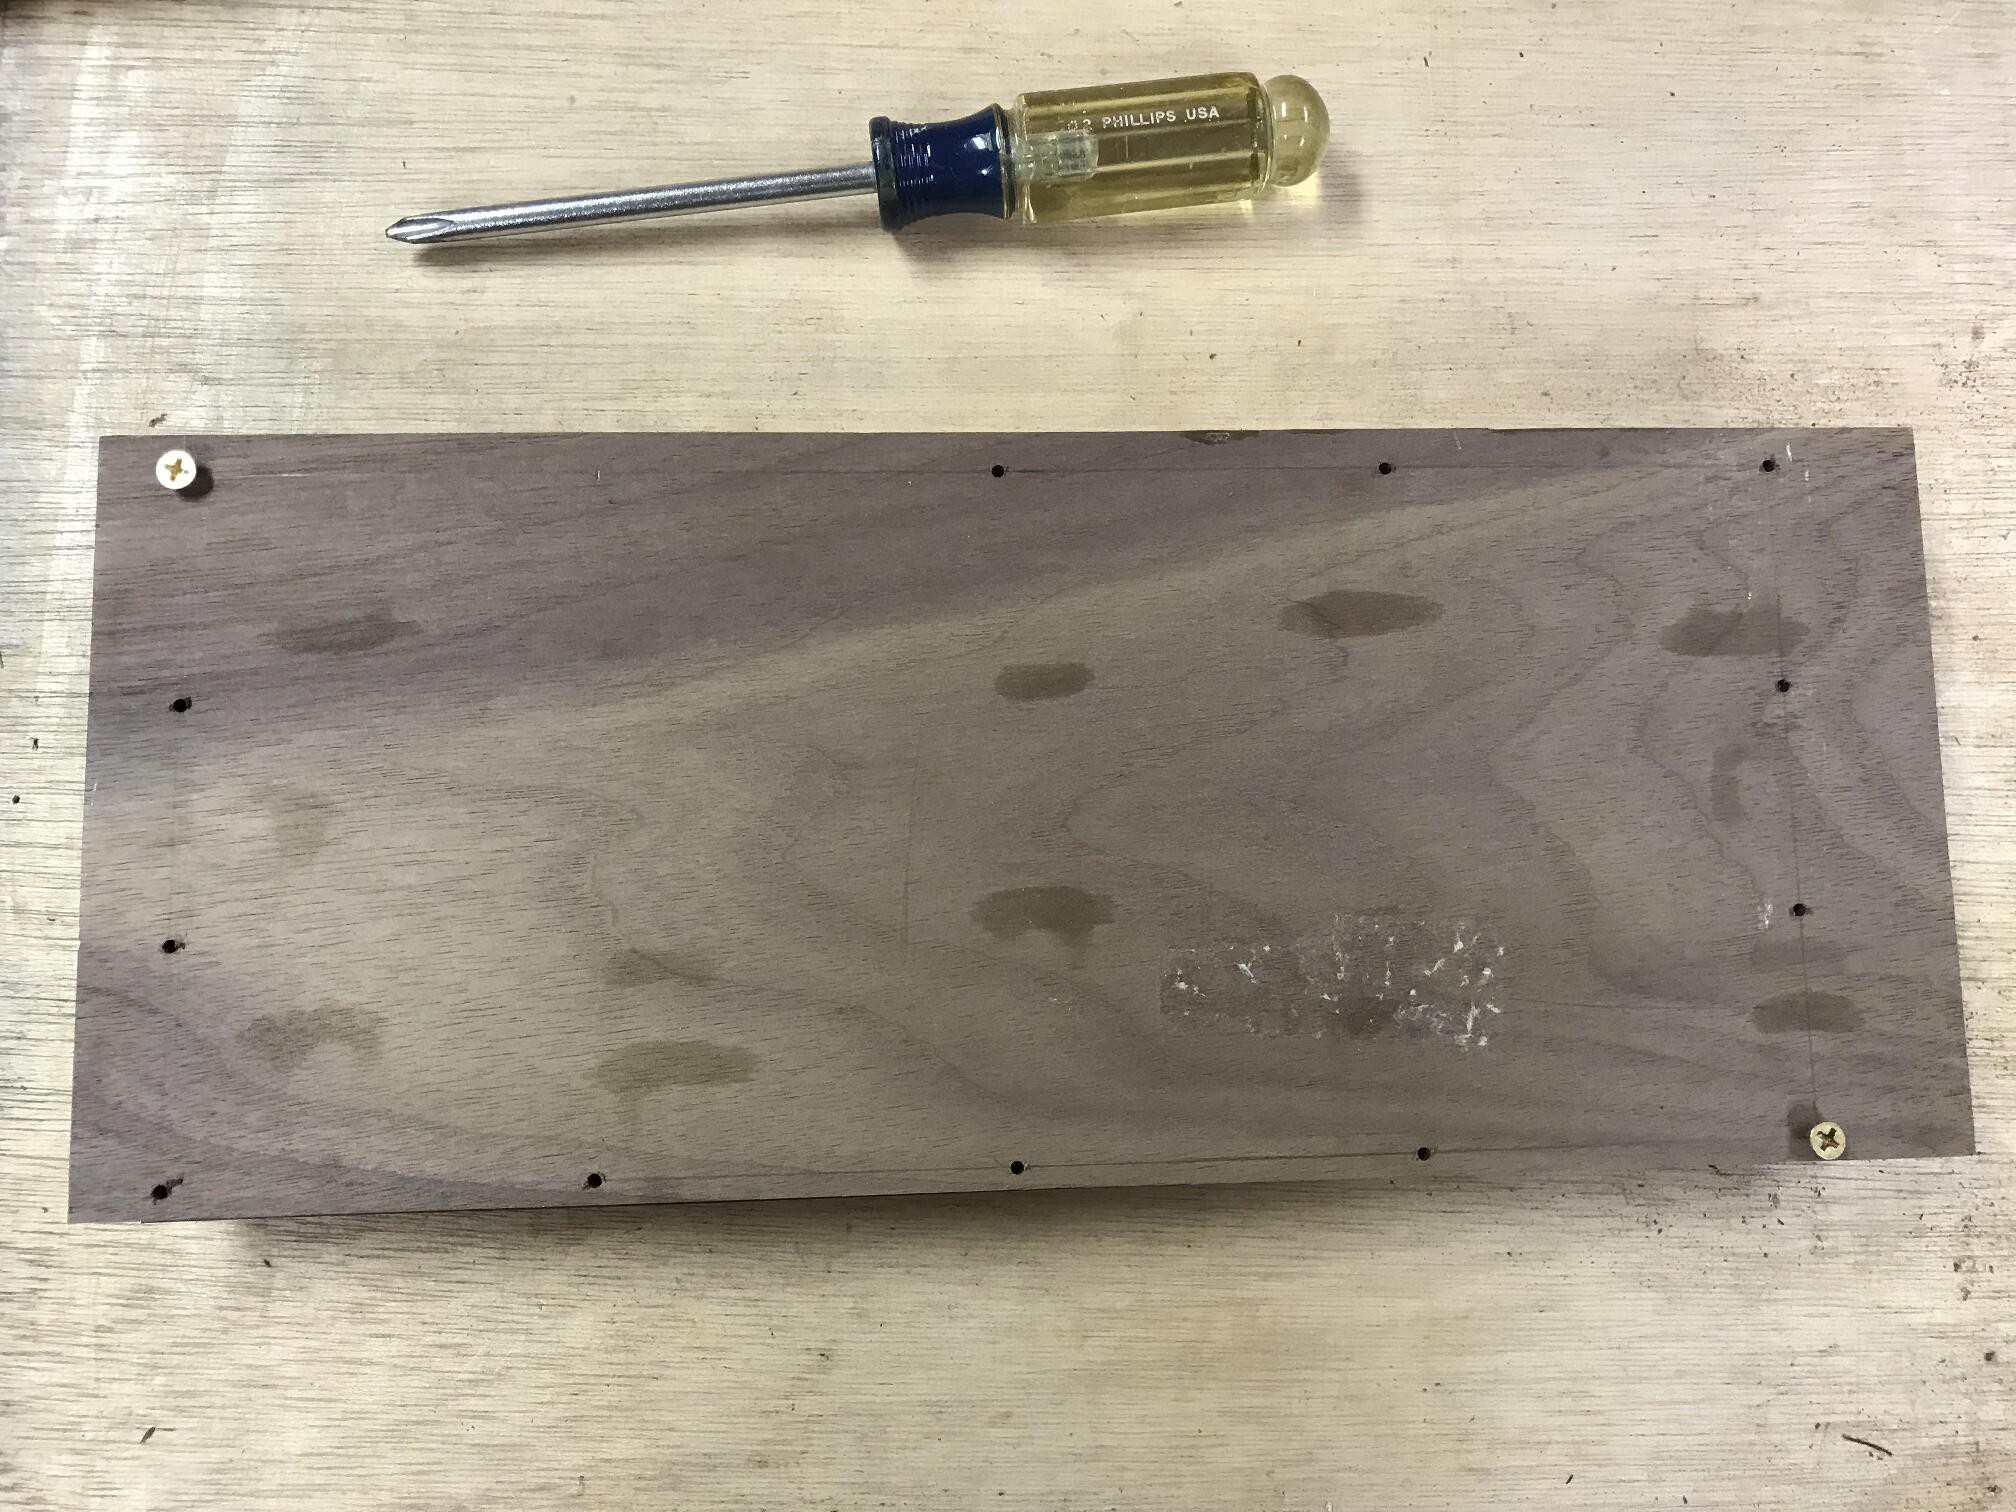
12Make the back layer.
![]()
![]()
The bottom layer is thinner than the others, roughly 1/4". The goal was to get it as thin as possible (since it will separate the wireless charger and receiver) while still being think enough that I don't have to worry about cracking it sometime down the road. All there really was to do for this layer was lay out a pattern and then drill and countersink the holes.
-
13Trim outer edges
![]()
With the top two layers glued and then the bottom layer screwed on the back, I ran the whole thing through the table saw to even out all of the outer edges.
Customized wireless mechanical keyboard
I needed a custom keyboard to match an antique radio project I am working on. This was the result.
Discussions
Become a Hackaday.io Member
Create an account to leave a comment. Already have an account? Log In.