 MasterOfNull
-
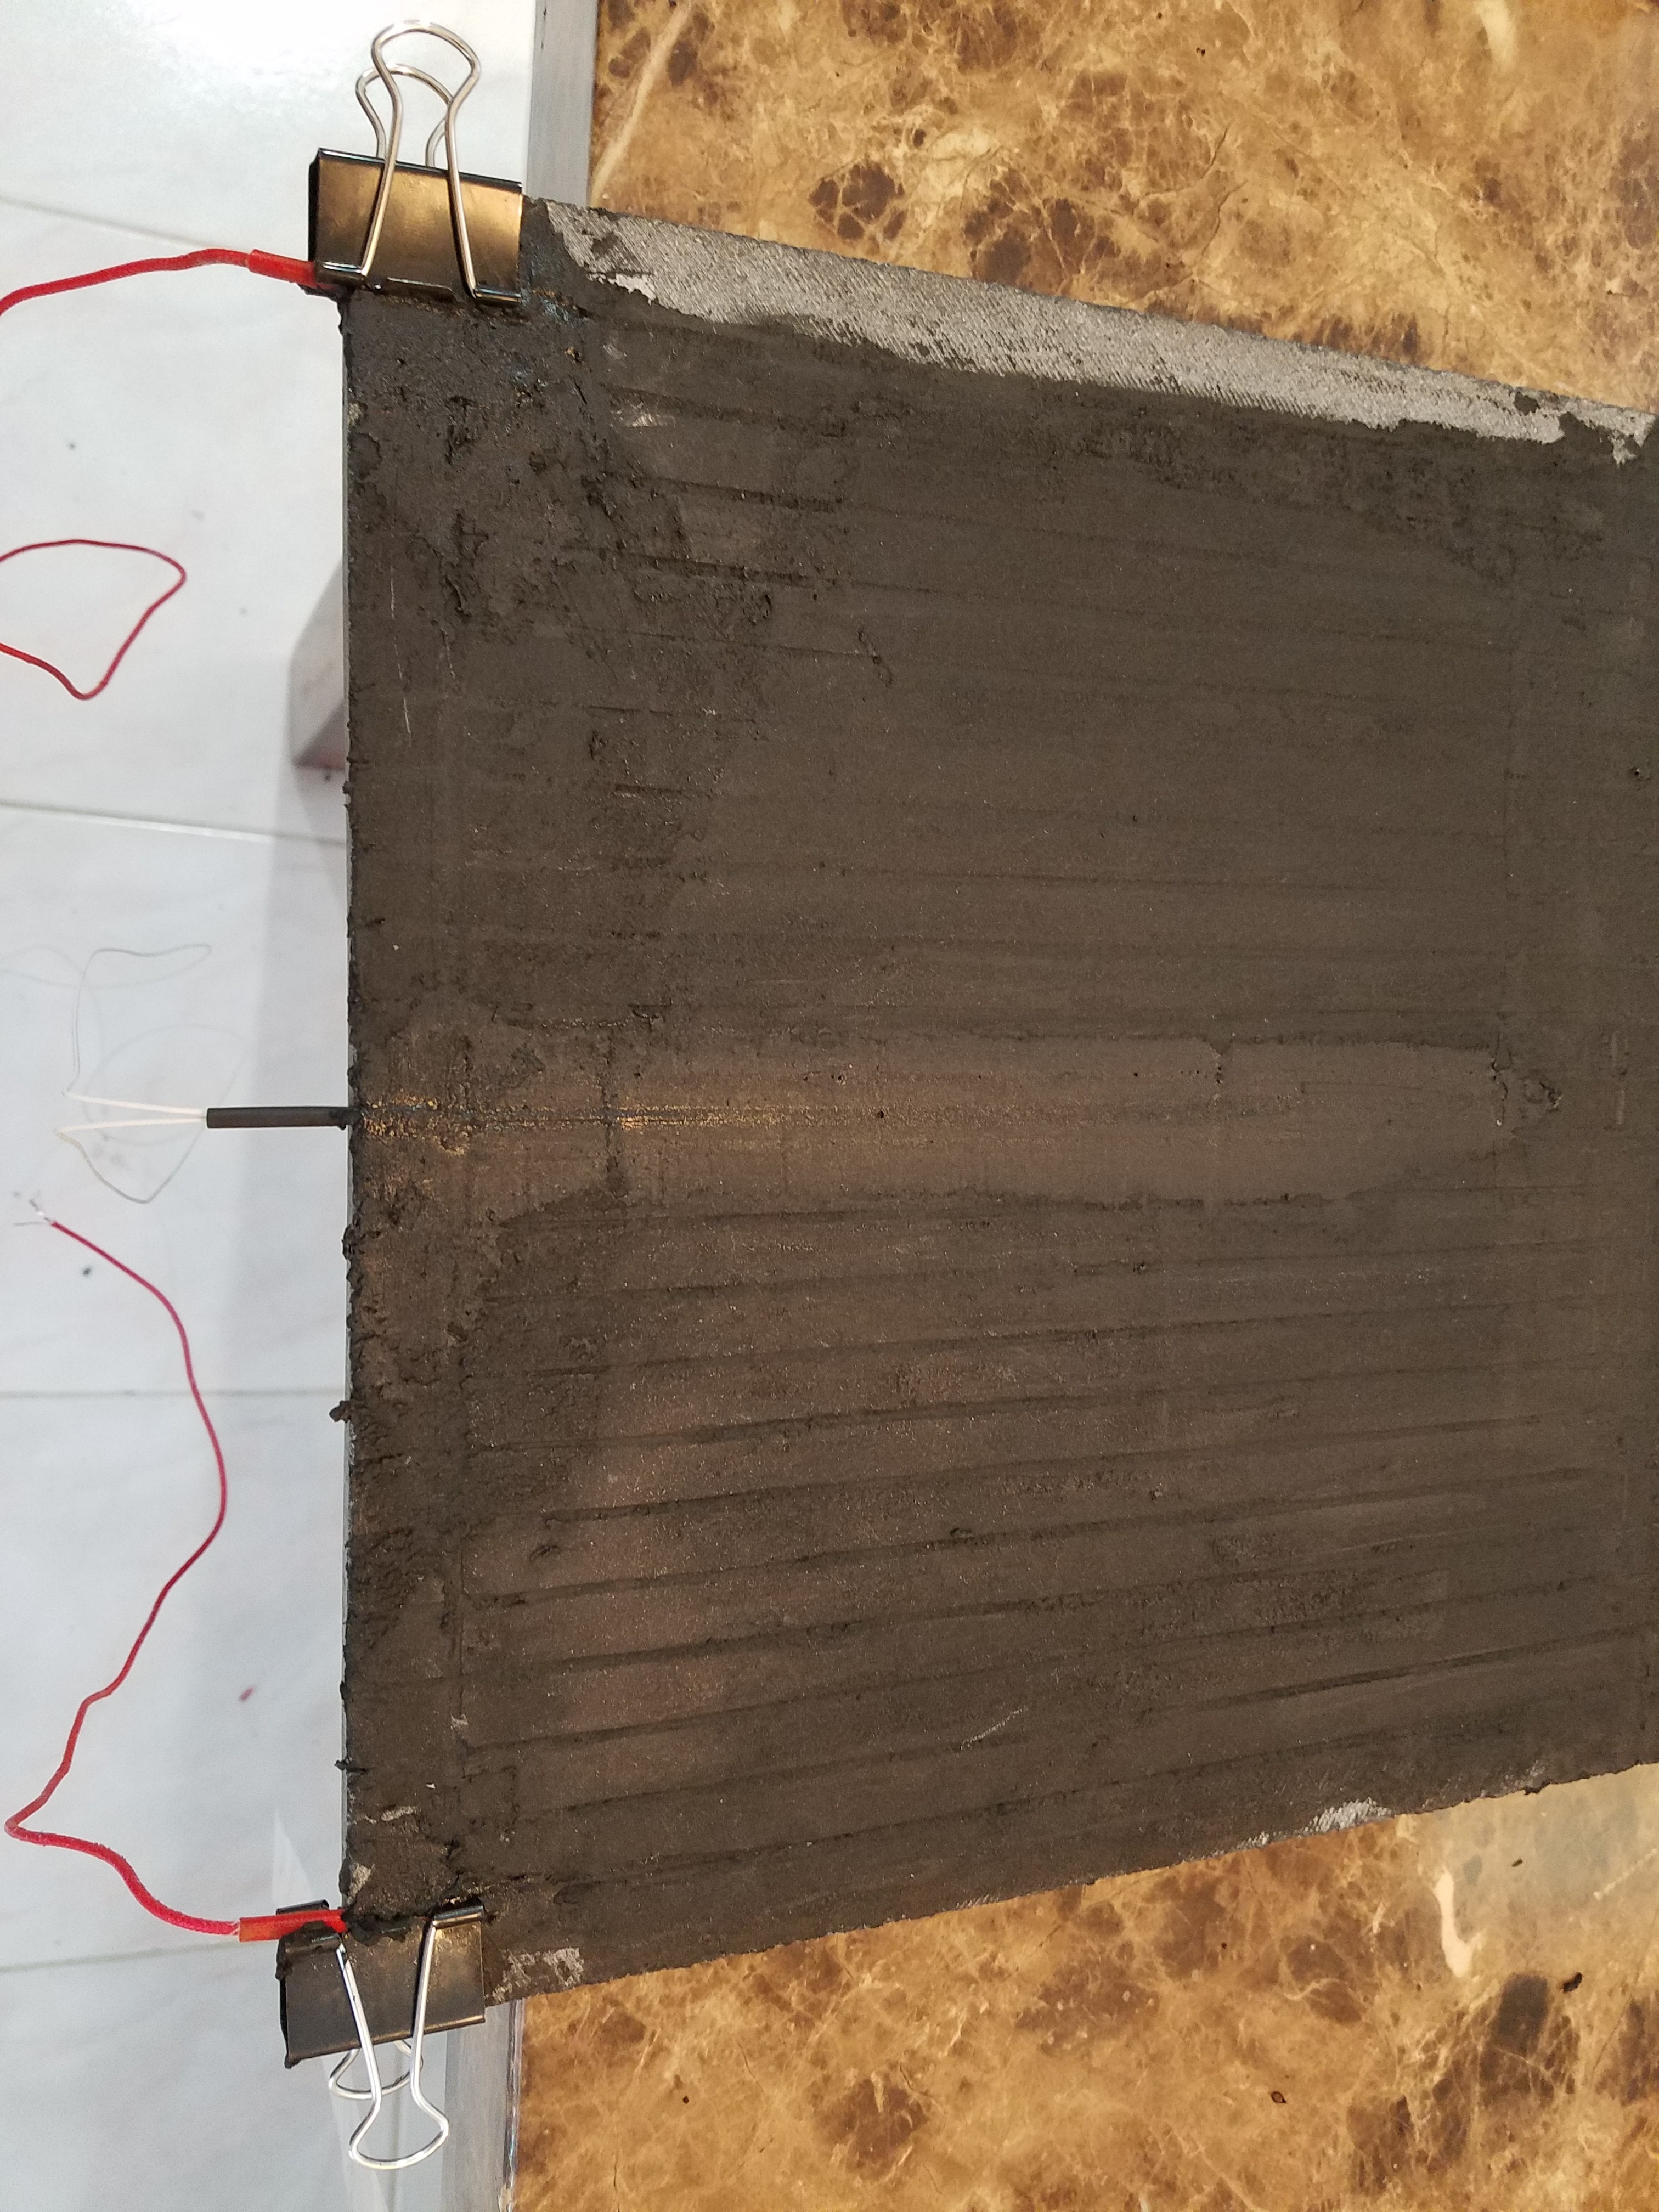
1111) Apply furnace cement, part 2
Put your thermistor in the center slot and cover your connections with furnace cement. Binder clip them to hold them down in the slot while it drys.
![]()
-
1212) Drying the furnace cement
Again, allow the cement to totally dry.
-
1313) Final coat of furnace cement
Remove the binder clips and top off the connections with furnace cement. I did a skim coat of the entire tile at this point. A little water will help with this.
-
1414) Let it dry, again.
I can't stress enough, how important it is that the cement be totally dry before you fire it...
-
1515) Cure the cement
Now we get to bake it. After this step, the cement will be rock hard, so this is also your last chance to clean up the edges or sand off anything you don't like...
Put it in the over at 250F for about 30 minutes, then raise the temperature to 400F for about 20 minutes. This is why you need silicone insulation on your wires.
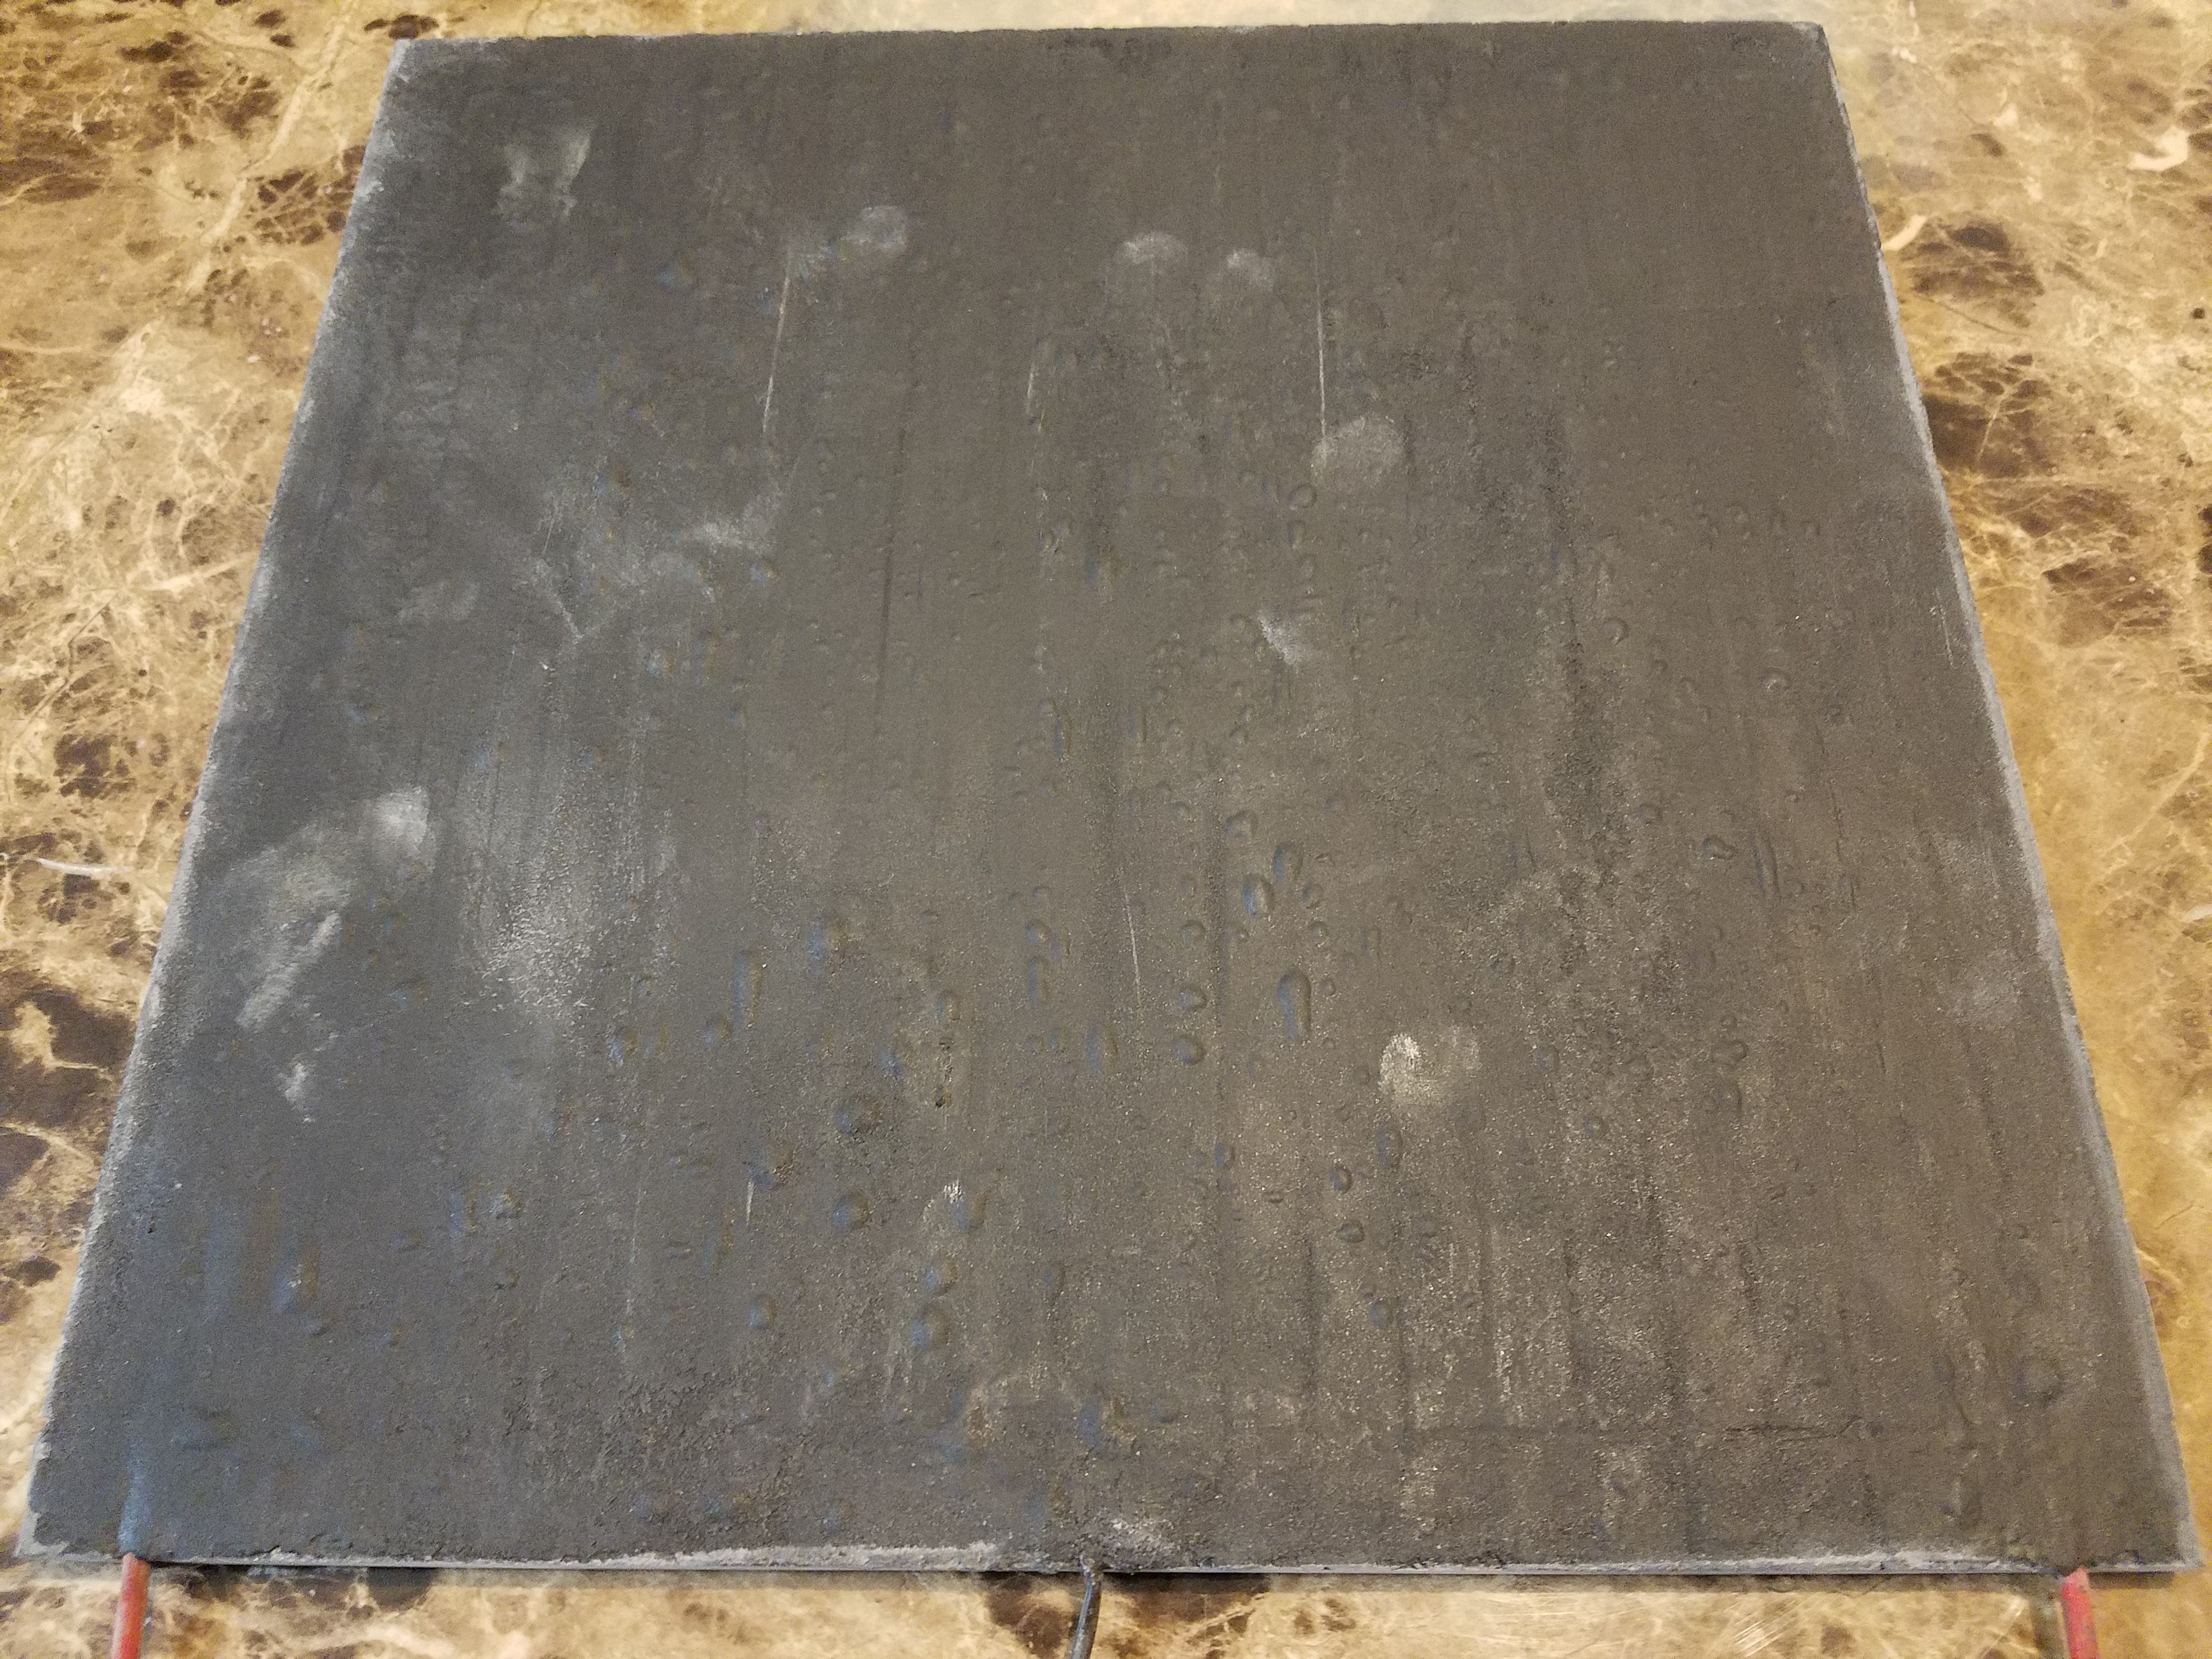
After baking.
![]()
See those bubbles? I still didn't get enough of the water out of the cement. Luckily it looks to be confined to my final skim coat. If it happens in a groove, it can create a hot-spot on your nichrome and cause it to fail prematurely.
-
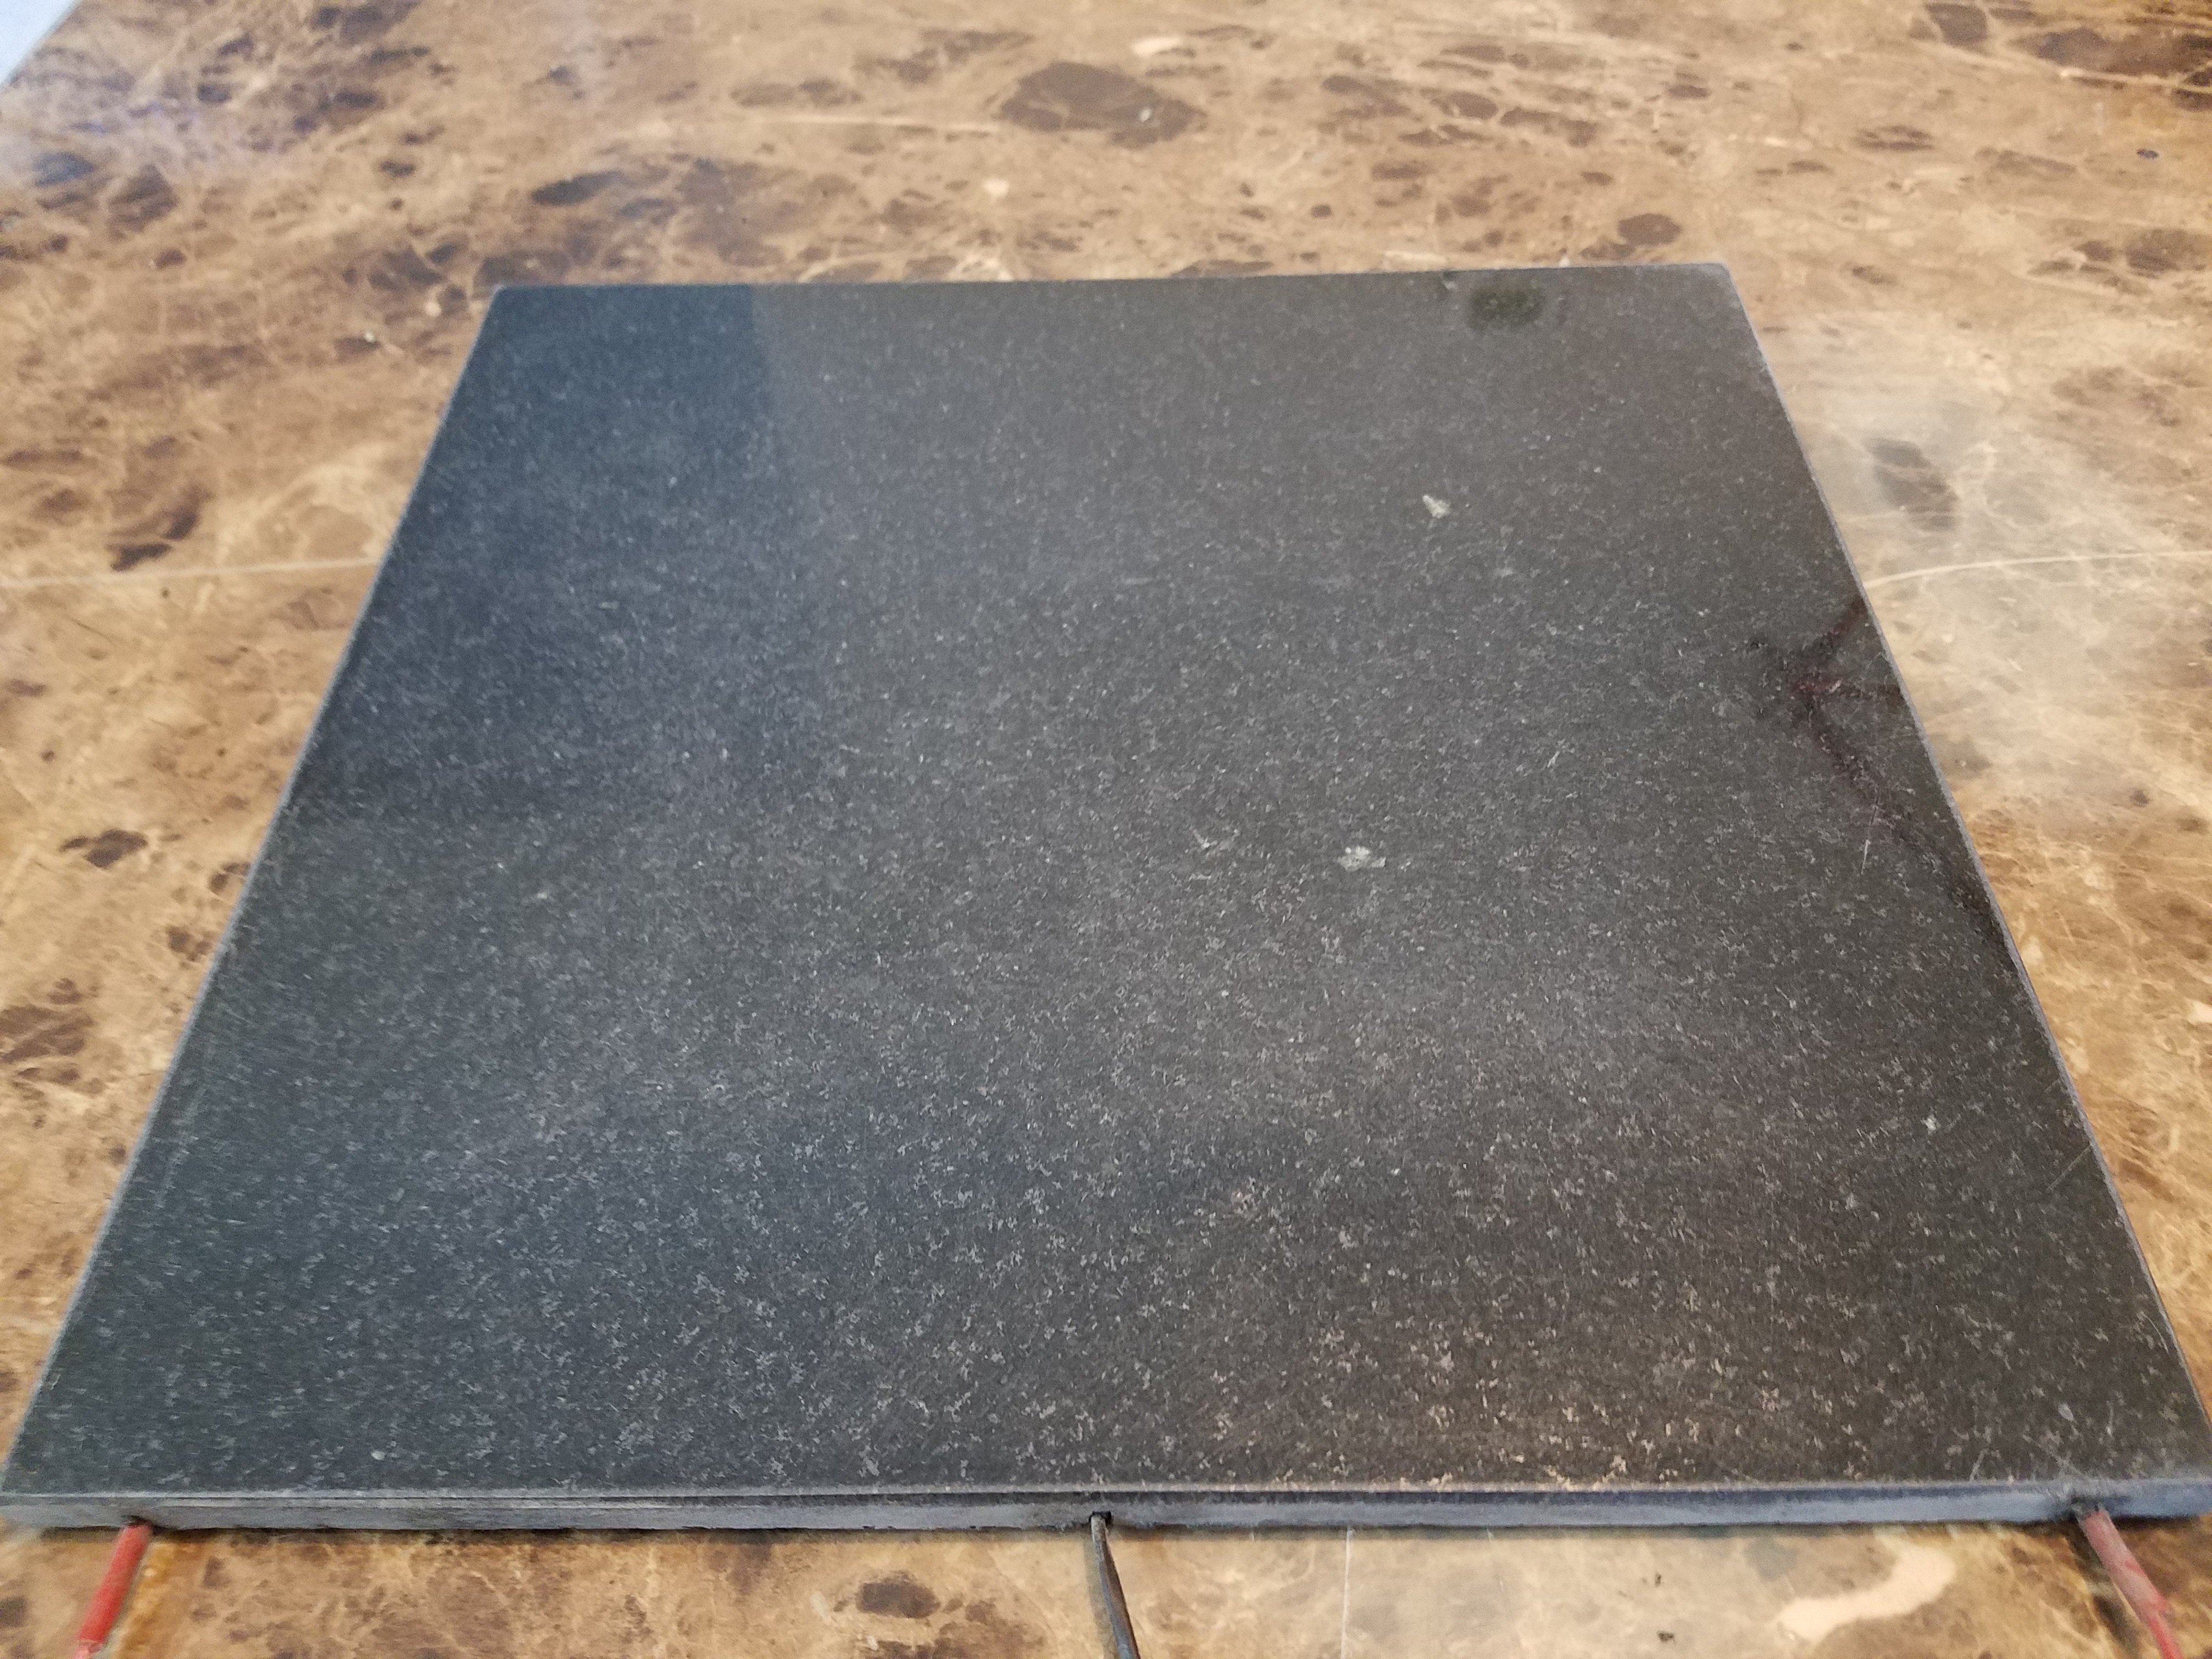
1616) Sand the tile
With some silicon carbide 200grit sandpaper, liberally sand the printing surface. The nice and shiny granite looks great, but parts don't stick very well. The sanding solves this.
![]()
There. Now you have a print surface you can totally abuse, clean by scraping with a razor, what have you... and it will ask for more. Just don't drop it. :)
Arcus-3D-C1 - Granite heated bed
This is the heated bed I used on the C1 and how I made it.
Discussions
Become a Hackaday.io Member
Create an account to leave a comment. Already have an account? Log In.