Alex Gontmakher
-
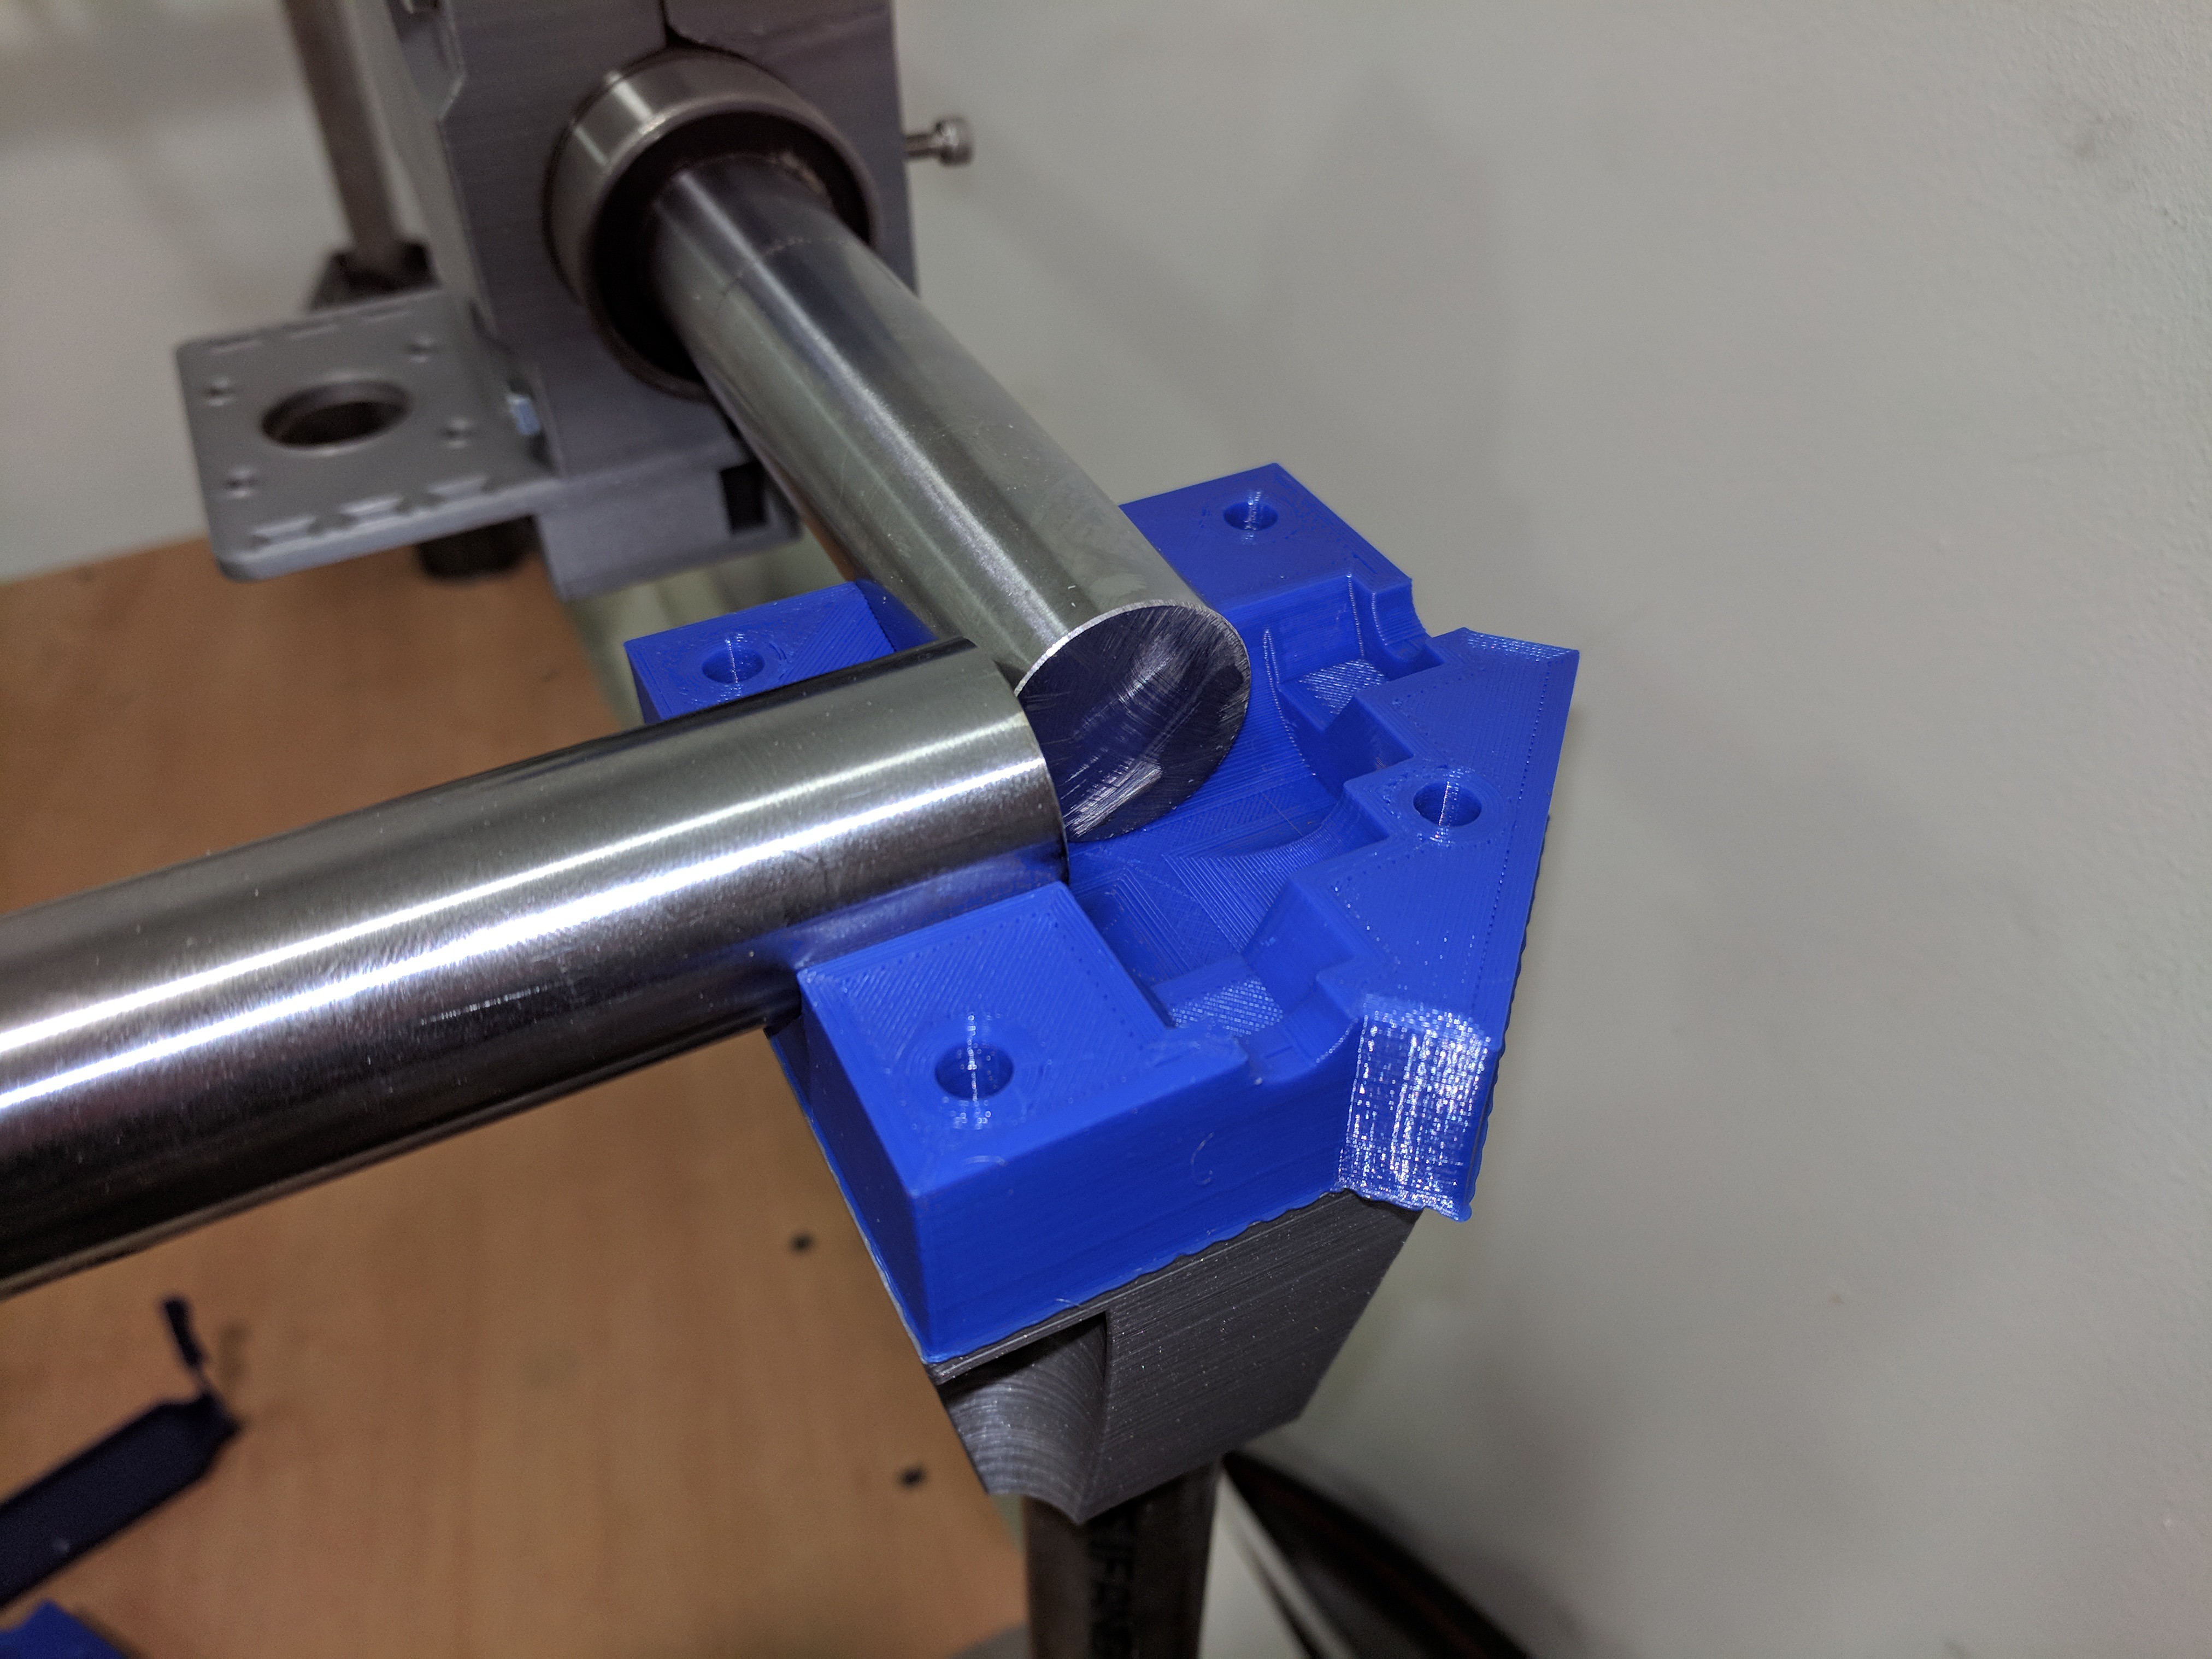
First corner printed in the new design
12/26/2017 at 18:11 • 0 commentsSame same but different - now layers are horizontal, and it will be able much better to handle the stress.
Here's why it will be easier to assemble:
![]()
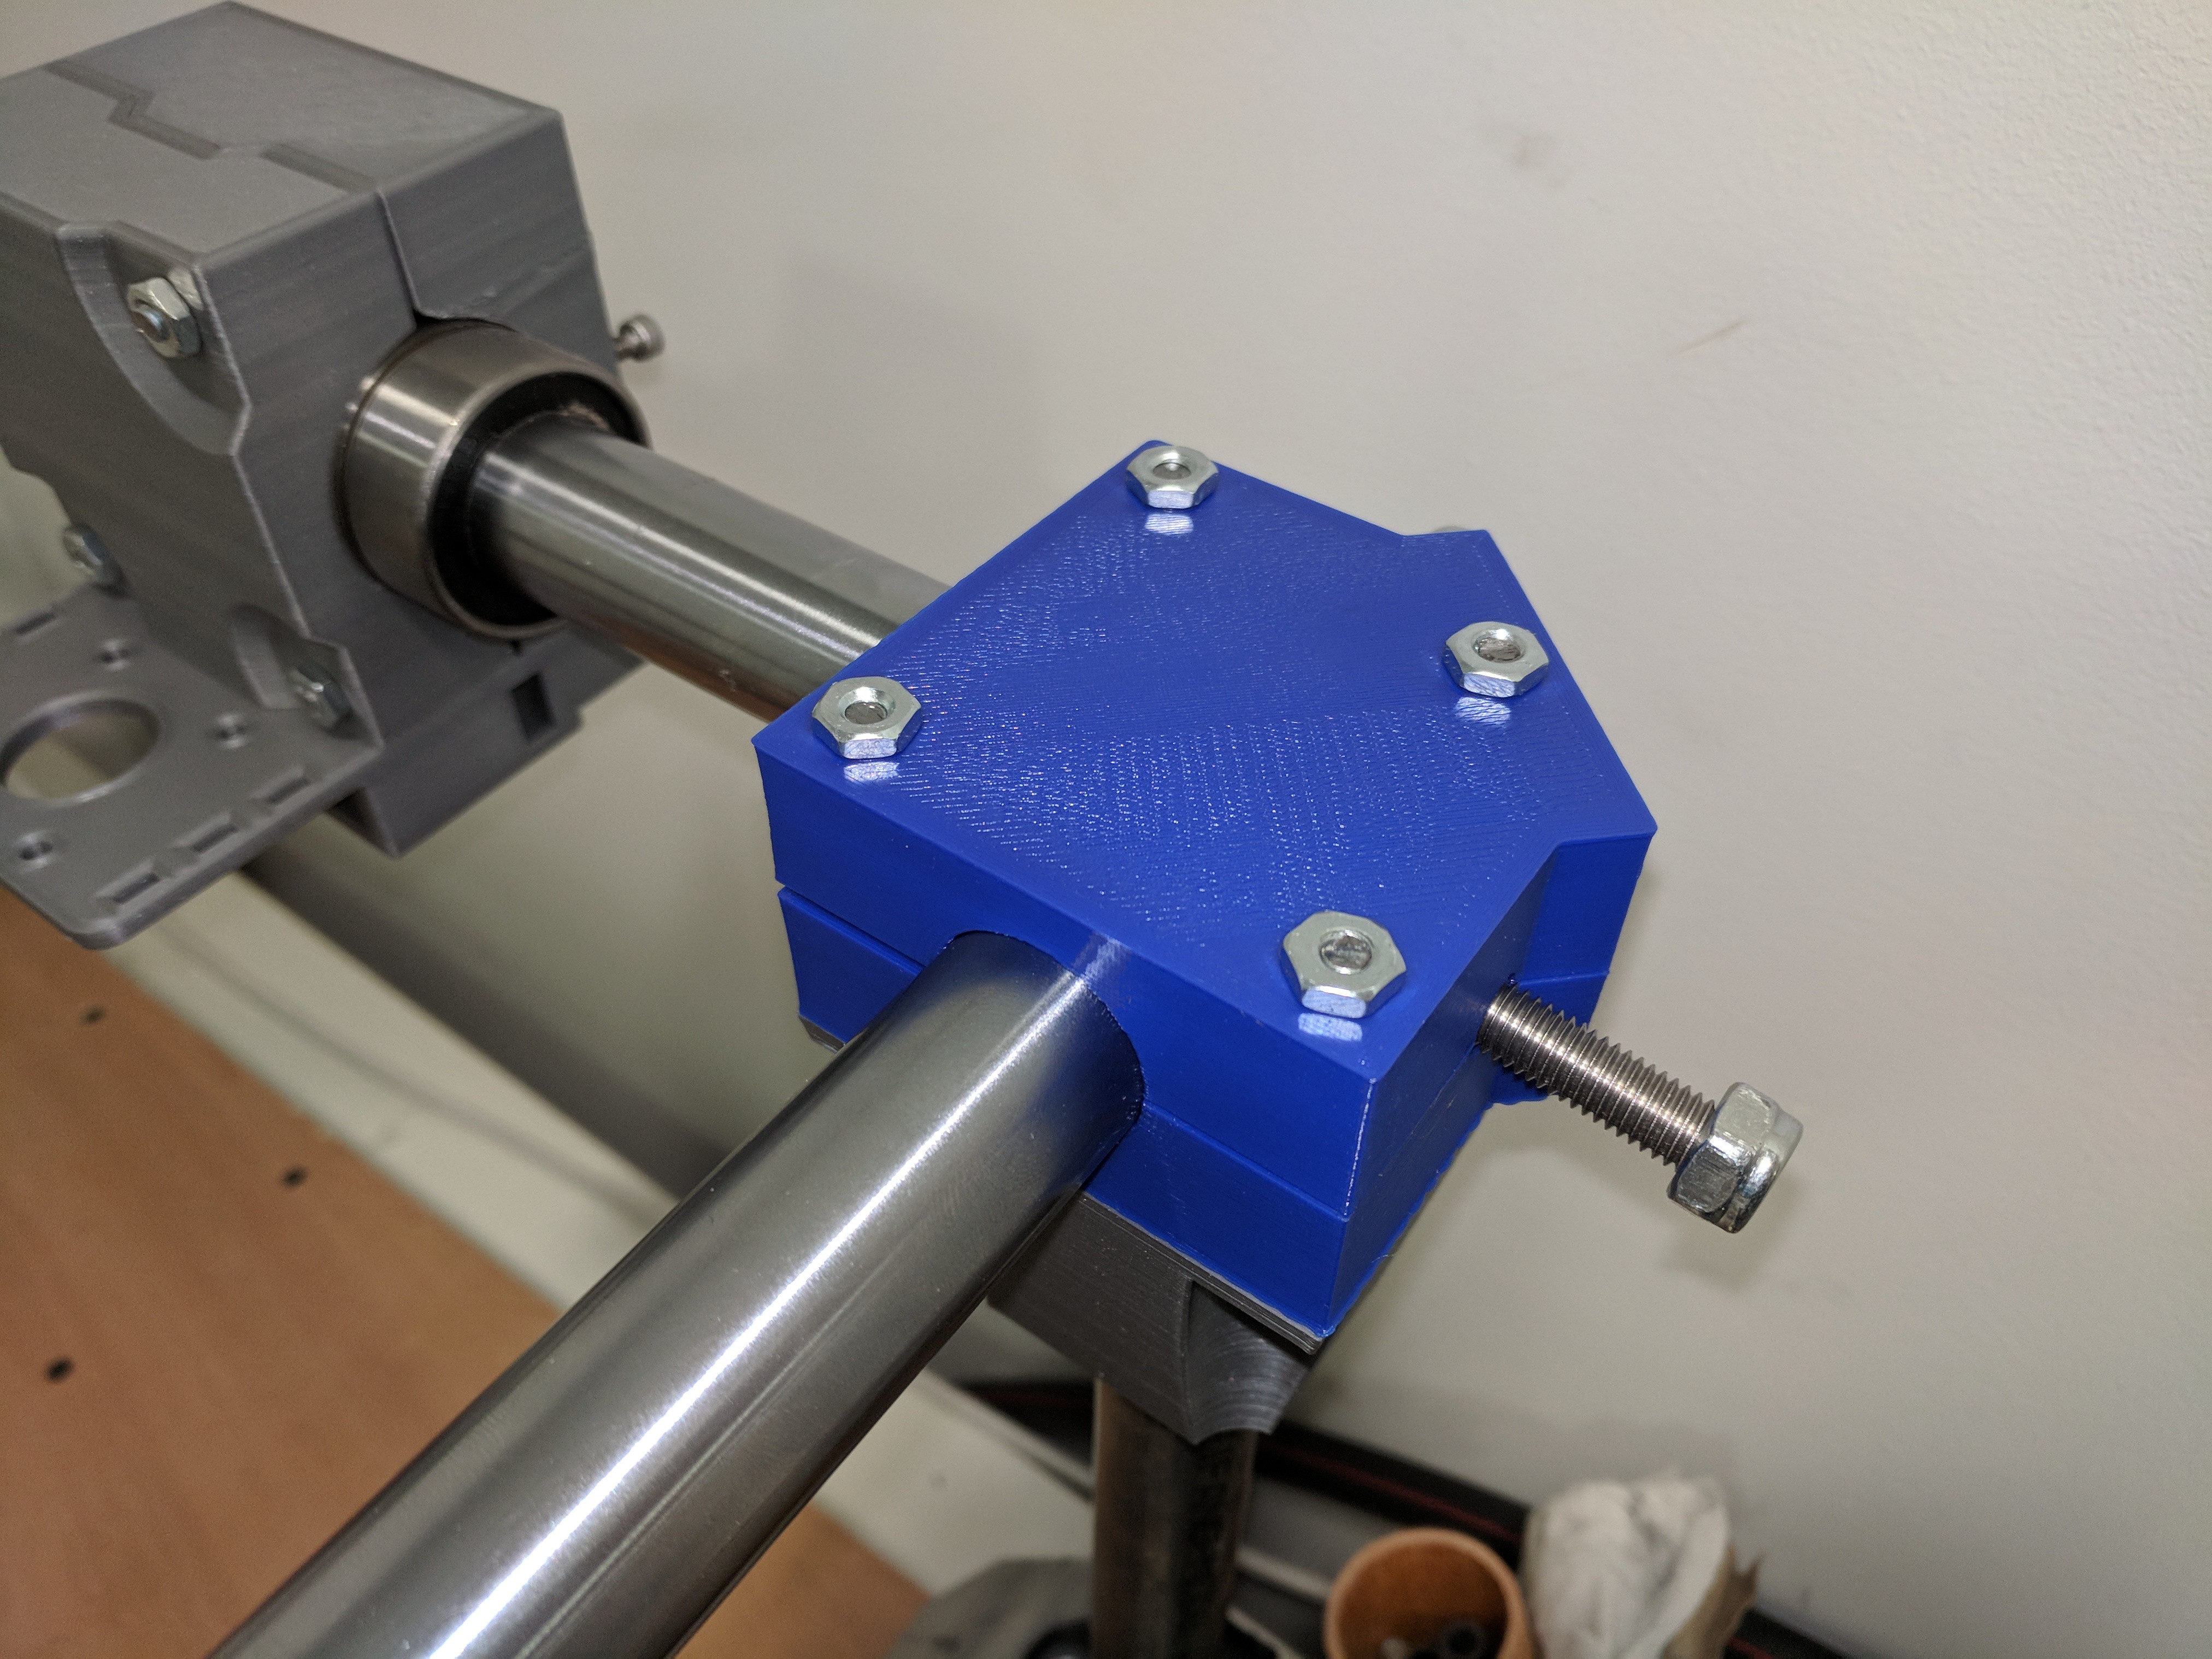
And with the lid installed:
![]()
-
Assembling the Gantry, session 1
12/21/2017 at 08:19 • 0 commentsOk, time has come to assemble the whole thing together.
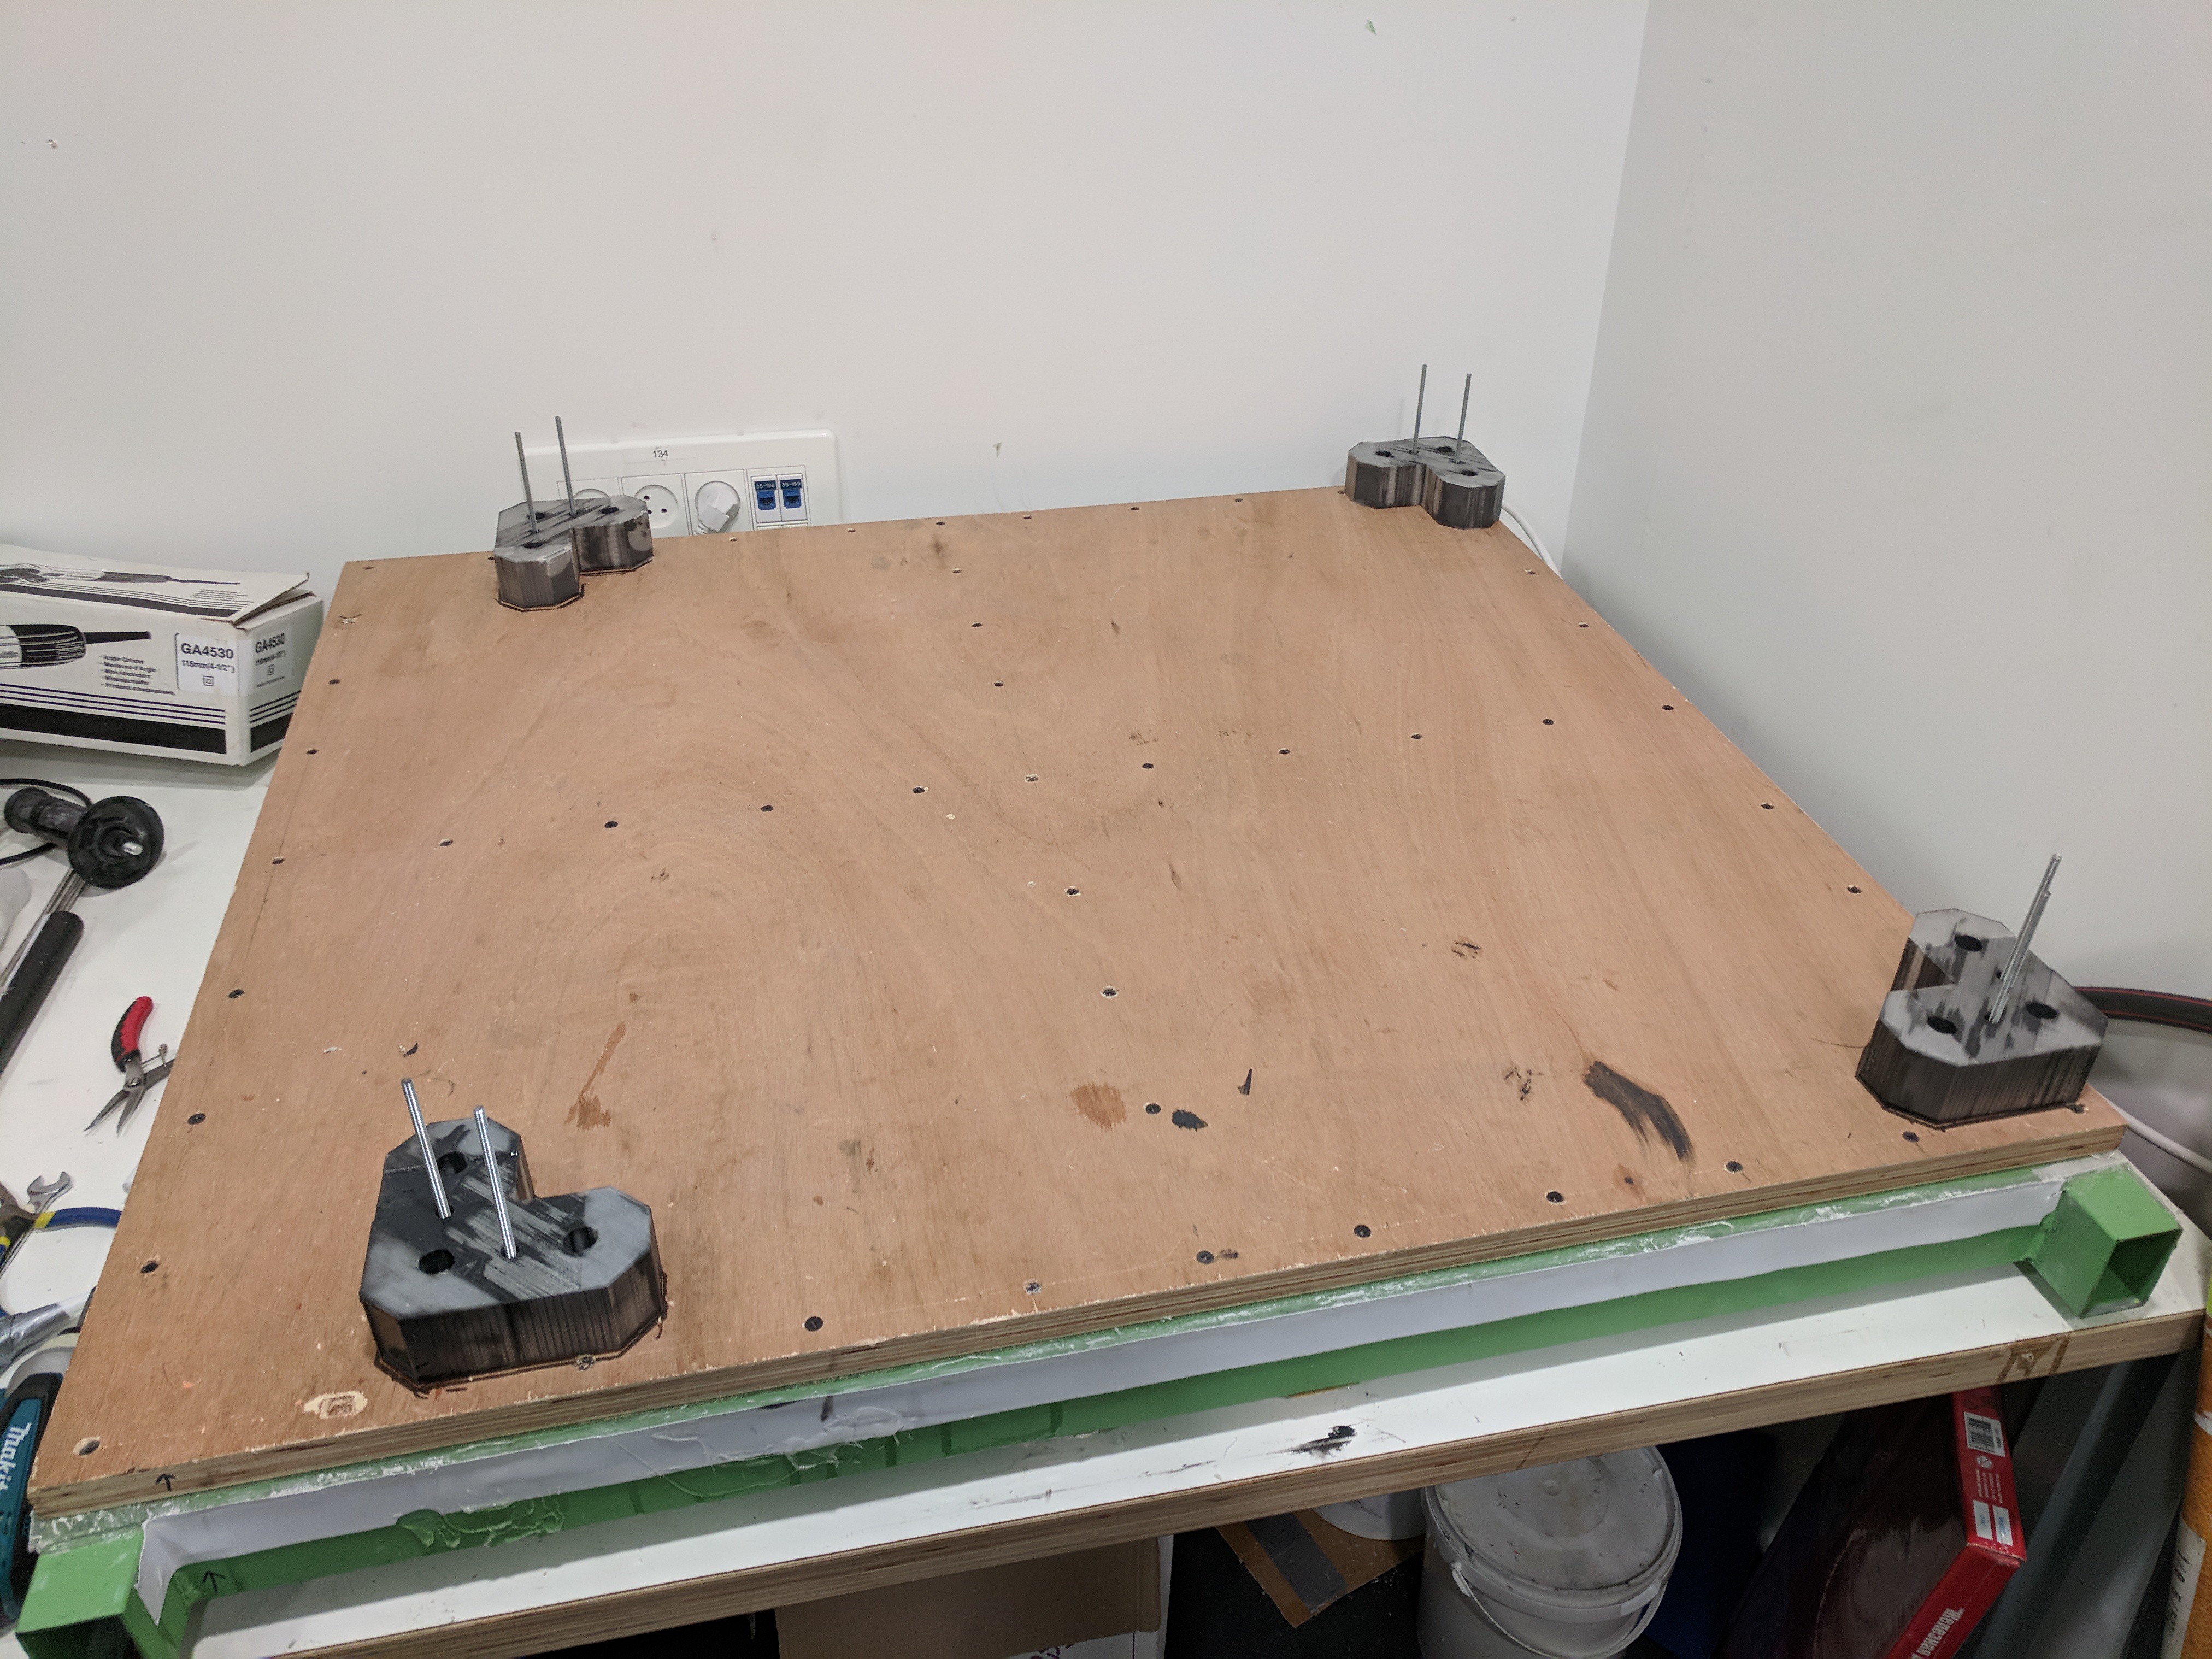
First, screw the bases to the table.
![]()
There is no need for super-precision here, the upper halves of the bases are adjustable. The screws protruding from the lower bases help fix the upper halves in place, after the whole thing is squared.
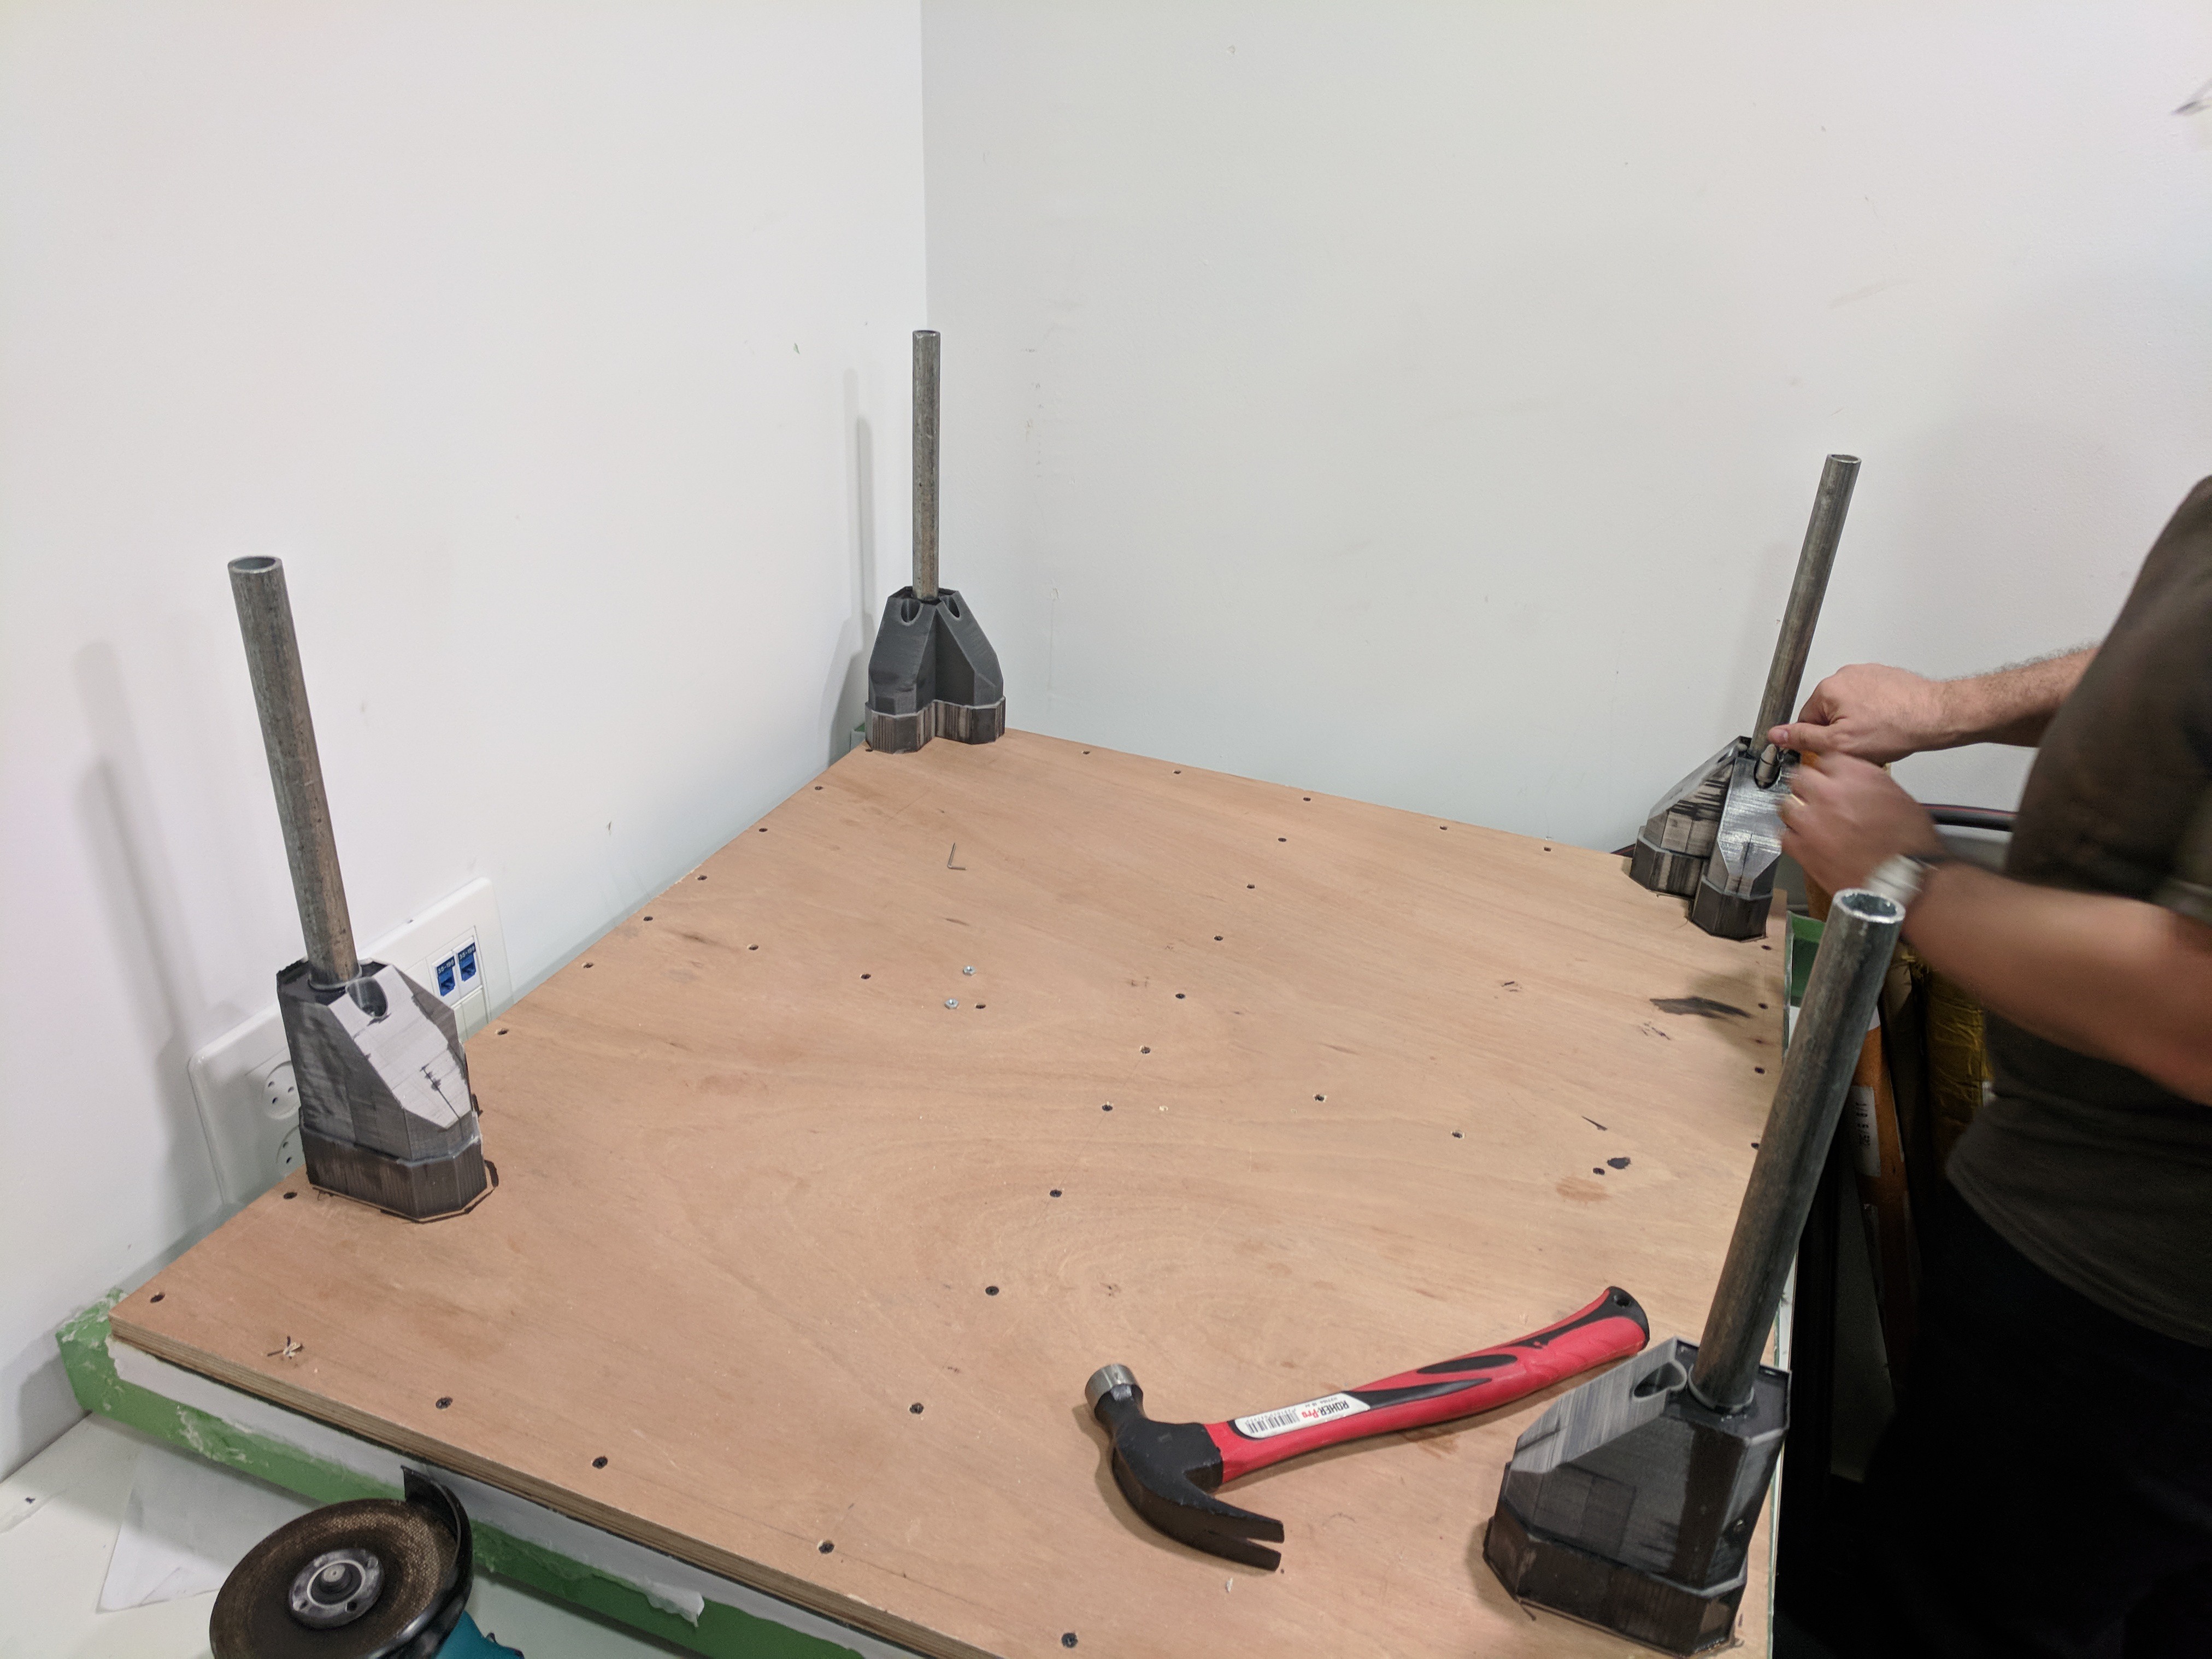
Now install the upper halves and the legs.
![]()
Not fixing them tightly yet, will do after the whole thing is adjusted. There is a lot of move to them, some 5-10mm.
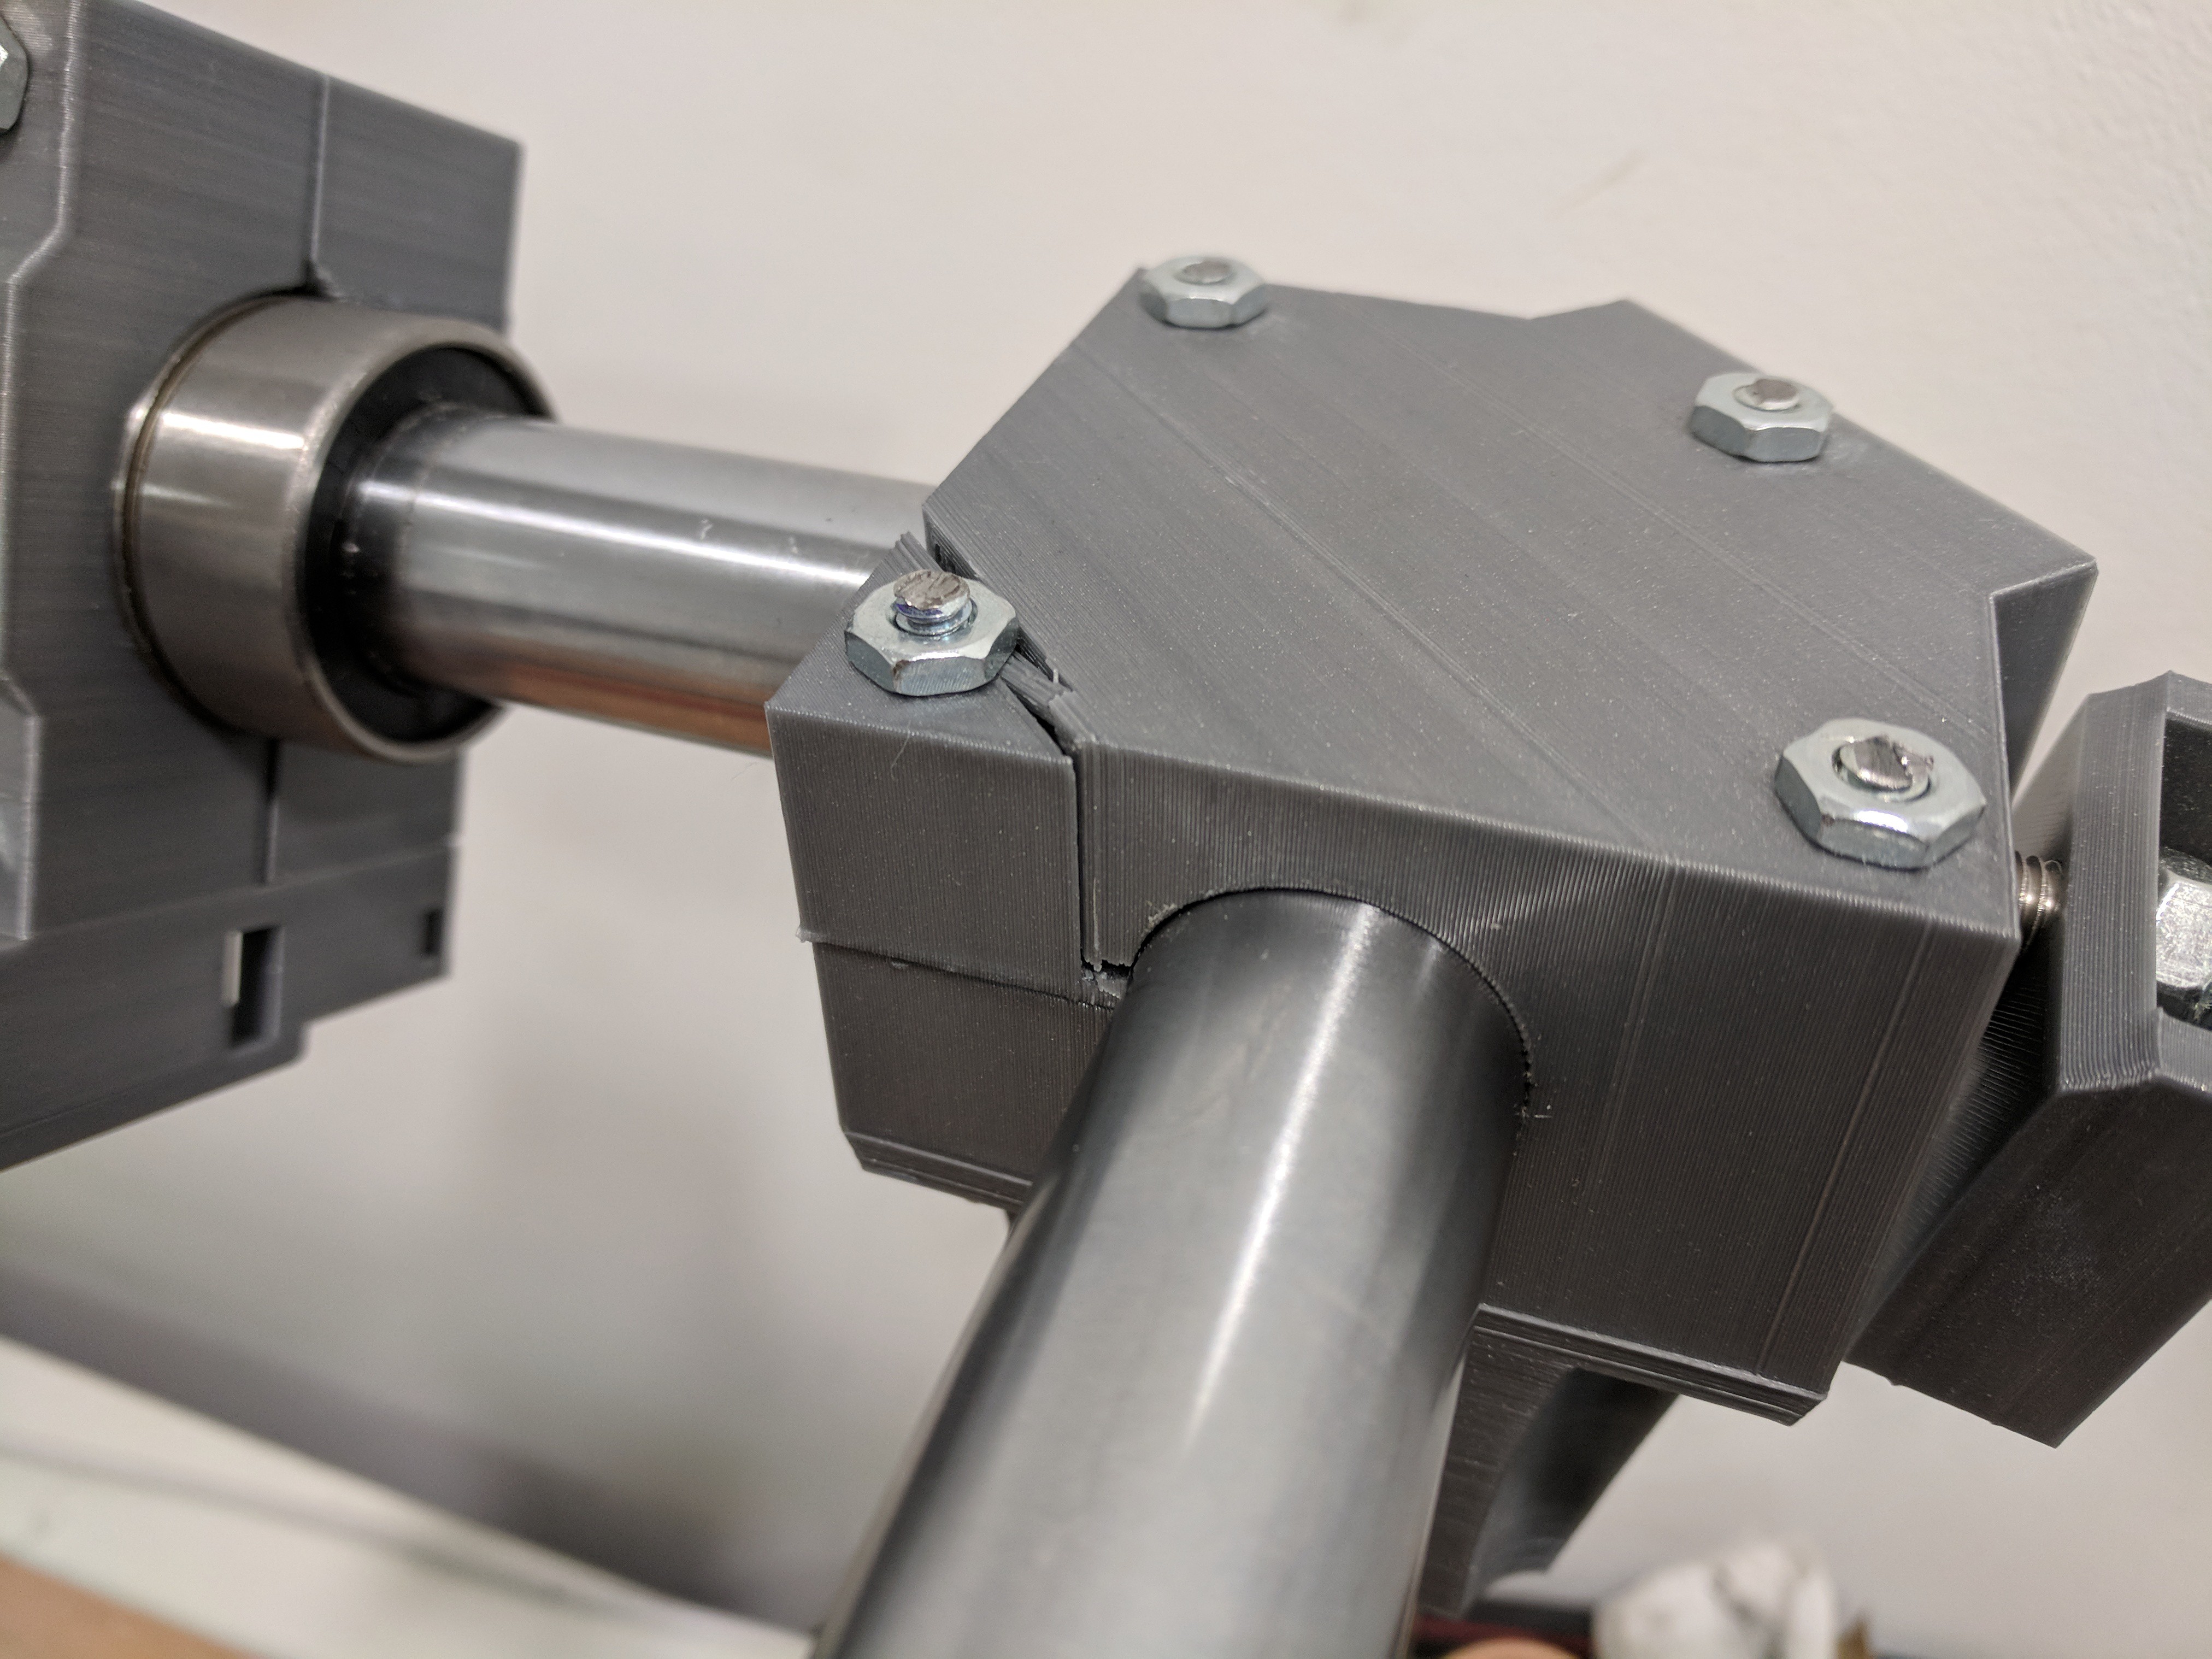
Now installing the gantry and tightening it.
![]()
And OOPS, one of the corners broke when tightening.
From examining it, the problem is the print orientation. The stress is applied along the lamination lines.
The solution to this is to re-make the corners so that they print lying down. For that, each corner has to be remade - I'll cut it in half so that there are no overhangs and it can be printed easily. The extra benefit of this is that the design becomes much easier to assemble: lay down the lower halves of the corners, then the bars, then the upper halves of the corners.
Stay tuned. Each corner now takes 17 hours to print, so it's a few days until I'm able to continue.
-
Built the system for assembling the gantry with straight angles
12/14/2017 at 12:00 • 0 commentsI think it's important to keep the gantry with angles as close to 90 degrees as possible (I guess it can be compensated for in software, but better to be precise).
The construction of angles keeps the angles close to 90 degrees, but it's short, so I think it won't be able to keep angles precise enough.
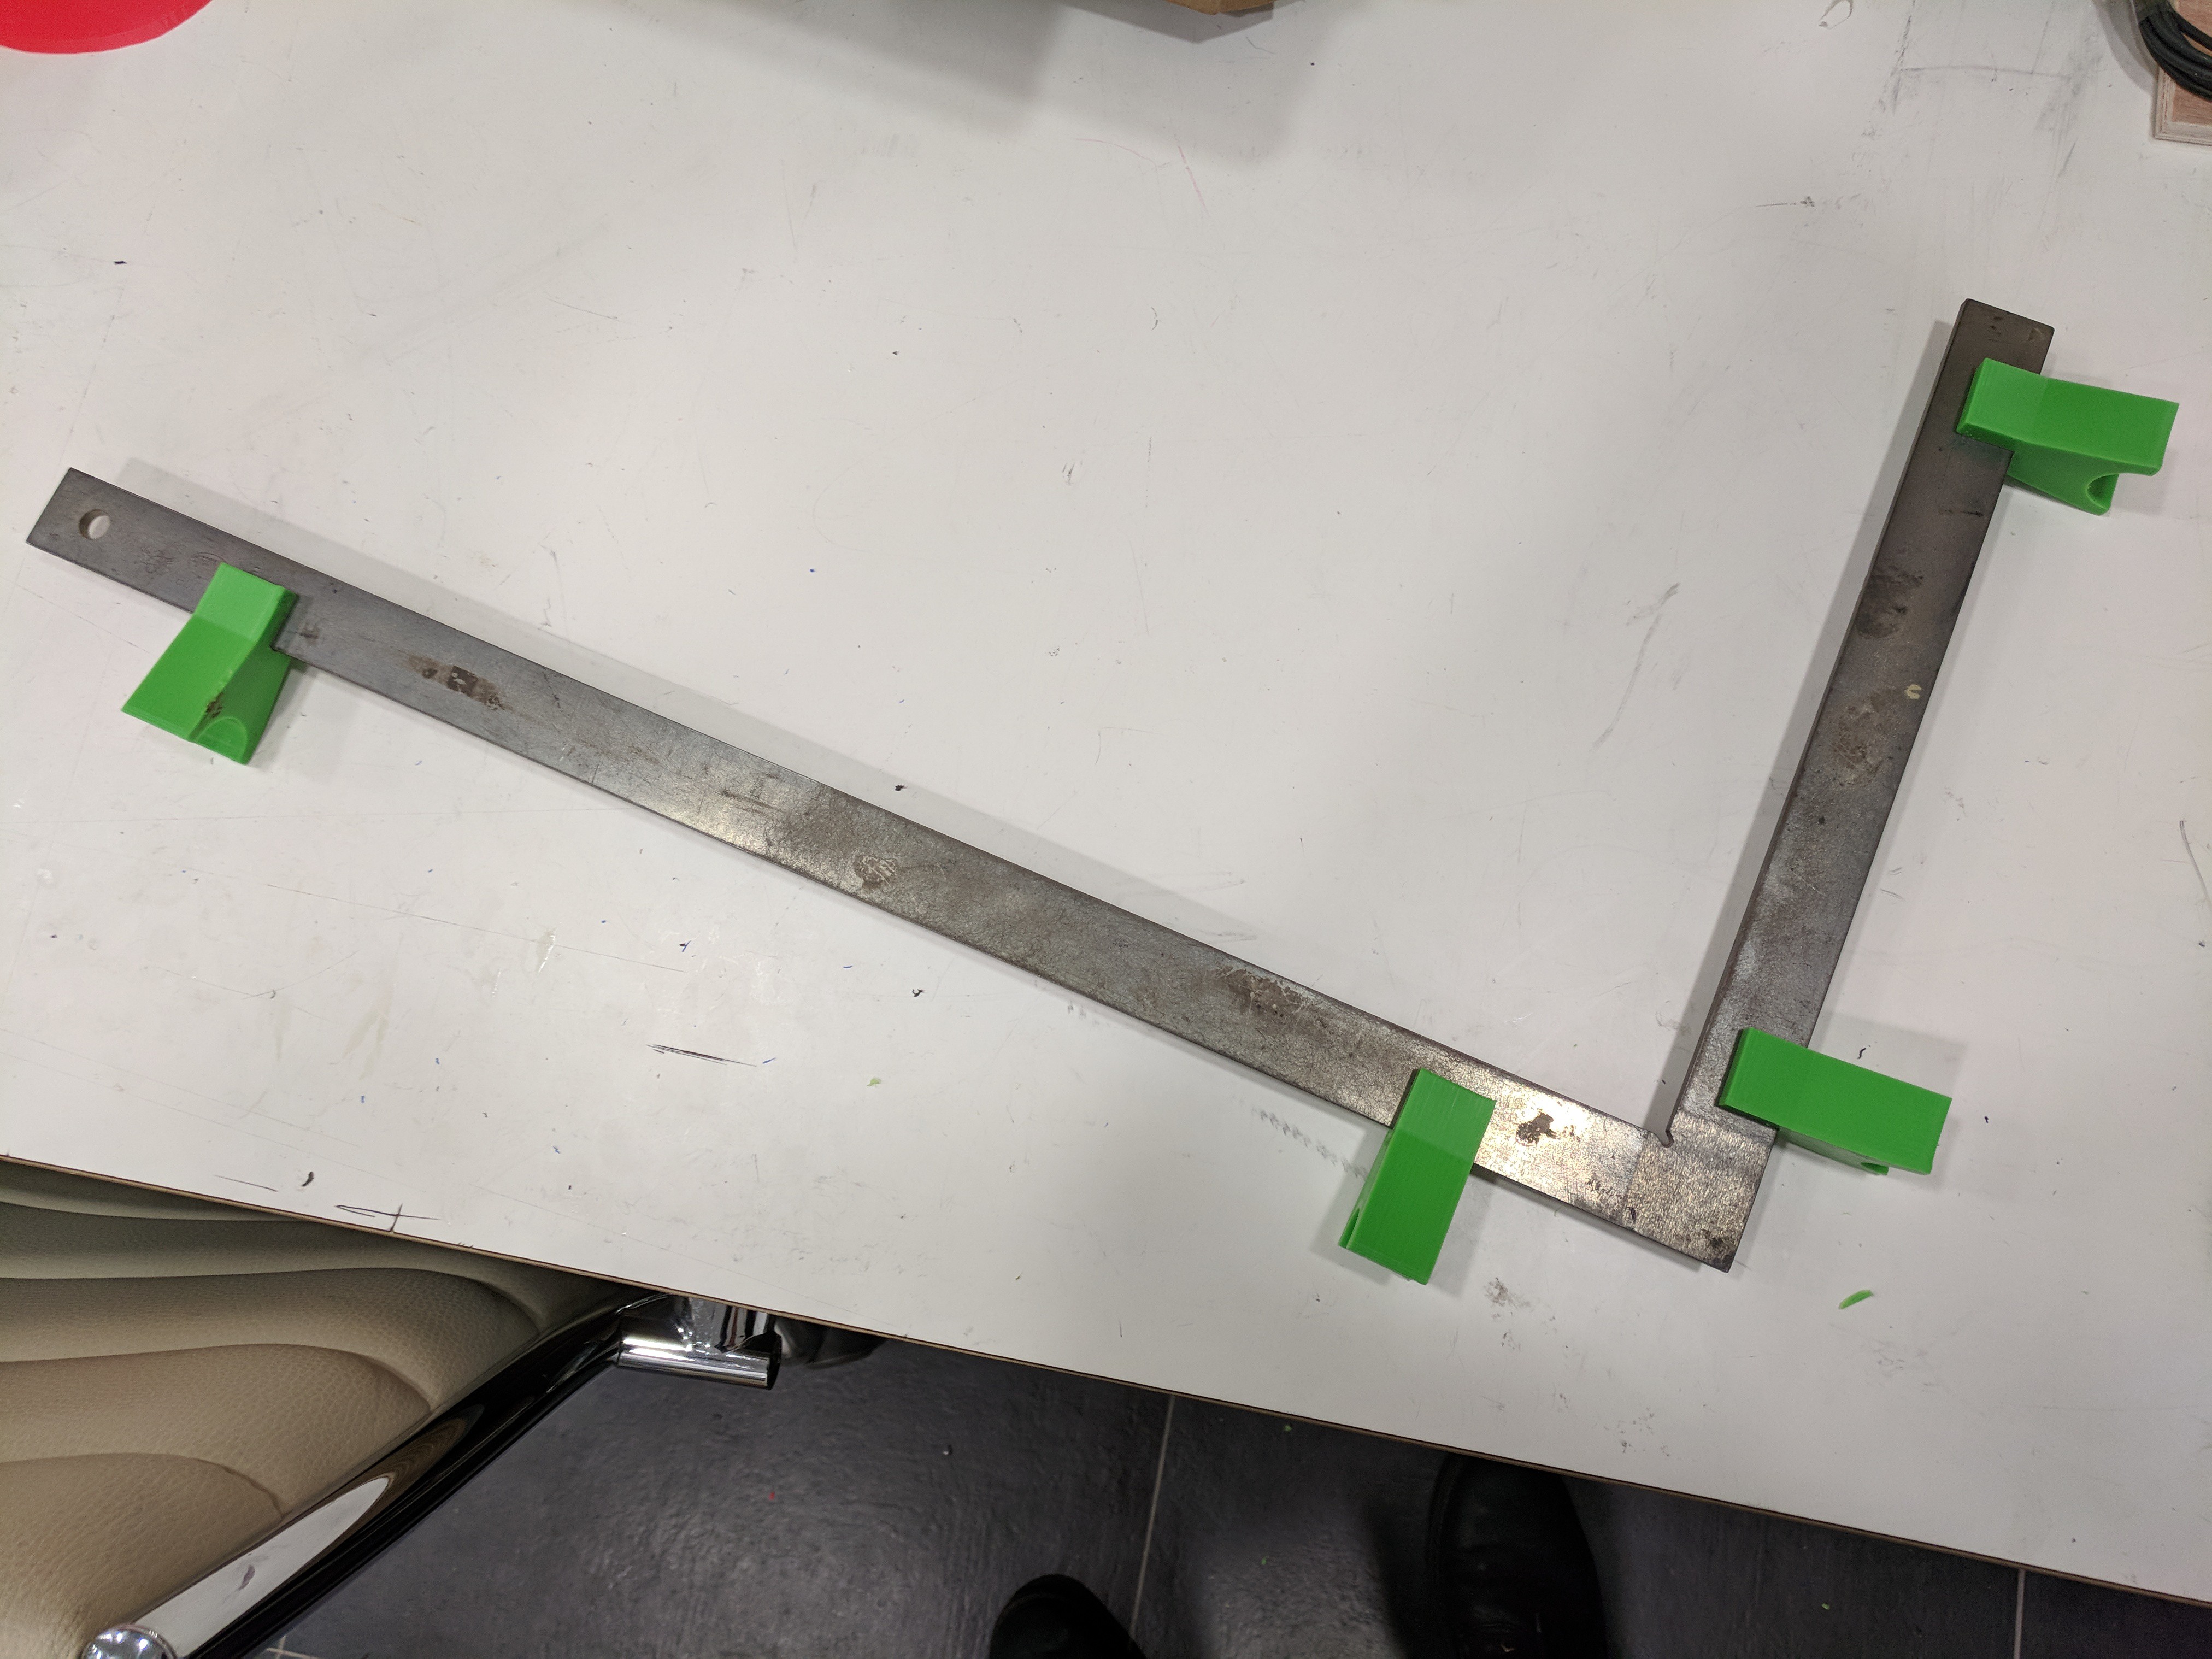
I got a sturdy mechanical angle, and now I need to connect it to the gantry. 3D printing to the rescue!
![]()
Here is how it looks connected to the angle:
![]()
![]()
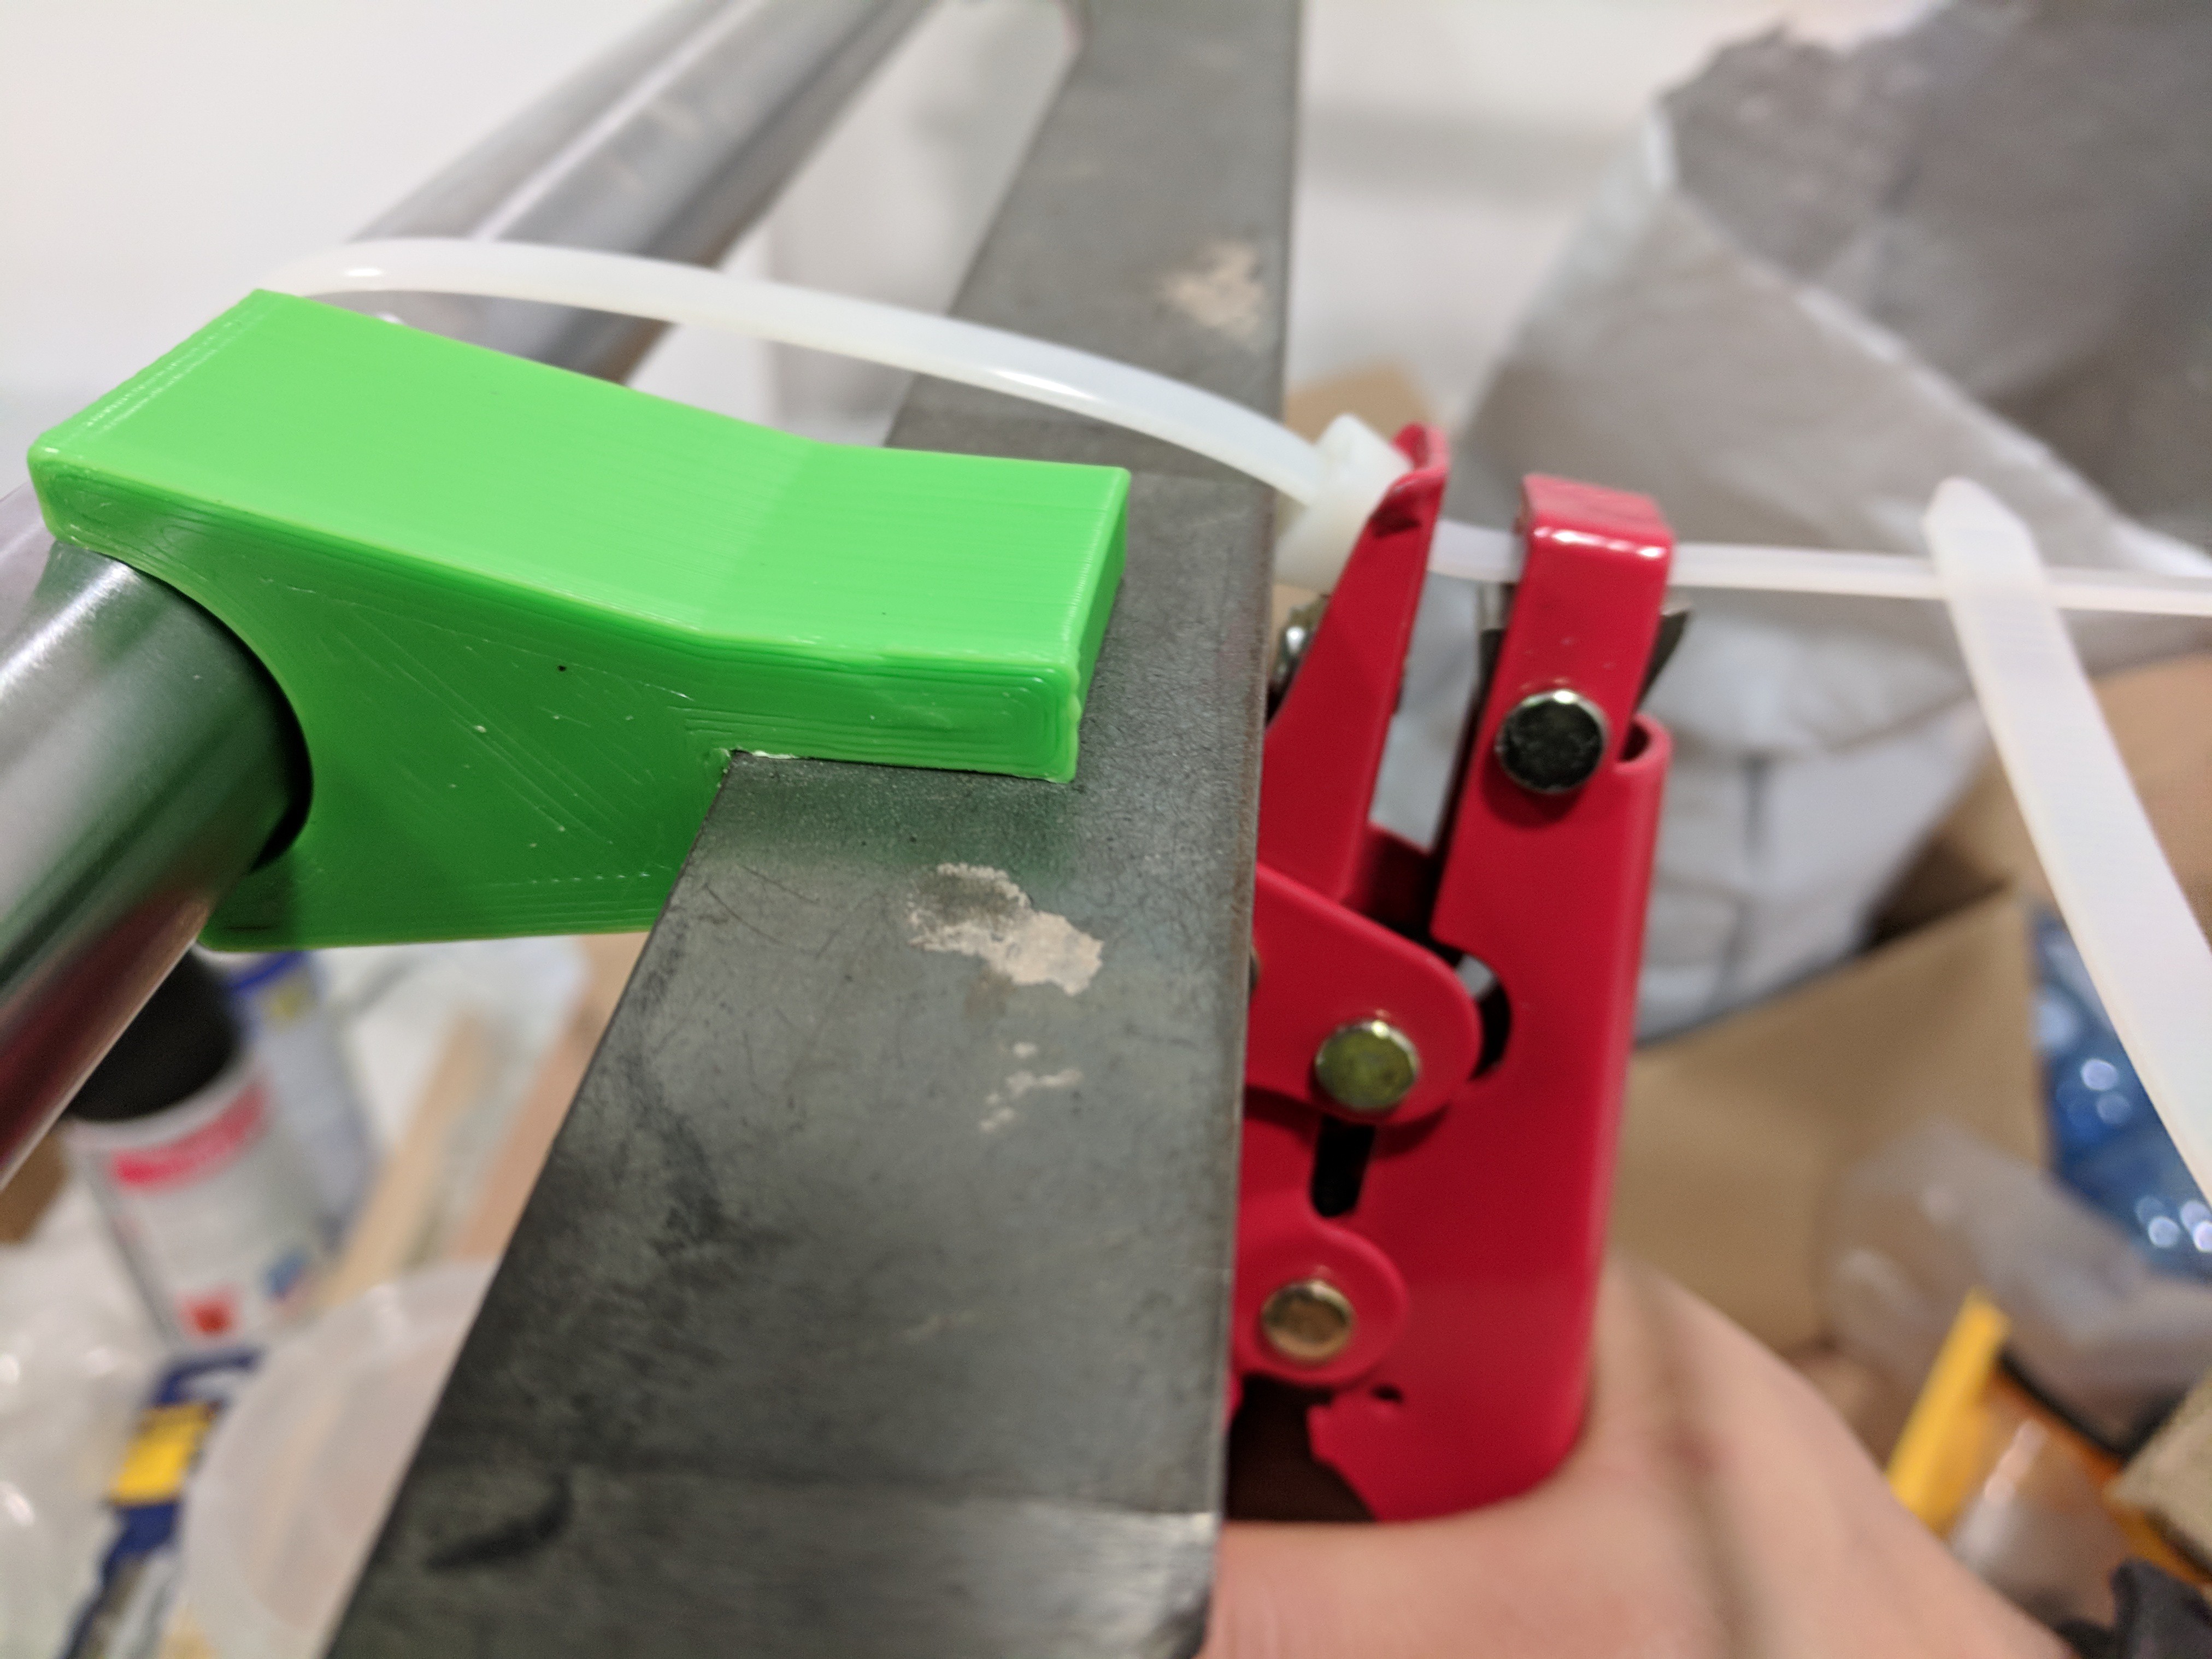
I need to tighten it onto the frame, and what's better for that than tried and true zipties. Lucky I have a tensioner tool, couldn't do it by hand:
![]()
![]()
![]()
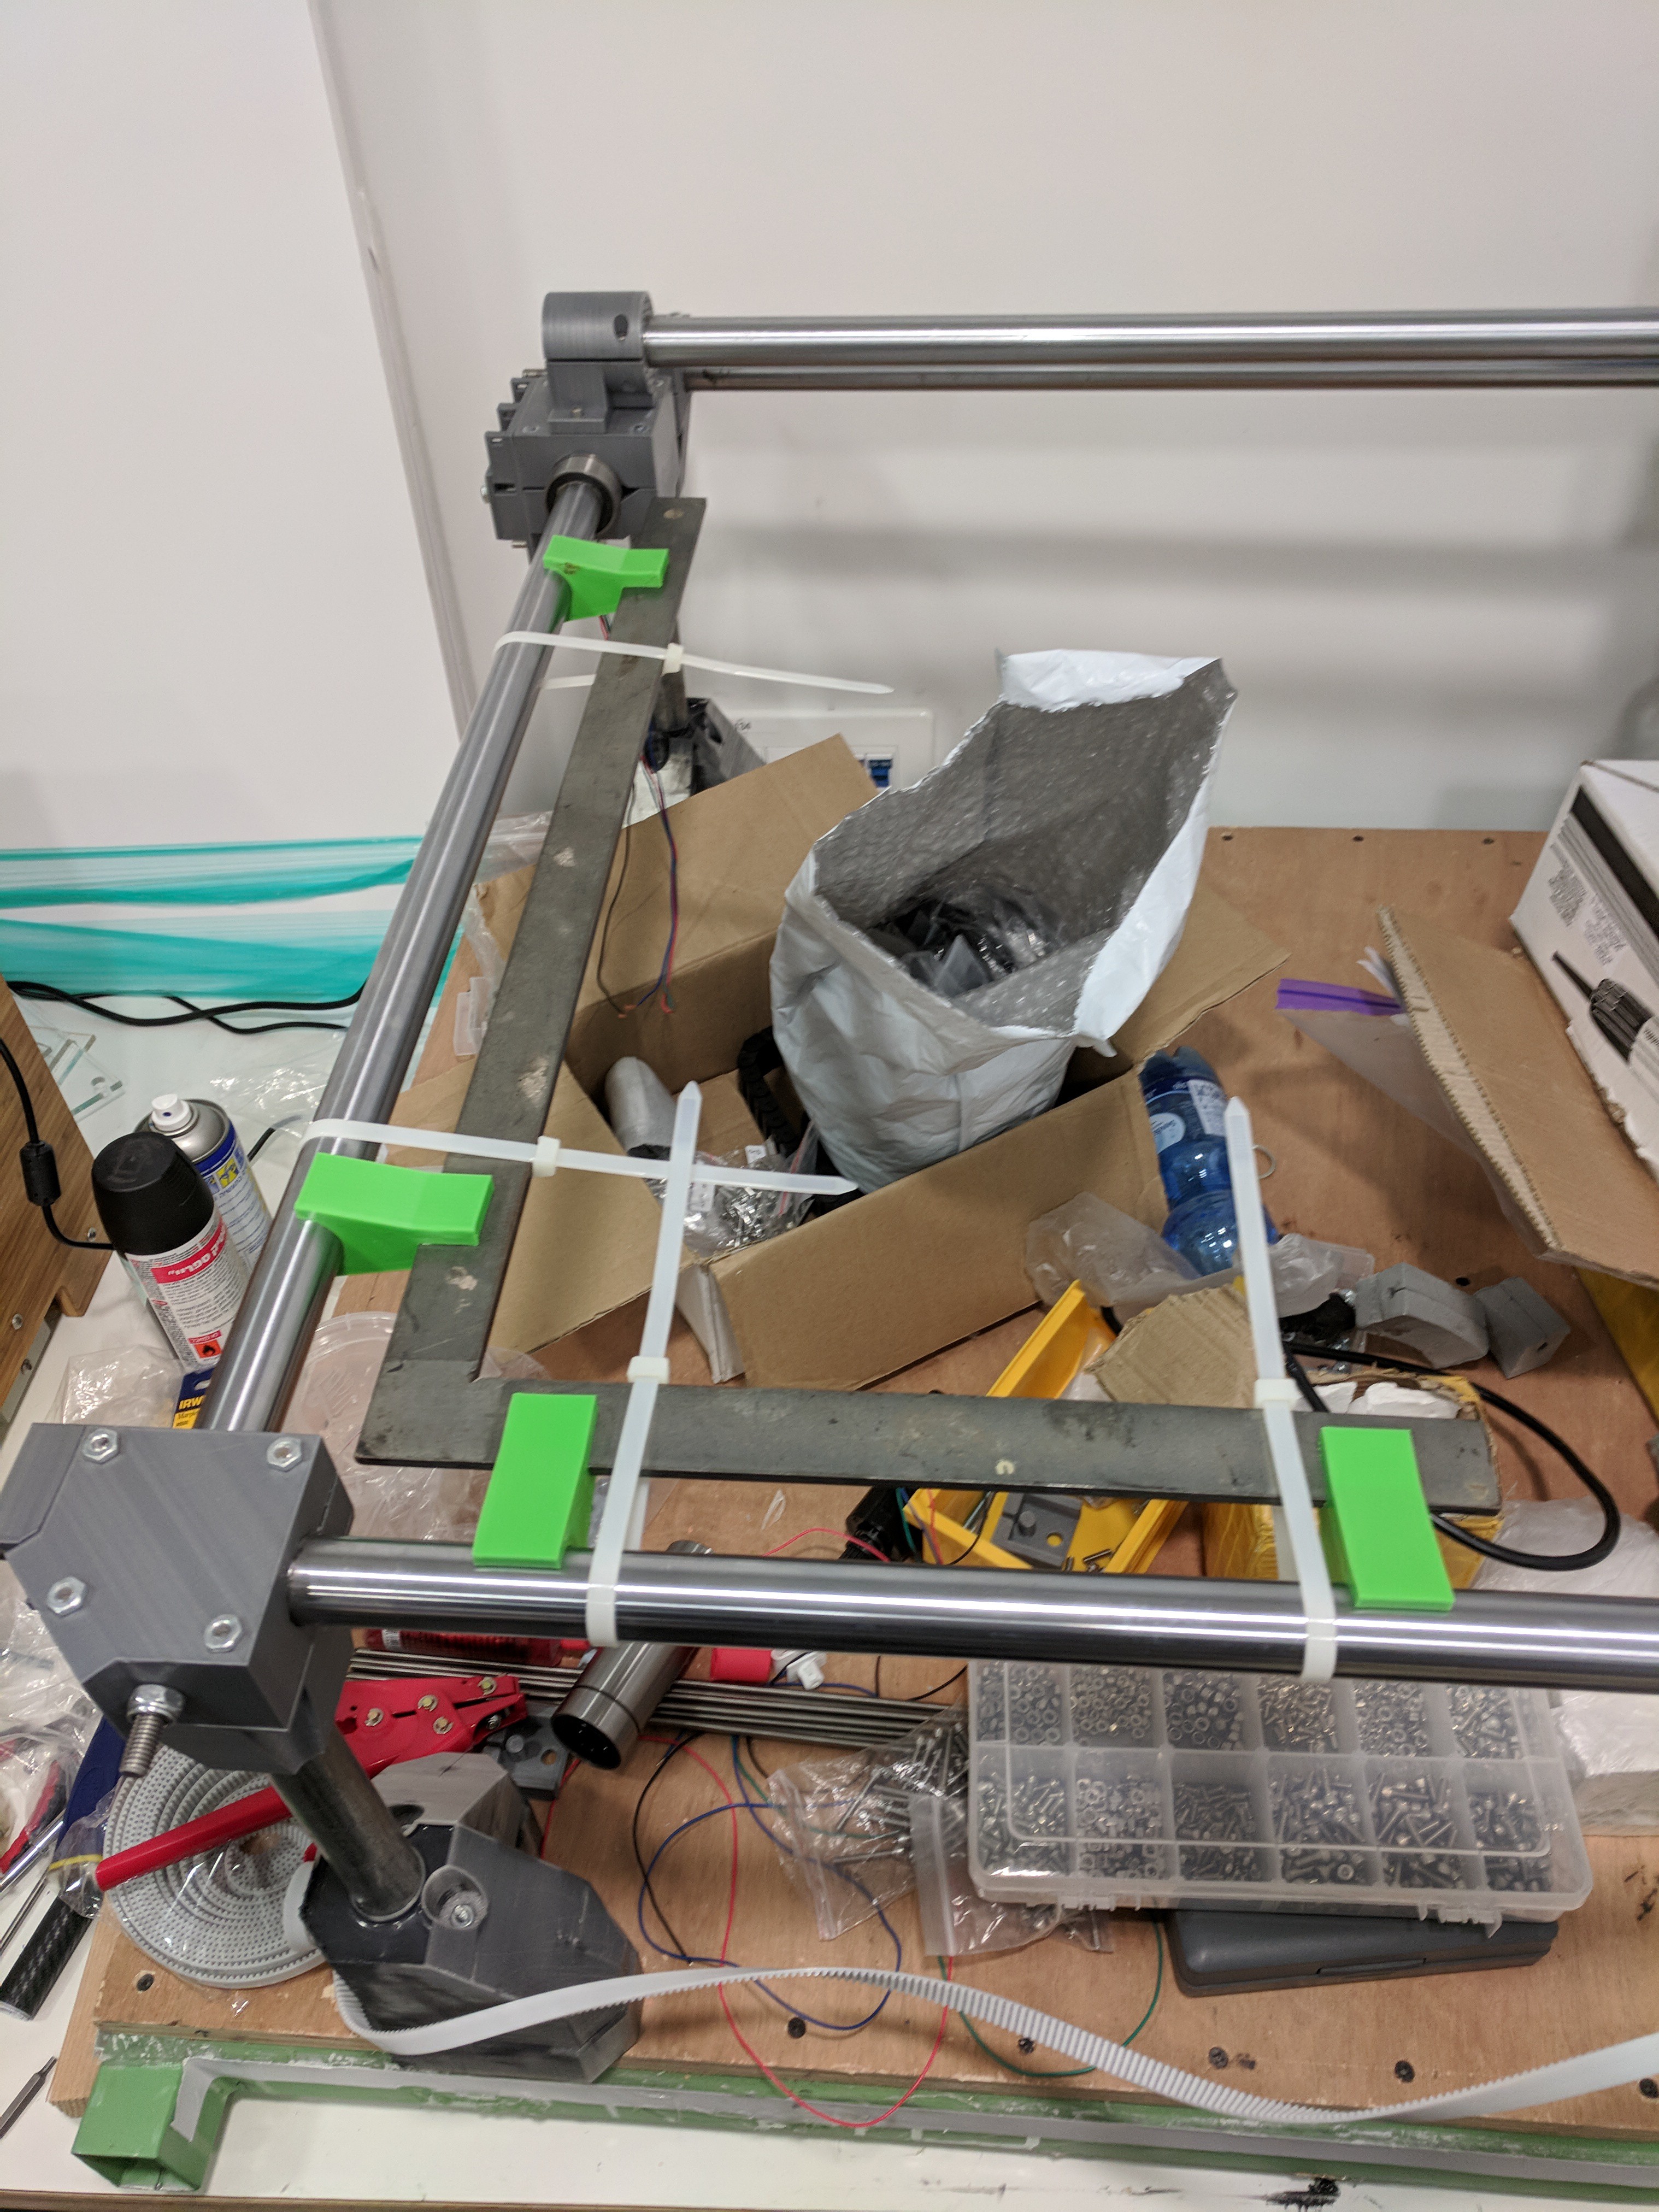
And the end result is:
![]()
Linear Slide CNC
I bought a set of sturdy-looking 20mm rods with linear bearings, and I'm working to build a CNC with it. All the blueprints in OnShape.