-
1Programming the ATTiny85
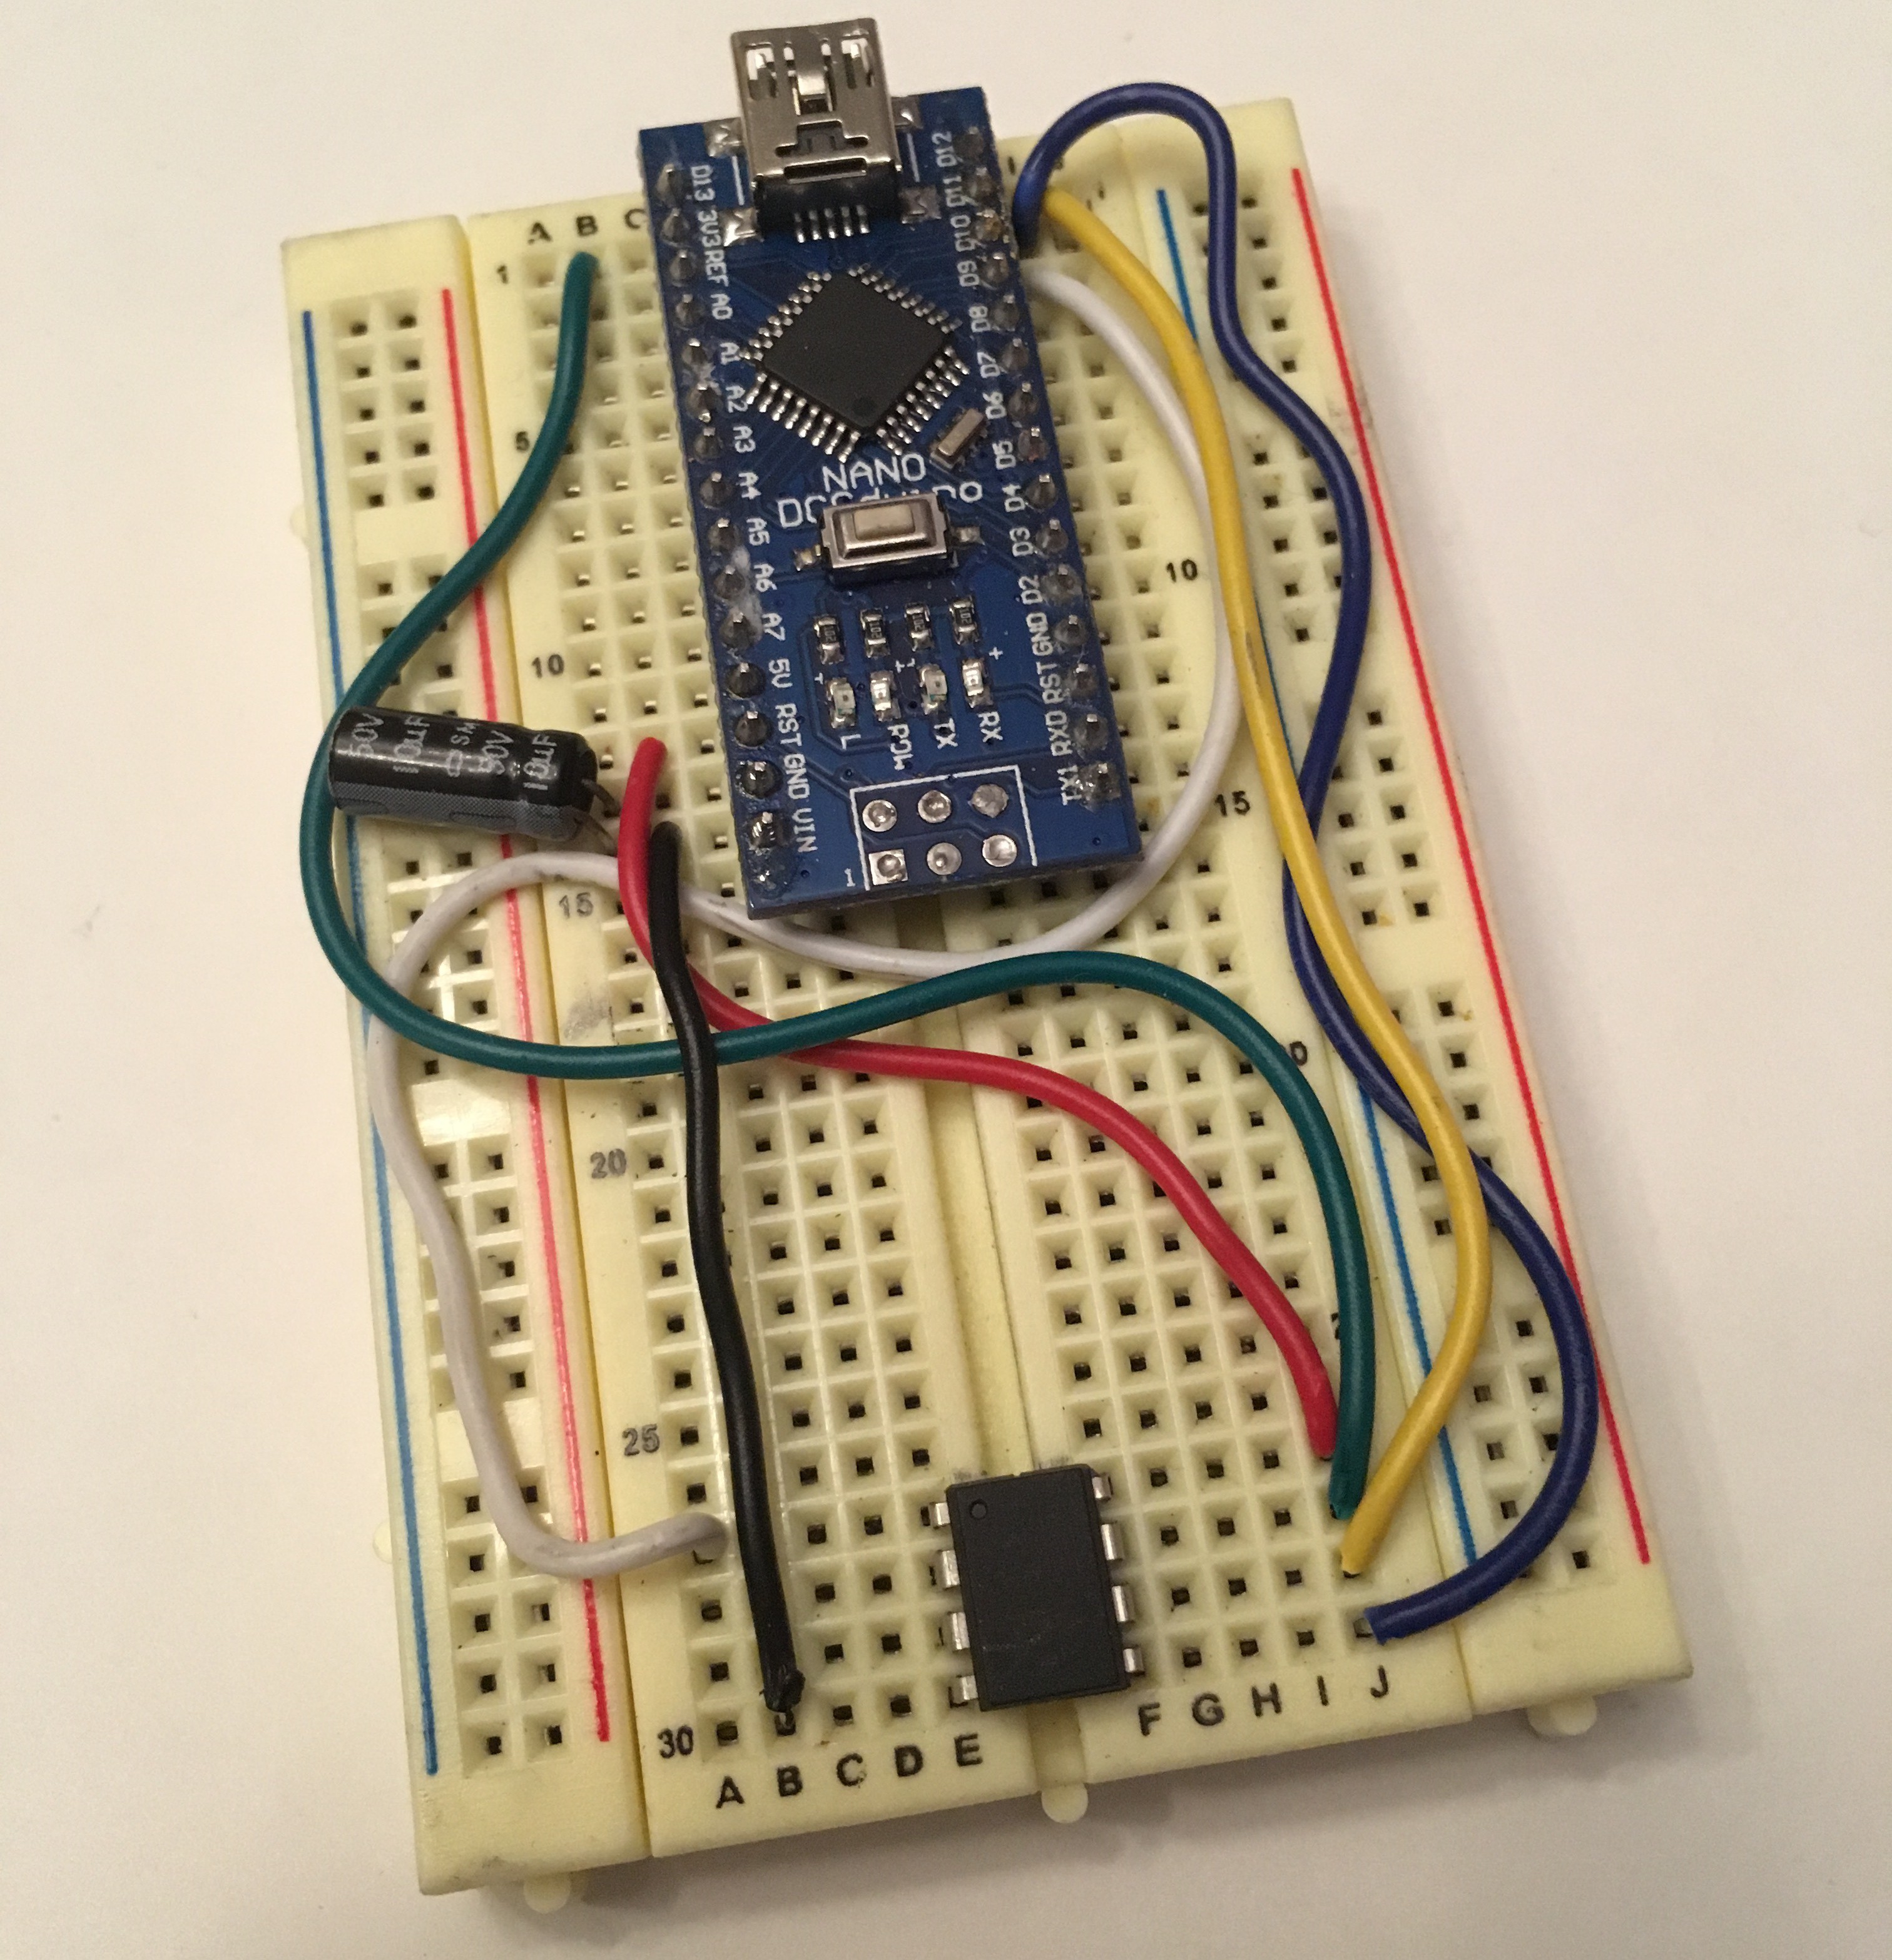
Use some method to load the sketch onto the ATTiny85 (I used arduino as ISP)
ATTiny85 Arduino as ISP tutorial
Here is my setup using an Arduino Nano:
-
2Coin Cell
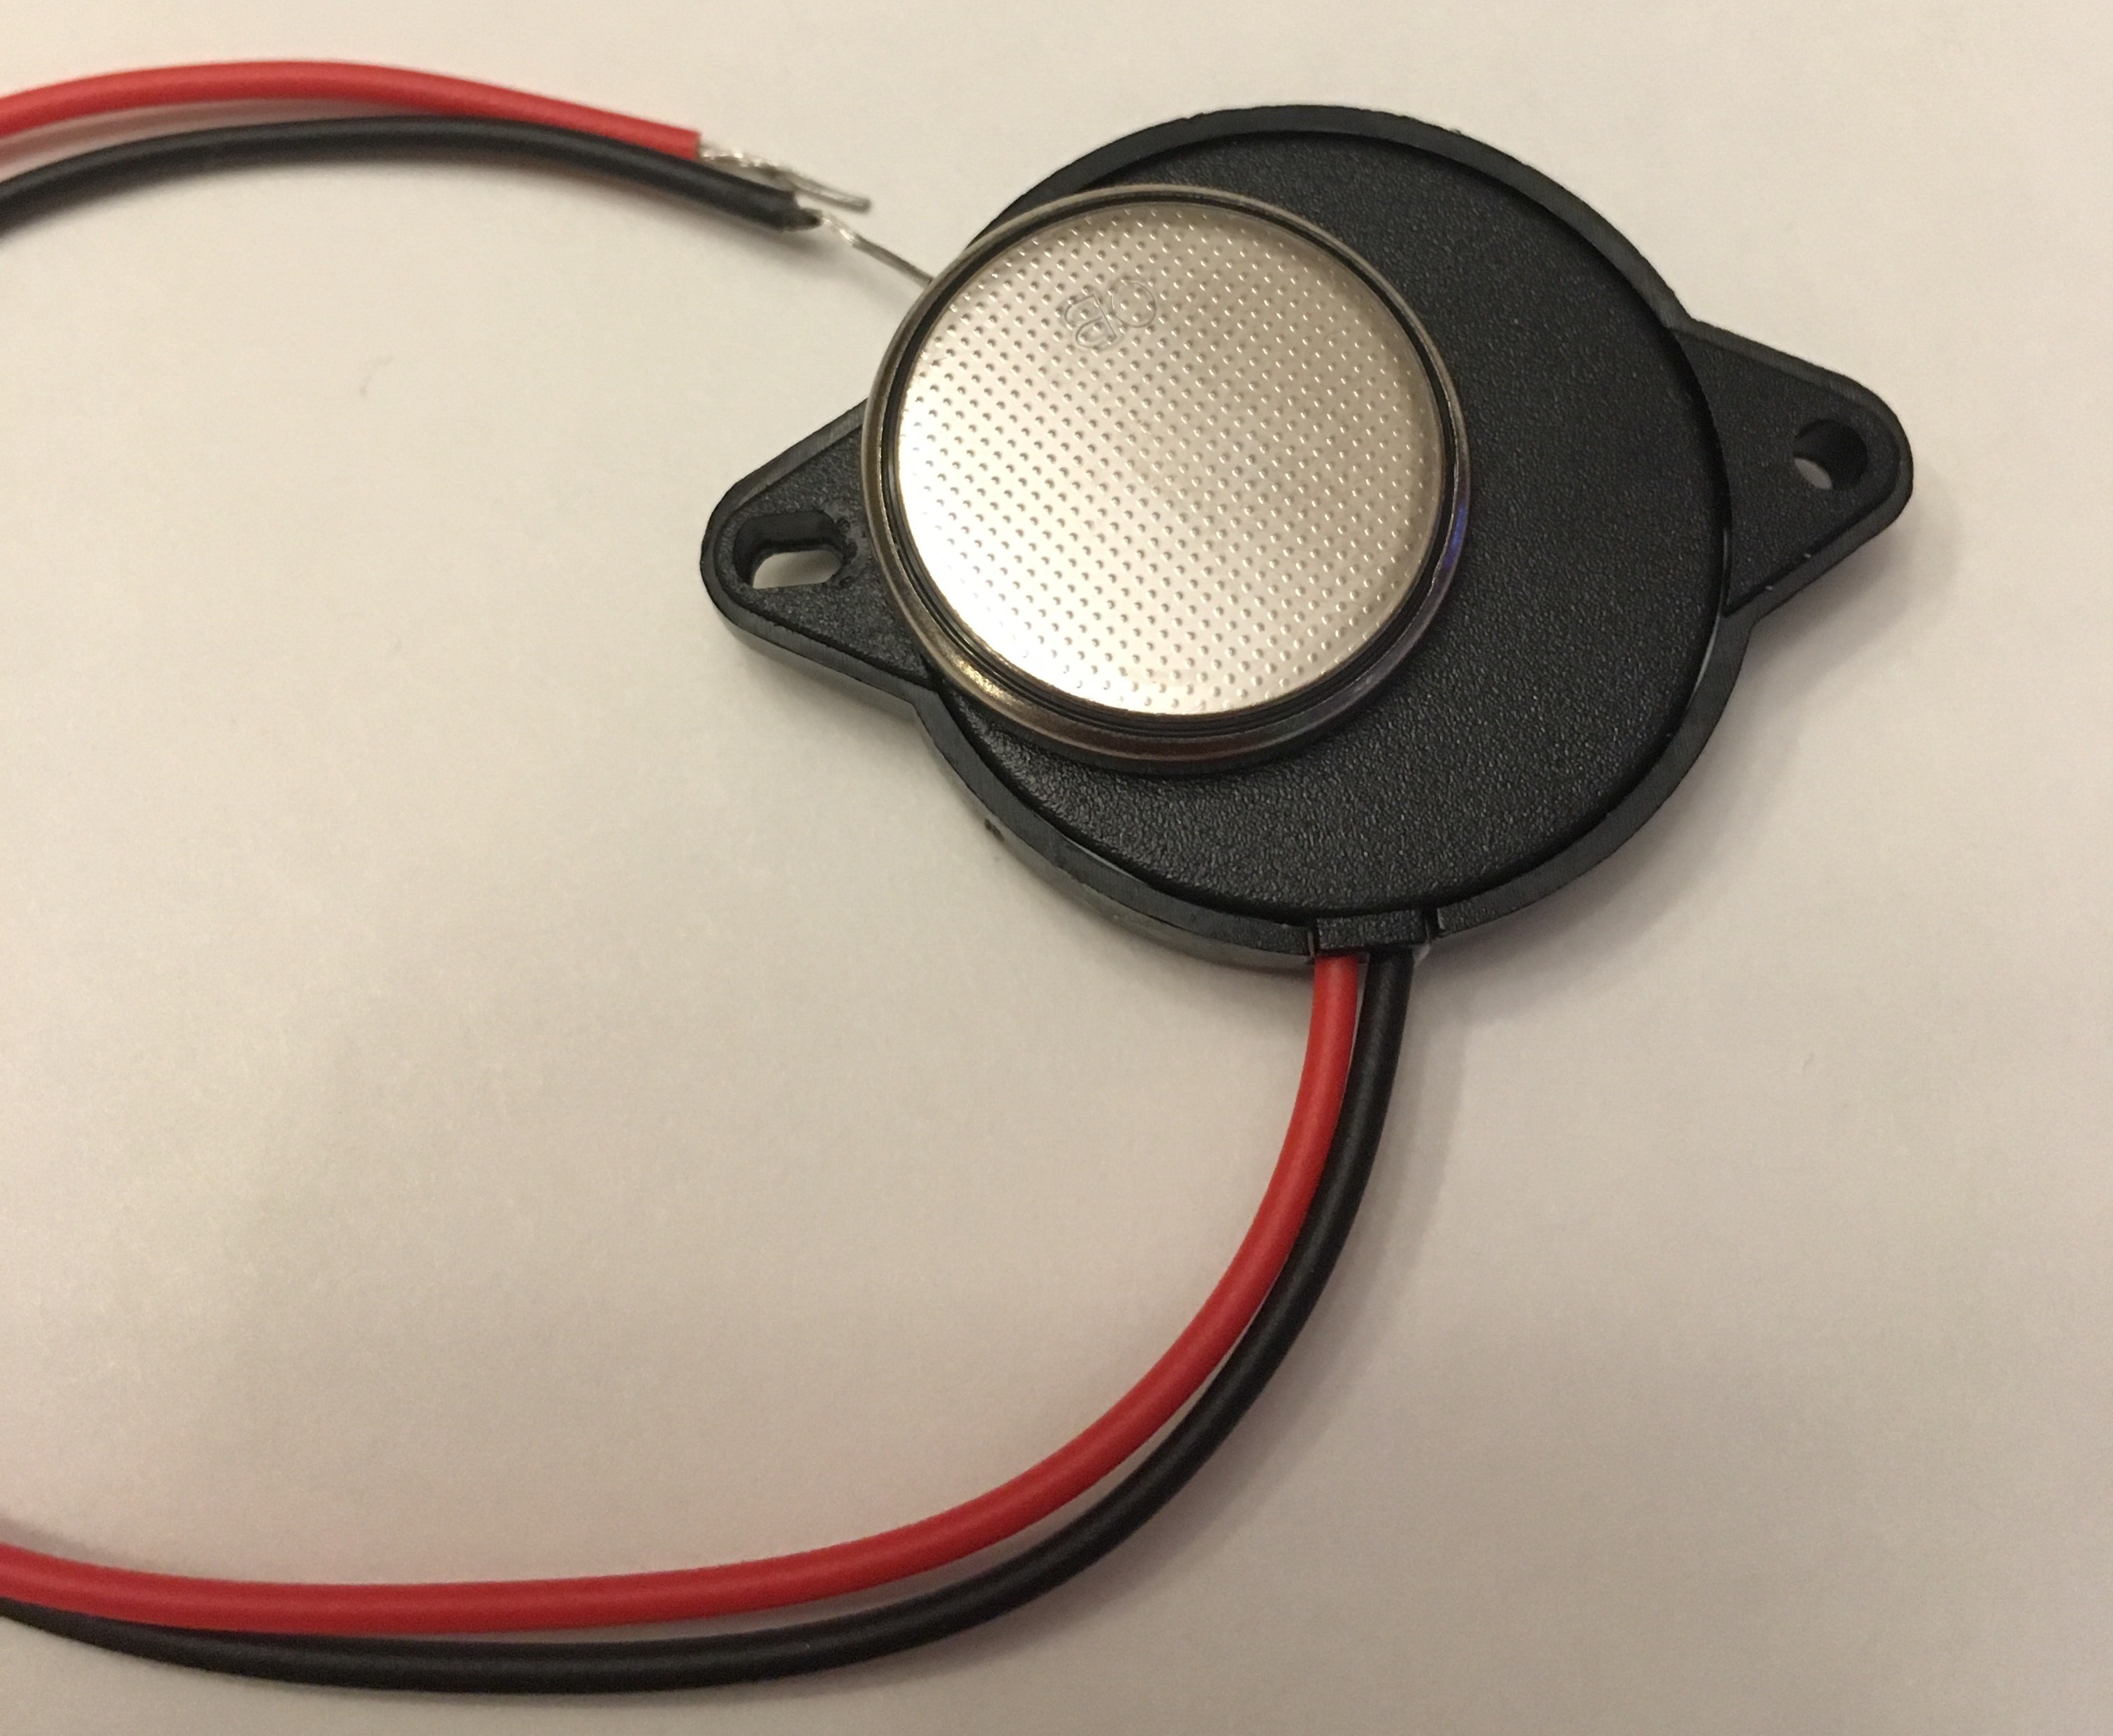
Hot glue the coin cell to the back of the piezo:
![]()
-
3ATTiny Pins
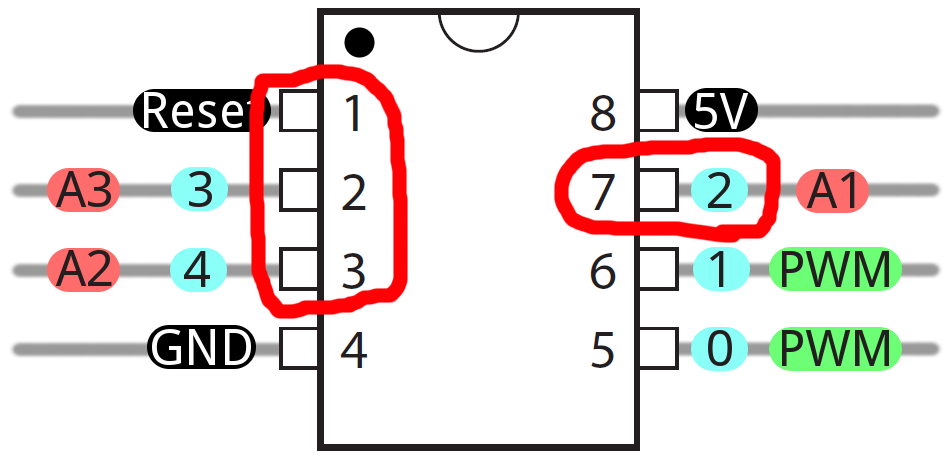
Since we will only be using 5V, GND, 1, and 0 pins on the ATTiny, you can cut off the pins that we won't be using:
![]()
-
4Glue Down ATTiny
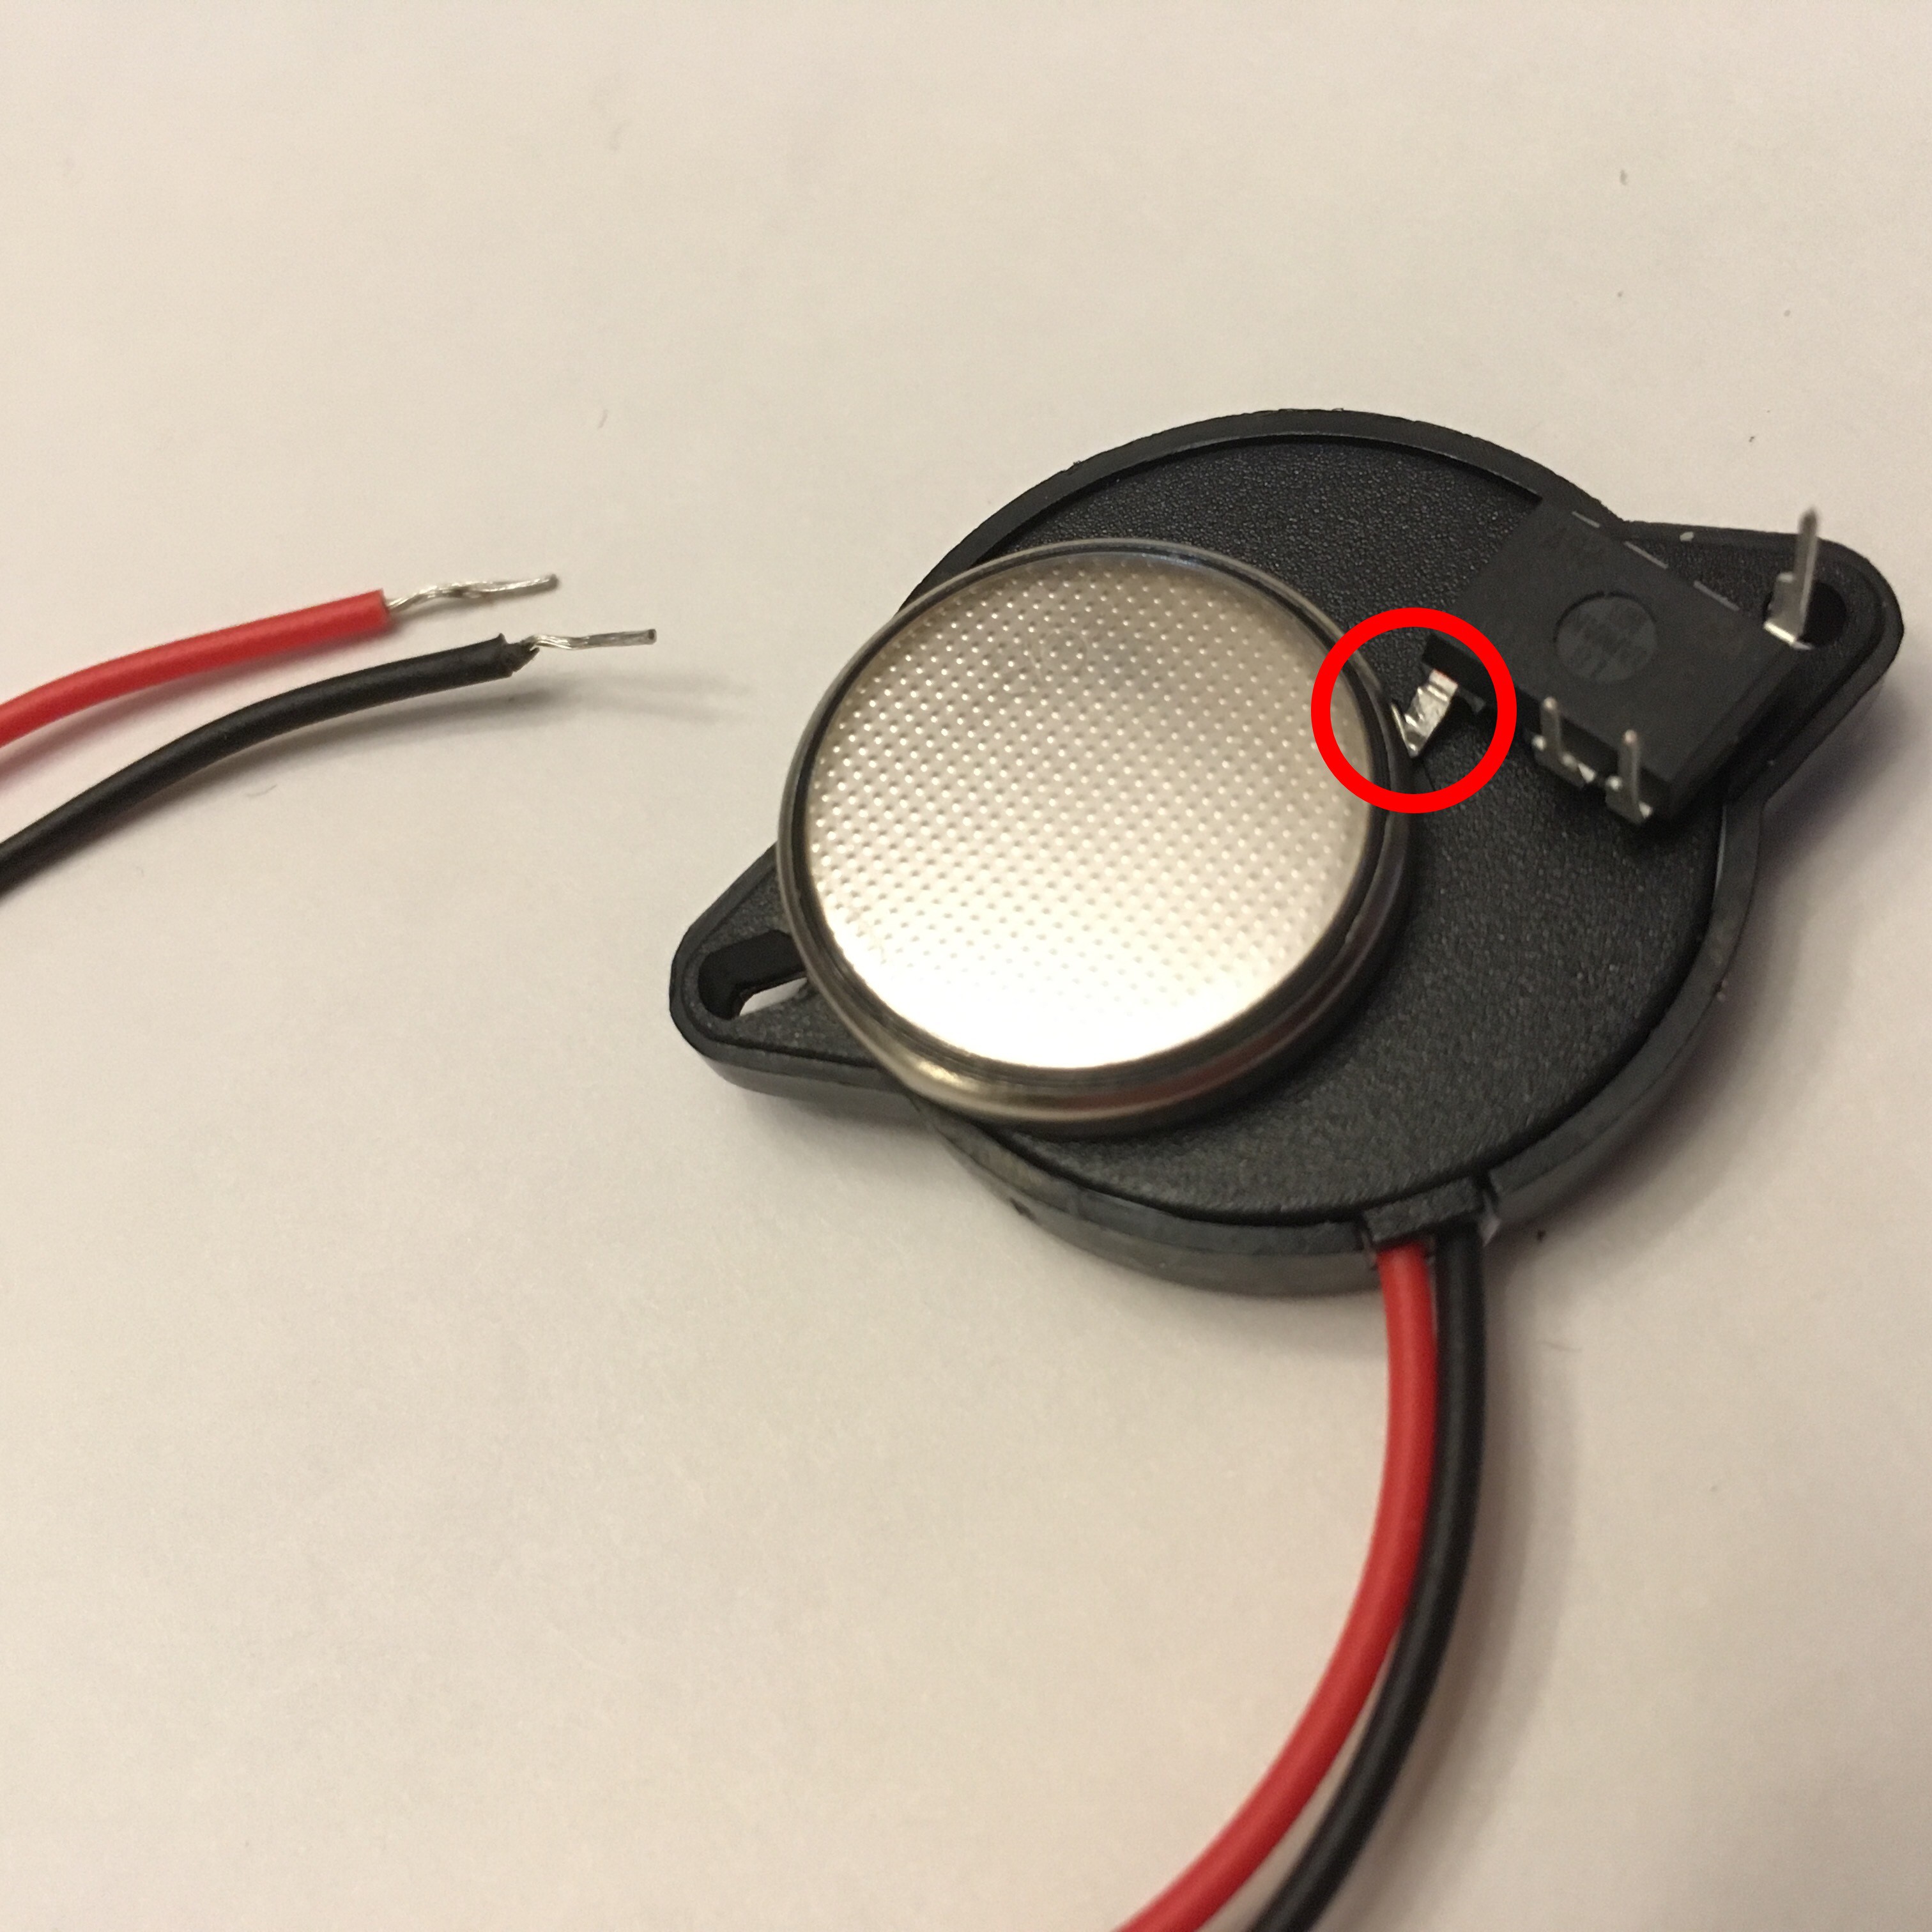
Hot glue the ATTiny down and wedge its positive pin under the coin cell. Then solder the pin to the side of the battery (using lots of flux helps when soldering to coin cell batteries):
-
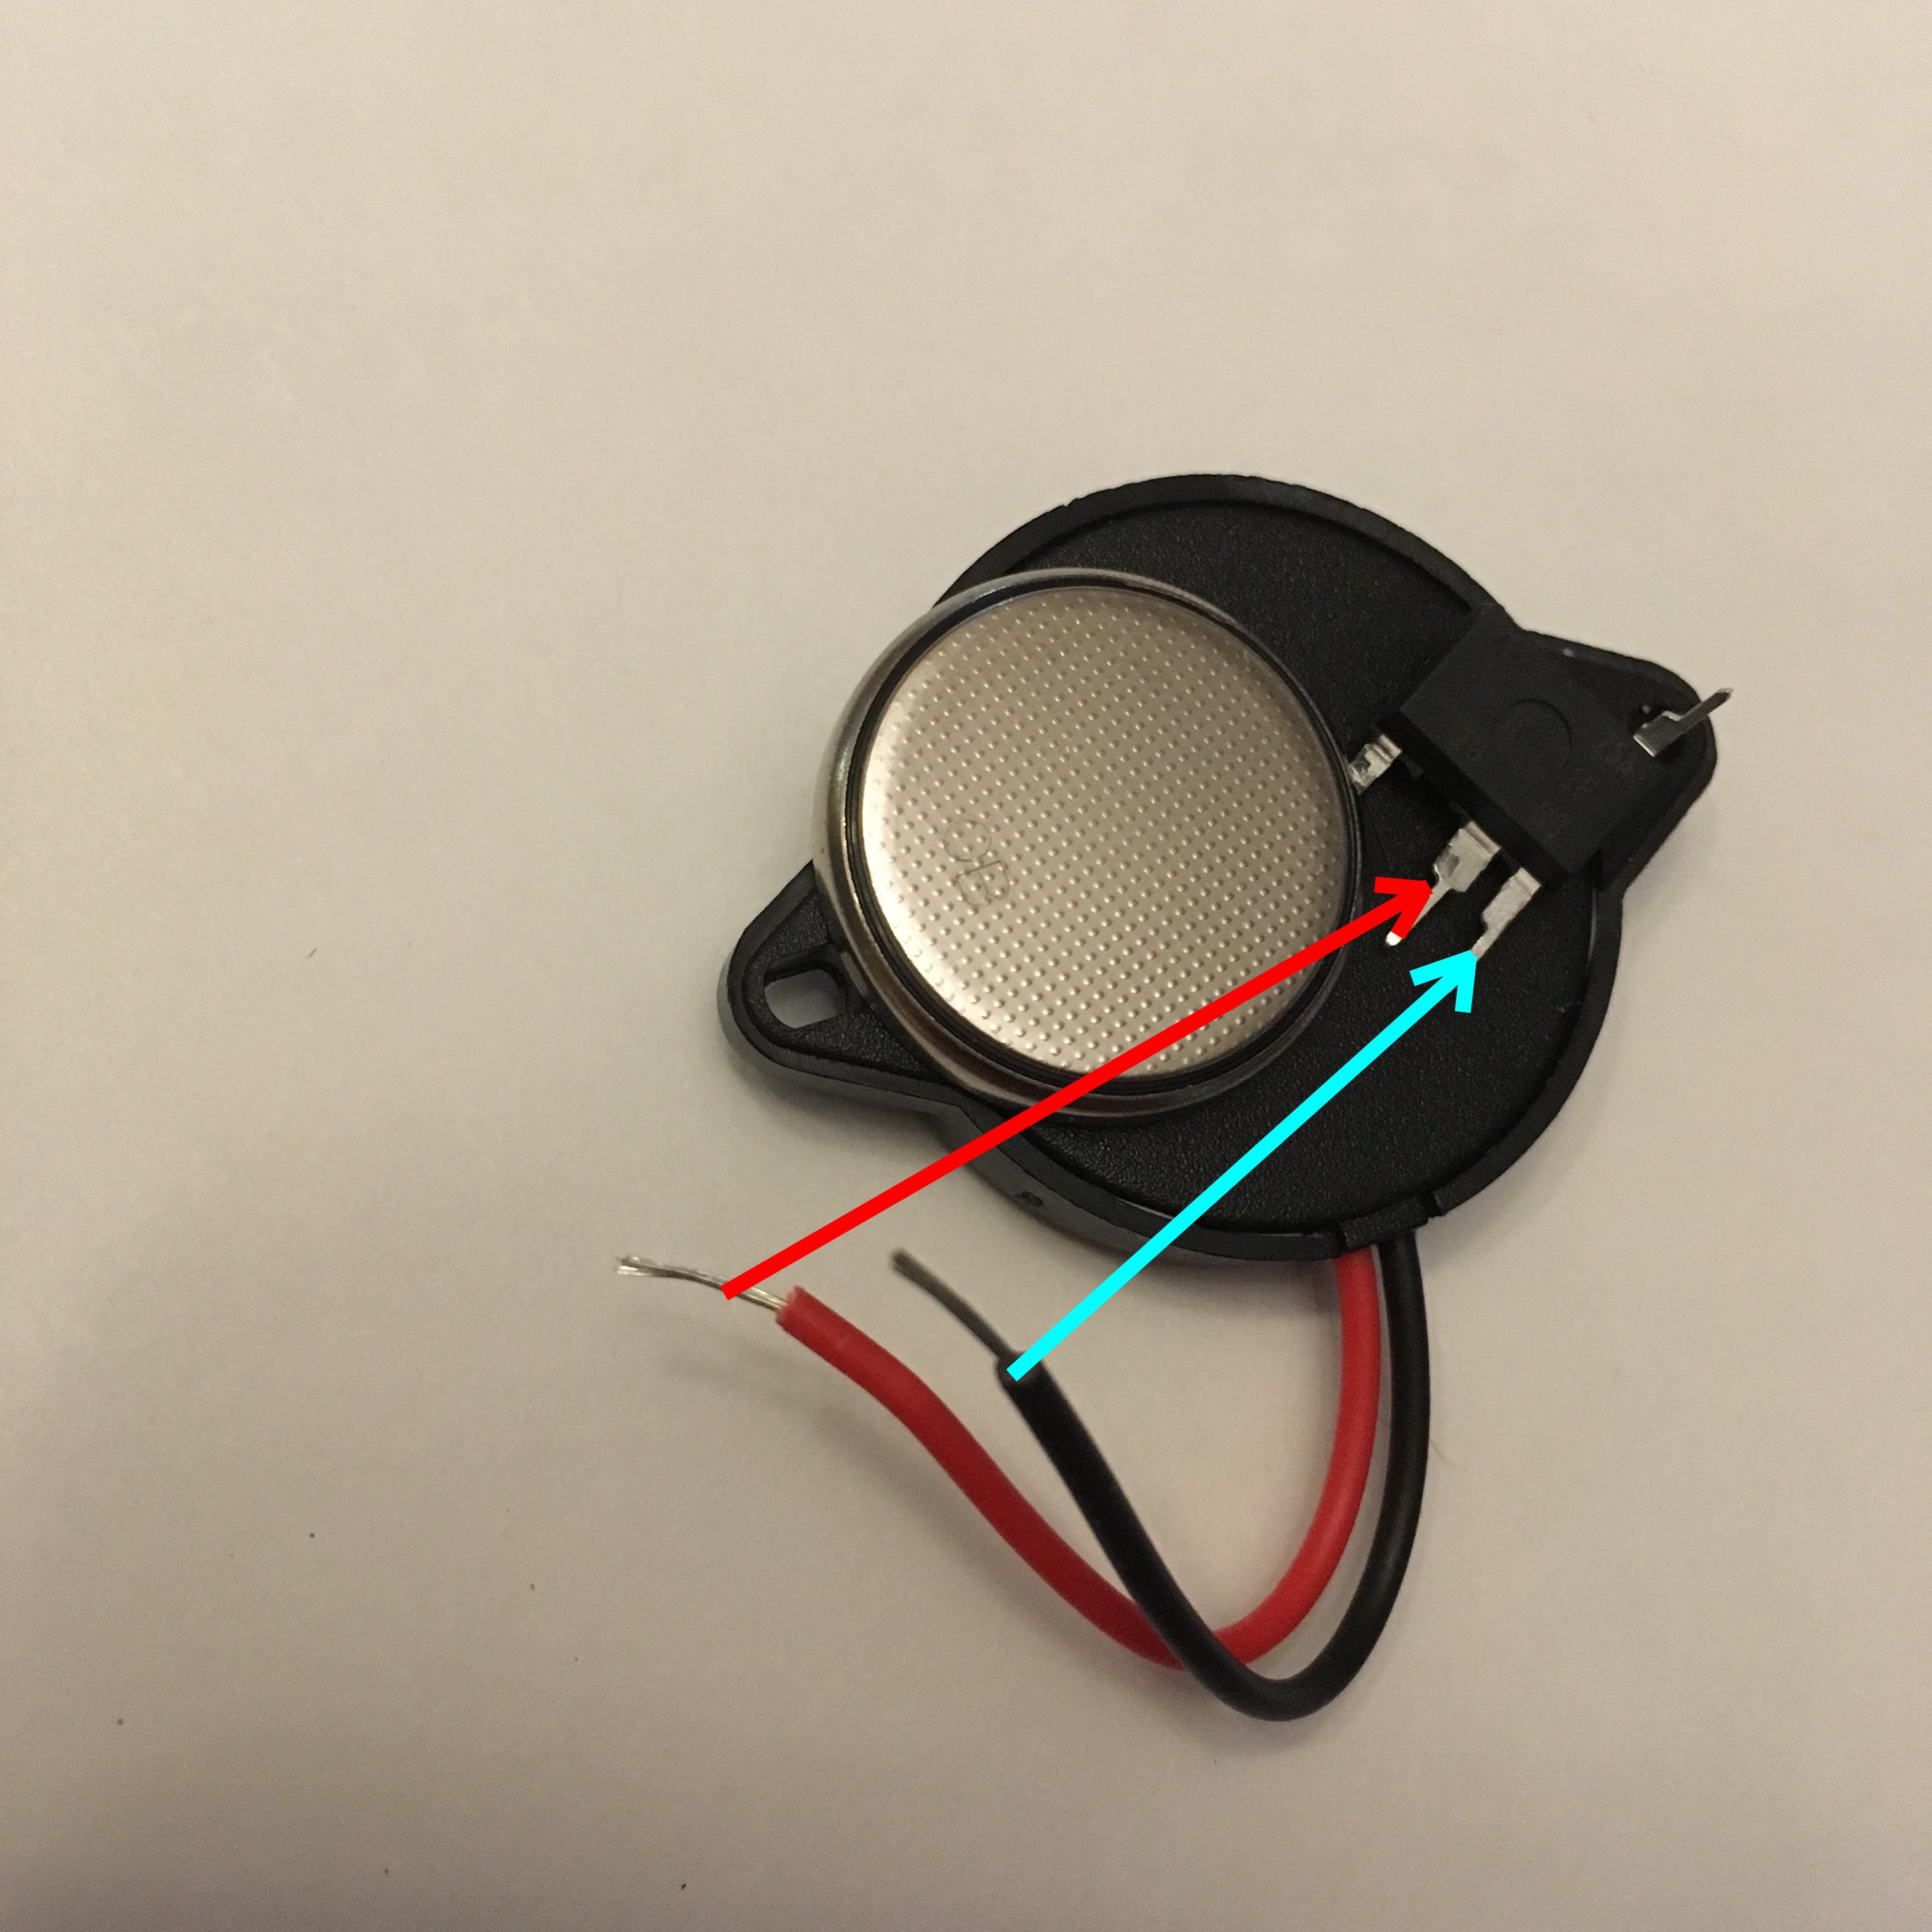
5Piezo Pins
Cut down, strip, and solder the wires of the piezo to the PWM pins of the ATTiny:
-
6Ground / Activation Wires
For immediate activation: solder a wire from the ground pin of the ATTiny directly to the negative side of the coin cell
For latter activation: solder a bare copper wire to both the ground pin of the ATTiny and to the negative side of the coin cell. When activation is desired, the wires can be twisted together to close the circuit.
Soldering to the negative side of the coin cell can be tricky. It can help to sand it down a little and to coat the side with some flux before soldering. WARNING: if these things overheat too much during soldering they can explode pretty spectacularly, please be careful!
ATTiny Low Power Prank
A pranking device to annoy your friends... or perhaps an entire college campus.
 Joseph Primmer
Discussions
Become a Hackaday.io Member
Create an account to leave a comment. Already have an account? Log In.