Audrey Robinel
-
adding platters
01/11/2018 at 06:44 • 0 commentsNow i have a sturdy structure, but i need some surface for my tanks to rest on.
For that purpose, i routed a 18mm deep cutout on all the internal edges of my beams :
![]()
It's 18mm deep because 18mm hardwood plywood is common here.
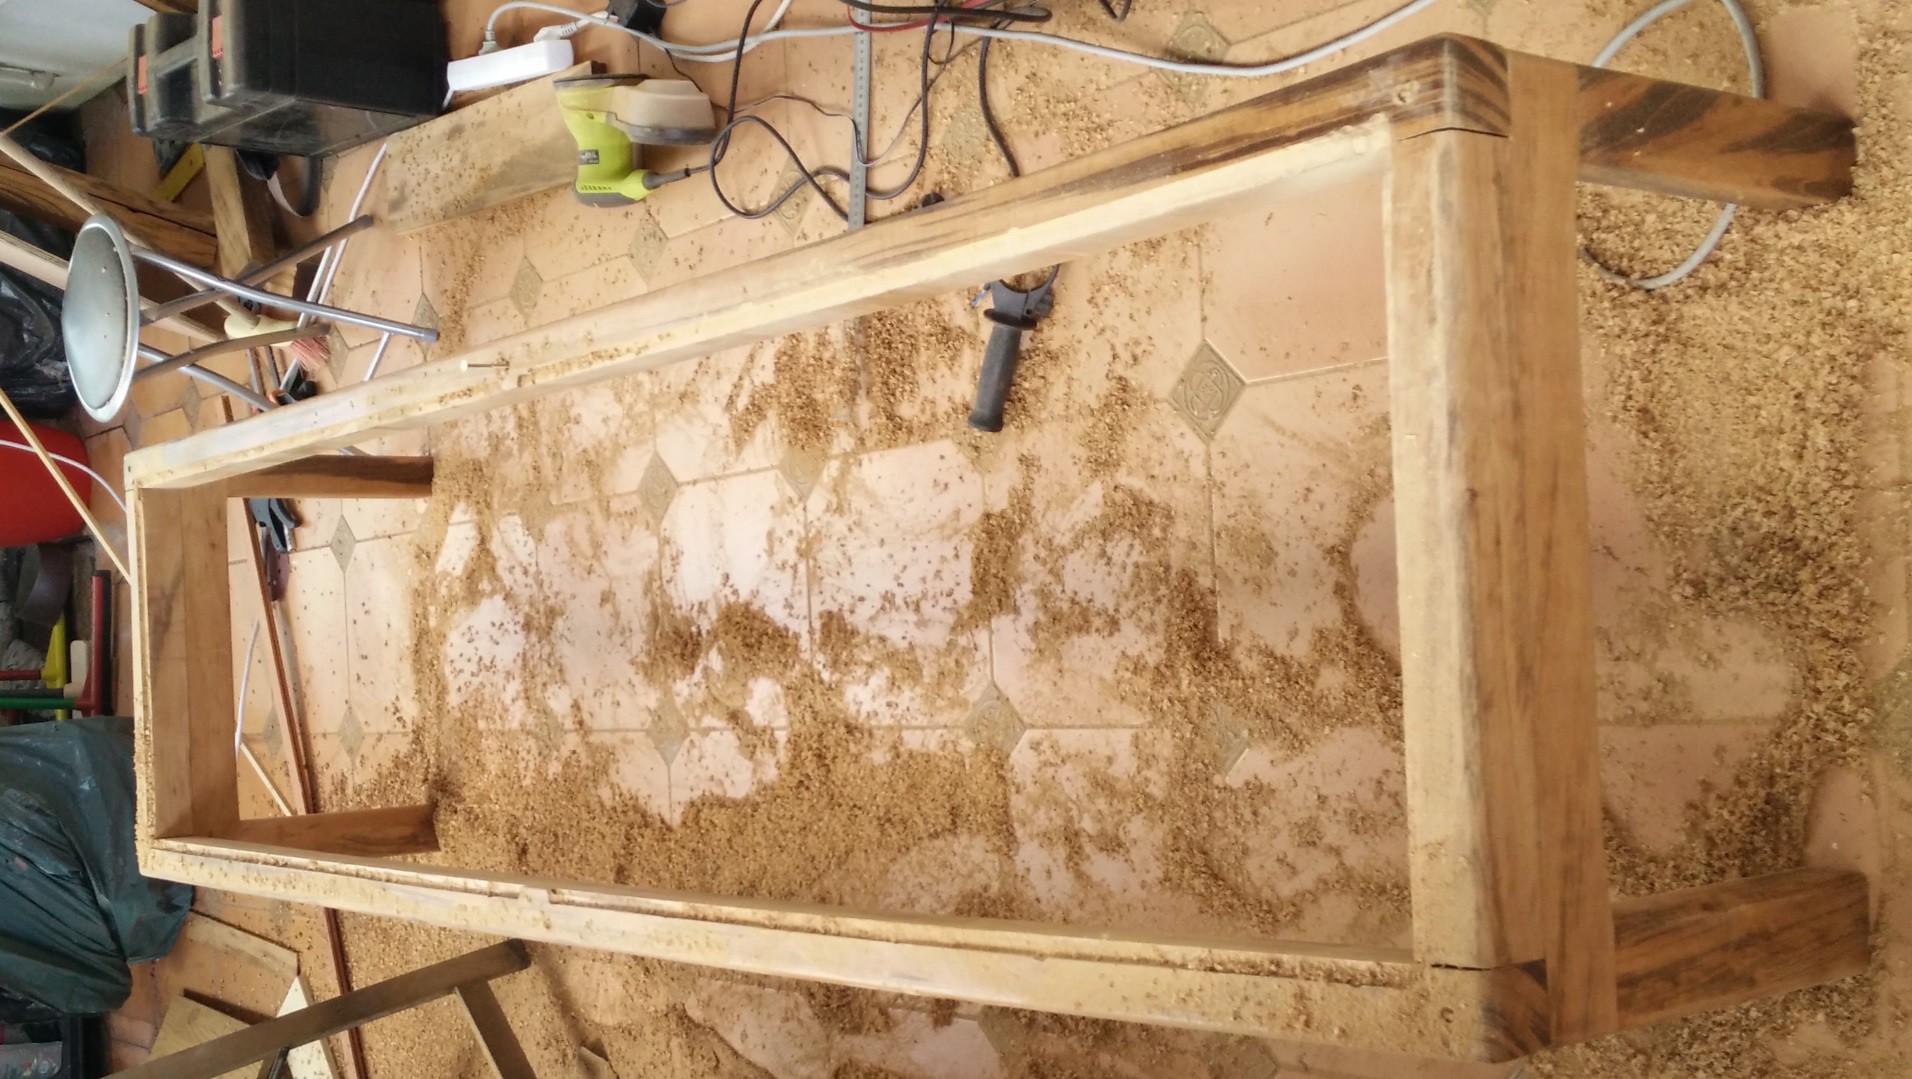
So i routed the beams, and the foot assembly on the inside, until i could fit two 1030*520mm planks, one on each side of the central divider.
It was quite some work (hard wood is simply HARD!), and i had to make quite a few passes, i probably took 1 to 2 hours to route it to the correct depth.
One of my plywood sheet was too long because of reasons so i recut it on my table saw.
I had some chiseling to do to get the corners square (so that i can change the plywood sheets if i want to without any extra work : preferable than sanding the corners round each time!), and at last the plywood sheets did fit :
![]()
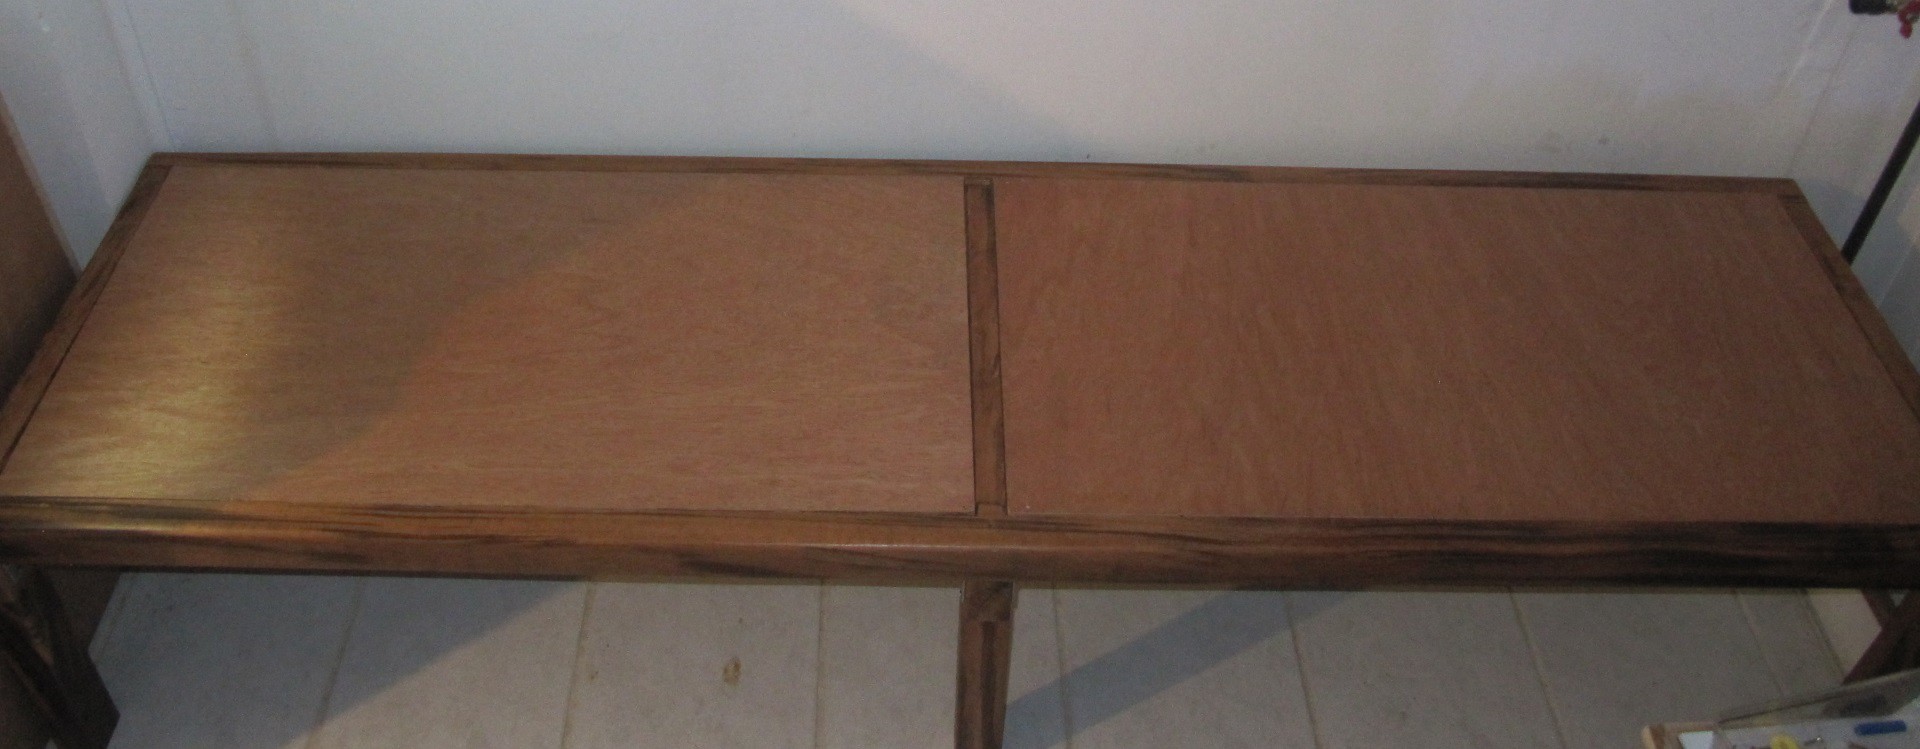
To remove it, i simply have to push from below. They can't fall in any way, each side is supported by a 40mm thick lip, 16mm wide, of hardwood.
This is a snug fit, so no moving around.
I know that the plywood doesn't have a great visual, but it's a very flat and solid surface, and it will be covered up with aquariums and some foam.
Anyway, i have the first level of my stand. Below that i'll store some stuff, along with water reserves, and later on, i'll build a second level that rests on this one.
For now, the next step is to make the assembly sturdier to lateral forces.
At this step, i can easily stand in the midle part between two sets of legs, and the wood doesn't flex.
I'm 90kg, so i'm confident in the weight resistance of the beams
(aquariums may be heavier, but weight will be evenly distributed, whereas i was standing in the worst possible spot, and tried to make it flex but putting all my weight in one spot. -
Assembling a heavy duty aquarium stand
01/11/2018 at 06:42 • 0 commentsi'm building my aquarium rack layer by layer. So now i'm building the first stage of it. This level will support multiple small (50 liters, aproximately 15 gallons) aquariums (up to 8), so the load won't be extreme, however i want to be able to change my mind later.
Furthermore, the levels above will rest on this one.
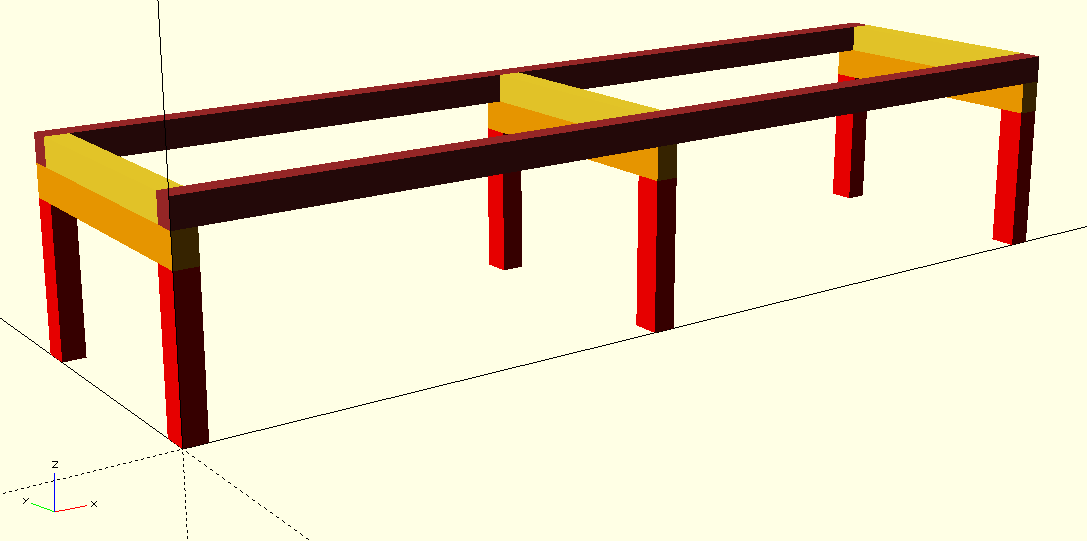
in order to minimize risks, i chose a design that will transmit the weight to the ground mostly by the legs. Indeed, the beams that support the weight stand directly on the legs. Further levels will also stand directly on those legs, so we should thus reduce the possible flex.
![]()
Here is a model in openscad. The beams are 60*50mm section (aproximately, i cut those from raw lumber).
The legs (in red) are joined together by the orange beam, with 8 screws (4 on each leg), going alond the Z axis. I used 5mm*80mm wood screws, and countersunk the head 20mm deep. I also used some wood glue on those joints.
![]()
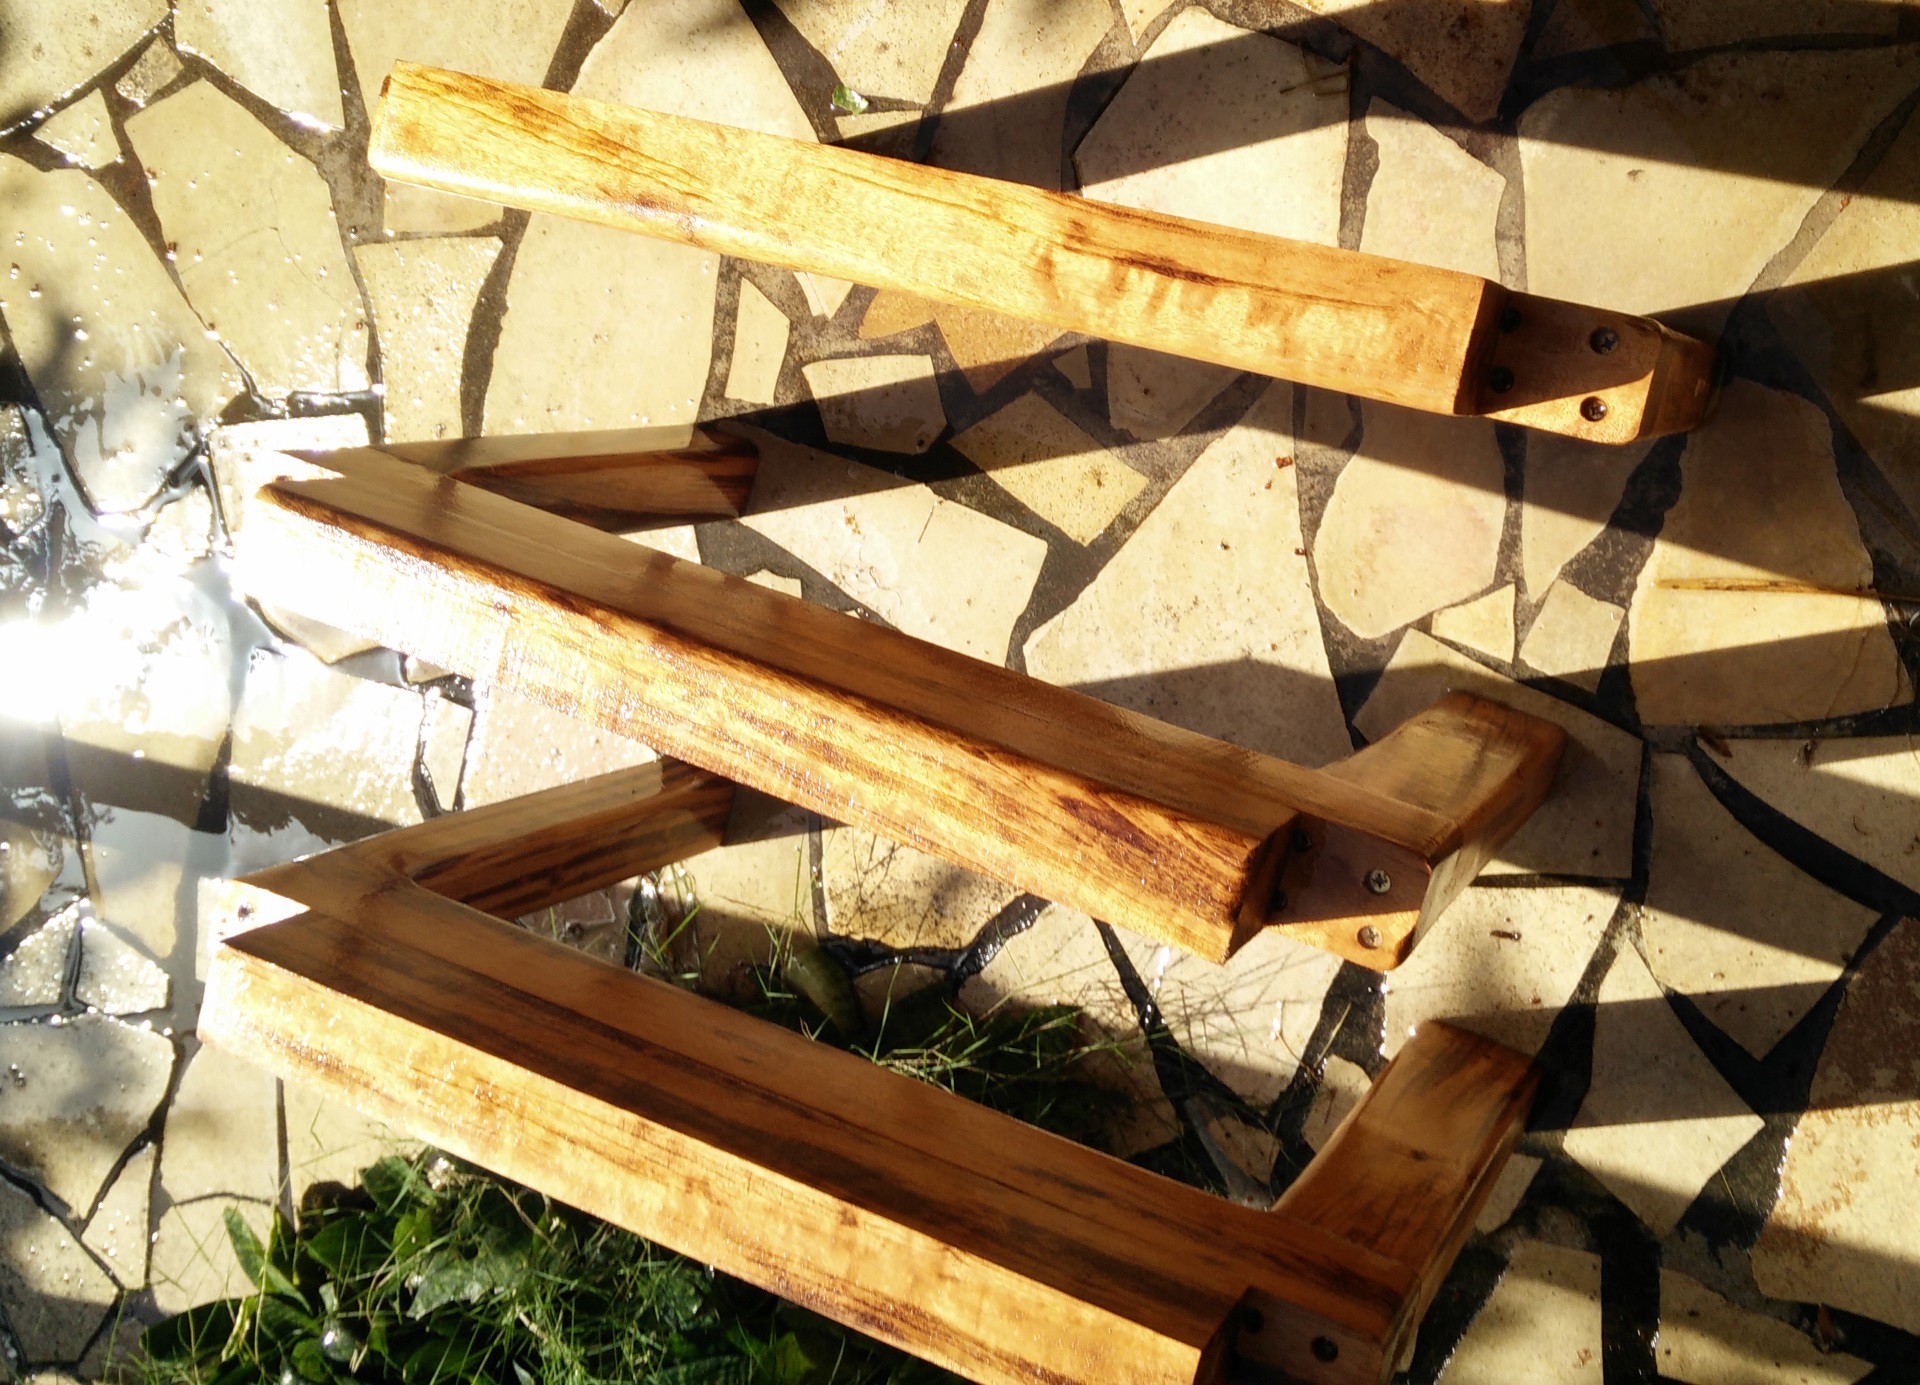
On the picture above, you can see the leg assembly.
I thus have 3 parts like that, giving me the 6 legs of the stand.
![]()
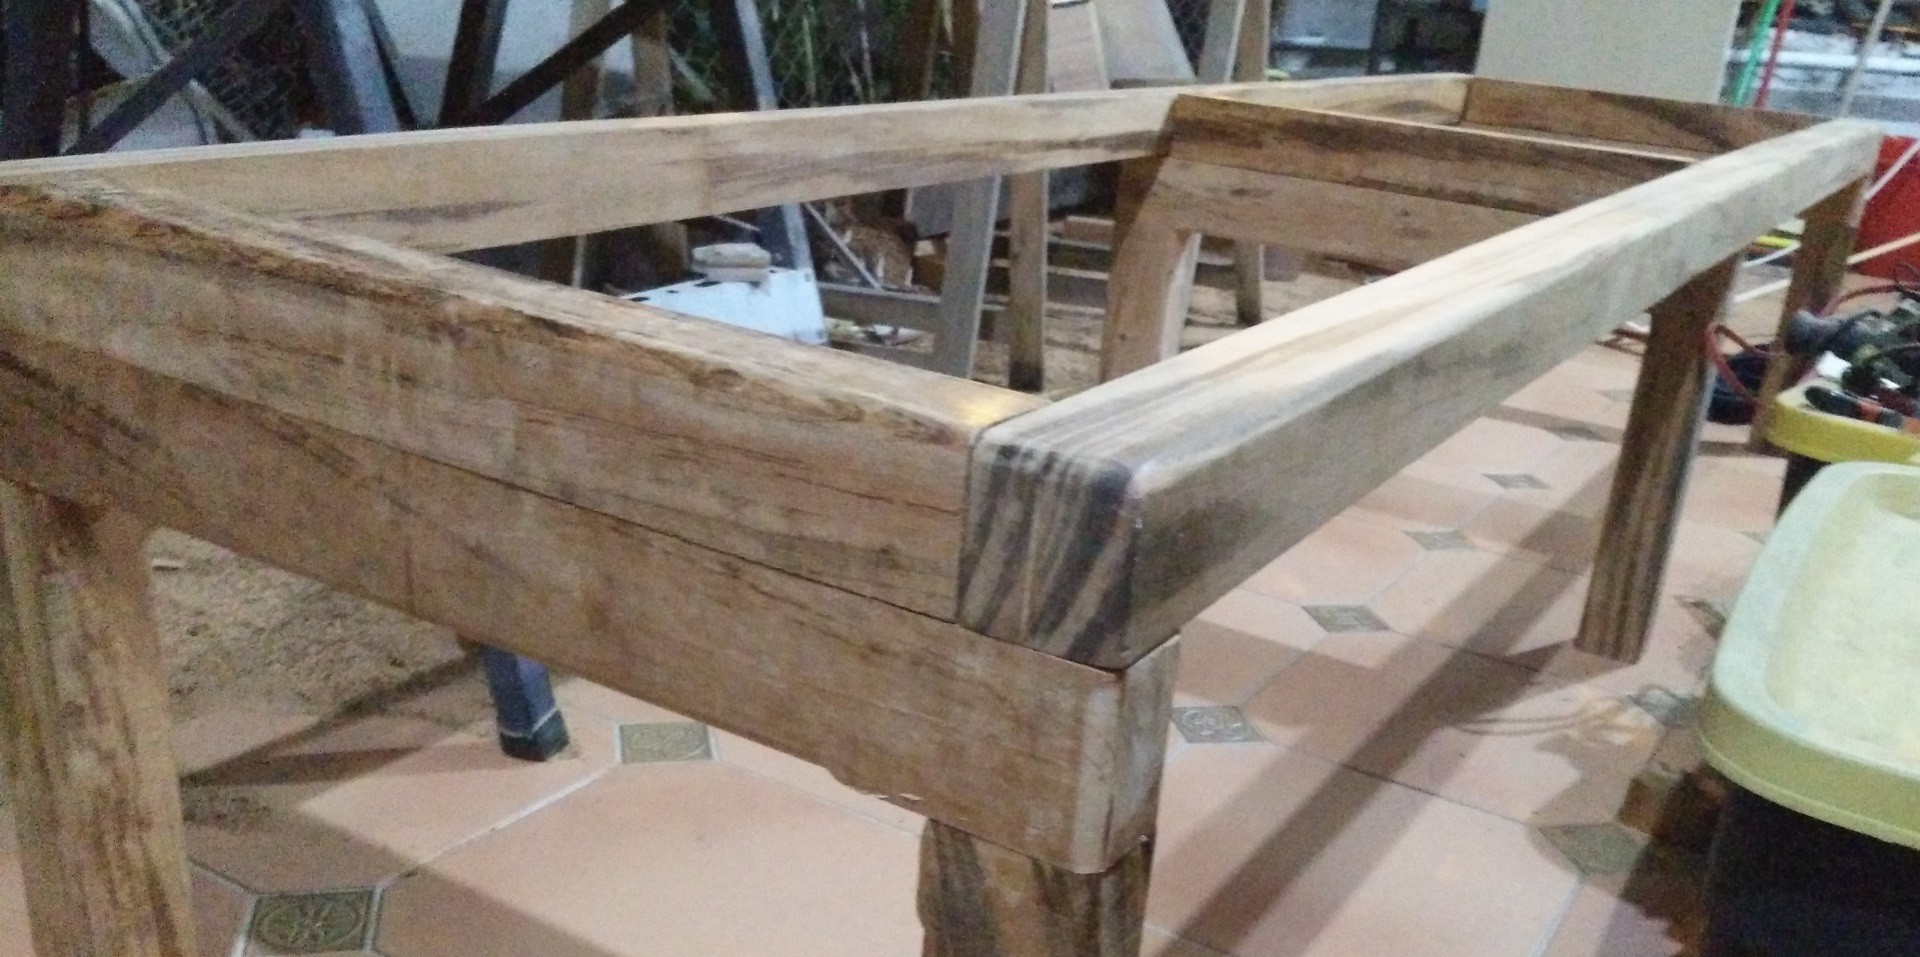
The next step is to add the yellow beams. I simply screwed those on the legs assembly from below (z axis, + direction), and countersunk the screws heads as well. I carefully placed each of those beams so that the long, brown beams are flush with the front.
I tried to join the yellow and brown beams with pocket screw holes, but i didn't manage to properly do that. So instead, the brown beams simply sit on the legs, and are secured with one 5x80mm wood screw, with a countersunk head.
![]()
This construction makes the rack extremely sturdy along the Z axis, but it is a bit weak along X. The forces will mainly be exerted along Z, but an earthquake can generate quite some lateral forces, so i'll tackle this issue in an upcoming log.
-
Chosing a humidity sensor : skip DHT22, go for BME280!
01/04/2018 at 07:28 • 0 commentsA quick post on humidity sensors here. I was reading this HAD article on Statistics (great reading by the way), and noticed the use of DHT11 humidity sensors. DHT11 are worse sensors than DHT22, and to speak frankly, the DHT22 is already quite crappy to begin with.
Why is that? first of all, it's communication protocol is something weird that you'll use only for this sensor, unlike 1wire that is used by multiple sensors (ok, in all honesty, we use it almost only for DS18B20 temperature probes, but other stuff exists, and at least there are cool things with this protocol, such as unique adresses, the fact that it's a bus and uses up only one GPIO for whatever number of sensors, etc...) or I2C that is used by loads of sensors.
Why does it matter? Well if you design a board for some application, and you have somewhere to put I2C devices, you can reuse it for other applications. On my ESP8266 breakout board, i did put KF2510 connectors with 4 pins, for I2C (VCC, GND, SDA and SCL), and i use the same boards for loads of projects.
With a DHT11/22, you have to put the pull up resistor between vcc and data for each connector, meaning that you can't use it for something else that doesn't require a pull-up, or require another resistor value.
Another problem with this sensor is that it has low accuracy and low resolution. Perhaps i've always gotten bad ones, but two sensors rarely return the same value in the same environement (several °C of difference, and 5-20% of humidity difference....).
What is the final nail in the coffin of those sensors is the cost of good quality sensors : the BME280, made by bosh (at least we know from where it comes from, as well as have access to ONE comprehensive datasheet) costs 2€ on a cool little breadboard that works out of the box on many µCs or systems.
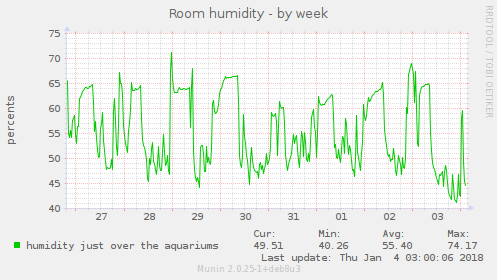
On top of that, you add a good temperature sensor, and a barometer along, all with much better resolution and accuracy. In most cases, in similar conditions my BME 280 sensors return very similar values, or pretty damn close to that.
![]()
![]()
Those two graphs show the humidity in my fishroom for a few days, and as you can see the graphs look pretty similar.
I didn't keep the data, but it wasn't the case at all with DHT22 back when i used those.
The point of this post/rant is to say this : don't chose a sensor because it's cheap and there is a tutorial online for it. Use more recent sensors, they are often barely more expensive than old junk that have been around for ages. They also often use more standardized interfaces, are well documented, and most of the time, Adafruit or Sparkfun has a great library (and a guide) for those parts. And more often than not, their libraries work for the cheap chinese clones of the adafruit breakout boards.
In the end, you get more reliable data, you know what accuracy to expect, you know the refresh rate for sure, the communication protocol is nice and standard, you can easily integrate it in your projects, and you benefit from a good ecosystem. And when a better sensor comes out, you can easily upgrade your IOT thing or your sensing stuff with the shiny new sensor (i'm waiting for the BME680 boards to be available at low price!) -
Working on raw lumber
01/04/2018 at 06:41 • 0 commentsI'm starting the aquarium rack. For this purpose, i did choose wood as a material, as i know how to work with it.
I did want something nice looking and that can withstand some abuse, so i chose tropical hardwood : muriacataria, also known as tiger wood. This wood can't be eaten by termites, it can be permanantly wet, fungus doesn't grow on it, and it's flame retardant. The last property may not be of great use for my aquariums, but the others are great : no need to treat the wood with nasty chemicals that i don't want in my fishroom!
![]()
So i bought raw beams from my local wood store, at 30€ for a 310*12*5cm beam and 45€ for a 400*15*5cm beam.
I did split both beams on my homemade table saw, obtaining something more like square beams.
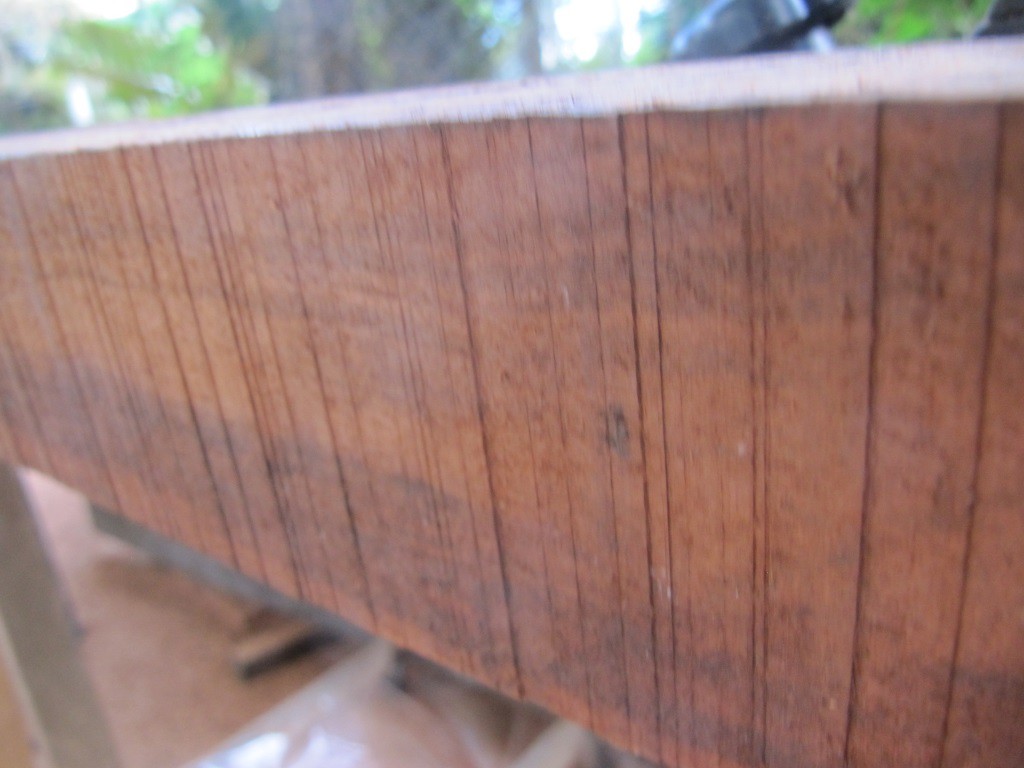
![]()
On the picture above you can already see the figures in the wood, and why i chose it. However, it's far from what it will become later on, trust me on that!
Next thing was to cut the beams to more managable sizes. I'll have a first level of 220cm*60cm for my smaller aquariums (for many shrimps colors and species), so i did cut two beams longer than that to allow finer adjustment later on.
If you work on large wood pieces, trust me : it's good to have frients help you out. For the 4m beams (more than 13 feet!), it definitely helps to have someone on each side of the beam to support it.
So with some help, i did cut my beams, and a few 125cm beams, that i'll re-cut later on in 2 for 60cm beams, or in 4 for 30cm ish beams (the foots).
I used my home-made cross cut sled for that. Only problem : i have to cut on both sides, my saw blade is not big enough to cut trough the whole wood.
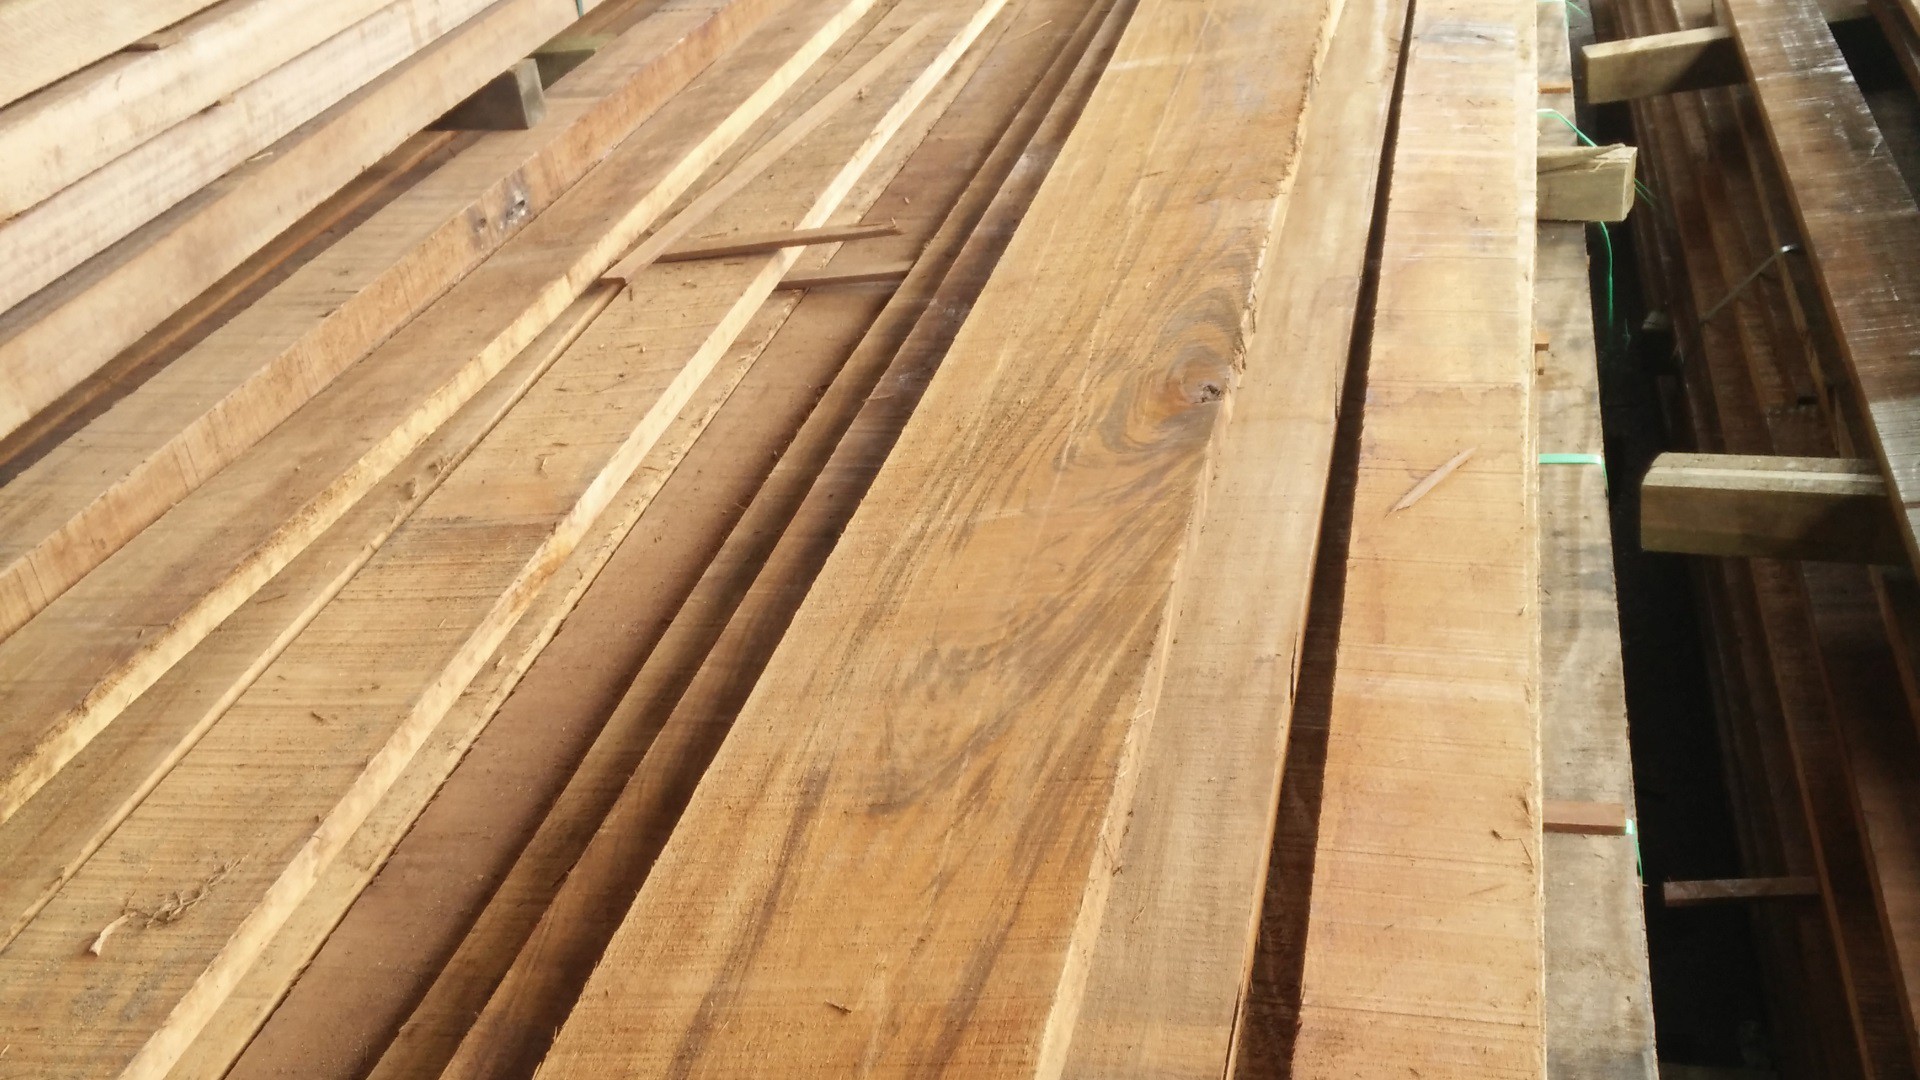
In the end you get raw beams, and by raw i mean this :
![]()
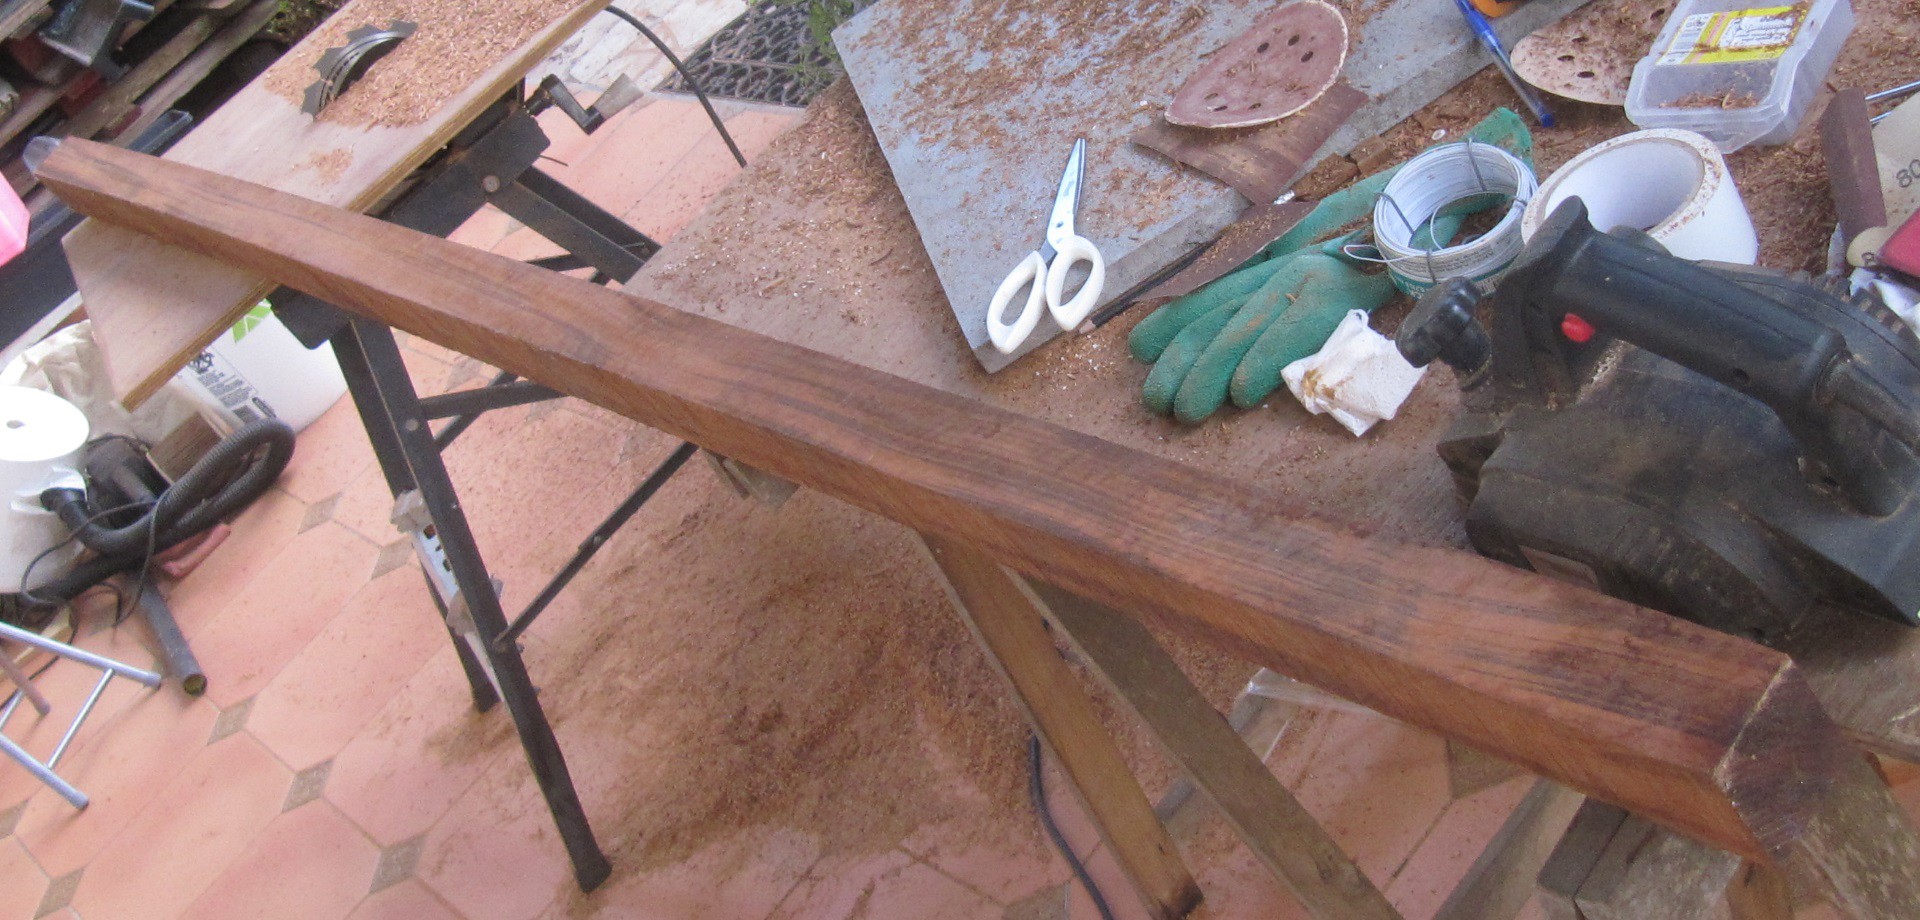
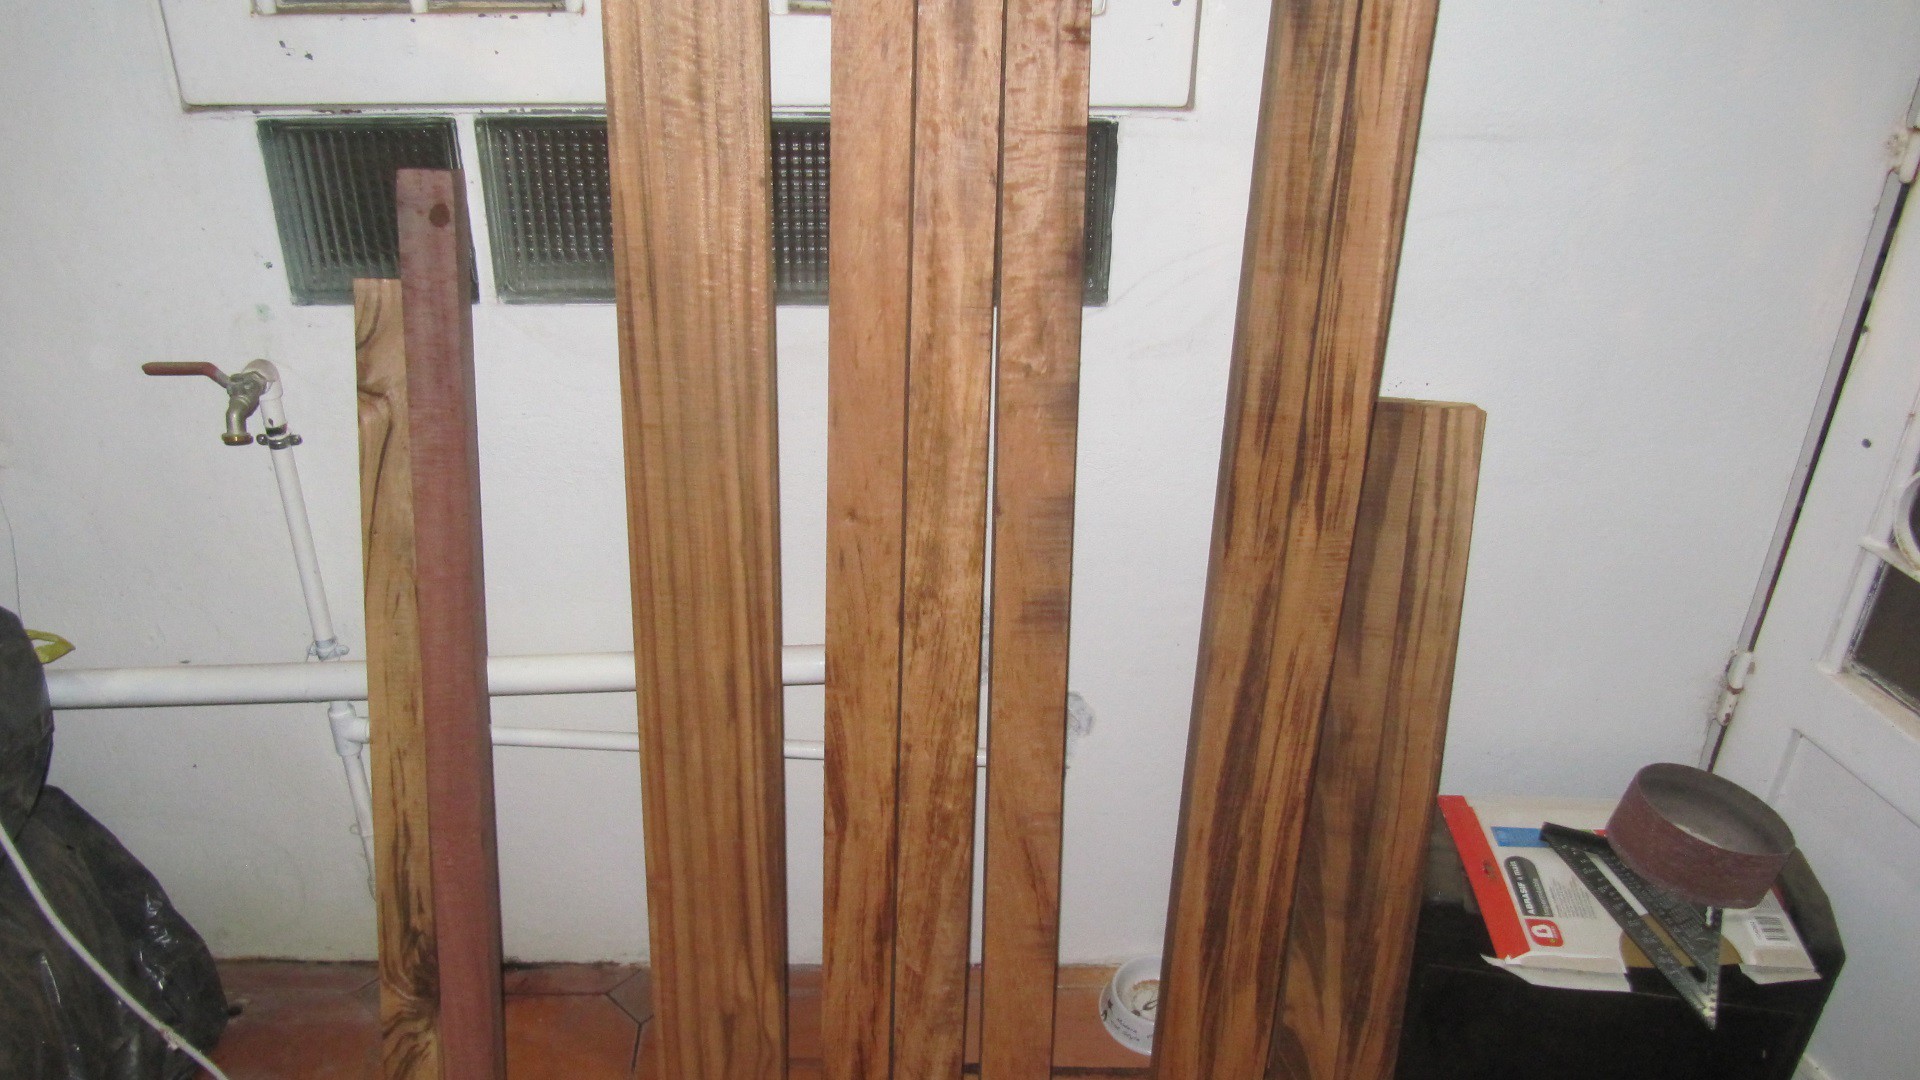
The surface is very uneaven, and it hides the beauty of the wood. So next step is to use the electric hand planer to shave the surface of the wood.
It does not make the lumber square, nor the thickness consistant, but it gets the surface way nicer. I did spend one or two hours doing that, and thus obtained this result :![]() While at it, i did surface various planks and beams that i had around. Indeed, it produces LOTS of shavings, so i thought that i might as well keep working and clean only once.
While at it, i did surface various planks and beams that i had around. Indeed, it produces LOTS of shavings, so i thought that i might as well keep working and clean only once.
On the picture above, you can see the variety of the figures of this wood along with some burls, flames that will show up much better when we'll finish up the wood. I'll chose the most beautiful parts for the front and visible part of the rack. i considered using lesser wood such as pine for the hidden parts, but since it's going to be lots of work, and some money, i figured i may as well go all in, and make it super strong using this very hard wood.
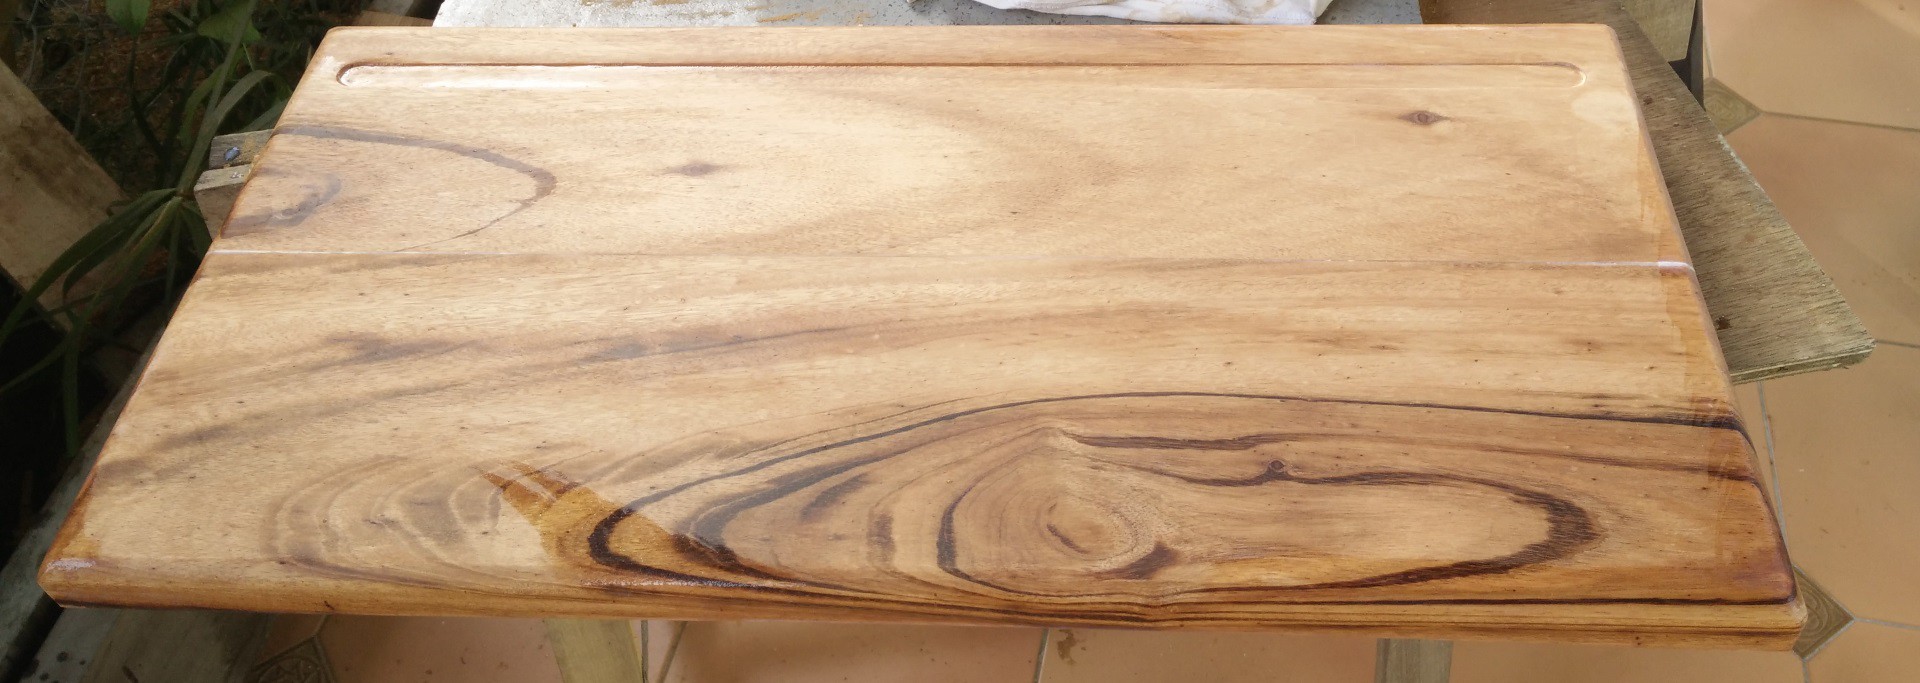
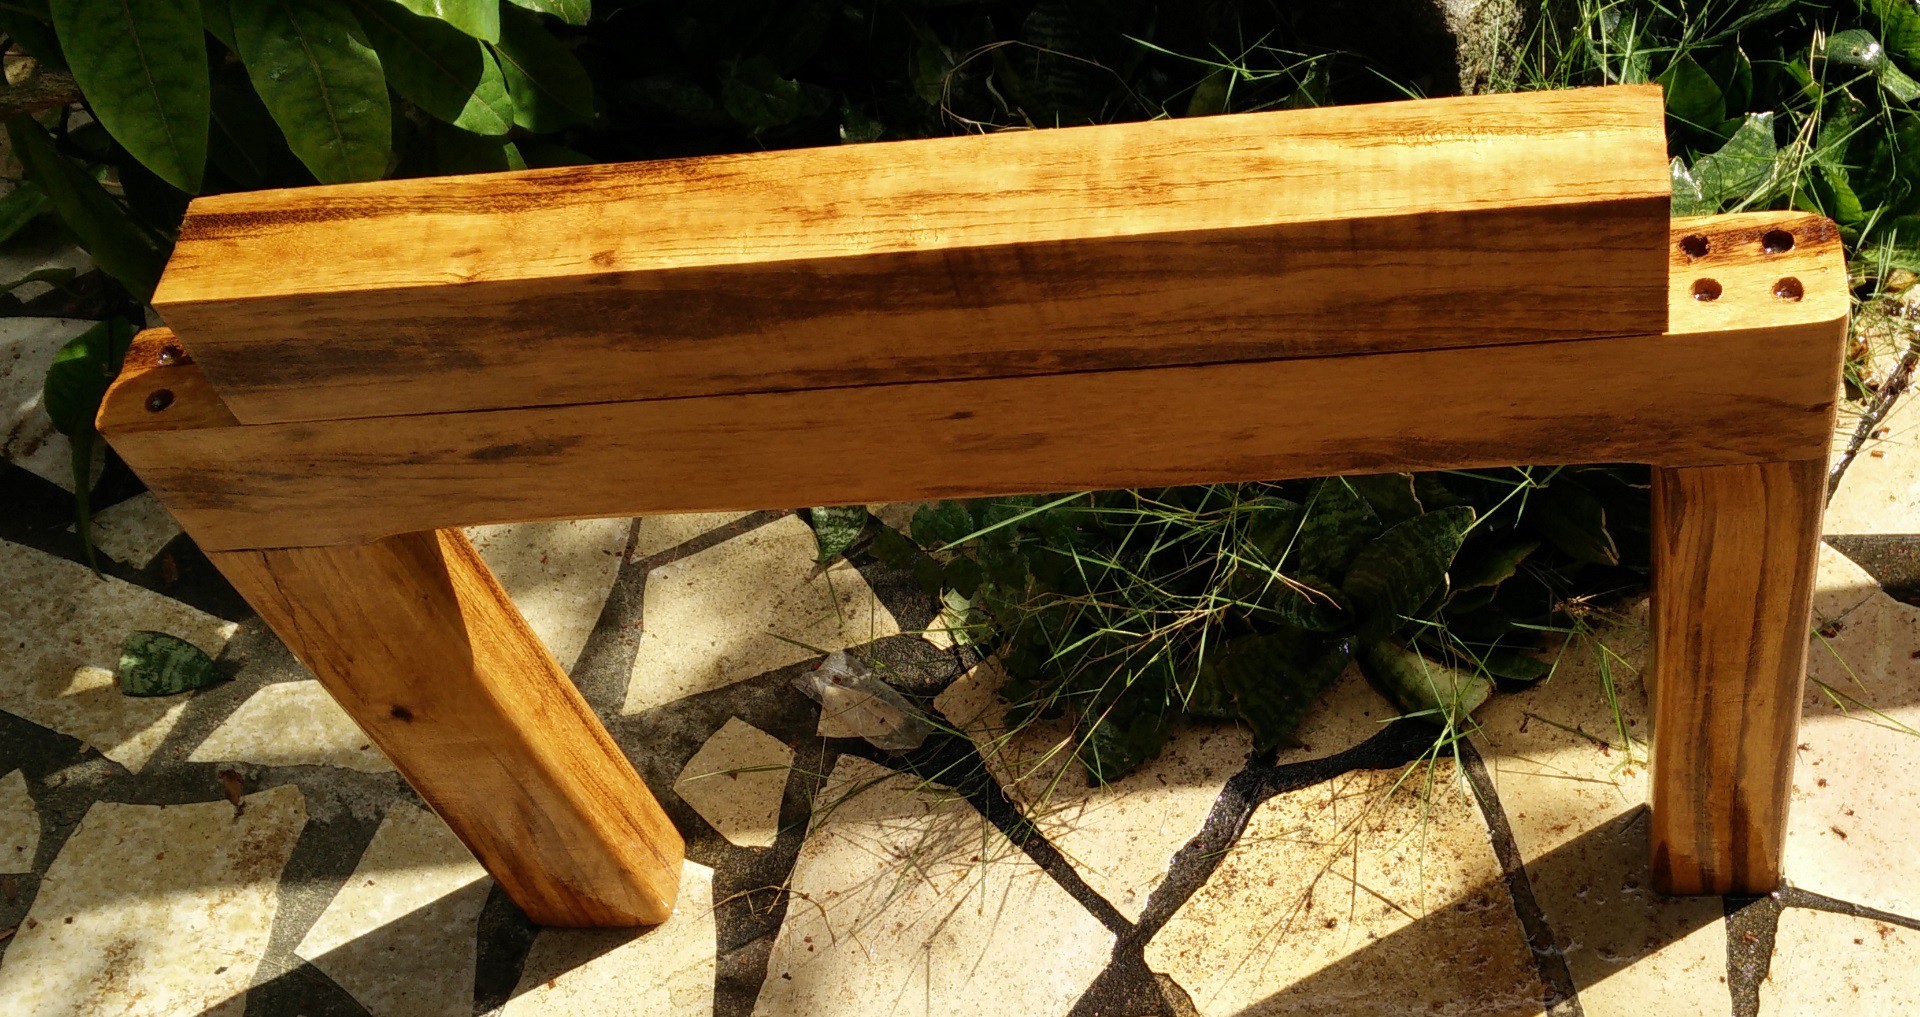
As a hint of what this wood can look like with some finish, here is an aquarium cover with integrated LED lighting that i made for a friend :![]()
On this picture, it's not fully finished (a few oil coats left to do, perhaps some bee wax on the last coat), but you can see the coloration of the wood, the figures, and the smooth look of the routed edges and some sanding (80, 120, 180 grit with the orbital sander, then 500 grit with the oil on to knock the fibers that rose whith the oiling, and have the wood dust fill the tiny holes and cracks of the wood. This causes it to be super smooth from oil layer 2 and above).
The wood i selected has more figures, next time i'll help my friend choosing better (i told him at the store to chose one he liked, and did not realized that he would not see trough the raw external layer of the wood).But this one ended up looking quite good, although i can't wait to see mine when finished!
Side note : the shavings of this wood are extremely durable : they won't rot for years. I keep those for my plants, they keep moisture in the pots and keep unwanted grass from growing.
See you next!
-
Adding a water input in the room
12/27/2017 at 17:53 • 0 commentsIn a fishroom, you have aquariums. In aquariums, you have water. Water comes from the tap, and i have no tap in the room. So let's add it!
First step is to locate a close tapwater pipe. Since this fishroom was a bedroom, there's no plumbing in it. Hopefully, in the garden behind, i have a hose to water the plants.
I thus shut down the house main water valve, then cut the pipe i had located to insert a T.
![]()
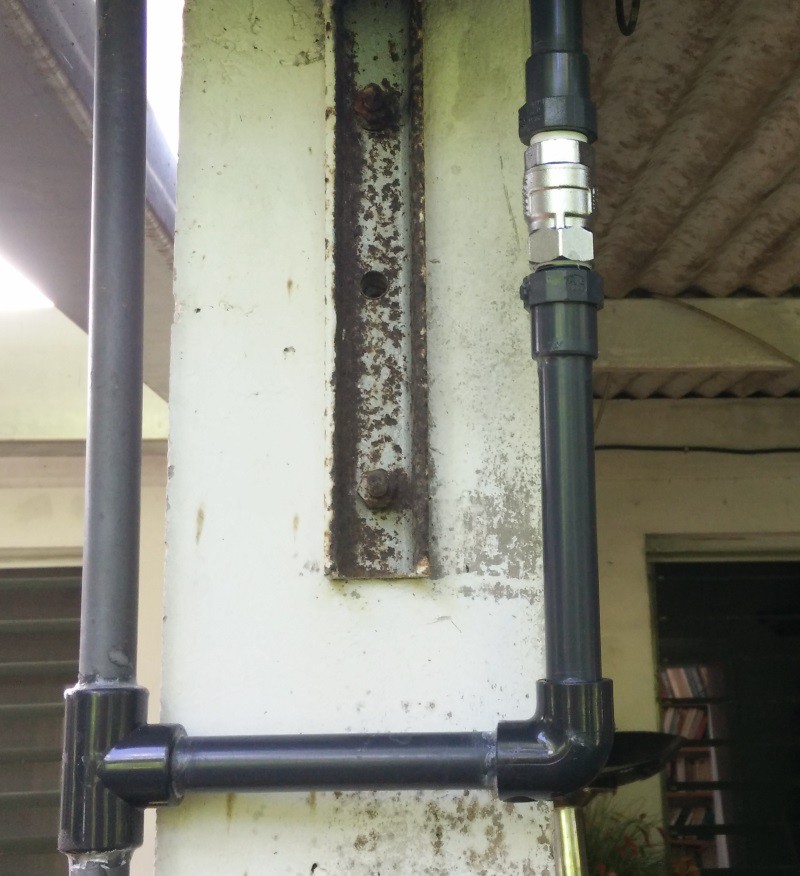
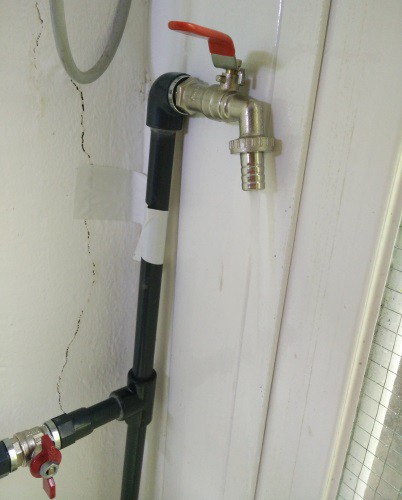
Right after this T, i added a valve, so that i could work on the piping without cutting water for the whole house.
![]()
So, this was just a matter of cutting some 20mm pipes, glue those together, some teflon tape on the 3/4 fittings for the valve, a few elbows, and voila, i have diverted some of the water for my needs.
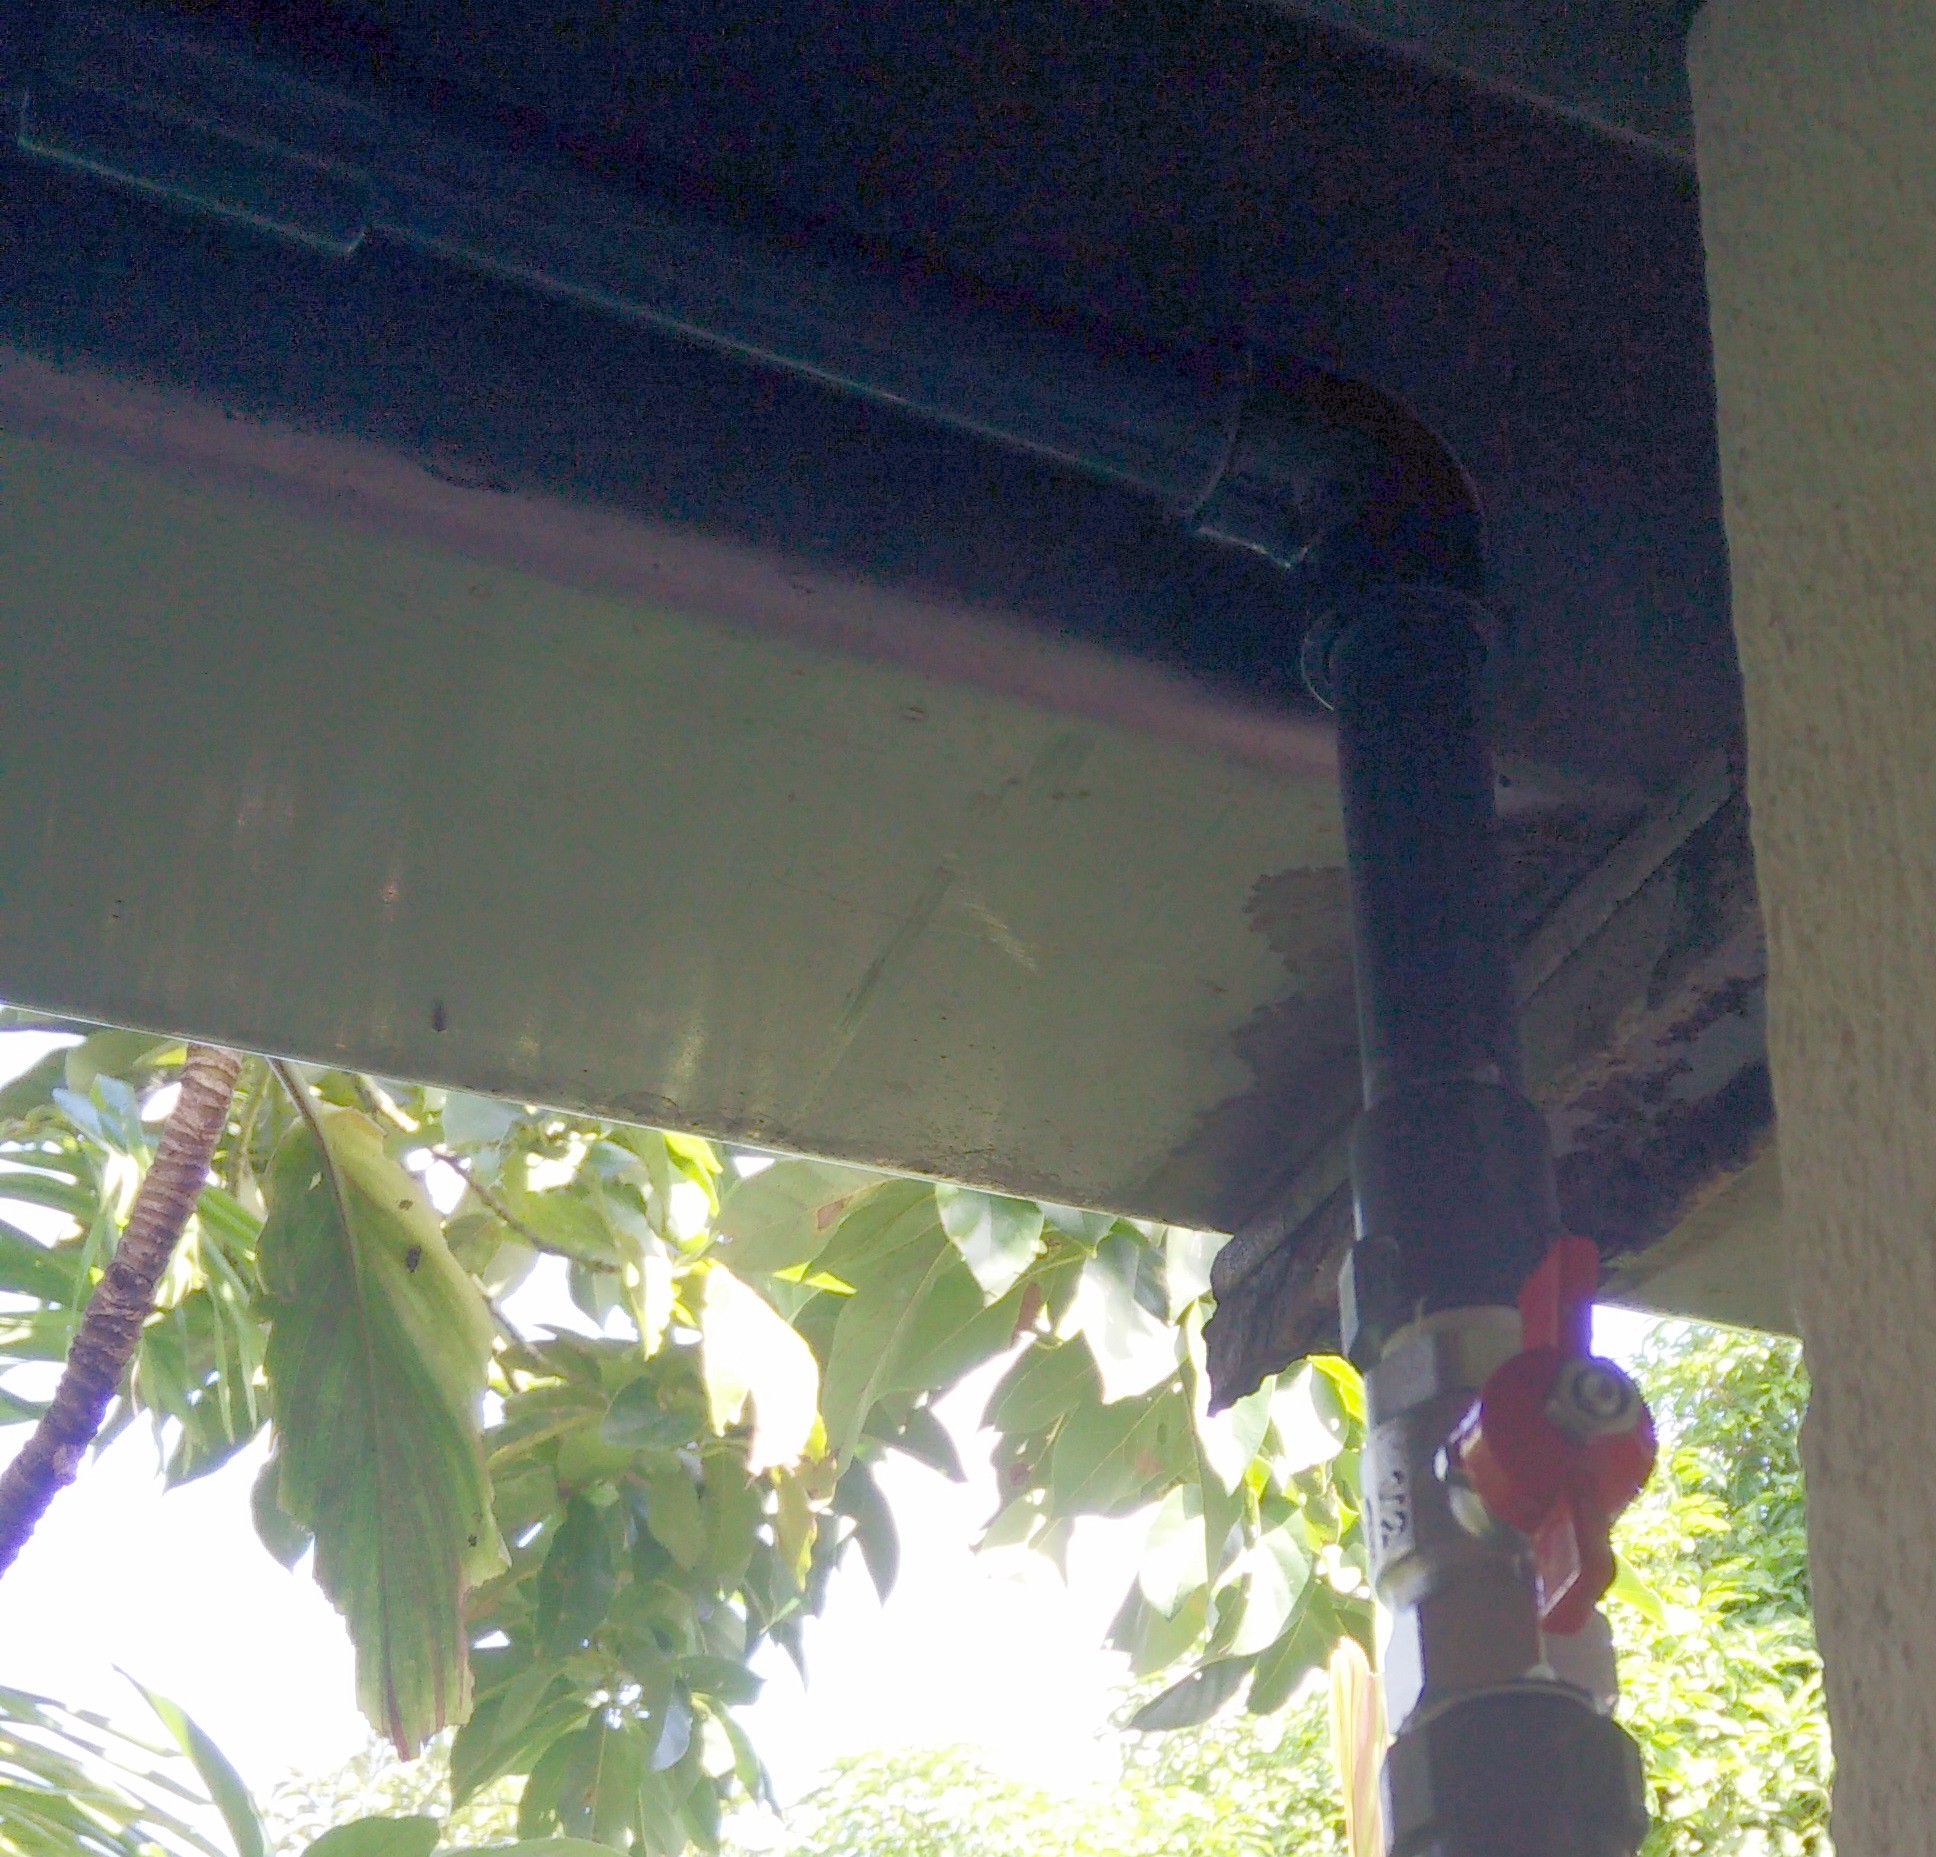
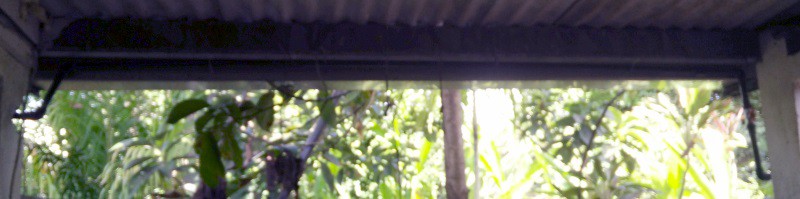
I made the pipe hug the roof to hide it better.
![]()
Now, i'm near the wall of my fishroom. The only way to get it in is to drill. So did i do that with a good drill made for that. I started with a thin bit, then worked my way up to a 20mm SDS bit.
Of course, the concrete has rebar (in Guadeloupe, we always do it, because of sismic risks), so i had to cut it. It took some time, but i managed to, although it was my first time drilling trough a wall completely, and using such large drills.
I could then slide a pipe in the hole, and glue it to the rest of the piping.
![]()
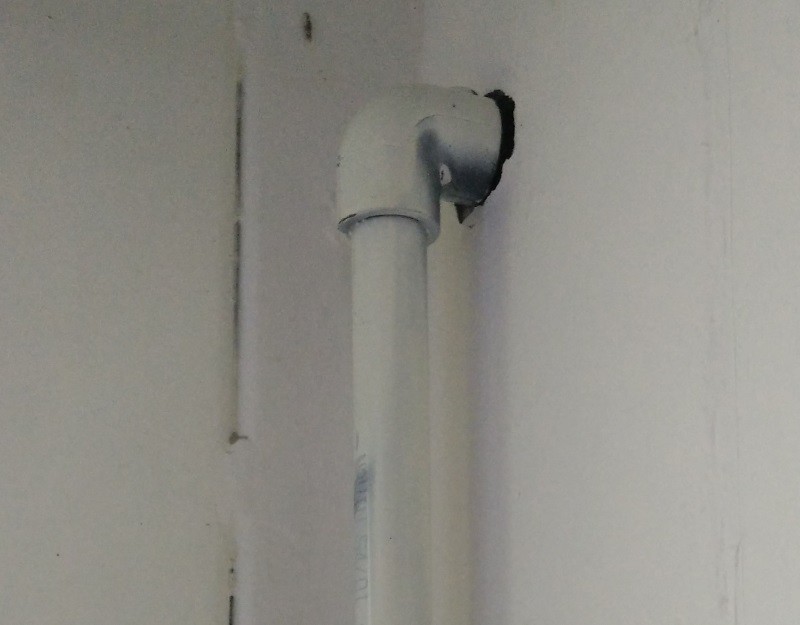
From there, i used the same elbows and pipes to get to where i wanted to. I painted the pvc pipe in white to make it less obvious against the wall.
Now let's see the end of those pipes.
![]()
I installed a regular garden tap, and i'll build a nice wooden sink under it later.
Lower, i also installed a valve that will feed a system that will automatically fill my water reservesn and let the chlore in the water evaporate before moving it to another holding tank from where it will be pumped to my aquariums when needs be.
The plan is to use electro valves, but for now i have the manual valve so that i can shut this part off while i'm building it.
All in all, it was not so difficult, even if i had never done any plumbing before.
I still have to install the pipes fixations, the sink, and the water evacuation pipes, but that's a first step :)
My Smart FishRoom/Animal Room
how i'm building my fishroom (aquariums), and what i do to automate it and make it smart.

 While at it, i did surface various planks and beams that i had around. Indeed, it produces LOTS of shavings, so i thought that i might as well keep working and clean only once.