-
1Design
If you want to use other drivers, you will need to find out the volume of the box (you might find the recommended volume on the specs of the woofer or use https://www.diyaudioandvideo.com/Calculator/SpeakerBoxEnclosure/). Then pick the size of the port http://www.mobileinformationlabs.com/HowTo-1Woofer-Box-CAL%20Port%20lenth%201.htm, and finally design the crossover (https://hackaday.io/project/28864-crossover-design or https://www.diyaudioandvideo.com/Calculator/SpeakerCrossover/)
-
2Measuring and correcting dimensions
Find out how much material the laser beam eats. To do so, I cut a square of specific dimensions (e.g. 20x20mm) with a hole inside (of 4mm diameter), from an acrylic sheet with the same thickness, hence, I use the same power, frequency and speed of cutting. Then, I measure the part, thus, I find out how much material melts or evaporates during the process of cutting.
Measure all the parts, size and thickness of the sheet, diameter of the port tube, dimater of the tweeter, make sure that the dimensions of the speakers are correct.
Adjust the dimensions of the drawings accordingly. If your port tube has a diameter of 40.5 mm, and the laser eats 0.2mm, draw a circle of 40.9mm (40.5 +2x0.2mm) or slightly smaller since we want to have a snug fit. Same with the holes in the corner pieces, if the laser eats 0.2mm, draw circles of 2.1 mm.
-
3Cutting and painting
Laser cut the parts. I am using cast acrylic because it laser cuts very nicely.
If you want to paint them, before doing it, put painters tape on all the corners and protect the outer face. I recomend using spray paint that has both primer and paint.
-
4Gluing

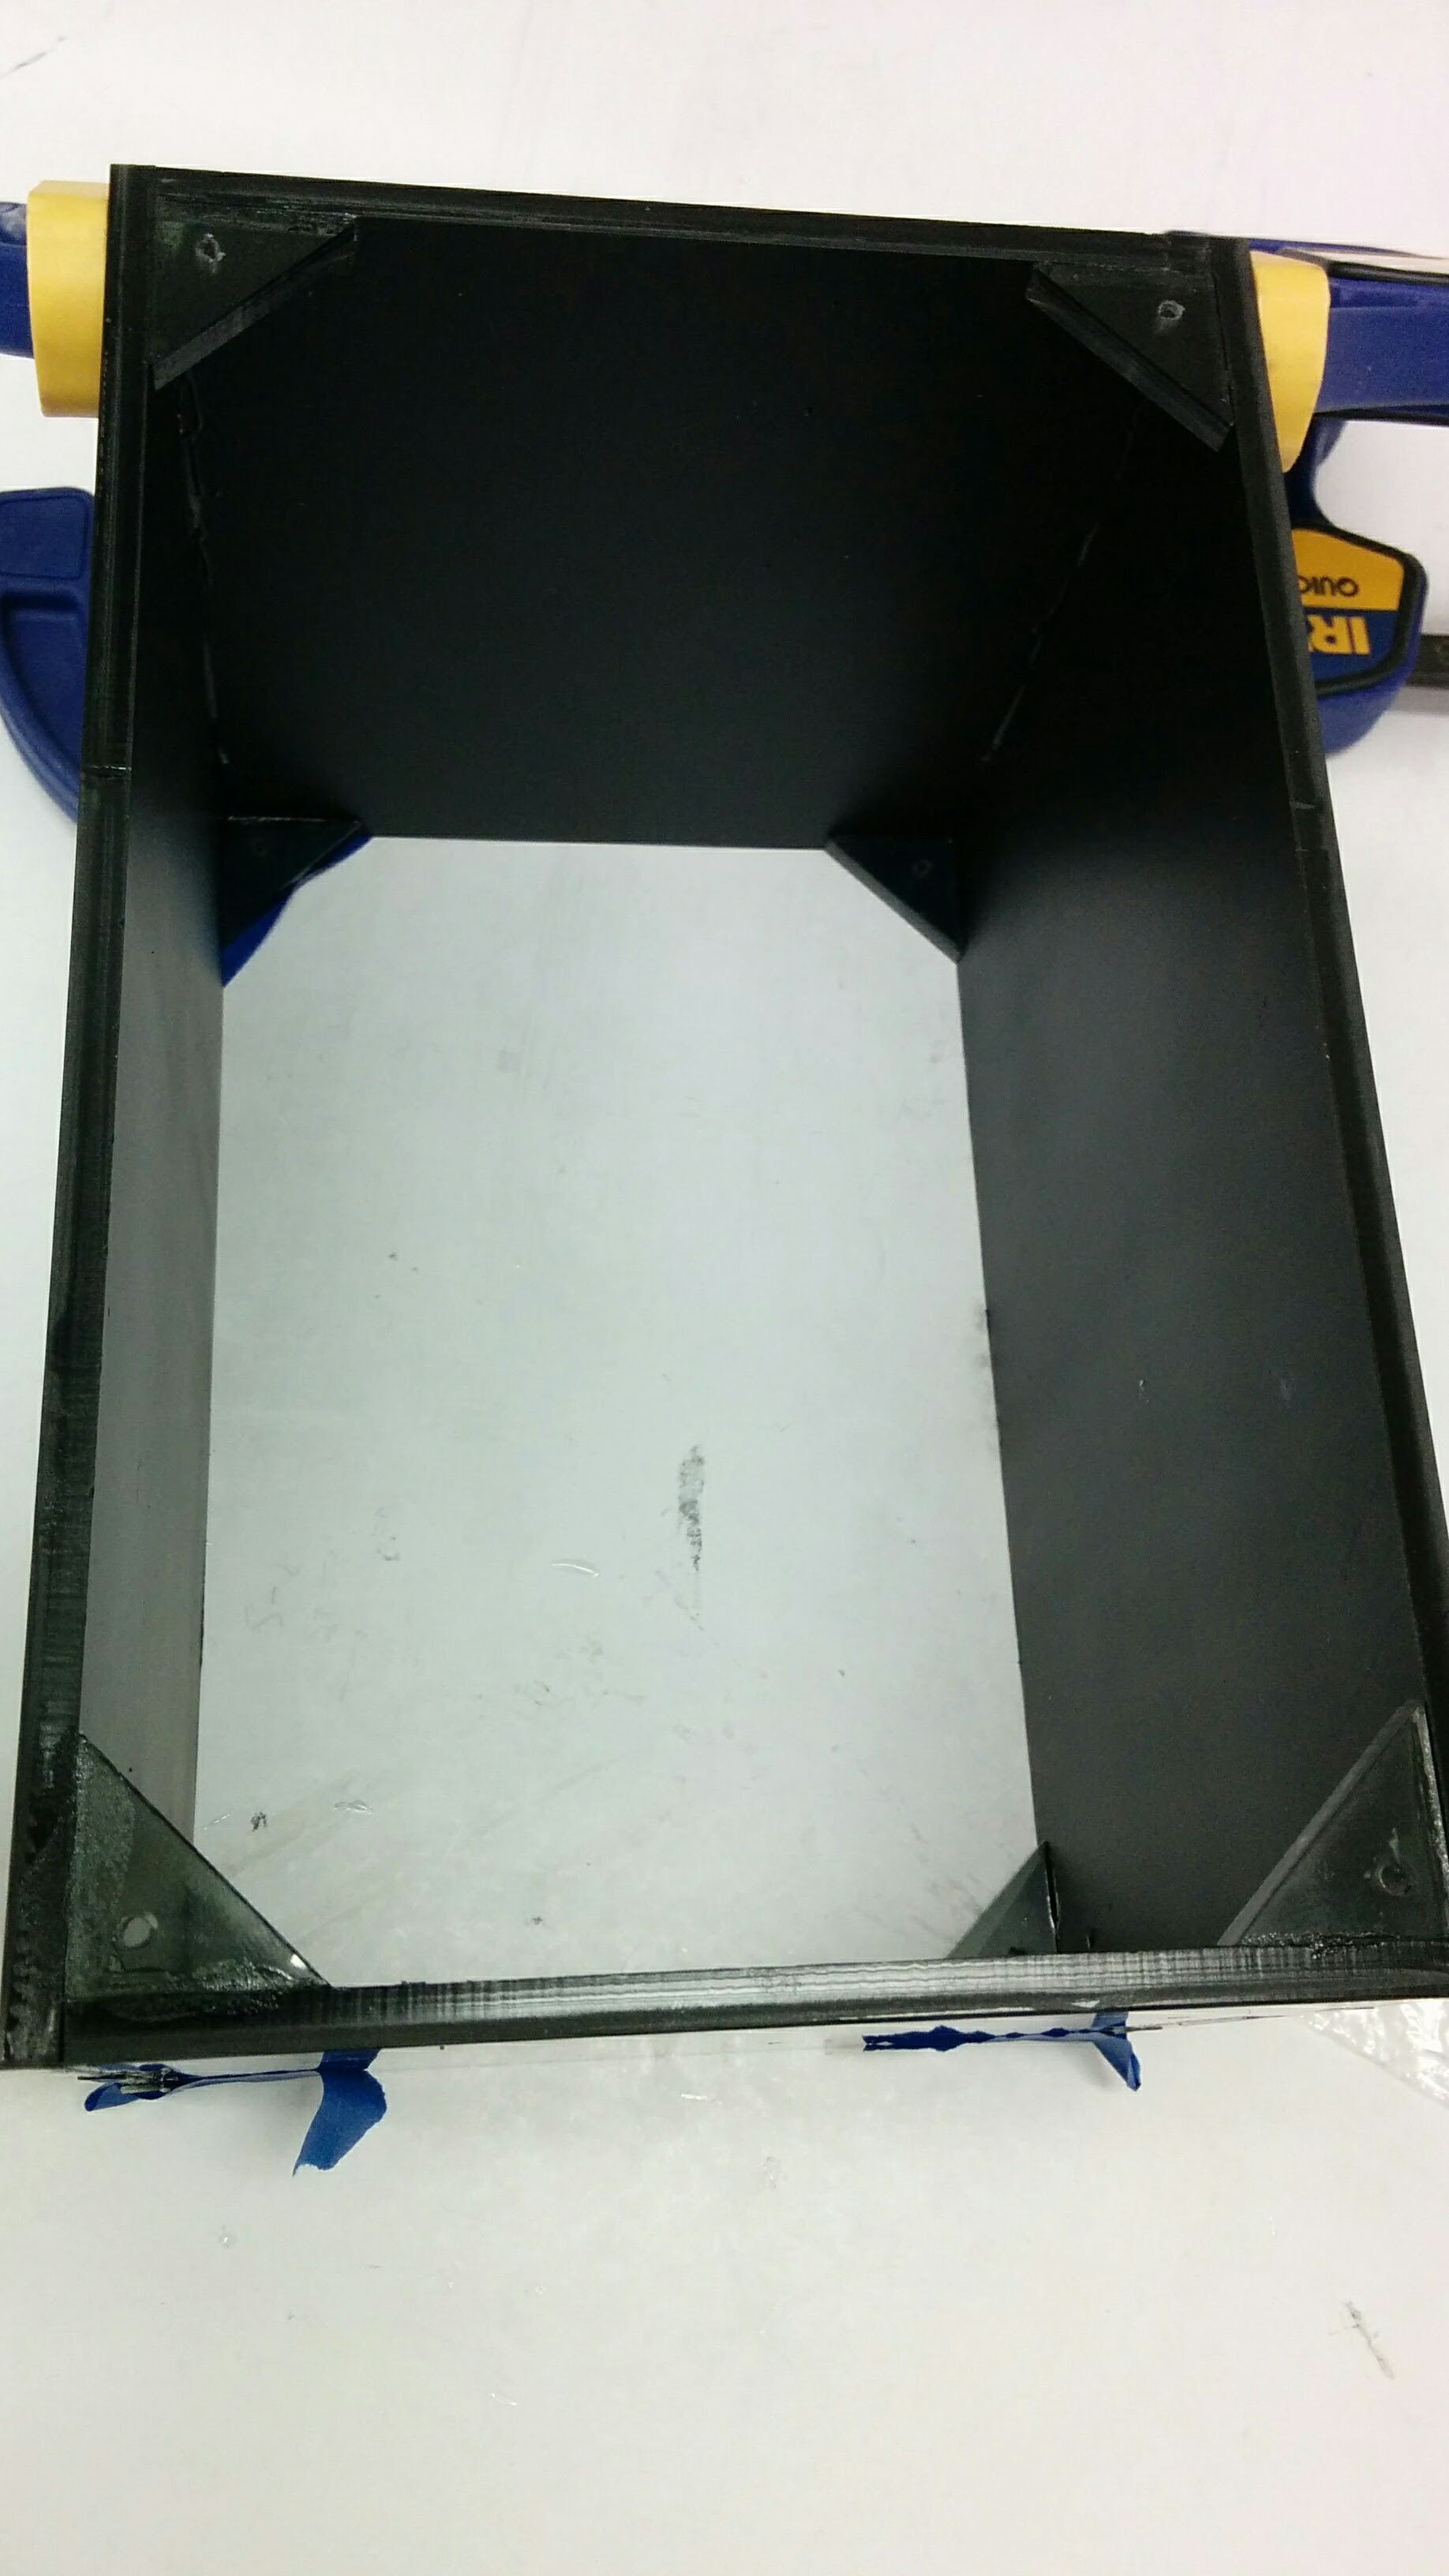
Glue the two sides and the top and bottom using epoxy glue. Let it cure overnight. In the meantime you can tap the threads on the holes of the corner pieces. Afterwards, glue the corner pieces.
The front and back faces are attached to the box using screws. They are screwed to the corer pieces. This is why they are useful.
Then apply glue using a glue gun to the corners to ensure a good sealing.
-
5Build the crossover

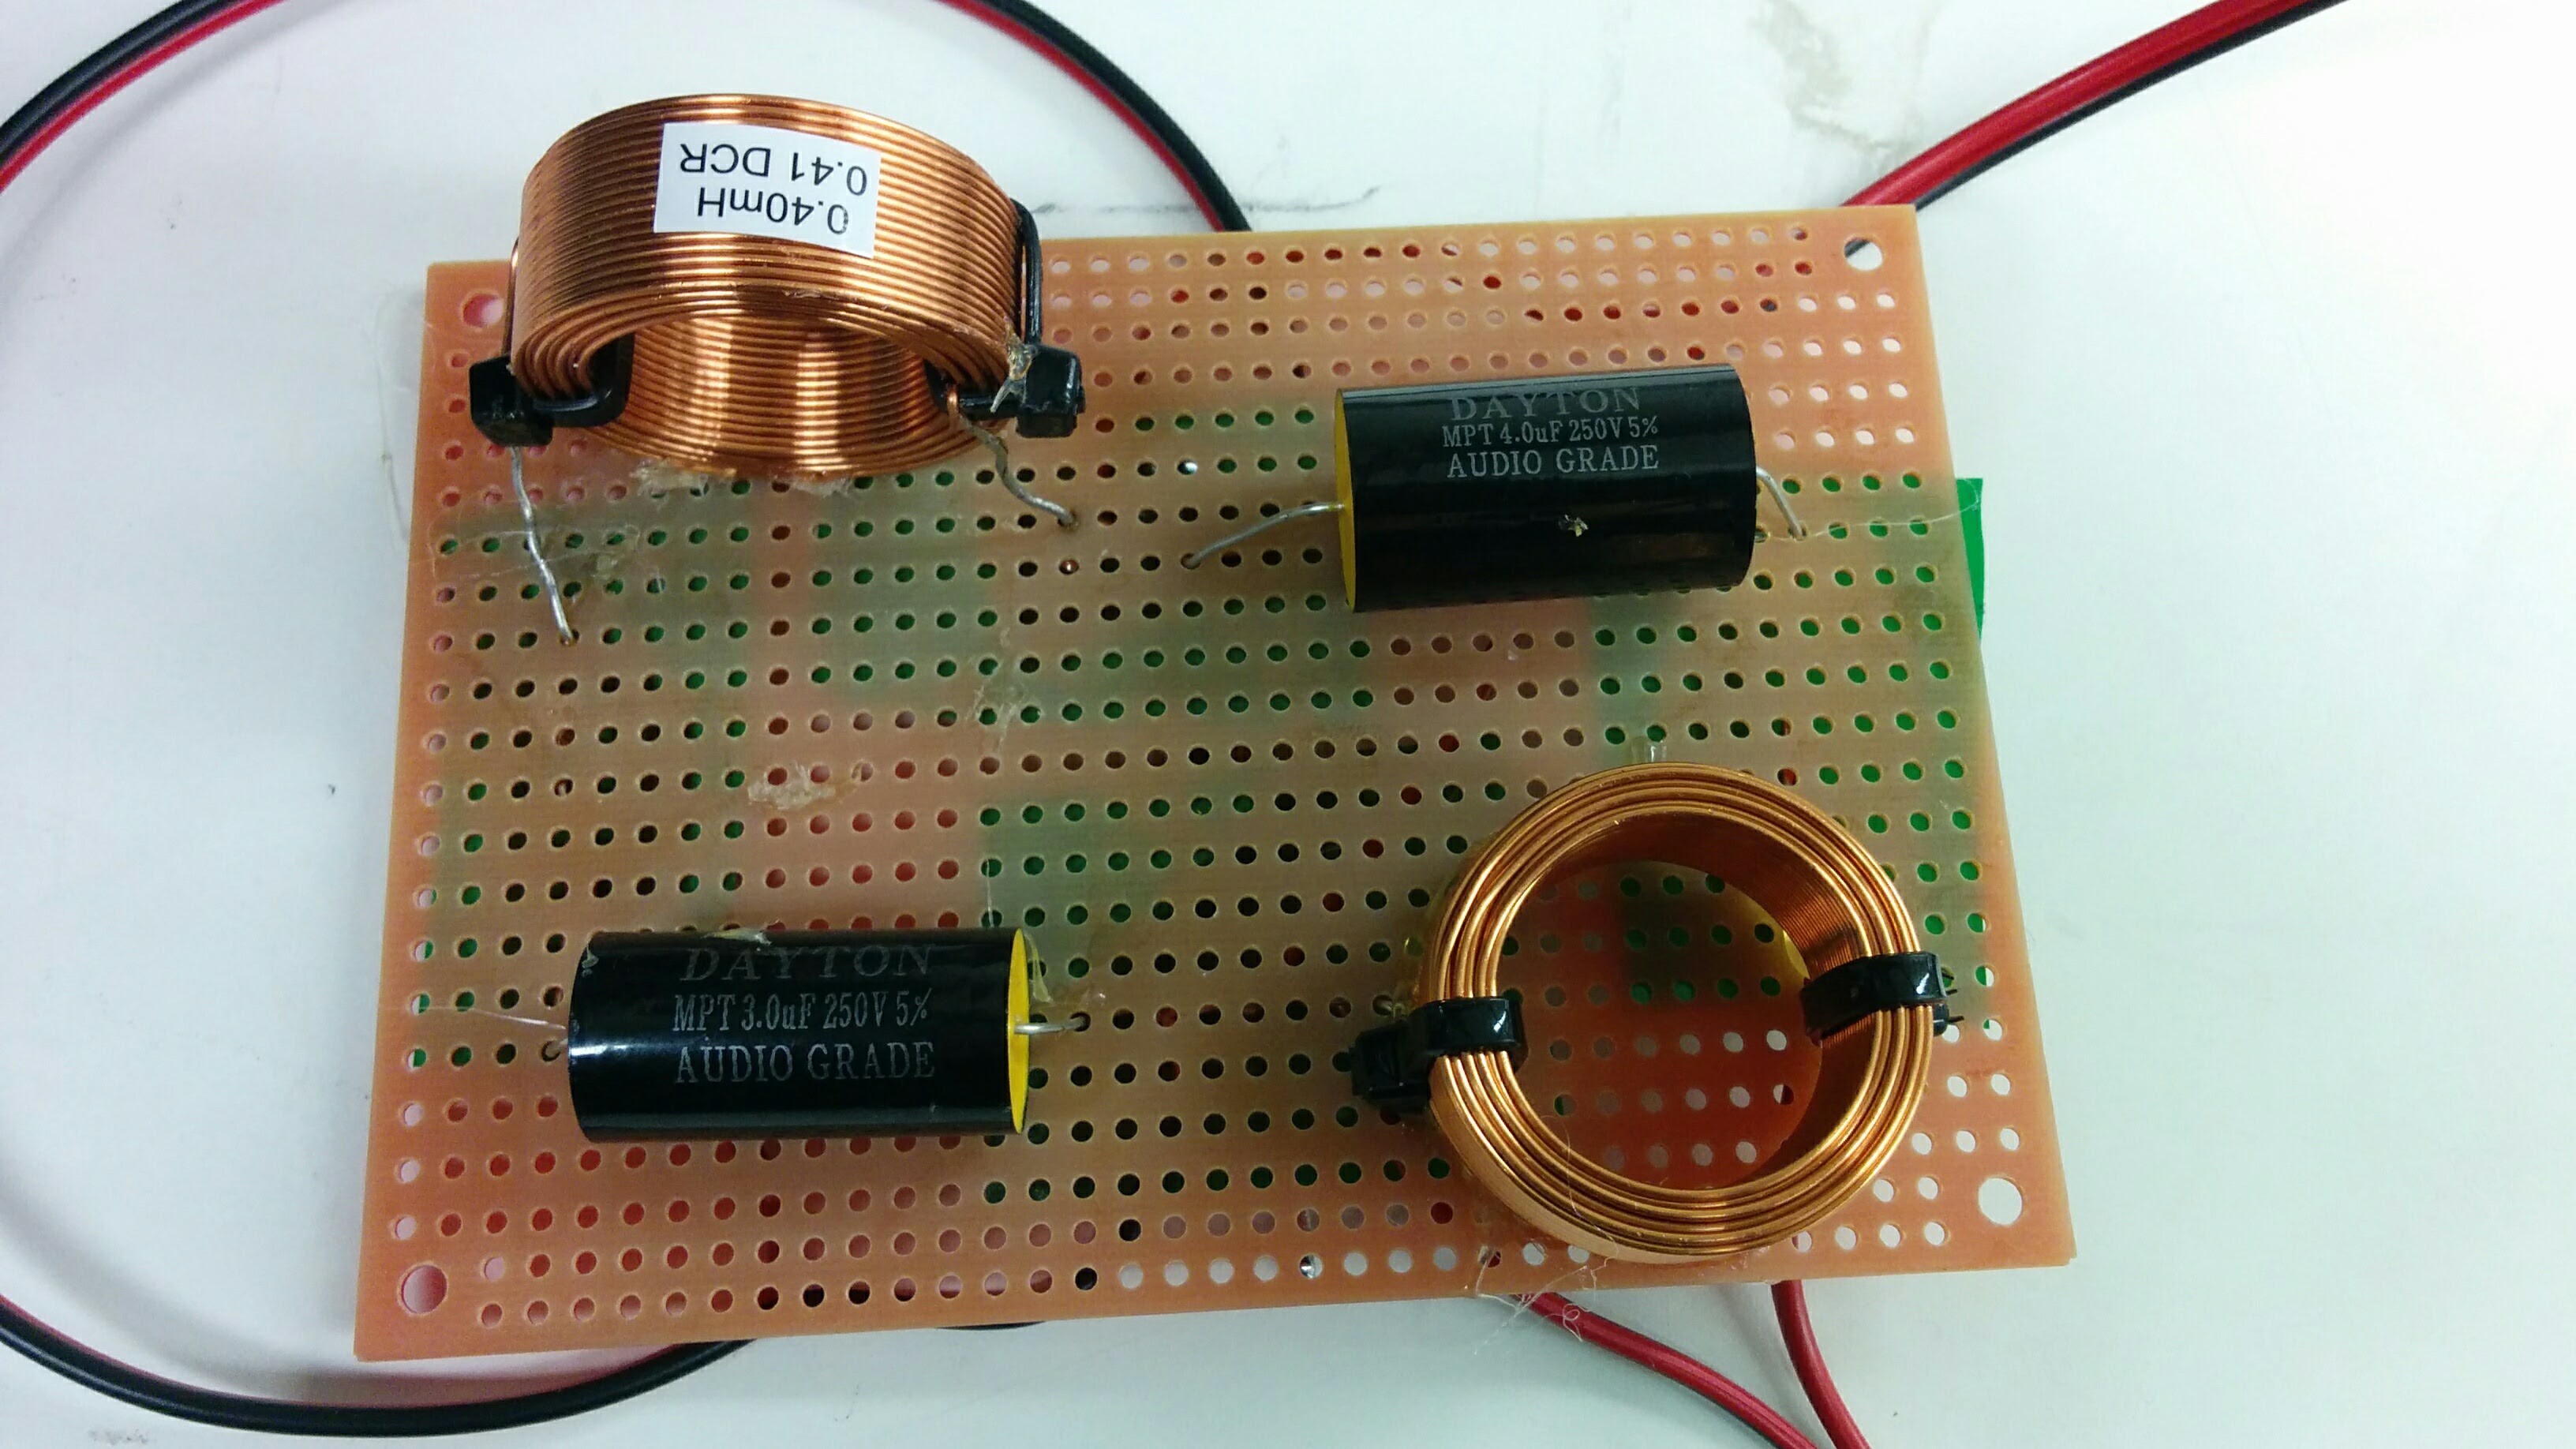
Place the capacitors and inductors to the board. Attach them using hot glue.
To avoid interference between the magnetic fields, the coils should be placed as separate as possible; and through the hole of one coil you shouldn’t see the other one, in other words, the axes of both coils should not cross. For more information about the placement of the coils, check http://www.troelsgravesen.dk/coils.htm.
Solder the parts and the wires. Check my other project for more details about the crossover https://hackaday.io/project/28864-crossover-design.
-
6Assembly

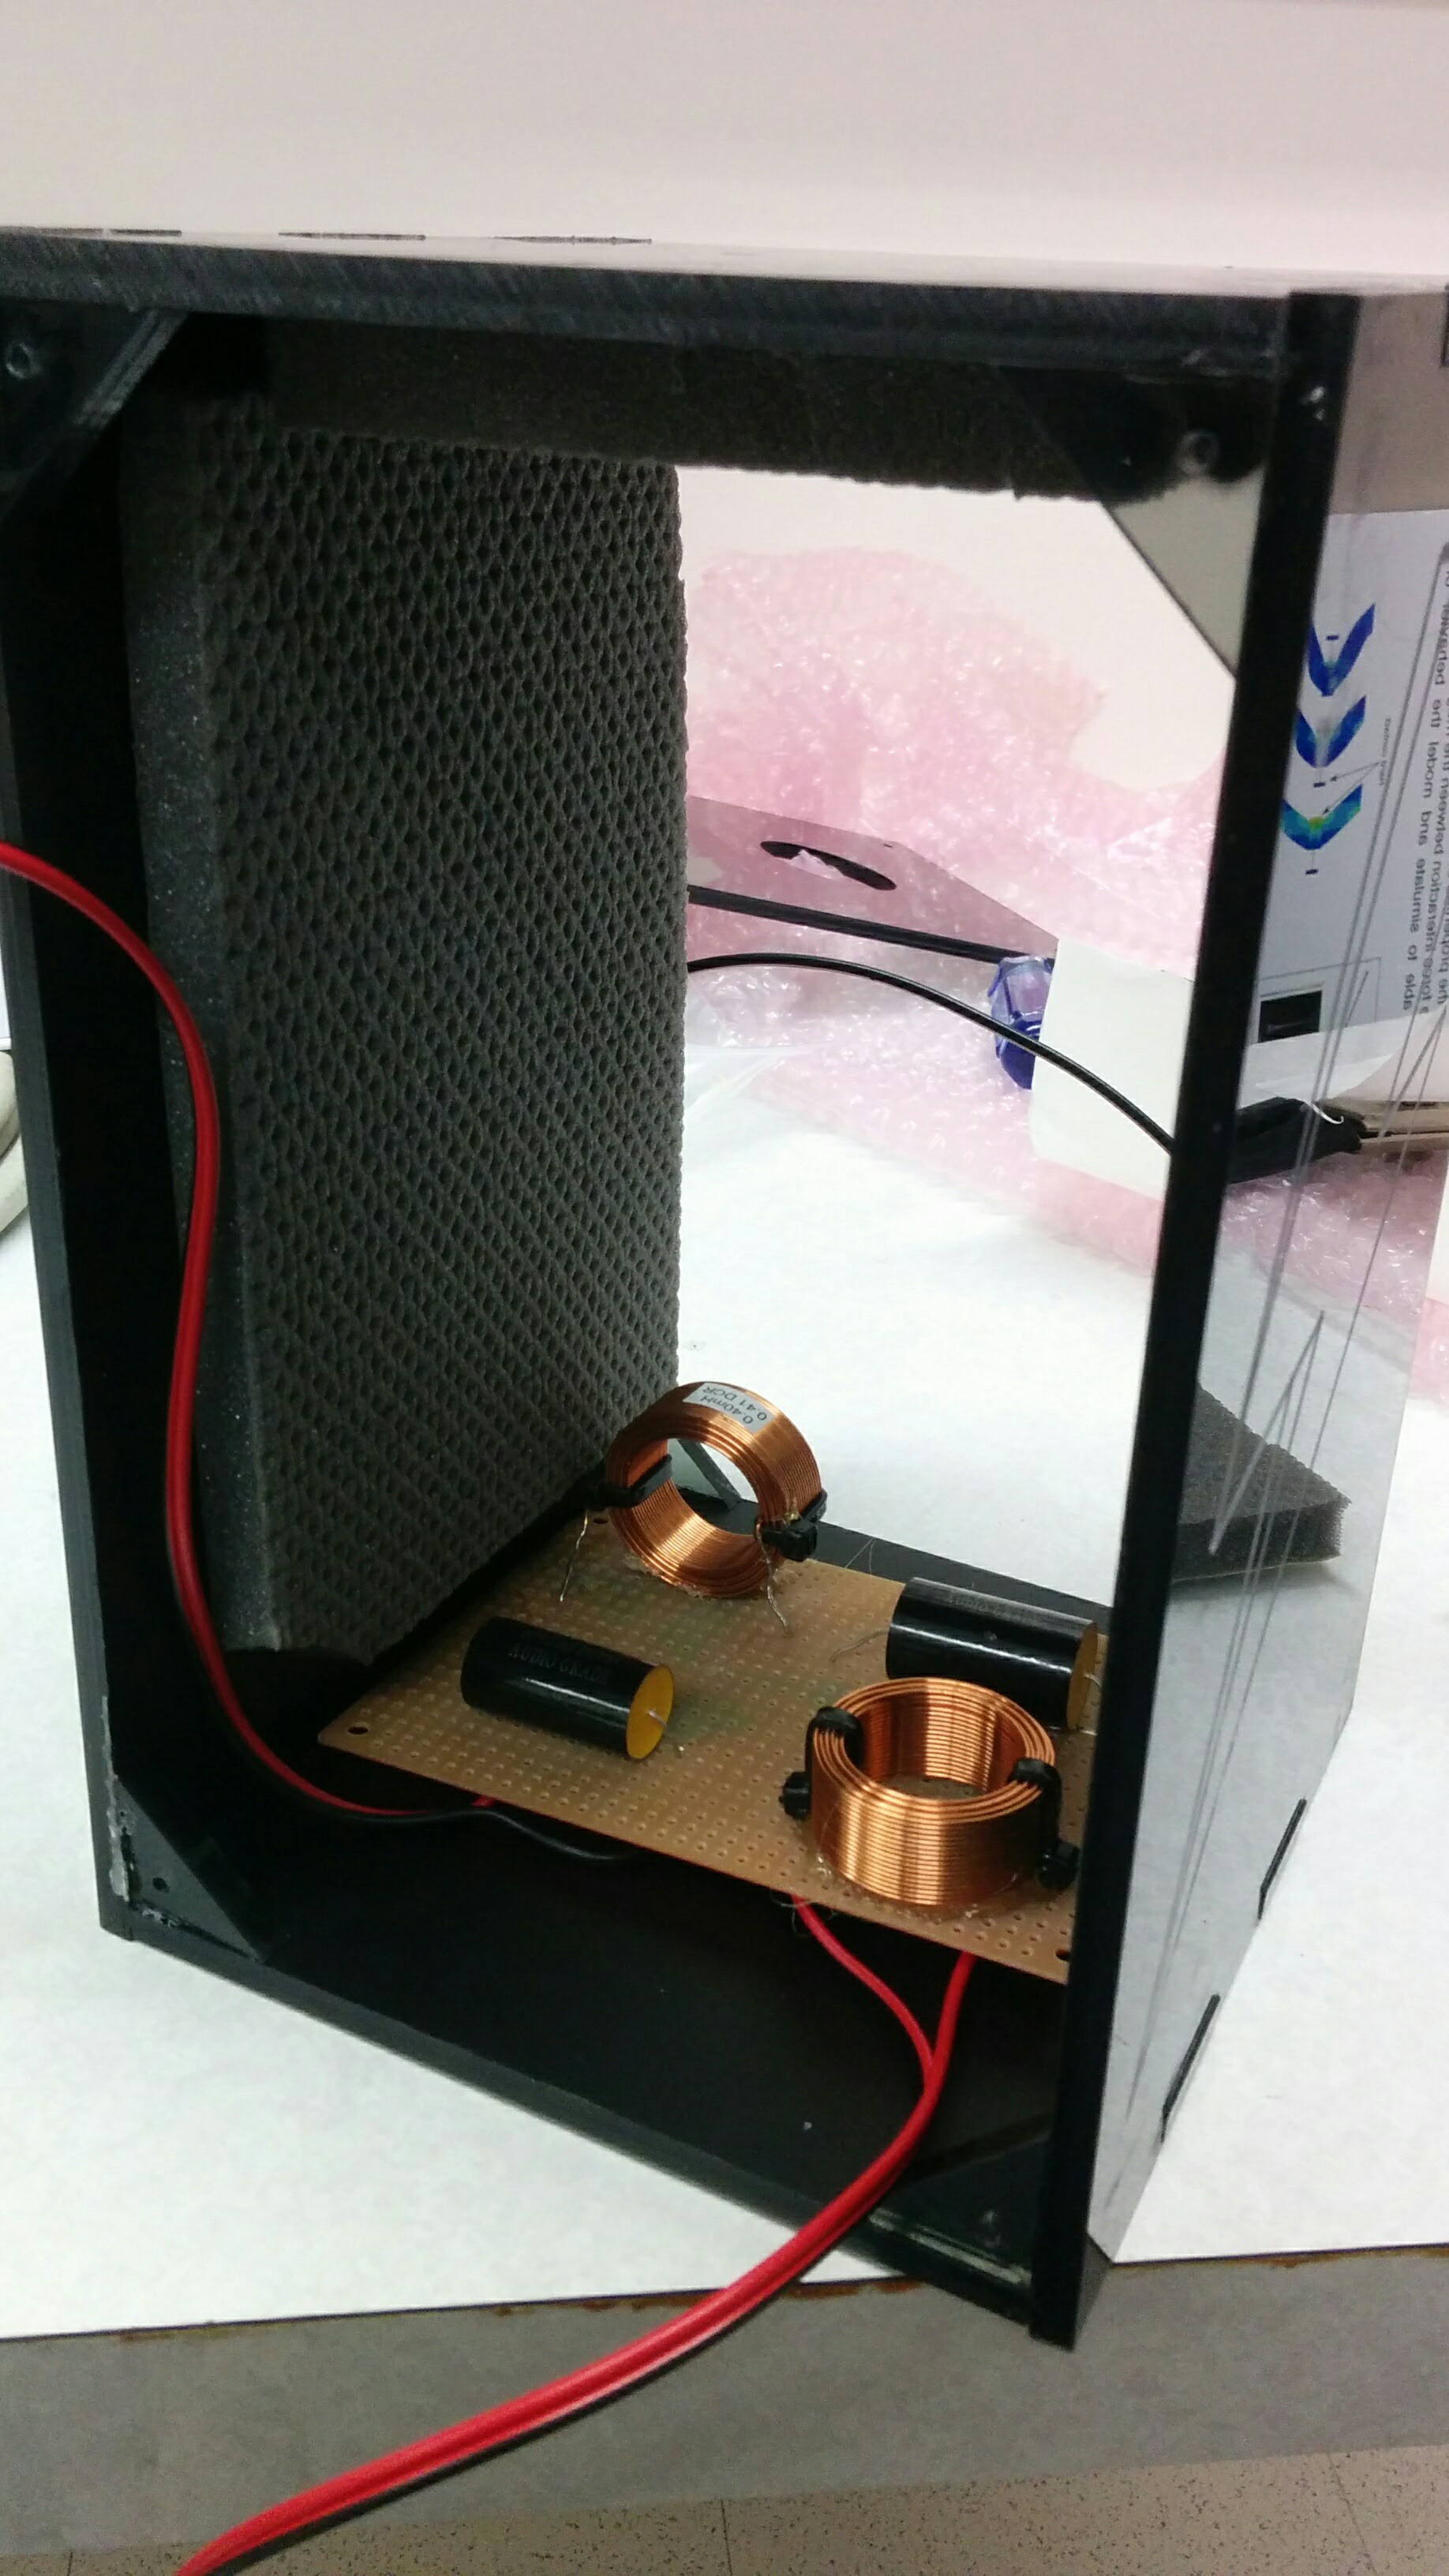
Attach the woofer and the tweeter to the front face. Attach the port tube and the spring terminal to the back face. Place the crossover inside the box, and secure is using double tape. Put foam on all the inner faces except the front face. Solder the wires to the woofer, the tweeter and the spring terminal. I use inverse polarity, so I switch the ground and the signal wires on the tweeter (ONLY on the tweeter), meaning, conect the ground wire (black) to the signal terminal of the tweeter, and the signal wire (red) to the ground terminal of the tweeter.
Put the gasketing tape on the perimeter of the inner face of the front and back parts. This will ensure good sealing between the front face and the box, and between the back face and the box, once we screw the parts to the corners.
Screw the front and back. Connect it to the amplifier and enjoy!
Acrylic speakers
2-way speaker with an enclosure made out of acrylic. The acrylic parts were laser cutted


Discussions
Become a Hackaday.io Member
Create an account to leave a comment. Already have an account? Log In.