-
1Setup Raspbery Pi Zero W
Install Raspbian from https://www.raspberrypi.org/downloads/raspbian/ following the instructions from https://www.raspberrypi.org/documentation/installation/installing-images/README.md
Install all updates by running the following two commands from a terminal:
sudo apt-get update; sudo apt-get dist-upgrade
Shut down, connect the camera. Start the raspberry again. In the Raspberry Setup panel enable the camera and enable SSH access to the raspberry. The sainsmart camera works as the official Pi camera, you can follow the instructions found here: https://www.raspberrypi.org/learning/addons-guide/picamera/
Unfortunately you are not done yet. We need a v4l driver for the raspi-cam, which is not enabled out of the box. First you should do a firmware update of your raspberry to get the latest firmware and kernel driver - run the following in a terminal:
sudo raspi-update
-
2Continue setup of raspberry
(The text-editor of hackadai.io sucks...)
You need to load the v4l kernel driver now by typing into a terminal:
sudo modprobe bcm2835-v4l2
If this worked without error messages, you should now have a device /dev/video0, check with
ls - l /dev/vid*
If this worked, add bcm2835-v4l2 to /etc/modules to enable the module at each start.
-
3Install v4l2rtspserver
For streaming we use v4l2rtspserver as it showed the lowest latency in our trials. Get the code from https://github.com/mpromonet/v4l2rtspserver
Install it with:
git clone https://github.com/mpromonet/h264v4l2rtspserver.git
cd h264v4l2rtspserver
cmake .
make install
You might need to install cmake before with
sudo apt-get install cmake
Everything should finish without errors and you can test it now by starting the streaming server from a terminal:
v4l2rtspserver -W 352 -H 288 -F 10 /dev/video0
Connect with VLC on a computer in the same network to the IP of the raspberry rtsp://<raspberry>:8554/unicast to check if the streaming is working.
-
4Build the power supply box
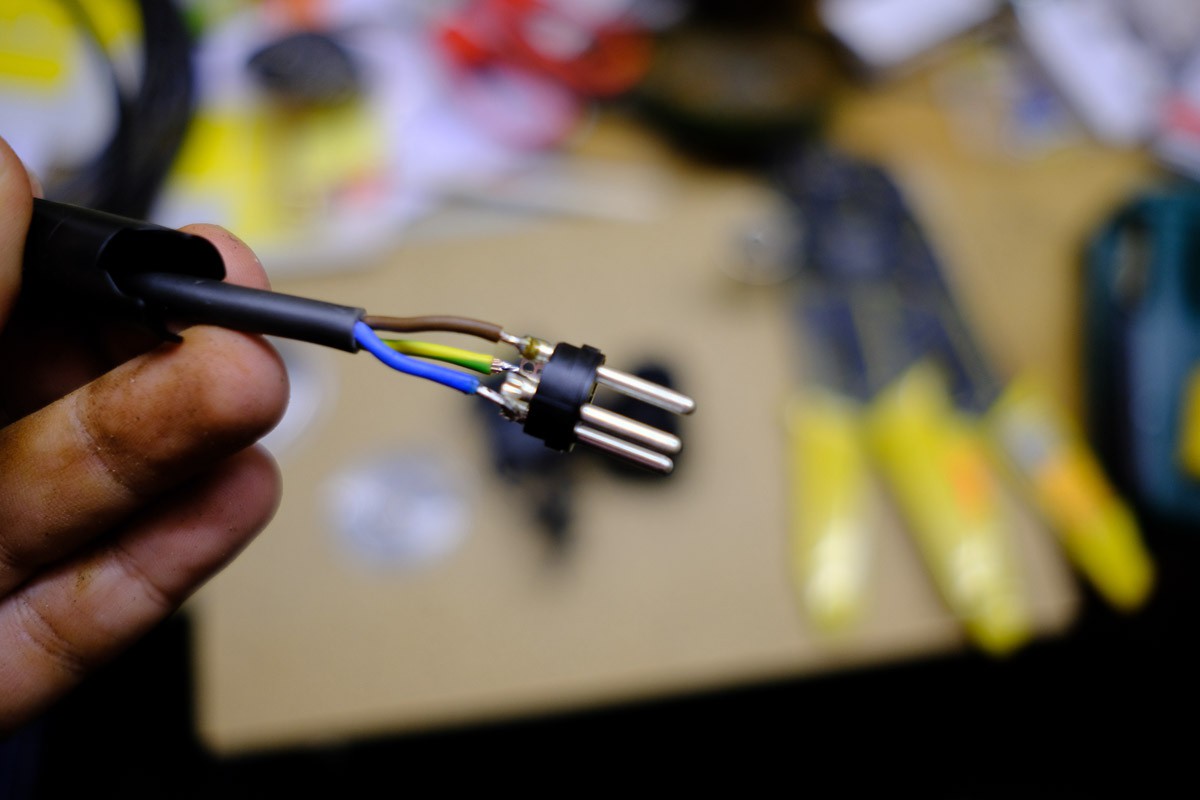
The invacare control uses what seems to be a standard for powered wheelchairs. The connector is a standard XLR connector as used for microphones. Pin 1 is positive, Pin 2 negative. Invacare has two additional pins for communication, but we are not going to mess around with these...
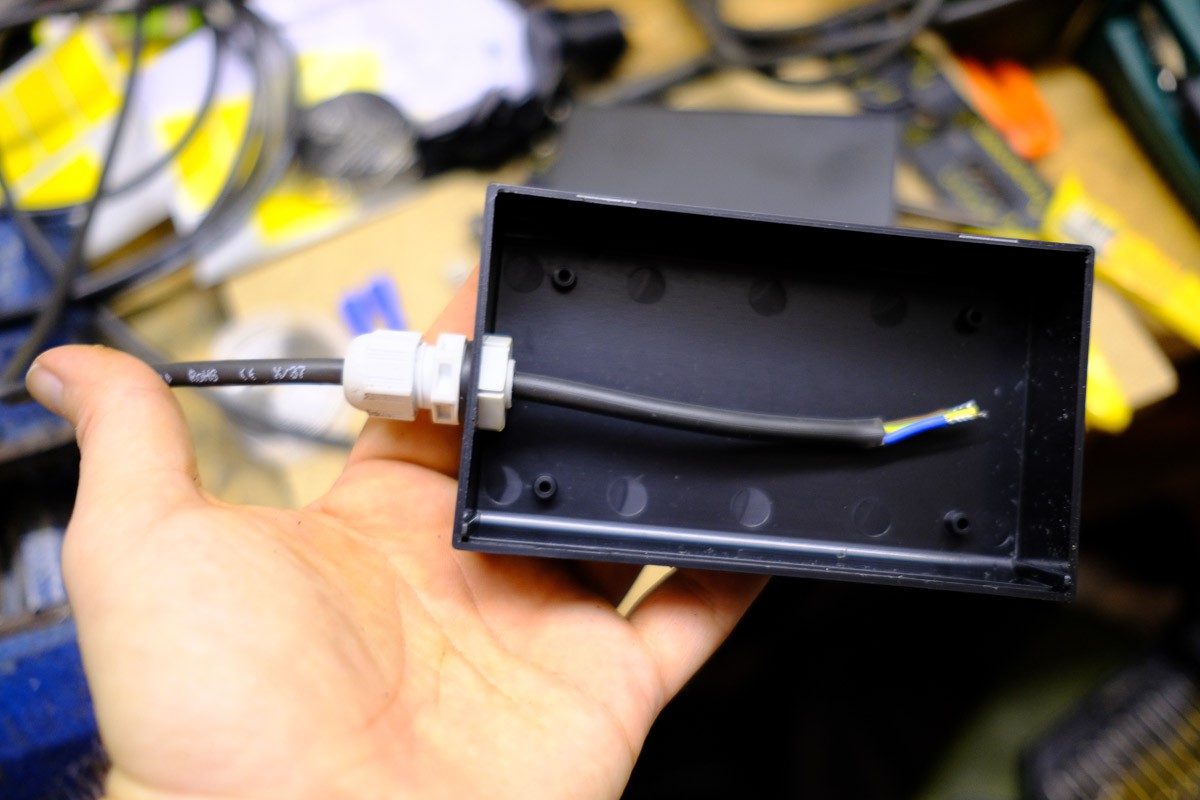
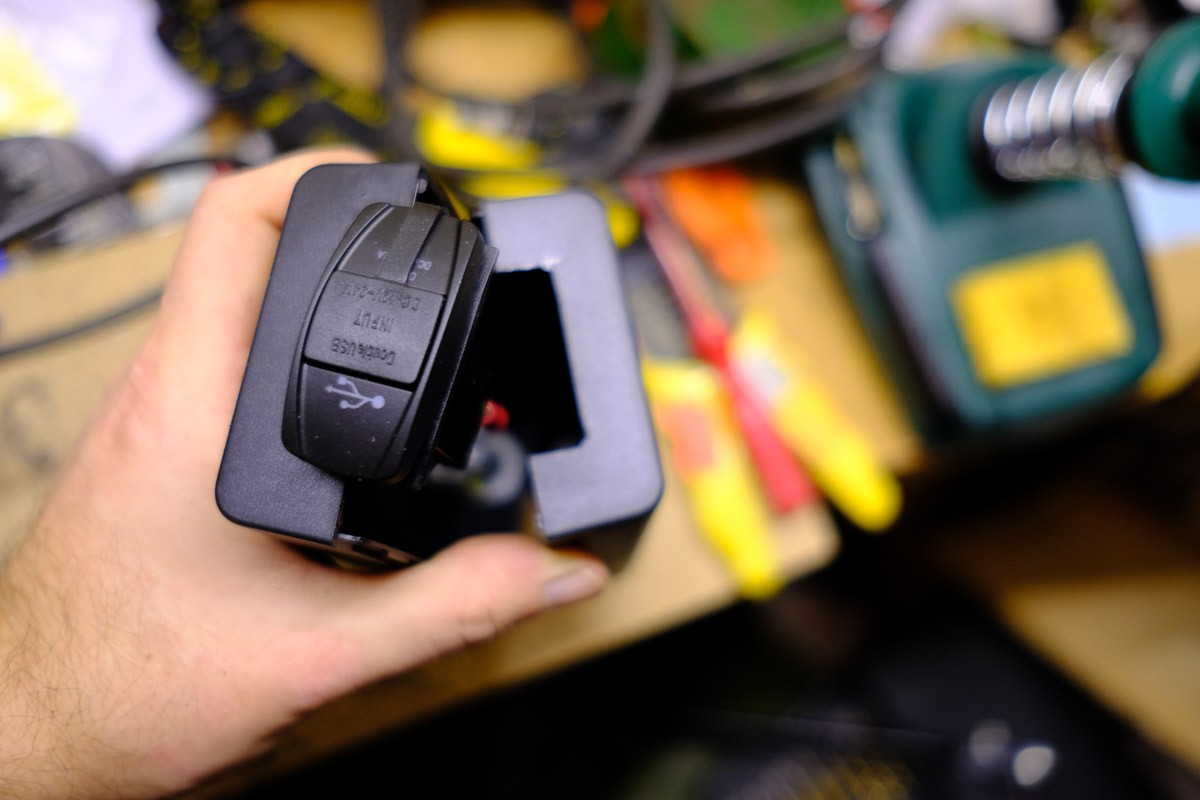
Connect the XLR connector to the USB power adapter and fit evereything in a box. To feed the cable to the box, a feedthrough is a good idea.
![]()
![]()
![]()
-
5Streaming Alternatives
There are a couple of alternatives to use for streaming video, I tried motion and vlc. Motion is a webcam tool which detects motion, so it performs additional image analysis on the images and probably is a bit slower than just streaming. VLC works out of the box without any additional compilations:
cvlc v4l2:///dev/video0 --v4l2-width 320 --v4l2-height 200 --v4l2-chroma h264 --sout '#standard{access=http,mux=ts,dst=0.0.0.0:12345}'This command streams an h264 encoded video via http on port 12345. Latency is somewhat about 2 seconds in our test setup.
-
6Automatically start streaming after boot
Create a script called launcher.sh in your home directory using your favorite editor (which should be vi):
!#/bin/bash
sleep 20
v4l2rtspserver -W 352 -H 288 -F 10 /dev/video0
The sleep command is needed to allow the video driver to become ready. Probably it can be set to less than 20 seconds....
Add this script to your crontab with "crontab -e" and adding:
@reboot sh /home/pi/bbt/launcher.sh >/home/pi/logs/cronlog 2>&1
This should start the streaming at each start automatically.
-
7Set up the raspberry as a WiFi Access Point
This step sets your Raspberry as an Access Point. After this, you are no longer connected to your network but the Raspberry opens up it's own WiFi Network. In case of mistakes, you need to have access to the Raspberry with a keyboard and a display, so do this before you bury the raspberry in a housing somewhere...
I am following the method described here: https://frillip.com/using-your-raspberry-pi-3-as-a-wifi-access-point-with-hostapd/
Install hostapd and dnsmasq
sudo apt-get install dnsmasq hostapdDisable dhcp on the interface wlan0 by adding the following line to /etc/dhcpd.conf (preferably at the top)
denyinterfaces wlan0
Configure a static IP for the wlan0 interface by editing /etc/network/interfaces to include the following:
allow-hotplug wlan0
iface wlan0 inet static
    address 172.24.1.1
    netmask 255.255.255.0
    network 172.24.1.0
    broadcast 172.24.1.255
Restart the dhcp daemon with
sudo service dhcpcd restart
and then reload the wlan0 config with
sudo ifdown wlan0; sudo ifup wlan0
-
8Configure hostapd
Create a hostapd configuration file /etc/hostapd/hostapd.conf containing:
# This is the name of the WiFi interface we configured above
interface=wlan0

# Use the nl80211 driver with the brcmfmac driver
driver=nl80211

# This is the name of the network
ssid=Pi3-AP

# Use the 2.4GHz band
hw_mode=g

# Use channel 6
channel=6

# Enable 802.11n
ieee80211n=1

# Enable WMM
wmm_enabled=1

# Enable 40MHz channels with 20ns guard interval
ht_capab=[HT40][SHORT-GI-20][DSSS_CCK-40]

# Accept all MAC addresses
macaddr_acl=0

# Use WPA authentication
auth_algs=1

# Require clients to know the network name
ignore_broadcast_ssid=0

# Use WPA2
wpa=2

# Use a pre-shared key
wpa_key_mgmt=WPA-PSK

# The network passphrase
wpa_passphrase=raspberry

# Use AES, instead of TKIP
rsn_pairwise=CCMP
Edit WLAN SSID and passphrase to something different. You can now check if it works by running:
sudo /usr/sbin/hostapd /etc/hostapd/hostapd.conf
You should be able to connect to the new network, but you won't get an IP address yet. Stop hostapd by hitting CTRL-C. Enable the automatic start of hostapd by editing /etc/default/hostapd and adding the configuration file location by changing the corresponding line to
DAEMON_CONF="/etc/hostapd/hostapd.conf"
-
9Setup dnsmasq
Move the provided dnsmasq config to a backup file (as it contains a lot of comments, you can still use it for reference):
sudo mv /etc/dnsmasq.conf /etc/dnsmasq.conf.orig
Then create a new /etc/dnsmasq.conf with the following content:
server=8.8.8.8           # Forward DNS requests to Google DNS
domain-needed        # Don't forward short names
bogus-priv                 # Never forward addresses in the non-routed address spaces.
dhcp-range=172.24.1.50,172.24.1.150,12h
# Assign IP addresses between 172.24.1.50 and 172.24.1.150 with a 12 hour lease time
Binding the dnsmasq service to a specific address lead to some problems in our installation, so we just let it run on all interfaces. As the raspberry Pi Zero W only has WiFi this is no problem unless you connect a USB Ethernet interface... (in this case you would also have a dhcp server on this interface, so this might mess up the network you connect to with a cable).
You do not need to do any extra steps to run dnsmasq at startup, it automatically starts. However you should test everything before you do a reboot by starting both services manually and check that you can connect to the WiFi and get an IP address (you can also tell your mobile phone that this WiFi does not have internet and that this is fine):
sudo service hostapd start
sudo service dnsmasq start
-
10Check everything
Now that you have configured everything it is time to do a short check (before everyhting is more difficult to access).
Reboot the raspberry. Connect to the WiFi if the raspberry with your mobile phone. Connect a streaming video client (e.g. VLC which exists for all operating systems) to the stream of the raspberry by selecting "Network stream" and connecting to rtsp://<raspberry>:8554/unicast (<raspberry> is the IP of your device, if you did not change it it is 172.24.1.1). You should see some live video from the camera now... (I had some issues with VLC for android, but VLC for iOS worked smoothly - I did not further investigate the android version as my brother uses iOS).
Rear view camera for electric wheelchair
A rear view camera for an electric wheelchair to allow easier backward movement, displaying video of a raspberry cam on a mobile phone
 Nils Pickert


Discussions
Become a Hackaday.io Member
Create an account to leave a comment. Already have an account? Log In.
Step 4 should be step 11 but I cannot convince this website to move it. hackaday seems to be a pretty quick hack...
Are you sure? yes | no