 Myles Eftos
FDM 3D printing is quite streaky, and looks... well, like it was 3D printed. I print in PLA, so acetate vapor is out off the question, making good, old fashioned sanding and painting the easiest way to get it looking it good.
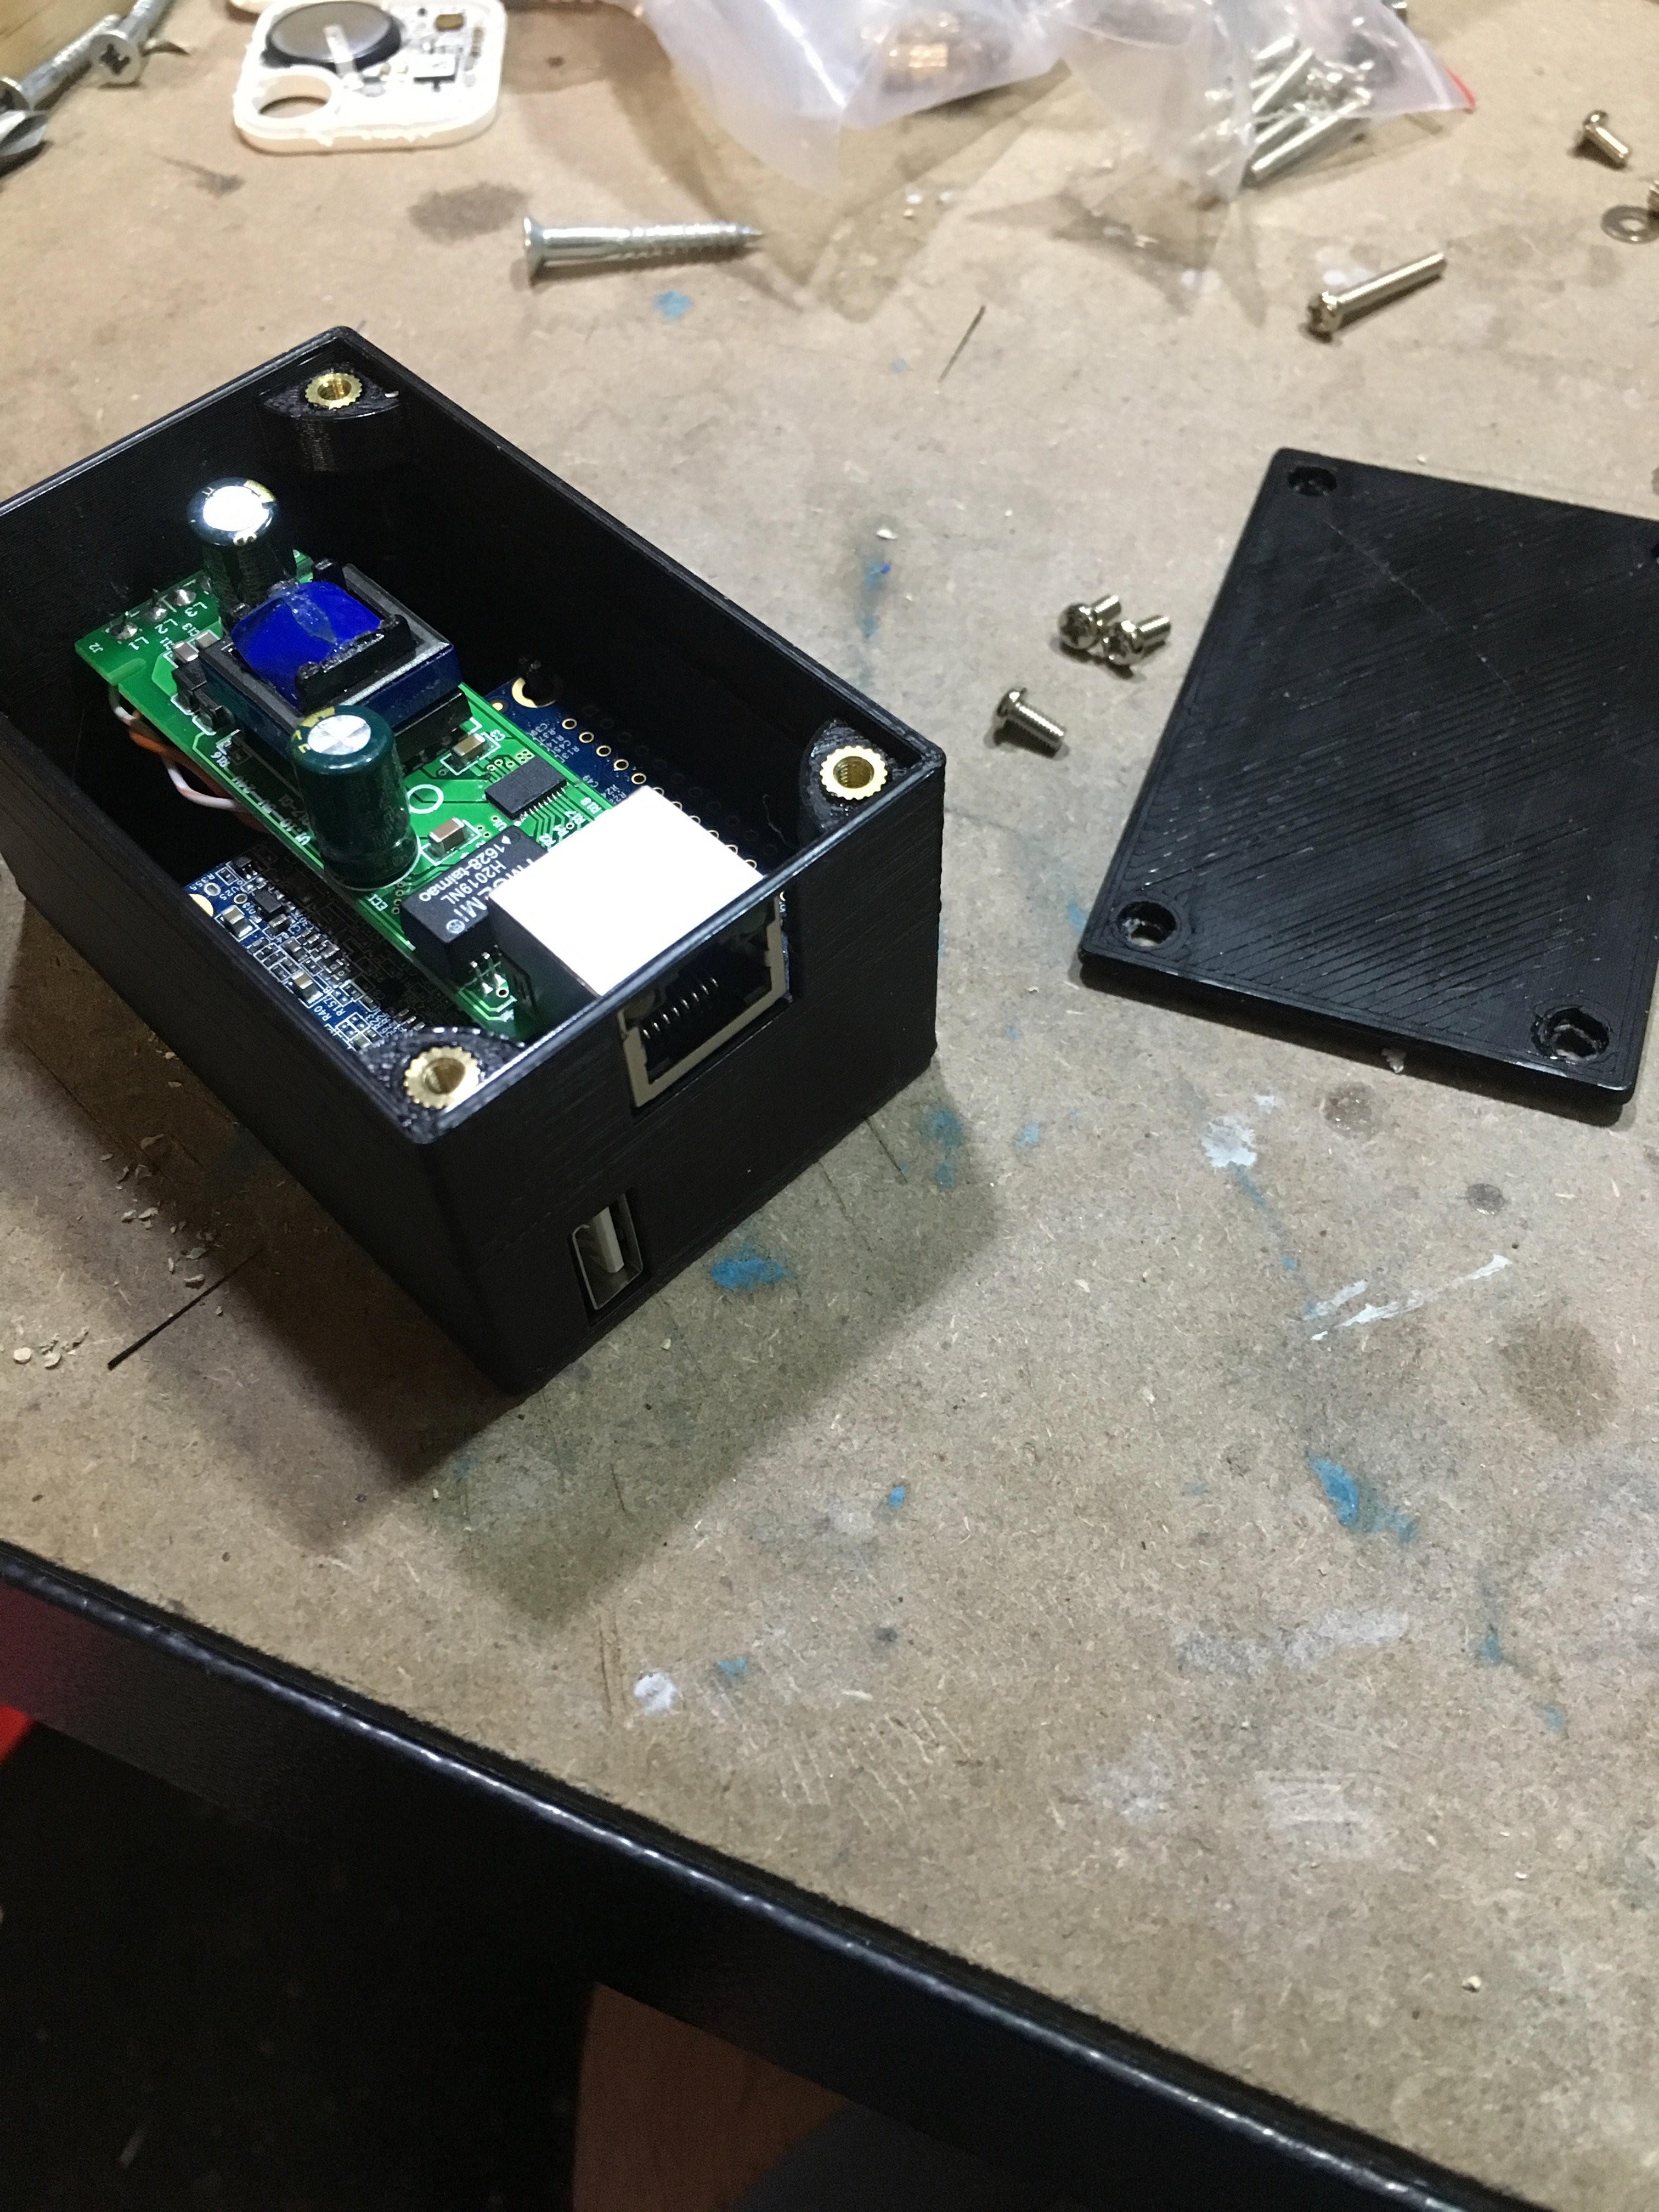
The first time I tried this I sanded the thing completely smooth, and it took ages. I found other people have had success using automotive primer/filler which fills smaller scratches.
I tried this, but the gaps were too big. I went aggressive, and started with 120grit wet-and-dry sand paper. I added another two coats of primer/filler. Next, I went to town with 400 grit, then 800 grit.
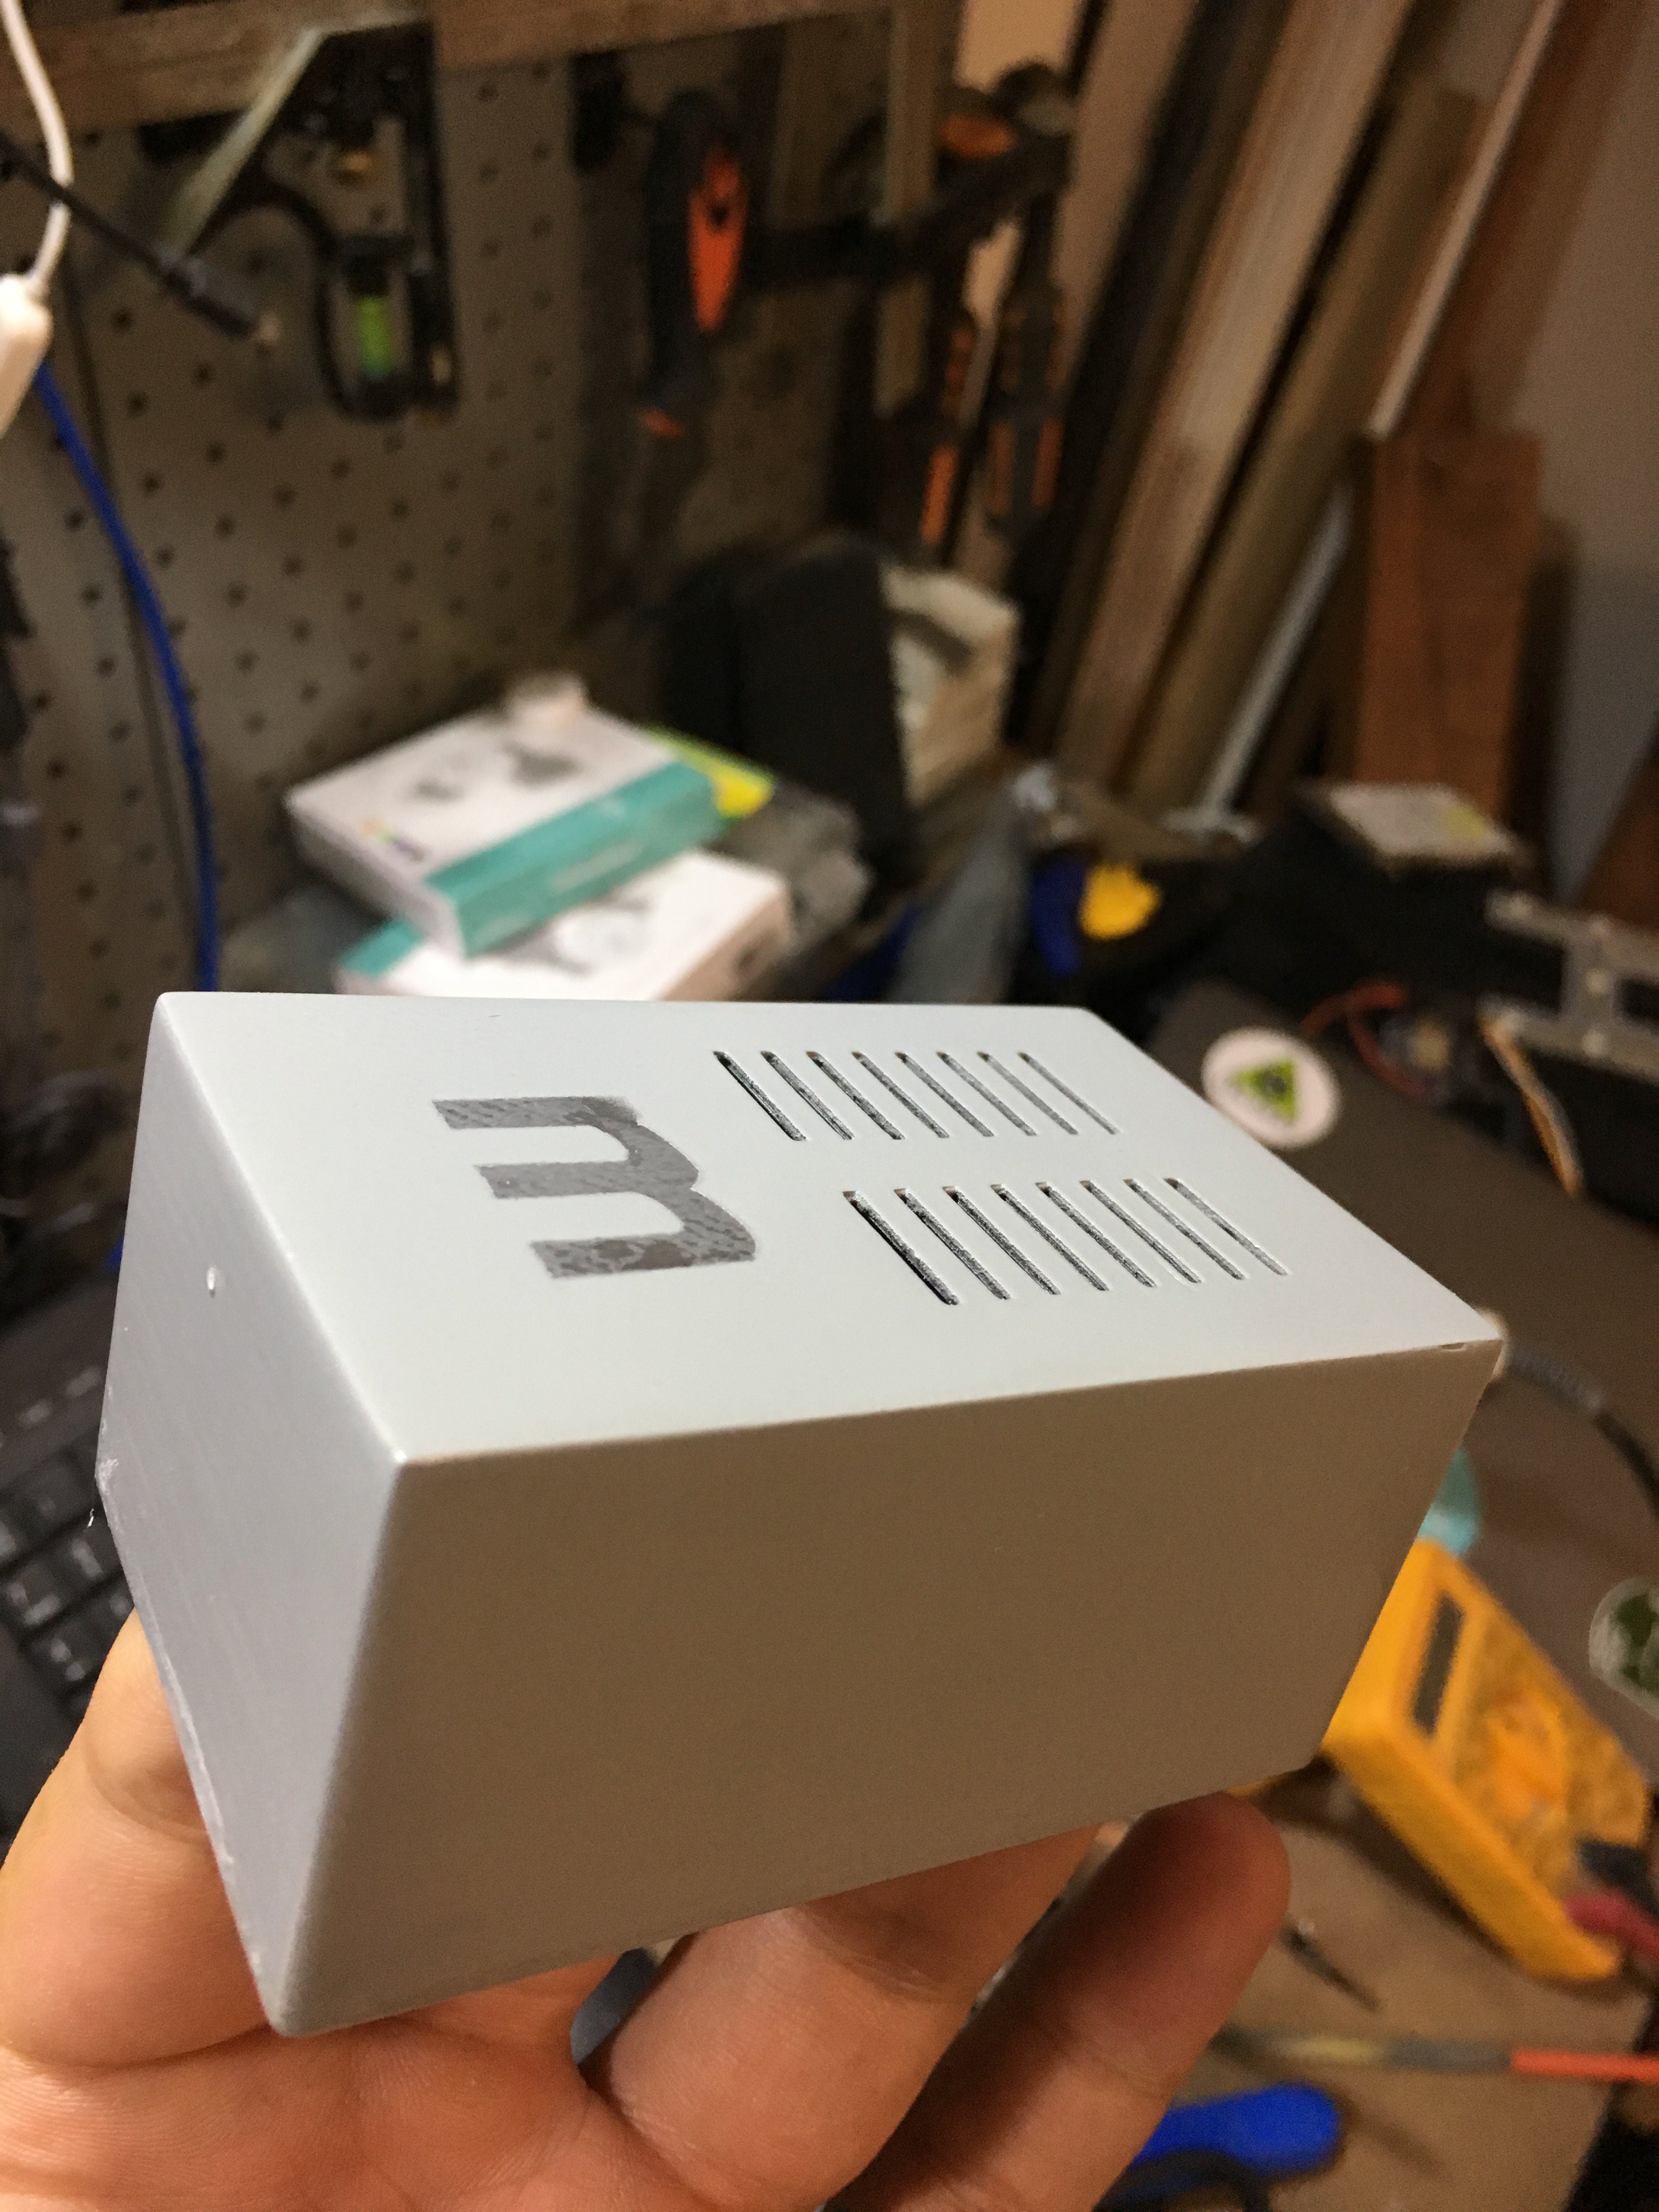
I wanted to see if I could paint a logo in the top, so I did an undercoat of satin silver, placed a sticker over it and then painted a top coat of satin grey.
It looked terrible.
- The sticker lifted, so the edges off the logo were blurry.
- Satin shows up ALL the gaps, so even after all the sanding, the lines were still visible
- I over painted, so there was drips, and it looked thick and gross
- The colour wasn't... great.
I re-sanded with 400-grit to get rid of the paint, and polished again with 800-grit. This time I omitted the extra coat of primer/filler, and just applied two LIGHT coats of flat (matt) black paint. This time the result was great!
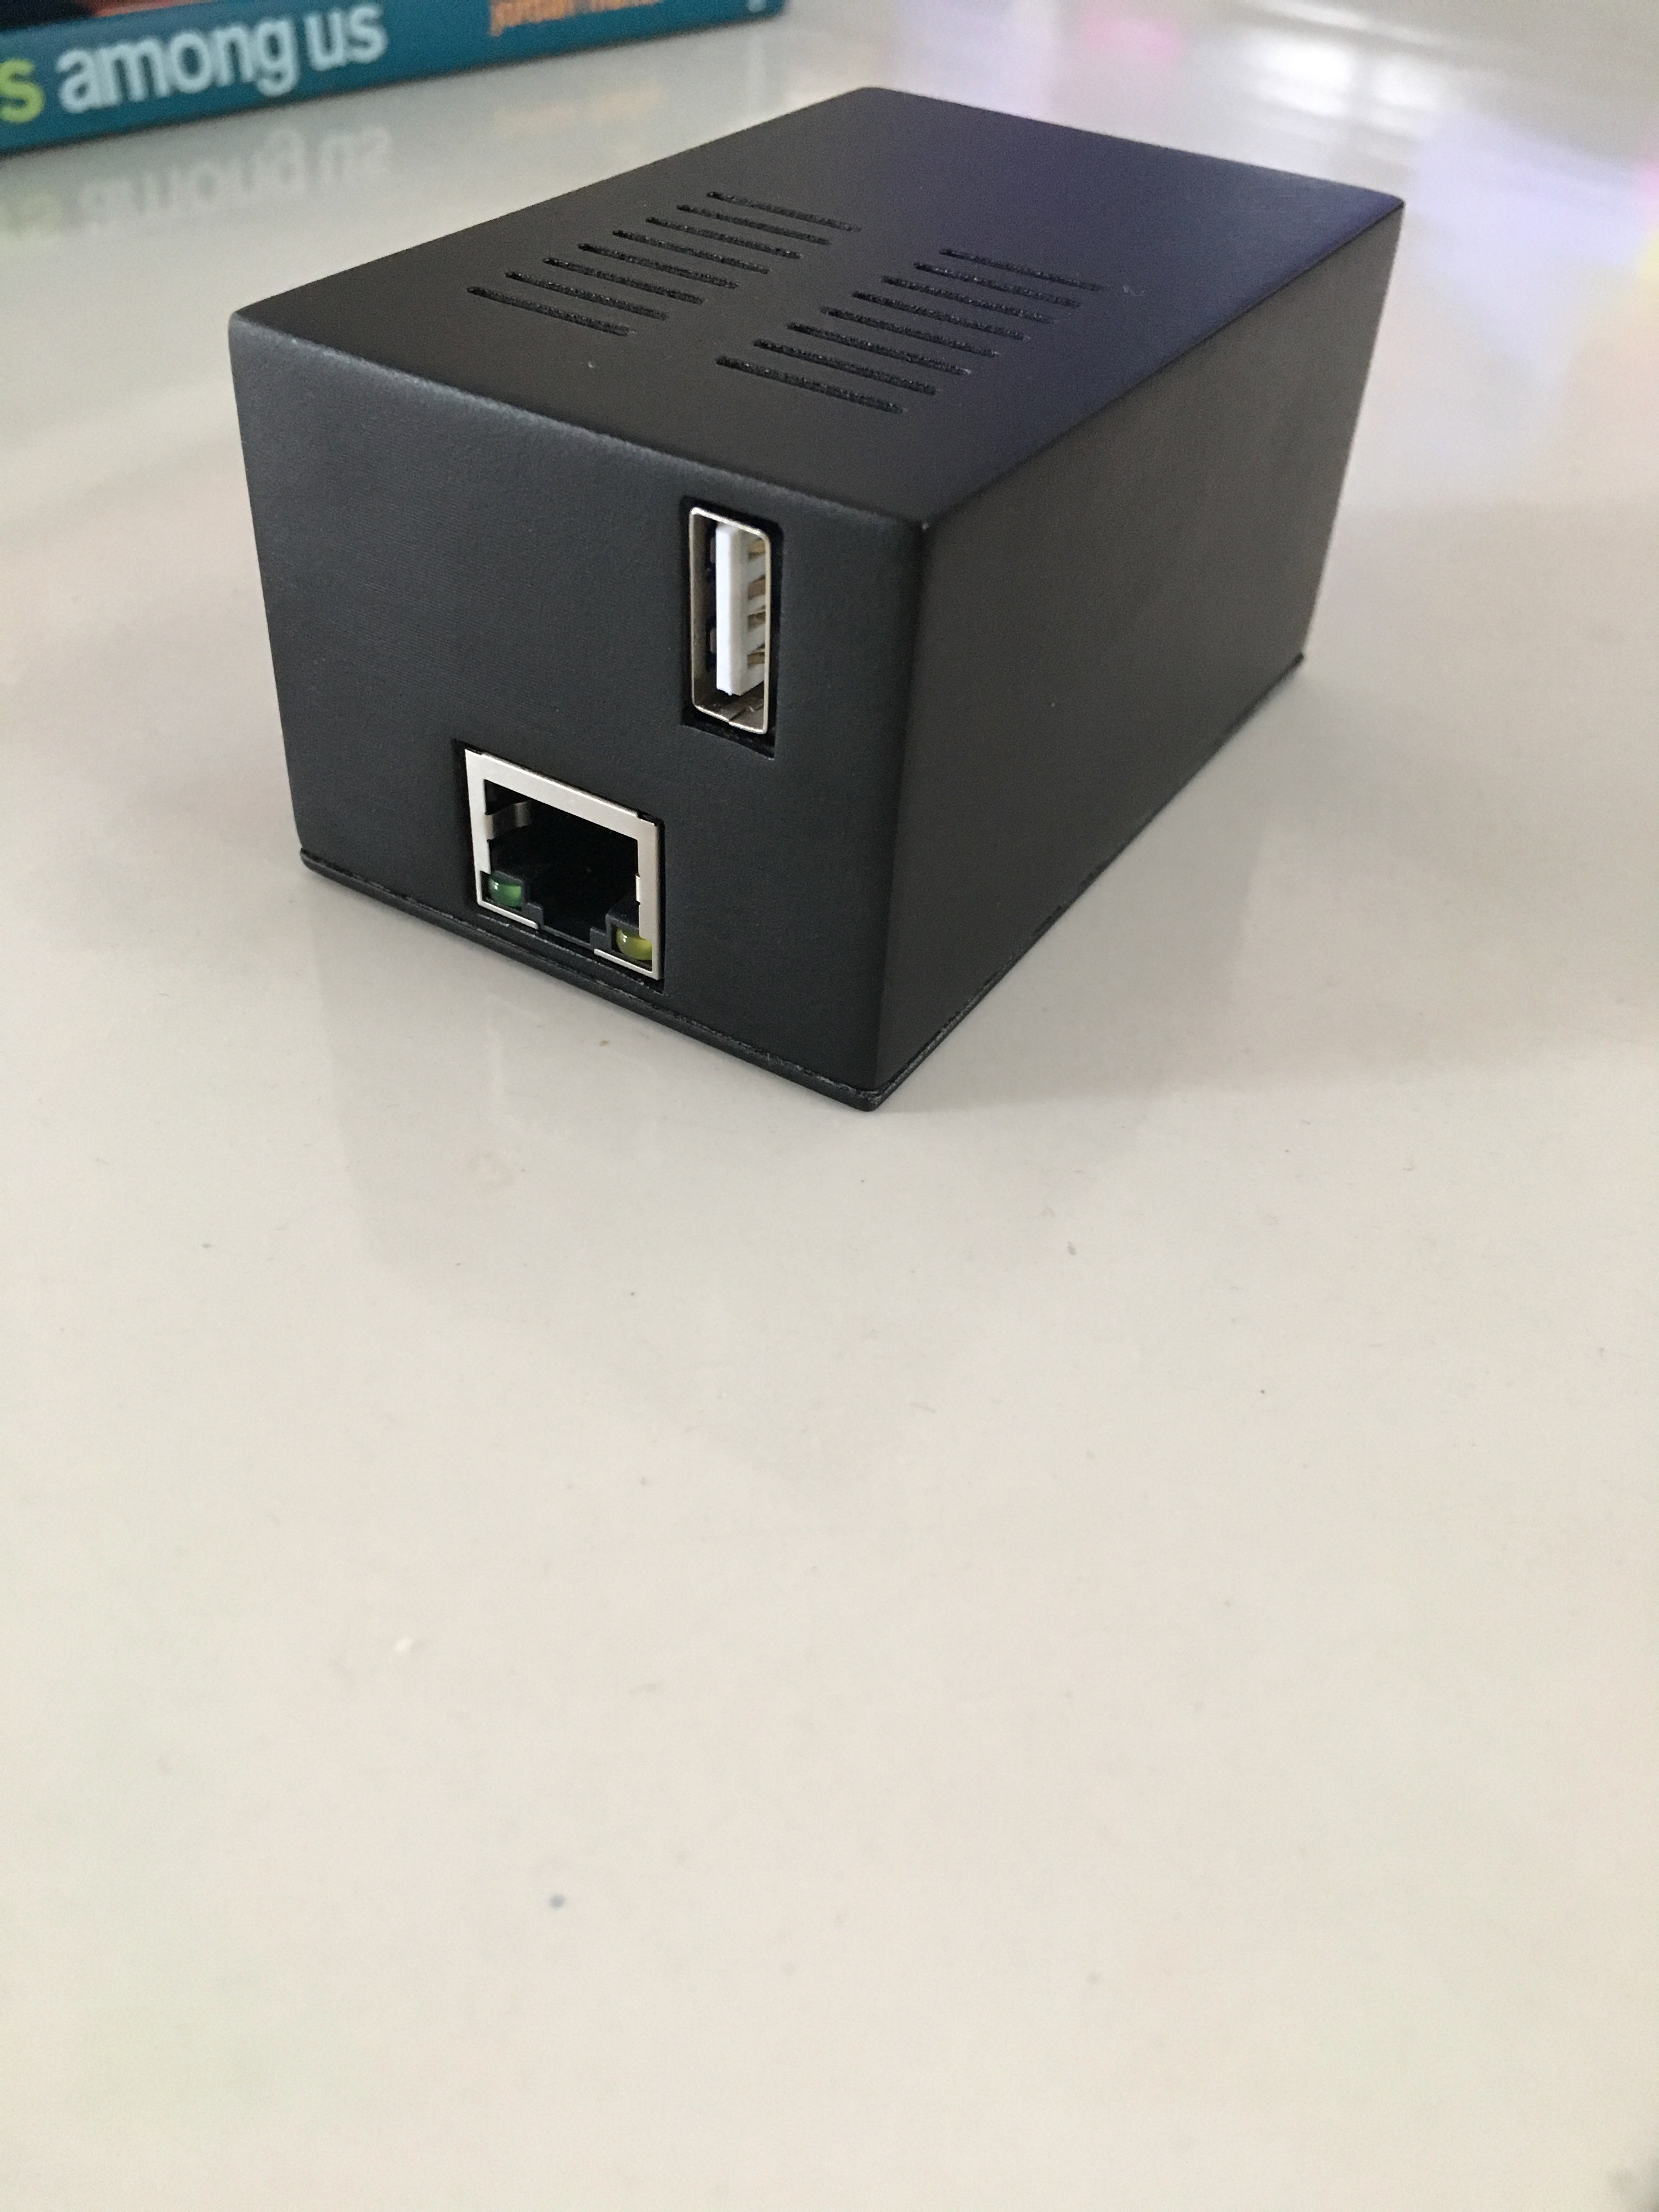
Matt paint actually fills gaps a little bit, so the result is much better. There are still some visible lines (in the right light), so clearly I need to sand more. Also - I missed some bits on the bottom section. Clearly I still need some practice.
I wouldn't mind trying the satin finish again, with out being so heavy handed on the paint.
Discussions
Become a Hackaday.io Member
Create an account to leave a comment. Already have an account? Log In.