-
Masking done
10/12/2014 at 02:21 • 0 commentsQuick update;
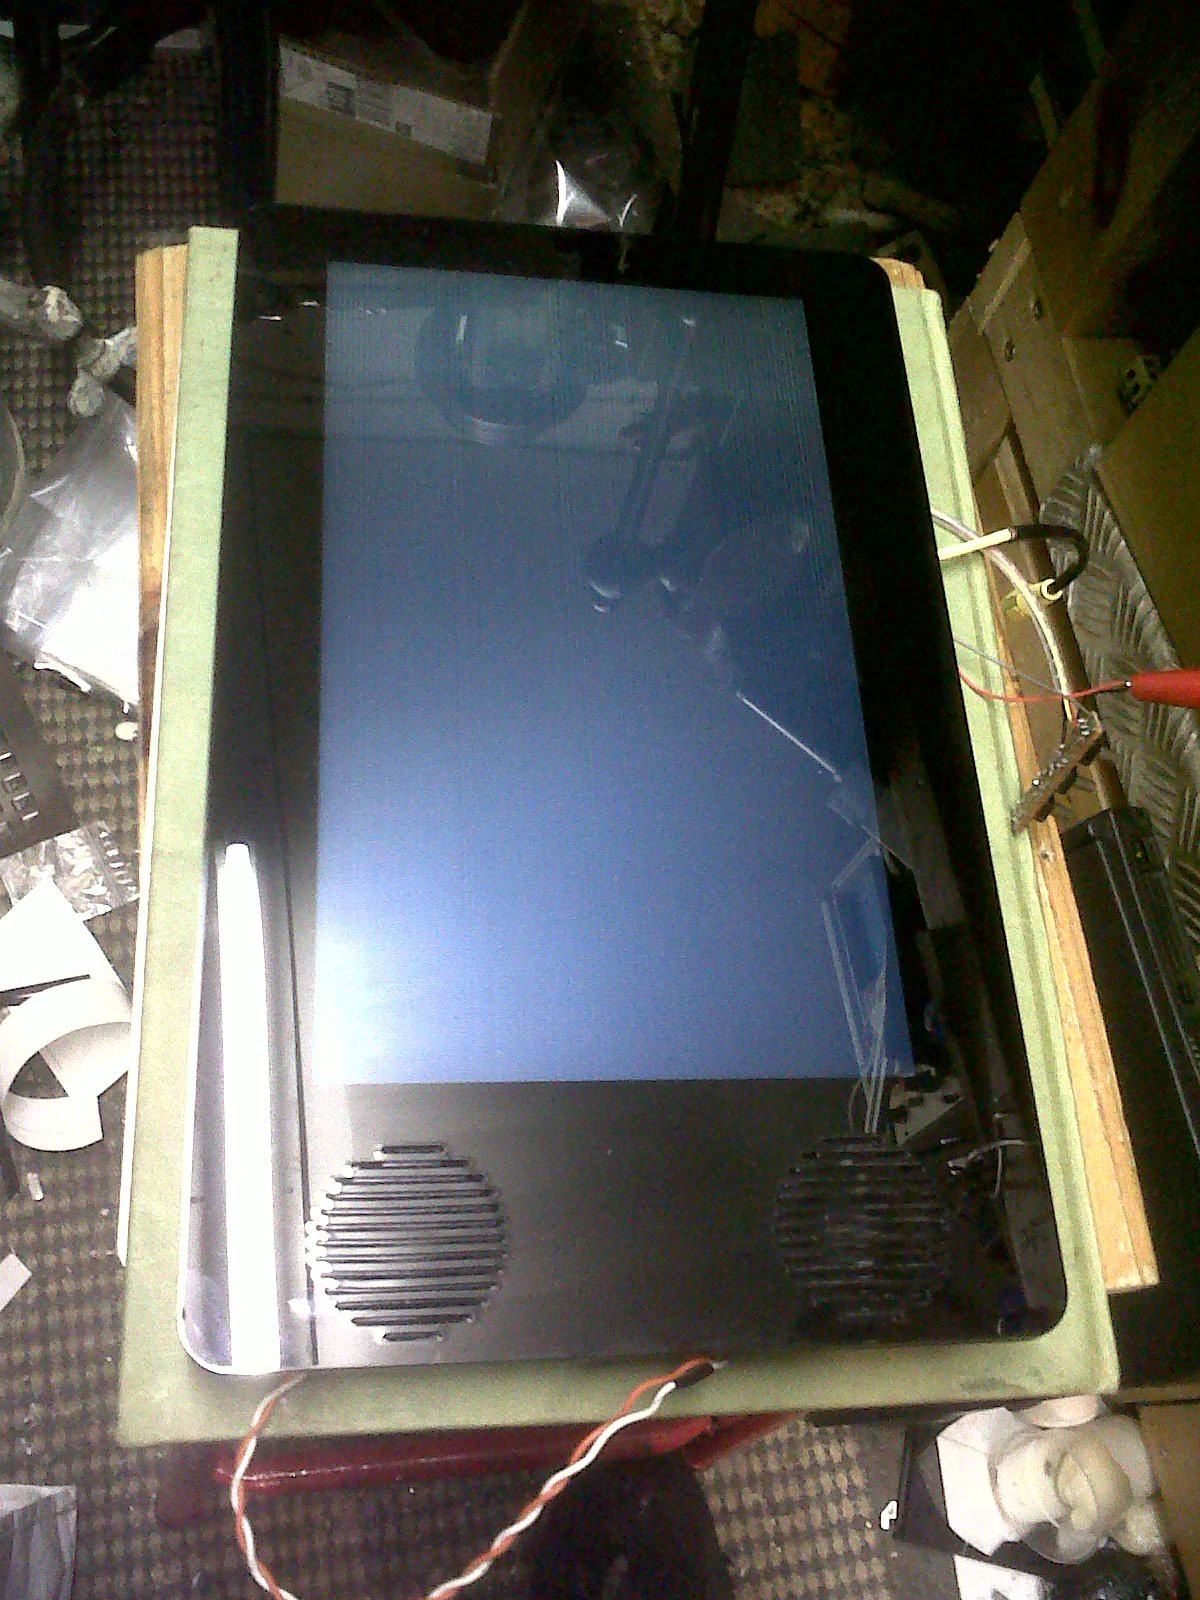
The vinyl arrived, I marked the rough boundries then used the old entryphone frame as a template to cut out the screen area.
I then left post-it notes upside-down in the corners of the LCD and laid the fascia over the top. This left the post-its stuck to the fascia and provided me with a guide on where to get the corners to line up. There were a few small bubbles from motes of dust getting trapped under, but pricking them with a scalpel worked to deflate them.
Then I put some double-sided tape on the frame and pressed it all together.
![]()
I had to swap a couple of screws out for shorter ones that were a little proud of the surface, and added split-washers to the LCD retaining clips to reduce strain. I'll add some locktite to them once I'm sure it's all as I want it.
Next I've got to tidy up the wires and hotglue the screen controls in place. Then it'll be nice and tidy and I can take my time with it.
Honestly the hardest part of this stage was constantly wiping dust and fingerprints off every polished surface.
-
Fascia cut
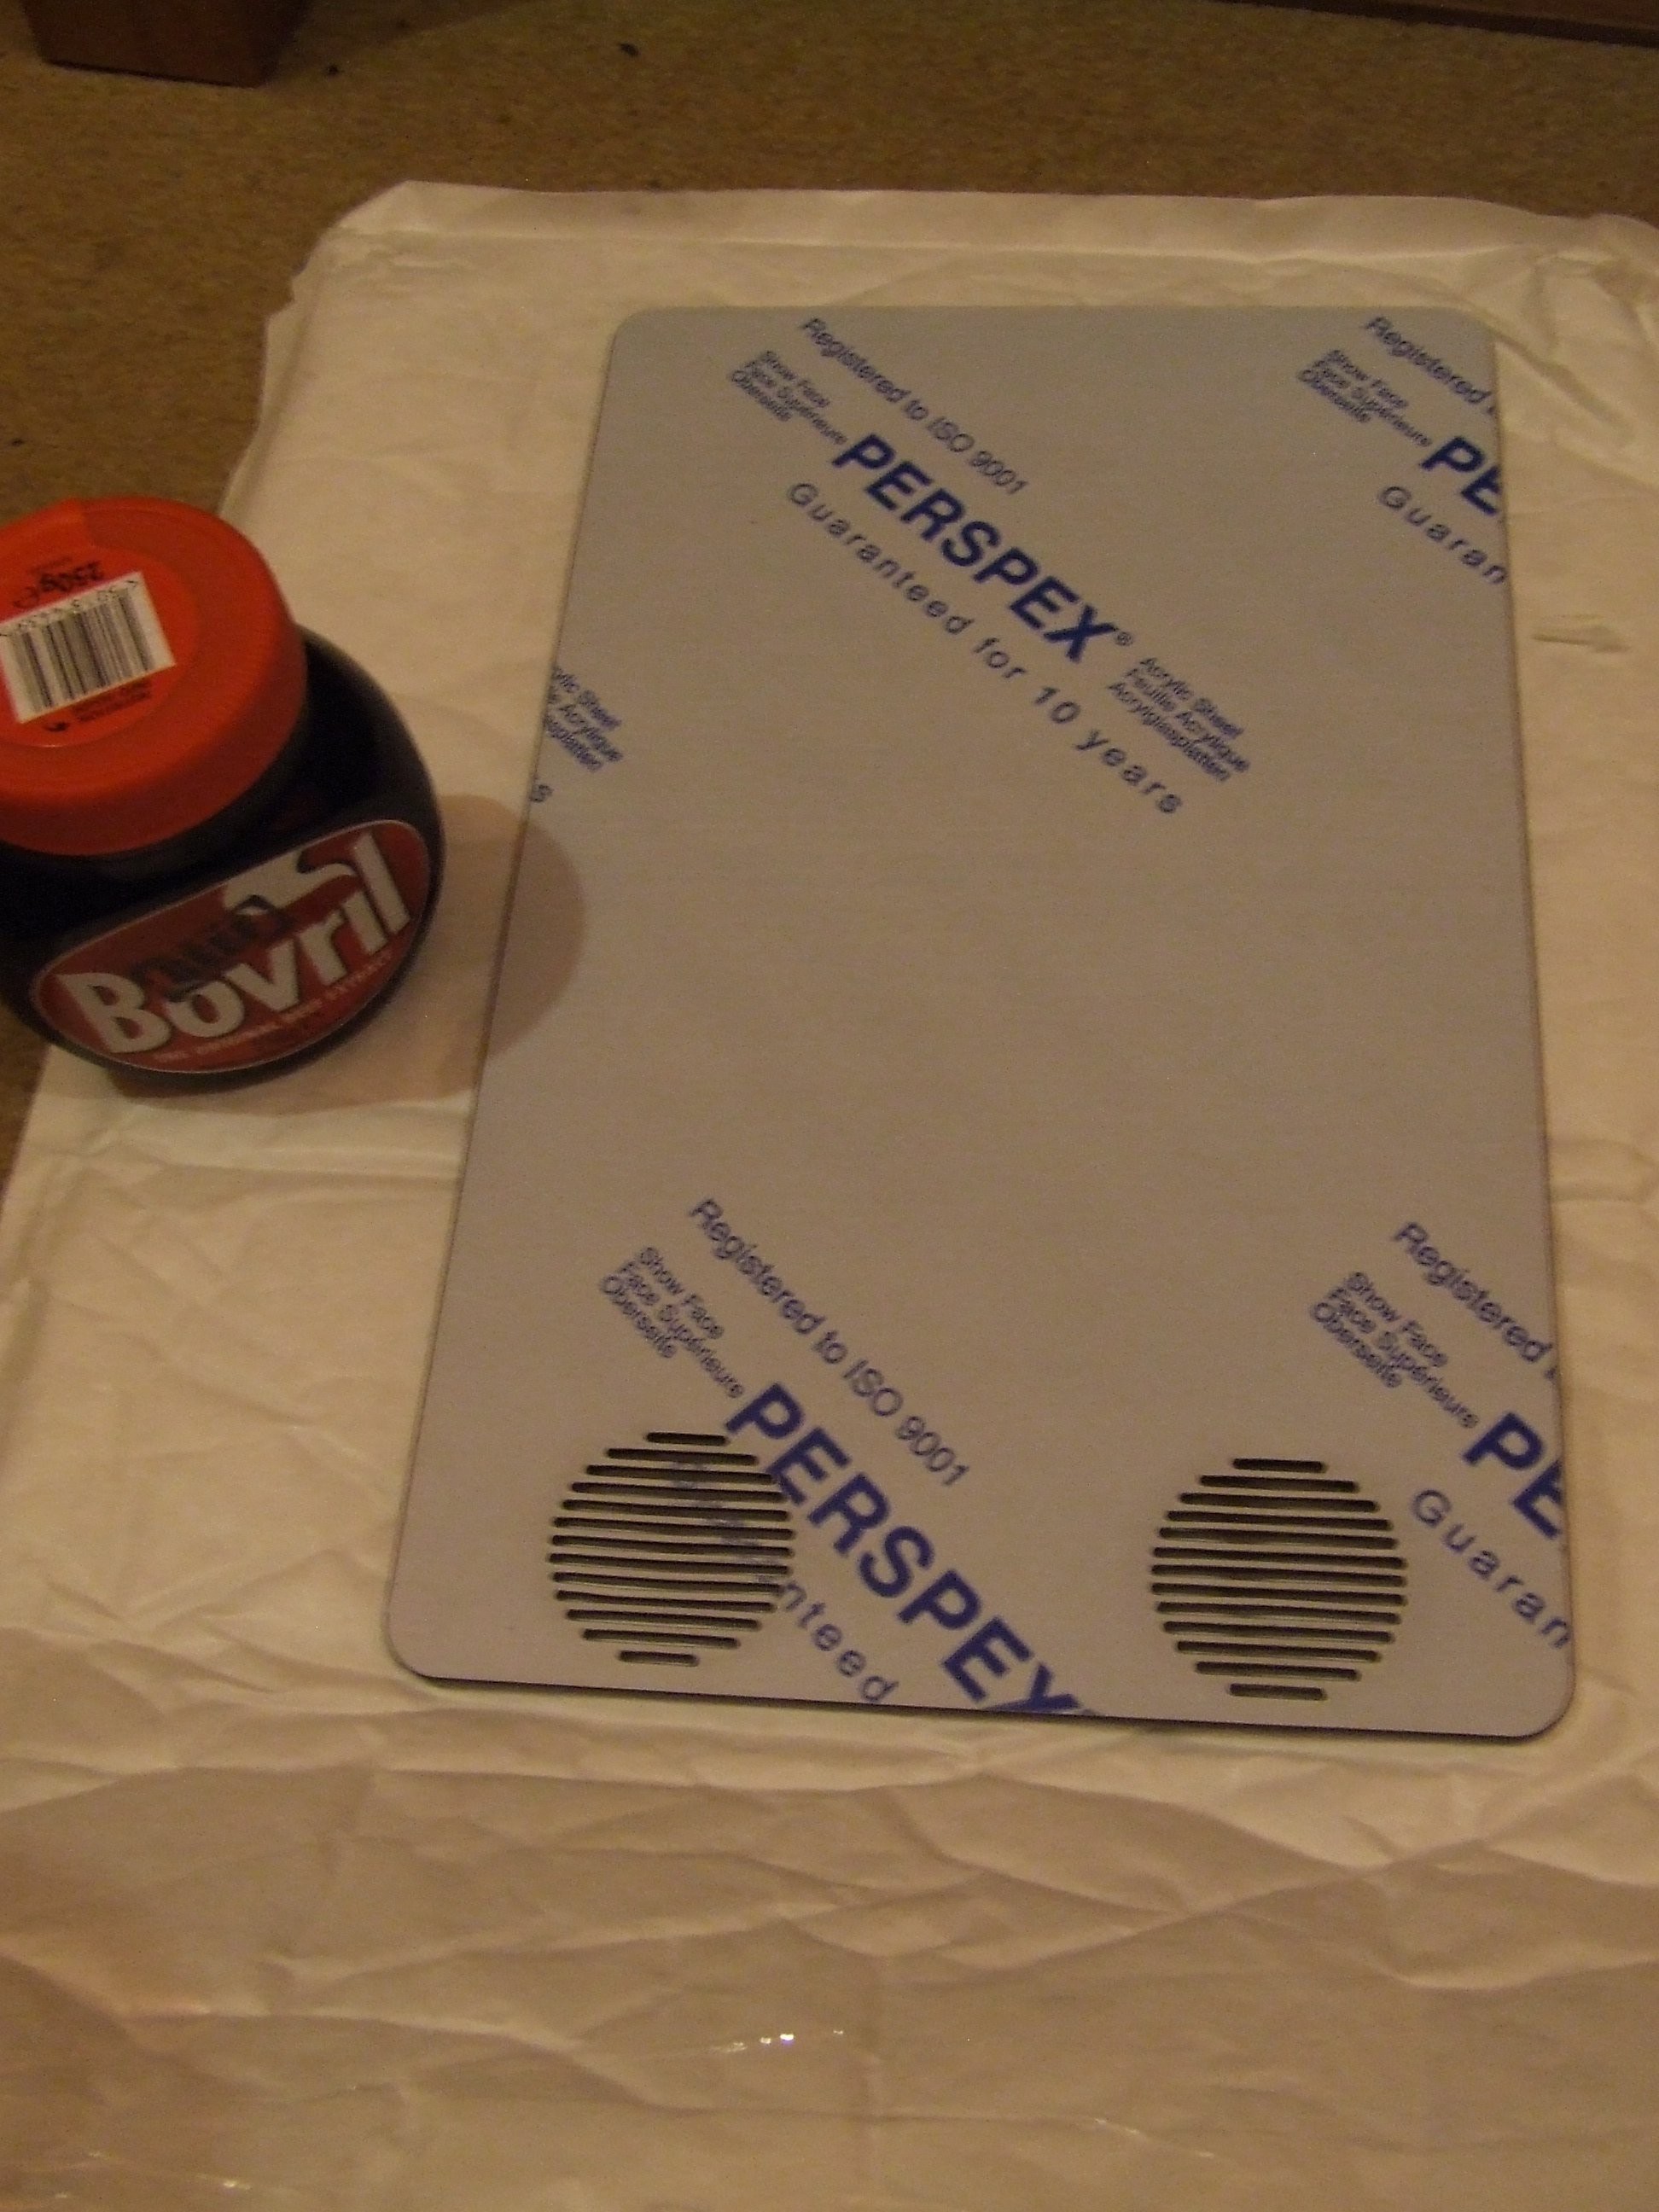
10/08/2014 at 00:26 • 0 commentsThe grey-tinted perspex arrived surprisingly quickly, so I got it cut today.
![]()
Also shown, a pot of Bovril. Because winter is coming and everyone needs to be reminded that a steaming mug of liquid beef is only a shopping trip away.
Something to do better next time; stagger the speaker grill cuts. Some have warped due to latent heat from neighbouring cuts through the thin spans of remaining material. Giving them cooling time would have prevented this. At least it's minor and if I feel the need I could maybe correct it with careful use of a heat-gun.
I'll see how it looks in place tomorrow. Hopefully the stickyback vinyl will arrive soon and I can make the mask to hide the screws and silver frame of the LCD. Then some double-sided tape should hold it all together.
-
First parts
10/06/2014 at 21:58 • 0 commentsI sold most of the screens I had that had a chance of being hooked up to external video. I kept a 10" widescreen one to myself. I'm going to use it portrait-style as a chat window.
I cut some 5mm thick black acrylic on the London Hackspace lasercutter, which was the perfect depth to recess the screen into. I managed to find some speakers in my parts box that were both loud and small enough to fit on an A4 size piece of acrylic with the screen. It means a camera will be on a seperate board, but I'll probably swap cameras around getting something working anyway.
The speakers are from what I think was an utterly trashed Jawbone Jambox I picked out of the hackspace junk bins last year. Annecdotal accounts say they're 4Watts each and I'm powering them with a cheapo PAM8403 amp board from ebay. No volume control.
The speakers are clamped in place and the clamp makes the recess at the bottom deep enough for the three-button screen menu controls (3-wire control as long as the buttons pull to ground).
Waiting on some grey-tint perspex to make a front cover and some black vinyl to frame the screen's active area better.
The screen will mount on a servo for tilt control, and that will go on the Tri-bot base. Was going to use a Raspberry Pi as the brain, but will have to see if I can get two-wat video working with it at all since Skypekit's been discontinued. Web-video or remote-desktop seem the most likely atm.
Worst case it becomes a cute independant robot who don't need no video chat.
 Sci
Sci
