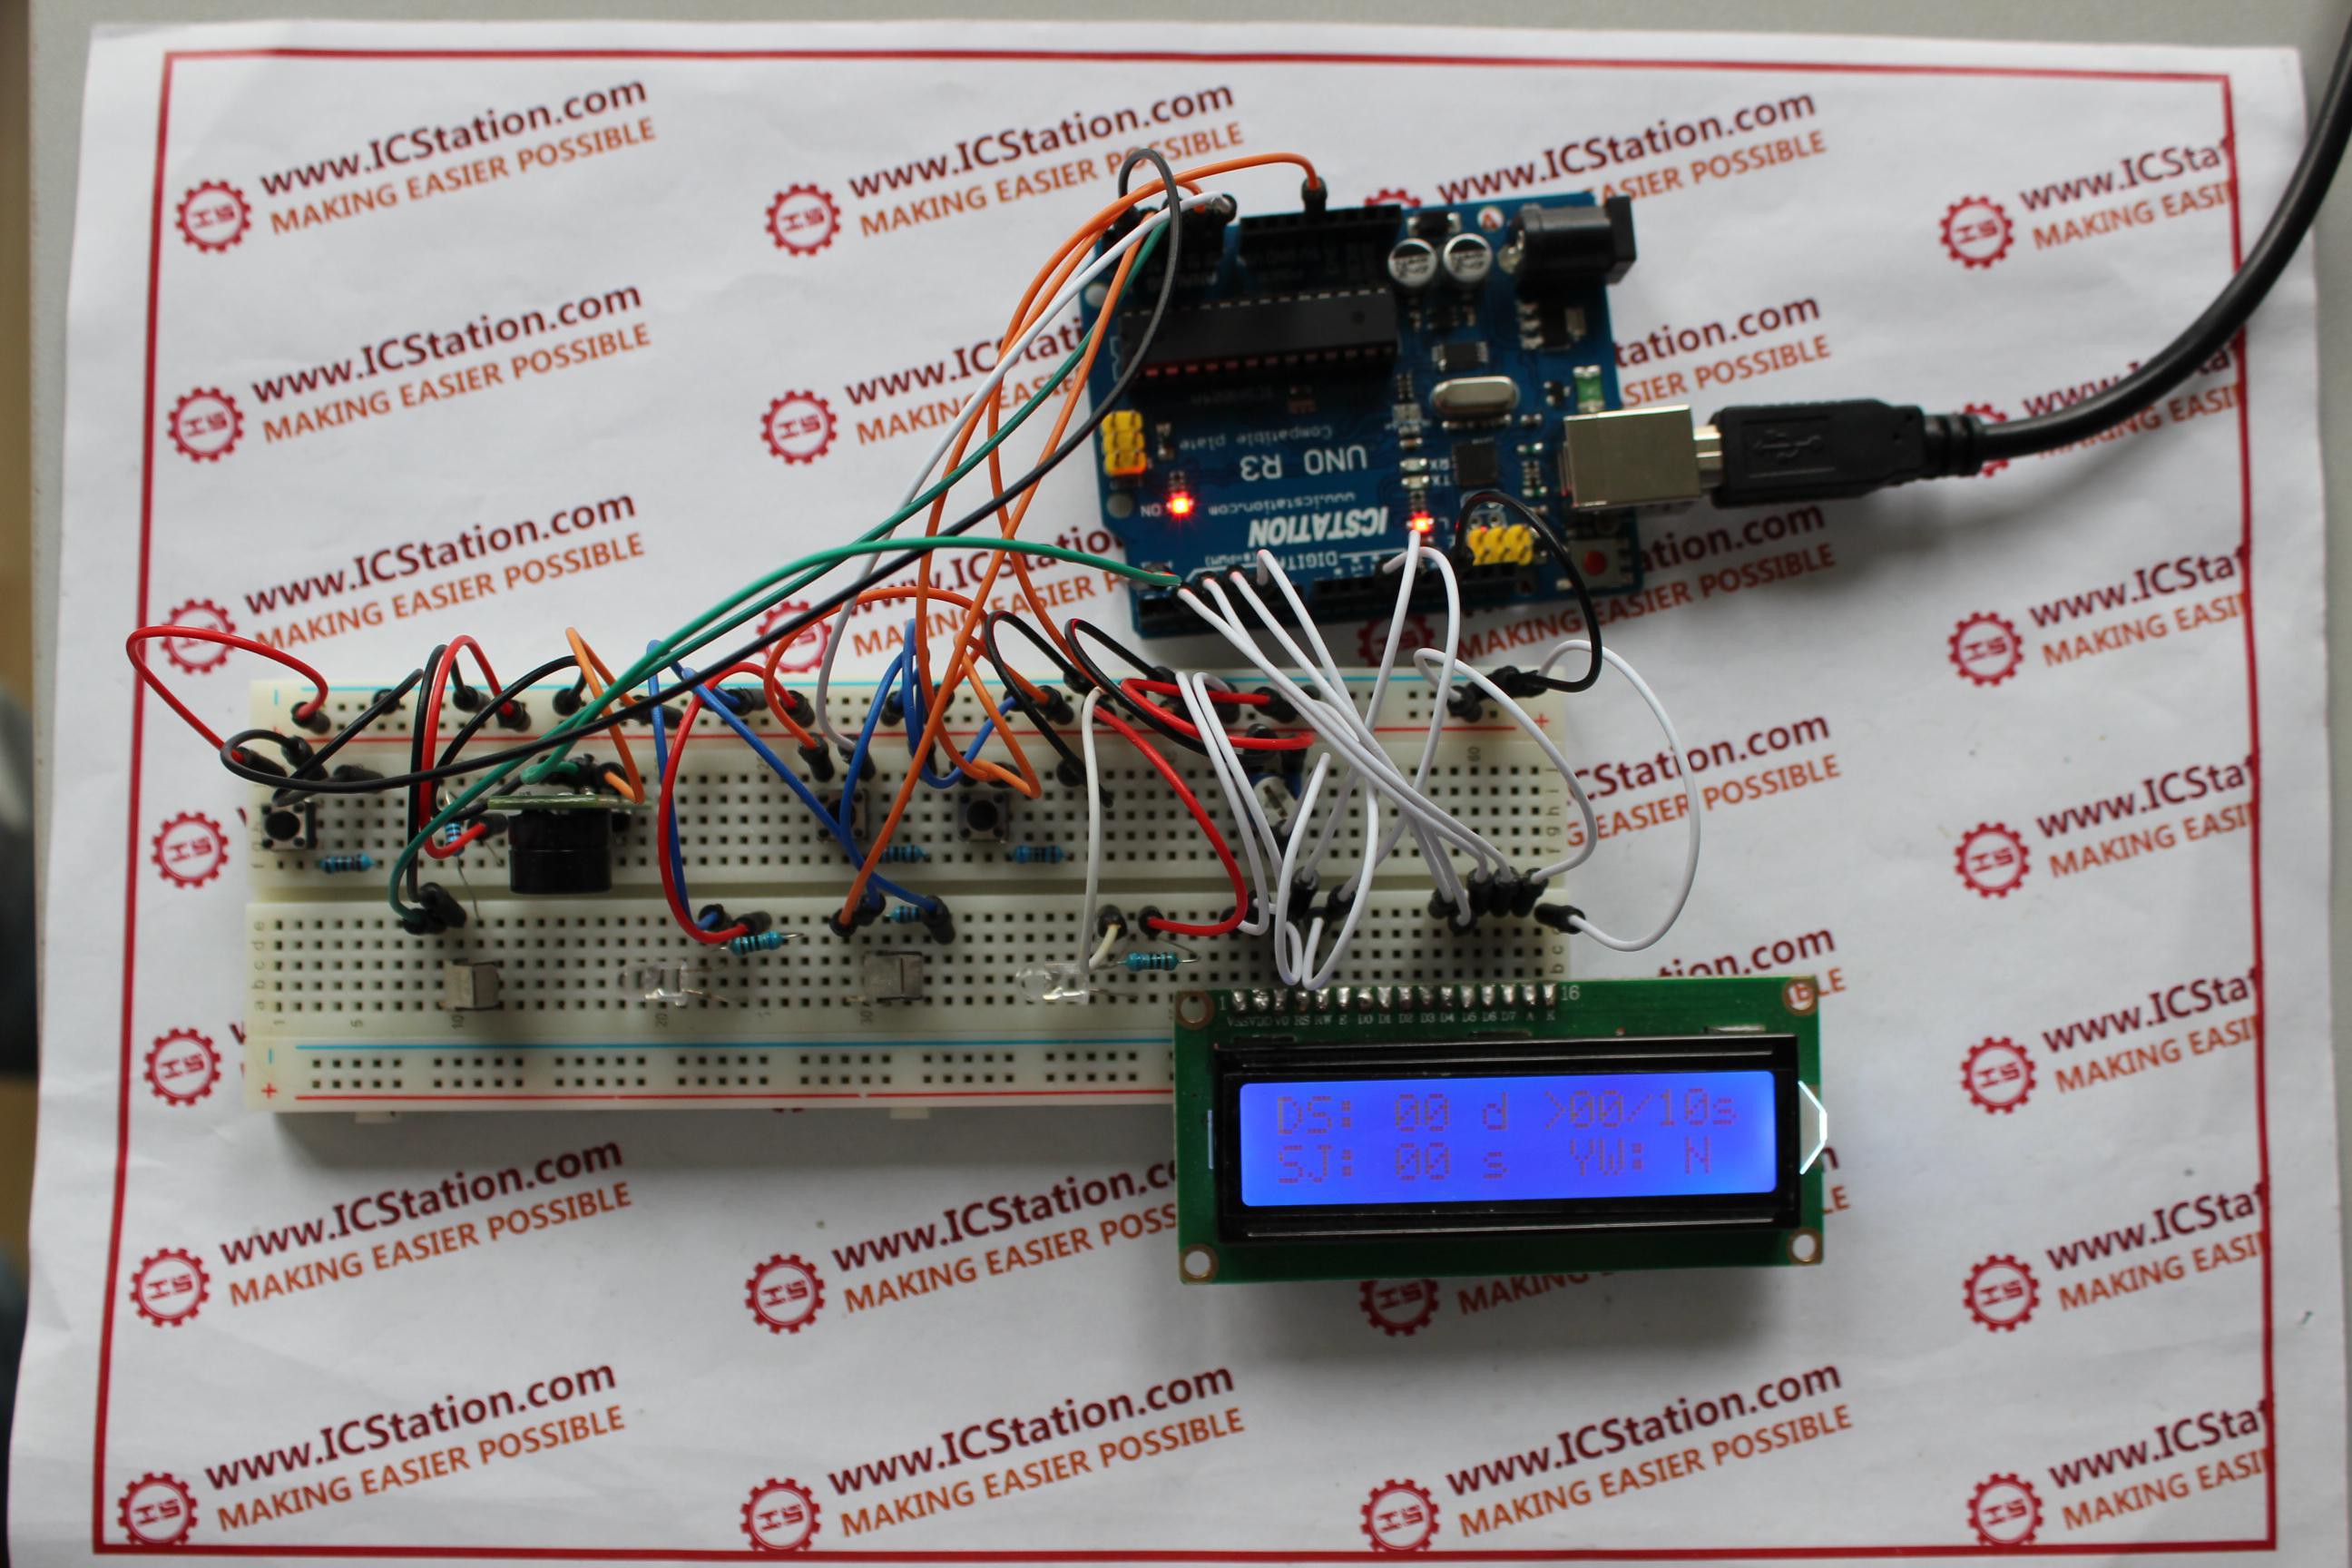
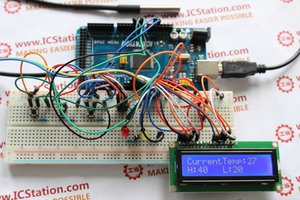
ICStation team has made this project about the liquid drop speed measurement system.It uses DC 5V to work. When there is no liquid in the infrared area, the buzzer will alarm and when there is liquid in the infrared area, the buzzer will not alarm. The LCD 1602 can display the drops of liquid every 10 second. You can set the drops of liquid every 10 second for reference.It is a low-cost and simple liquid drop speed measurement system. It is suitable for the areas such as works, hospital.
Functions
1)After the initialization of hardware, the LCD1602 will display the pre-set interface.
2)When there is no liquid in the infrared area, the buzzer will alarm and the LCD1602 will display the N on the YN column.
3)When there is liquid in the infrared area, the buzzer will not alarm and the LCD1602 will display the Y on the YN column. And if there is a drop of liquid, the display of LCD1602 will add one.
4)You can set the drops of liquid every 10 second by tow buttons.
Step 1: Components List
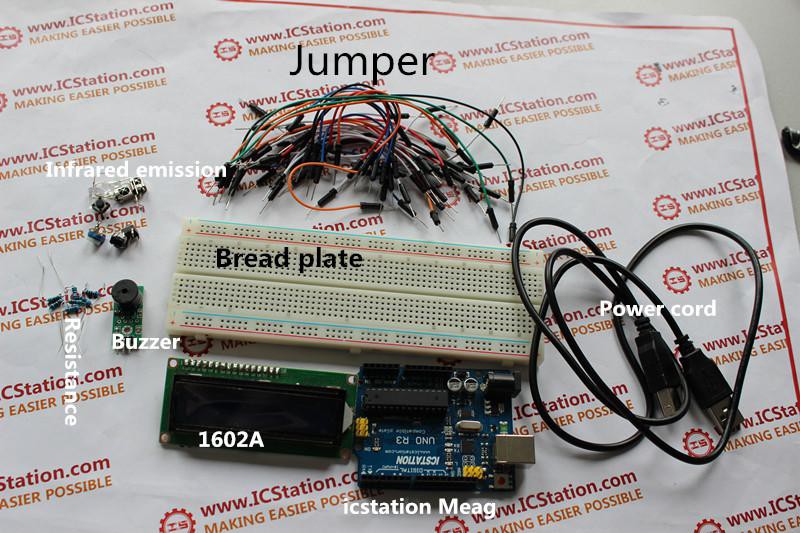
1.ICStation Atmega328P UNO R3 Dev. Board Compatible Arduino
2.830 Point Solderless PCB Bread Board MB-102 Test DIY
4.TL1838 VS1838B VS1838 Universal Receiving Head
5.Active Buzzer Module for Arduino
6.65pcs Breadboard Plug Wire Cable Tire
7.12X12X5mm Tact Switches 4 Legs
8.100pcs 1K ohm 1/4W 1% Accuracy Metal Film Resistor
9.+5V DC power supply
10.1602A HD44780 Character LCD Display Module LCM Blue Backlight
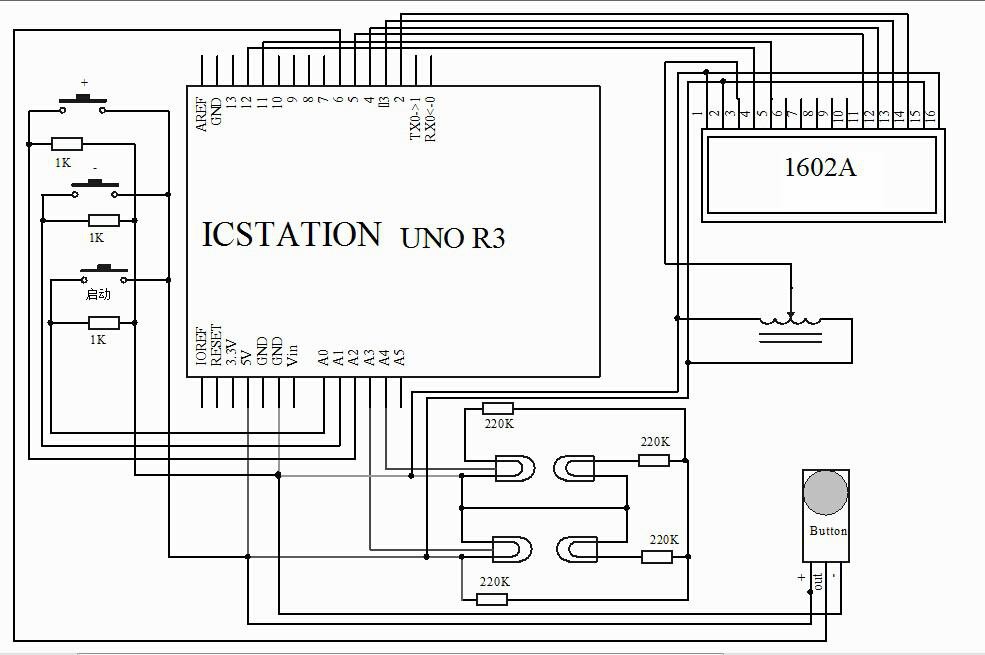
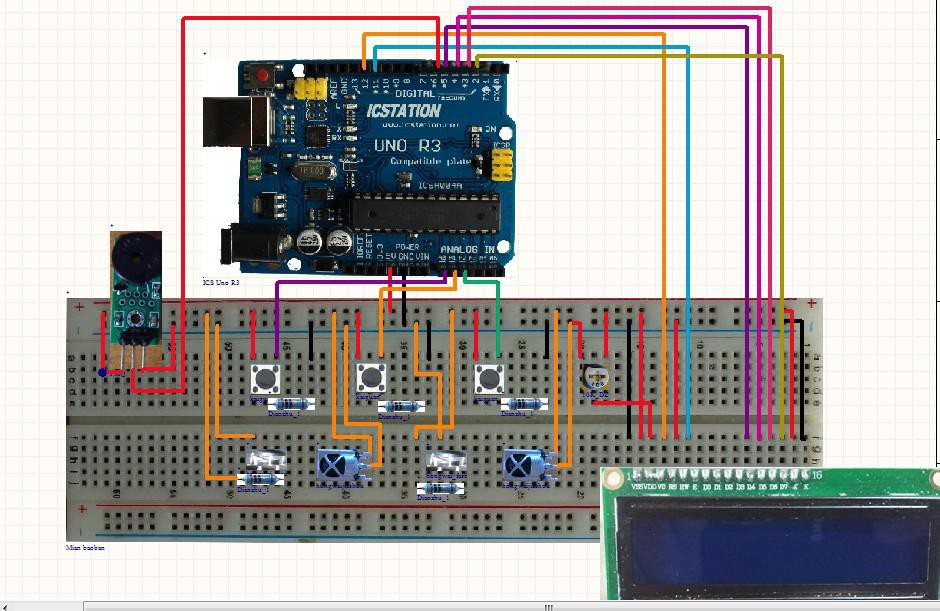
Step 2: The schematic diagram
Step 3: Lead to the power supply line and GND
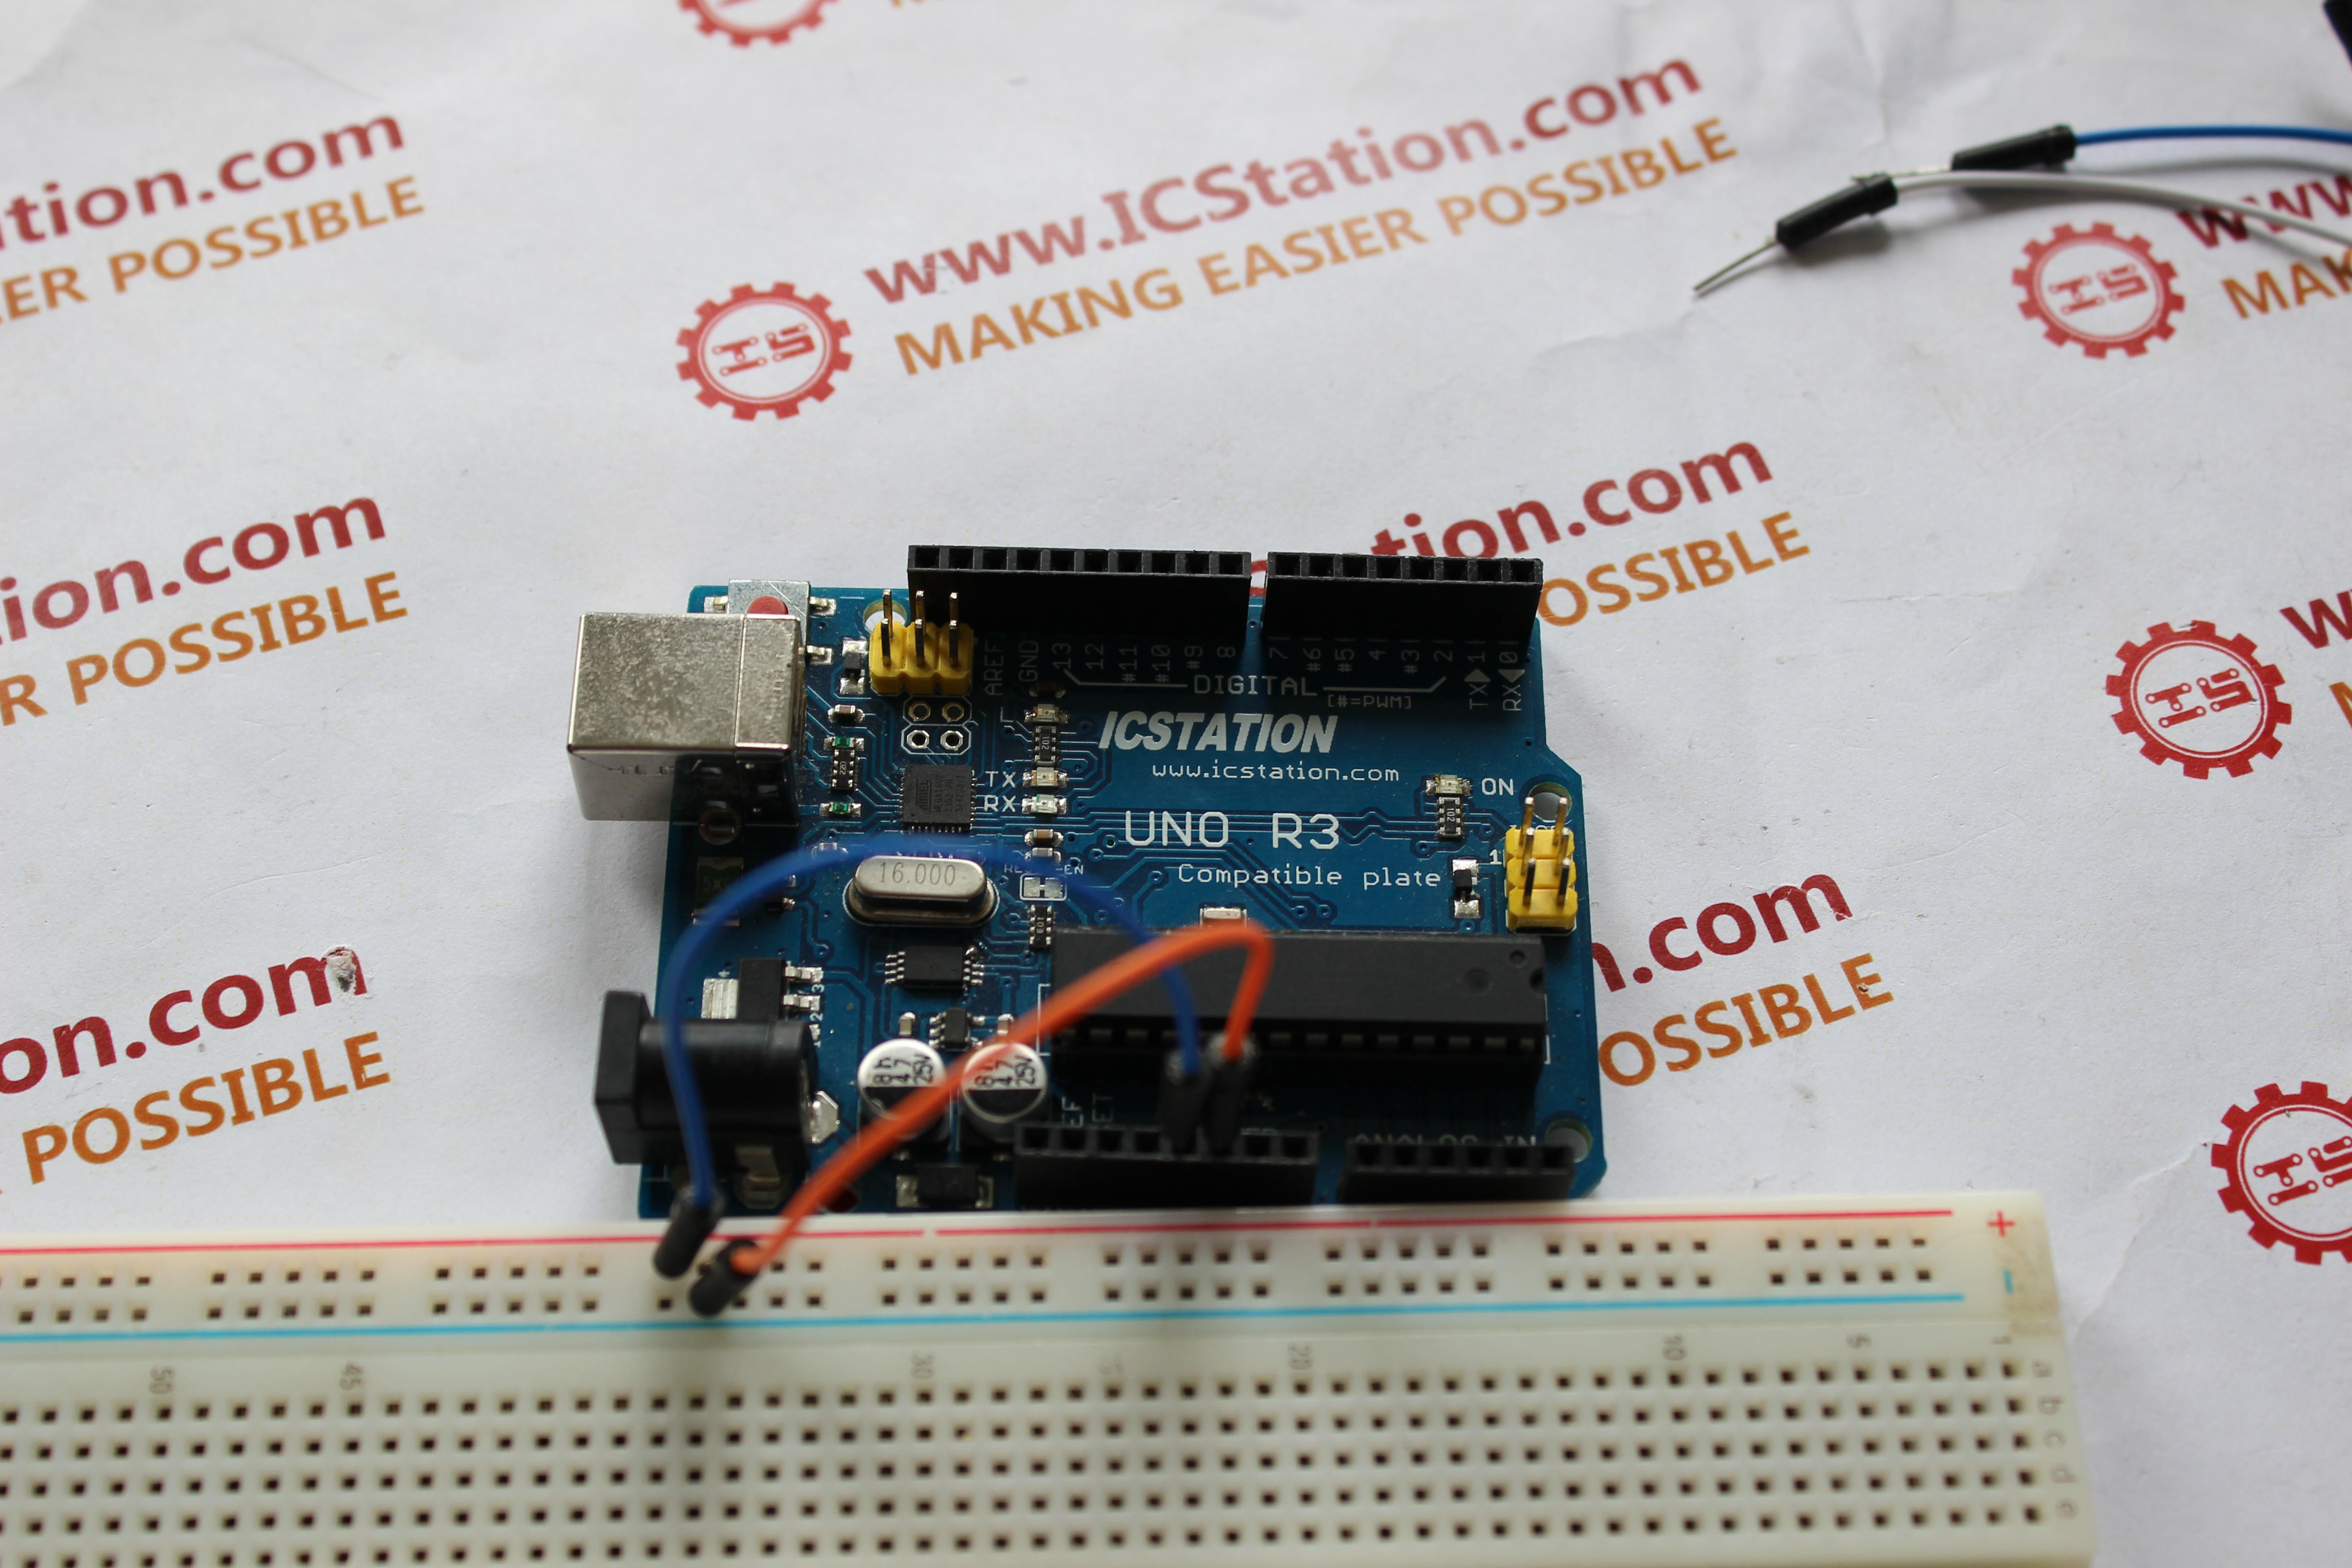
Plug the +5V power supply line and GND from ICStation UNO R3 into the bread board.The red bread wire is the power supply line and the black bread wire is the GND
Step 4: The connection of LCD1602
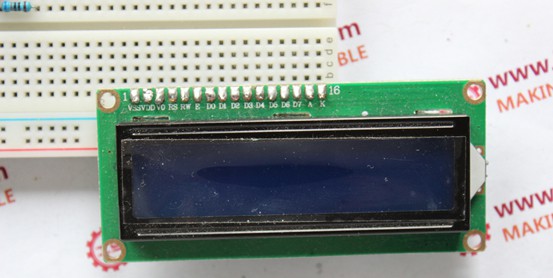
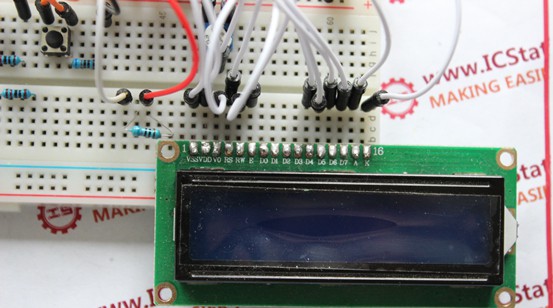
1.Place the 1602LCD on the bread board
2.According to the schematic diagram, connect the LCD1602 module to the ICStation UNO R3
Step 5: The connection of buzzer module
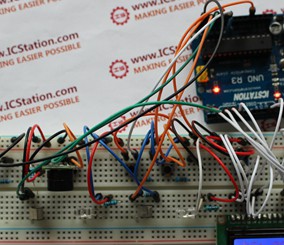
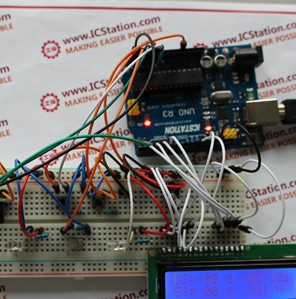
1.Place buzzer module on the bread board
2.Connect the pin 1 of buzzer to the anode, pin 3 to the cathode, pin 2 of the buzzer module to pin6 of the ICStation UNO R3
Step 6: The connection of infrared receiving tube
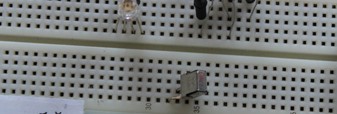
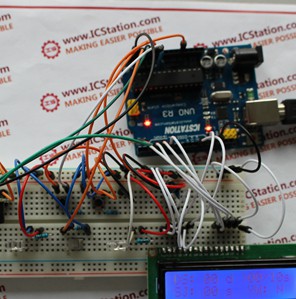
1.Place the infrared receiving tube on the bread board
2.Connect the pin 1 of infrared receiving tube to the 220K current-limiting resistance, and then connect to the A3 pin of ICStation UNO R3.Connect the pin2 of the infrared receiving tube to cathode, and pin3 of the infrared receiving tube to the A2 pin of ICStation UNO R3.
Step 7: The connection of the infrared sending tube
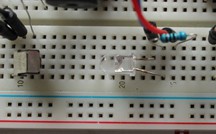
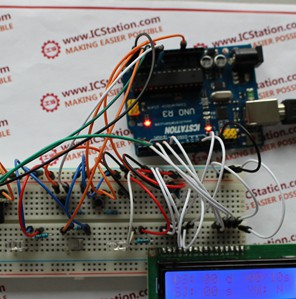
1.Place the infrared sending tube on the bread board
2.Connect the anode of the infrared sending tube to the resistance and then to the anode. And connect the cathode to the GND.
Step 8: The connection of switches and limited-current resistance
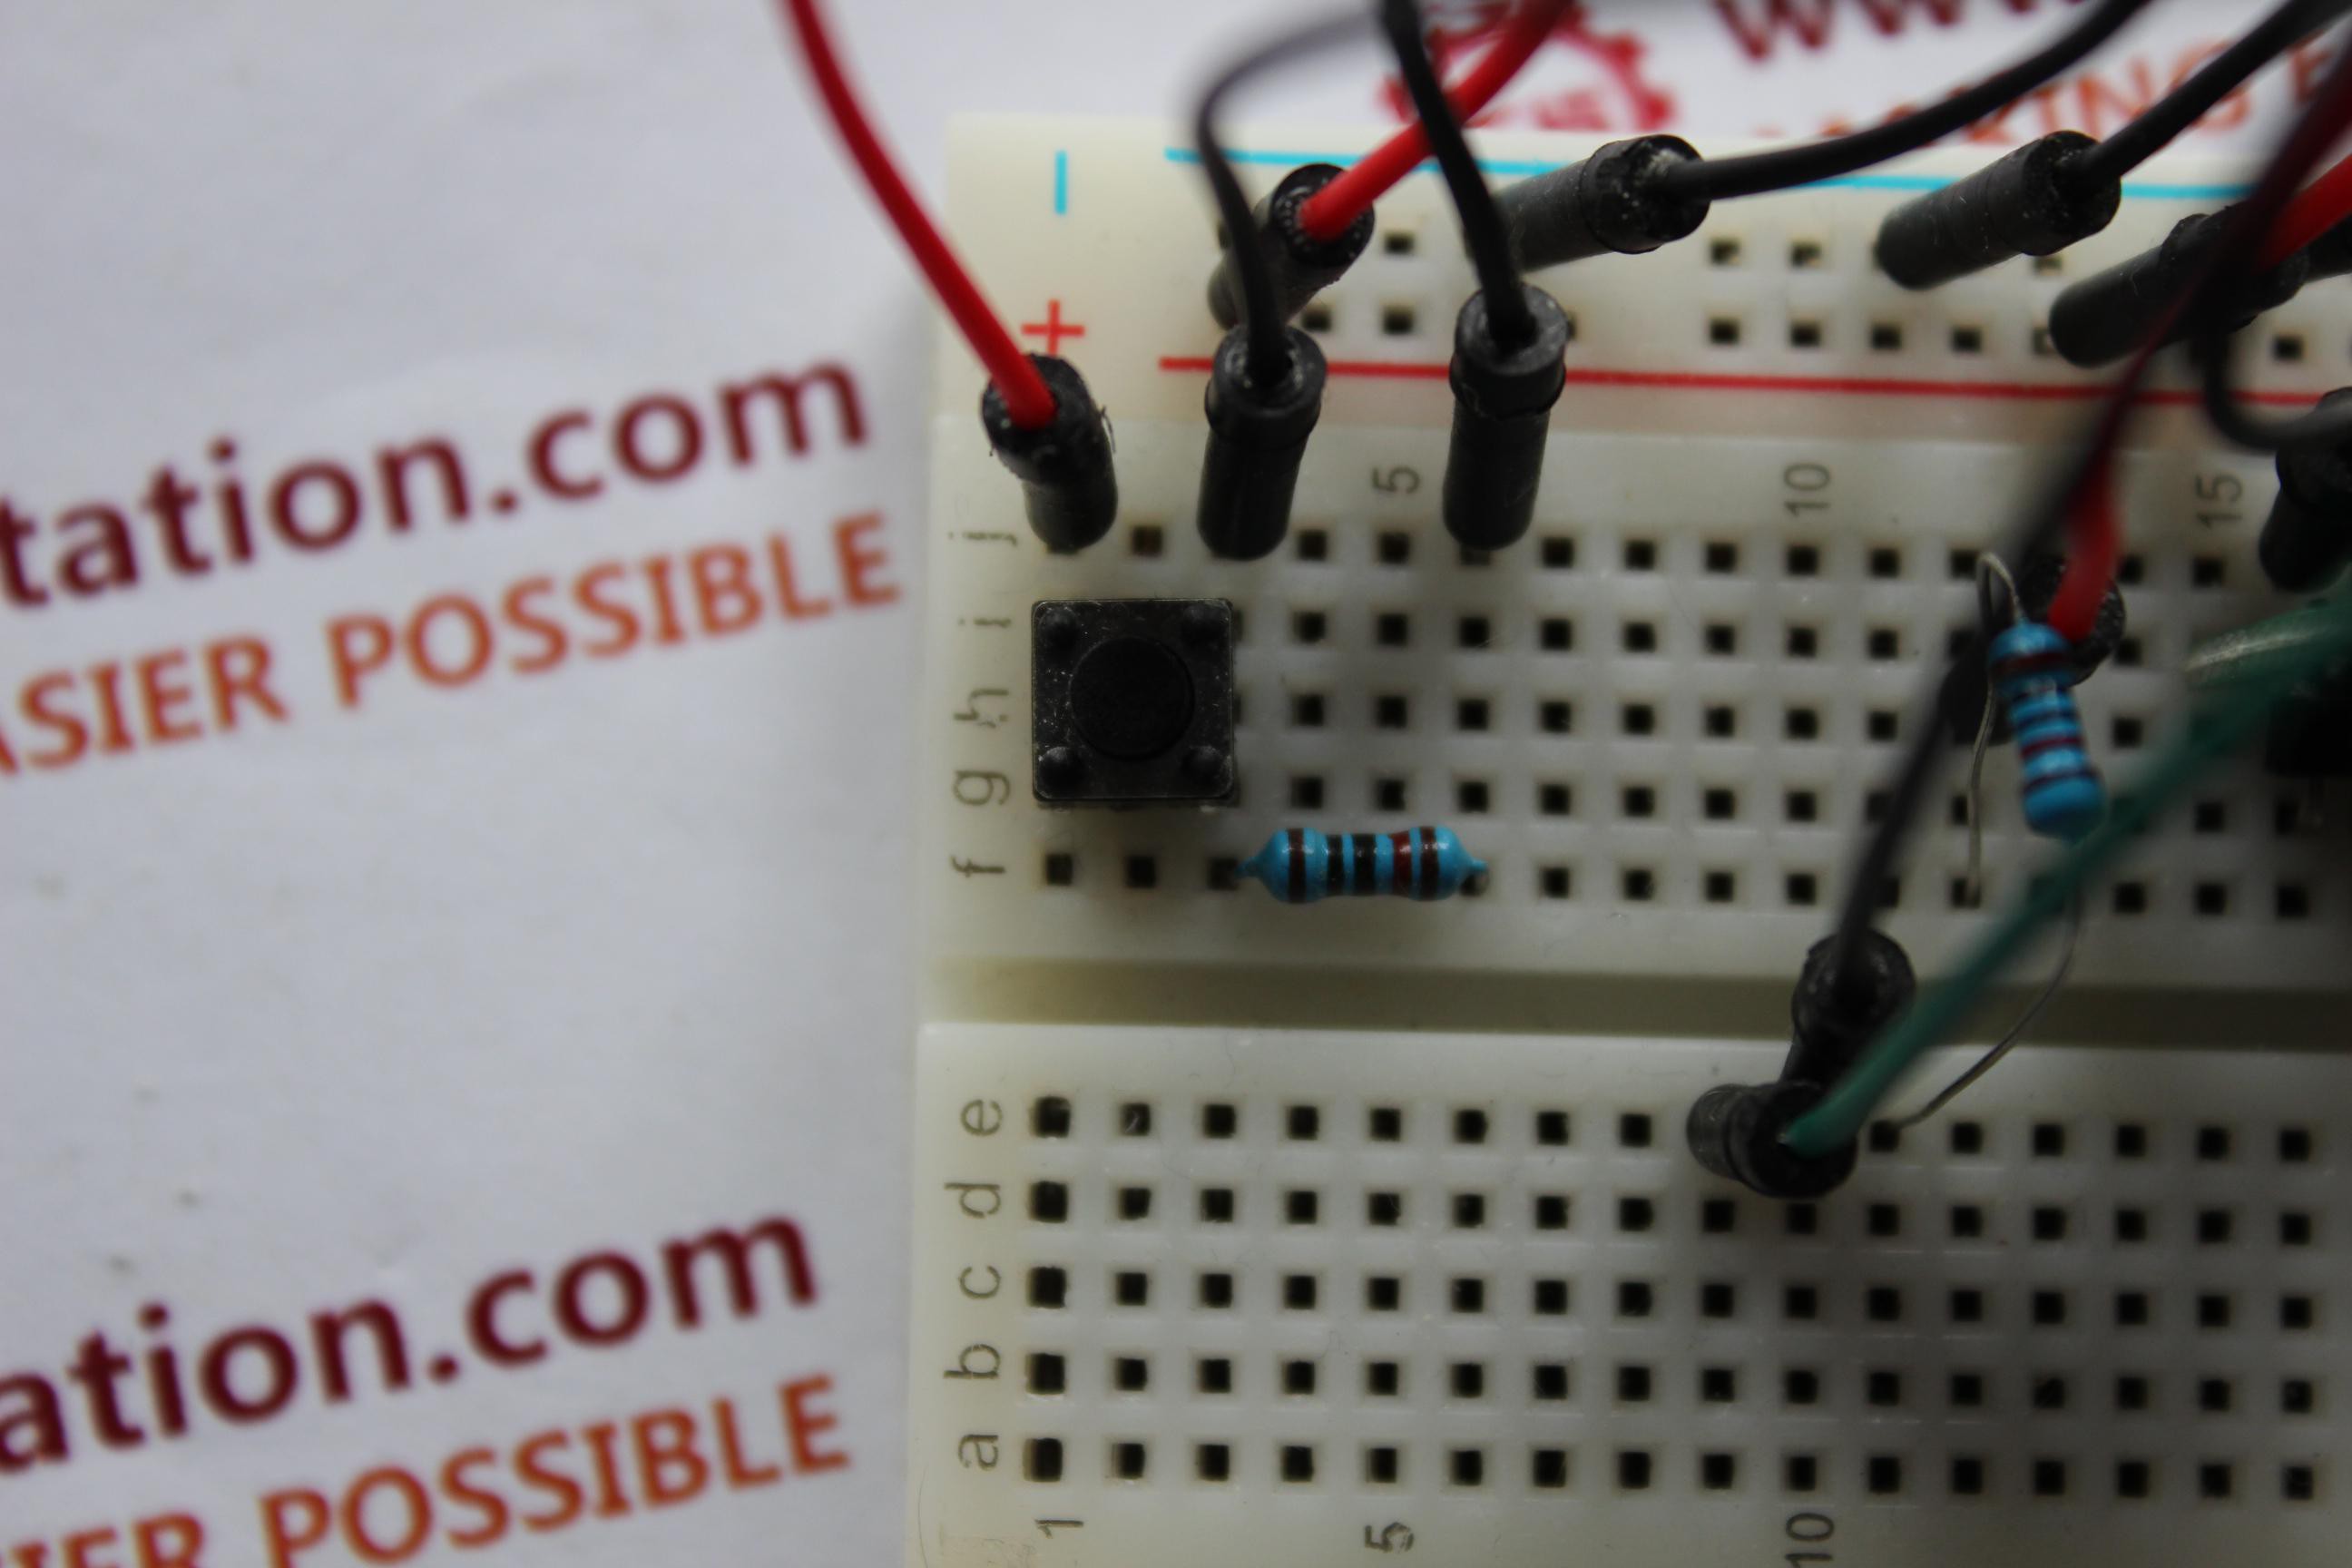
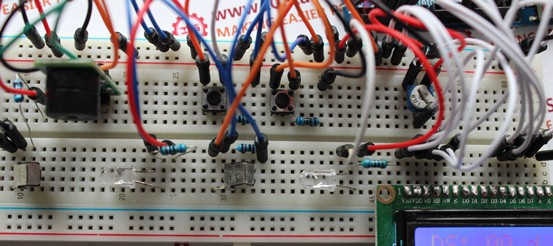
1.Place the switches and limited-current resistance on the bread board
2.Connect the pin 1 of four switches to the +5V and all the pin3 to the GND, connect the pin2 of add switch to the AO, the pin2 of the decrease switch to the A1, connect the on-off swith to the A4
tep 9: The demonstration of experiment effect
 icstation
 Non-ICE
 Roni Bandini