 drhatch
-
1Step 1
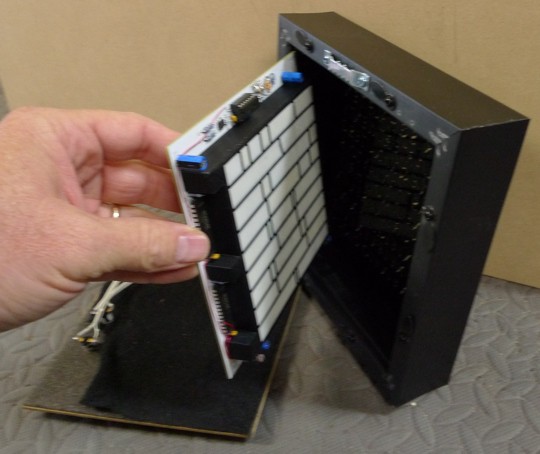
Final Assembly
The 3D-printed piece is attached to the PC board with screws.
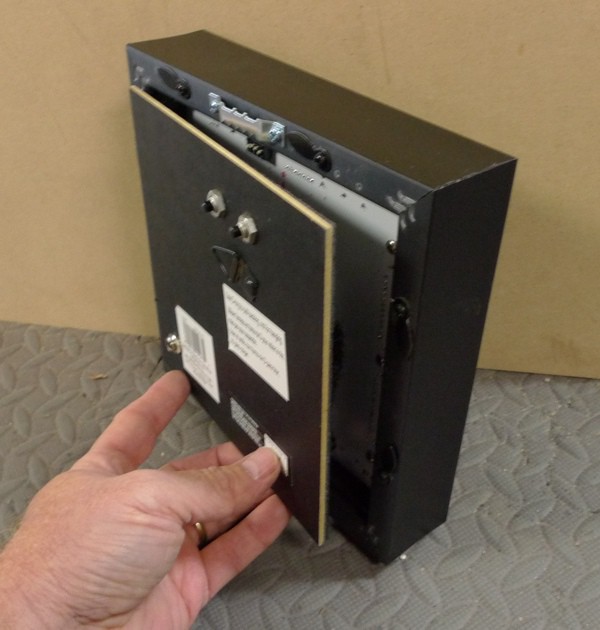
The switches are attached to the rear plate, and wired to the PCB with short cables.
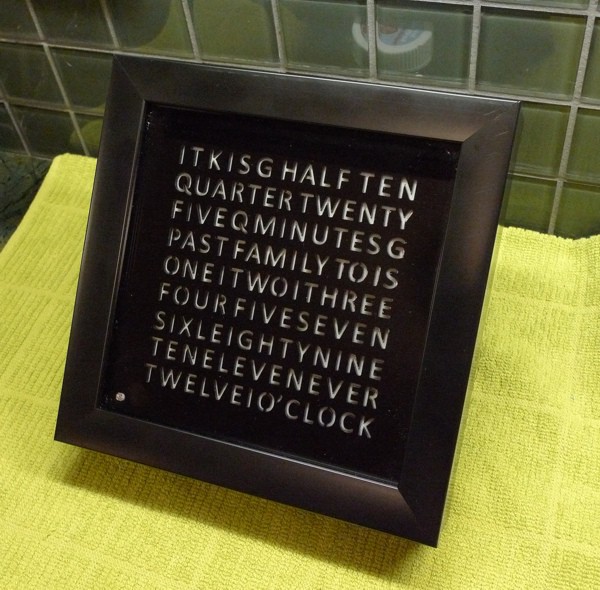
The laser-cut acrylic "word mask" is placed into the frame, with the PCB assembly behind it.
![]()
![]()
-
2Step 2
![]()
-
3Step 3
![]()
-
4Step 4
![]()
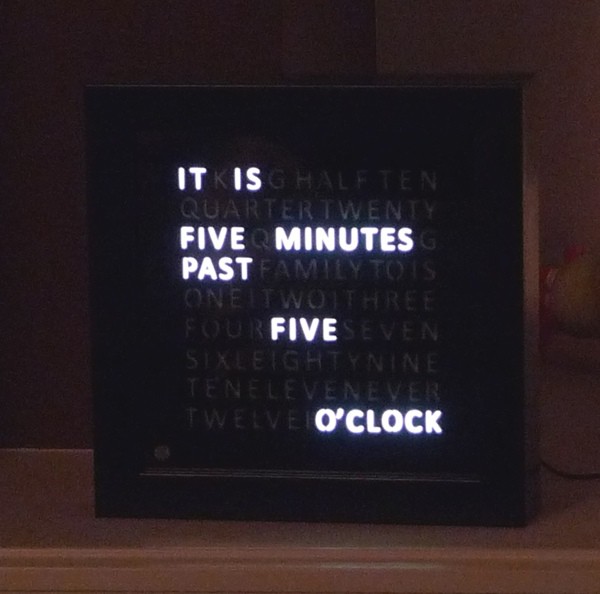
Word Clock
A word clock with 3D printed LED light wells, custom PCB, and PIC controller.

Discussions
Become a Hackaday.io Member
Create an account to leave a comment. Already have an account? Log In.