shlonkin
-
A very late update and some code
04/19/2015 at 11:10 • 0 commentsSo now the kid is three years old. Sorry for not updating this in so long.
Everything works fine and I ended up scrapping the dual pwm, 16-bit setup because honestly the single pwm, 8-bit setup sounded better. 16-bit sounds much better on a high quality audio player, but in this case it just doesn't. Moreover, the 8-bit circuit and software are simpler. I like simple.
Oh, and here's the software: https://github.com/shlonkin/KeyboardToy
-
The hardware
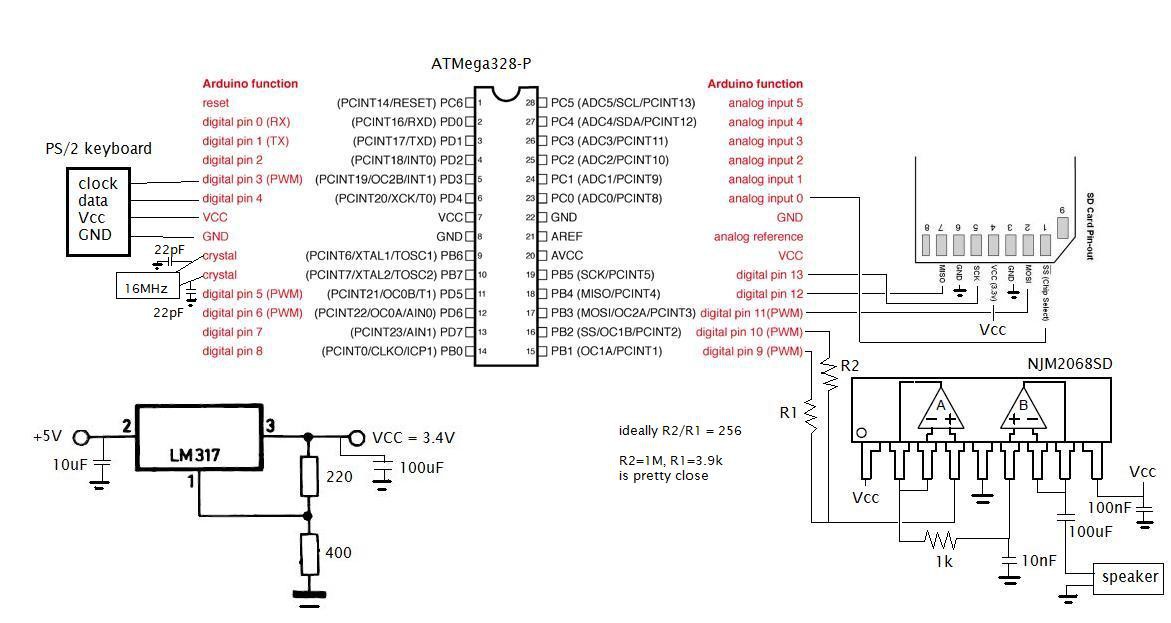
03/13/2014 at 04:42 • 0 commentsThis is how it stands at the moment, but it will certainly change a little before the end. Below is a rough schematic of the electronics. There are still a lot of empty I/O pins that could be used for visuals(LEDs, a display, etc.). For the final version I would like to cram everything inside the keyboard body and strap on a battery case so that it is completely portable and can be banged around by a little kid. But that's still down the road.
Note: that picture is way too small. Go here for a larger version.
![]() The SD card is stuck in a really simple socket that I made from some header pins. The pads on the card have the same pitch, so this is easy. The bent pins on the left make contact with the pads on the card. If you do this, be sure that all the pins press firmly on the card or you will have some unpleasant bugs.
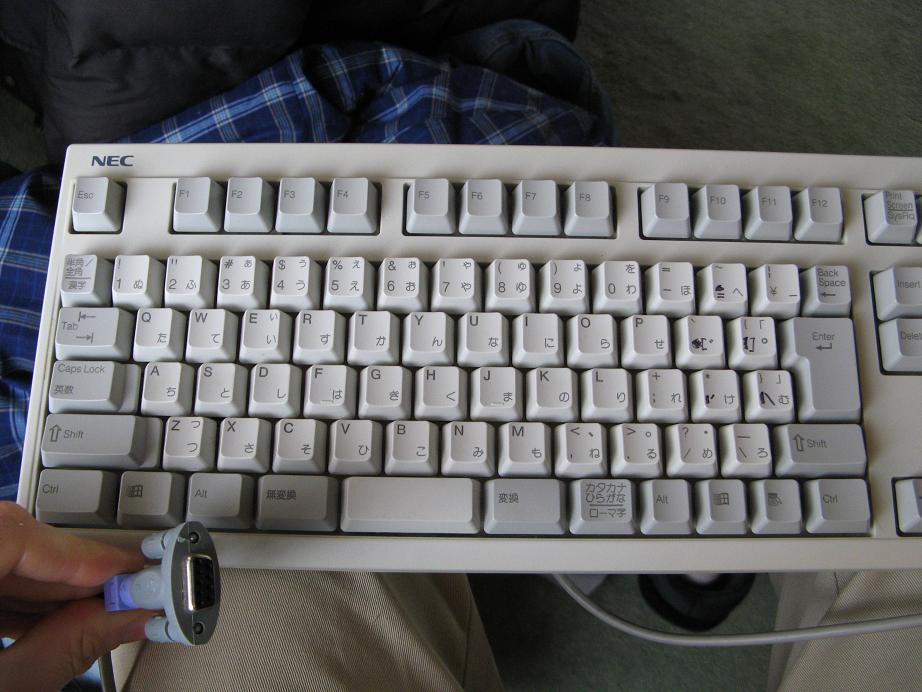
The SD card is stuck in a really simple socket that I made from some header pins. The pads on the card have the same pitch, so this is easy. The bent pins on the left make contact with the pads on the card. If you do this, be sure that all the pins press firmly on the card or you will have some unpleasant bugs.![]() And finally, here is a picture of the keyboard I'm working with and it's connector with an olde timey adapter. If you look closely you will find some keys you've probably never seen and some extra symbols next to the letters. This is what keyboards look like in Japan.
And finally, here is a picture of the keyboard I'm working with and it's connector with an olde timey adapter. If you look closely you will find some keys you've probably never seen and some extra symbols next to the letters. This is what keyboards look like in Japan.![]()
Educational keyboard toy
A computer keyboard based ABC and spelling toy for my 2 year old.
 The SD card is stuck in a really simple socket that I made from some header pins. The pads on the card have the same pitch, so this is easy. The bent pins on the left make contact with the pads on the card. If you do this, be sure that all the pins press firmly on the card or you will have some unpleasant bugs.
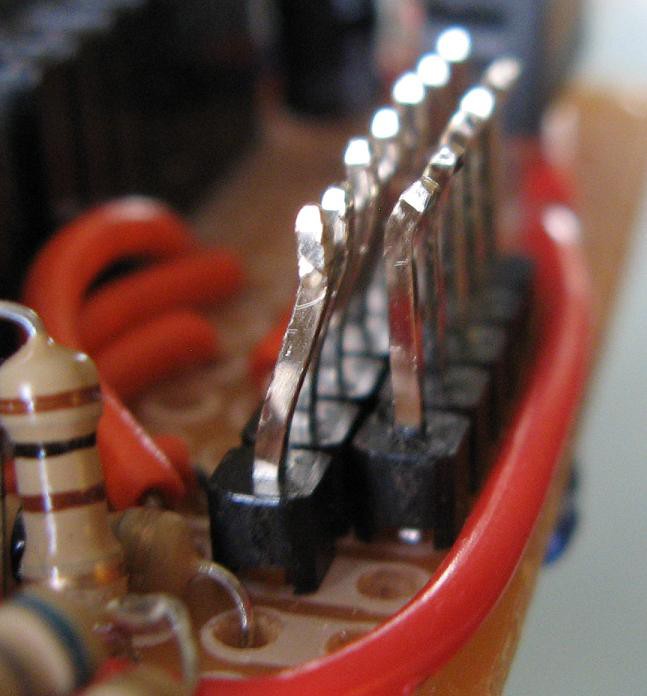 And finally, here is a picture of the keyboard I'm working with and it's connector with an olde timey adapter. If you look closely you will find some keys you've probably never seen and some extra symbols next to the letters. This is what keyboards look like in Japan.