 DeckerEgo
-
1Step 1
Setup your Raspberry Pi, installing the N00Bs operating system and connecting to your local network
-
2Step 2
Solder together the Adafruit I2C backpack and the 7-segment LED display
![]()
-
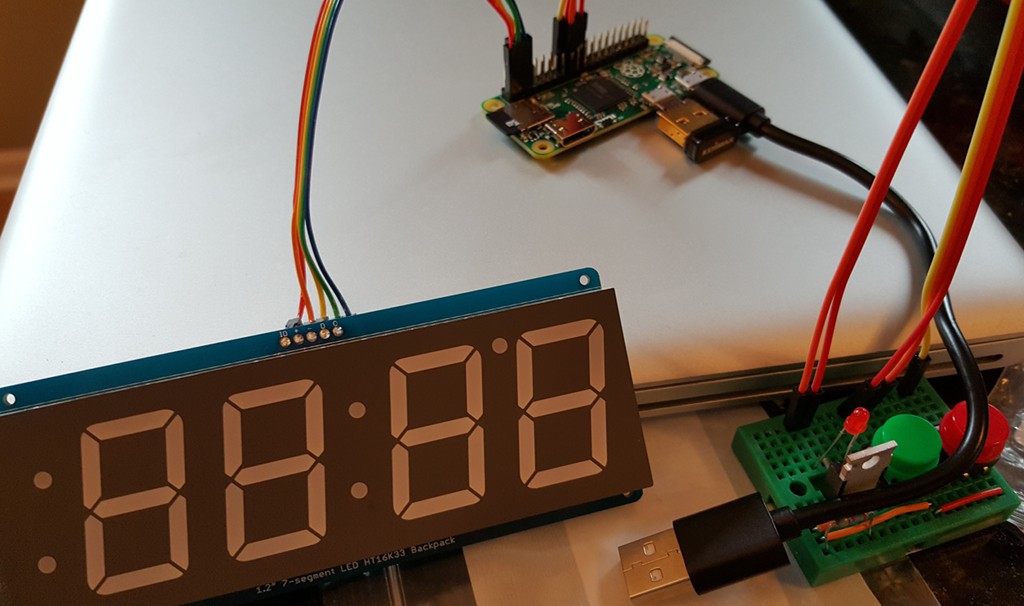
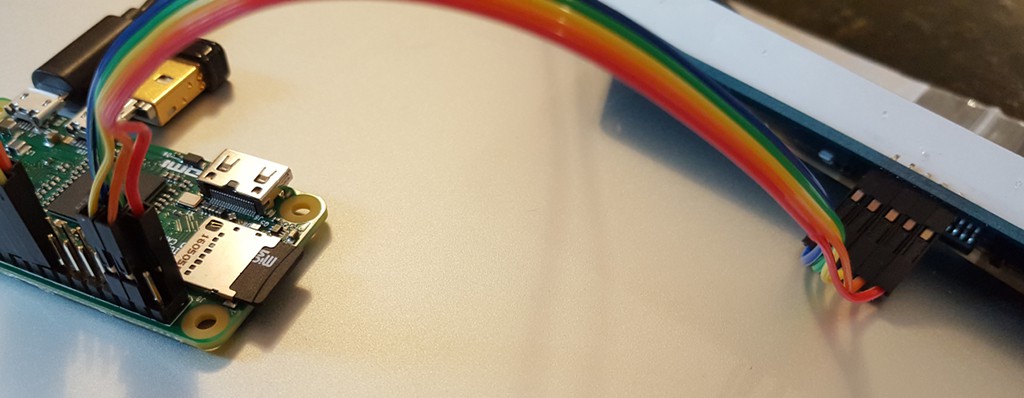
3Step 3
Using various colors of jumper wire, connect the 7-segment backpack to the Raspberry Pi's as described in http://hackclock.deckerego.net/hardware/00_display.html
![]()
-
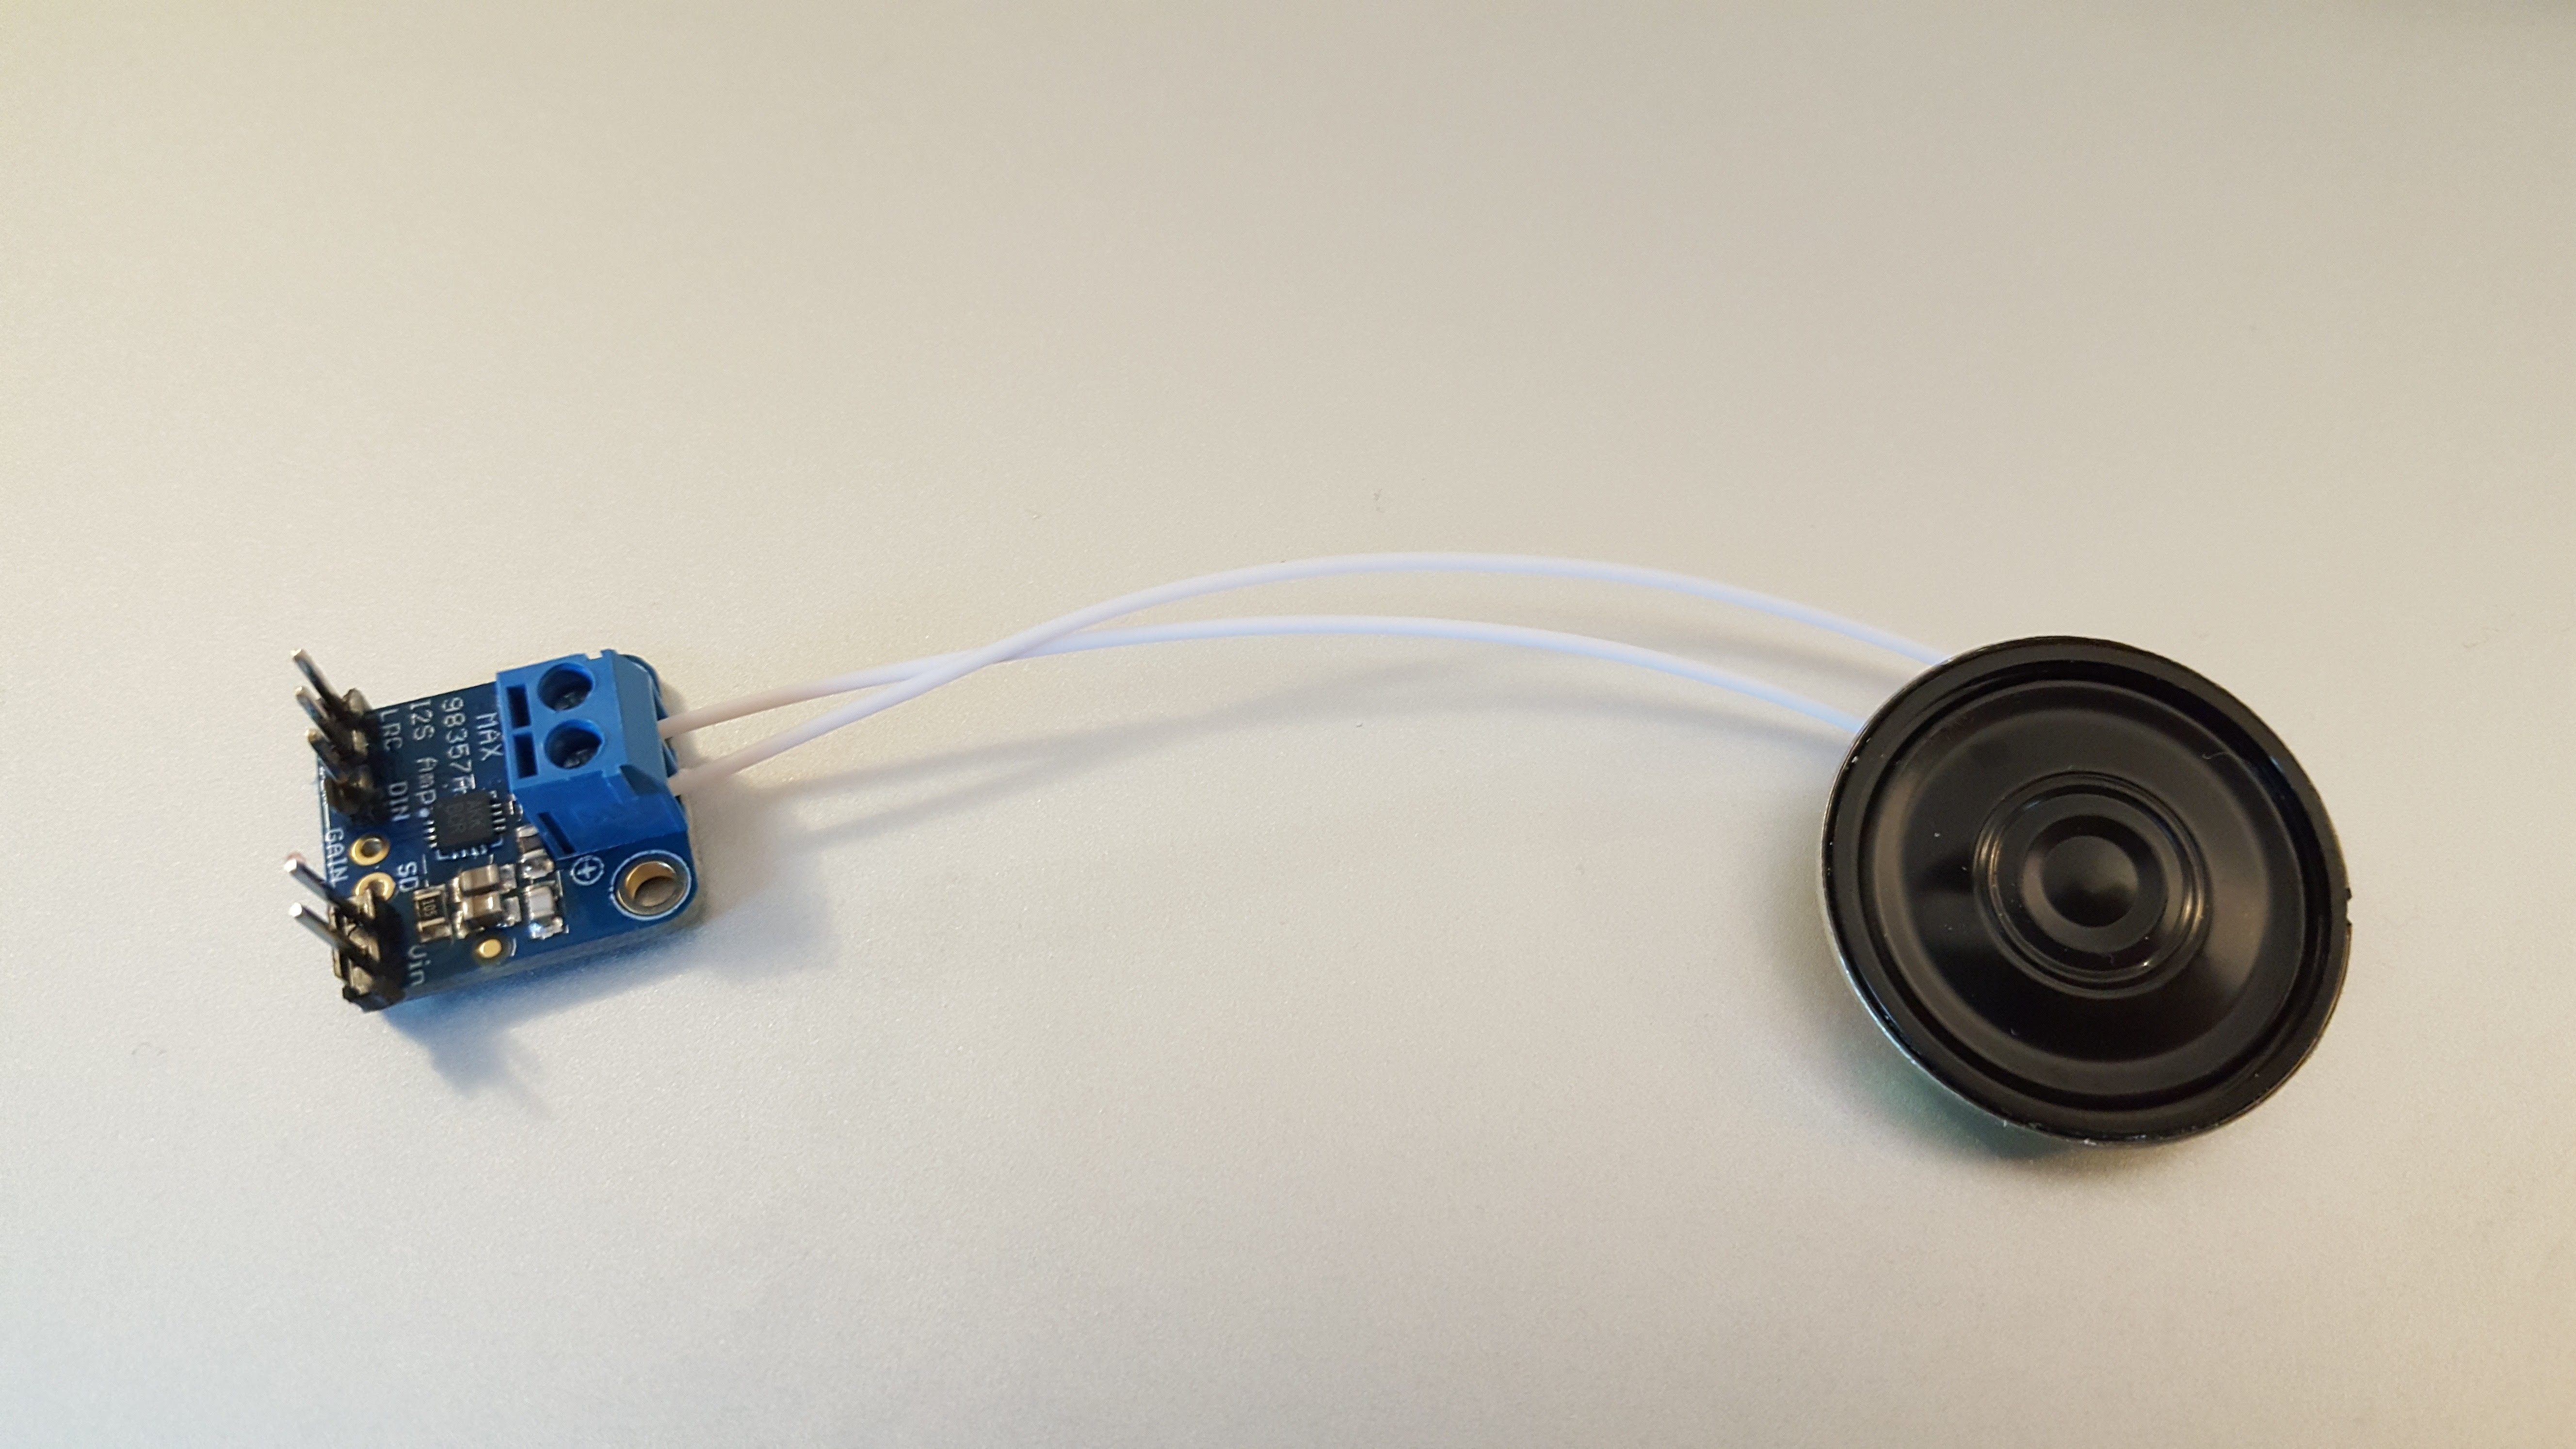
4Step 4
Assemble the pins and terminal block on the I2S breakout board
![]()
-
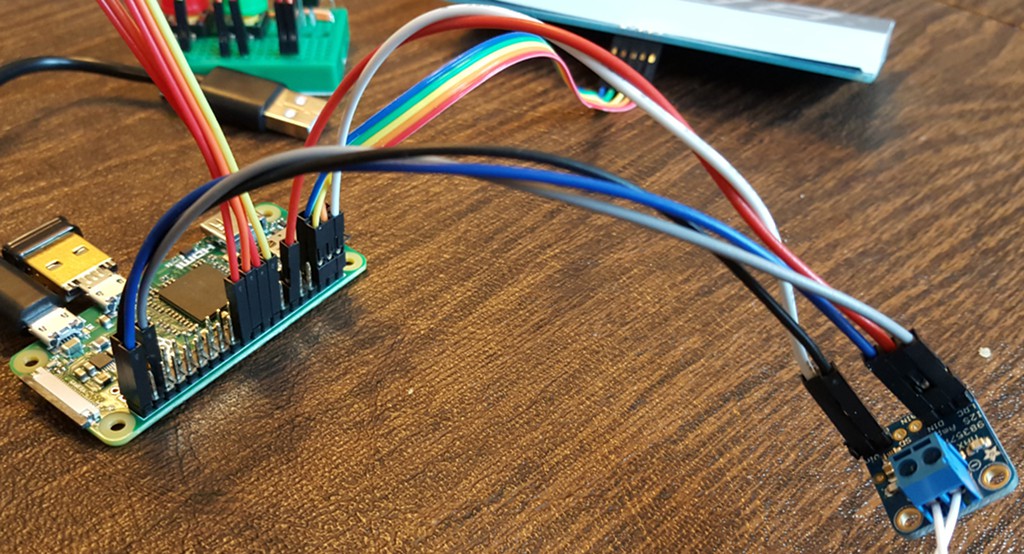
5Step 5
Connect the I2S module to the Raspberry Pi as outlined in https://learn.adafruit.com/adafruit-max98357-i2s-class-d-mono-amp/raspberry-pi-wiring
![]()
-
6Step 6
Optionally wire buttons or switches to the Raspberry Pi's GPIO pins
![]()
-
7Step 7
Install the hack-clock software as described in https://github.com/deckerego/hack-clock/blob/master/README.md
-
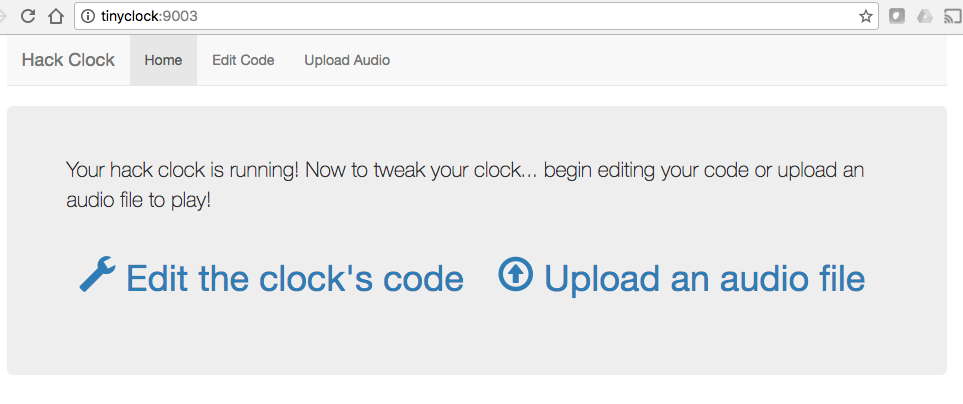
8Step 8
Restart the Raspberry Pi and run the hack-clock software - you should be able to visit the Hack Clock IDE at http://raspberrypi:9003/ - where "raspberrypi" is the hostname or IP address of your Raspberry Pi.
![]()
-
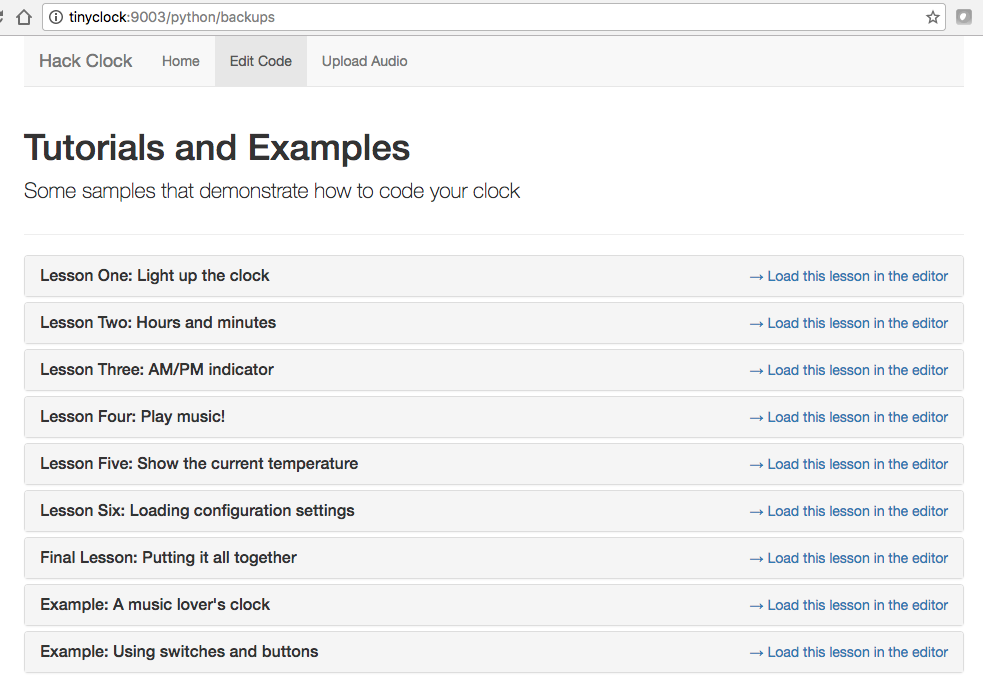
9Step 9
Click on "Edit the clock's code," then click on the IDE's "restore" button (it is the second floppy disk icon from the left). From here, restore Lesson One and start hacking!
![]()
Hack-Ready Alarm Clock
An alarm clock that encourages tinkering and modification. Targeted for kids, but fun for old hacks like myself.

Discussions
Become a Hackaday.io Member
Create an account to leave a comment. Already have an account? Log In.