 Marius Taciuc
-
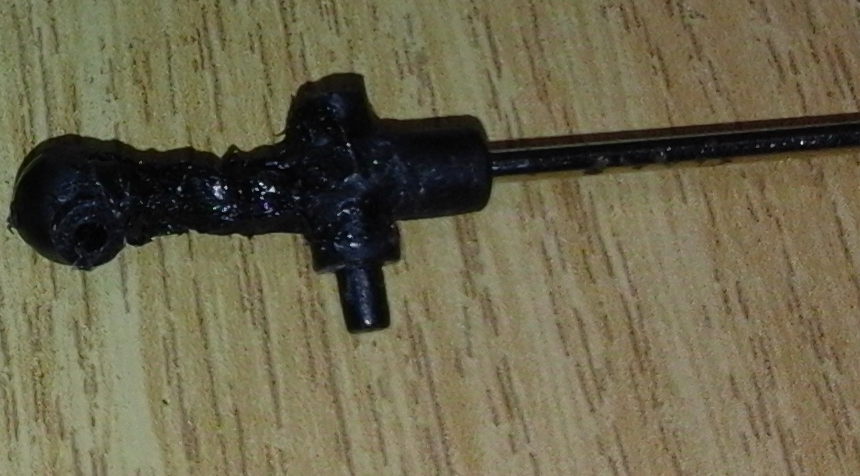
1Reconstruct the broken piece just for the model
The first step would be to reconstruct the old piece just to gain an appearance of the old model and to be able to measure its dimensions
In my case, I used the soldering Iron and some leftover plastic pieces to glue everything back together.
-
2Take measurements
Use a very good caliper or micrometer to measure the dimensions of what it's left of the original piece.
-
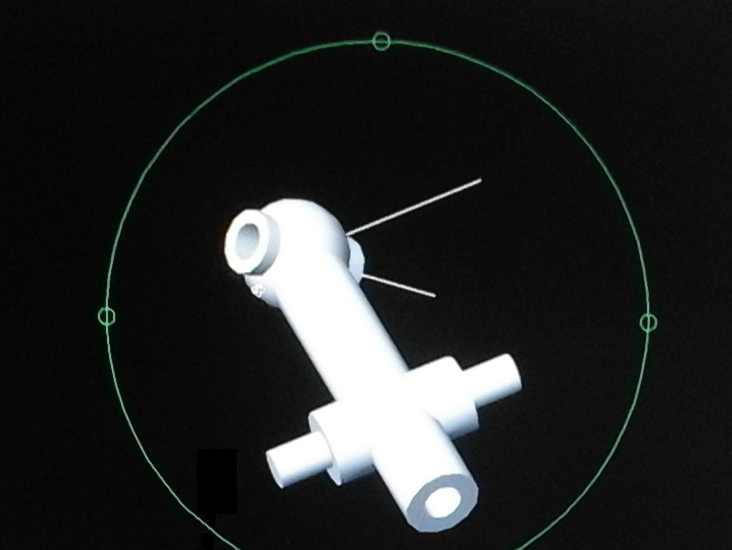
3Redesign
Use your favorite solid modeling software to create the design and then export it into STL.
-
4Extrude and Slice
Experiment a few times with different fillings and different layer heights according to your design. If the layer height is too low just because you need a higher resolution, this will not work for small printed volumes unless you have a good cooling fan. The extrusion multiplying factor could be too high for some required precision and the temperatures could create oozing or blobbing.
-
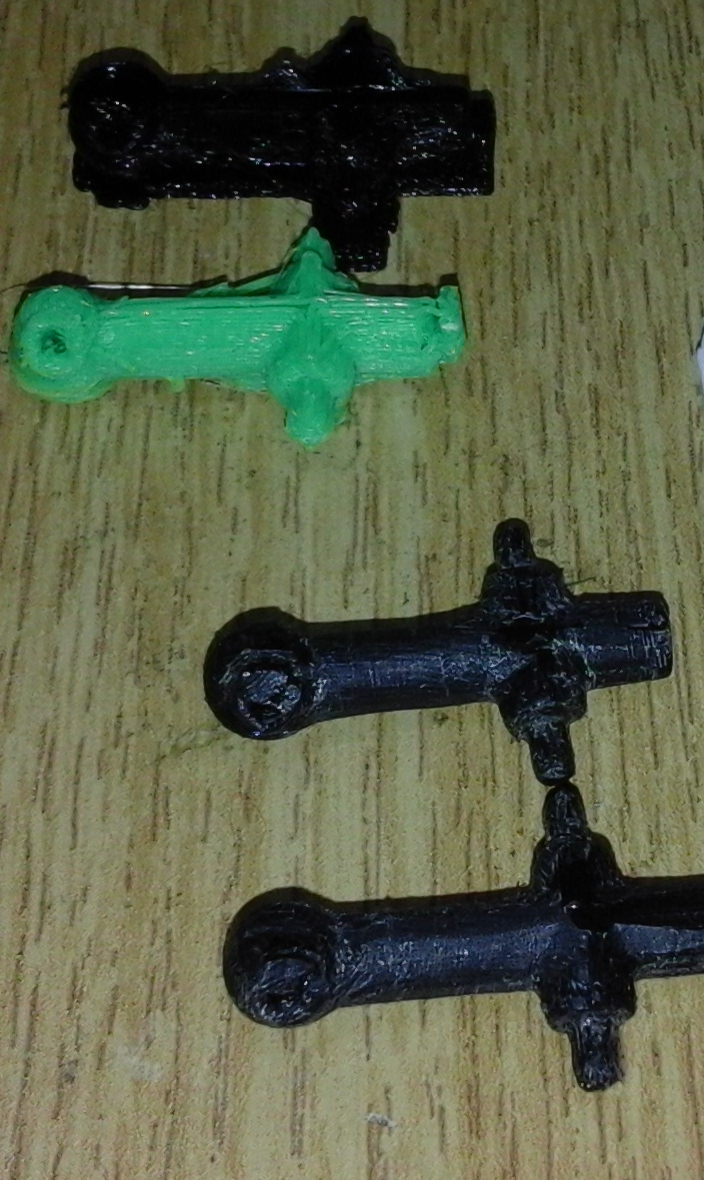
5Print more of them
In my case, I knew it is a high chance of error and I had the idea of printing like 10 of them with different filaments and settings and after that I choose the best one.
-
6Sand and finish
There is always room for error but this does not mean that there is no room for correcting errors. After the print I sanded and filed the external surfaces, trimmed the support material and remade the holes with a good drill bit. A carving knife could come handy in these situations. I know I got mine.
Discussions
Become a Hackaday.io Member
Create an account to leave a comment. Already have an account? Log In.