-
1Step 1
![]()
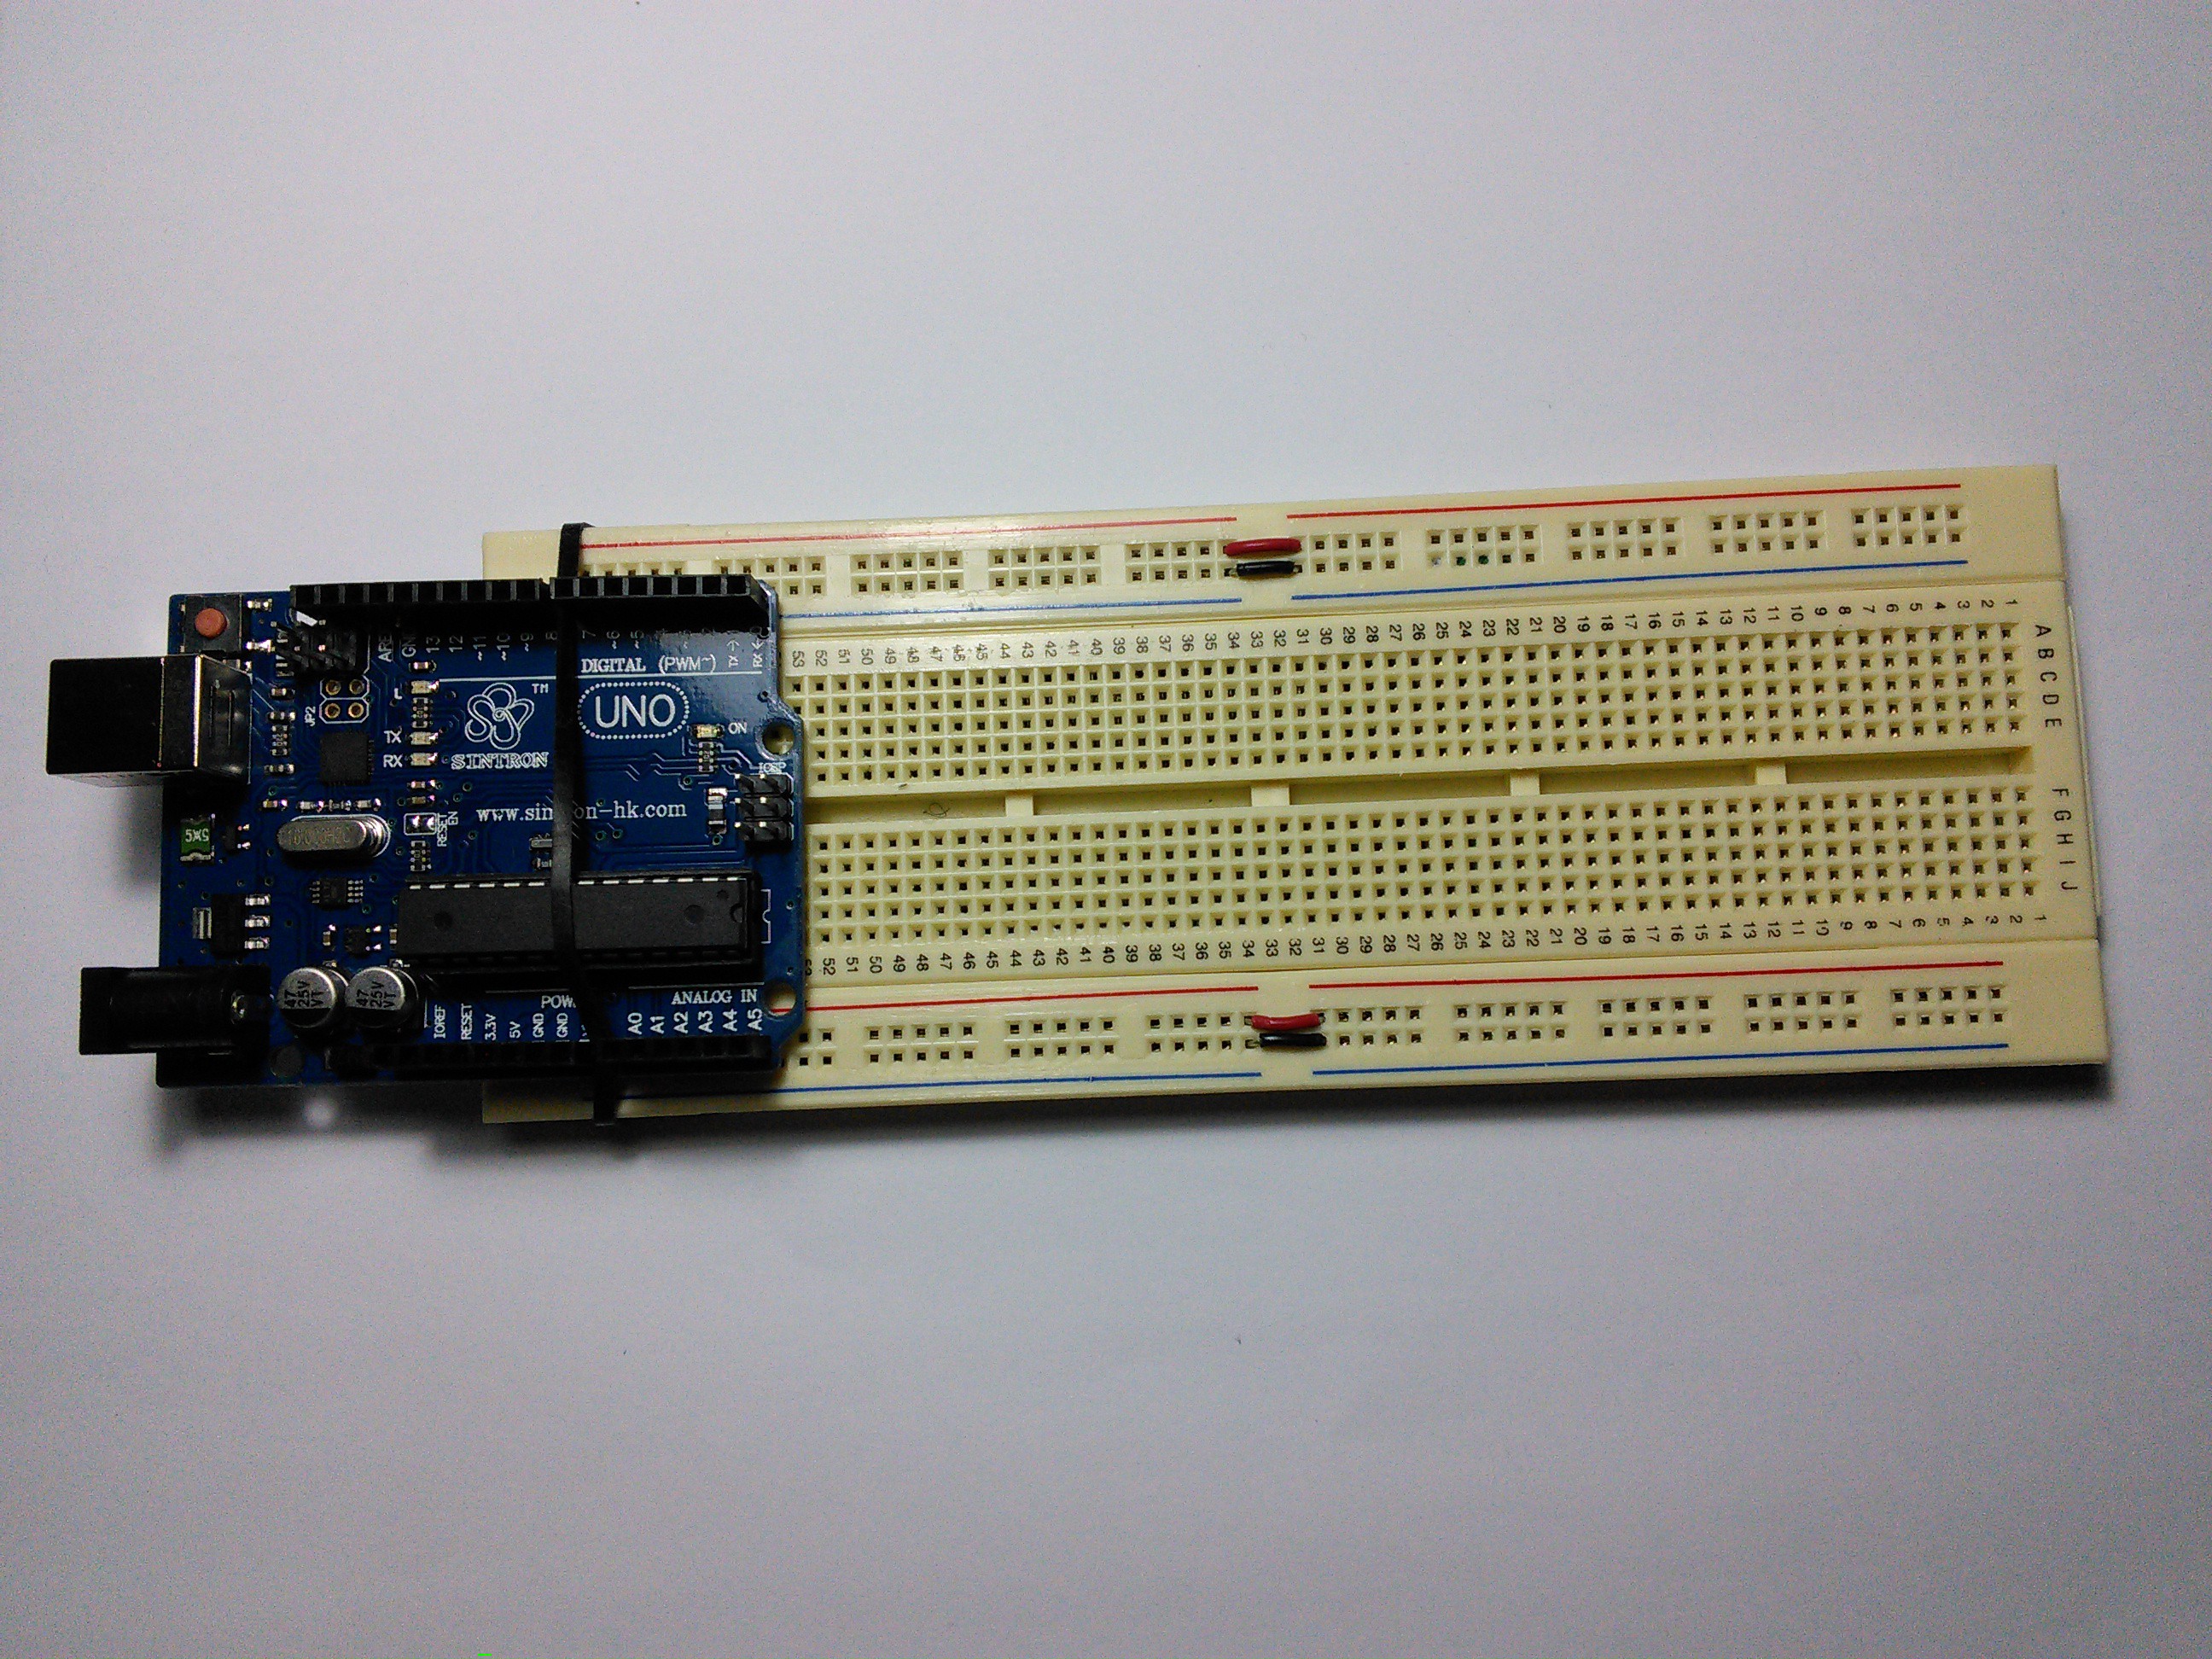
Set your Arduino board and your breadboard.
-
2Step 2
Put the buttons and the LEDs wherever you want to. Just remember to find a place in which you don't get to touch any wire when pressing rapidly the button.
-
3Step 3
Connect the positive and ground rails of the breadboard to the 5V and GND pins in the POWER section of the Arduino.
-
4Step 4
Connect the ground of the buttons and LEDs to the ground rails by putting a resistance. The LEDs need a 220 or 330 ohm resistance while the buttons would be fine with a 10k ohm resistance.
-
5Step 5
Connect the to buttons to the positive rails of the breadboard.
-
6Step 6
Between the ground pin of the buttons and the resistance, put a jumper wire and connect them to the pins 4 and 8 of the digital pins of the Arduino. This will send the digitalRead when the button is pressed.
-
7Step 7
Connect the positive side of the LEDs to the pins 5 and 9 of the digital pins of the Arduino. This will make the LED turn on when it gets to the goal.
-
8Step 8
Upload the code to your Arduino and start playing. (You cand find the link to the code in the link section)
Race to the LED (Arduino game)
This project is a mini game I made to start learning Arduino. The first player in reaching the goal will light up its LED and win.
 Luis A. Tórtola
Discussions
Become a Hackaday.io Member
Create an account to leave a comment. Already have an account? Log In.
where is the link section?
Are you sure? yes | no