Brandon Piner
-
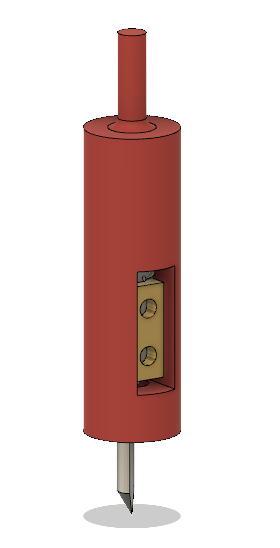
Spring Engraver
06/23/2018 at 07:56 • 9 commentsI want to be able to make really good looking PCBs at home. One of the missing elements is adding a solder mask.
Adding a solder mask from paint requires curing it with UV light. The trick is to black out the pads so that it is not exposed and therefore does not cure. I have not had much success with this method. But I saw a video (linked below - skip to 3:23) where an engraving tool was spring loaded to only apply a light pressure when engraving. This was then used to engrave away the solder mask where the pads should be exposed.
I have never been able to spring load my engraving bit so I decided to try and design a tool that allows engraving bits to be spring loaded. I decided to 3D print the part but it would be best if I could turn it on a lathe and mill.
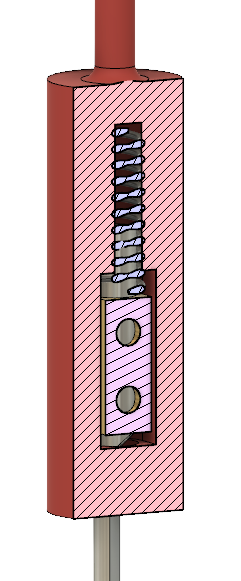
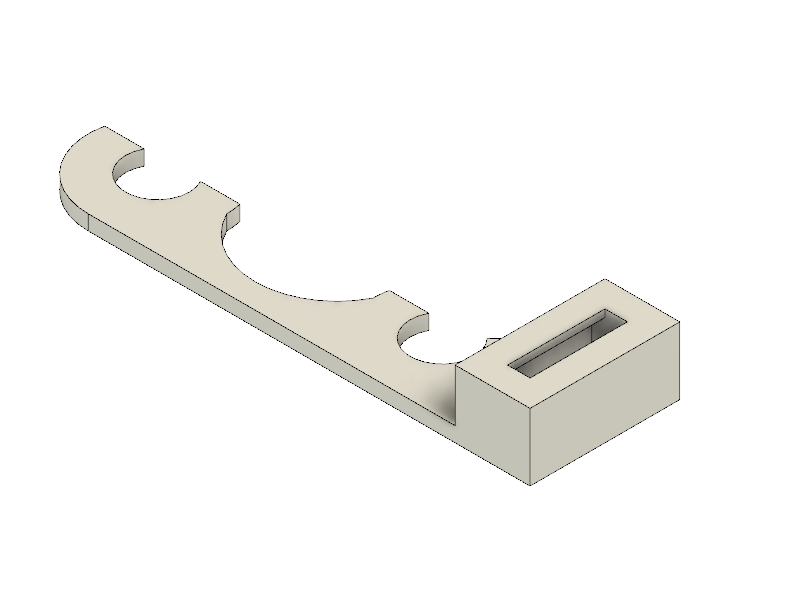
This is the design I have come to test:
It is more clear from the cross section view. I am using the clamp from a terminal block to hold the engraving bit. I used a pen spring to push down on the terminal block clamp.
Go to 3:23 of the below video to see what the aim is
-
Source Files and Design Process
02/20/2018 at 05:35 • 0 commentsAs stated previously I used Fusion 360 to design the parts. I have linked all the designs below:
The process I took to design the Rotary Tool mount was first to exactly copy the dimensions of the existing part. I used a digital caliper for this. Then I printed a couple versions until the dimensions were right.
Then I started to experiment with the mounting and really like the dovetail style slot with the bolt holes to secure it more.
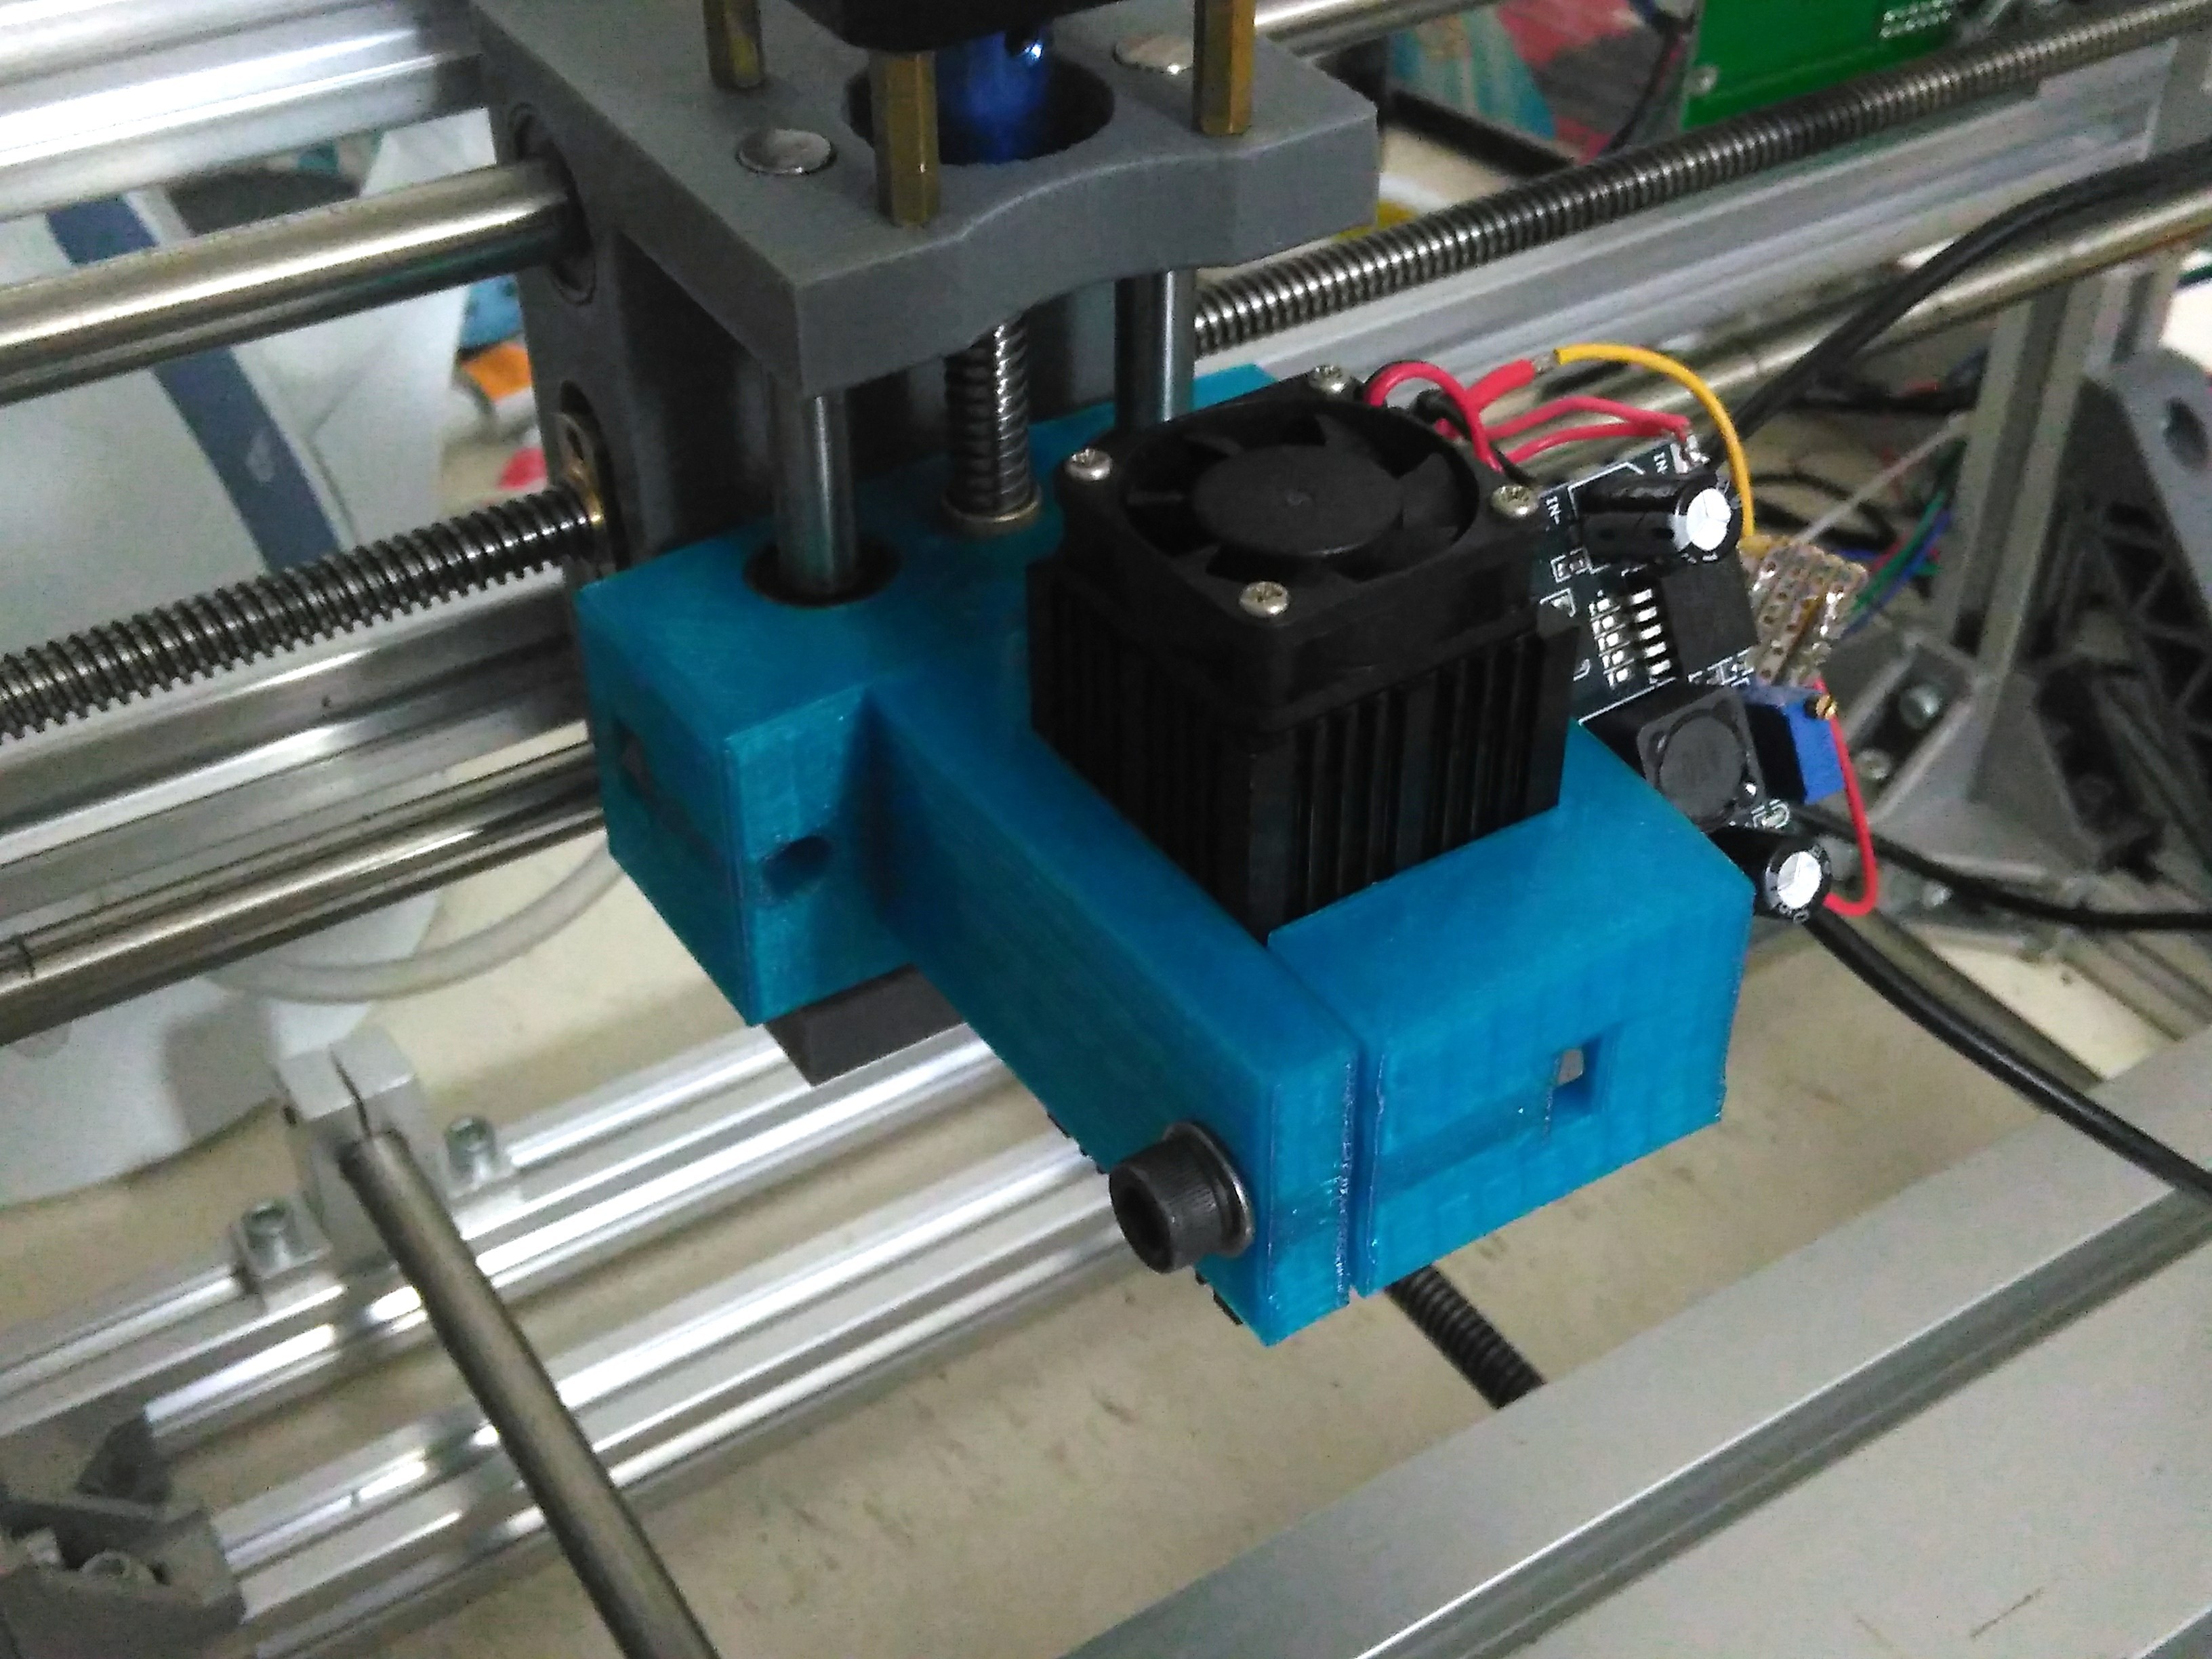
After I printed the z mount I proceed to design the laser mount. I measured the dimensions of my laser and made a basic mount that can slide into the dovetail. Once I got the tolerances right I was happy to proceed with the next stage of the design.
The next stage was making the mount for the rotary tool. I knew I wanted the tool to screw into the mount as this would be the most secure. So I started by designing and printing a few screw threads until I got the best one. Then I added the dovetail mount and printed it. This version did not have a support for the top part of the rotary tool and this resulted in a large bending moment. I did suspect this would happen so I added in a z-stabaliser. This worked well.
Now that the machine was working well I did not want to destroy it! So it was time for the end stops. I measured the approximate distance between the two smooth rods on the x axis and tried to design something that would clip on to it. It took a couple prints but I got it right. Same process for the z mount. Since the same design was not going to work for the y axis I had to go back to the drawing board. I ended up using the limit switch in a different orientation but was still happy with the result. I had to design it to bolt on to the 2020 aluminium tubes. This was simple because I only needed to create a bolt hole for the mounting bolt.
-
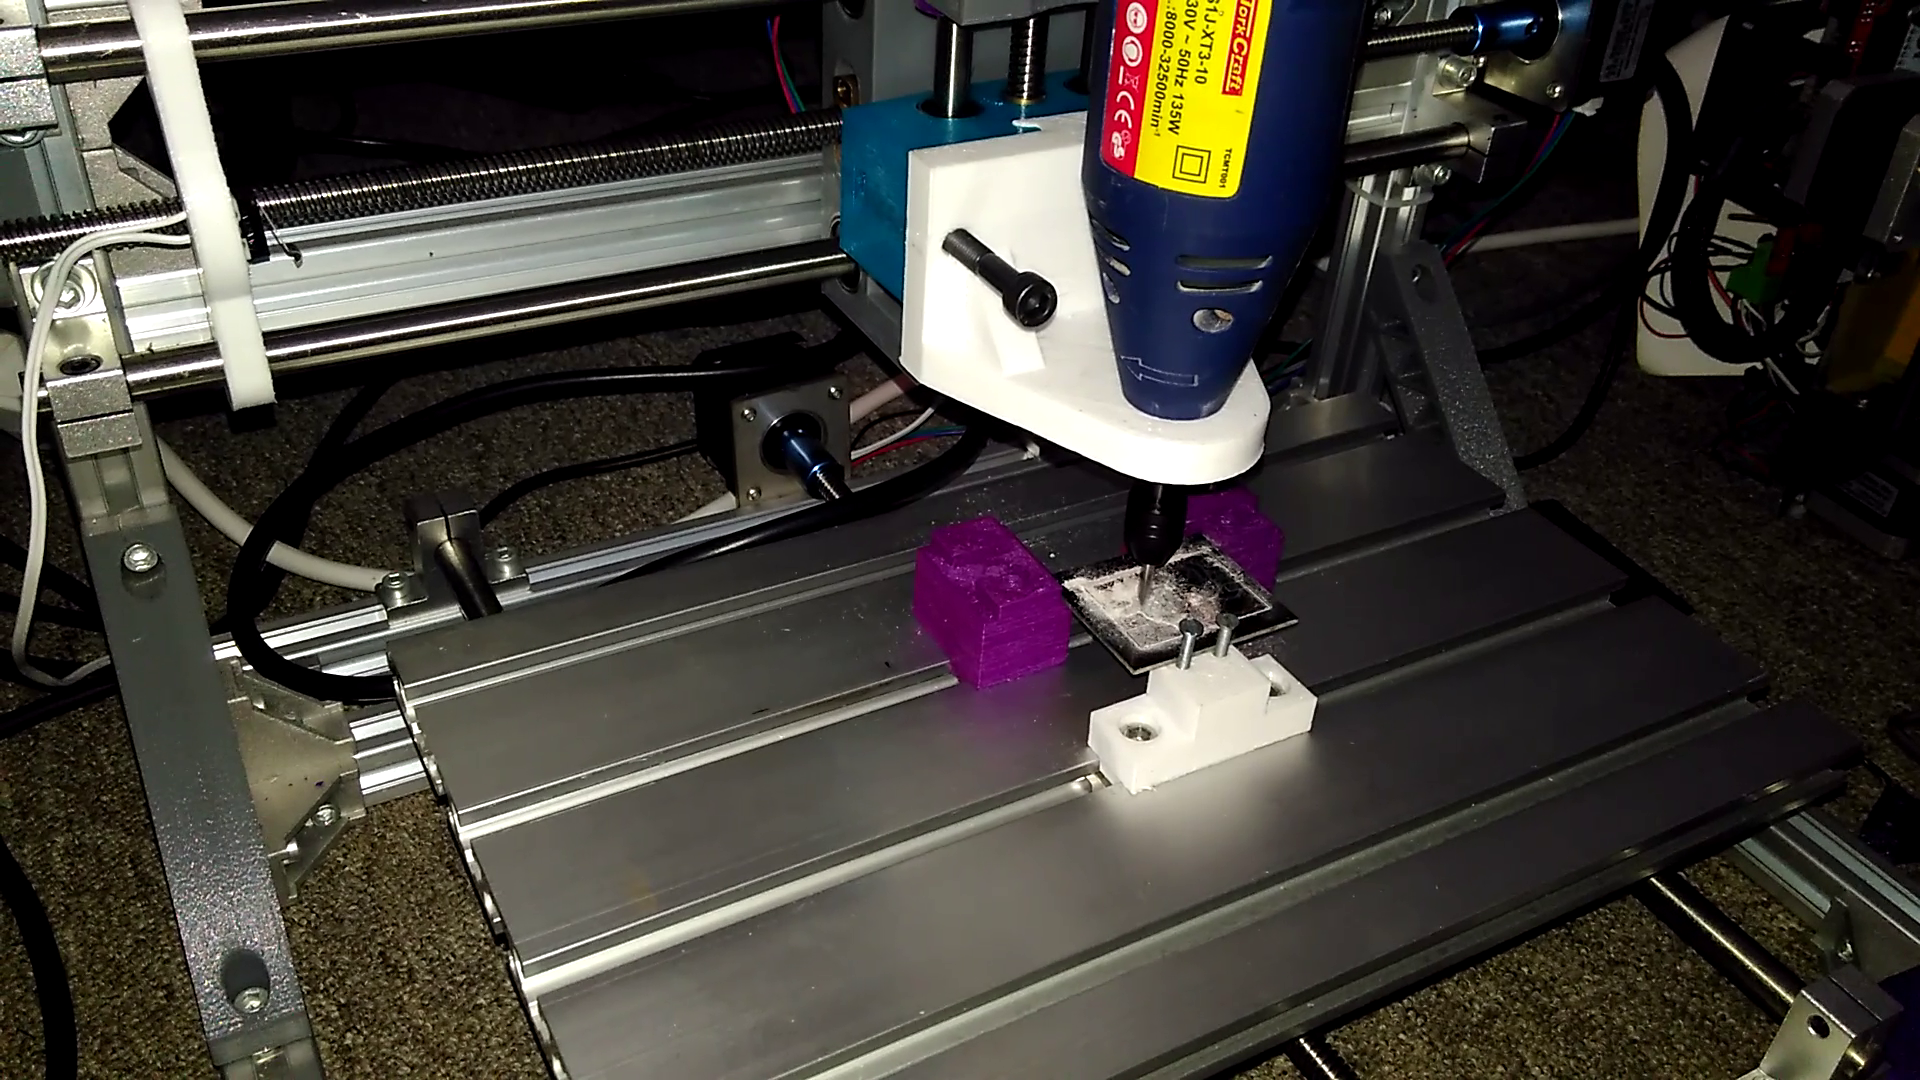
Testing it on a PCB
02/19/2018 at 07:33 • 0 comments -
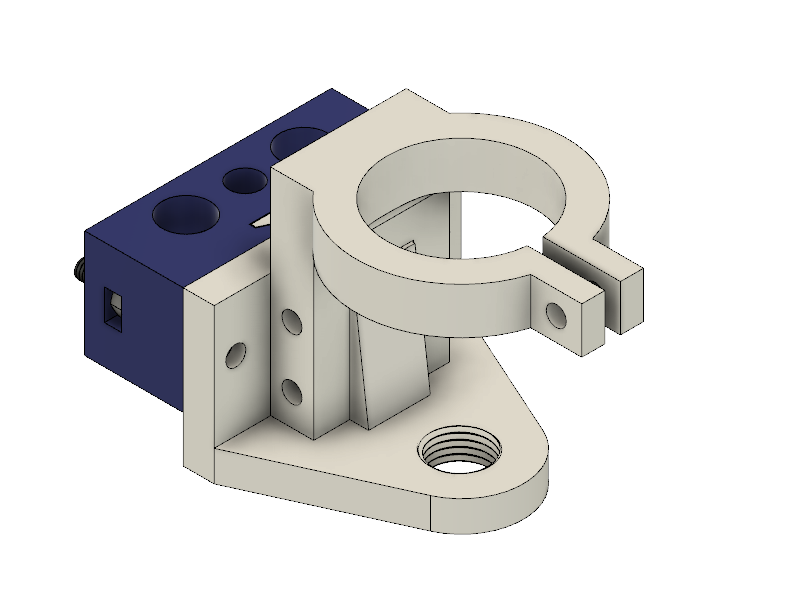
Rotary Tool (Dremel Like) Mount
02/05/2018 at 04:55 • 0 commentsI have made a mount that will slot into the z-mount from previous logs. This mount is intended to hold a dremel-like tool - in this case it is the Tork Craft Rotary Tool.
The latest version STL files can be found here:
https://www.thingiverse.com/thing:2748598
I designed this in Autodesk Fusion 360. My first attempt was just to see if the concept would work so I did not print the whole mount. Just the bottom piece where the rotary tool slides into.
Once I did a couple trial runs with that and was happy with it, I added the top piece which stabalises the rotary tool from lateral moments.
![]()
-
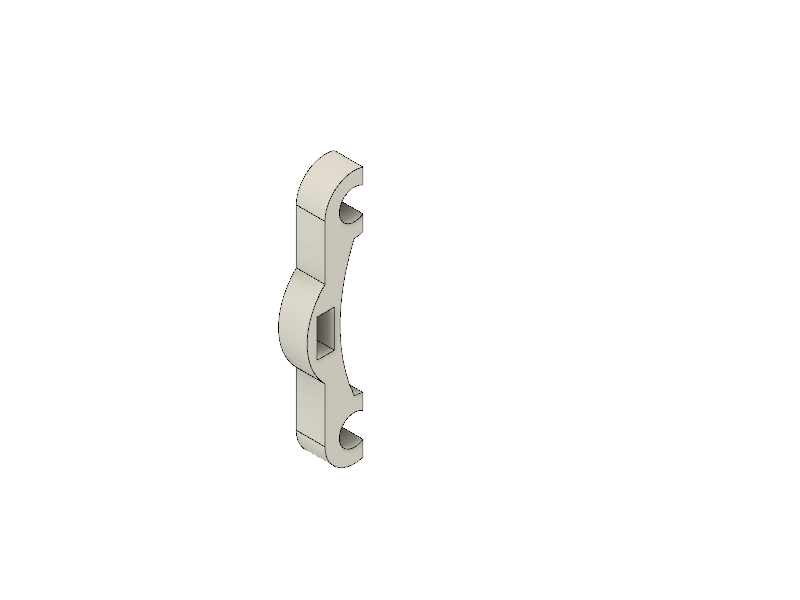
Y End Stop Limit Switch
01/26/2018 at 05:53 • 0 commentsI have designed the Y end stop slightly differently to the rest of them.
I have not done repeatibility tests on this limit switch but I am fairly confident that it will be fine.
Latest version can be found here https://www.thingiverse.com/thing:2767979
Added a video of it working
![]()
![]()
![]()
-
X End Stop Limit Switch
01/26/2018 at 05:35 • 0 commentsHere is the X end stop that I have designed.
Find the latest designs here https://www.thingiverse.com/thing:2768190
![]()
![]()
-
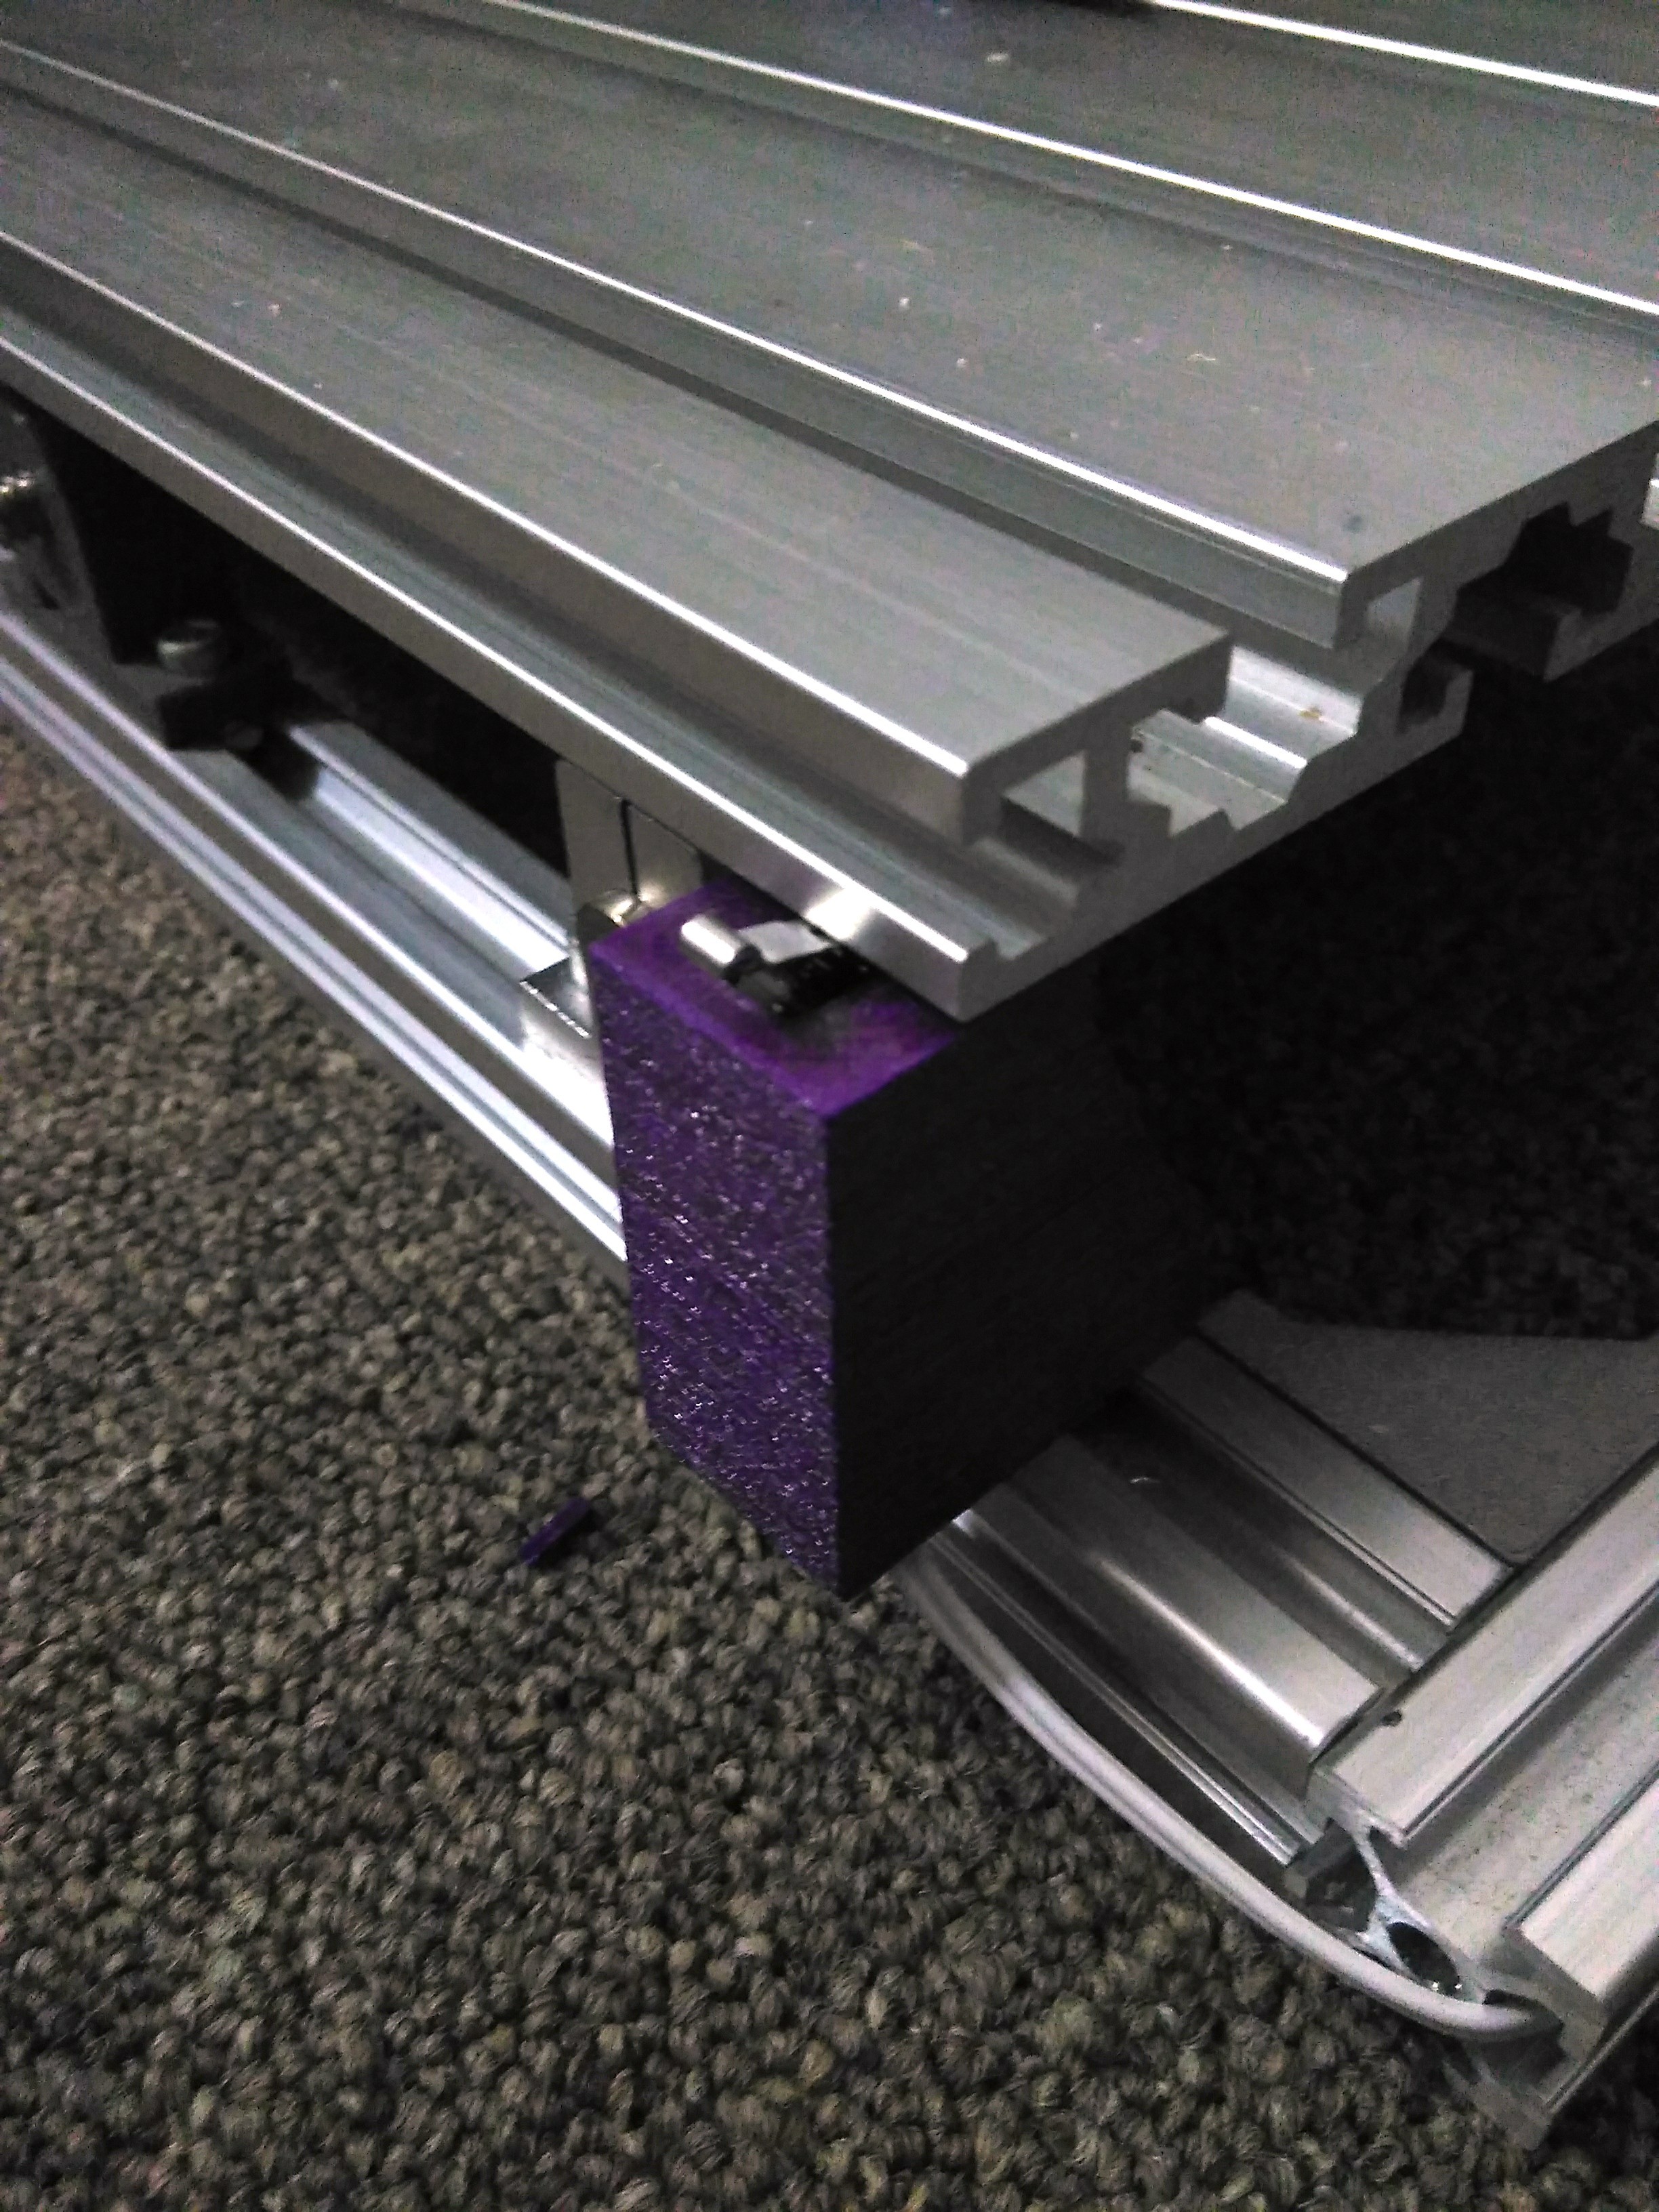
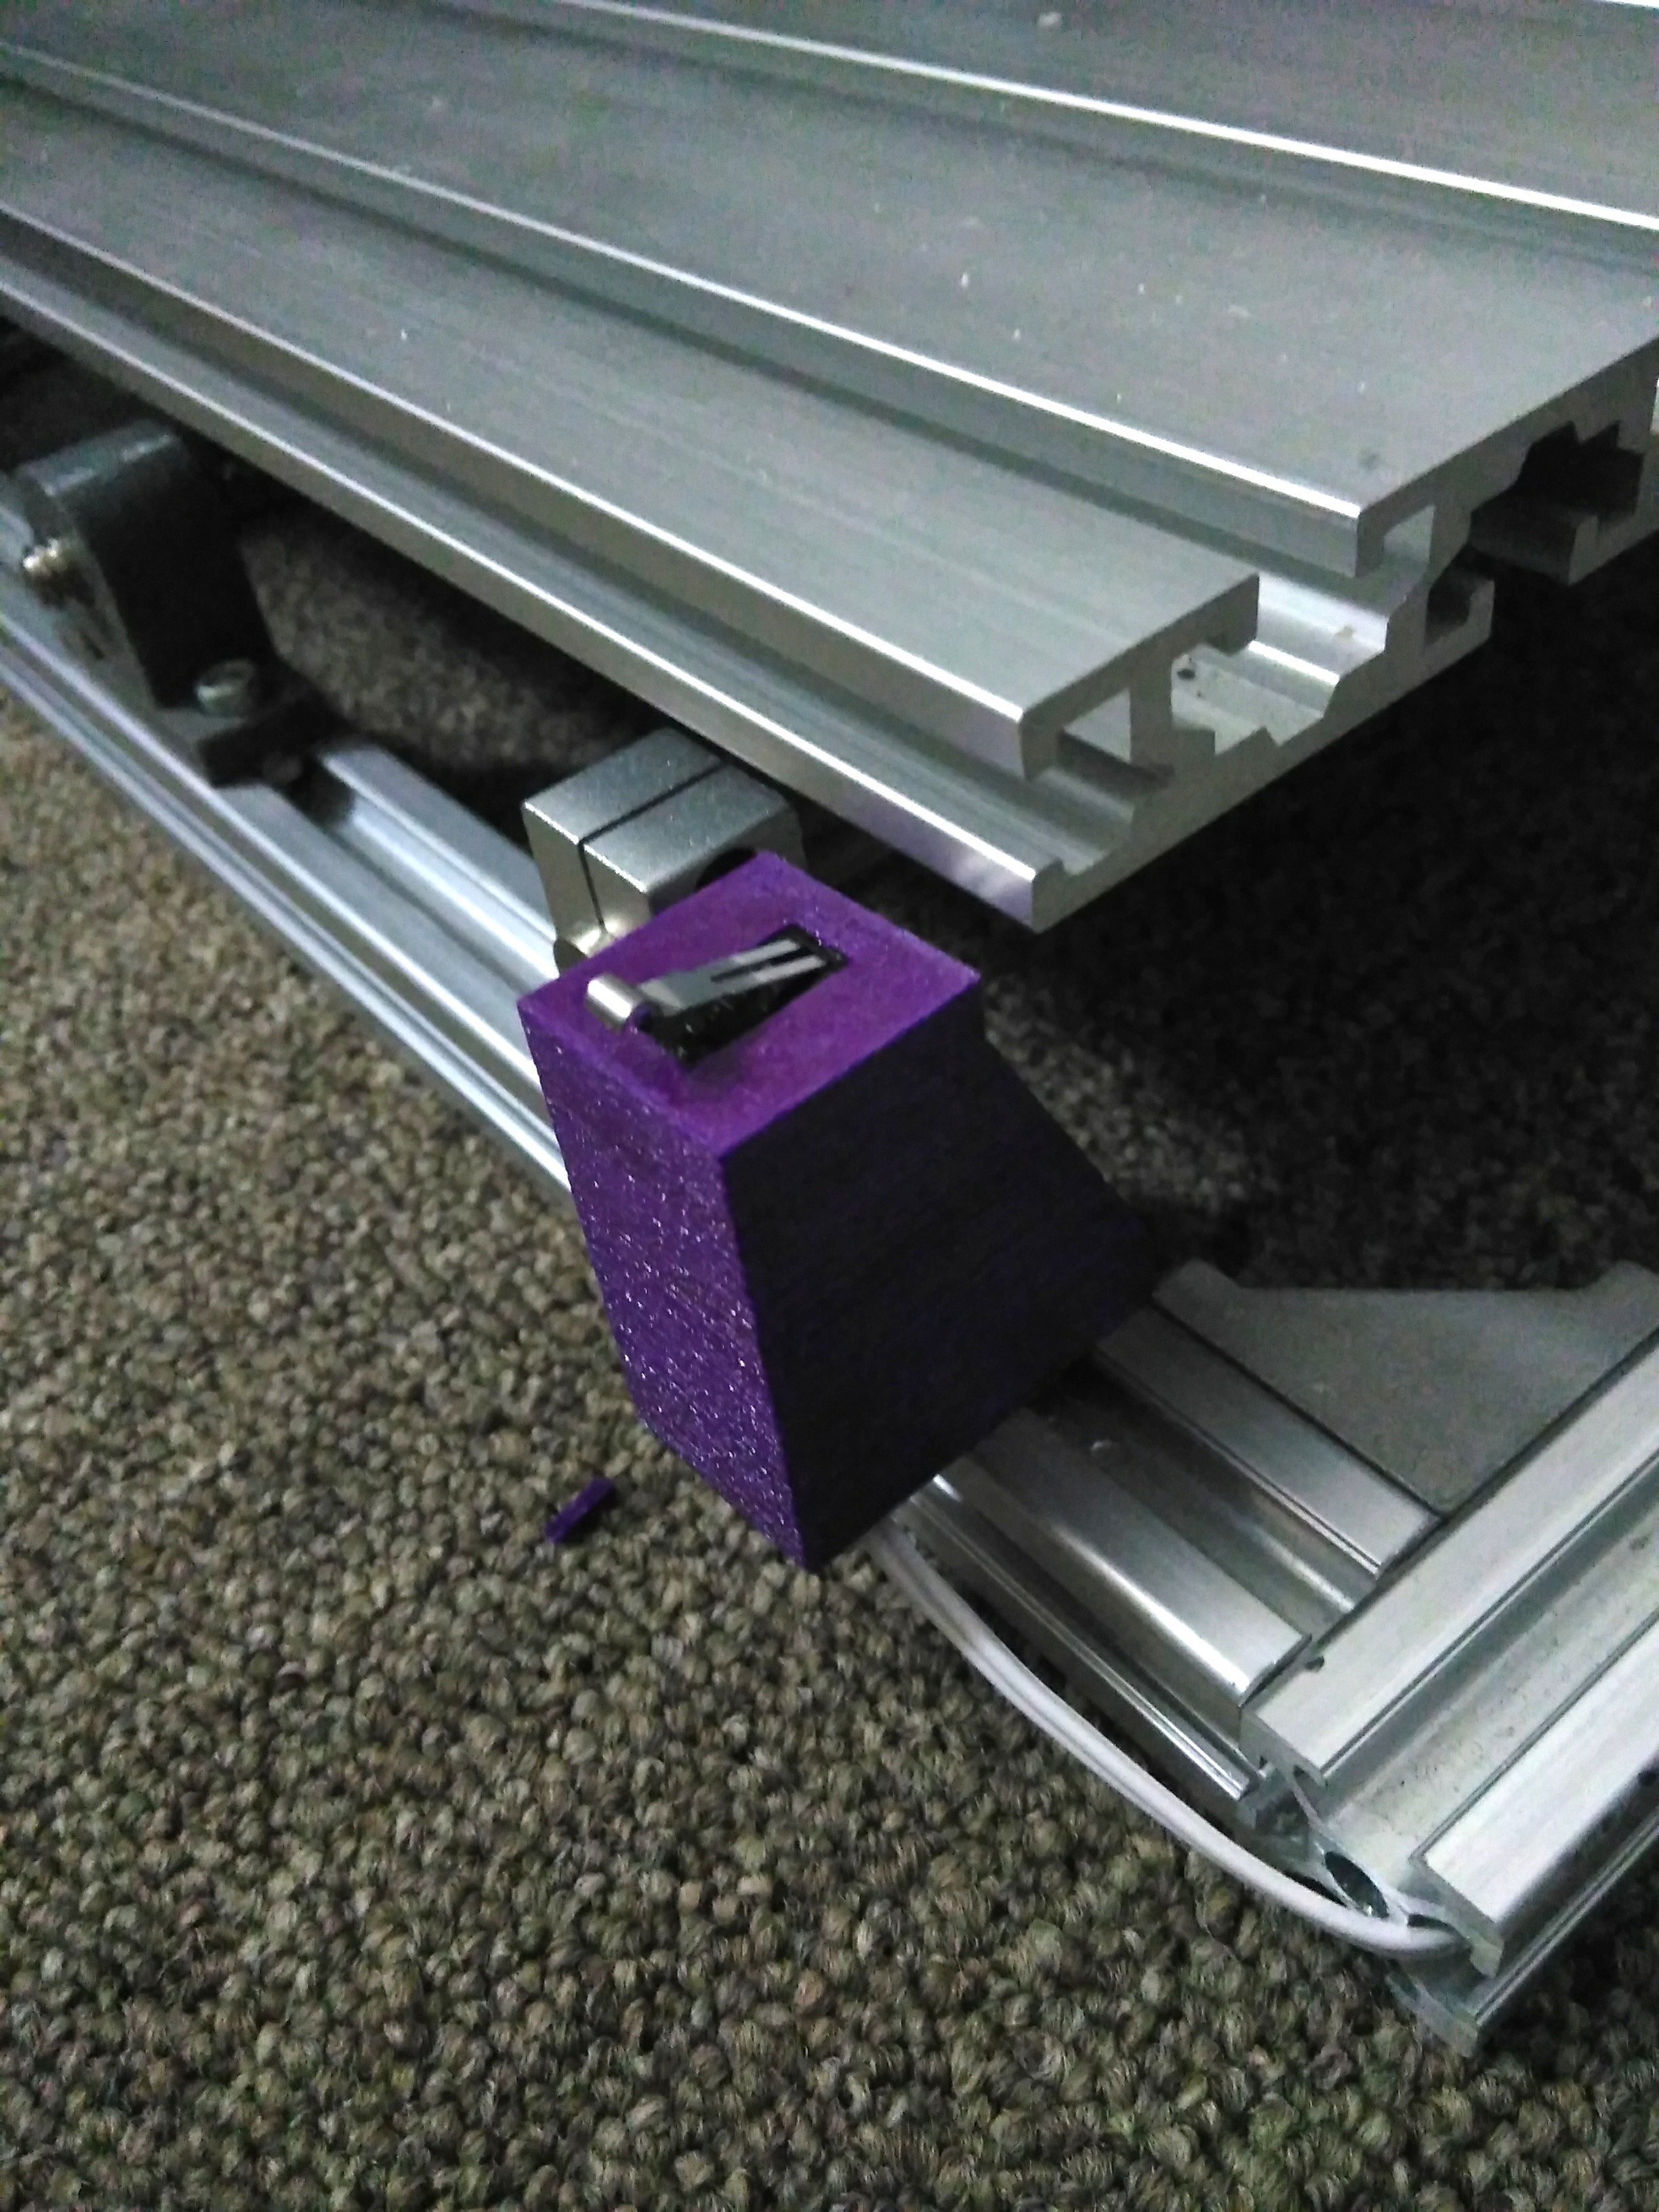
Z End Stop Limit Switch
01/25/2018 at 20:48 • 0 commentsThe Z end stop is the first of the limit switches I am designing for this CNC.
It takes a fairly generic limit switch of about 11 x 6 x 7 mm (L x W x H)
The latest version can be found here https://www.thingiverse.com/thing:2765402
![]()
![]()
![]()
![]()
-
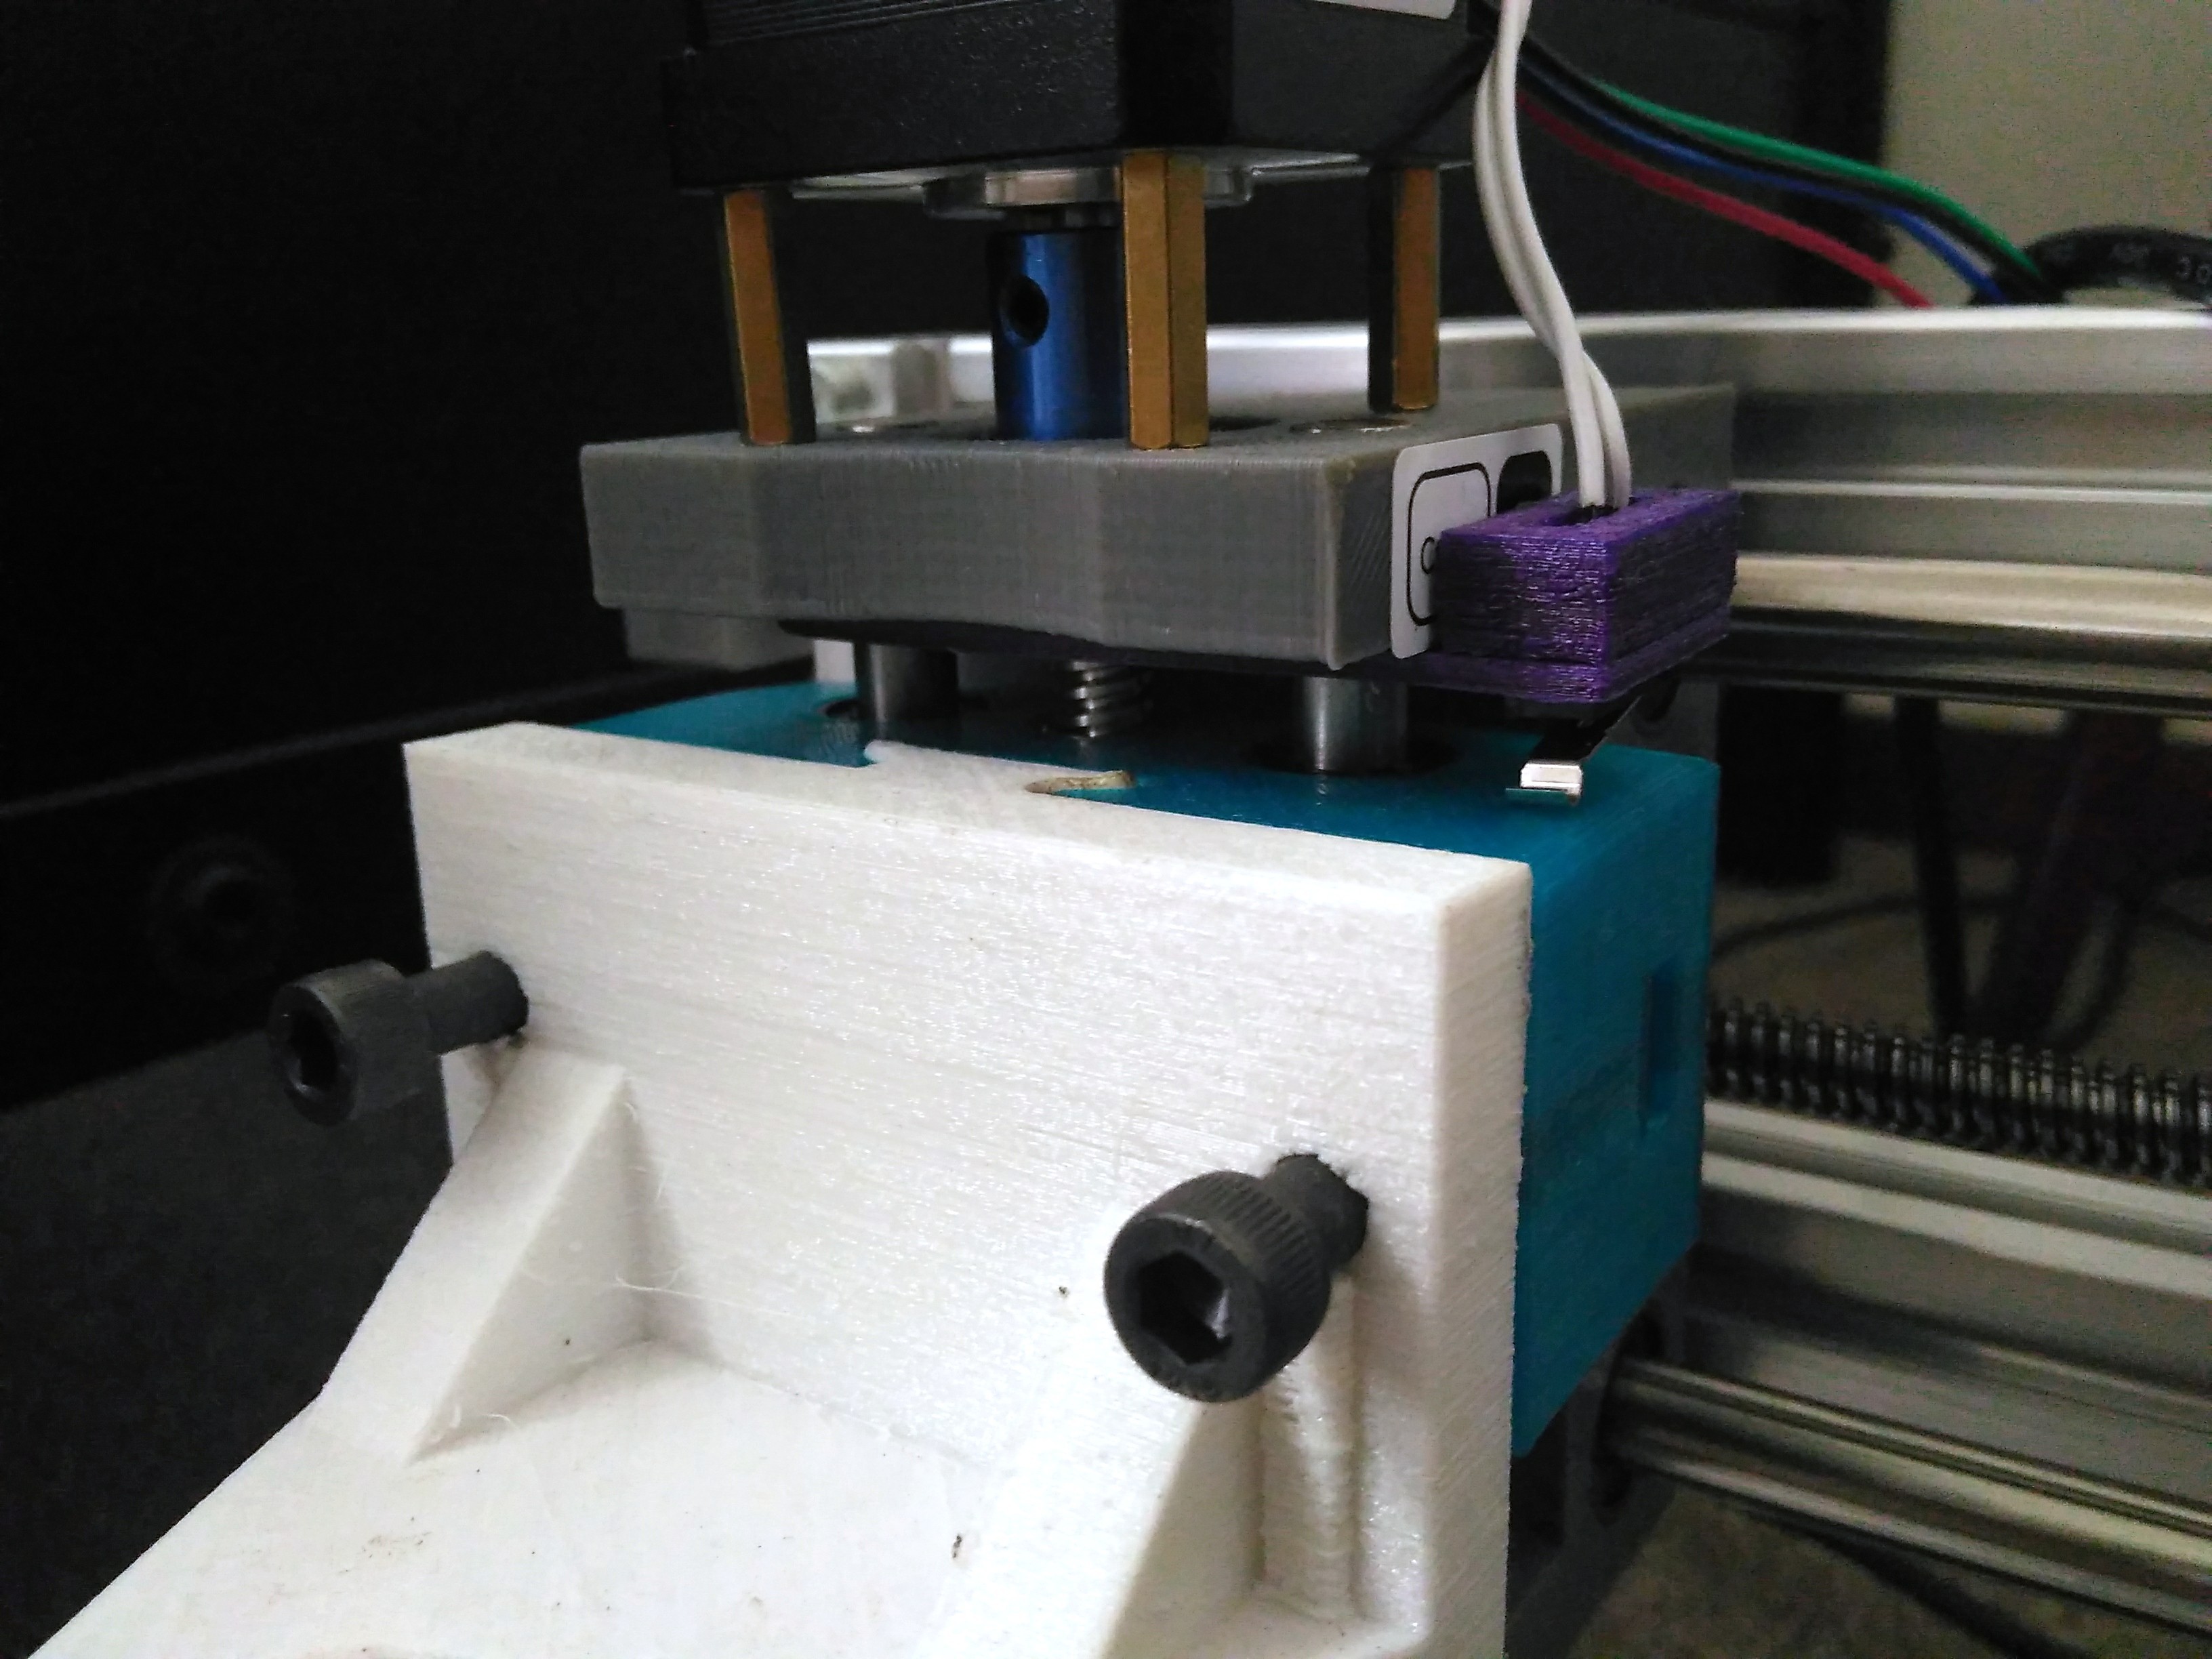
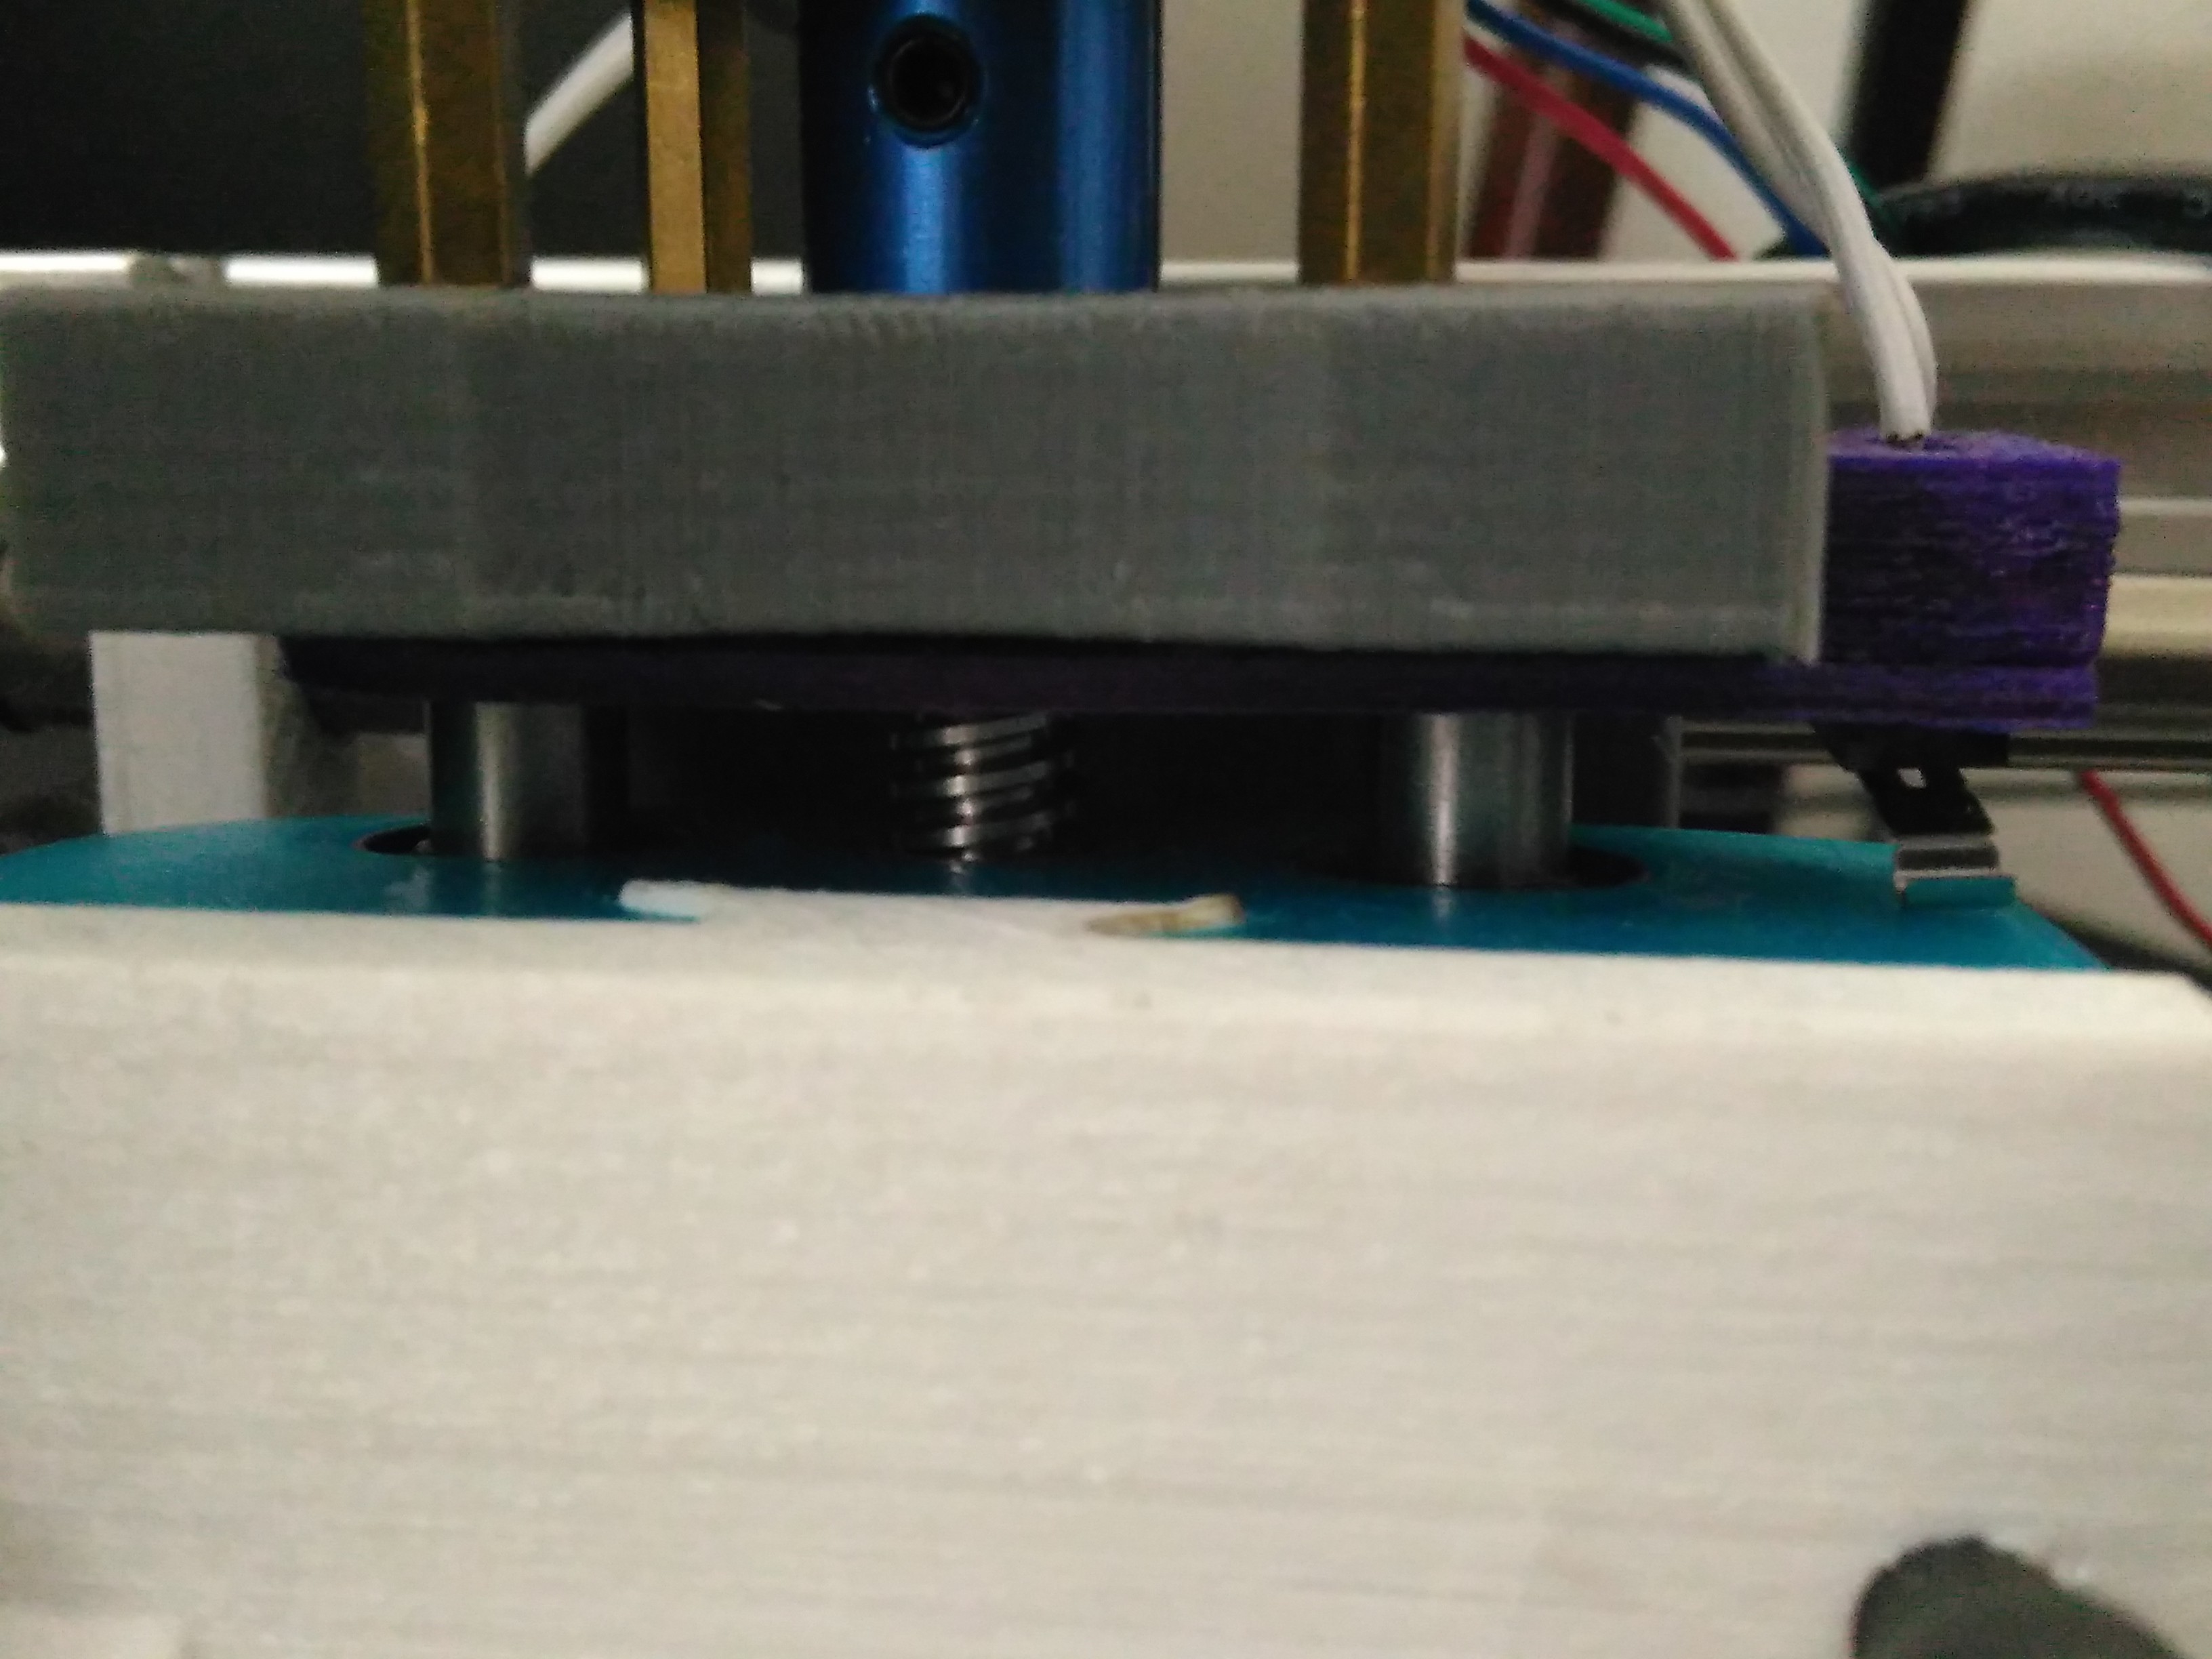
Z Mounting Panel
01/25/2018 at 20:13 • 0 commentsTesting out the z mount with my laser diode
Uploading all Z Mounts to Thingiverse https://www.thingiverse.com/thing:2748598
Laser diode mount

Tork Craft (Dremel-like) Rotary Tool Mount

![]()
![]()
CNC Mod Pack
Here lies some 3D printable modifications for the generic CNC machines found on AliExpress like the 3018, 2418 or the 1610