 Martin Ferreira
-
1Step 1
First of all, when you want to start a project like this one, all you need to know is what it will do. As an example, if you want your project to measure temperature you need a temperature sensor (TMP36). Also if you want to measure the pulse you need a pulse detector (in this case there are pulse detector shields to buy, but they are expansive, so let's build one by ourself).
And so on with other functions (sotorage the data in a SD or send it by bluetooth and print it in a LCD screen, and measure the blood preasure). All this data must be processed and organized, and there is where the Trinket Pro enters in the project.
It's seems pretty intutive but it's important to emphazise on it. -
2Step 2
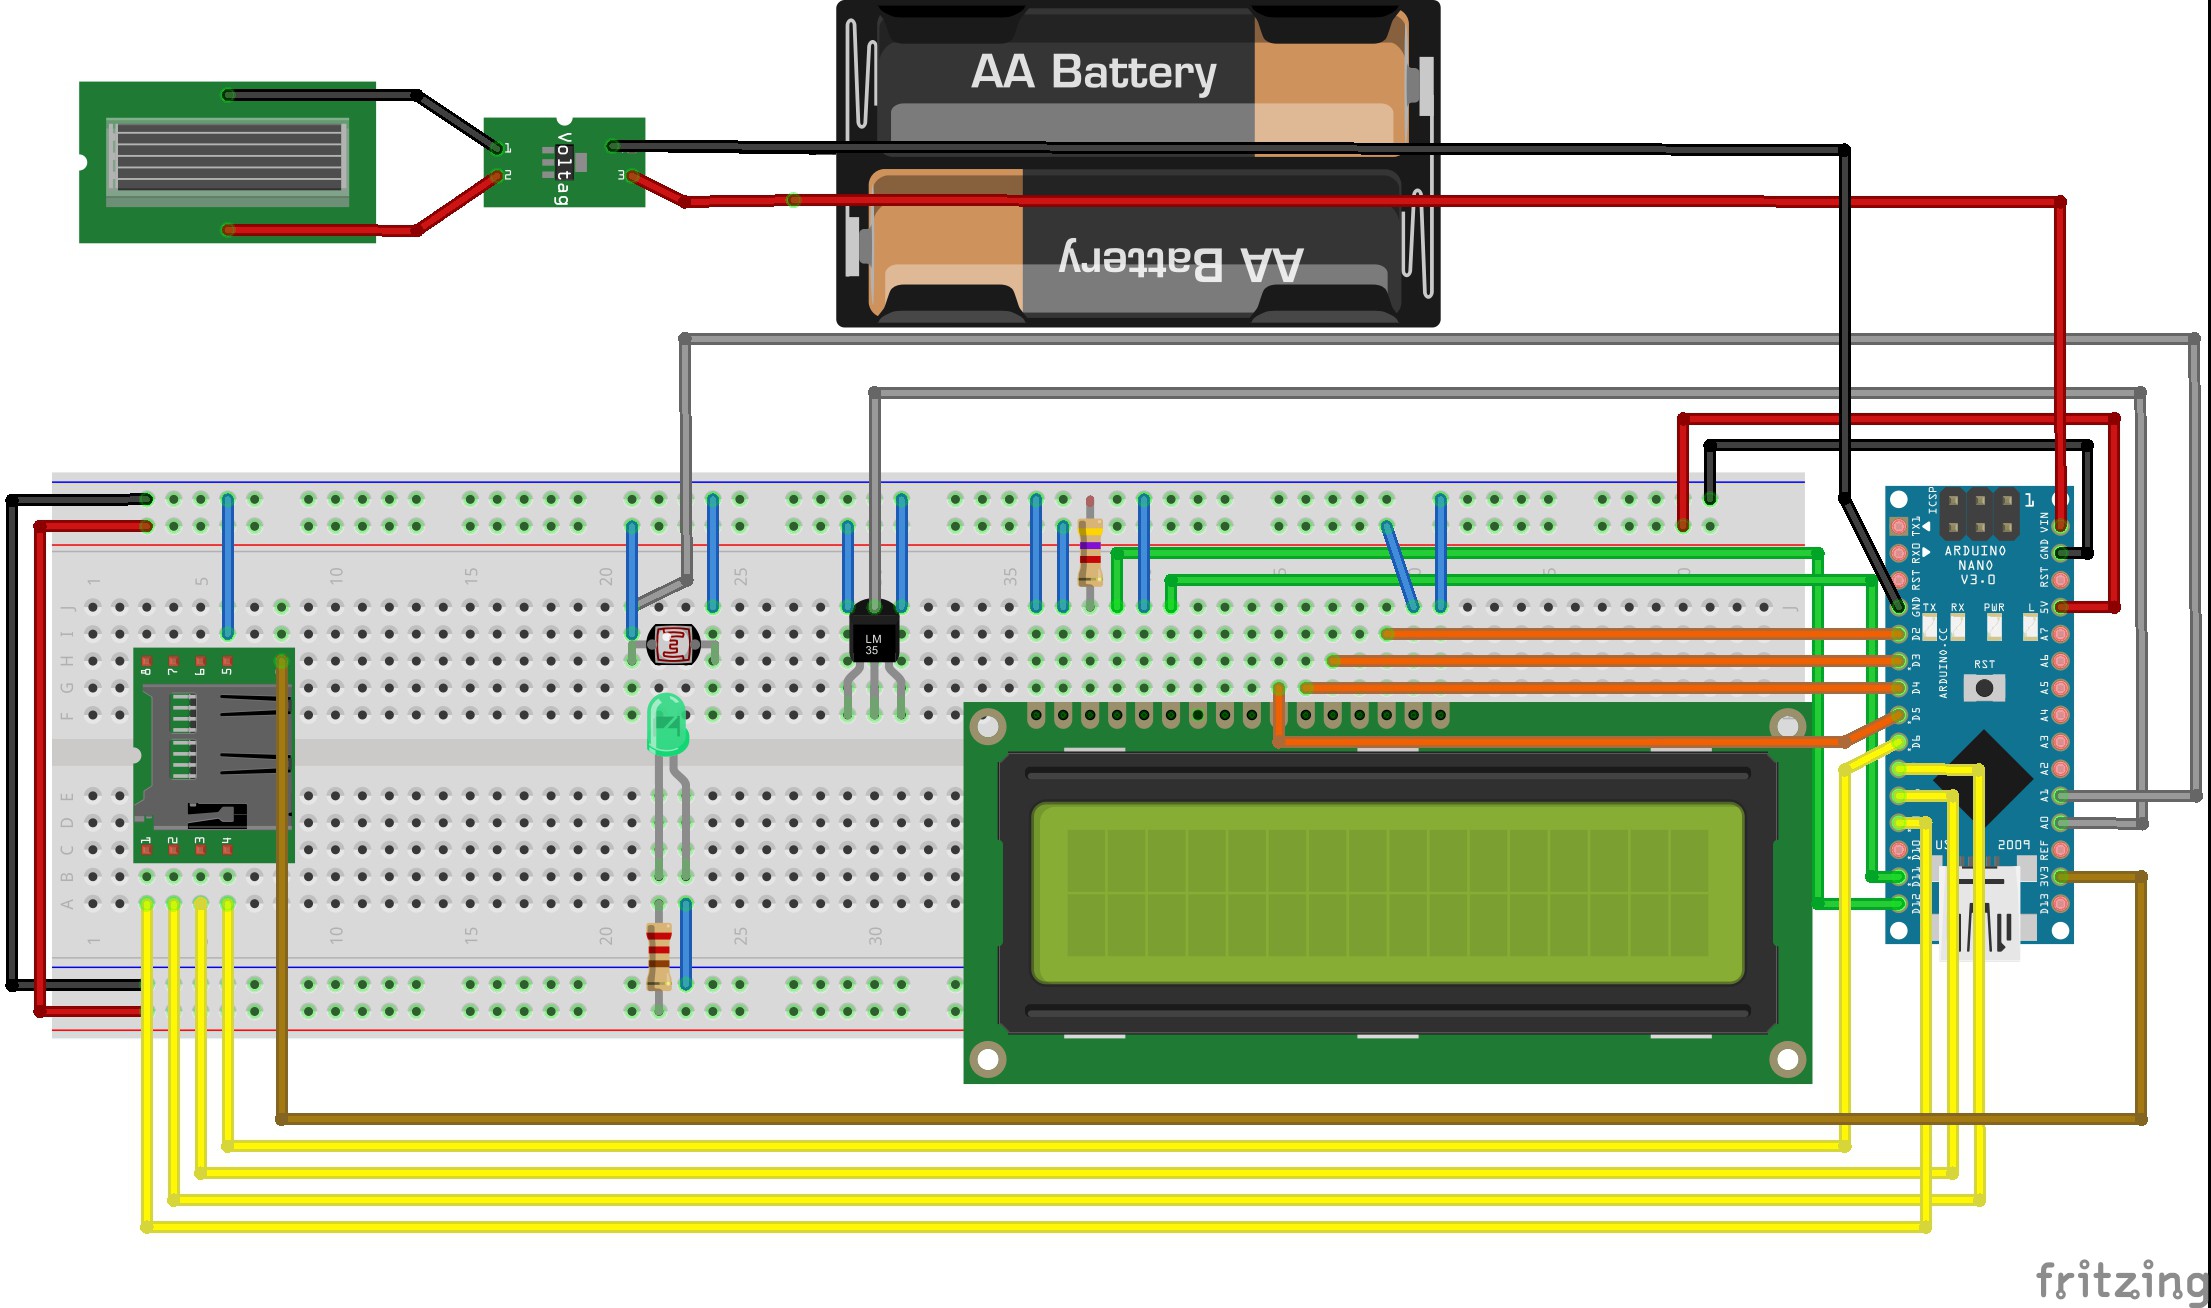
When you got all the components you need to count the number of pins that will be used to connect to the Trinket Pro, in order to let it work correctly. If you exceed the number of pins in a project you need to erase some shield and sensors from the scheme.
In this case I had some problems with my pins and sensors.
As you can see, all the digital pins are occupied by the LCD 16x2 and the SD card shield. So there is no place for the Bluetooth module.![]()
But we have a lot of analog inputs free, only 2 are occupied by the LDR and the TMP36. -
3Step 3
Everything it's ok, we have everything connected but, it needs to work with the Trinket Pro. This is where the programs start to take place. That's why I have created a GitHub Code for the Pocket Nurse.
There you can find the testing codes for each shield and sensor. With this you could see if it works correctly. In this case I used a SD shield, LCD 16x2 Screen, TMP36 temperature sensor and a LDR with a green LED to measure the hearth rate.
So, test each one, and if it works fine let's go on.
-
4Step 4
When you have finished mixing all the code and making it work all togheter, it is important to find a power supply.
It is important because without energy the project does not work, and worst than that it could stop working in the middle of an emergency.
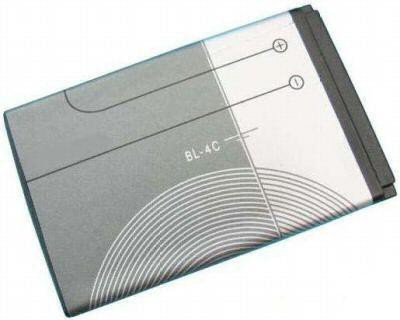
So selecting a good battery it's important. In my case I will select two BL-4C 3.7V 2800mAh Li-ion batteries (shown in the picture below).
![]()
They provide me enought mAh, they are thin and easy to find. I think I could recharge them by using a solar panel, also they could be recharged with an abandoned NOKIA cellphone. Because of time I could not think a good way of recharging the batteries.
There is a cicuit that I used in a early project to recharge a battery with a solar panel:
![]()
Pocket Nurse
This is a micro health care station which has some sensors to measure vital signs (body temperature, blood pressure and hearth rate)
Discussions
Become a Hackaday.io Member
Create an account to leave a comment. Already have an account? Log In.