-
13D print all STL files
Recommend PETG for elasticity, ease of print, chemical resistance, strong interlayer adhesion.
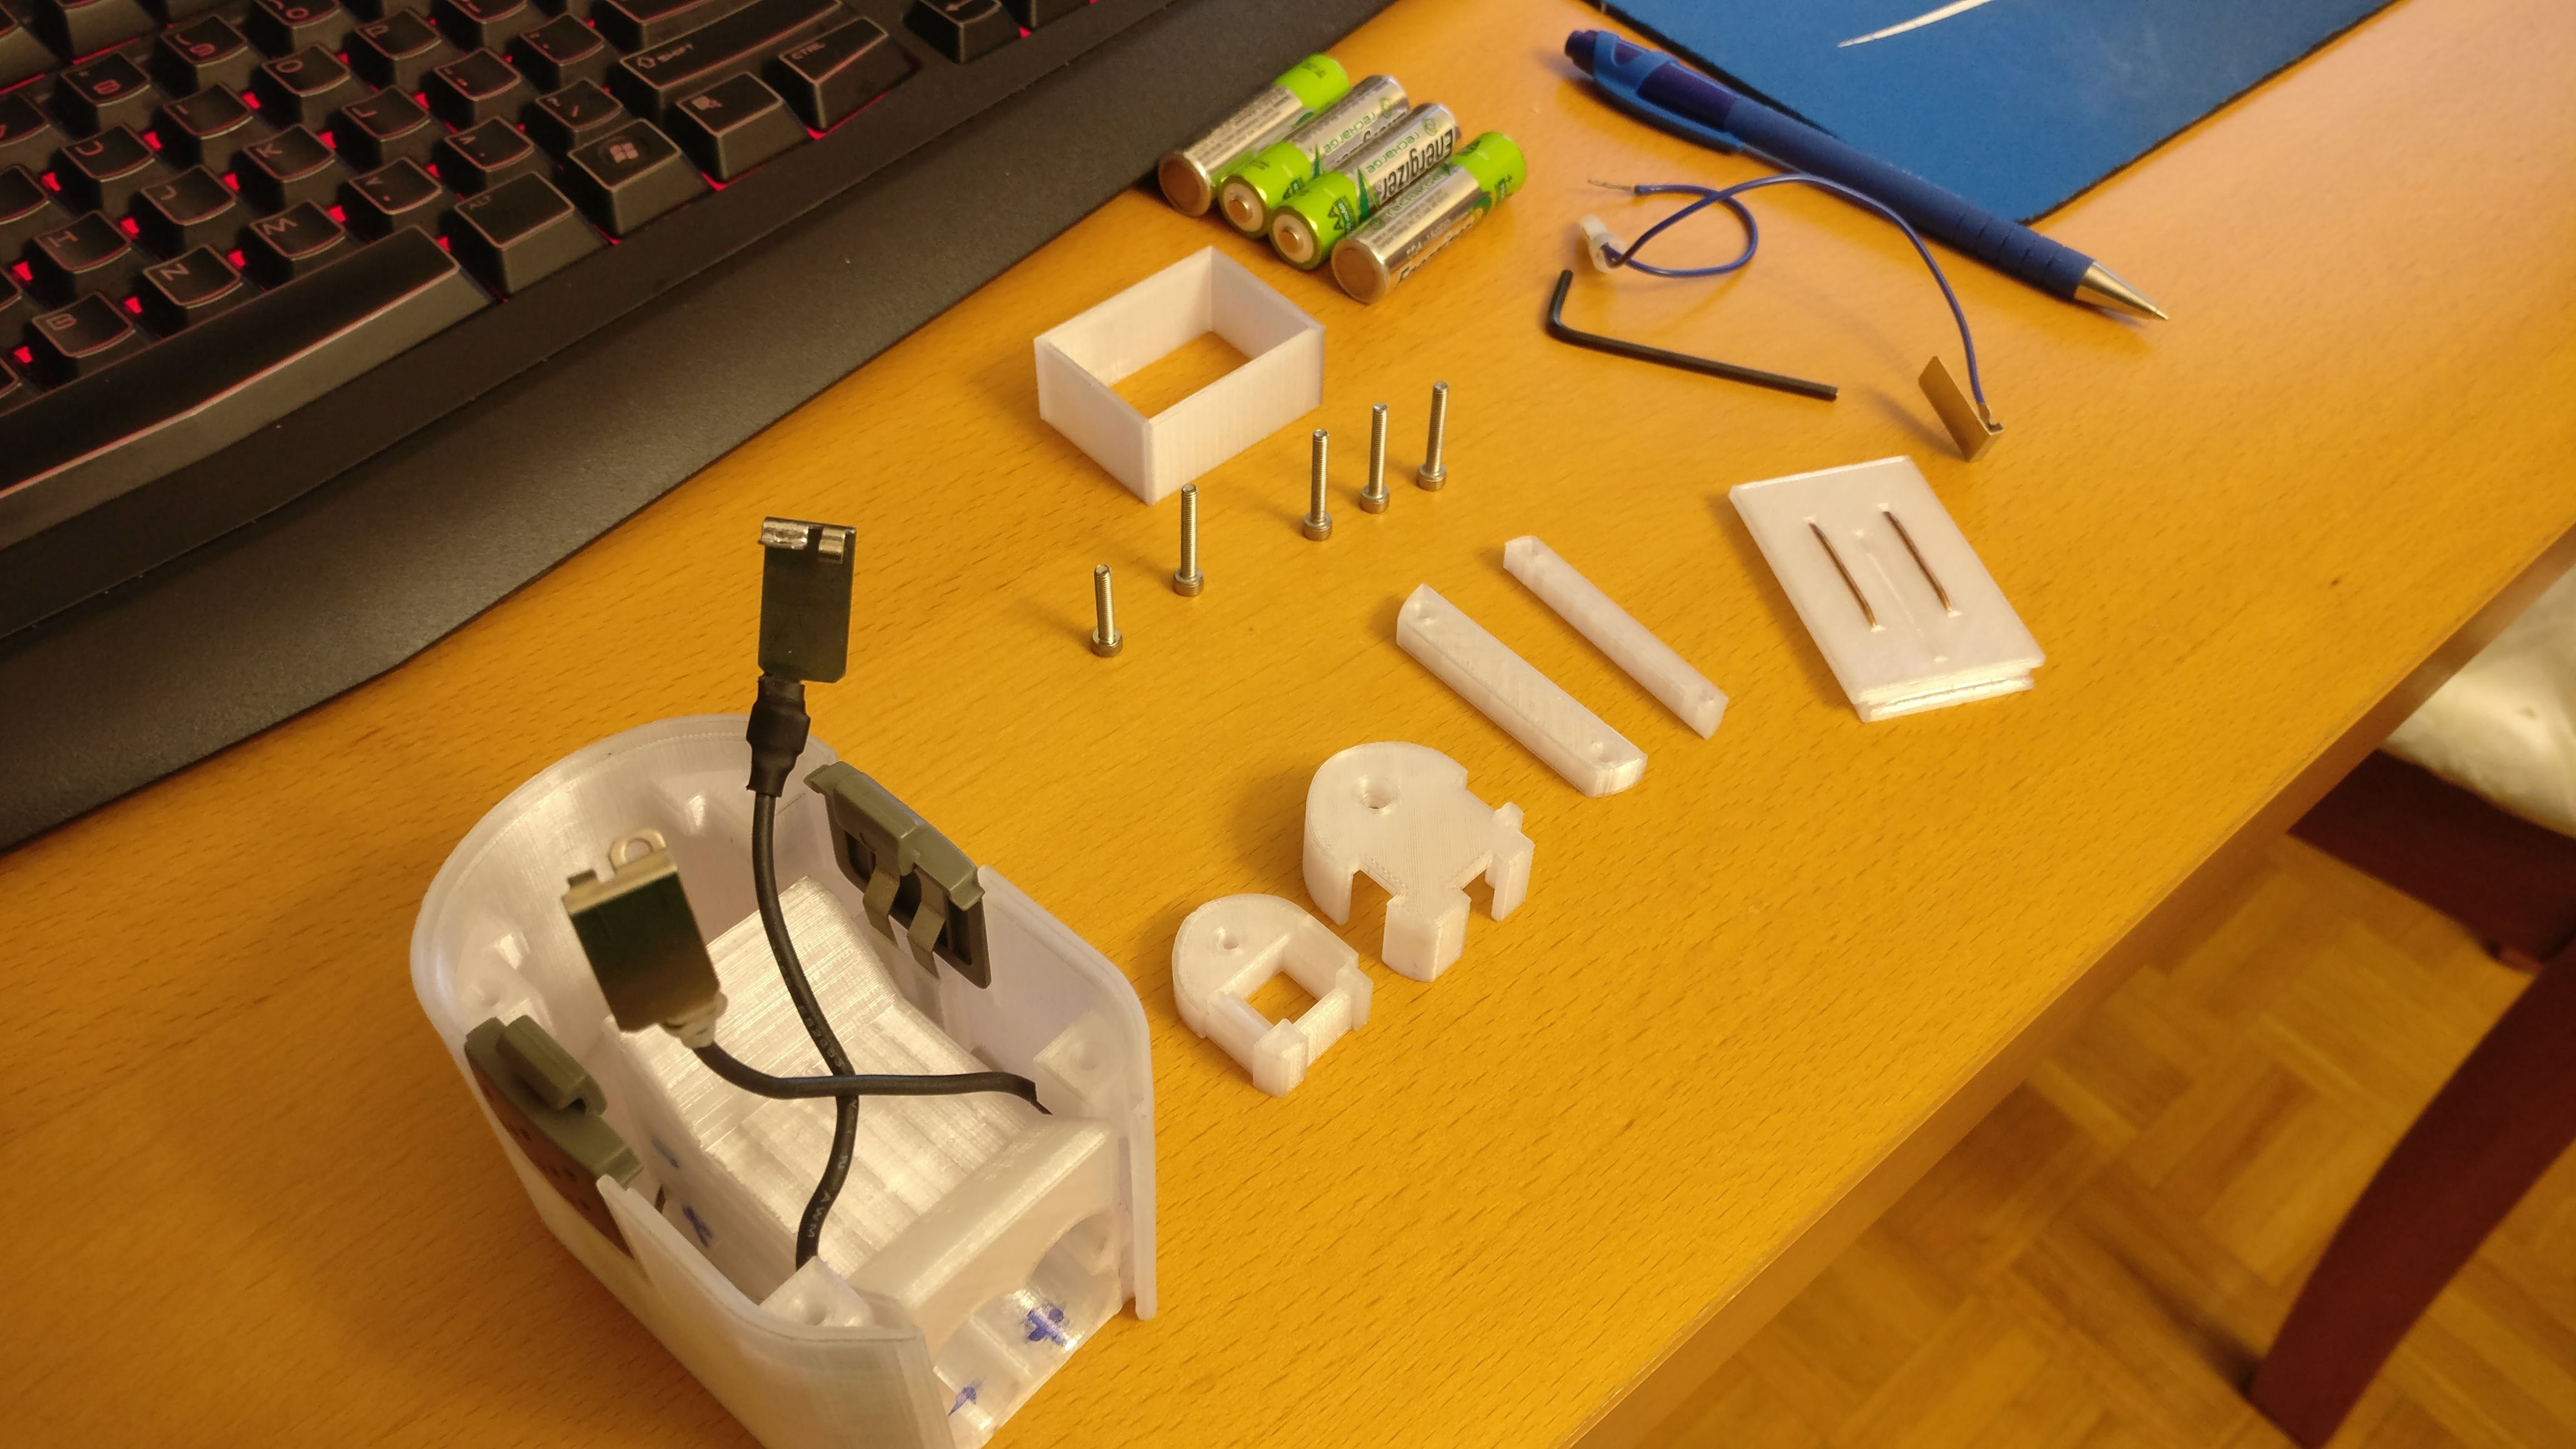
Supports are needed for batterystalk.stl and celllid.stl only. Remember to orient all the other parts in a reasonable manner as they are not necessarily oriented correctly in the STL files (sorry!)
Post processing: remove supports and the small breakaway support cylinder from cap.stl using small flat screwdriver.
-
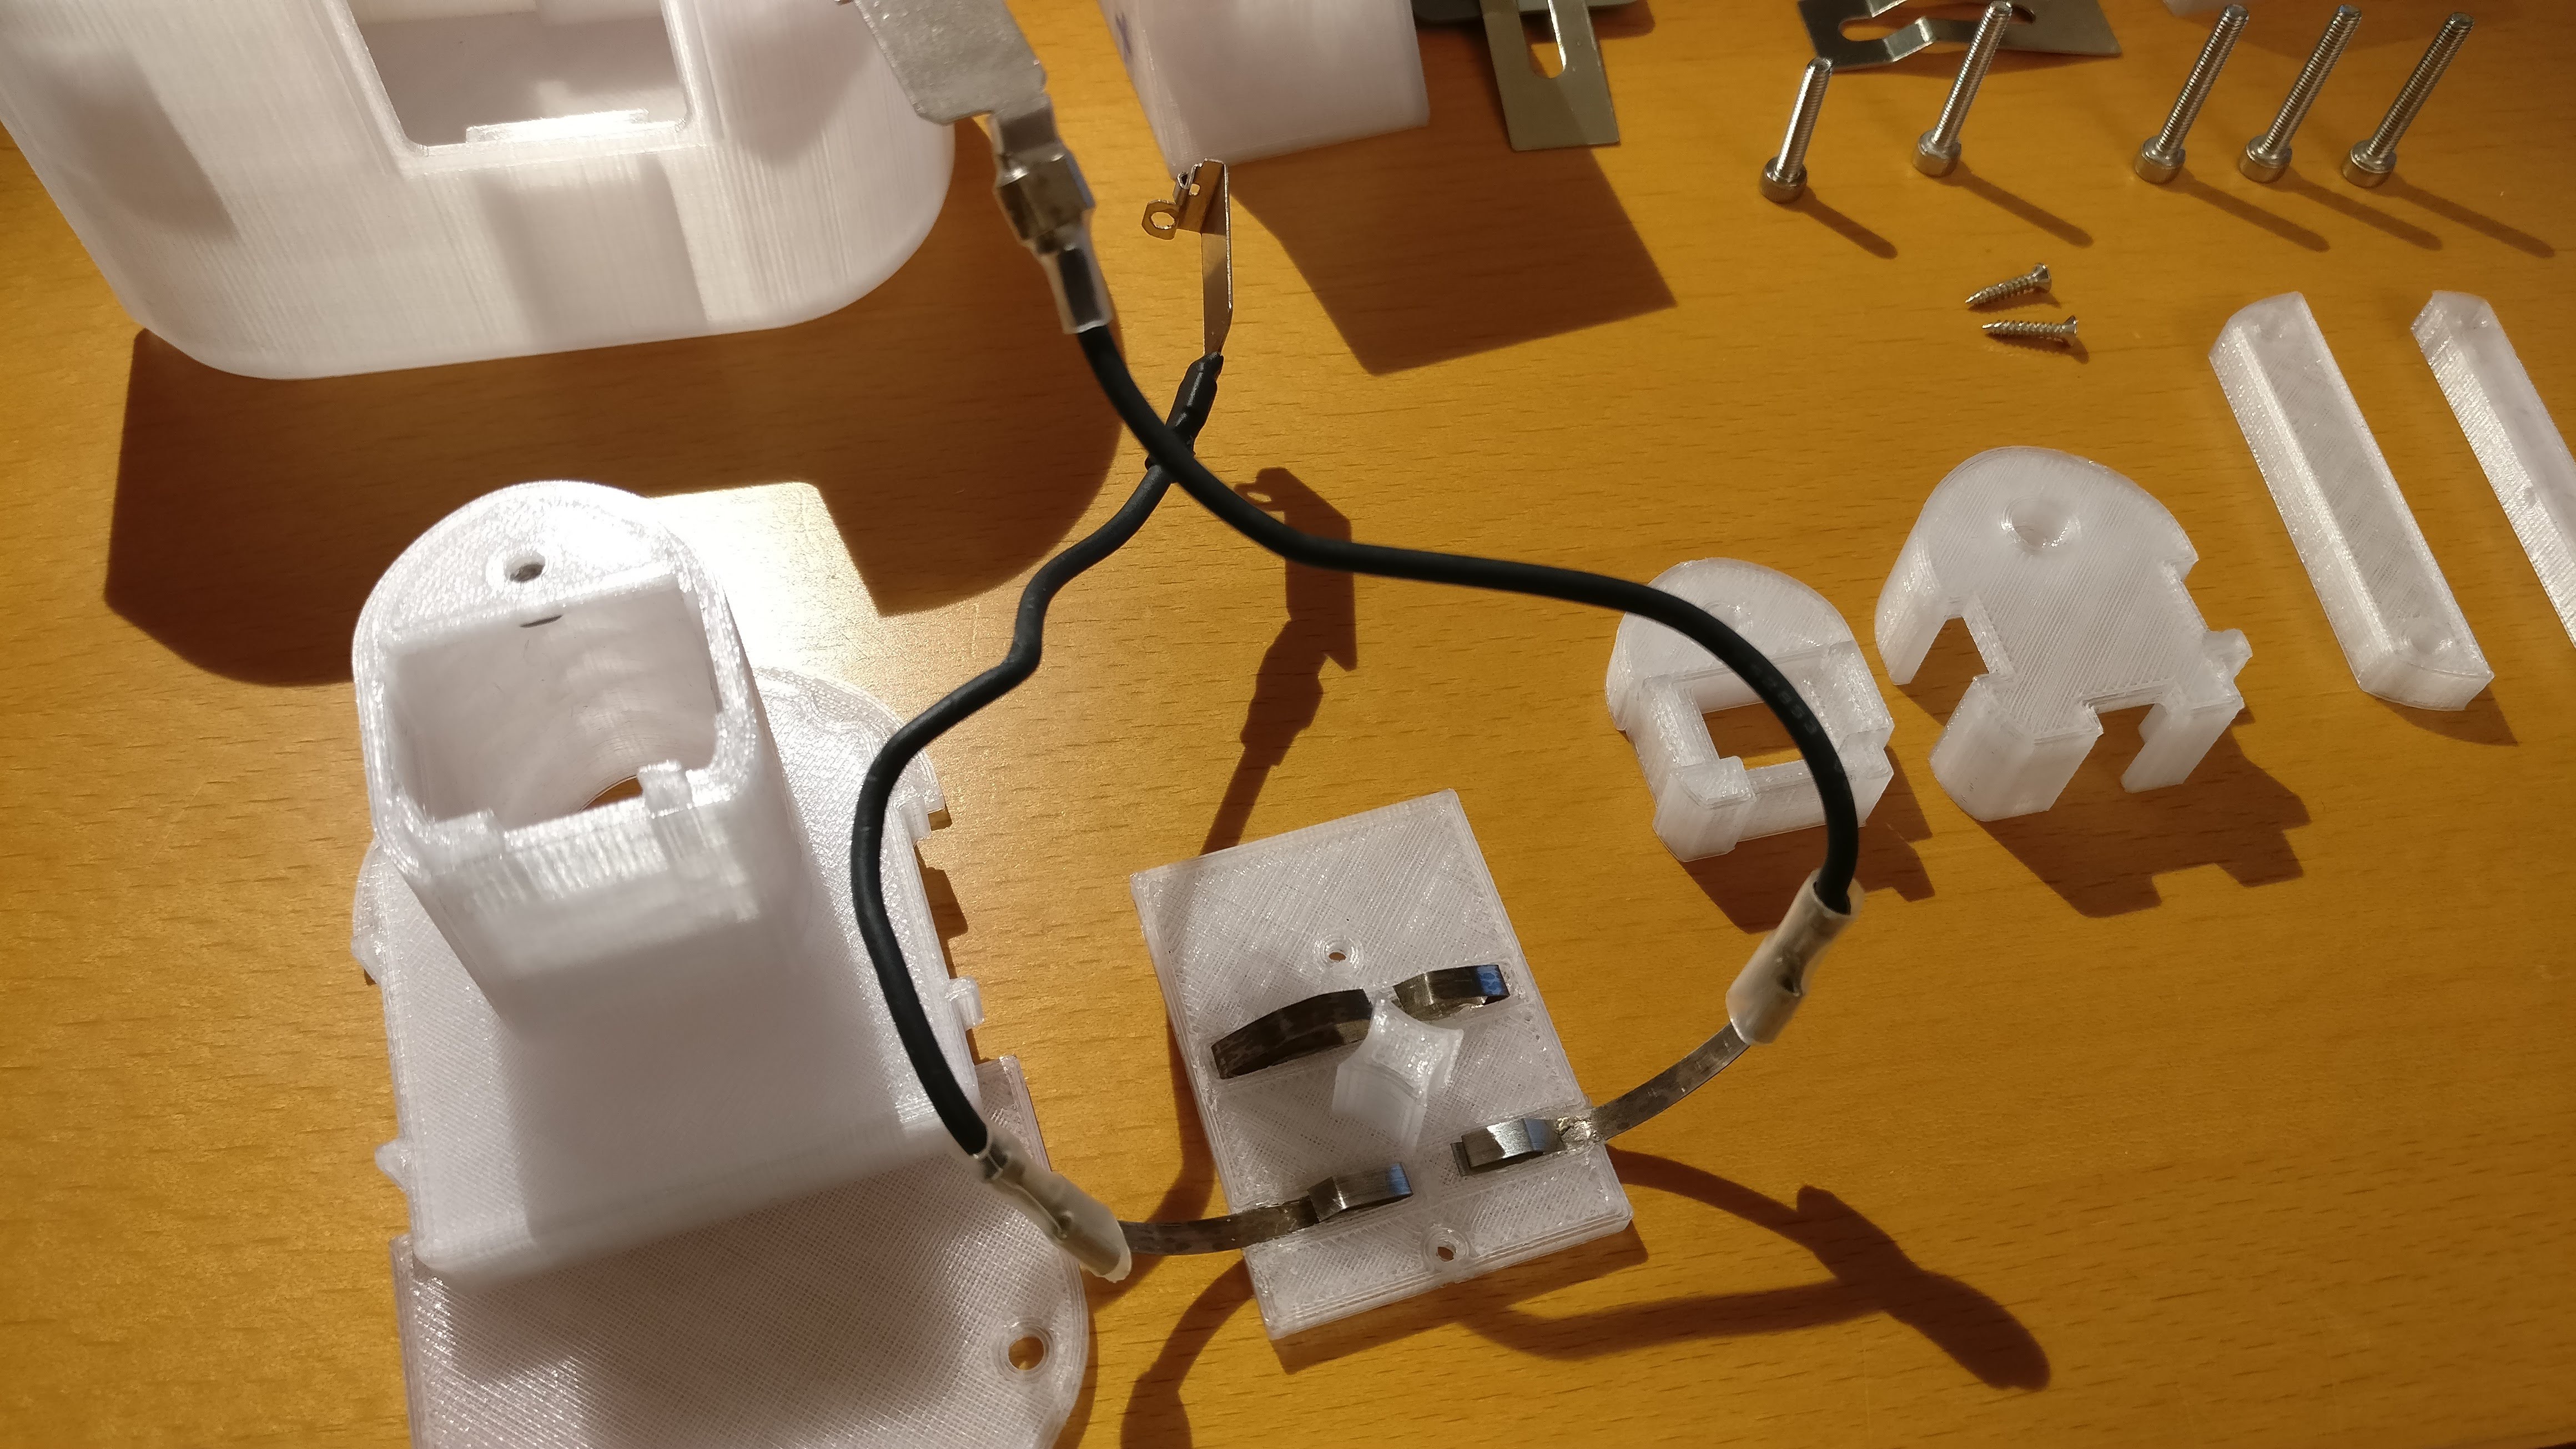
2Prepare the wiring and glue the spring strip AA contacts onto Body35.stl (the internal AA cell lid)
![]()
Orientation doesn't matter at this point but if you can make it look like what i have in the photo, that will work well. Note that the top sprint strip is one connected strip even though it doesn't look like it in the photo (it will connect two AAs together). If you are using an alternative connection method, the spring's flex distance should be about 3mm. I know the connector pictured is not ideal, but what can I say, it's a hack, not NASA-approved. FYI the sprint strip came from a retracting cord lanyard. Hot melt glue gun was used here.
-
3Disassemble the old battery pack
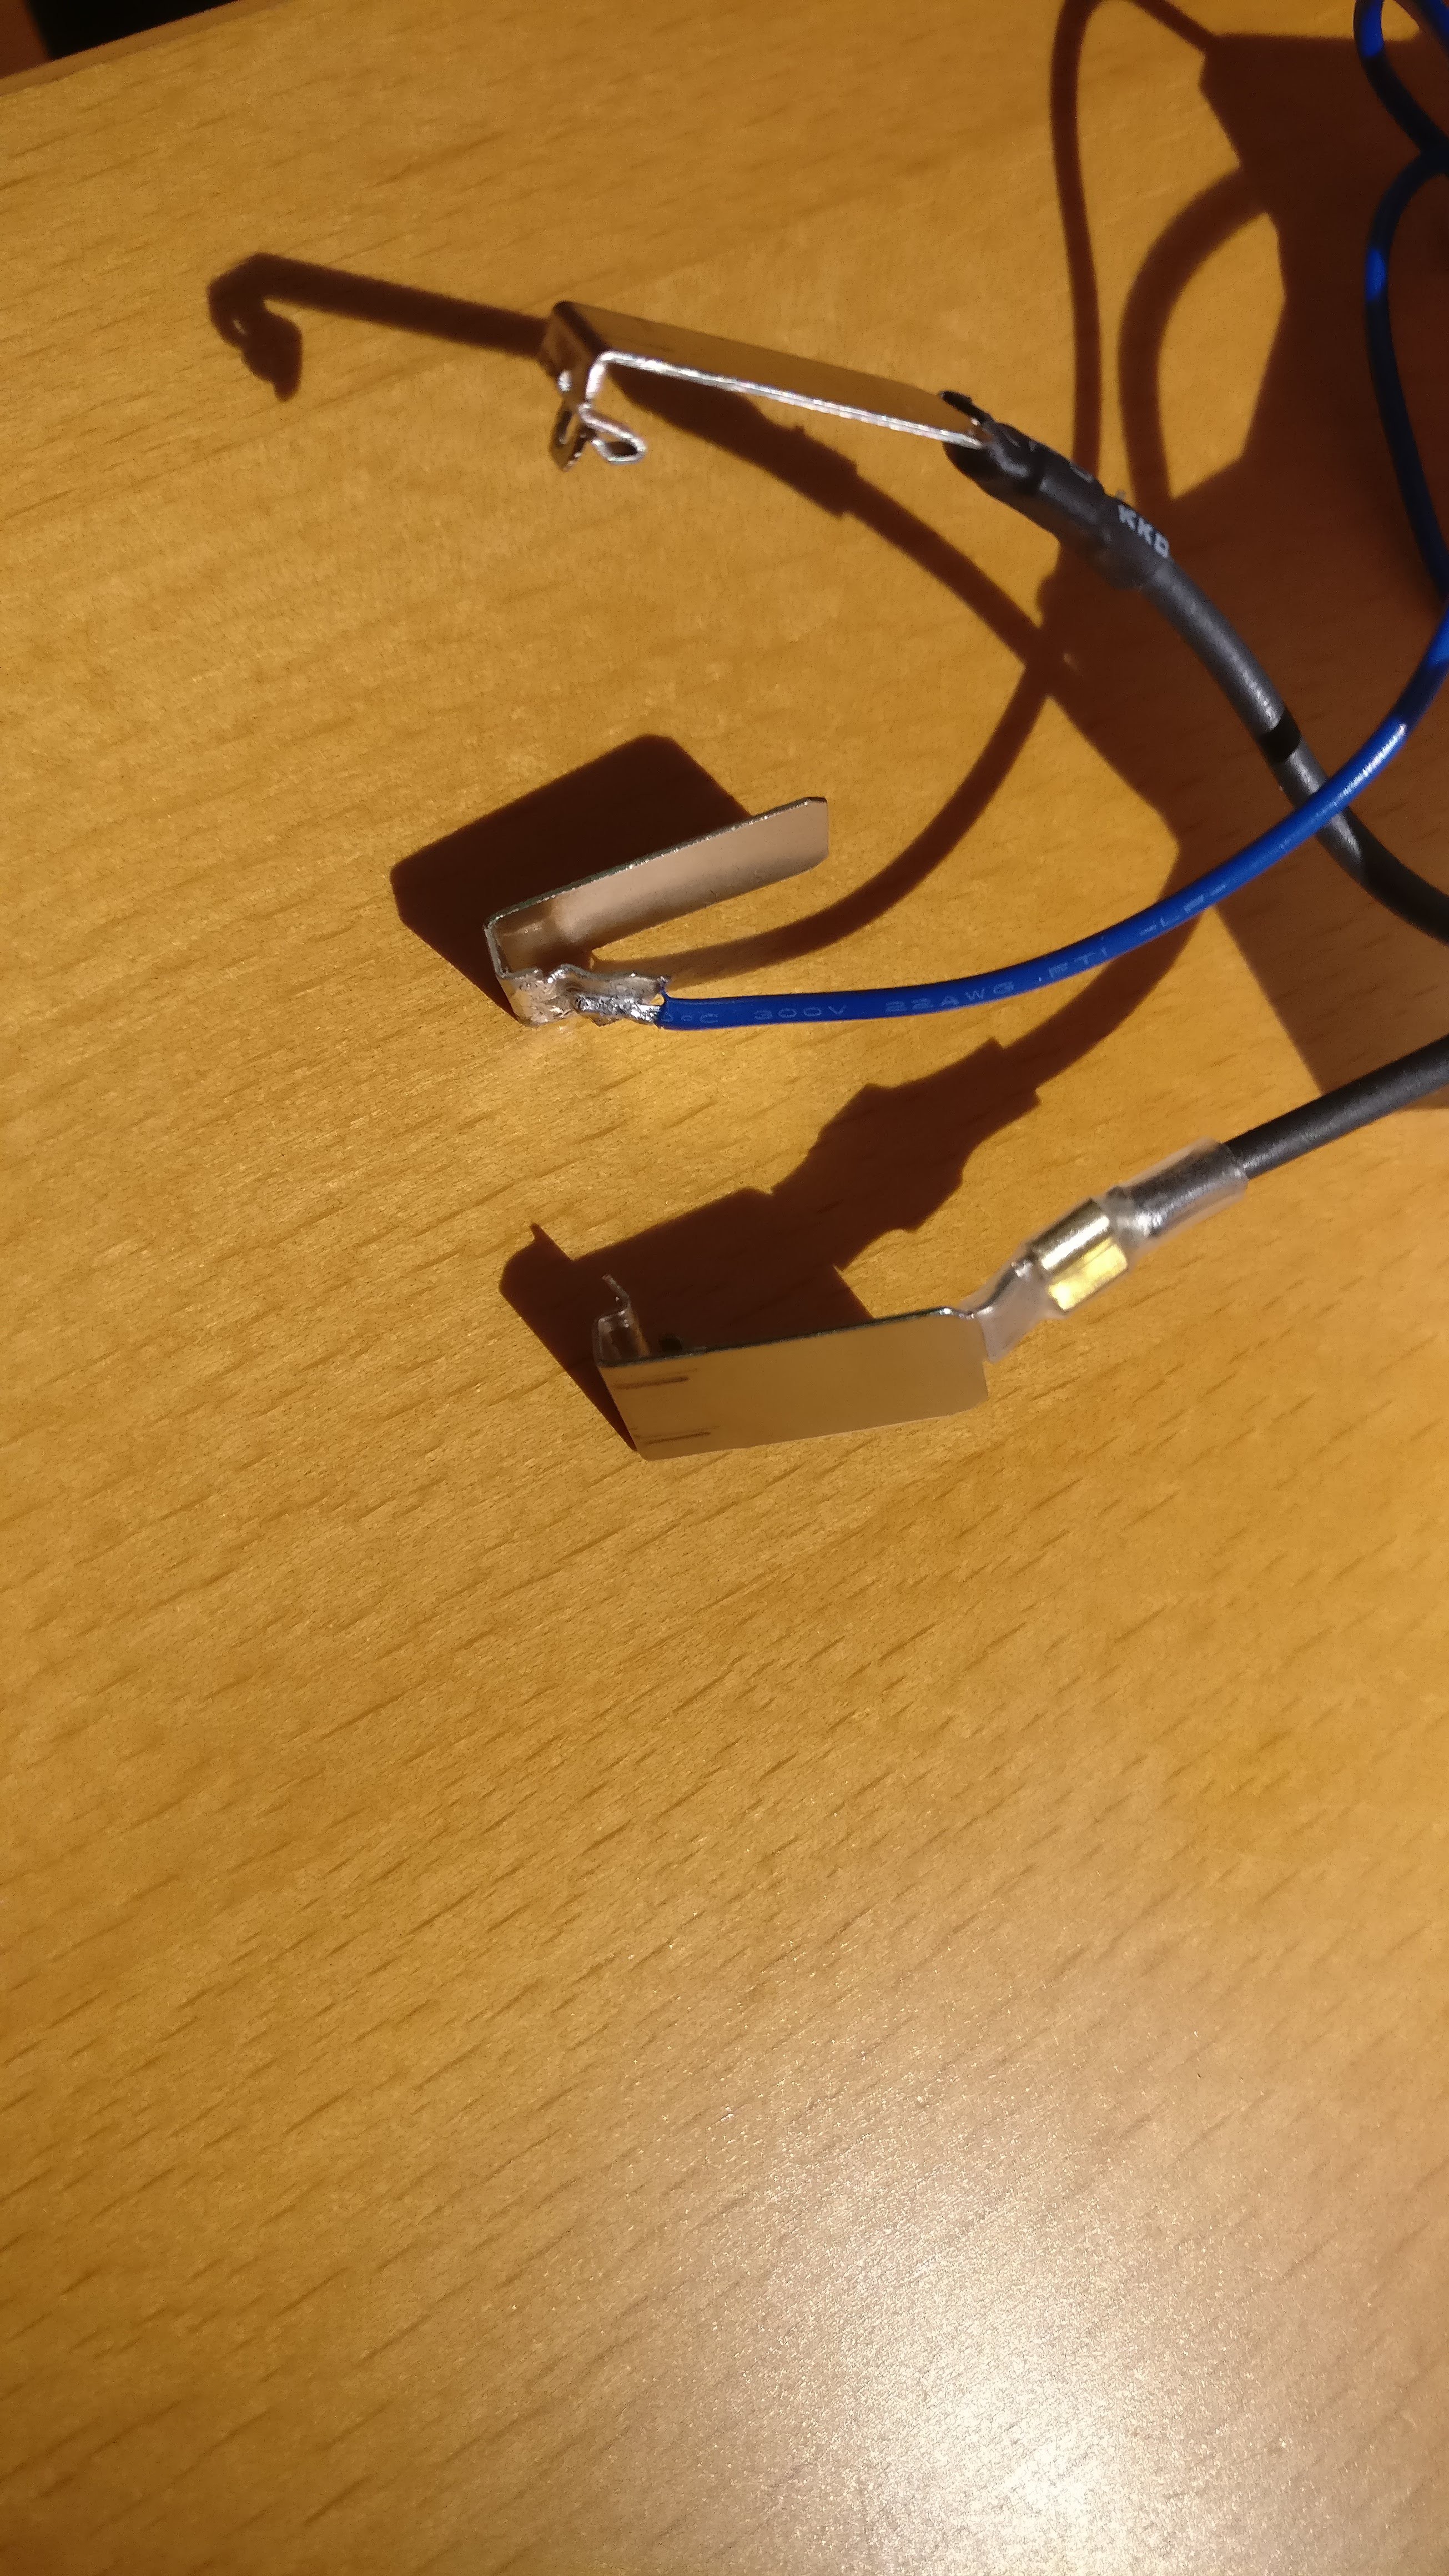
Desolder the contacts from the stalk of the old battery pack, but leave some wiring attached so we can reuse them. The salvaged contacts should look like in the picture below (the thick black wires are original, the blue wire is my addition).
Recycle the old NiCd cells.
![]()
-
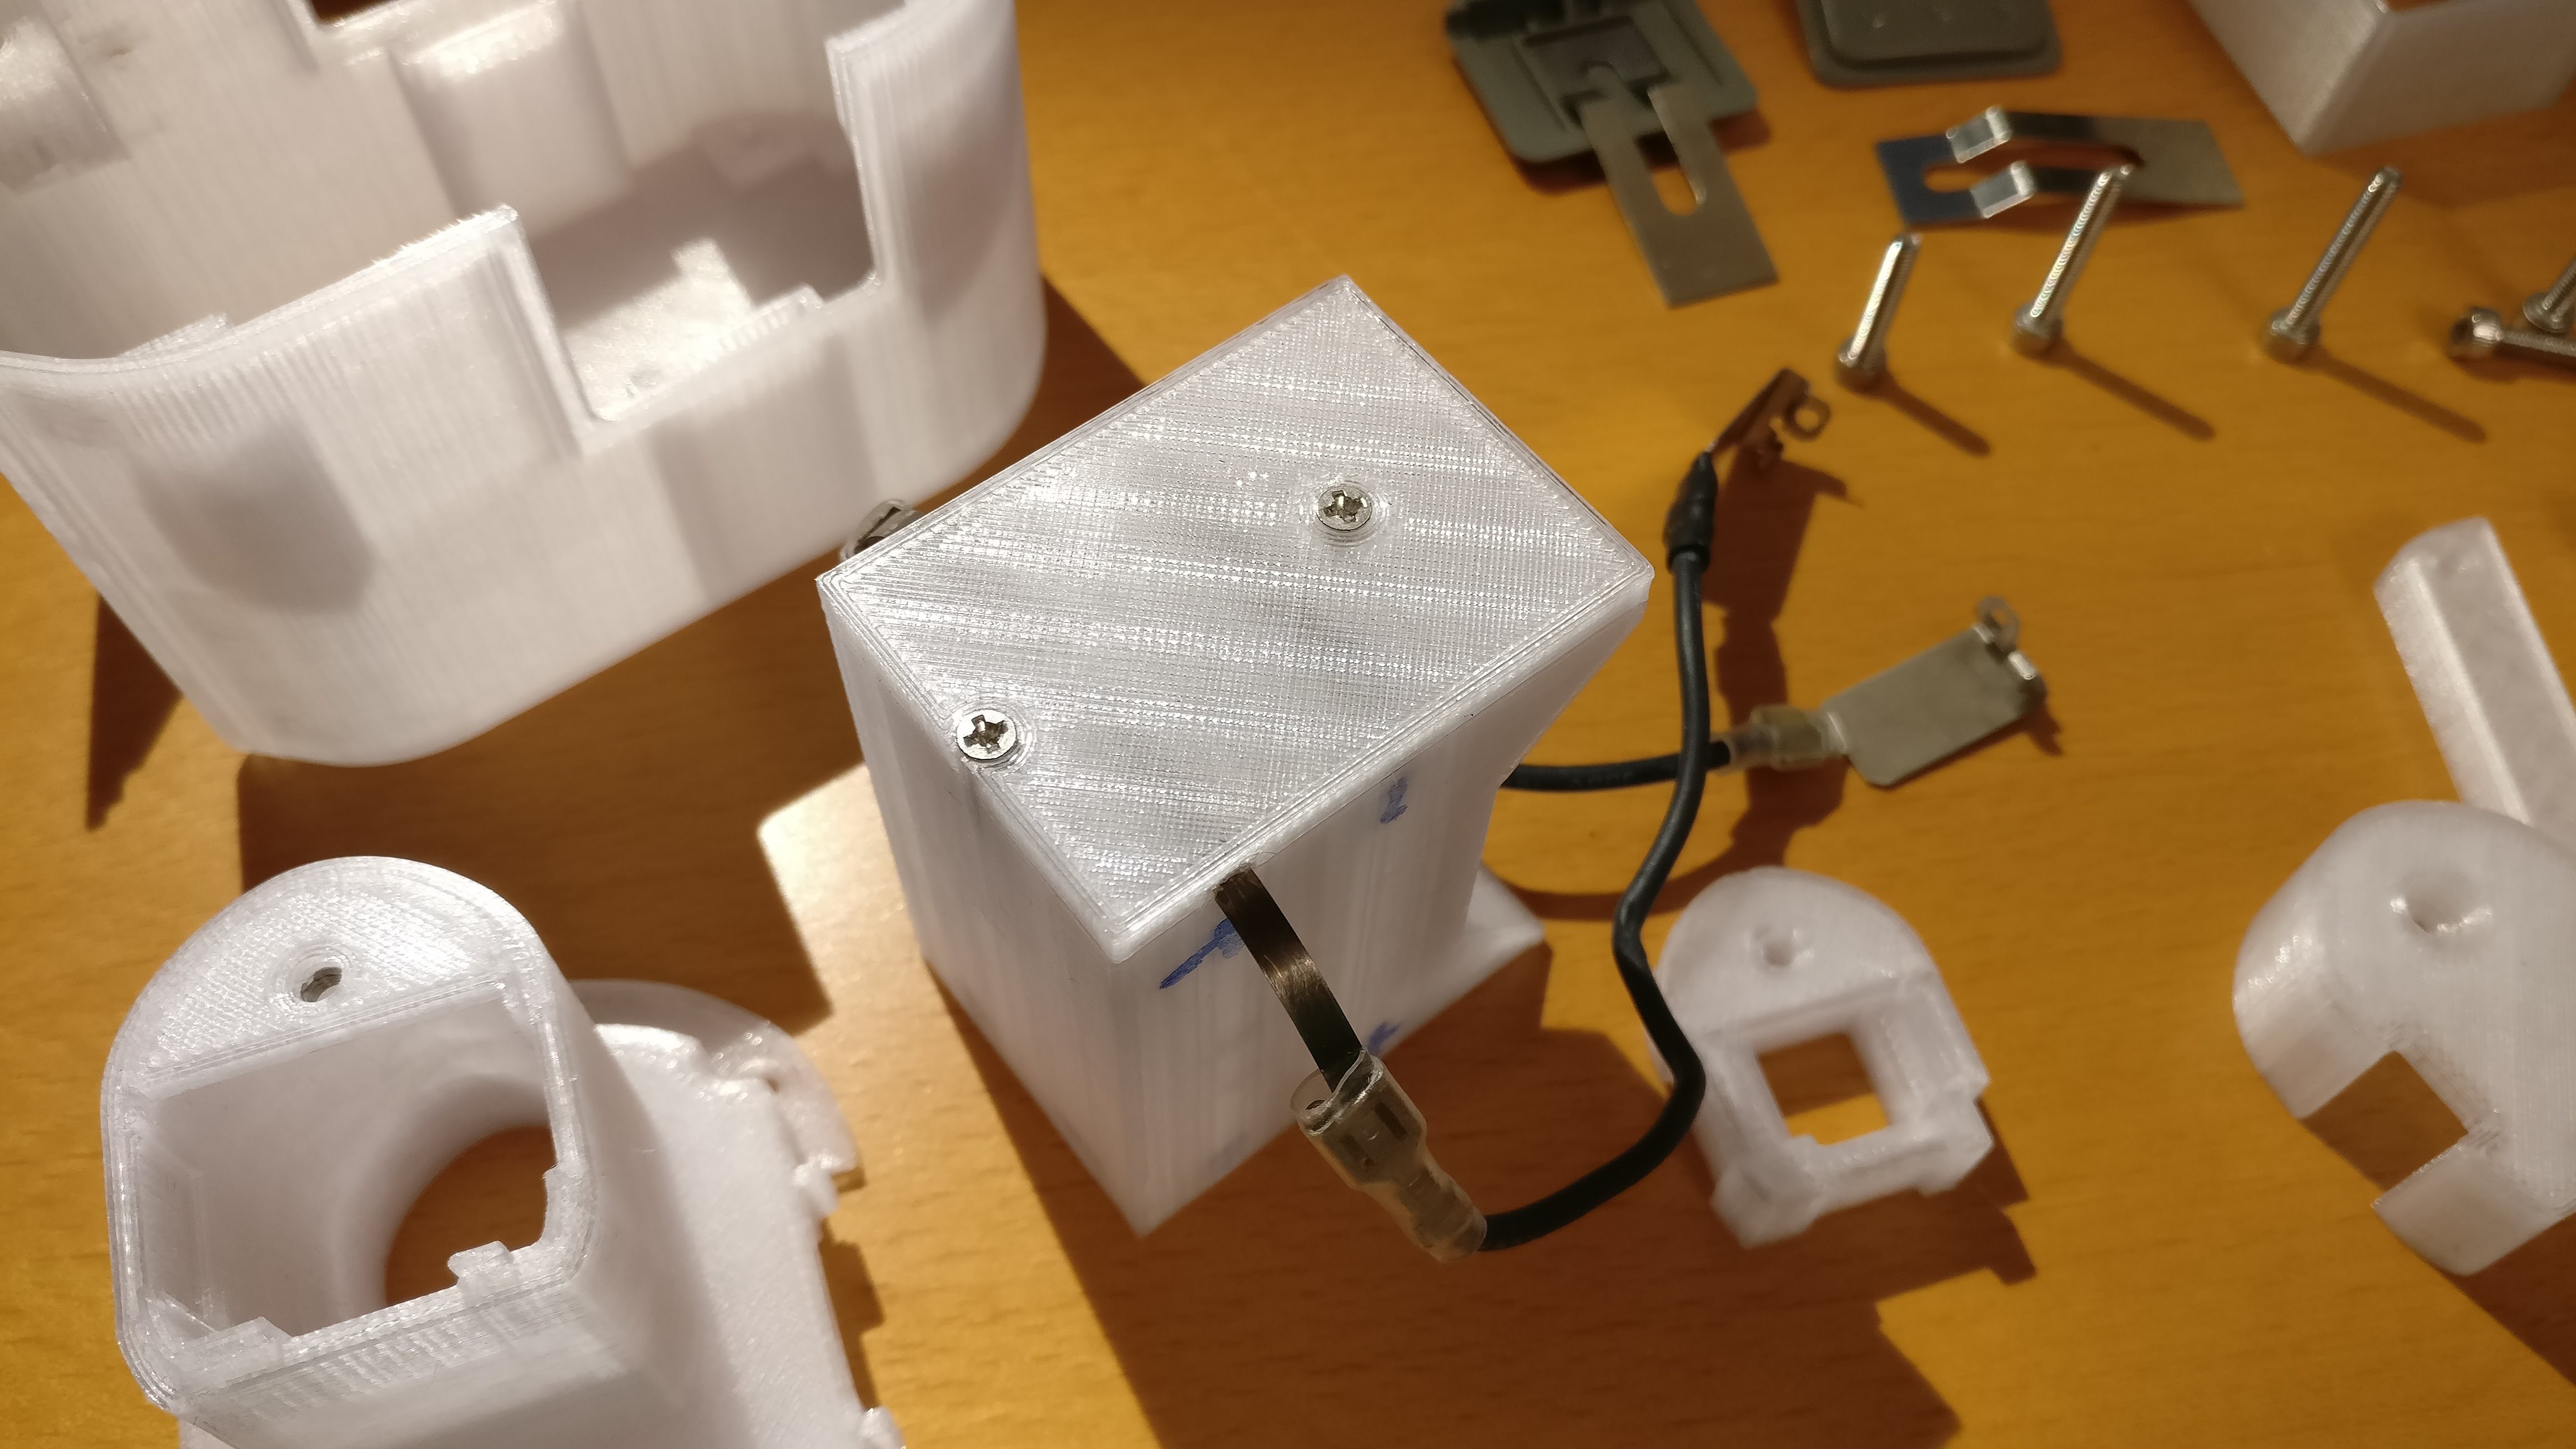
4Screw Body35.stl (the internal AA cell lid) into Body34.stl (the AA cell block) using the M2 Screws
![]()
This forms the AA cell block.
-
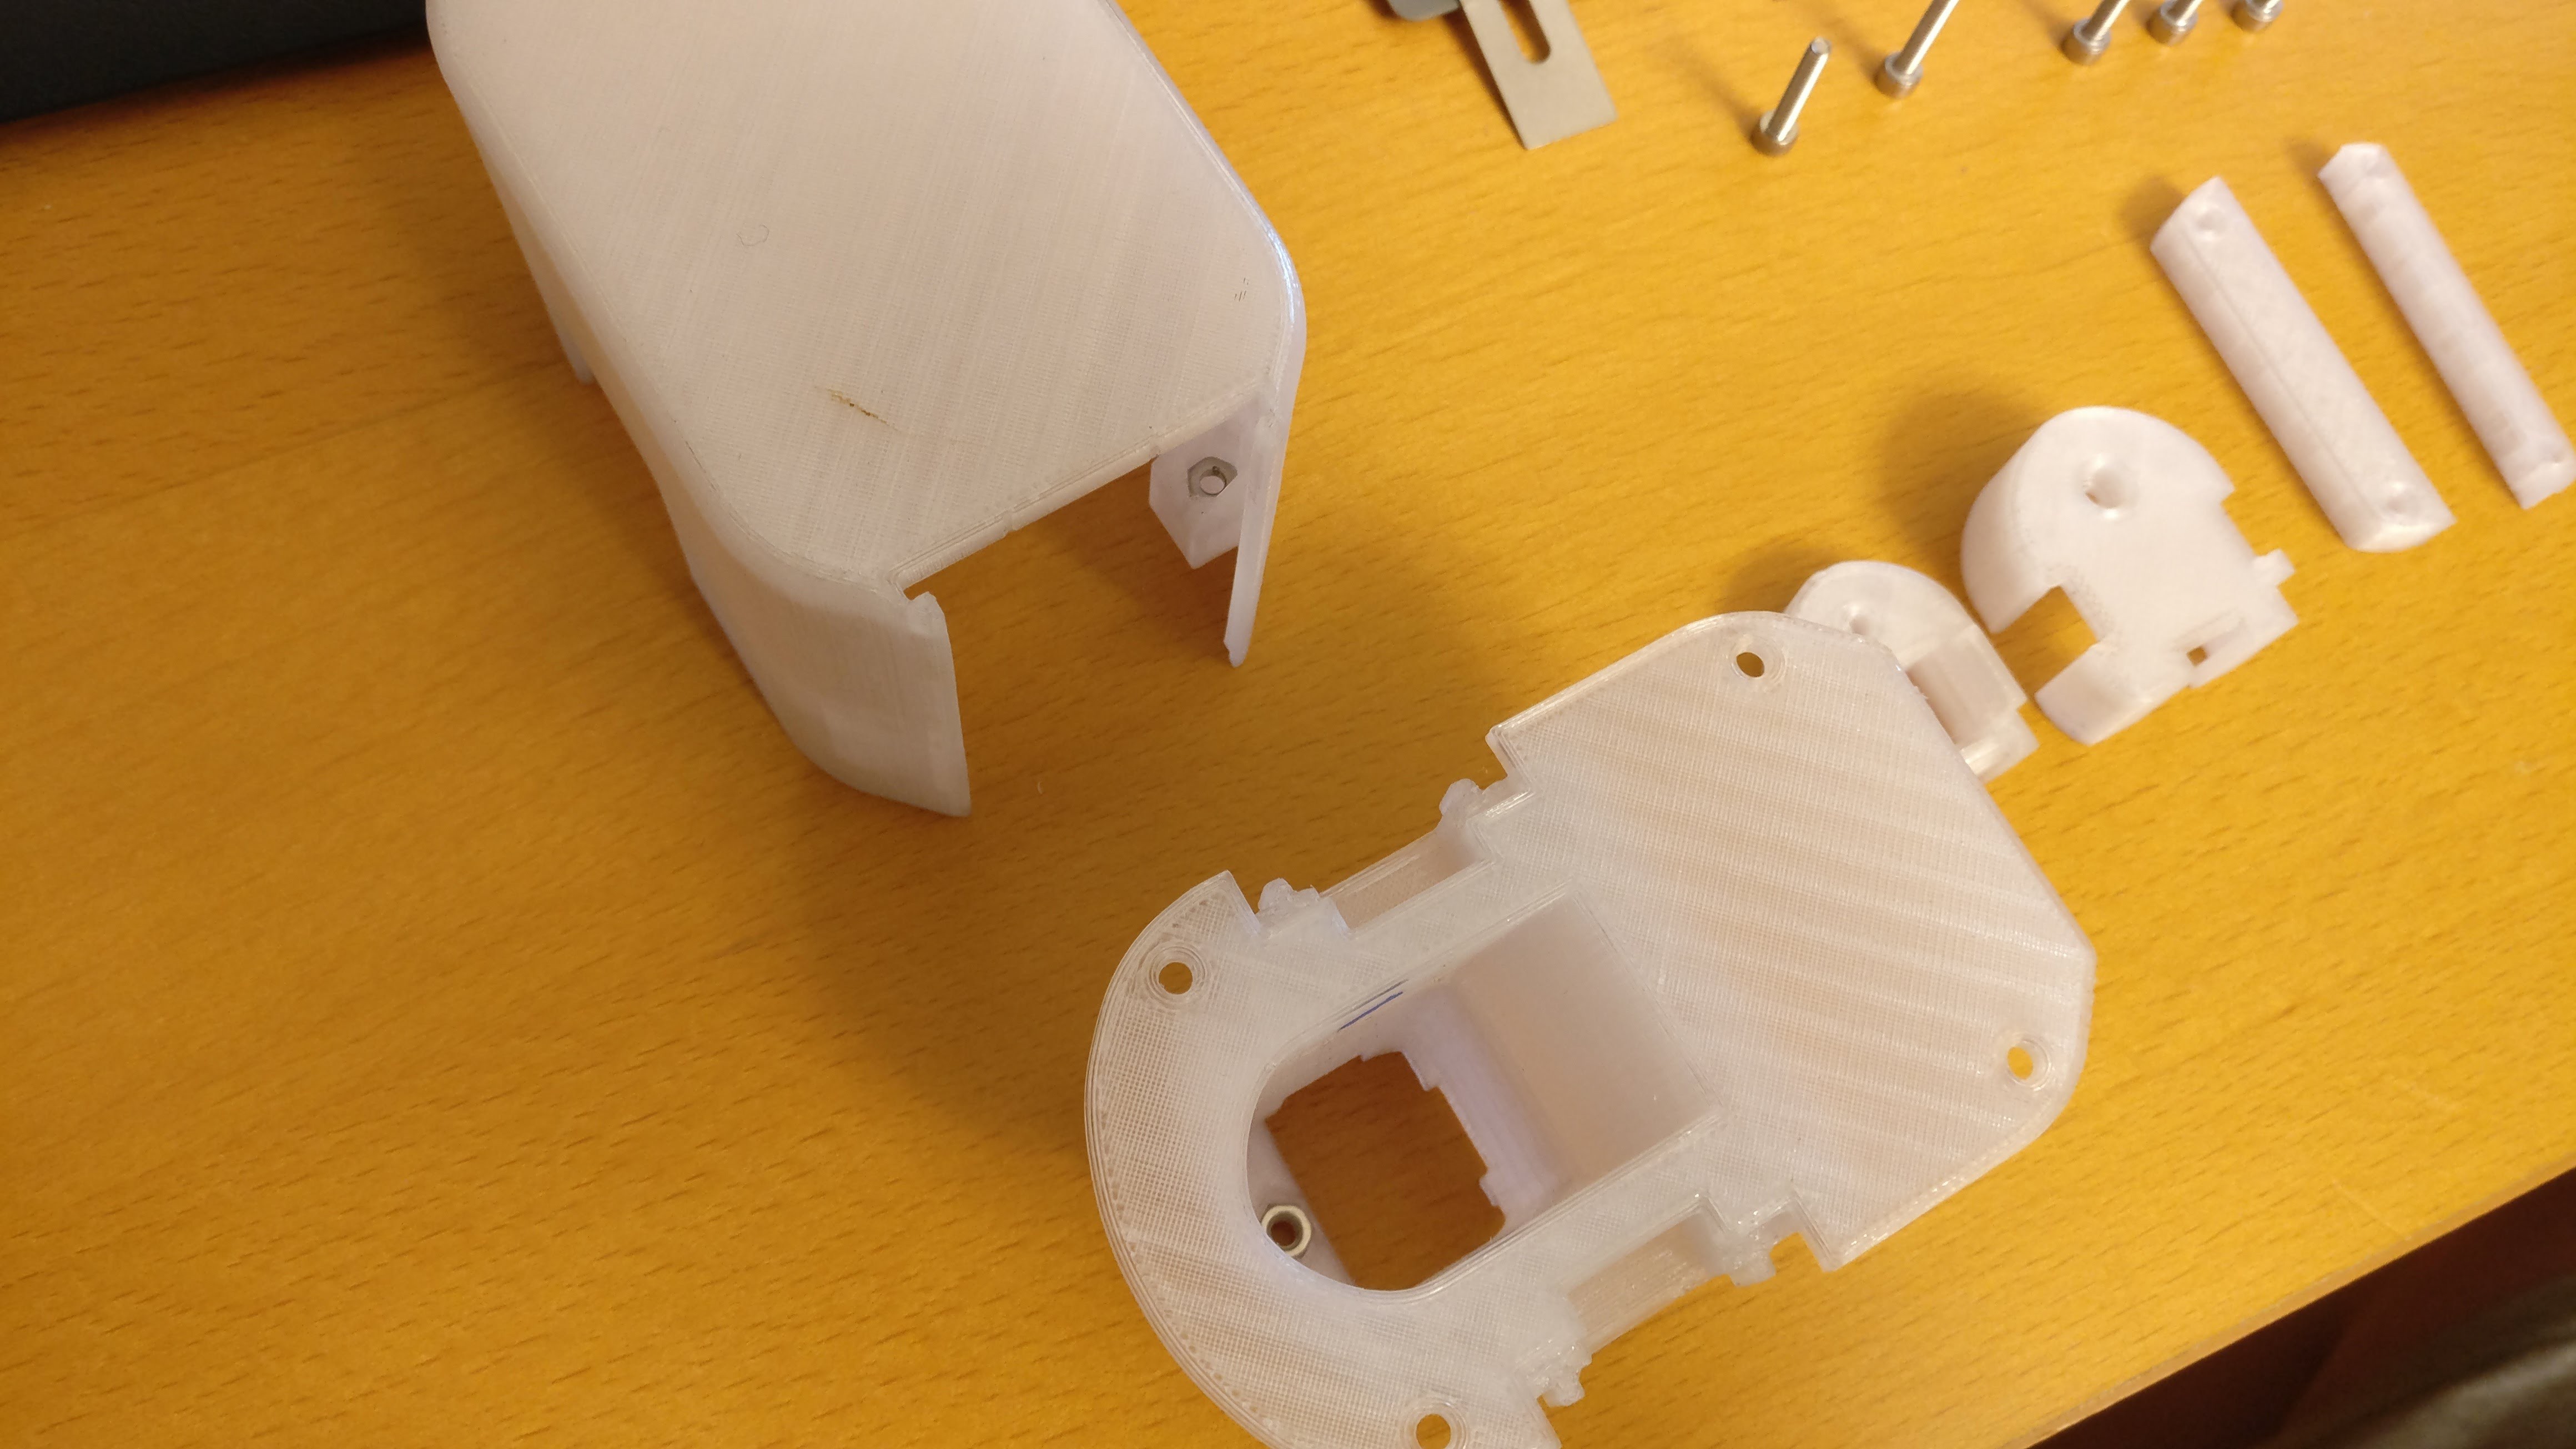
5Install the 5 M3 nuts: 4 nuts go into battbody.stl, 1 goes into batterystalk.stl
![]()
Try to press the nuts so they bottom out and fit snugly and are held in place by friction. You can use a long M3 bolt to thread it through the hole and pull it tight from the other side.
-
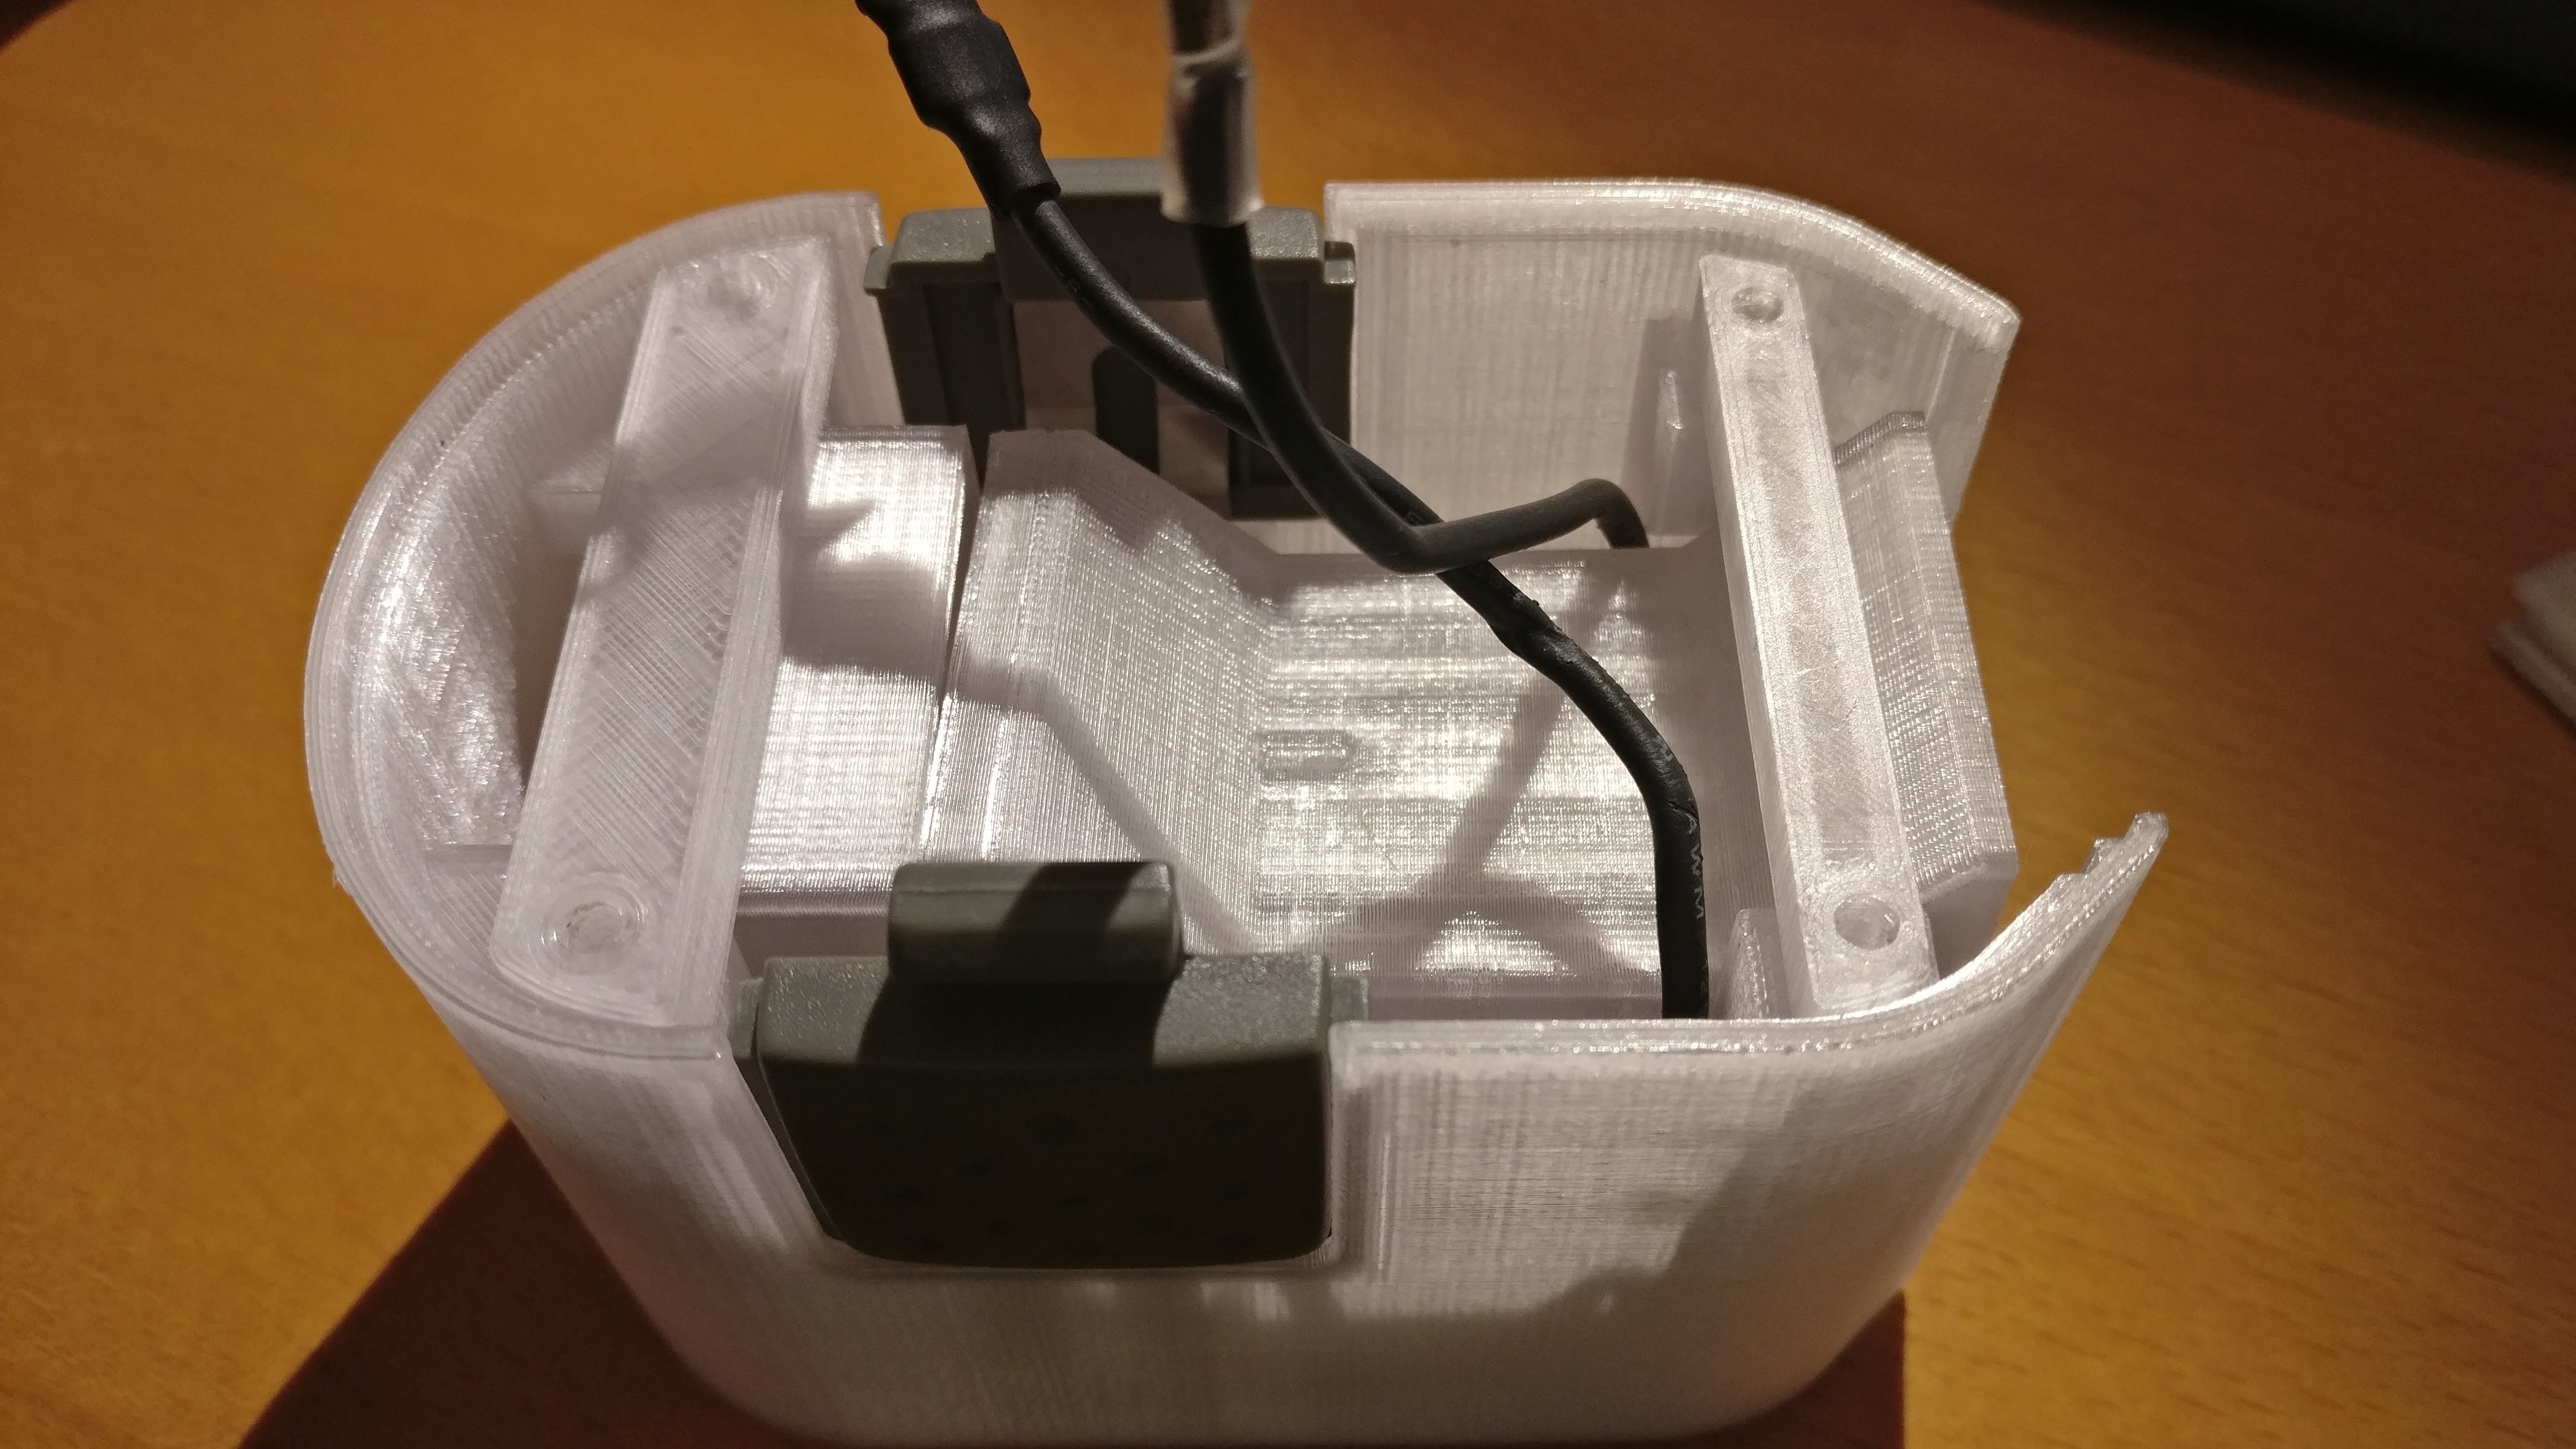
6Place the wired AA cell block into the battbody.stl, and install the salvaged battery latch and springs.
![]()
-
7Install the spacer blocks: Body36.stl, rearbar.stl, frontbar.stl, and attach batterystalk.stl to battbody.stl
This is how the final assembly should look without the batterystalk.stl, to demonstrate where parts go:
![]()
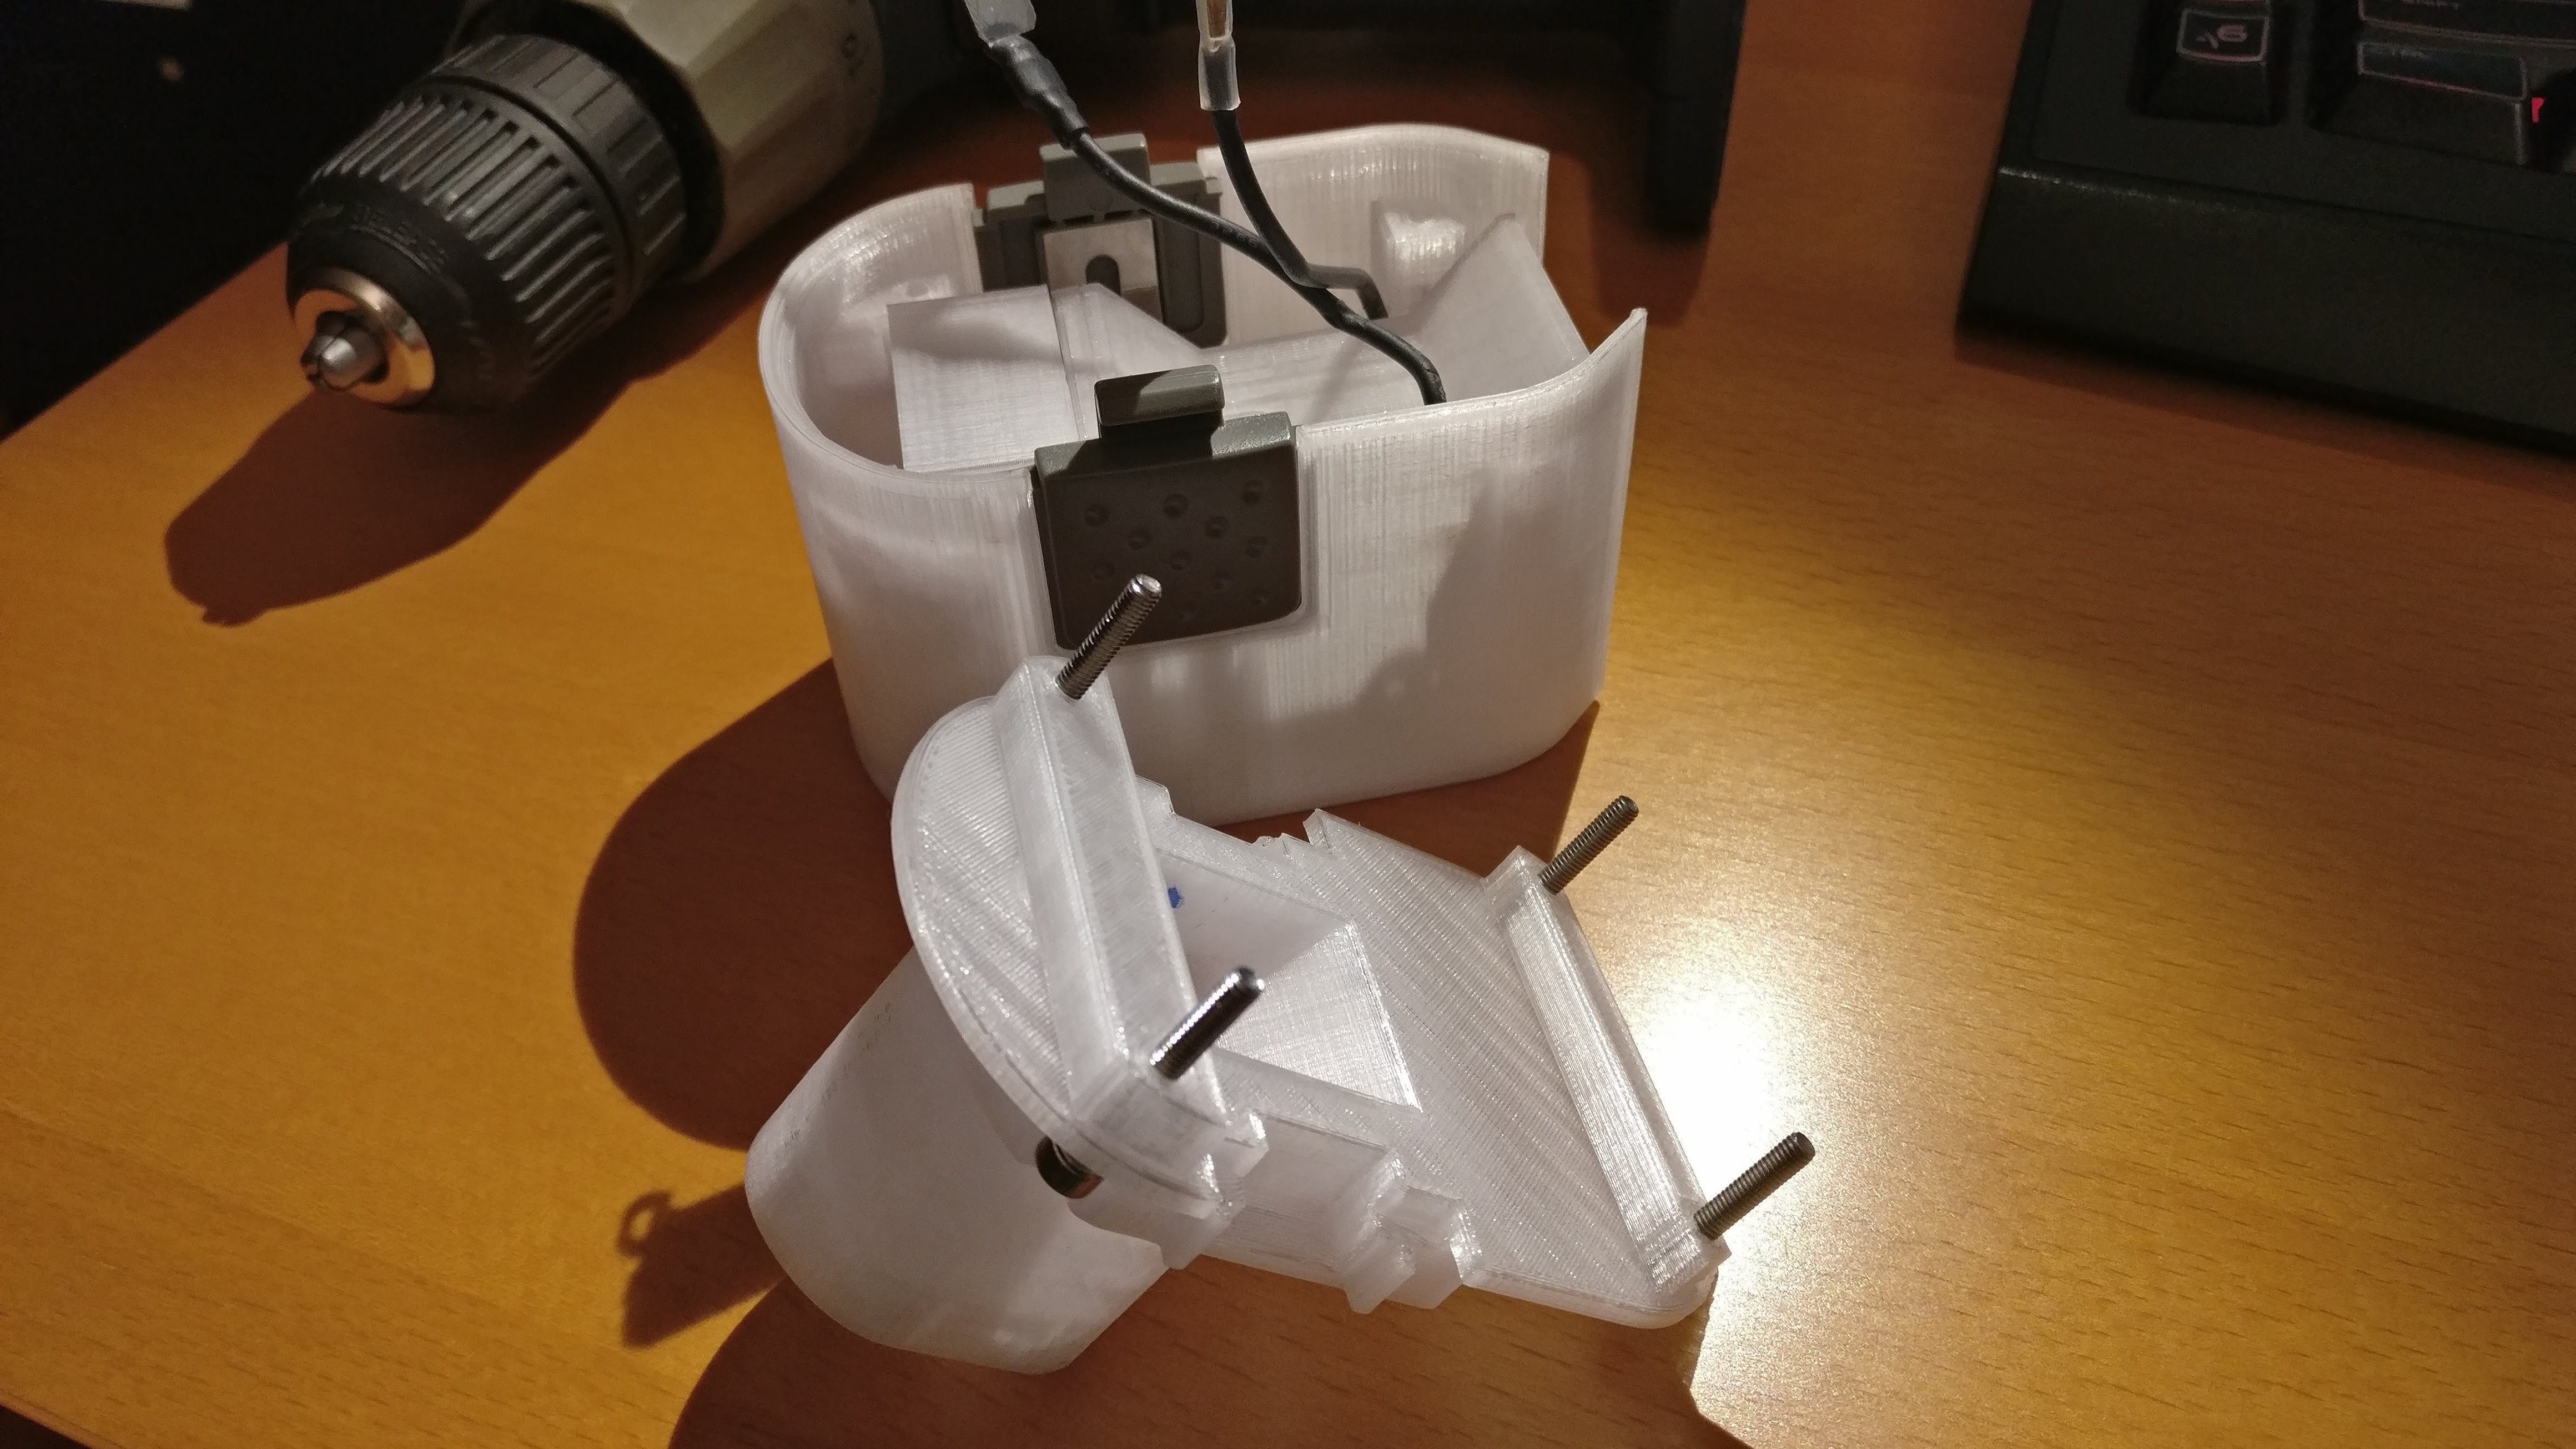
This is how you should actually assemble it:
![]()
-
8Pull the wires through batterystalk.stl and bolt it into battbody.stl
Be careful not to push on the bolts or they will dislodge the nuts. Thread carefully! Do each bolt a little at a time and do it upside-down so gravity helps to hold the nuts in place. Result should look like this:
![]()
-
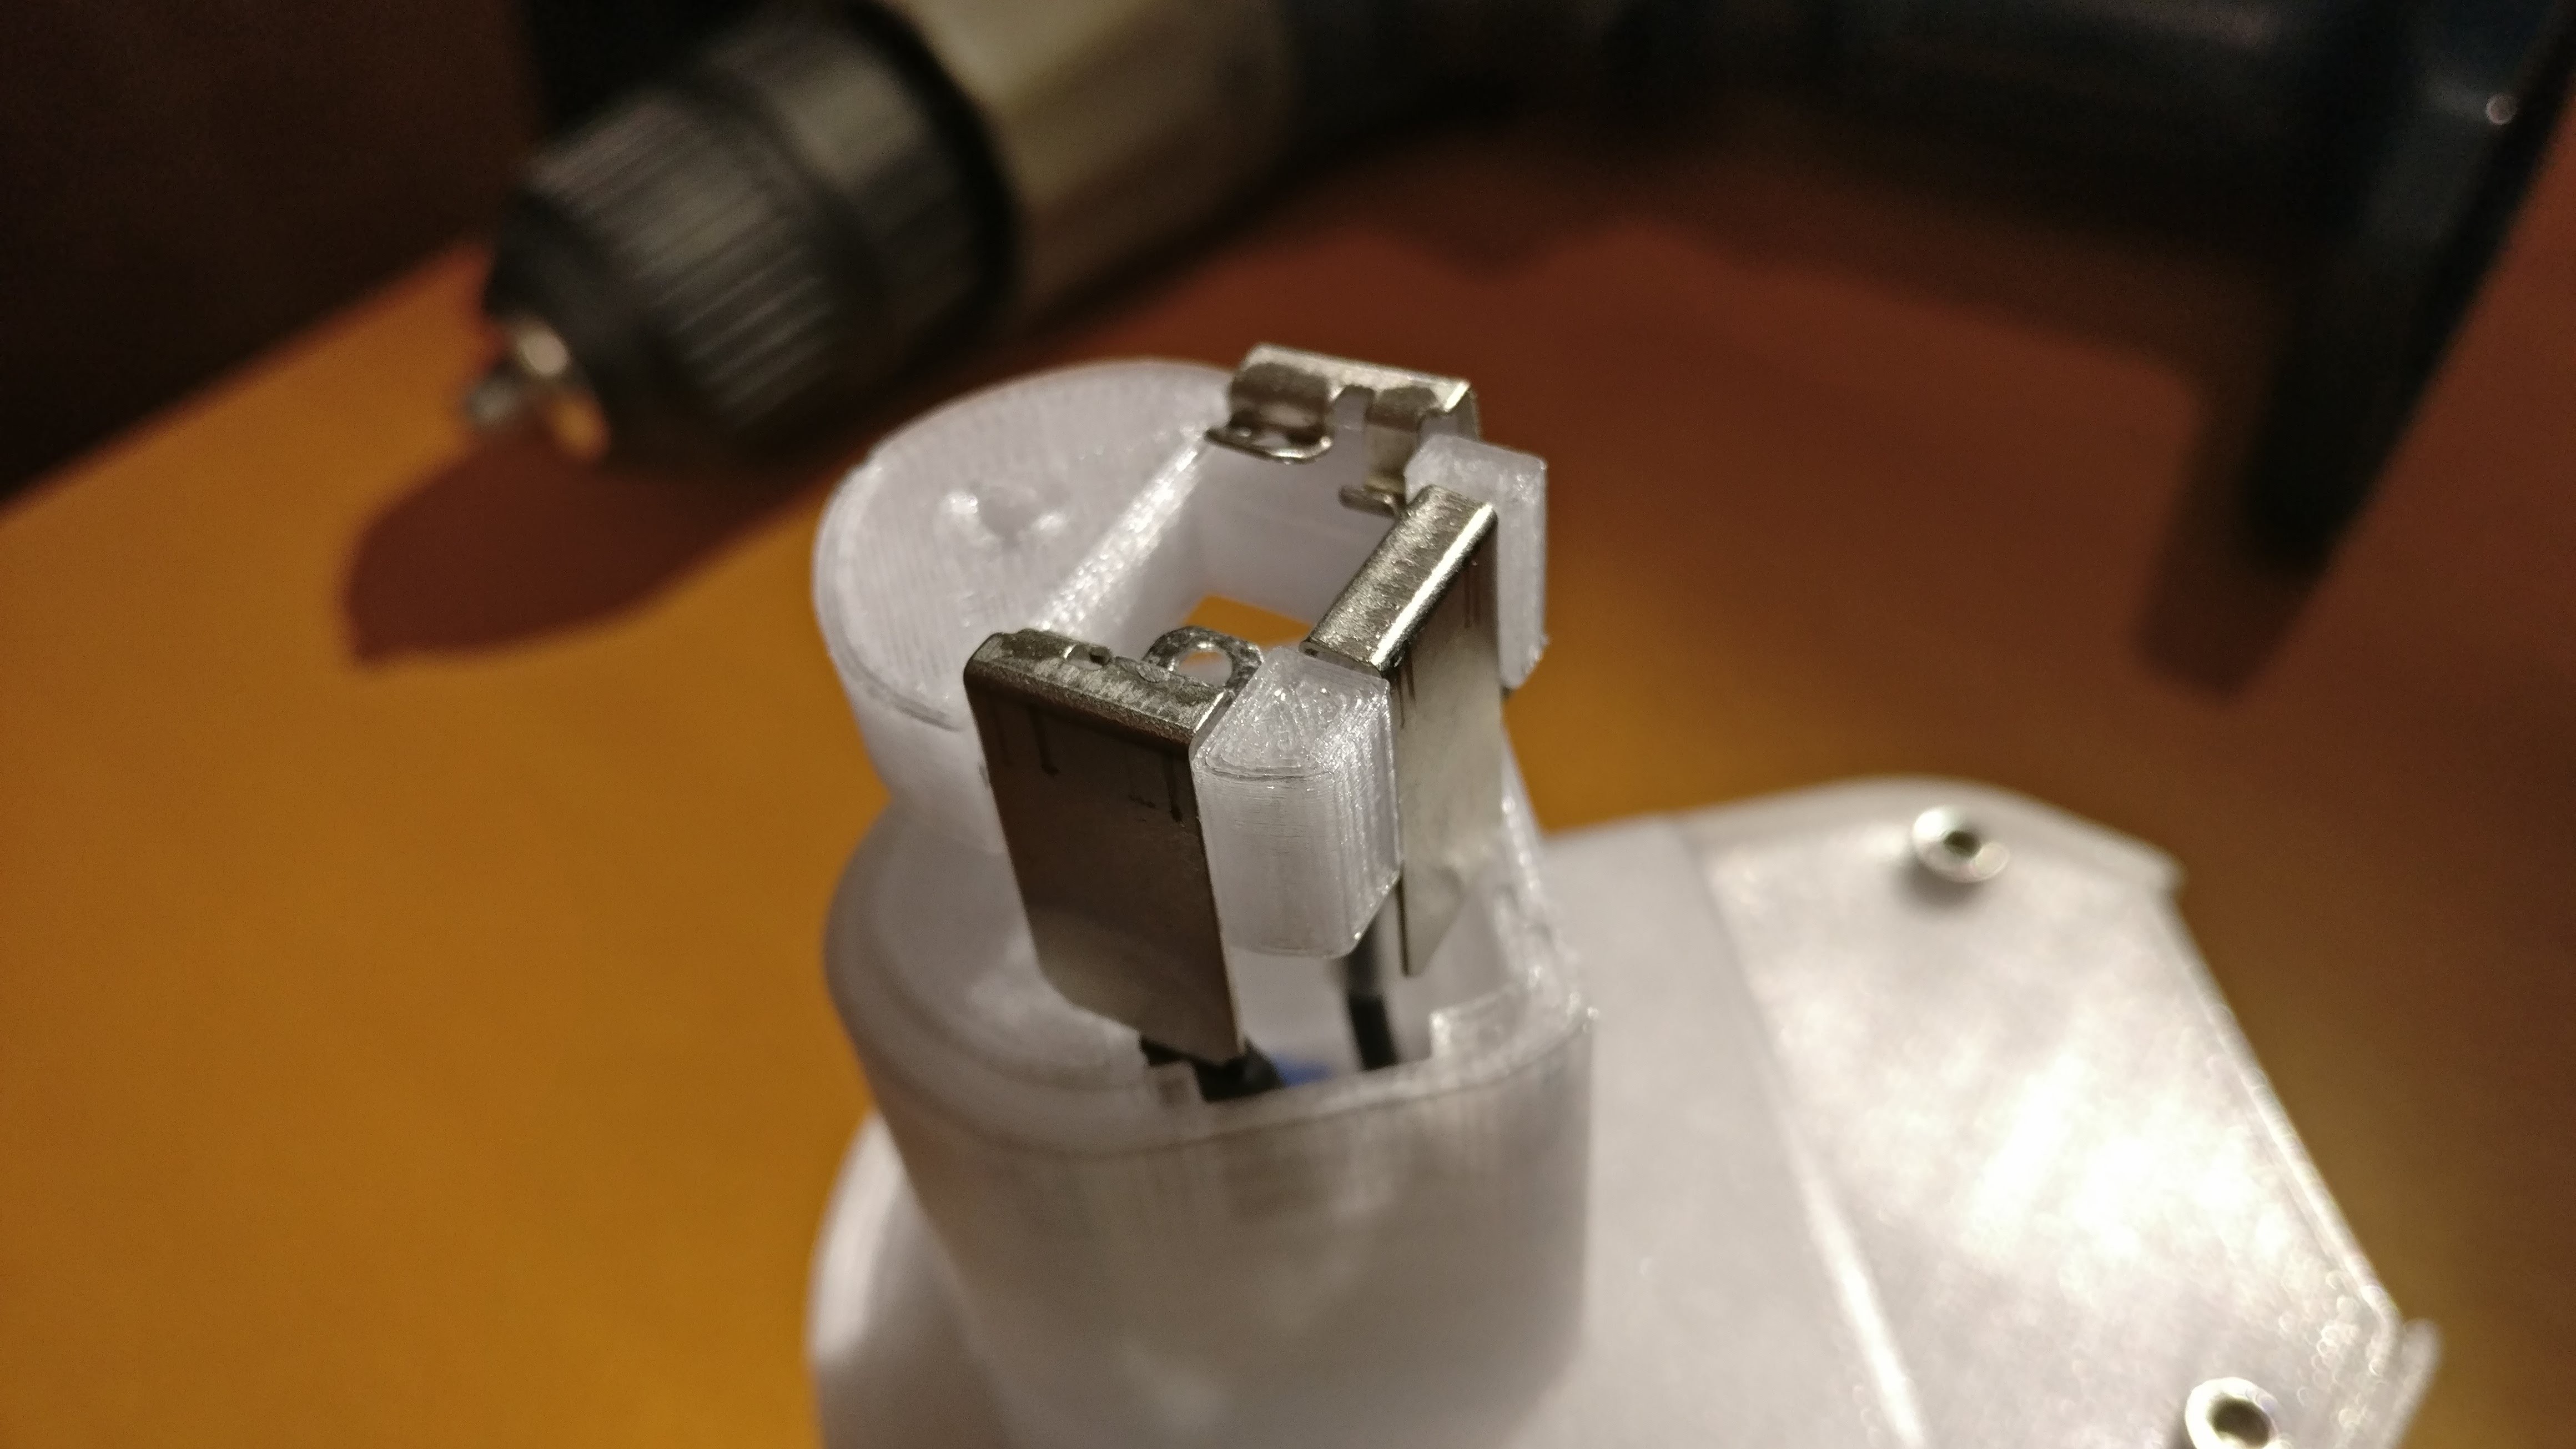
9Install capplug.stl and hook the battery contacts onto the slots provided.
Note the middle contact is not actually necessary and we are including it only for completeness or in case we decide to upgrade the battery pack to support for multiple speeds in the future. The orientation also doesn't matter since the drill will just spin the opposite direction if you reverse it.
![]()
Once the contacts are in place, push it all down so everything lines up, especially the 3mm hole for the bolt.
-
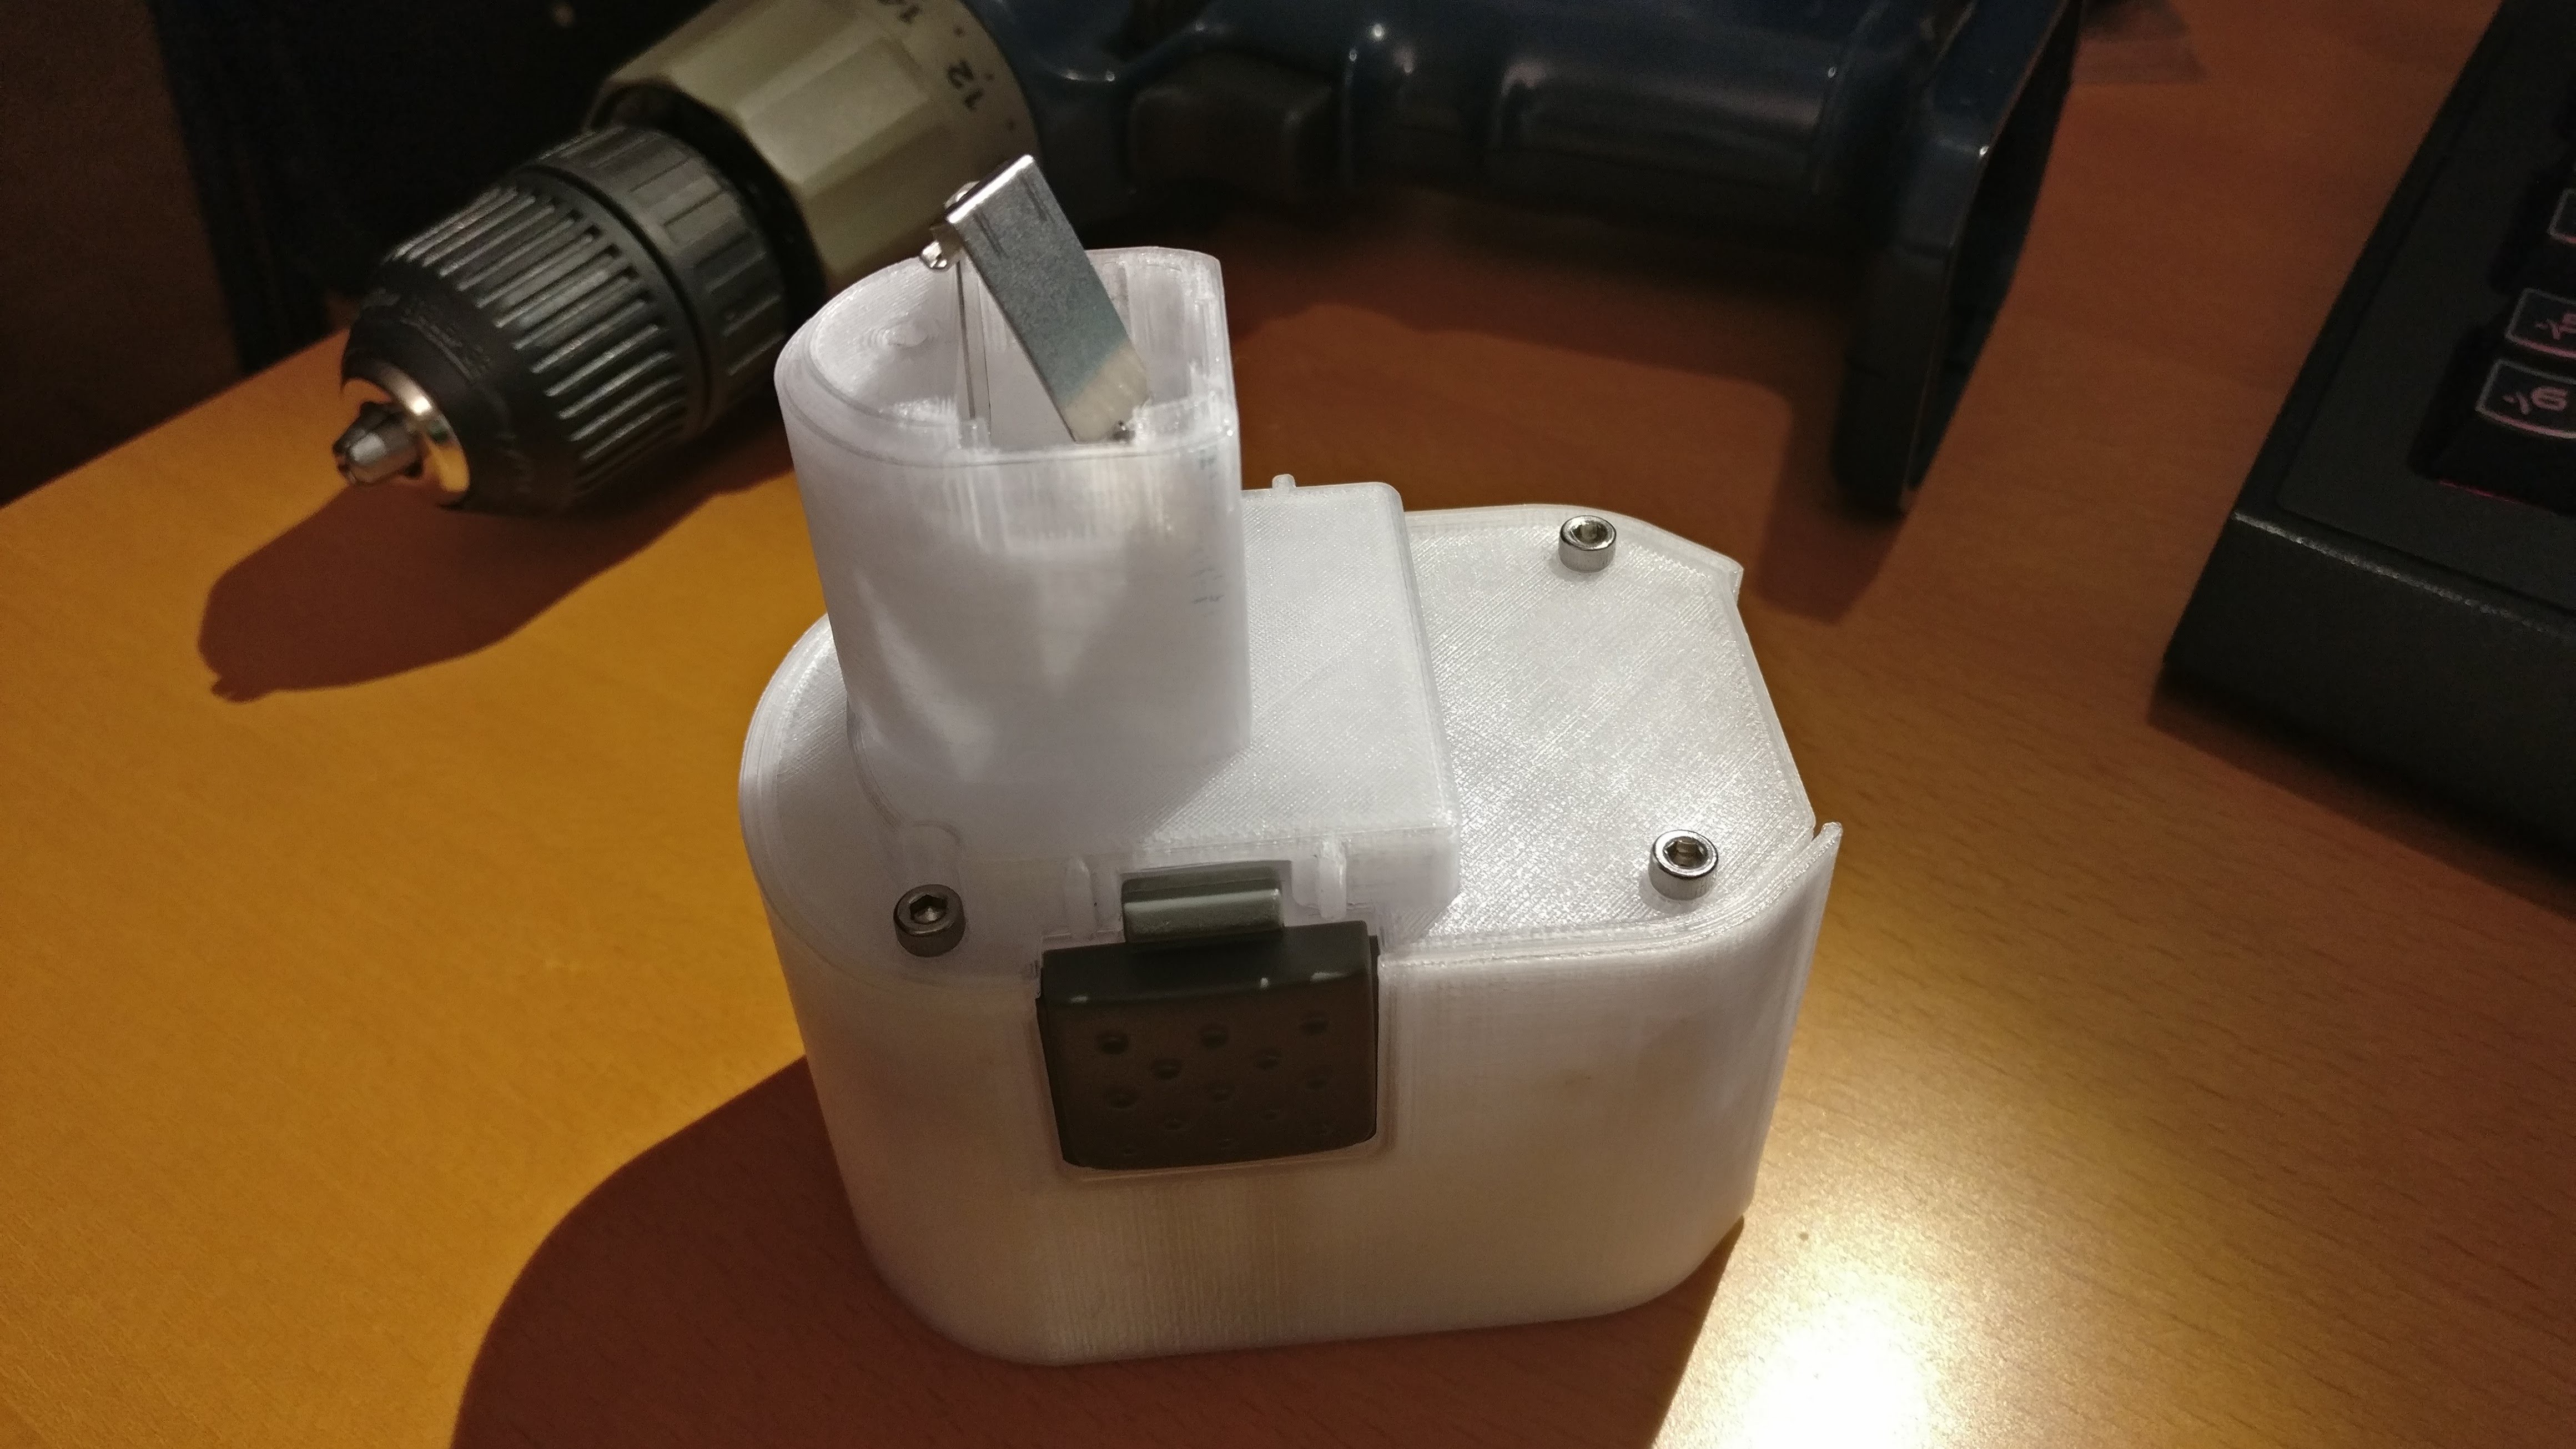
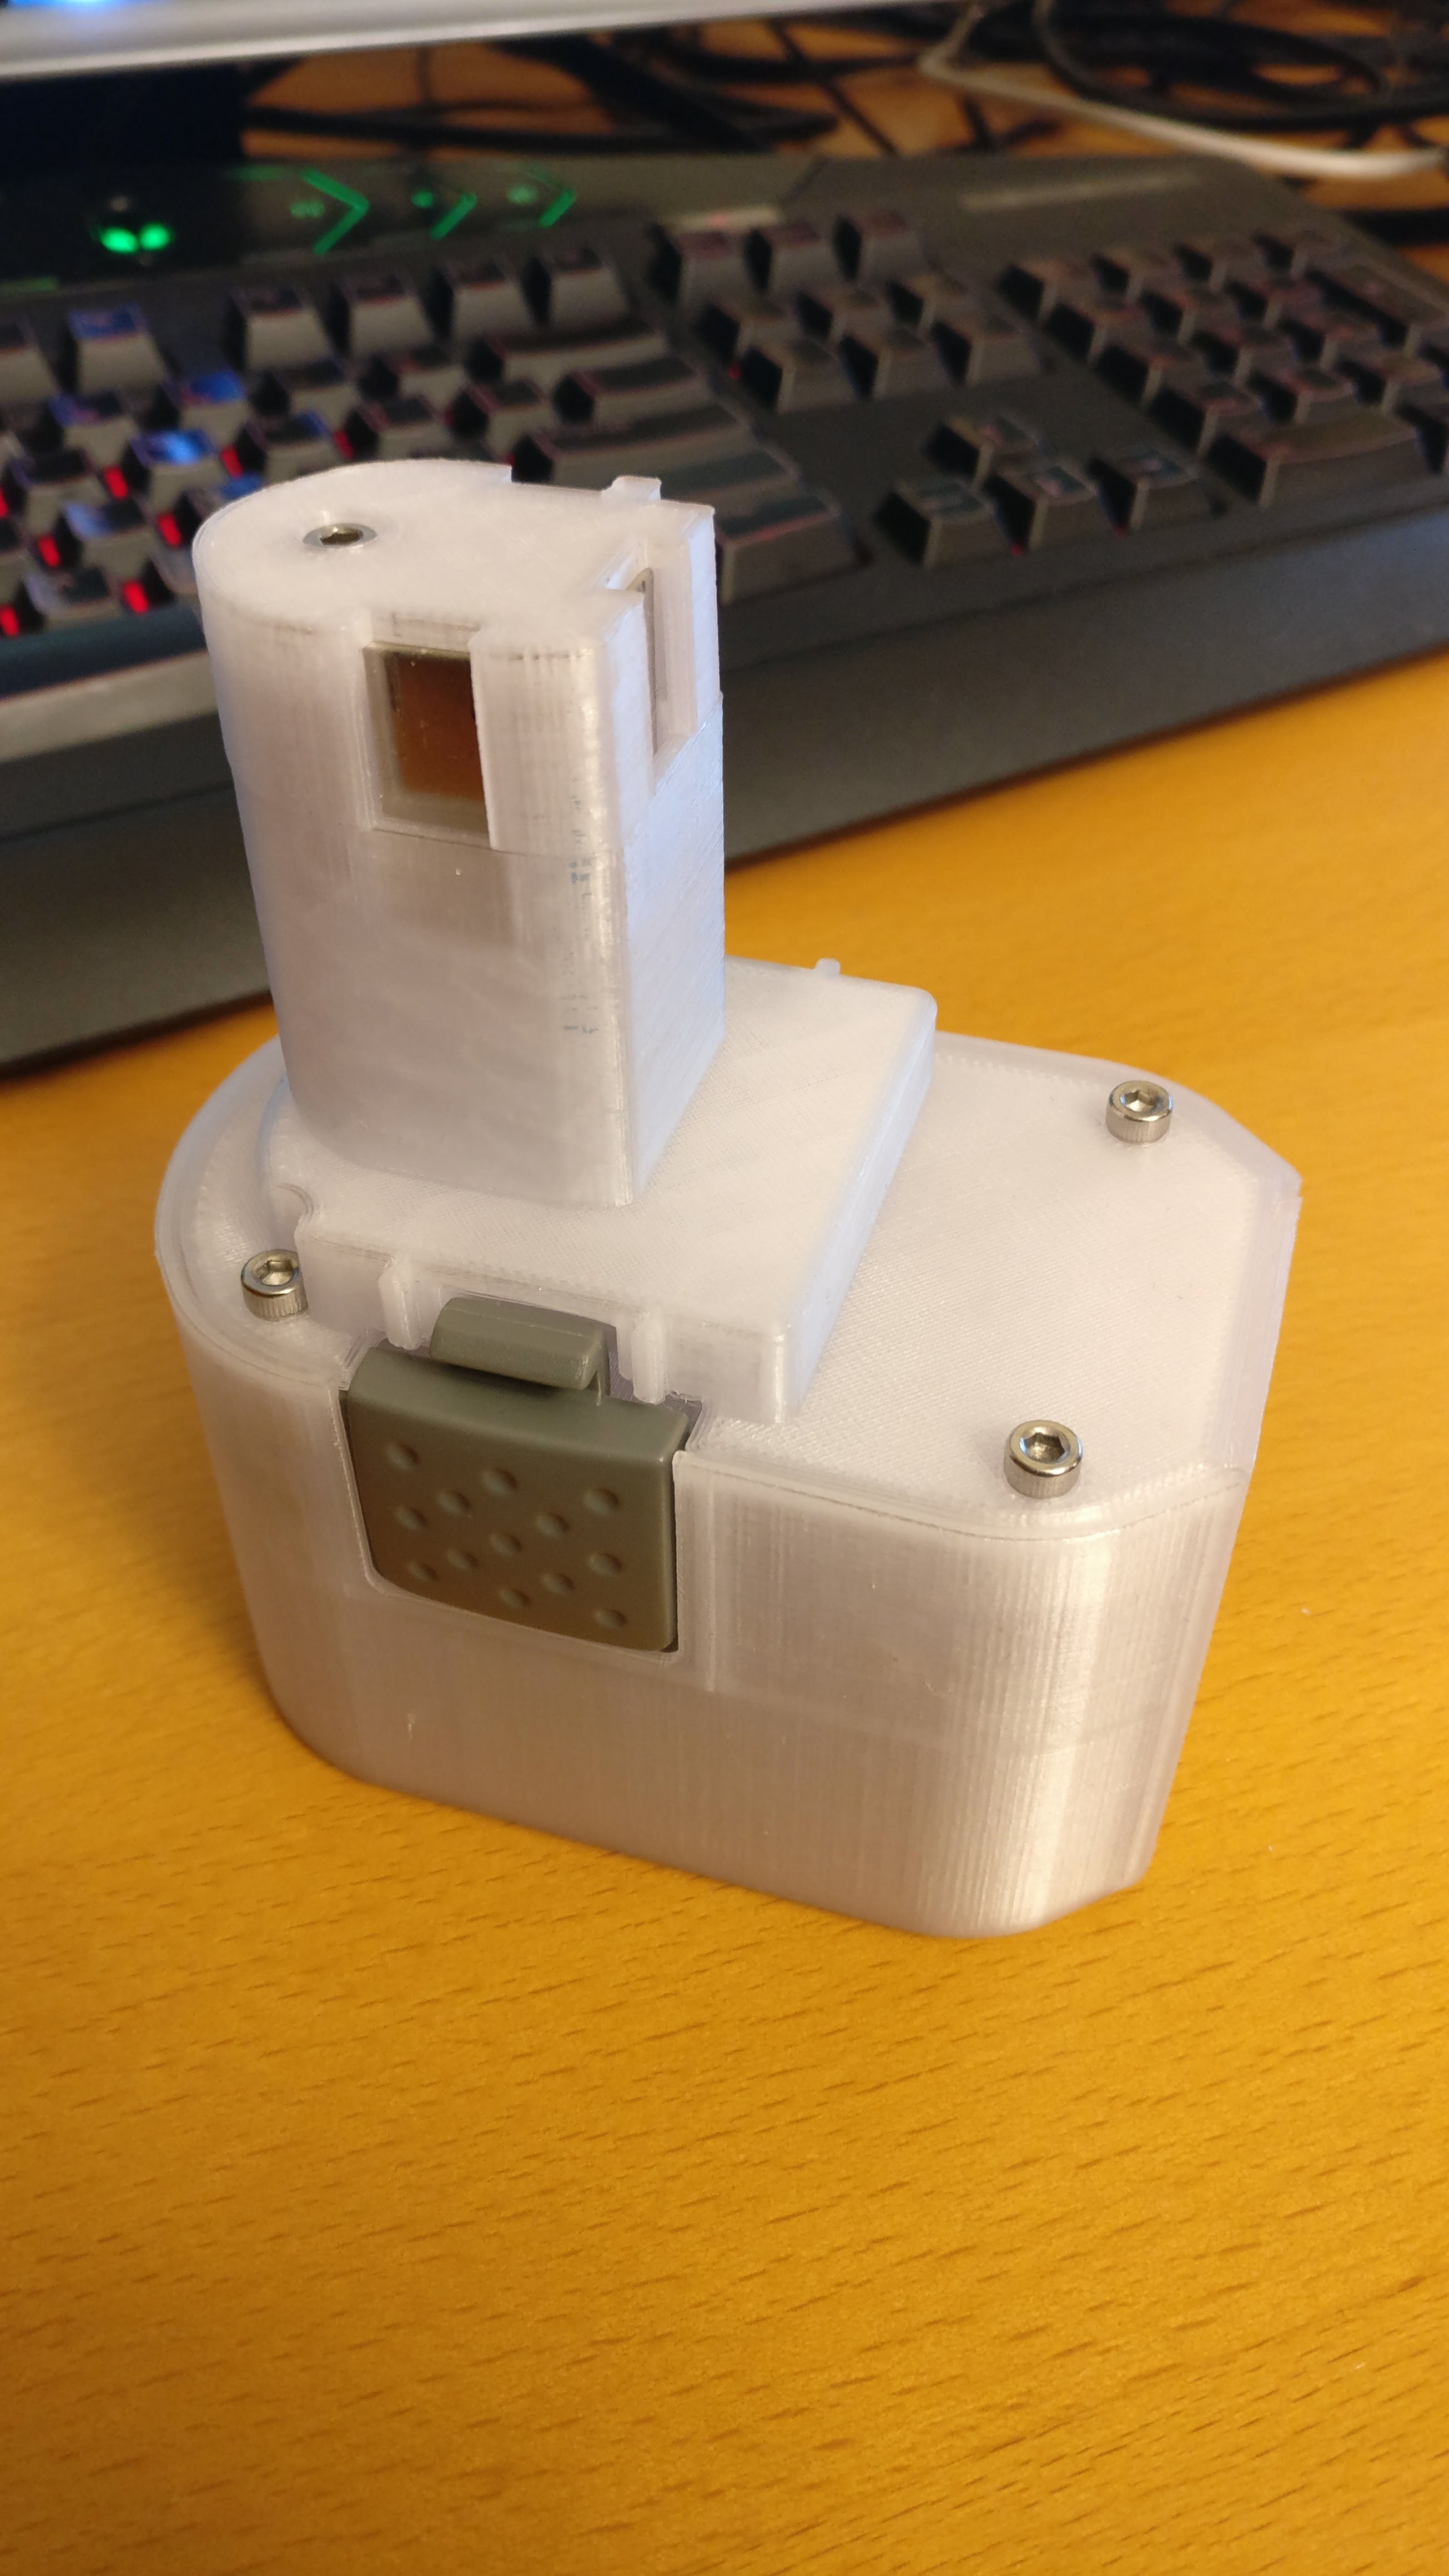
10Install cap.stl and install the 16mm M3 bolt
Again, be careful threading the bolt not to push the nut out of its pocket. It's a pain to reinstall it because you'll have to remove everything to get at it. I prefer just turning the bolt and letting the threads advance the bolt to catch the nut.
![]()
Ain't she a beaut!
Replacement Battery for Ryobi 7.2v Drill
This old drill is still handy for light use around the house, but the NiCd battery pack is long dead. Why not use 4x AA NiMH cells in it?
Discussions
Become a Hackaday.io Member
Create an account to leave a comment. Already have an account? Log In.