Gary
Gary-
2 years after
02/07/2016 at 19:42 • 0 commentsProject has been running for over 2 years now and has been providing good solid data. I have had 2 ocassions that the unit hung up and both times we had storms in the area. A quick power cycle and the arduino was back up and running.
-
Thats all folks
10/12/2014 at 00:31 • 0 commentsFor now the project is complete. If I find any issue Ill post them up. If you have questions please drop me a note. good luck.
-
Arduino Sketch
10/12/2014 at 00:30 • 0 commentsHere is the Arduino Sketch. Nothing fancy. It is a mix of my code, code fragments from other peoples projects as well as vendor sample code.
#include <SPI.h>
#include <Ethernet.h>
// Enter a MAC address and IP address for your controller below.
// The IP address will be dependent on your local network:
byte mac[] = {
0xDE, 0xAD, 0xBE, 0xEF, 0xFE, 0xee
};
IPAddress ip(192, 168, 1, 178);
IPAddress gateway(192, 168, 1, 1);
IPAddress subnet(255, 255, 255, 0);
// Initialize the Ethernet server library
// with the IP address and port you want to use
// (port 80 is default for HTTP):
EthernetServer server(80);
float current_input_value = 0; // value read from the carrier board
float amps = 0;
void setup() {
// Open serial communications and wait for port to open:
Serial.begin(9600);
while (!Serial) {
; // wait for serial port to connect. Needed for Leonardo only
}
// start the Ethernet connection and the server:
Ethernet.begin(mac, ip);
server.begin();
Serial.print("server is at ");
Serial.println(Ethernet.localIP());
}
void loop() {
float voltage;
float watts;
char buffer[10];
String S_label ;
String S_voltage ;
String S_amps ;
String S_watts ;
String S_print = S_label + S_voltage + S_amps + S_watts;
// listen for incoming clients
EthernetClient client = server.available();
if (client) {
Serial.println("new client");
// an http request ends with a blank line
boolean currentLineIsBlank = true;
while (client.connected()) {
if (client.available()) {
char c = client.read();
Serial.write(c);
// if you've gotten to the end of the line (received a newline
// character) and the line is blank, the http request has ended,
// so you can send a reply
if (c == '\n' && currentLineIsBlank) {
// send a standard http response header
client.println("HTTP/1.1 200 OK");
client.println("Content-Type: text/html");
client.println("Connection: close"); // the connection will be closed after completion of the response
client.println("Refresh: 5"); // refresh the page automatically every 5 sec
client.println();
client.println("<!DOCTYPE HTML>");
client.println("<html>");
//get the volatage
voltage=get_voltage(A0); //get volatge on A0
//Get the Current
current_input_value = analogRead(A1);
amps = float ((((long)current_input_value * 5000 / 1024) - 500 ) * 1000 / 133)/1000;
if (amps < 0 )
amps = 0 ; // Get rid of sensor noise when currentt is at/near zero.
watts=(amps * voltage);
S_label = "Panel" ;
S_voltage = dtostrf(voltage, 2,2, buffer );
S_amps = dtostrf(amps, 2,2, buffer );
S_watts = dtostrf(watts, 2,2, buffer );
S_print = S_label + " " + S_voltage + " " + S_amps + " " + S_watts;
client.println (S_print);
client.println ("<br>");
//get the volatage
voltage=get_voltage(A2); //get volatge on A5
//Get the Current
current_input_value = analogRead(A3);
amps = float ((((long)current_input_value * 5000 / 1024) - 500 ) * 1000 / 133)/1000;
if (amps < 0 )
amps = 0 ; // Get rid of sensor noise when currentt is at/near zero.
watts=(amps * voltage) ;
S_label = "Battery" ;
S_voltage = dtostrf(voltage, 2,2, buffer );
S_amps = dtostrf(amps, 2,2, buffer );
S_watts = dtostrf(watts, 2,2, buffer );
S_print = S_label + " " + S_voltage + " " + S_amps + " " + S_watts;
client.println (S_print);
client.println ("<br>");
//get the volatage
voltage=get_voltage(A4); //get volatge on A5
//Get the Current
current_input_value = analogRead(A5);
amps = float ((((long)current_input_value * 5000 / 1024) - 500 ) * 1000 / 133)/1000;
if (amps < 0 )
amps = 0 ; // Get rid of sensor noise when currentt is at/near zero.
watts=(amps * voltage);
S_label = "Load" ;
S_voltage = dtostrf(voltage, 2,2, buffer );
S_amps = dtostrf(amps, 2,2, buffer );
S_watts = dtostrf(watts, 2,2, buffer );
S_print = S_label + " " + S_voltage + " " + S_amps + " " + S_watts;
client.println (S_print);
client.println ("<br>");
client.println("</html>");
break;
}
if (c == '\n') {
// you're starting a new line
currentLineIsBlank = true;
}
else if (c != '\r') {
// you've gotten a character on the current line
currentLineIsBlank = false;
}
}
}
// give the web browser time to receive the data
delay(1);
// close the connection:
client.stop();
Serial.println("client disconnected");
}
}
float get_voltage ( int vpin ) {
float gvolt=(analogRead(vpin)/4.092)/10;
return gvolt;
}
-
Burn in.
10/12/2014 at 00:21 • 0 commentsThe completed project has been running for several weeks. No major issues and seem to be collecting data correctly. While I check on the device via the web from time to time just see power levels. I mainly collect the data every 5 minutes from a Linux server running on my VM server. A simple curl script can pull and parse the data into a CSV file that I can use as needed. Long term I will look at putting this into a web site to do trending, but for now I can graph the data as needed.
-
Online
09/24/2014 at 00:54 • 0 commentsProject has been online for a few days and starting to get some data captured. The current portion of the circuit seems to be working fine, but the voltage seems to never get below 11v on all 3 channels.. When there is sun the panel voltage go up but non of them tend to go below 11 volts. I suspect some cross talk. Will have to look at how to fix this....
-
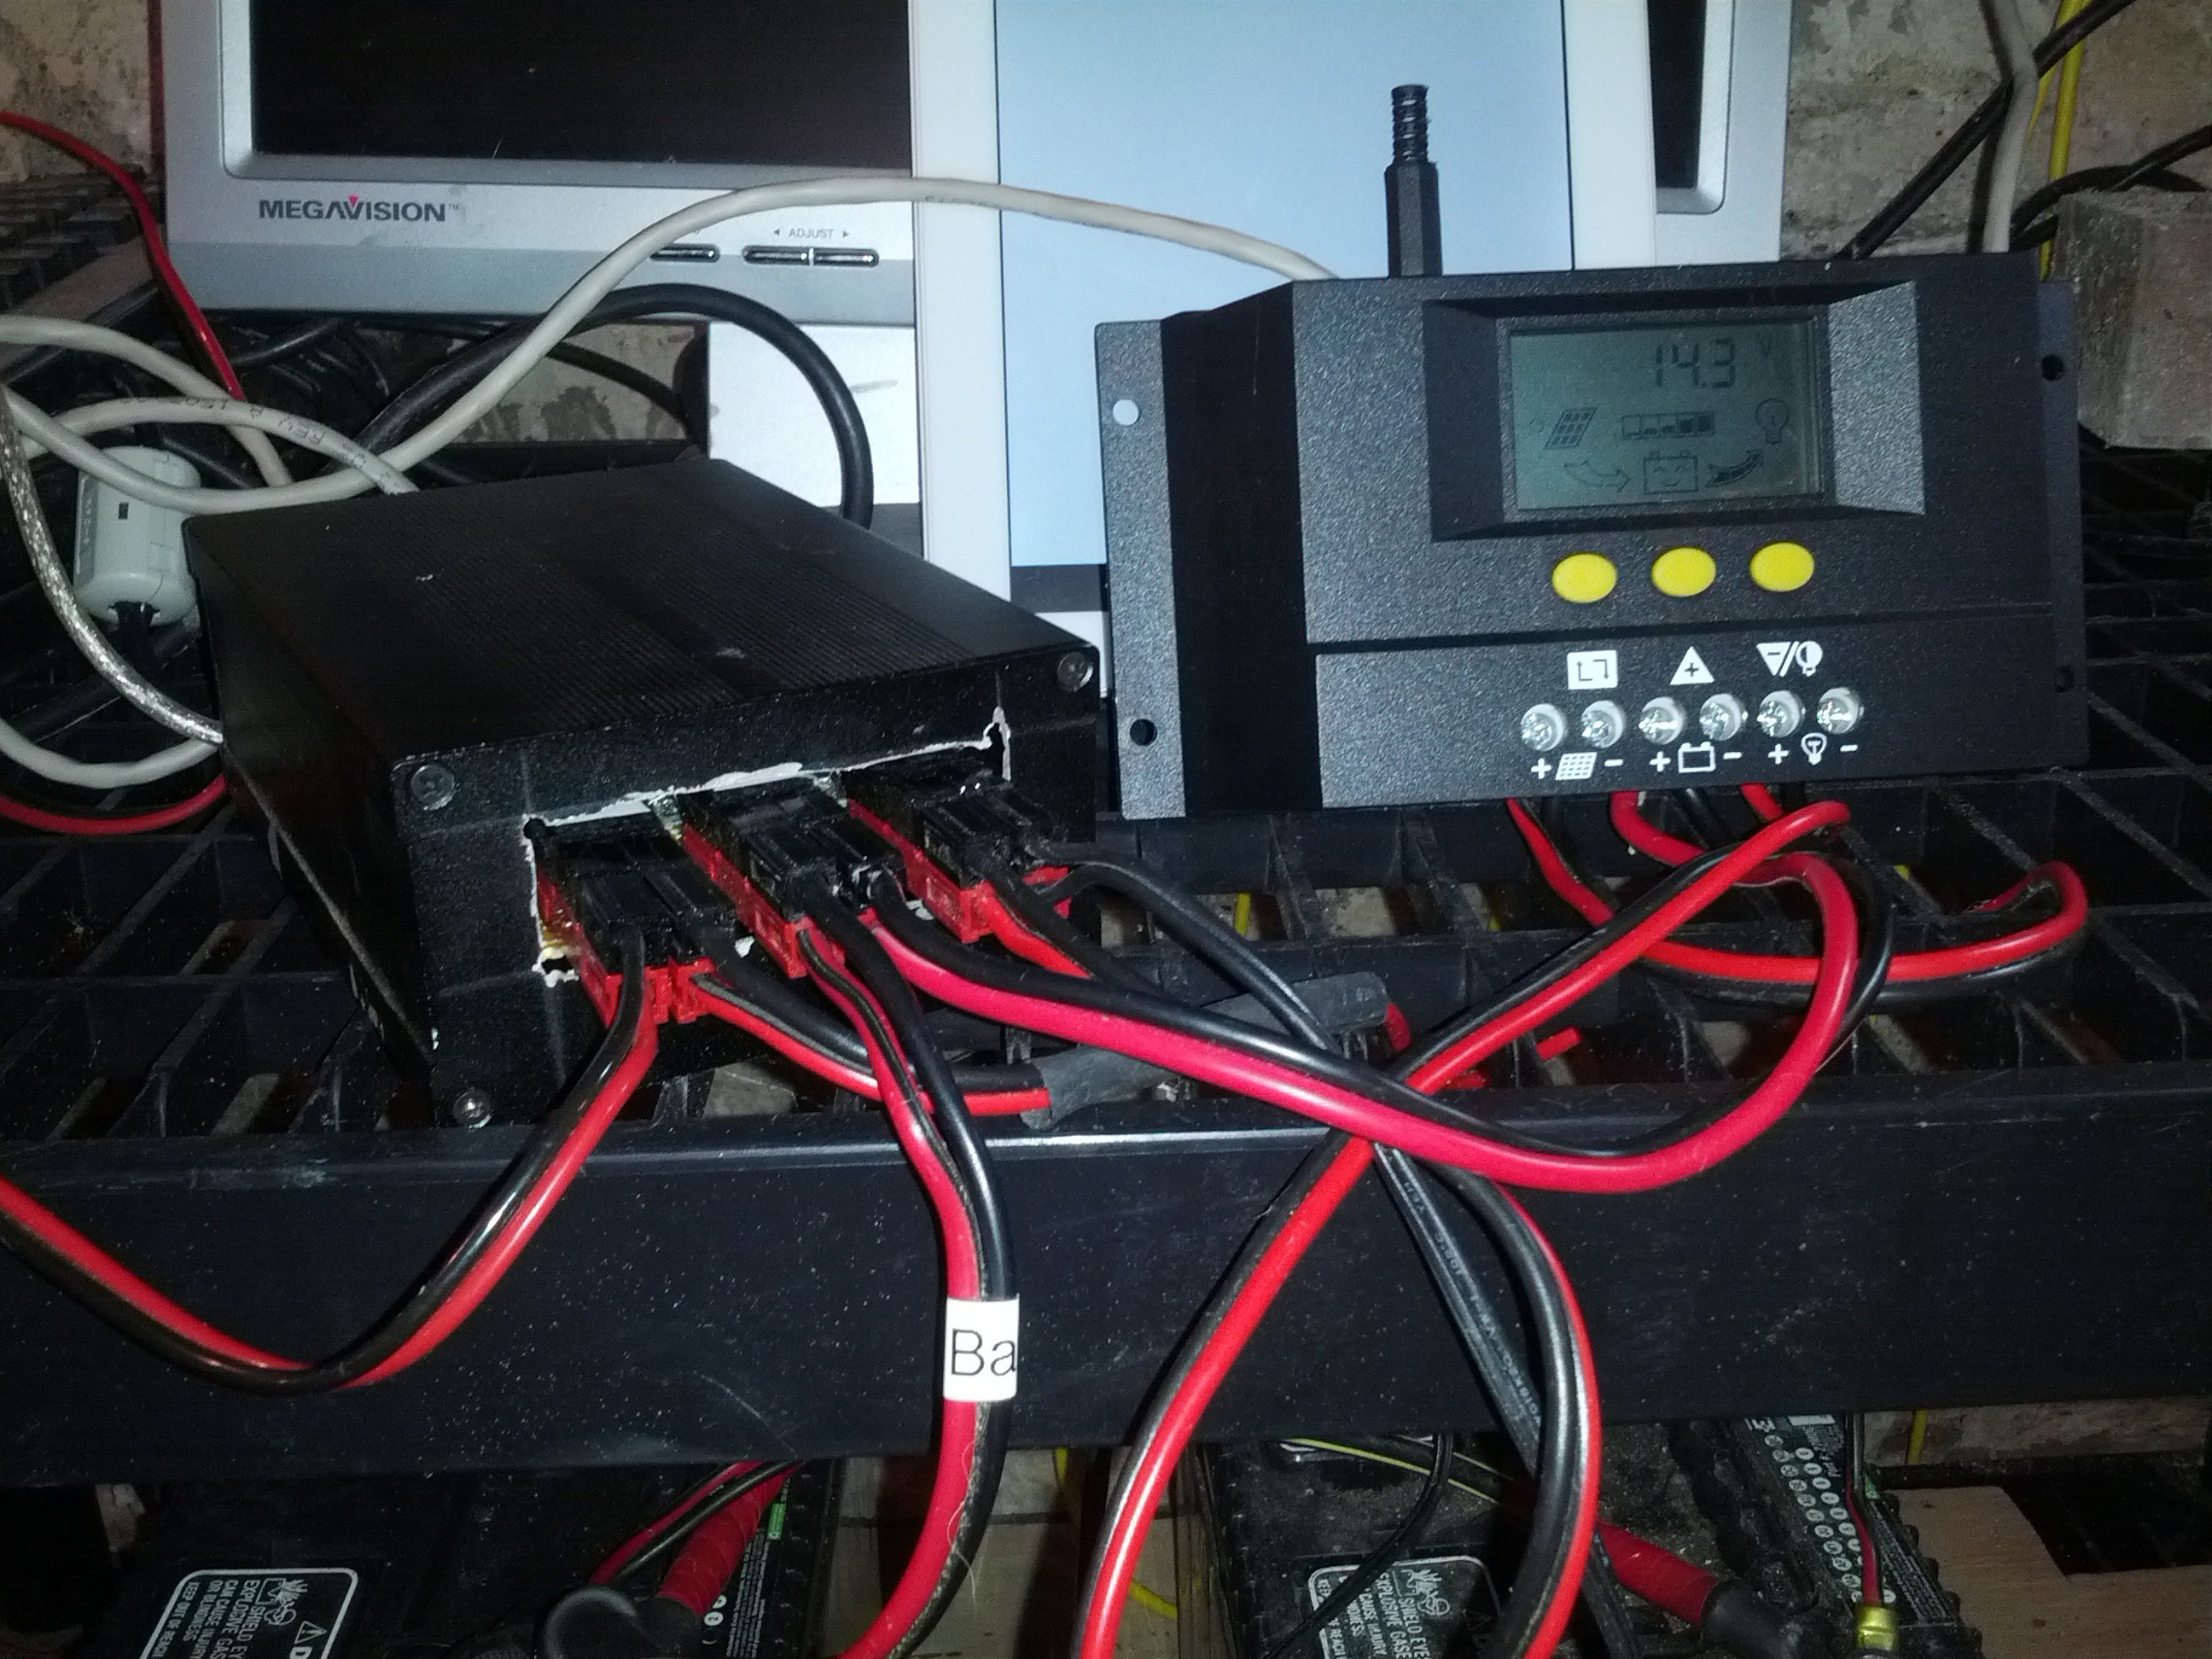
Moved into postion
09/14/2014 at 00:07 • 0 commentsWas also able to move the board into position in the solar panel charging room.
Will let it soak for a few days and see how well it works.
![]()
-
more time
09/13/2014 at 23:54 • 0 commentsWas able to get the project mounted in a case. The cut outs are a bit messy but it will work. Best I could do with the dremel tool..
![]()
-
Project time....
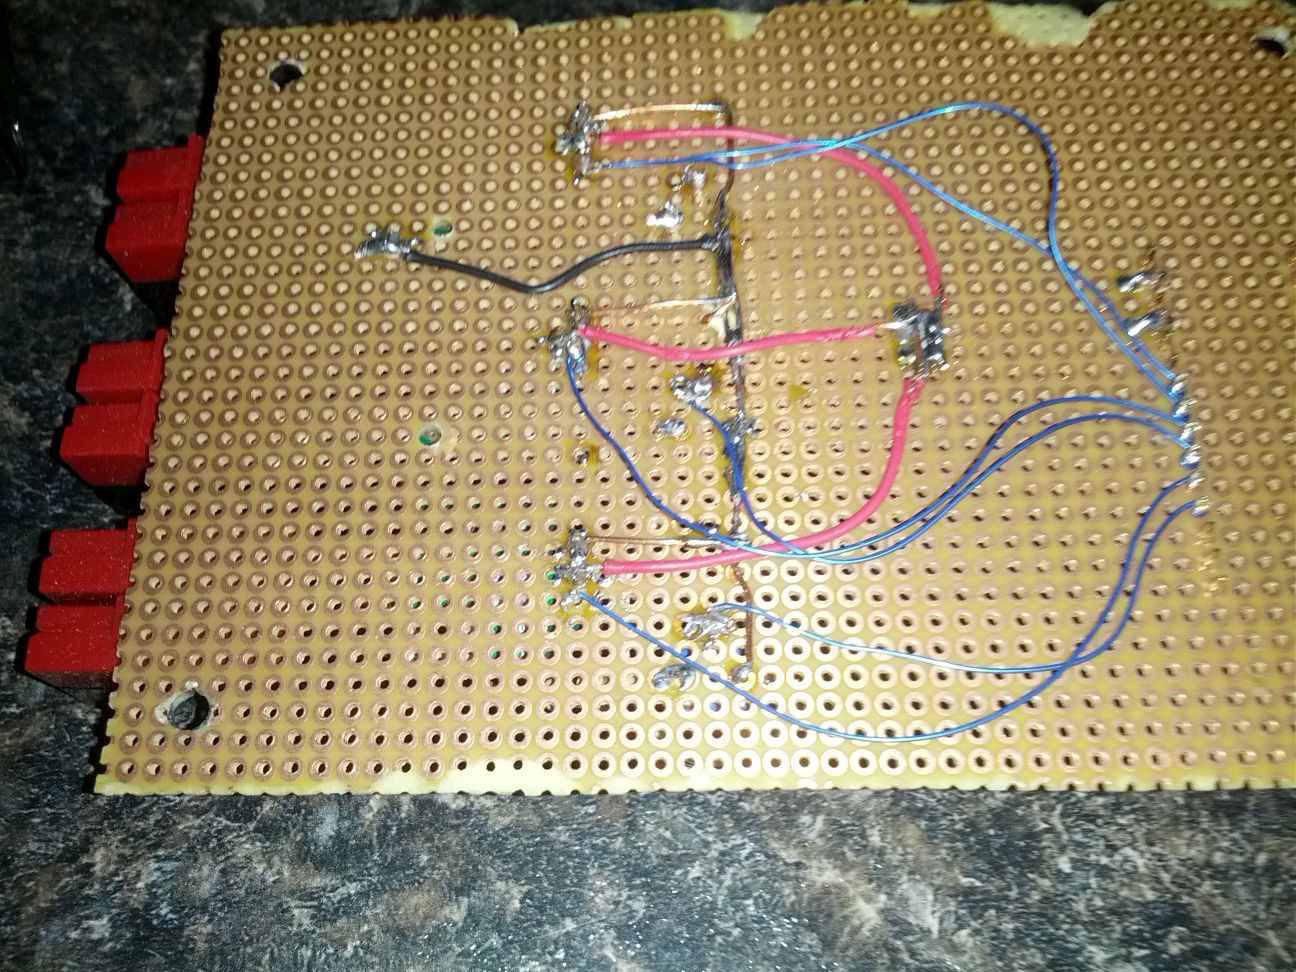
09/13/2014 at 22:23 • 0 commentsNow that I have some space to work I was able to get the project wired and into position for testing.
1st step was to get the voltage/current sensors connected to the Nano. I switched from the larger wire to wire wrap wire to minimize my soldering on the Nano chip. Currently only tacked the a couple of pins. The rest was wire wrap. Soldering is pretty crappy looking. Between a board that didnt take solder very will and my eye it was interesting soldering. I need a better magnifier..
![]()
-
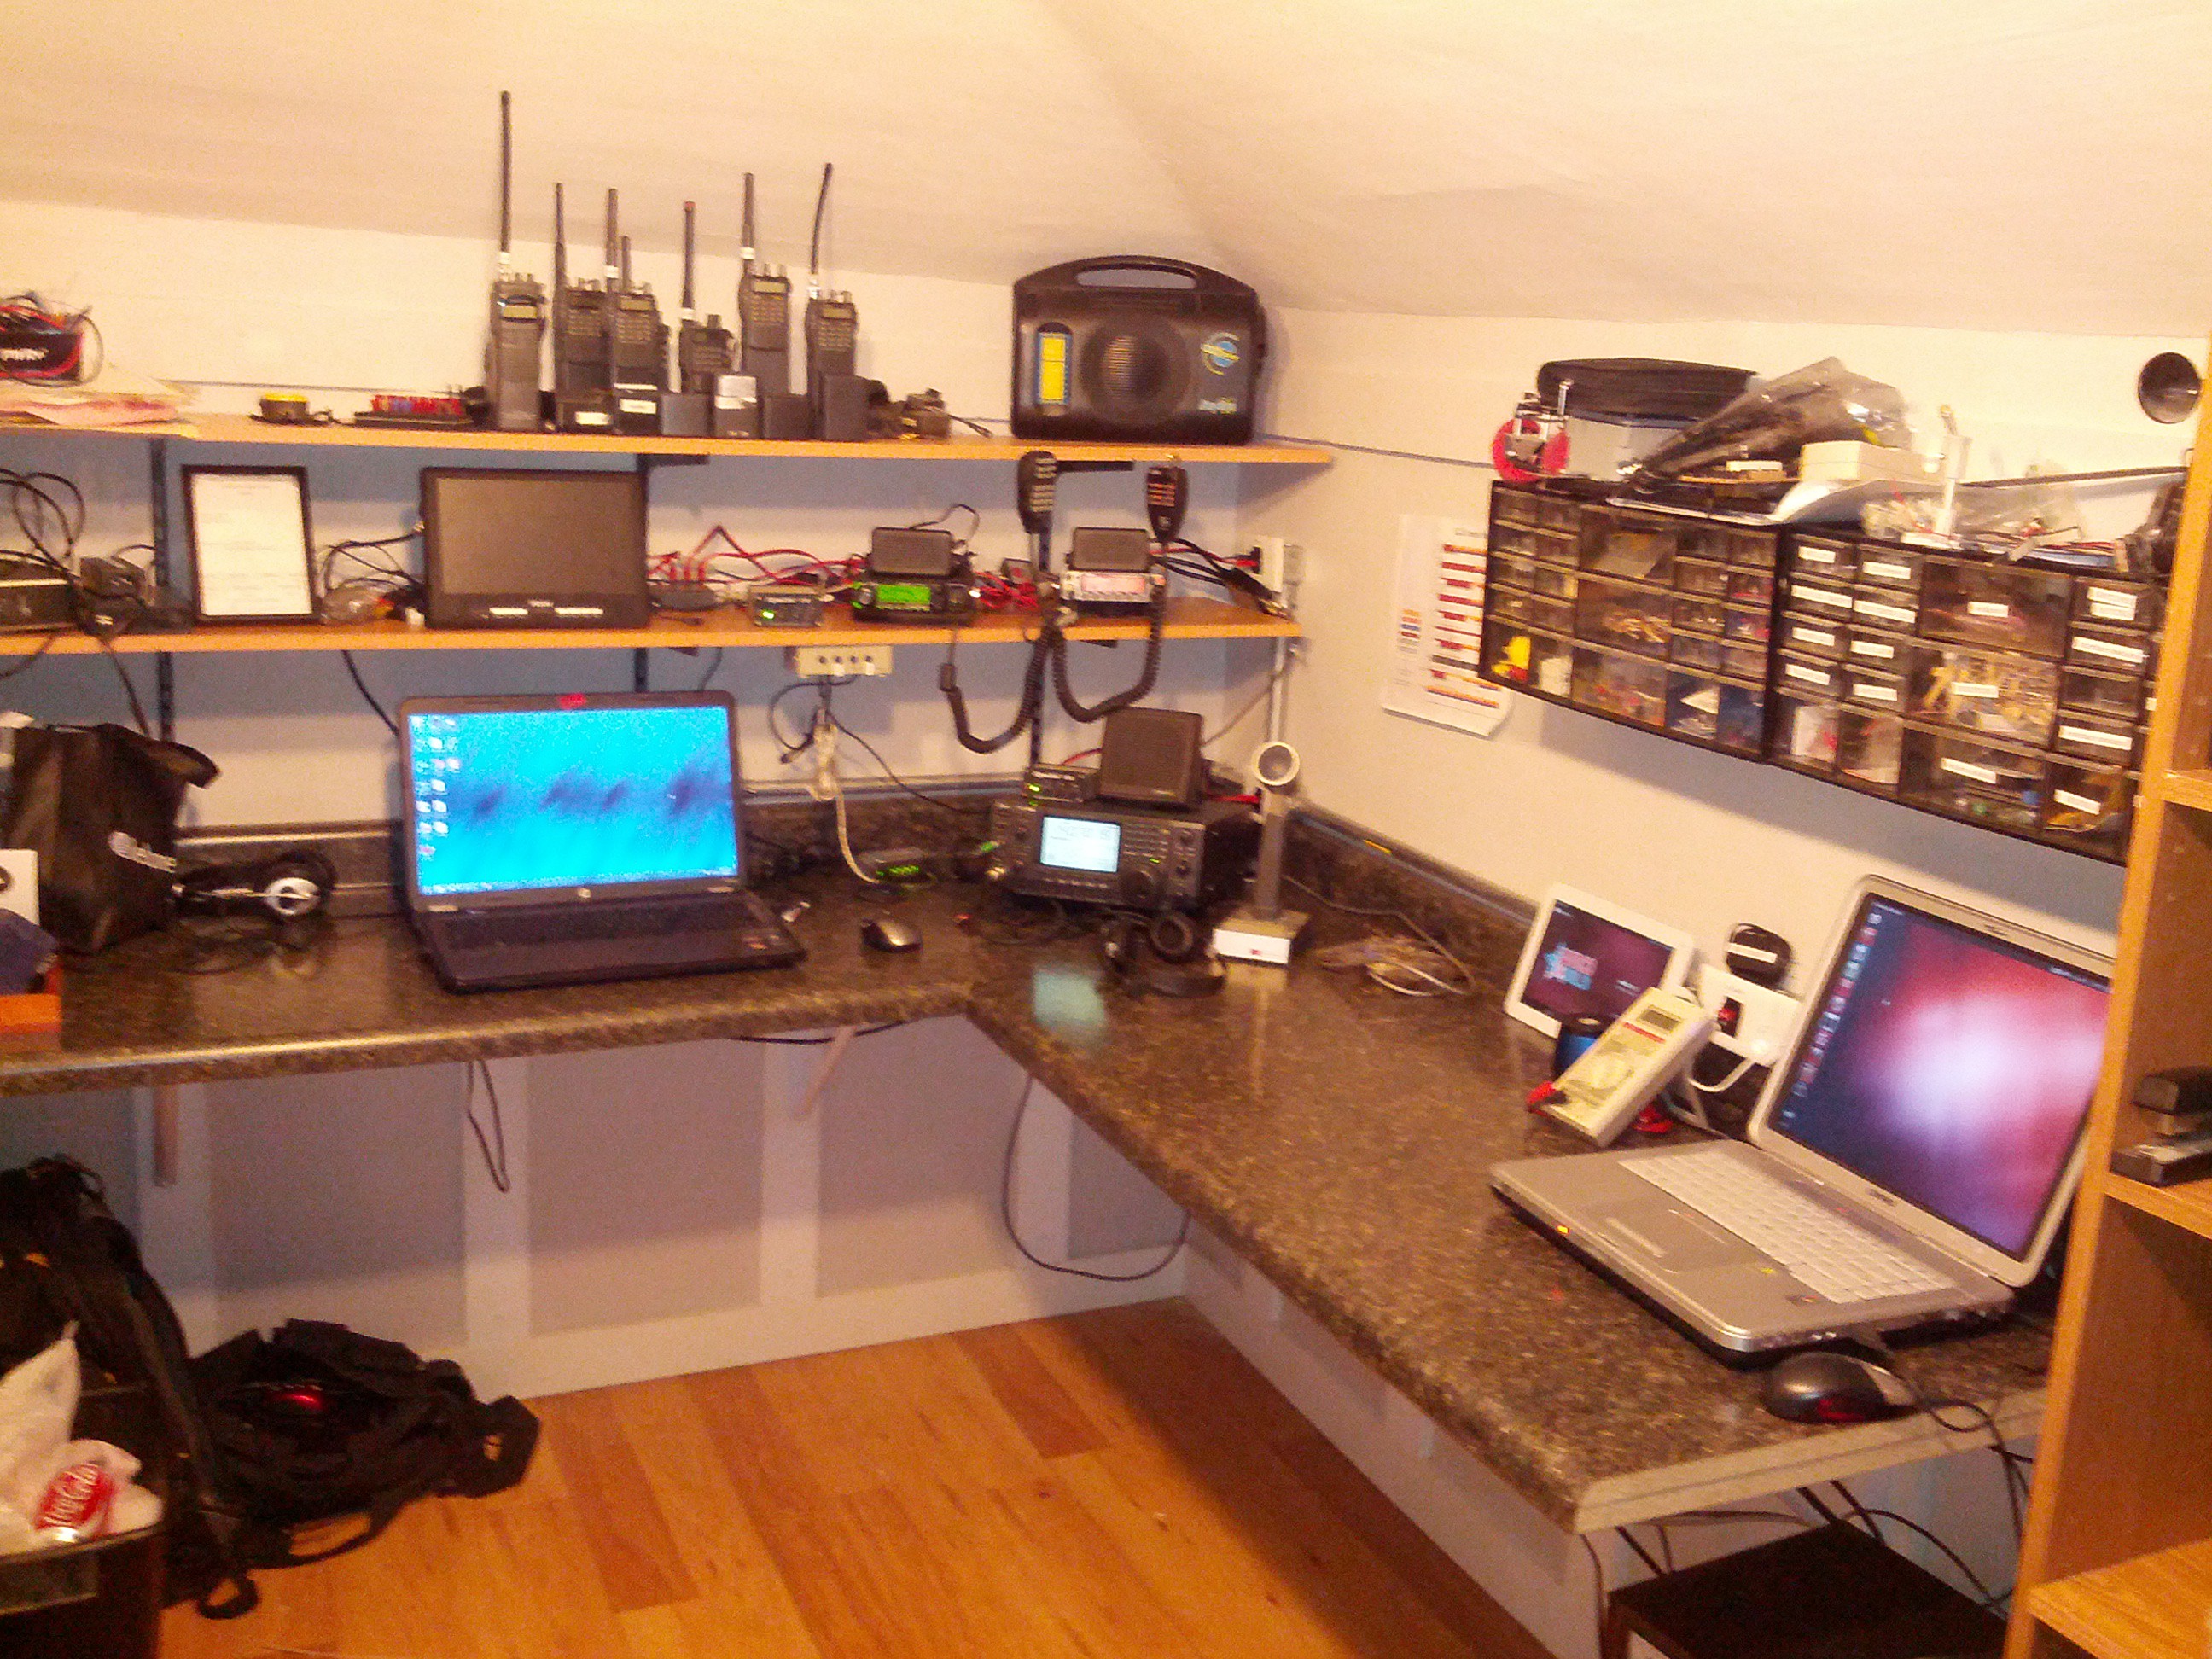
I am back.....
09/13/2014 at 22:16 • 0 commentsBeen busy with other projects. Main project was rebuilding the "shack" to make hobby time a little easier.. painted walls, new floorts, new counter tops, shelves, cabinets... looking much better and I now have room to do work.
![]()
-
Not dead yet
08/17/2014 at 13:27 • 0 commentsStill around but other projects have been filling my time. ...
Web based solar panel monitoring/managment
Arduino enable web server to monitor a small solar array and power management systems.