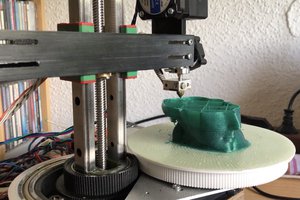
here is a few close up of different sections of the printer mechanism
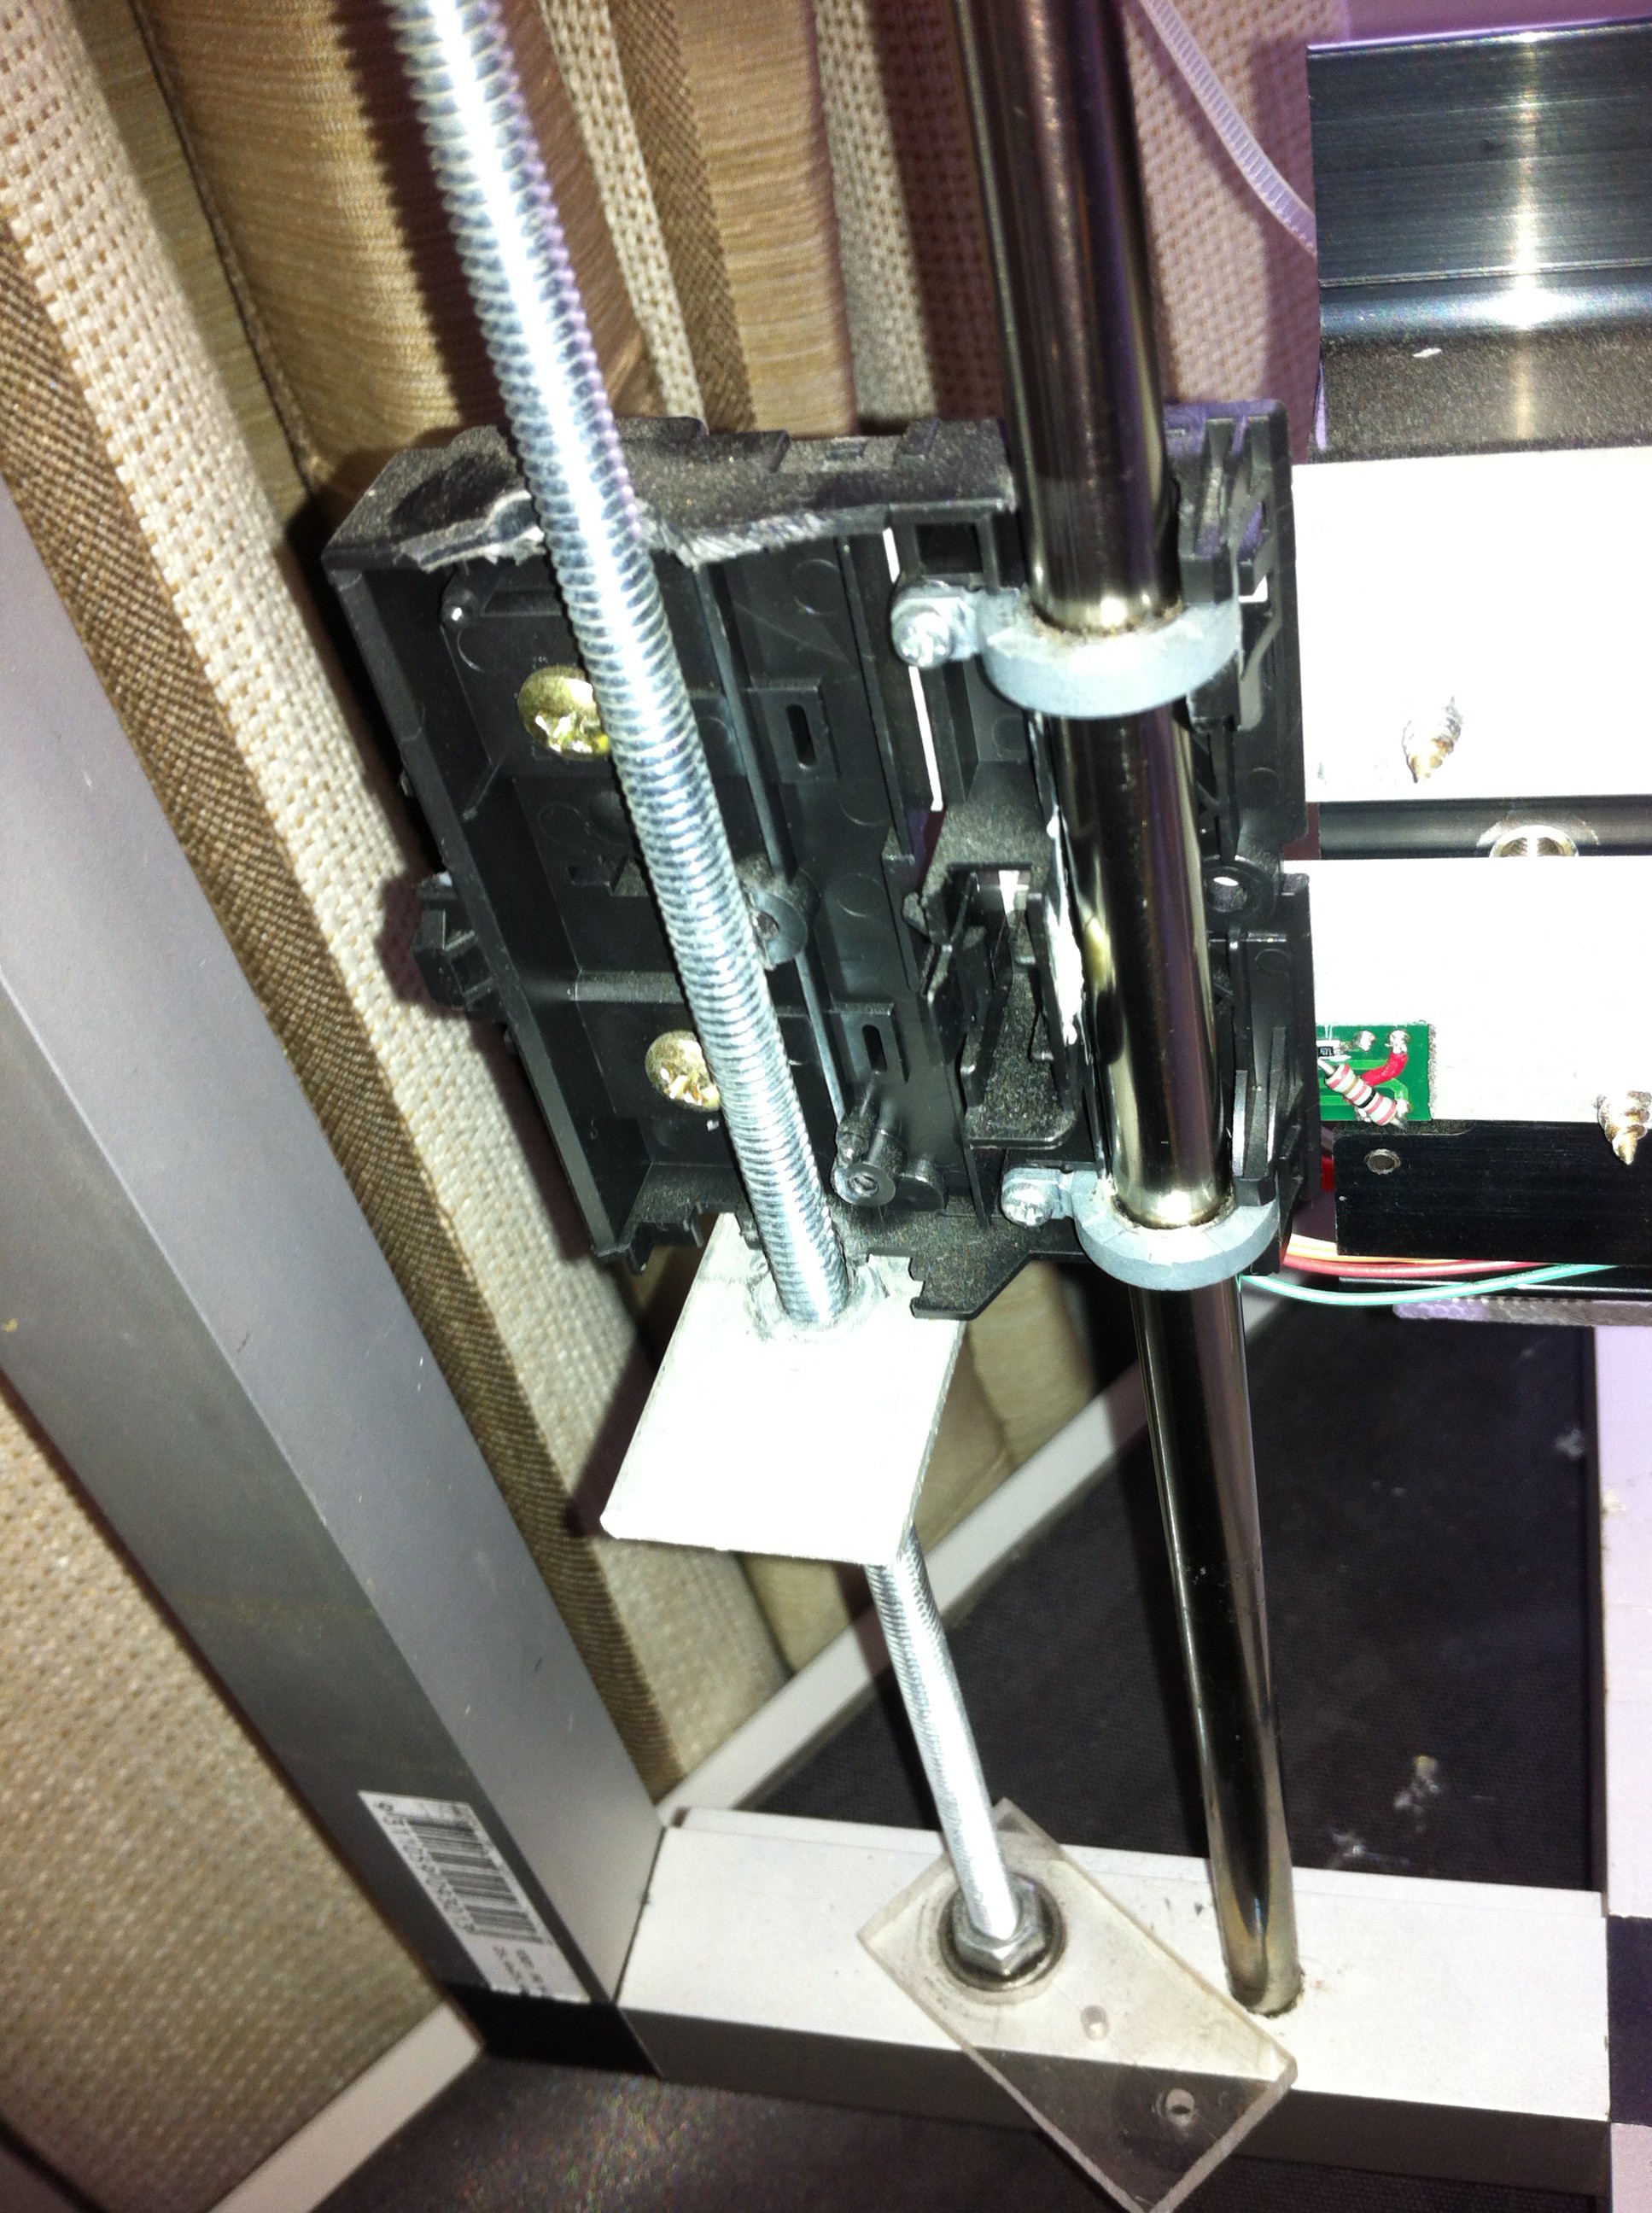
The slides for the Z axis are the printer guides from a couple of Dell Bubble jet printers. I just cut the cartridge holders off. The photo is a bit washed out but you can just make out the nut which is presed into a piece of aluminium bar for the support. I just drilled a hole in the aluminum slightly smaller than the diameter of the nut and drove it with a hammer. At the bottom of the picture is the bearing for the Z axis drive pushed into a piece of perspex the intention was to screw the perspex to the base but found due to a slight bend in the threaded rod the mechanism ran smoother if it was not attched but free to float from side to side. The left and right sides are both the same.
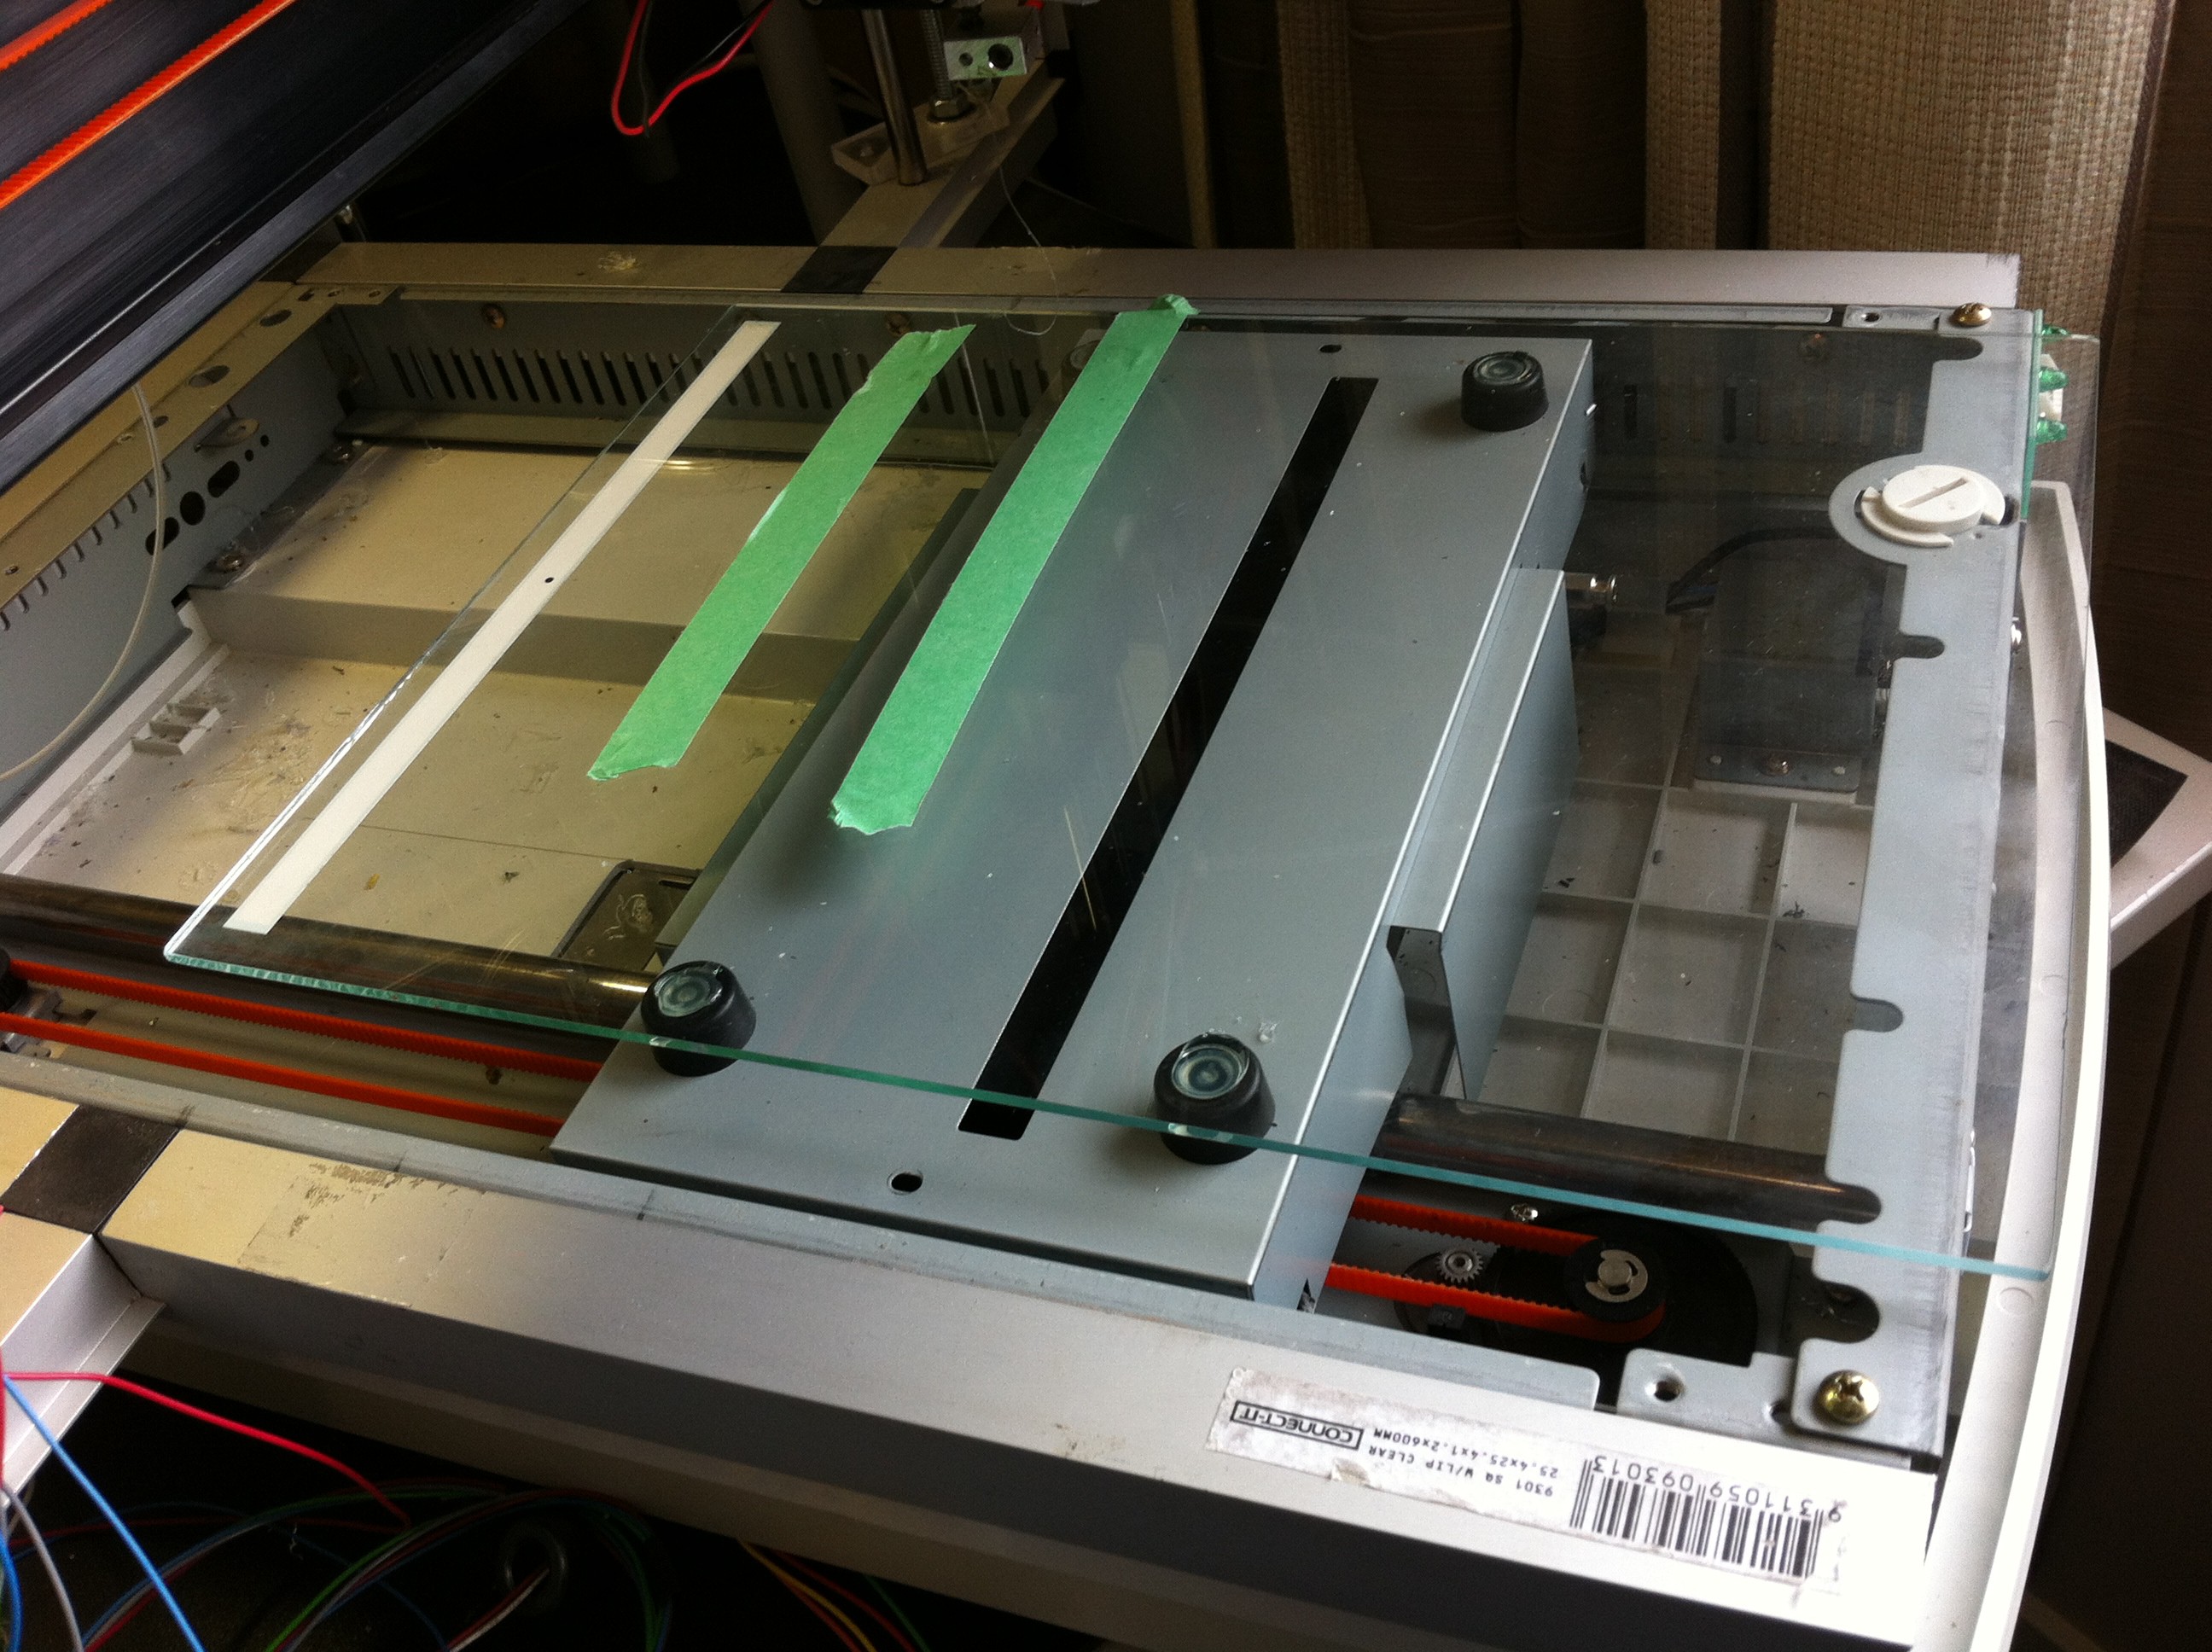
The base is just the guts of an old scanner. I removed the light sensor and optics a couple of rubber feet hold the glass build platfrom up to clear the front and back of the caseing - held on with hot melt glue. I Was ableto make use of the optical endstops in the scanner to impletment in the printer.
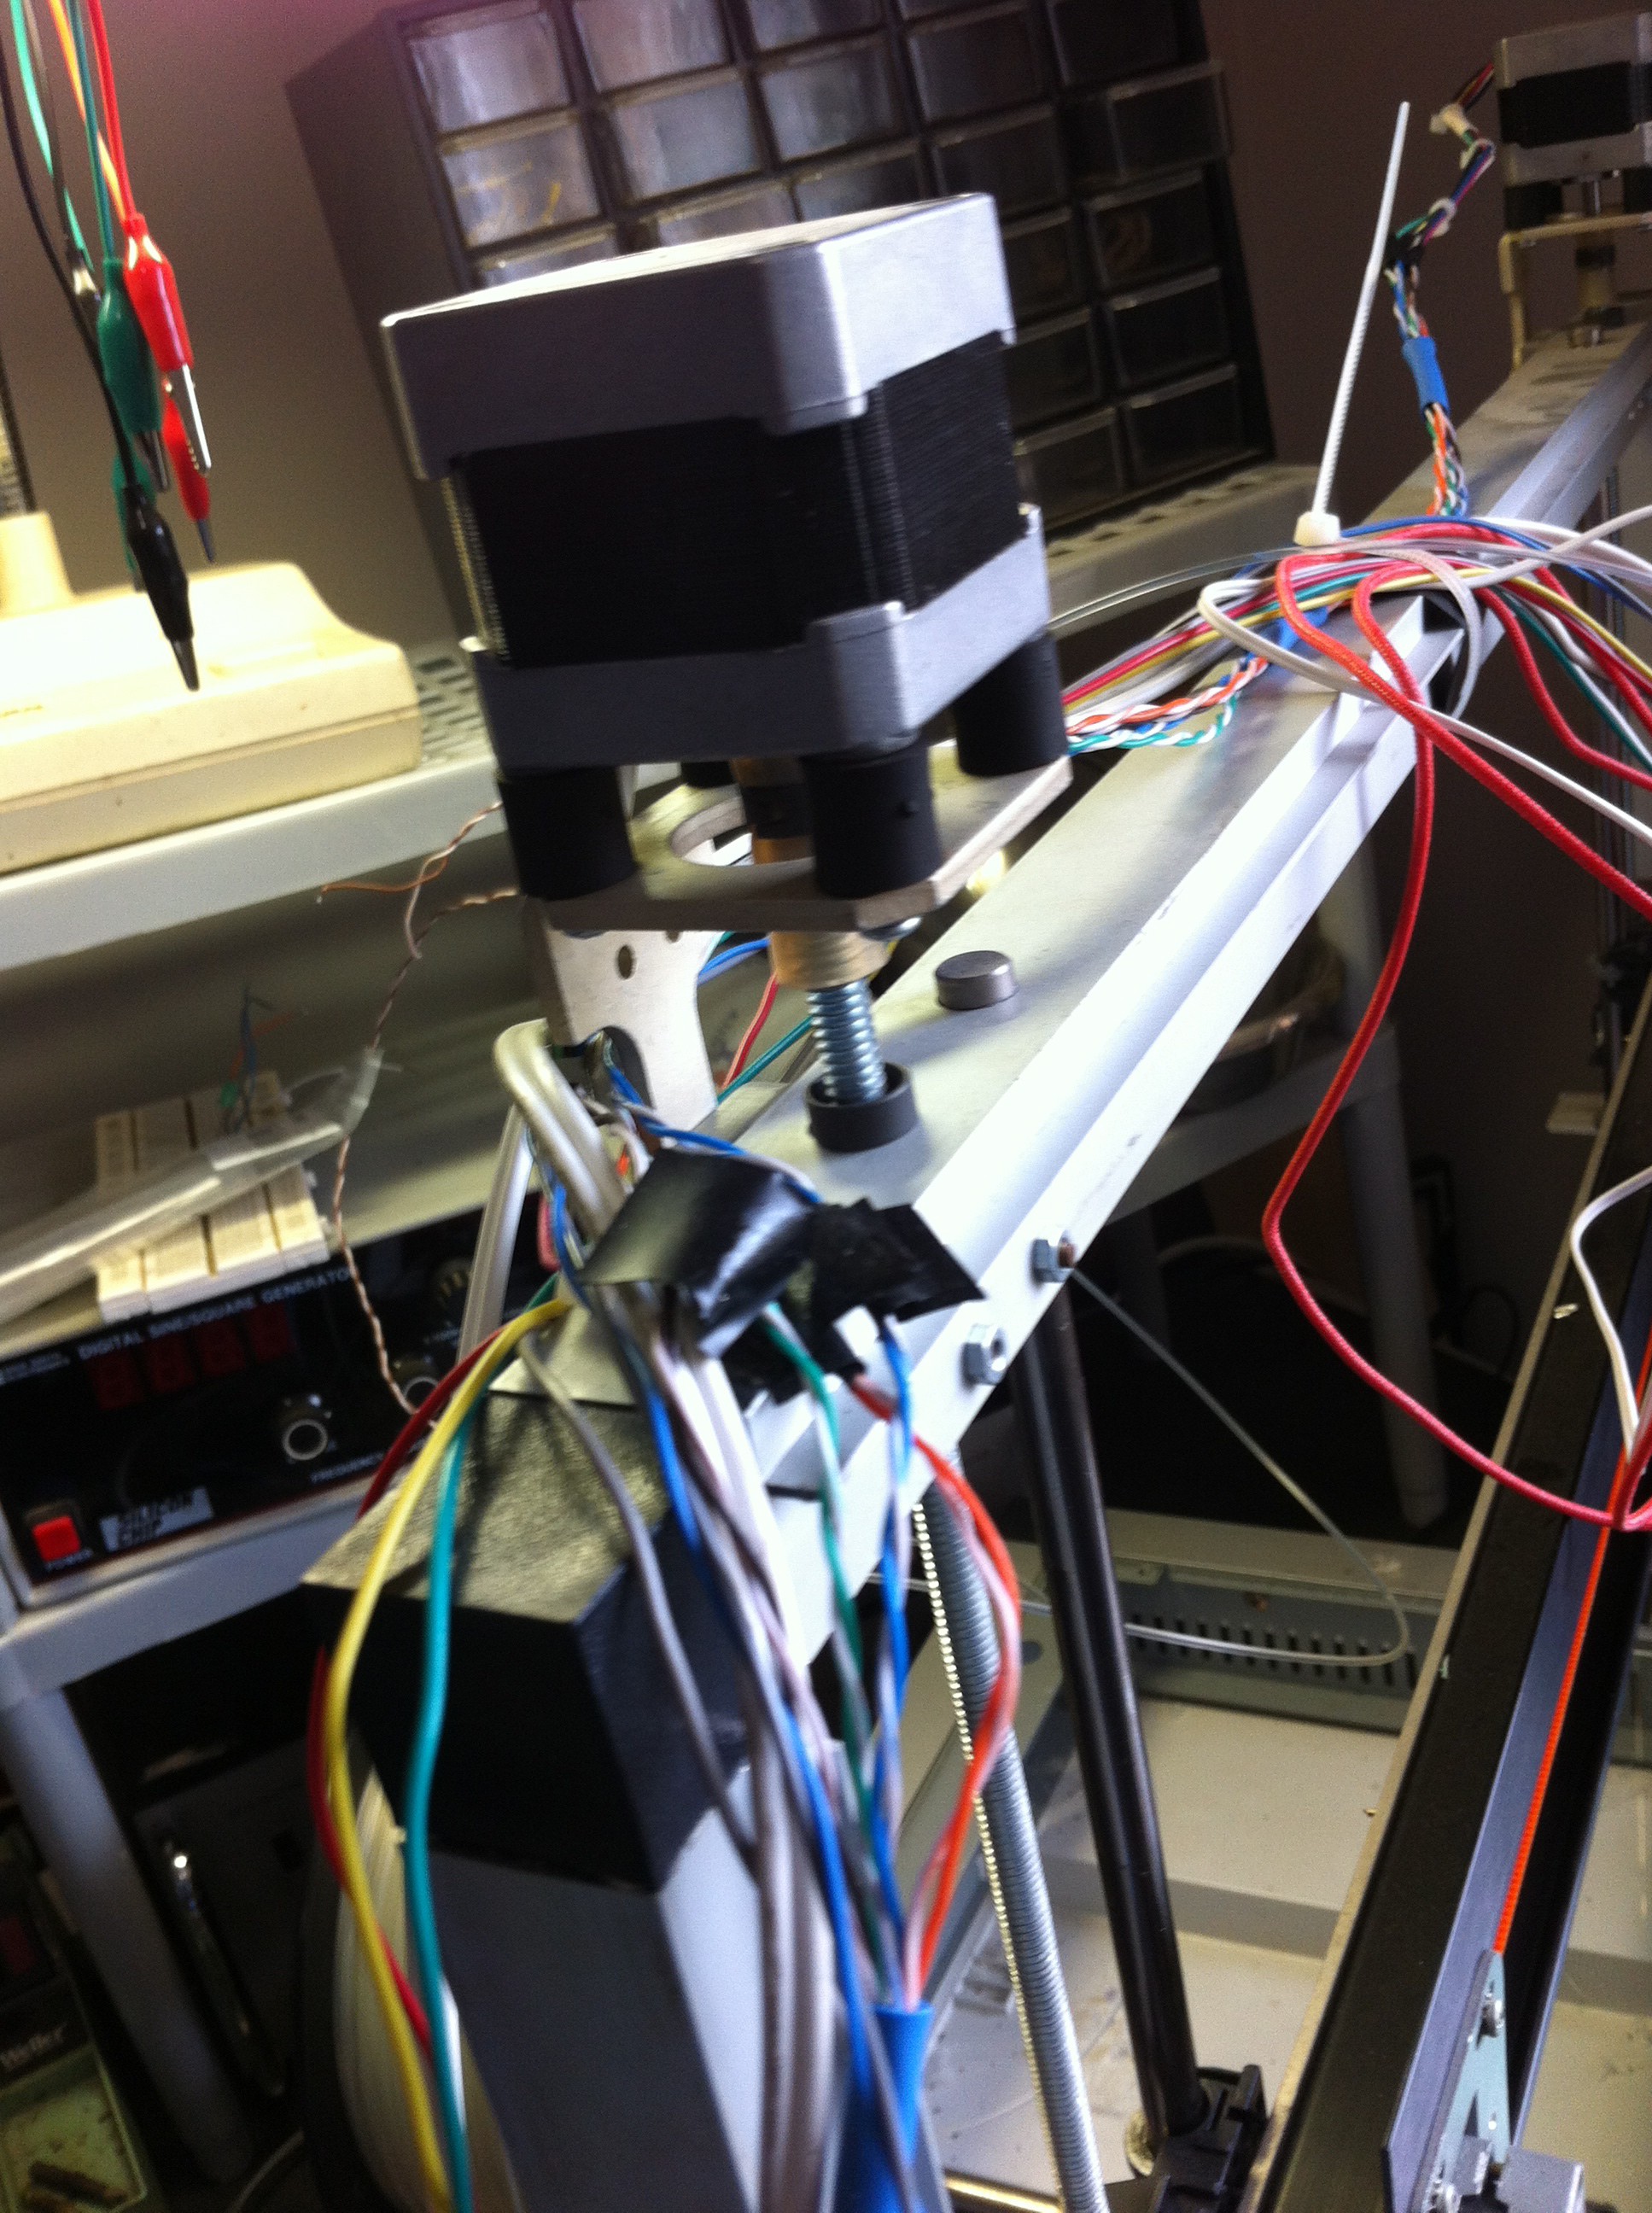
The Z drive is by two steppers attached to the threded rod by a length of silicon rubber tube - I chose the size of the threded rod to suit the tubing ;)
A this was a proof of concept build I have paid NO attention to the routing of the wireing now I know it works Ill spend some time to tidy it all up.
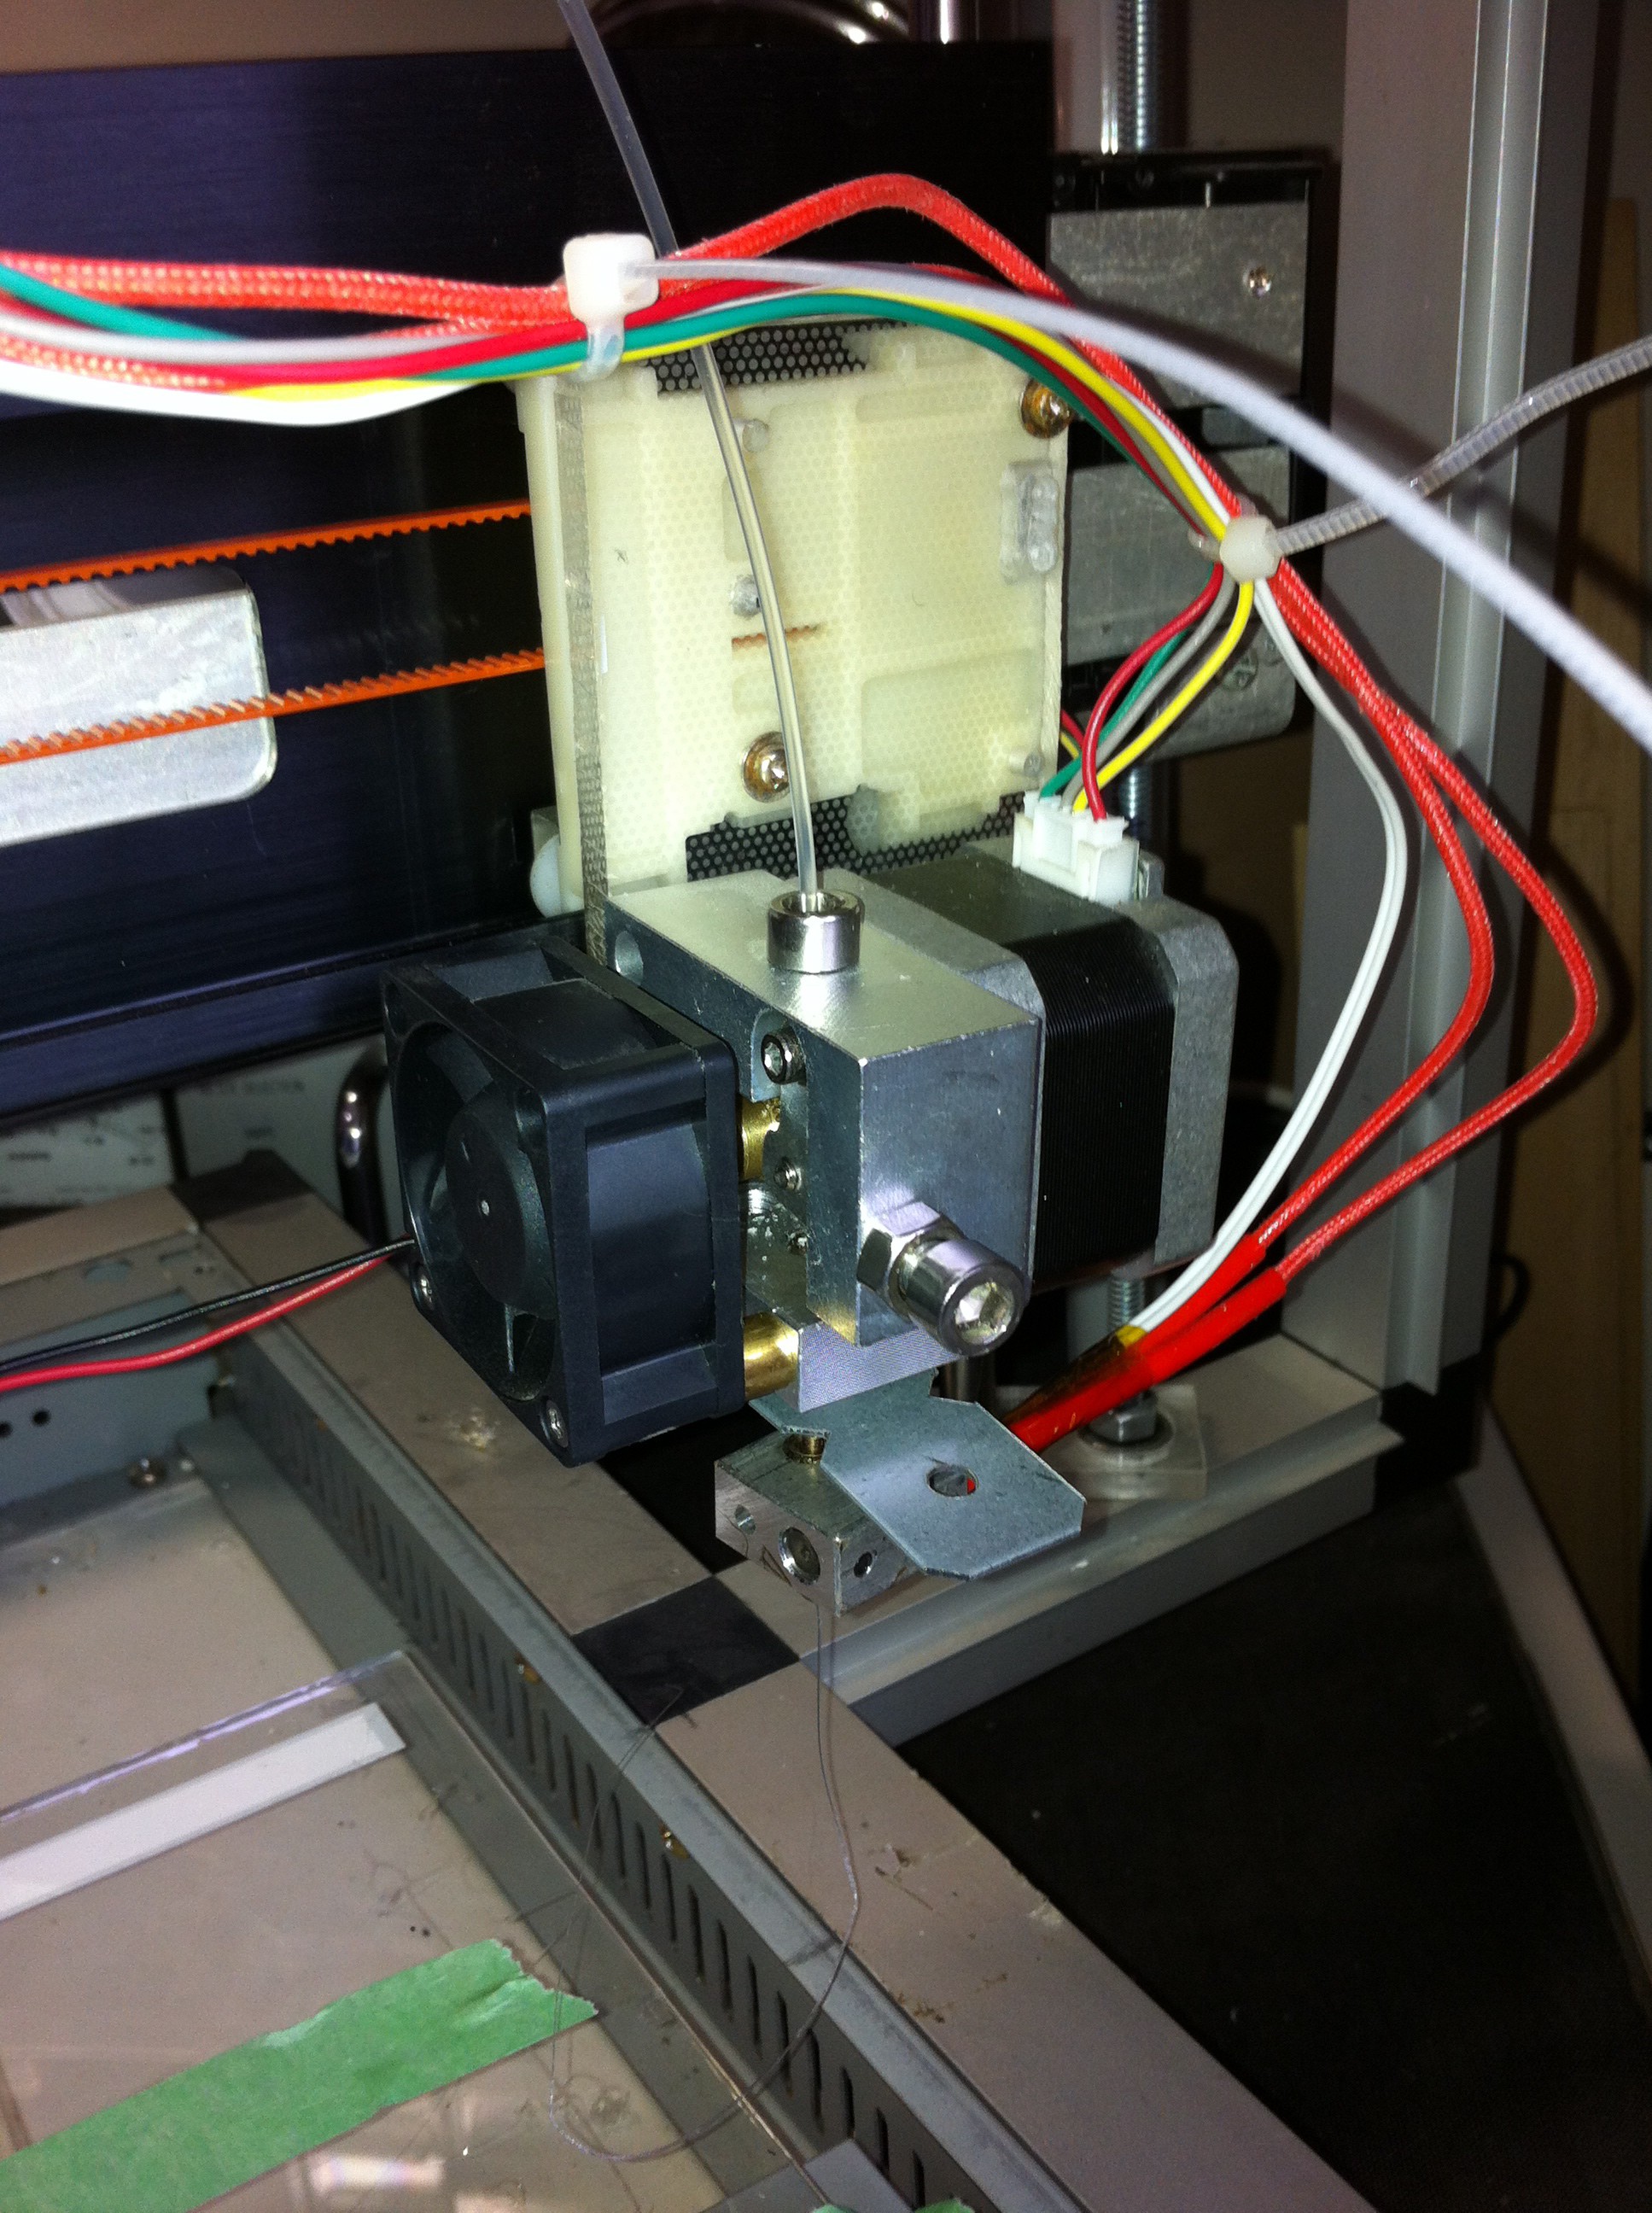
The extruder and hot end I did purchase as a complete unit - the original hot end had a thermocouple which was dodgey and I ended up cooing the hot end so had a buy a new one - Made sure I got one with a 100k thermistor to plug straight into the RAMPS board and works a treat.
One thing I found after much frustration - To printsuccessfully the fan MUST be on all the time other wise heat rises up into the mechanisma nd the filament starts to melt before it gets to the busniess end....
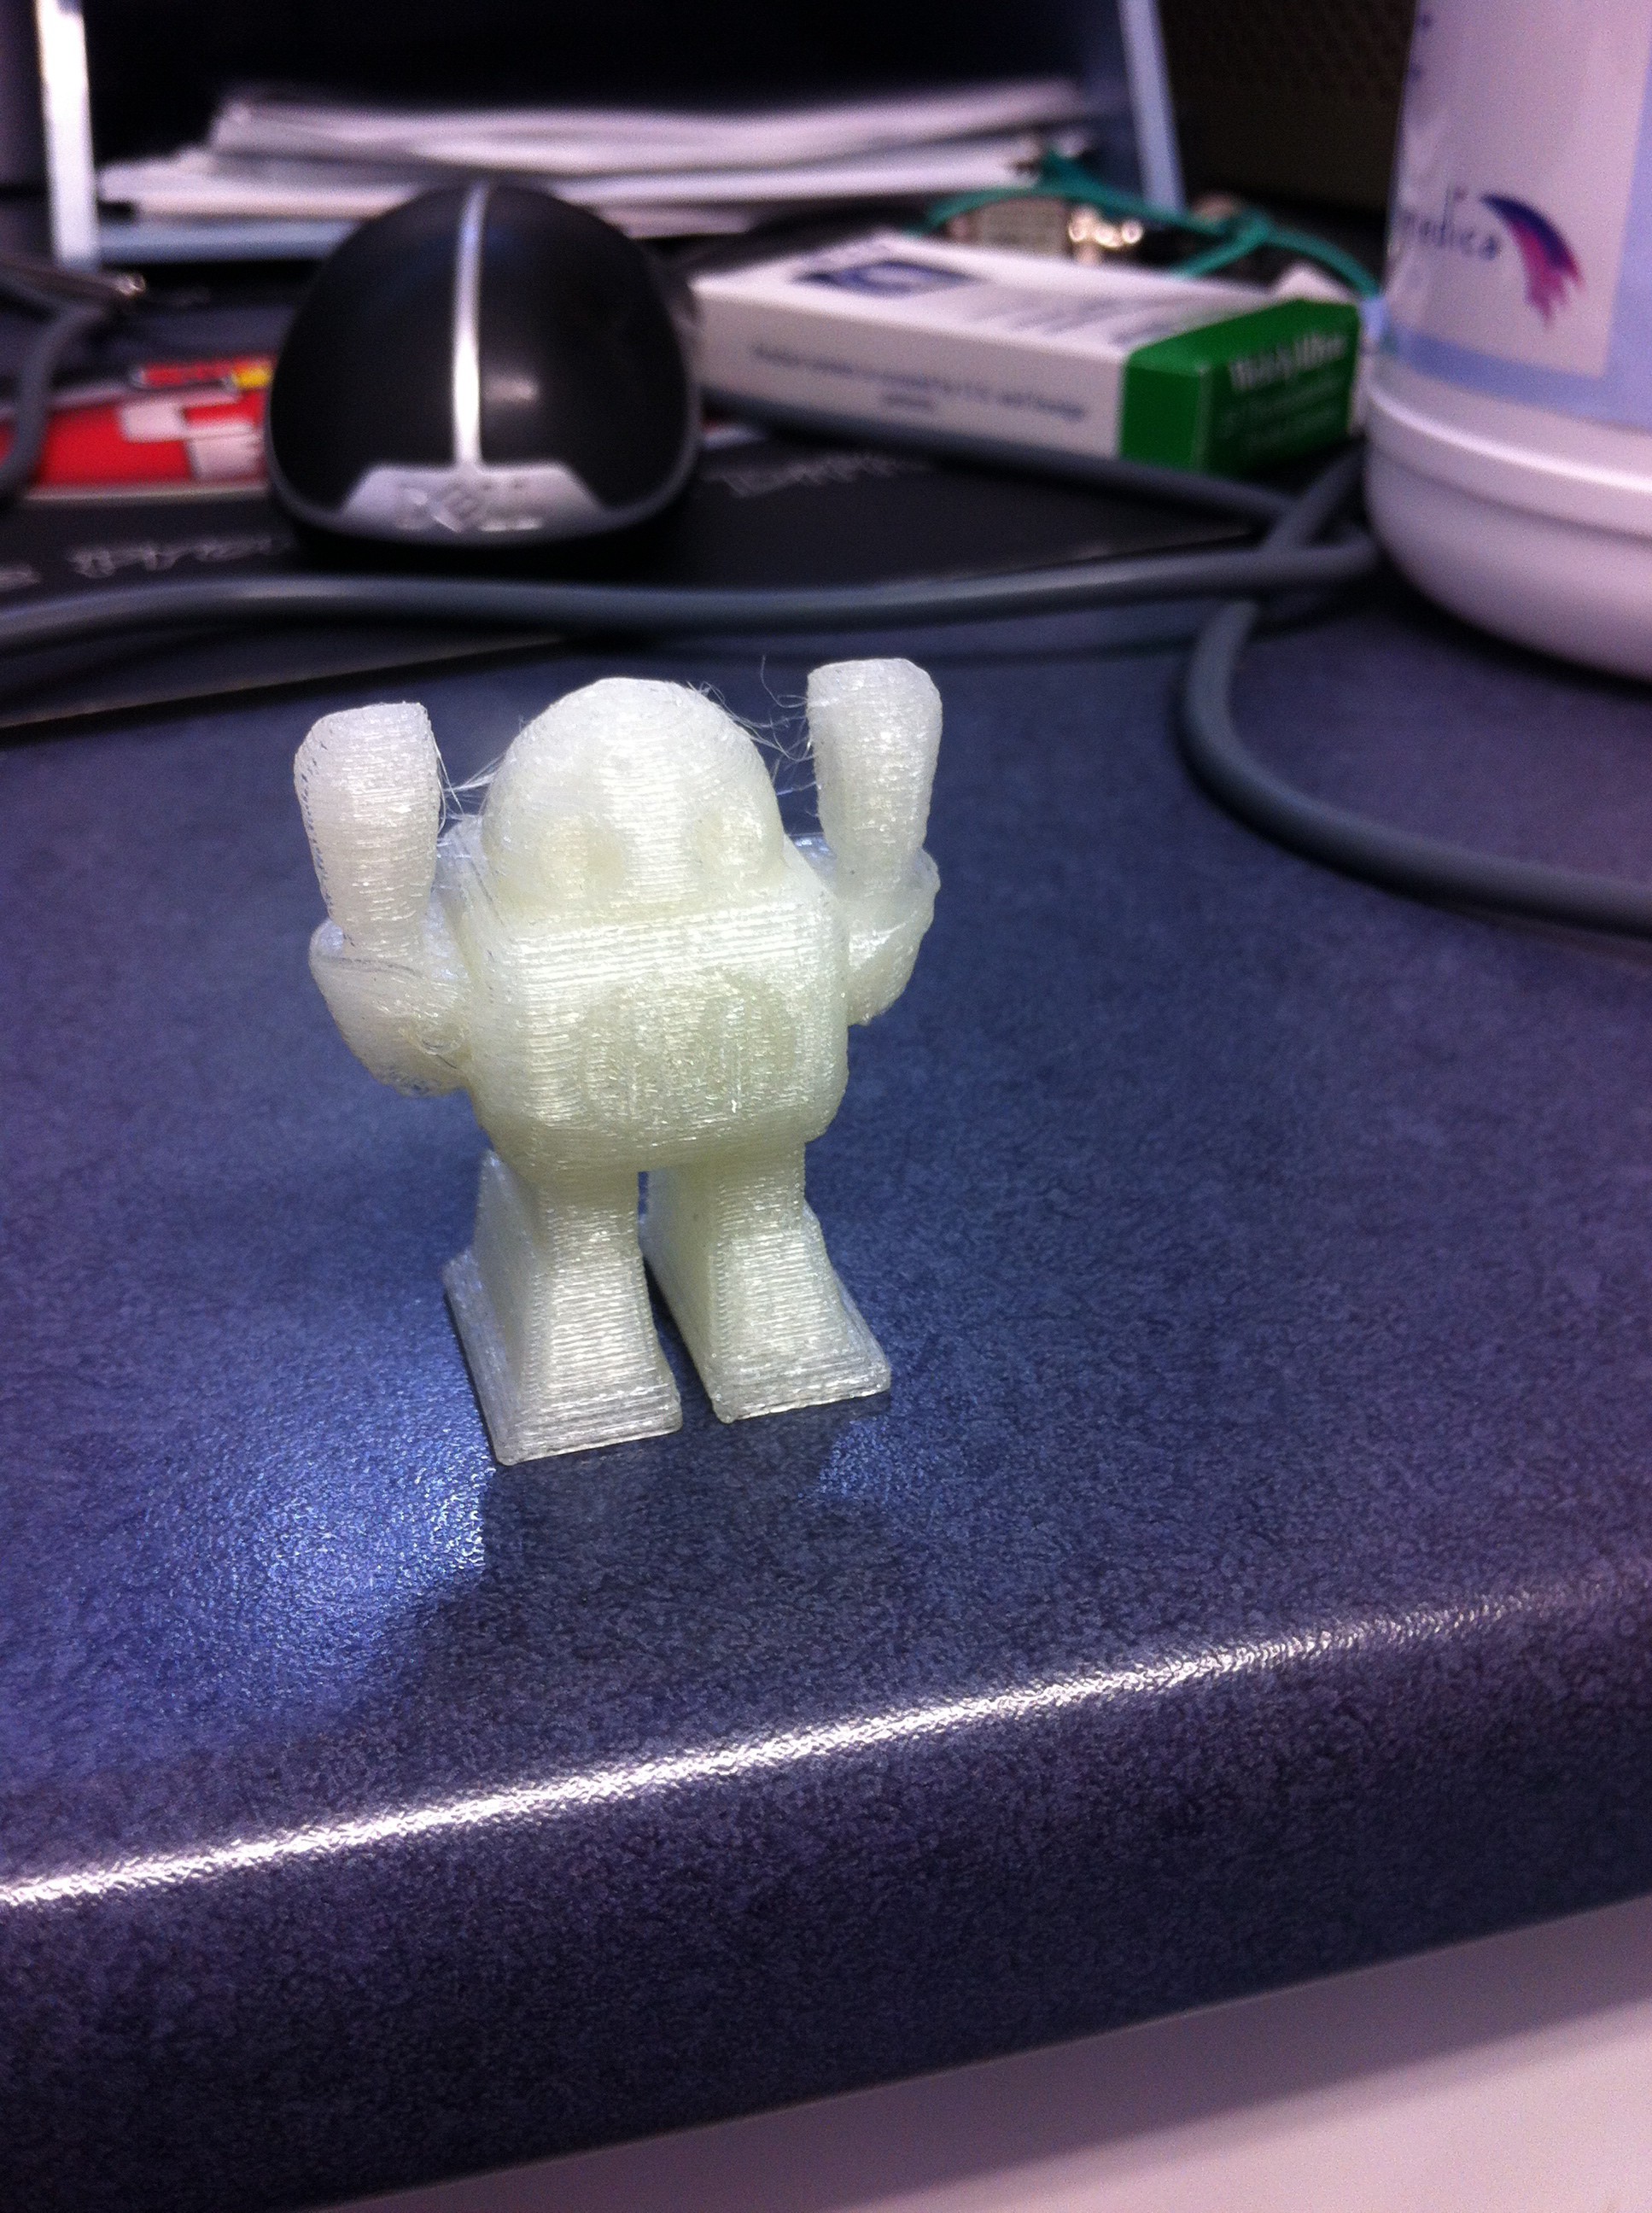
I finaly managed to get a successfull print out the unit - my big mistake was telling Slic3r i was using 3mm filamanet when in fact I was using 1.75 - thta made all the difference.
Now to find some cool things to print
I was haveing a lot of issues with the filament jamming /sticking n the hot end. I found some posts in various forums suggesting to lubricate the filament with a bit of olive oil.
So I did - and that has made a HUGE difference. I put a bit of oil on a tissue and sit it on the top o the printer so that the filament is draged over it as it feeds - its a bit dodgey butit works a treat - I havent had a miss feed since doing it. It also wipes the "dust" fo the filament as well . it is amazing how much dirt comes off the filament.
 Saabman

 johnowhitaker
 heinz
heinz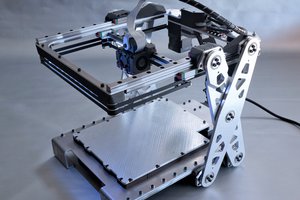
 Malte Schrader
 Michael O'Toole
Initially yes the dodgey thermocouple was a big problem - ended up cooking the hot end.
The replacement one has a 100k thermistor built in which connects directly to the Ramps board.
My next issue was the fillament getting jammed in the hot end - In my ignorance I did not think it would be necessary to have the fan running for the short tests I was doing - FAIL.
I needed the fan running all the time that fixed the jamming problem. What was happening was the heat from the hot end was rising up the shaft and heating the extruder drive block. The fan keeps that nice and cool.
The next issue I found getting very whispy prints was due to me setting the filament diameter incorectly - I had set to 3mm rather than 1.75. Chaneging that made the quality of the prints infintely better.
My next step will be to change the 0.4mm extruder nozel for a smaller one. My extruder came with a 0.2 and 0.3. changeing it down should give a high resolution.
Most of my issues came from my ignorance - opperator error :lol: