 Evan Li
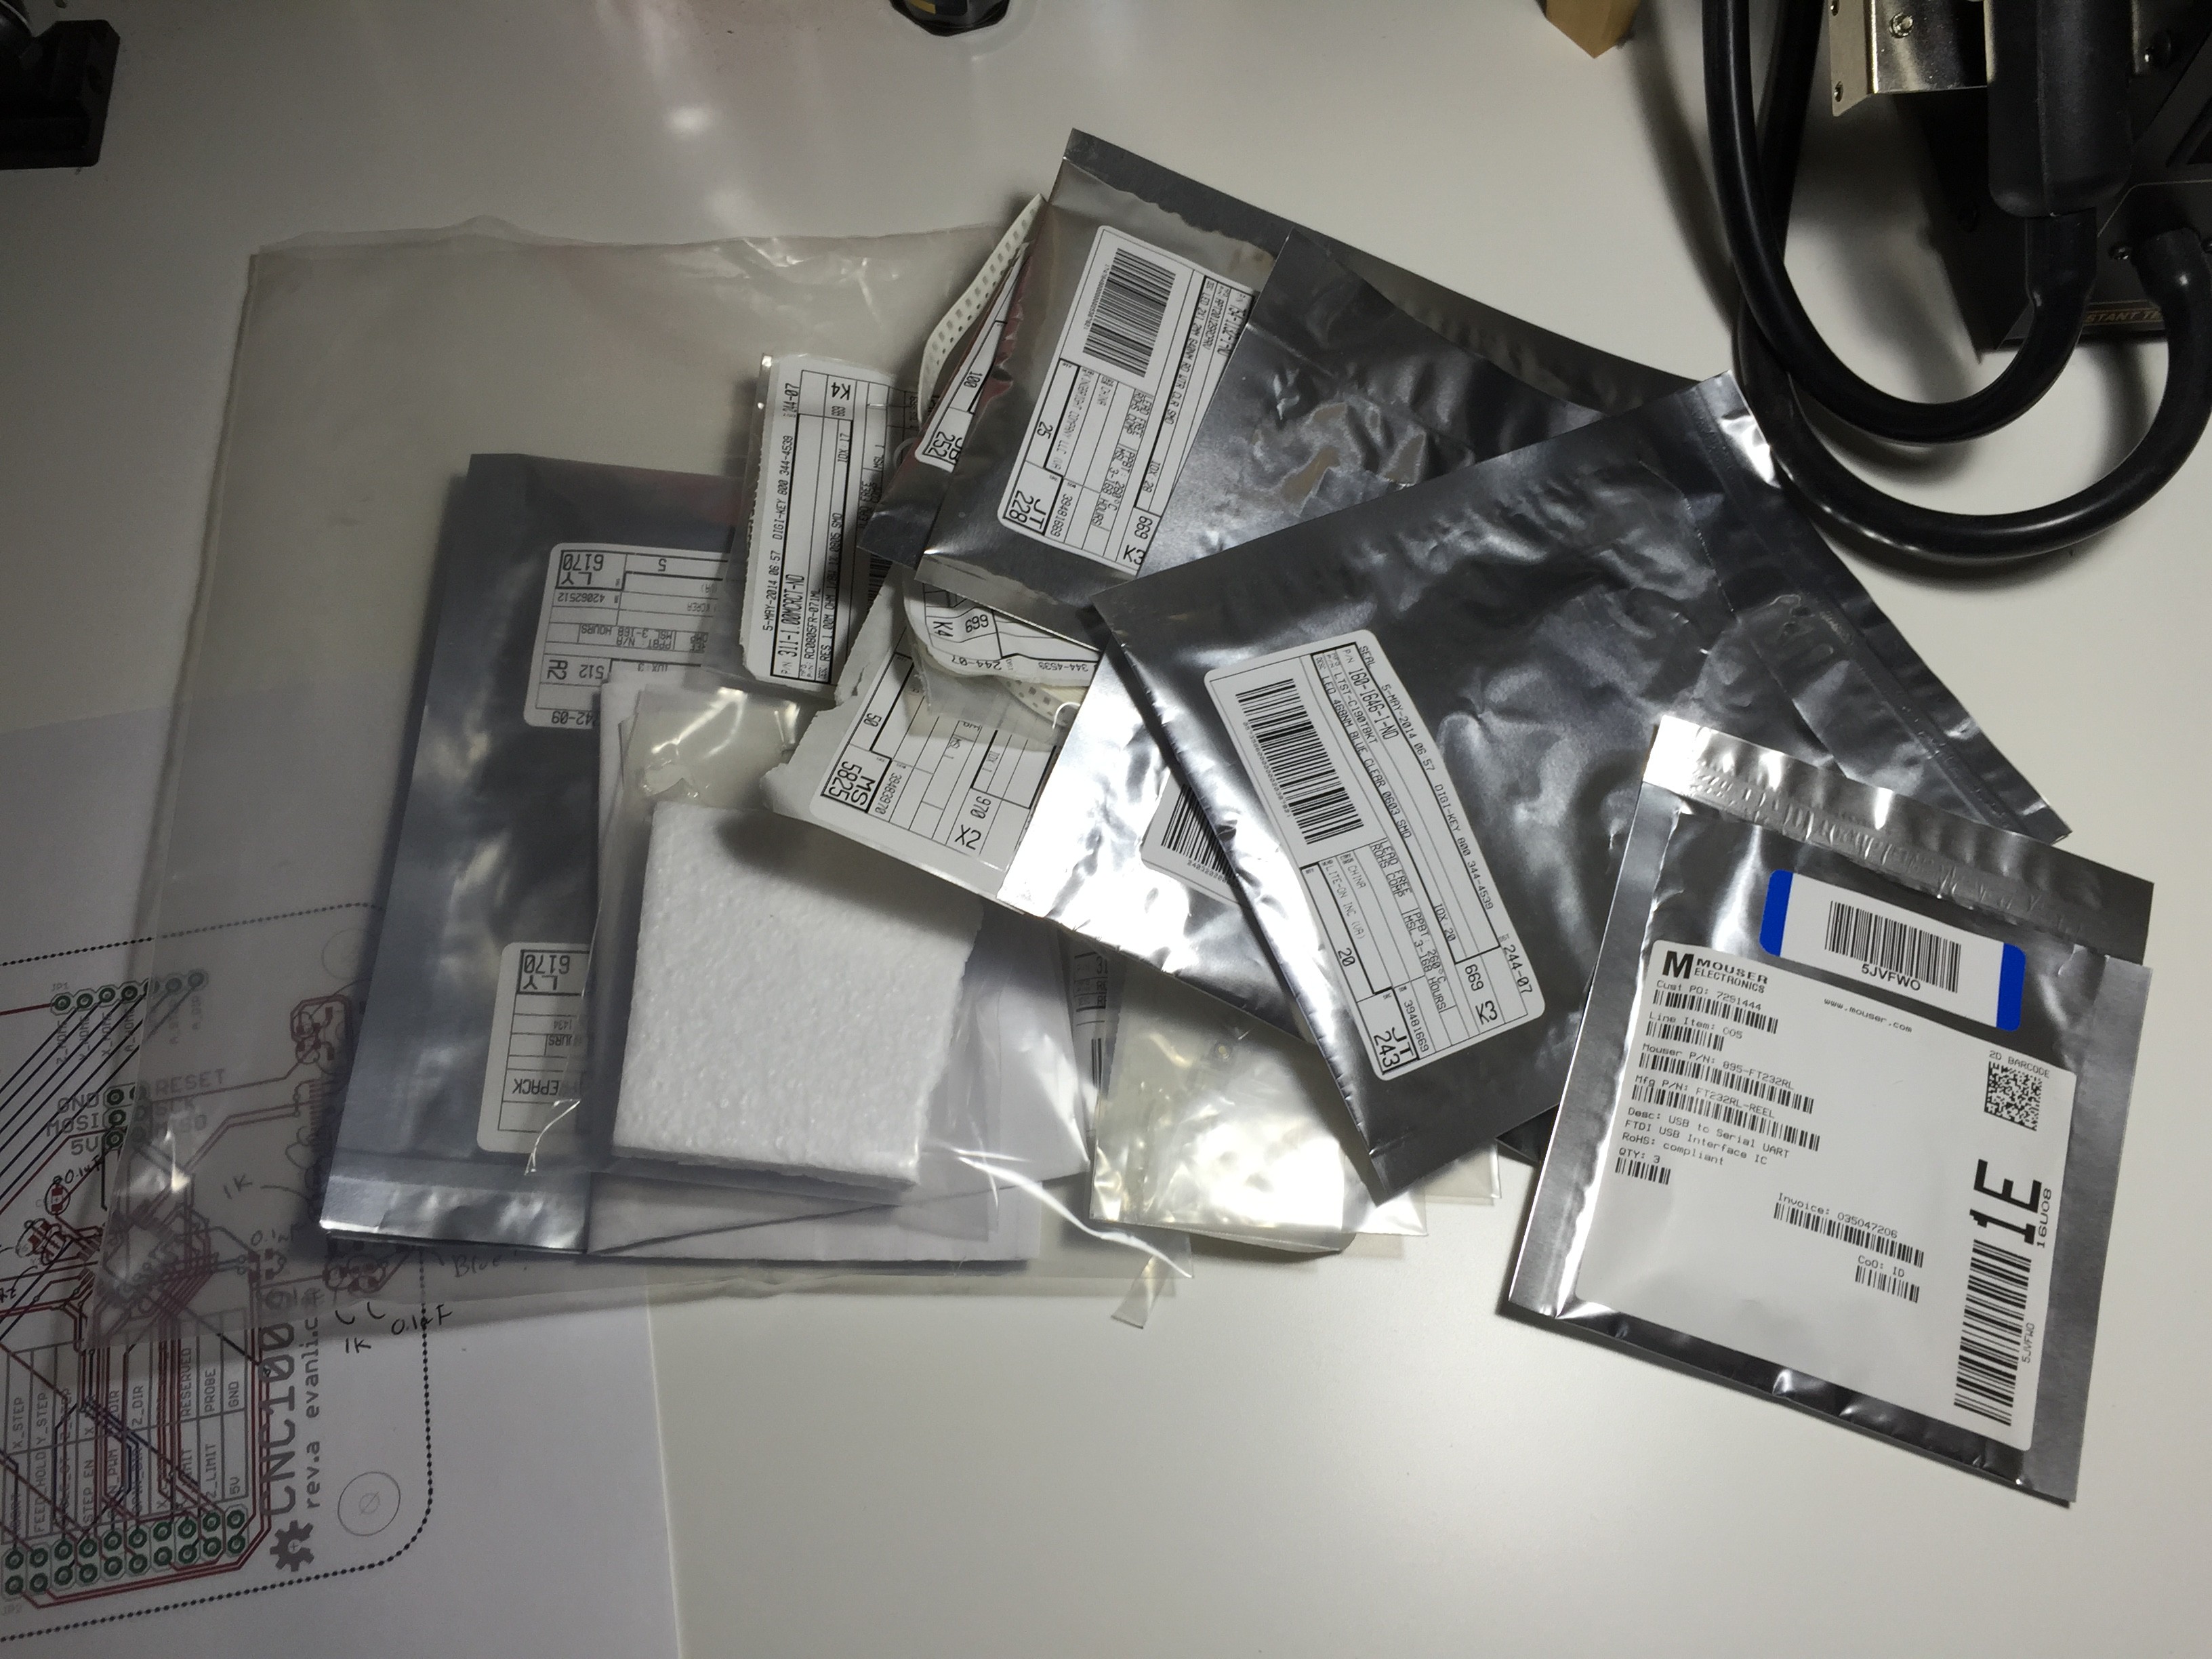
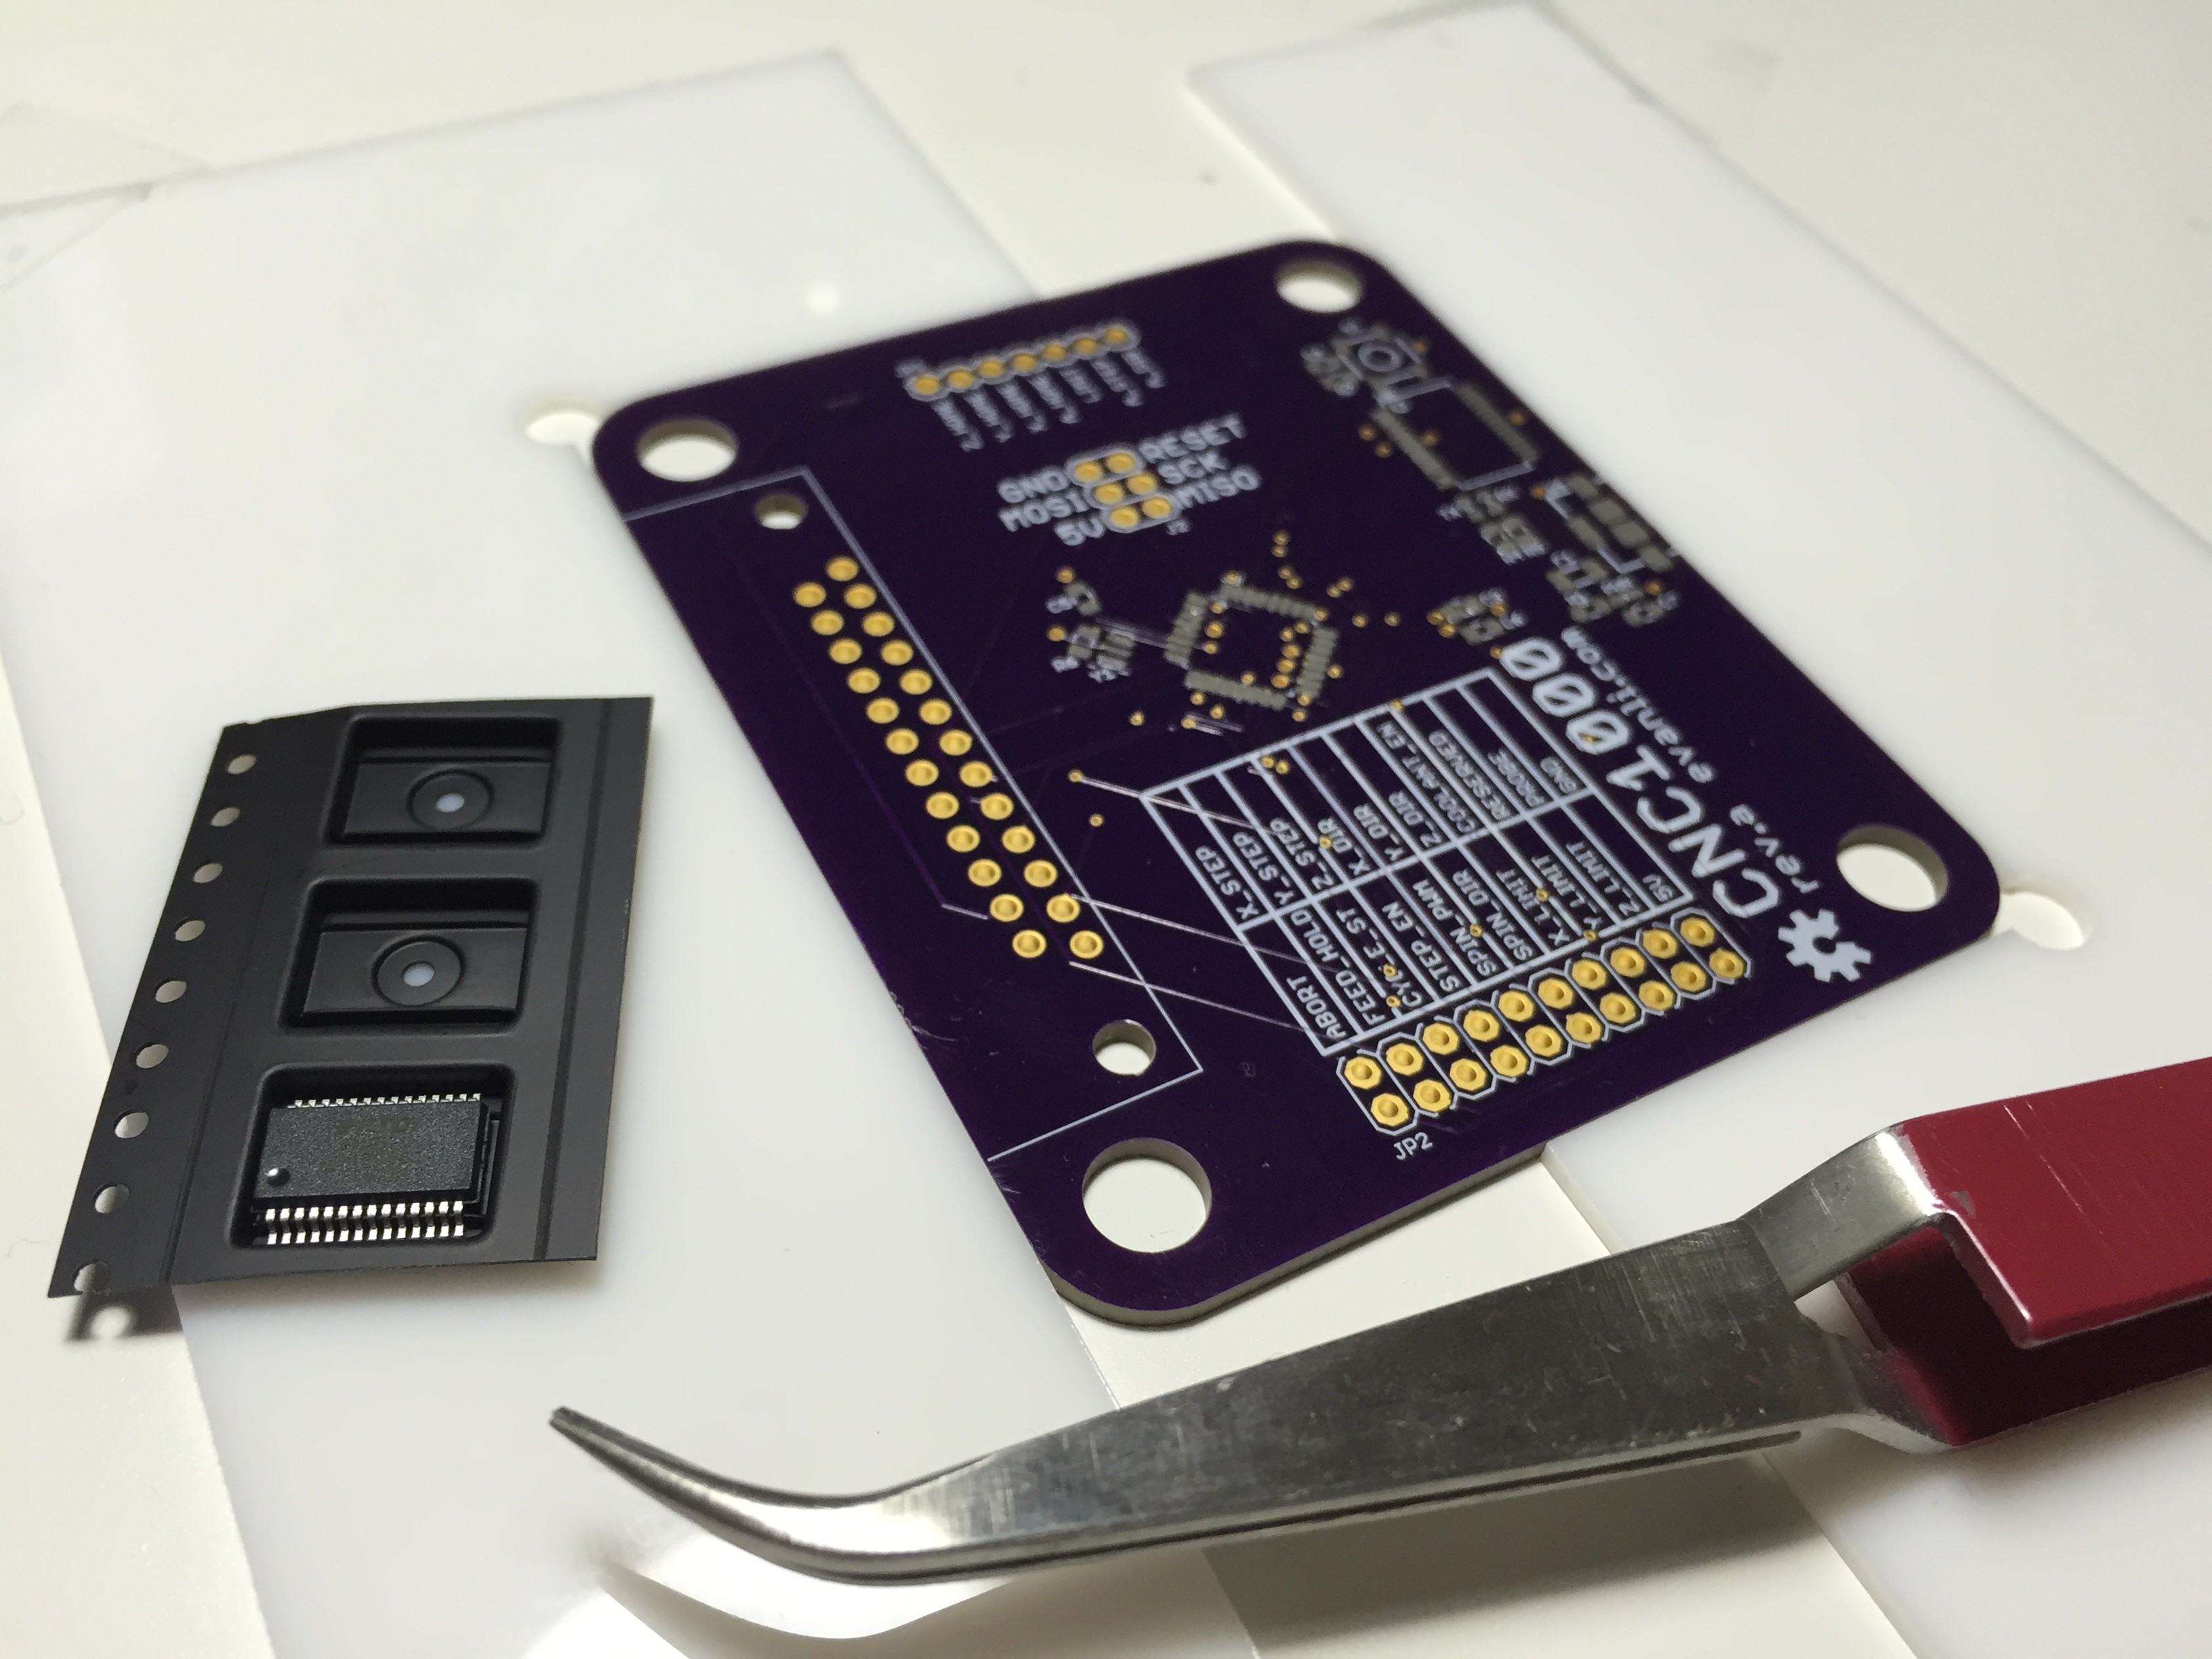
Pulled all the needed component out of my existing inventory. It's nice when you have accumulated lots of basic parts like capacitors and resistor, save a lot of time having to reorder them. I also like to use an annotated printout of the PCB so I know where everything goes.
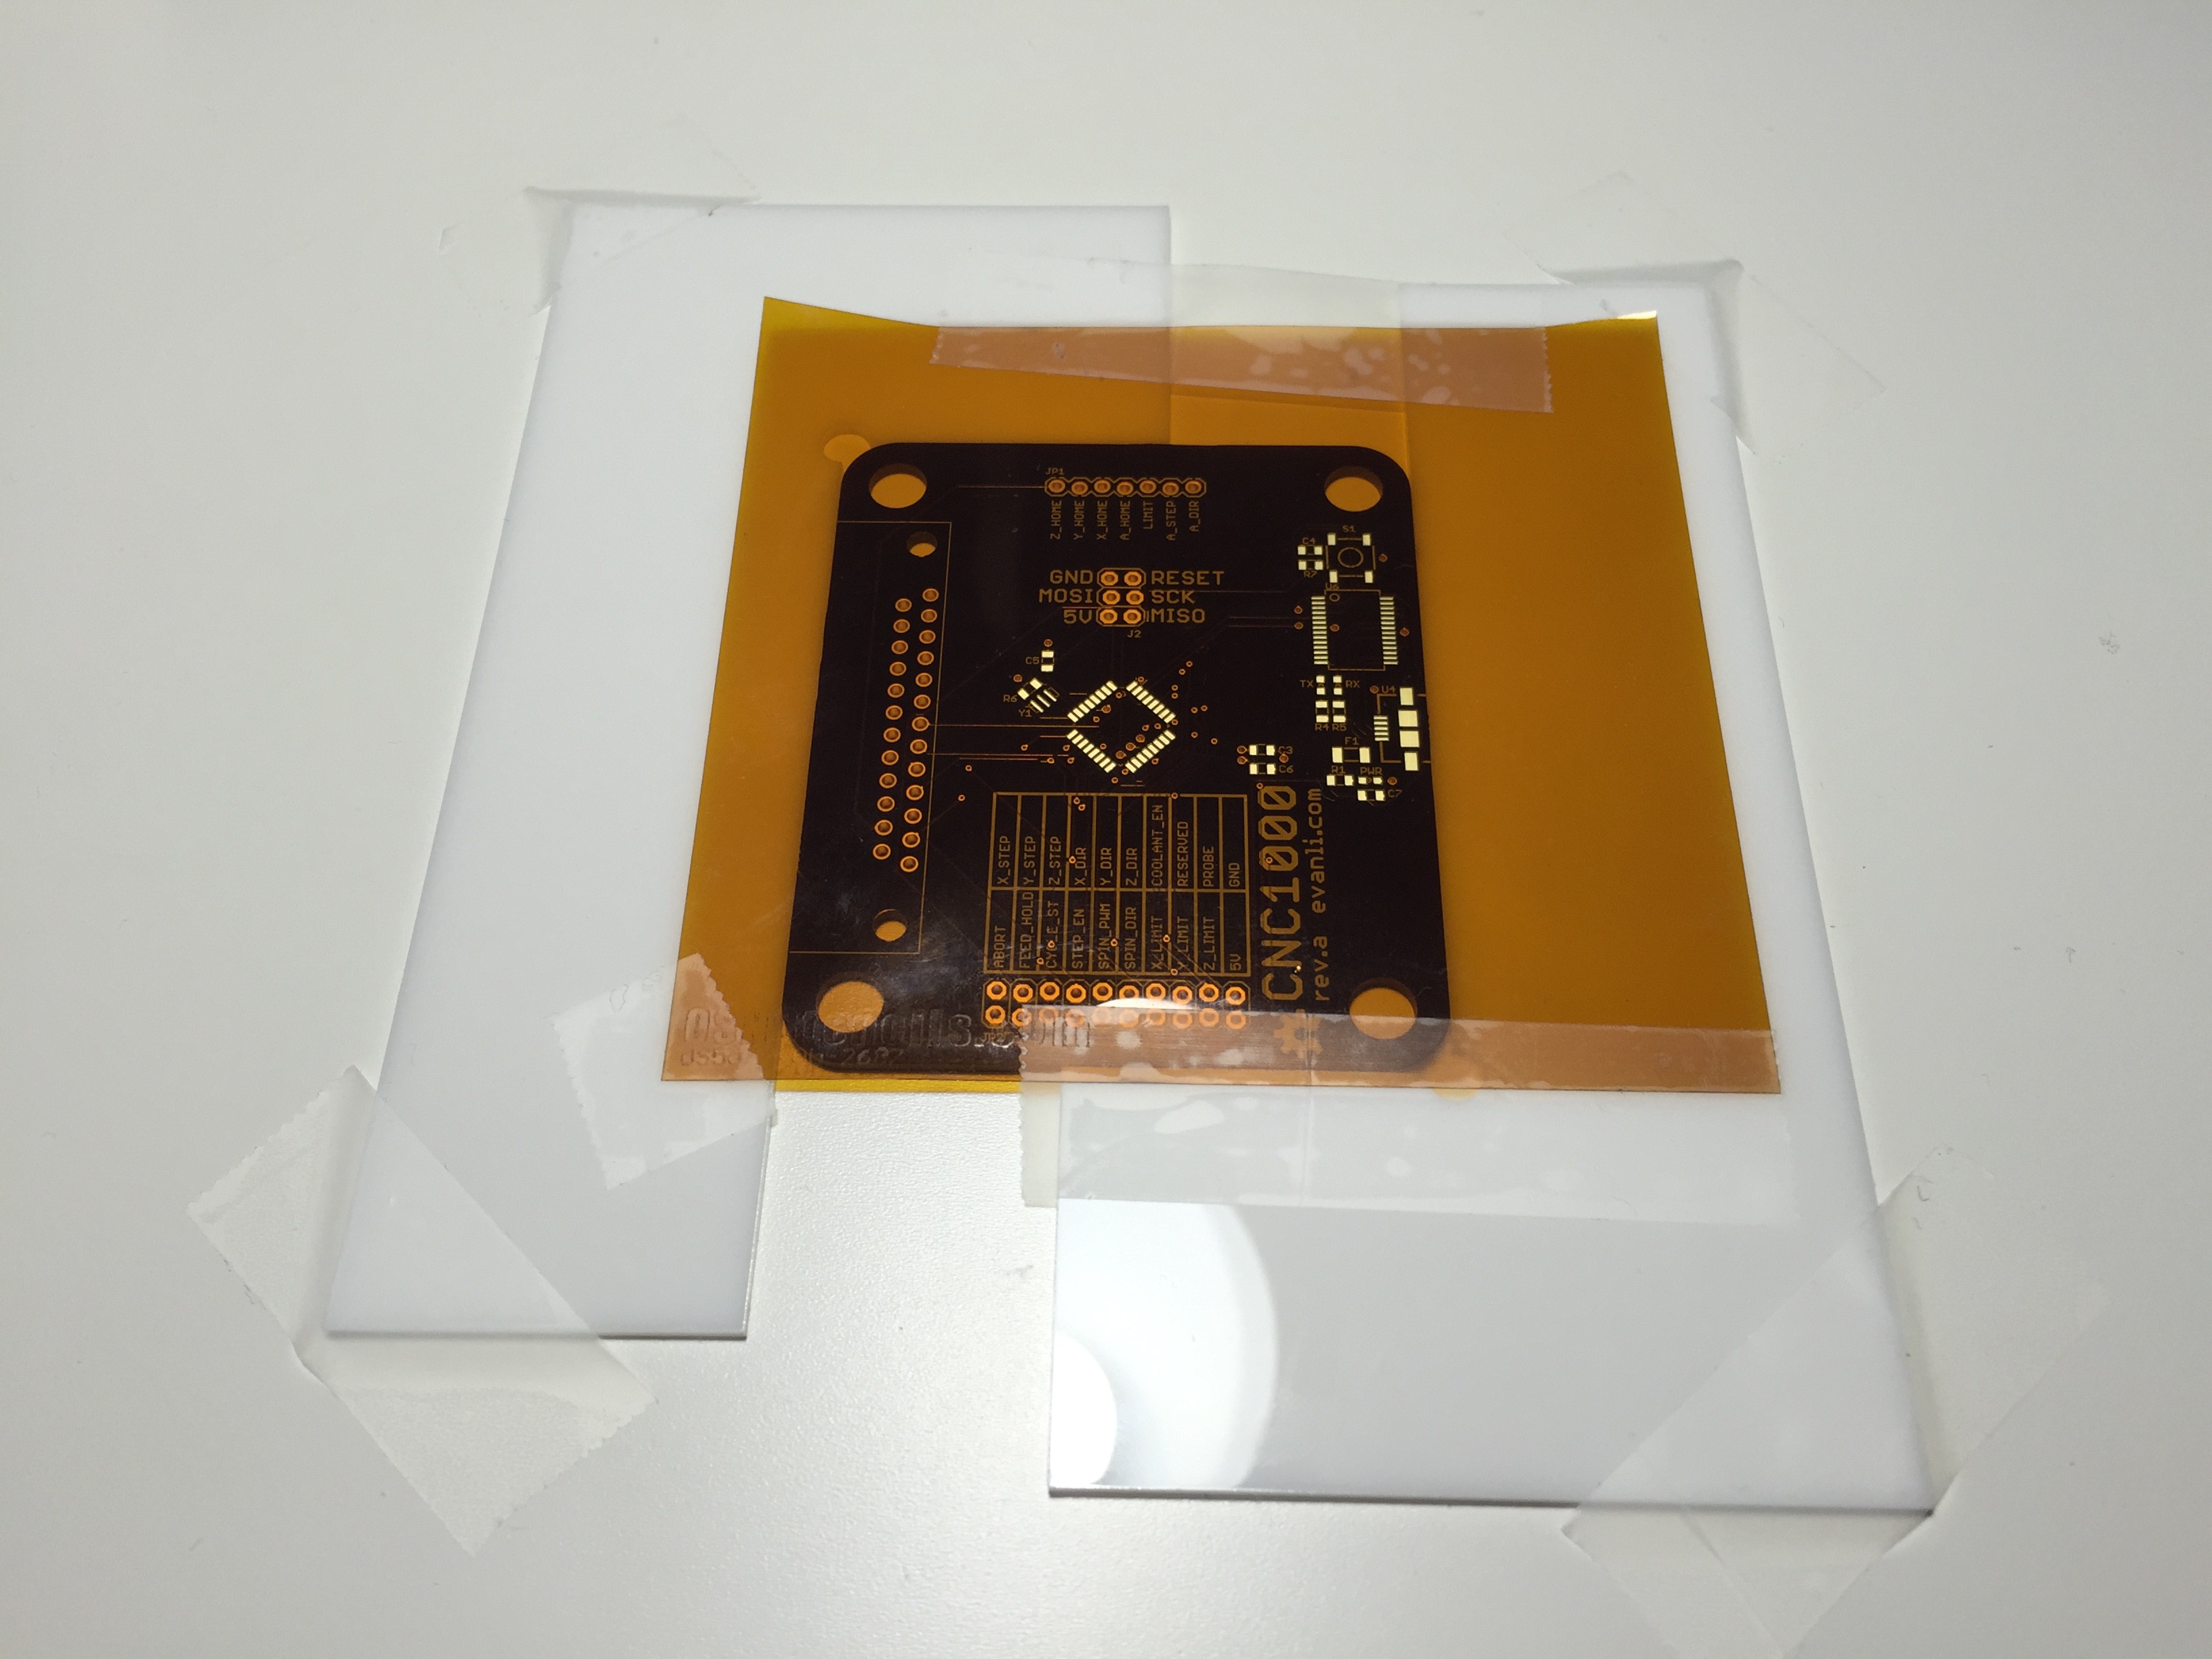 Putting on solder paste is always a delicate task. Basically I just taped the PCB in place with some acrylic L shapes. The stencil is aligned and secured in place with more tape.
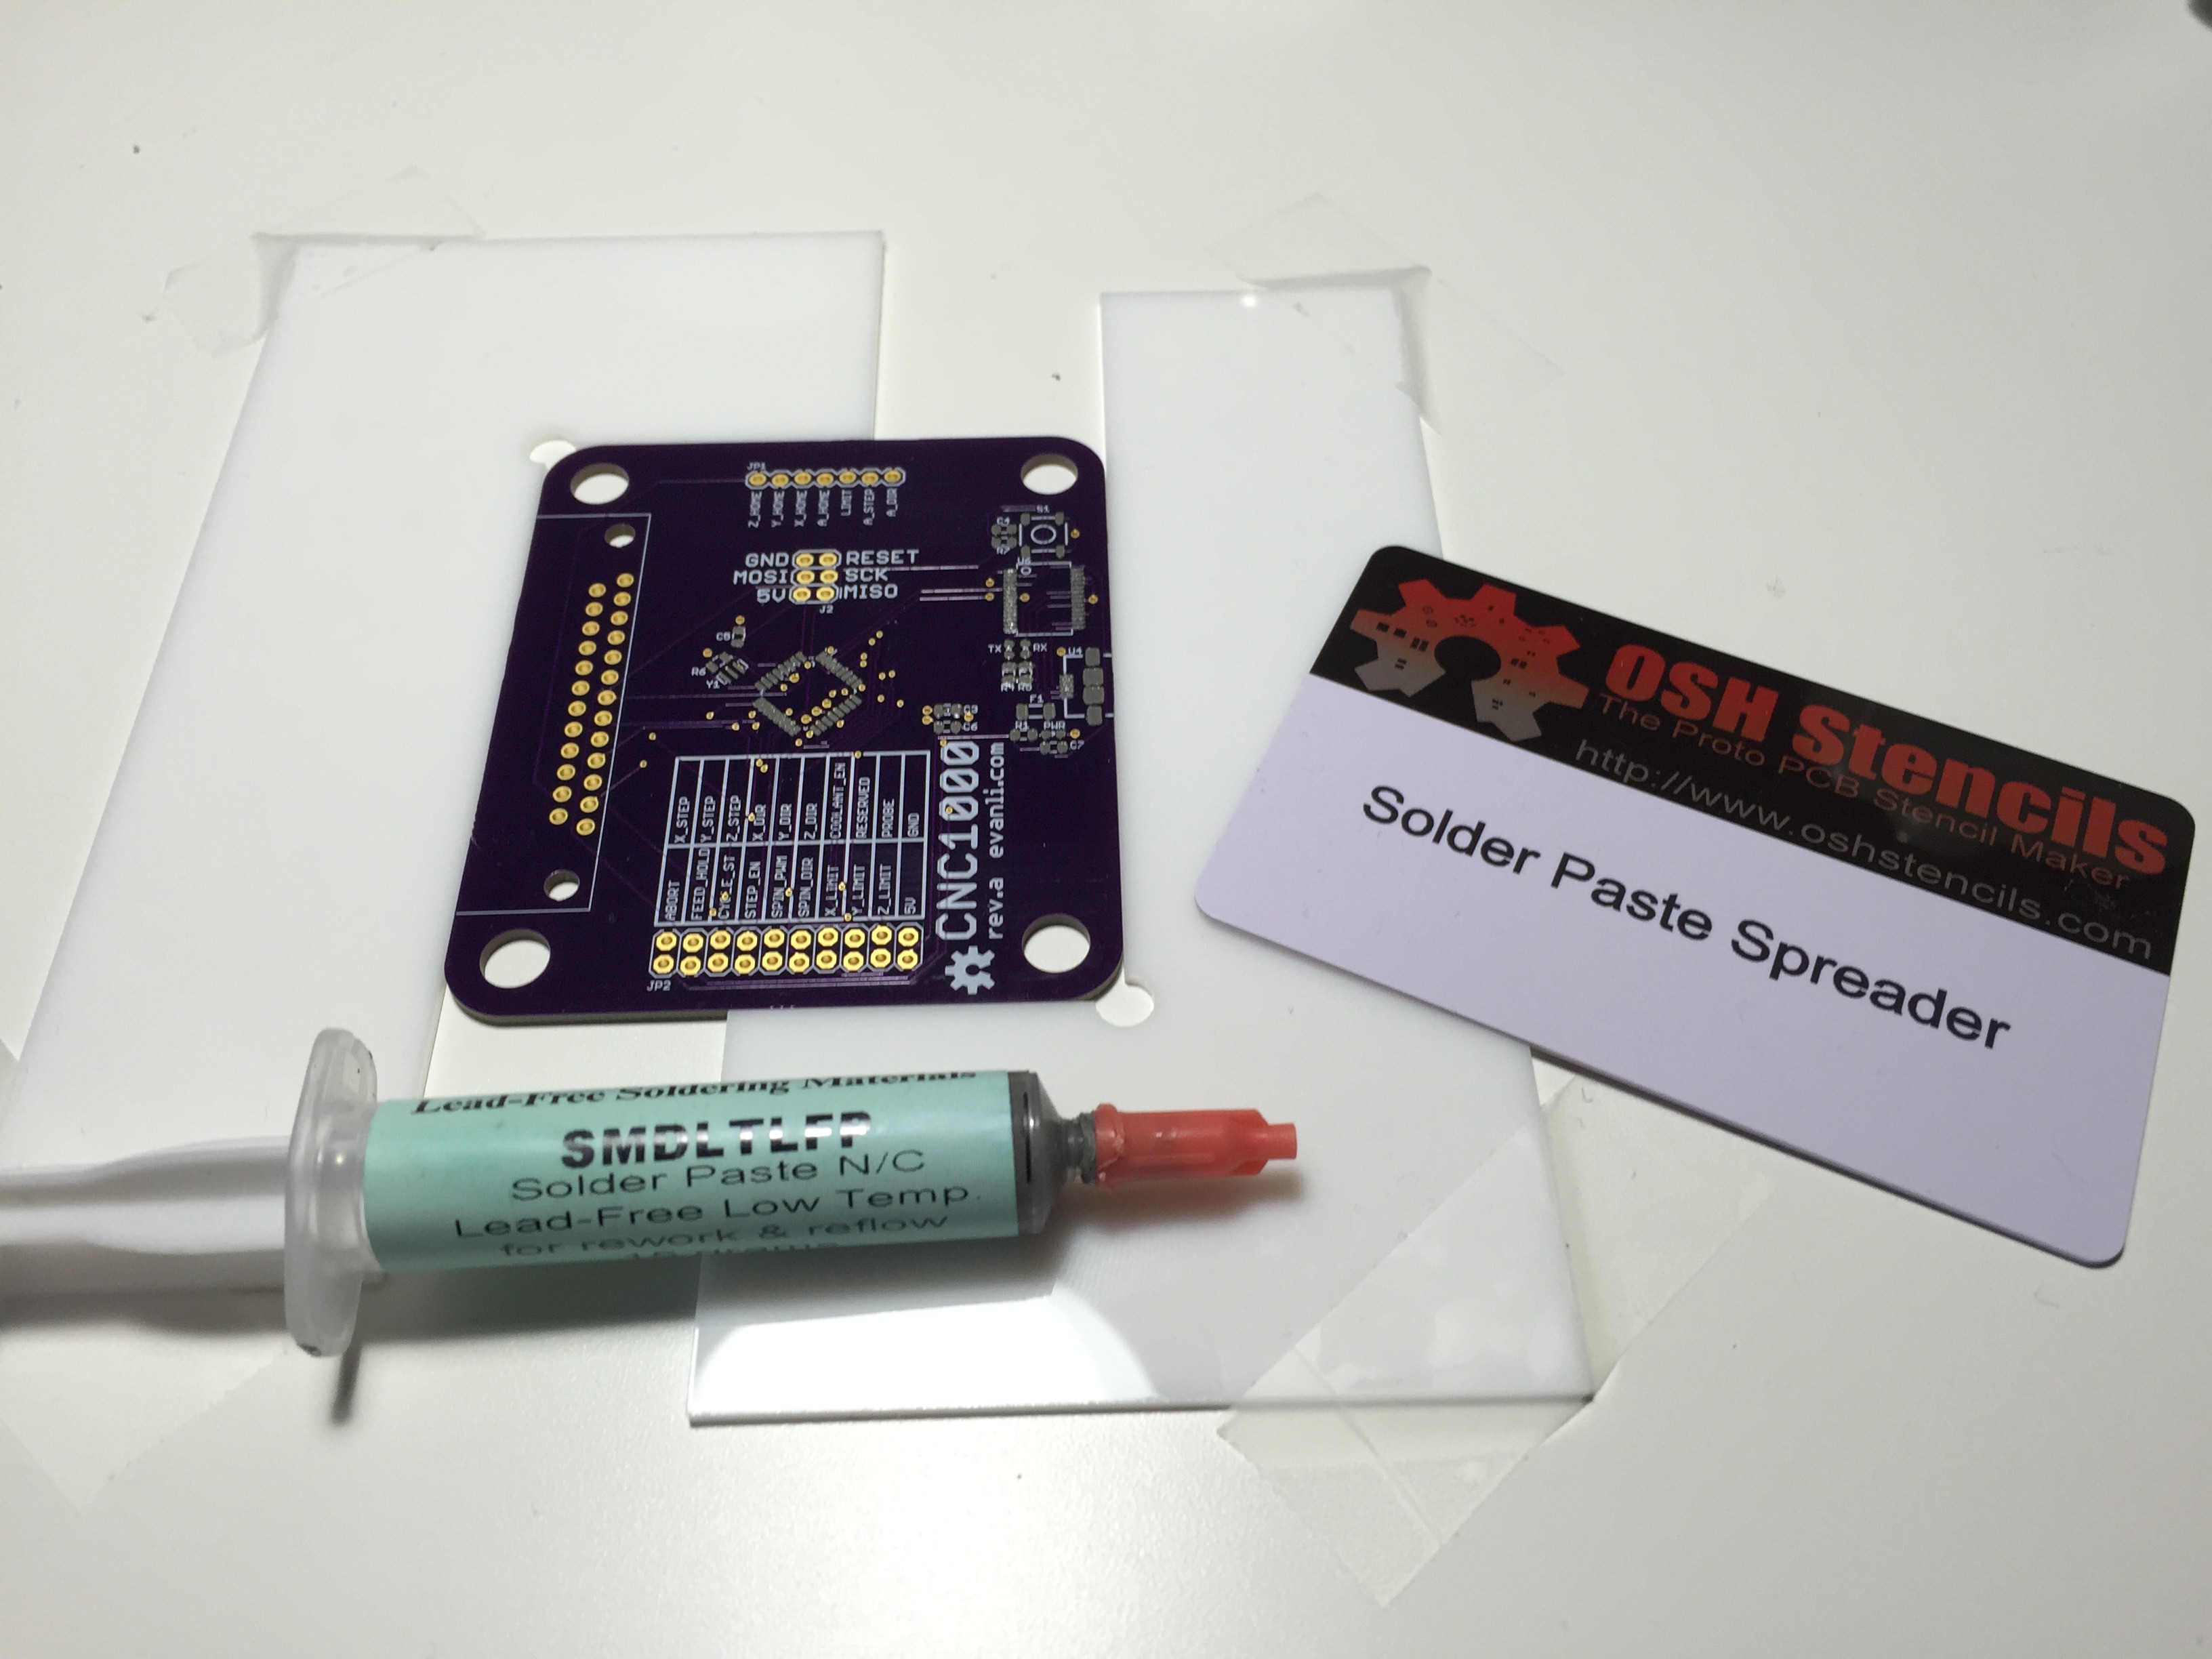 Dump some solder paste on and spread it with a convenient card from OSH Stencil.
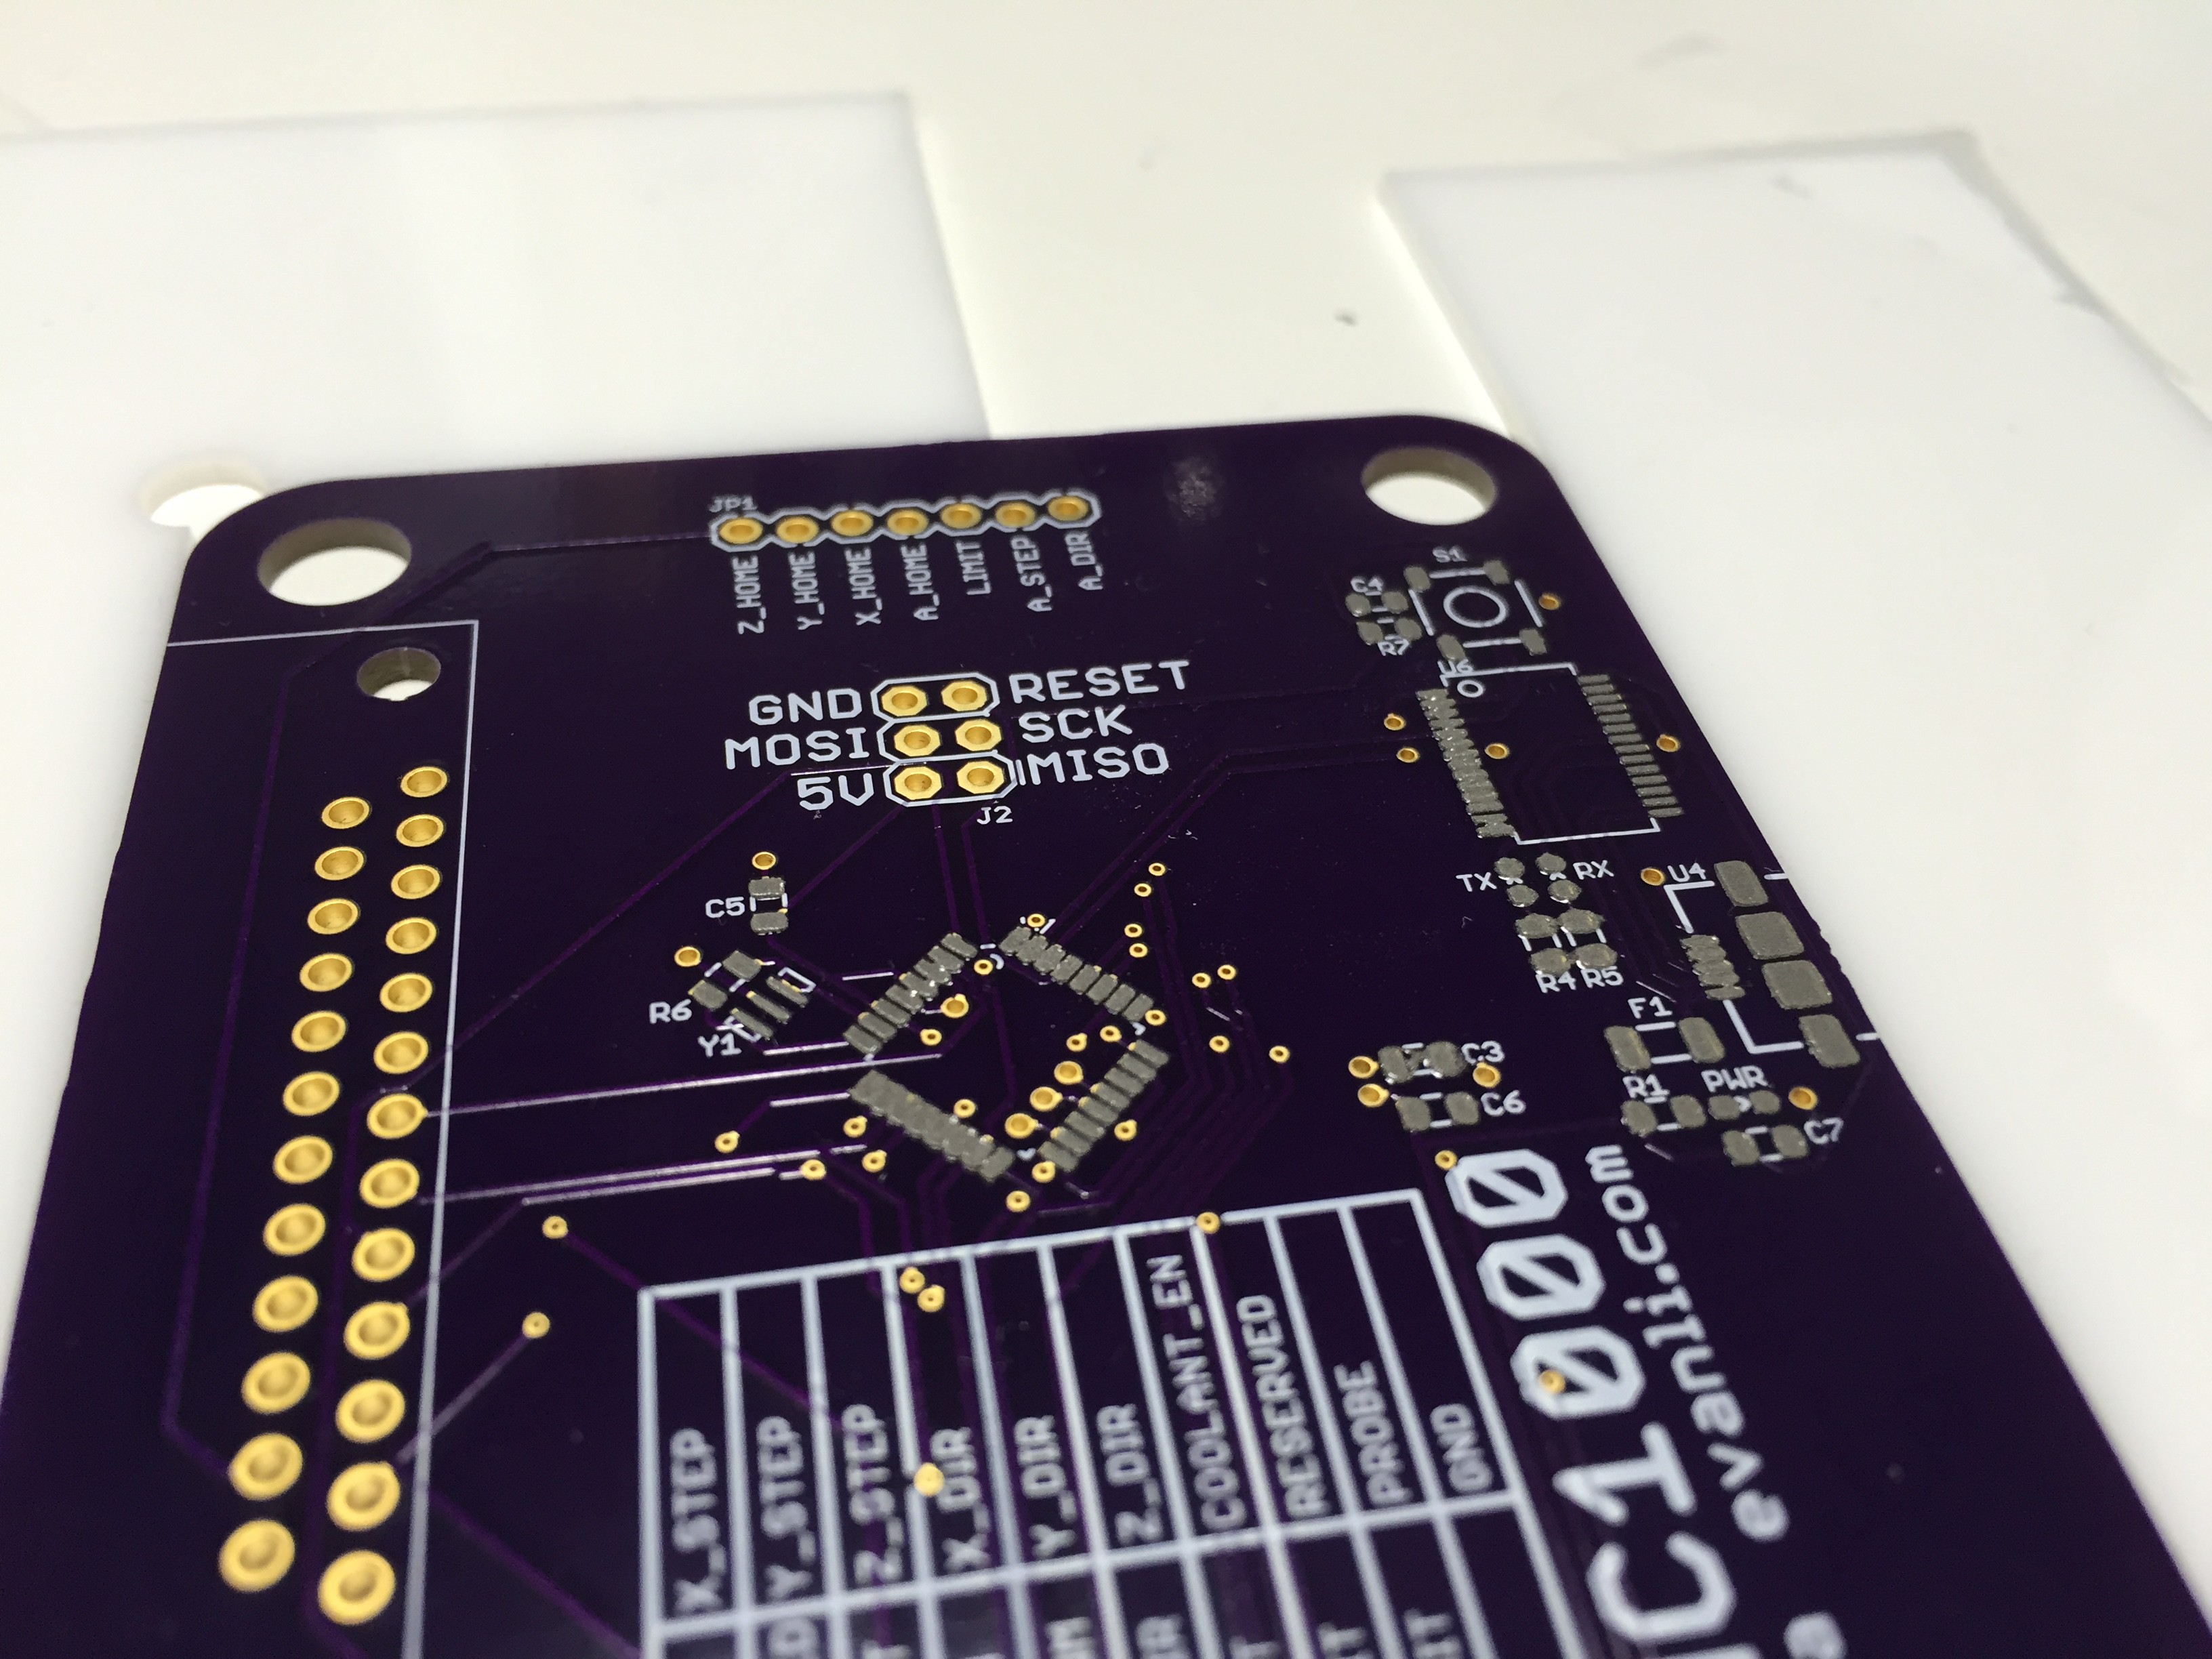
Solder paste applied on all the pads.
Populating the board is also a delicate process. Pull the component out and carefully plop them down on the correct pads.
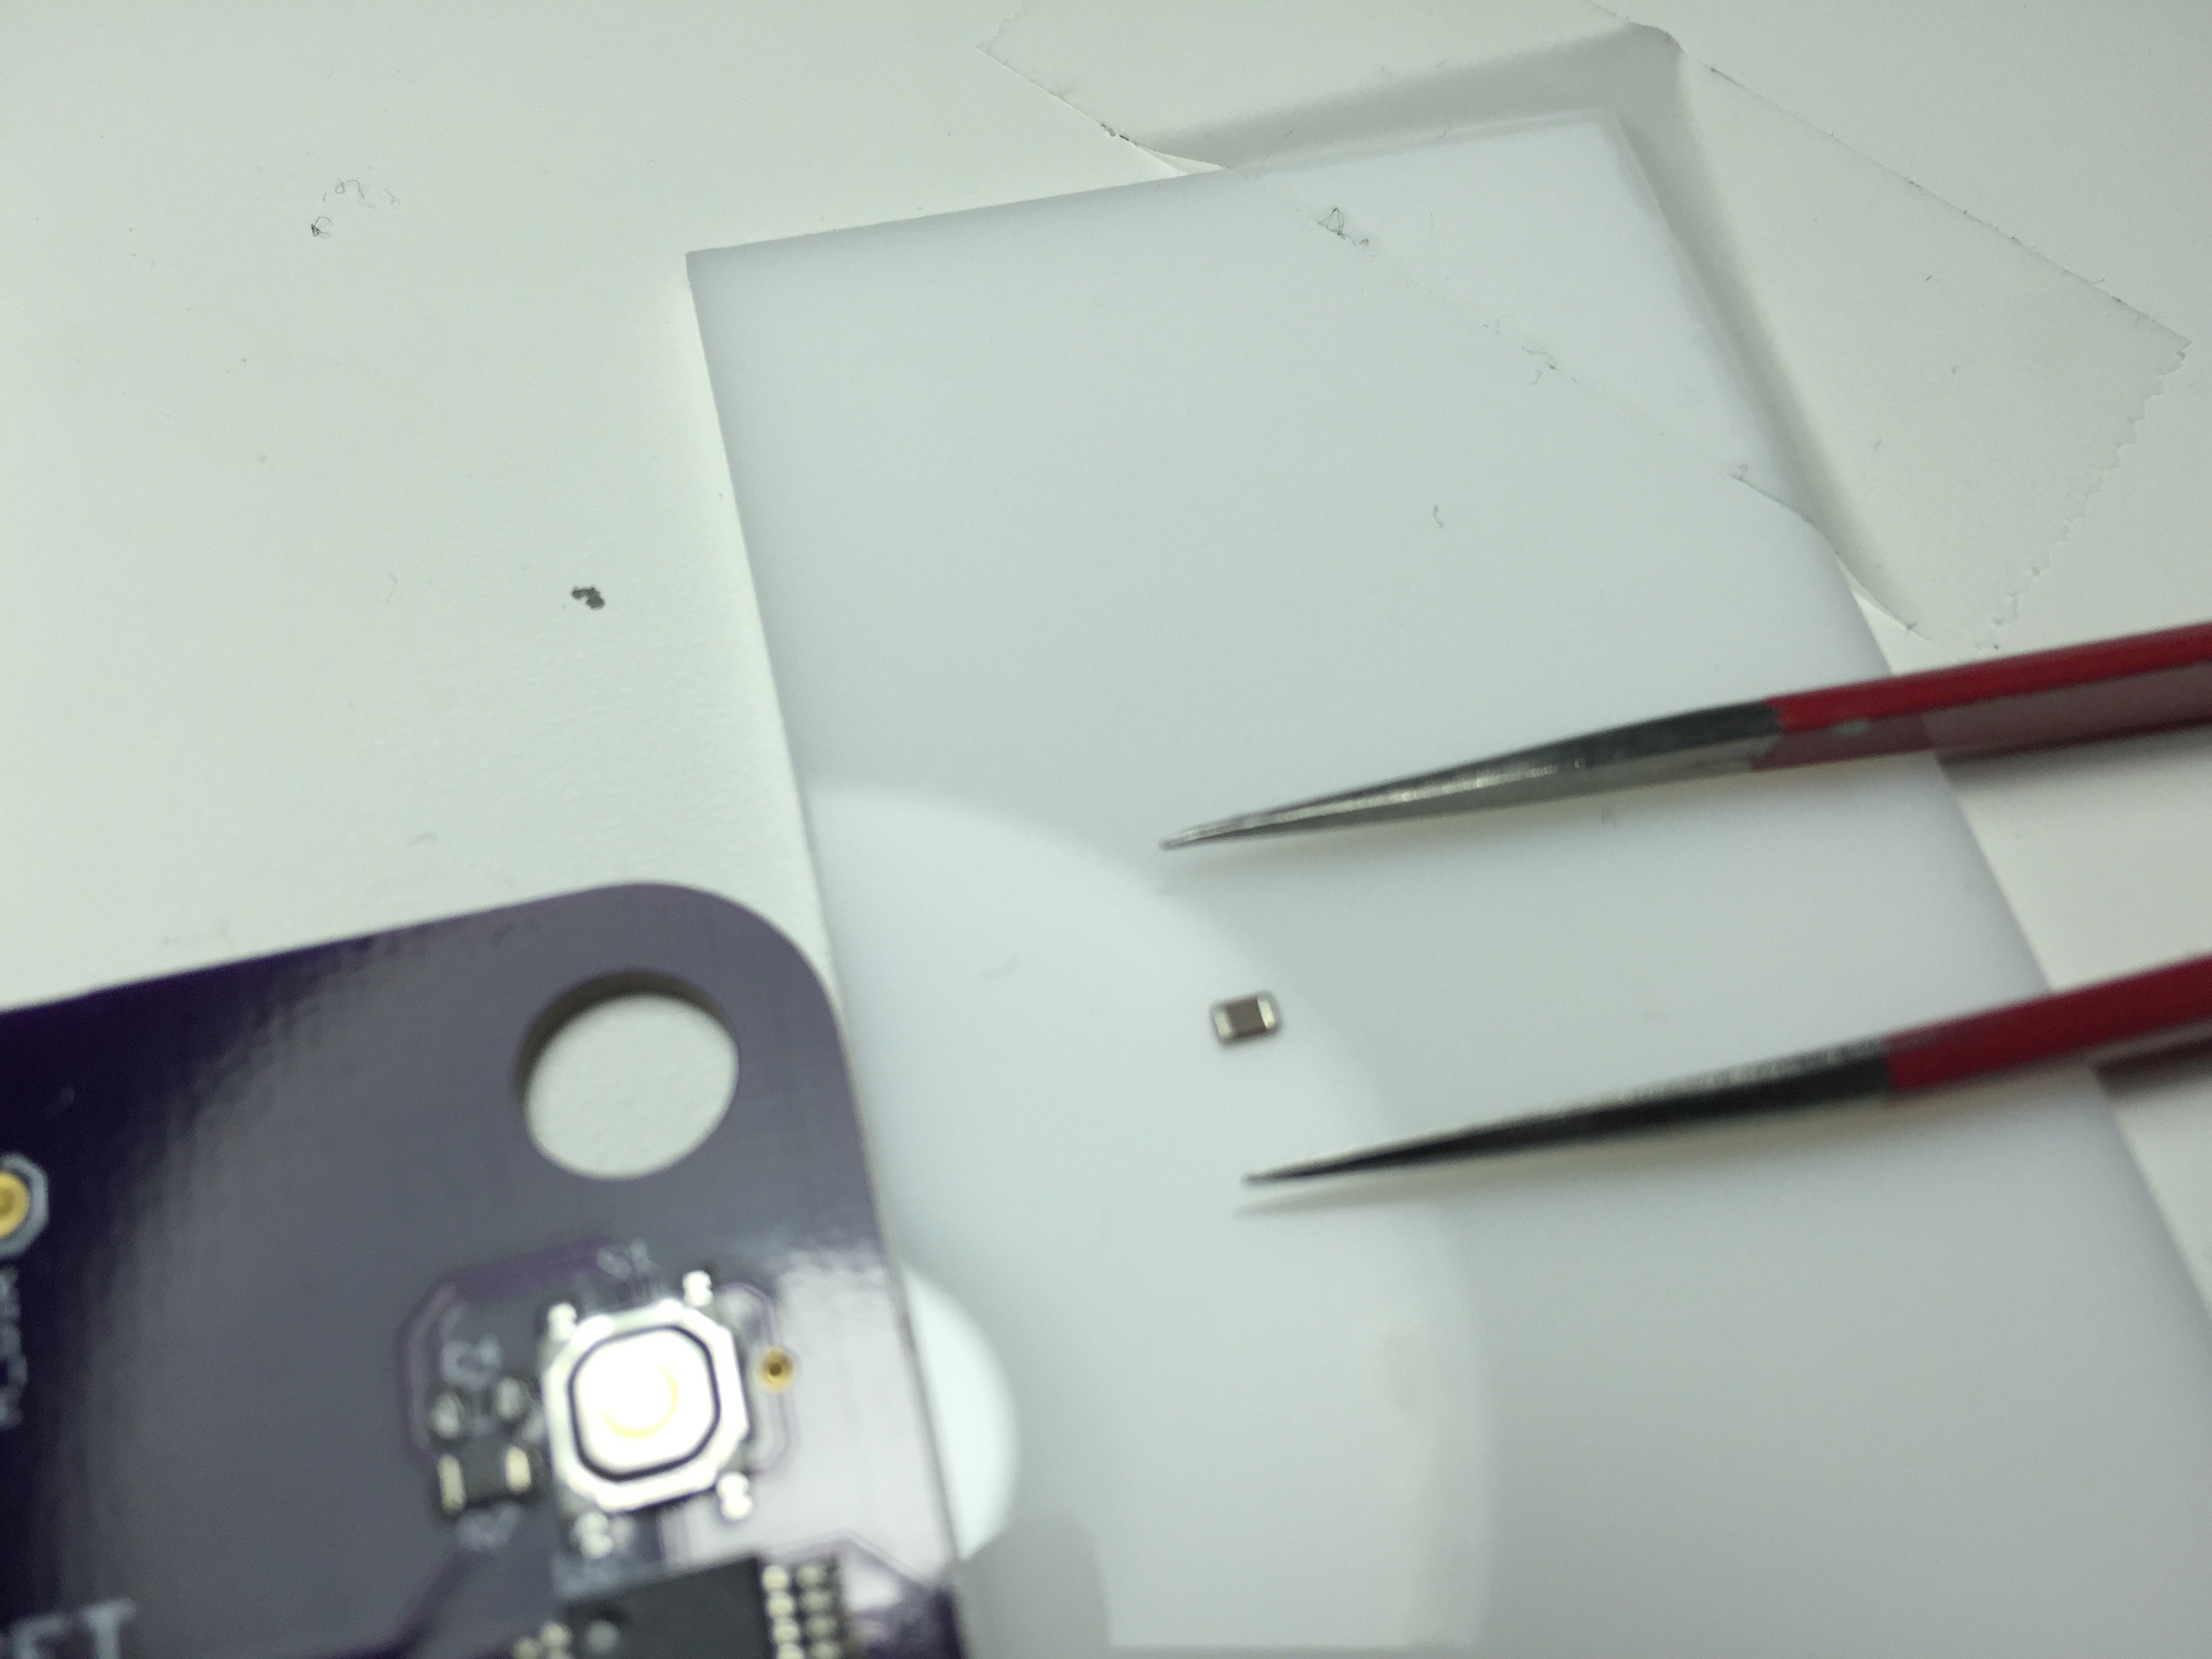
Switching tweezer types for the tiny passive parts.
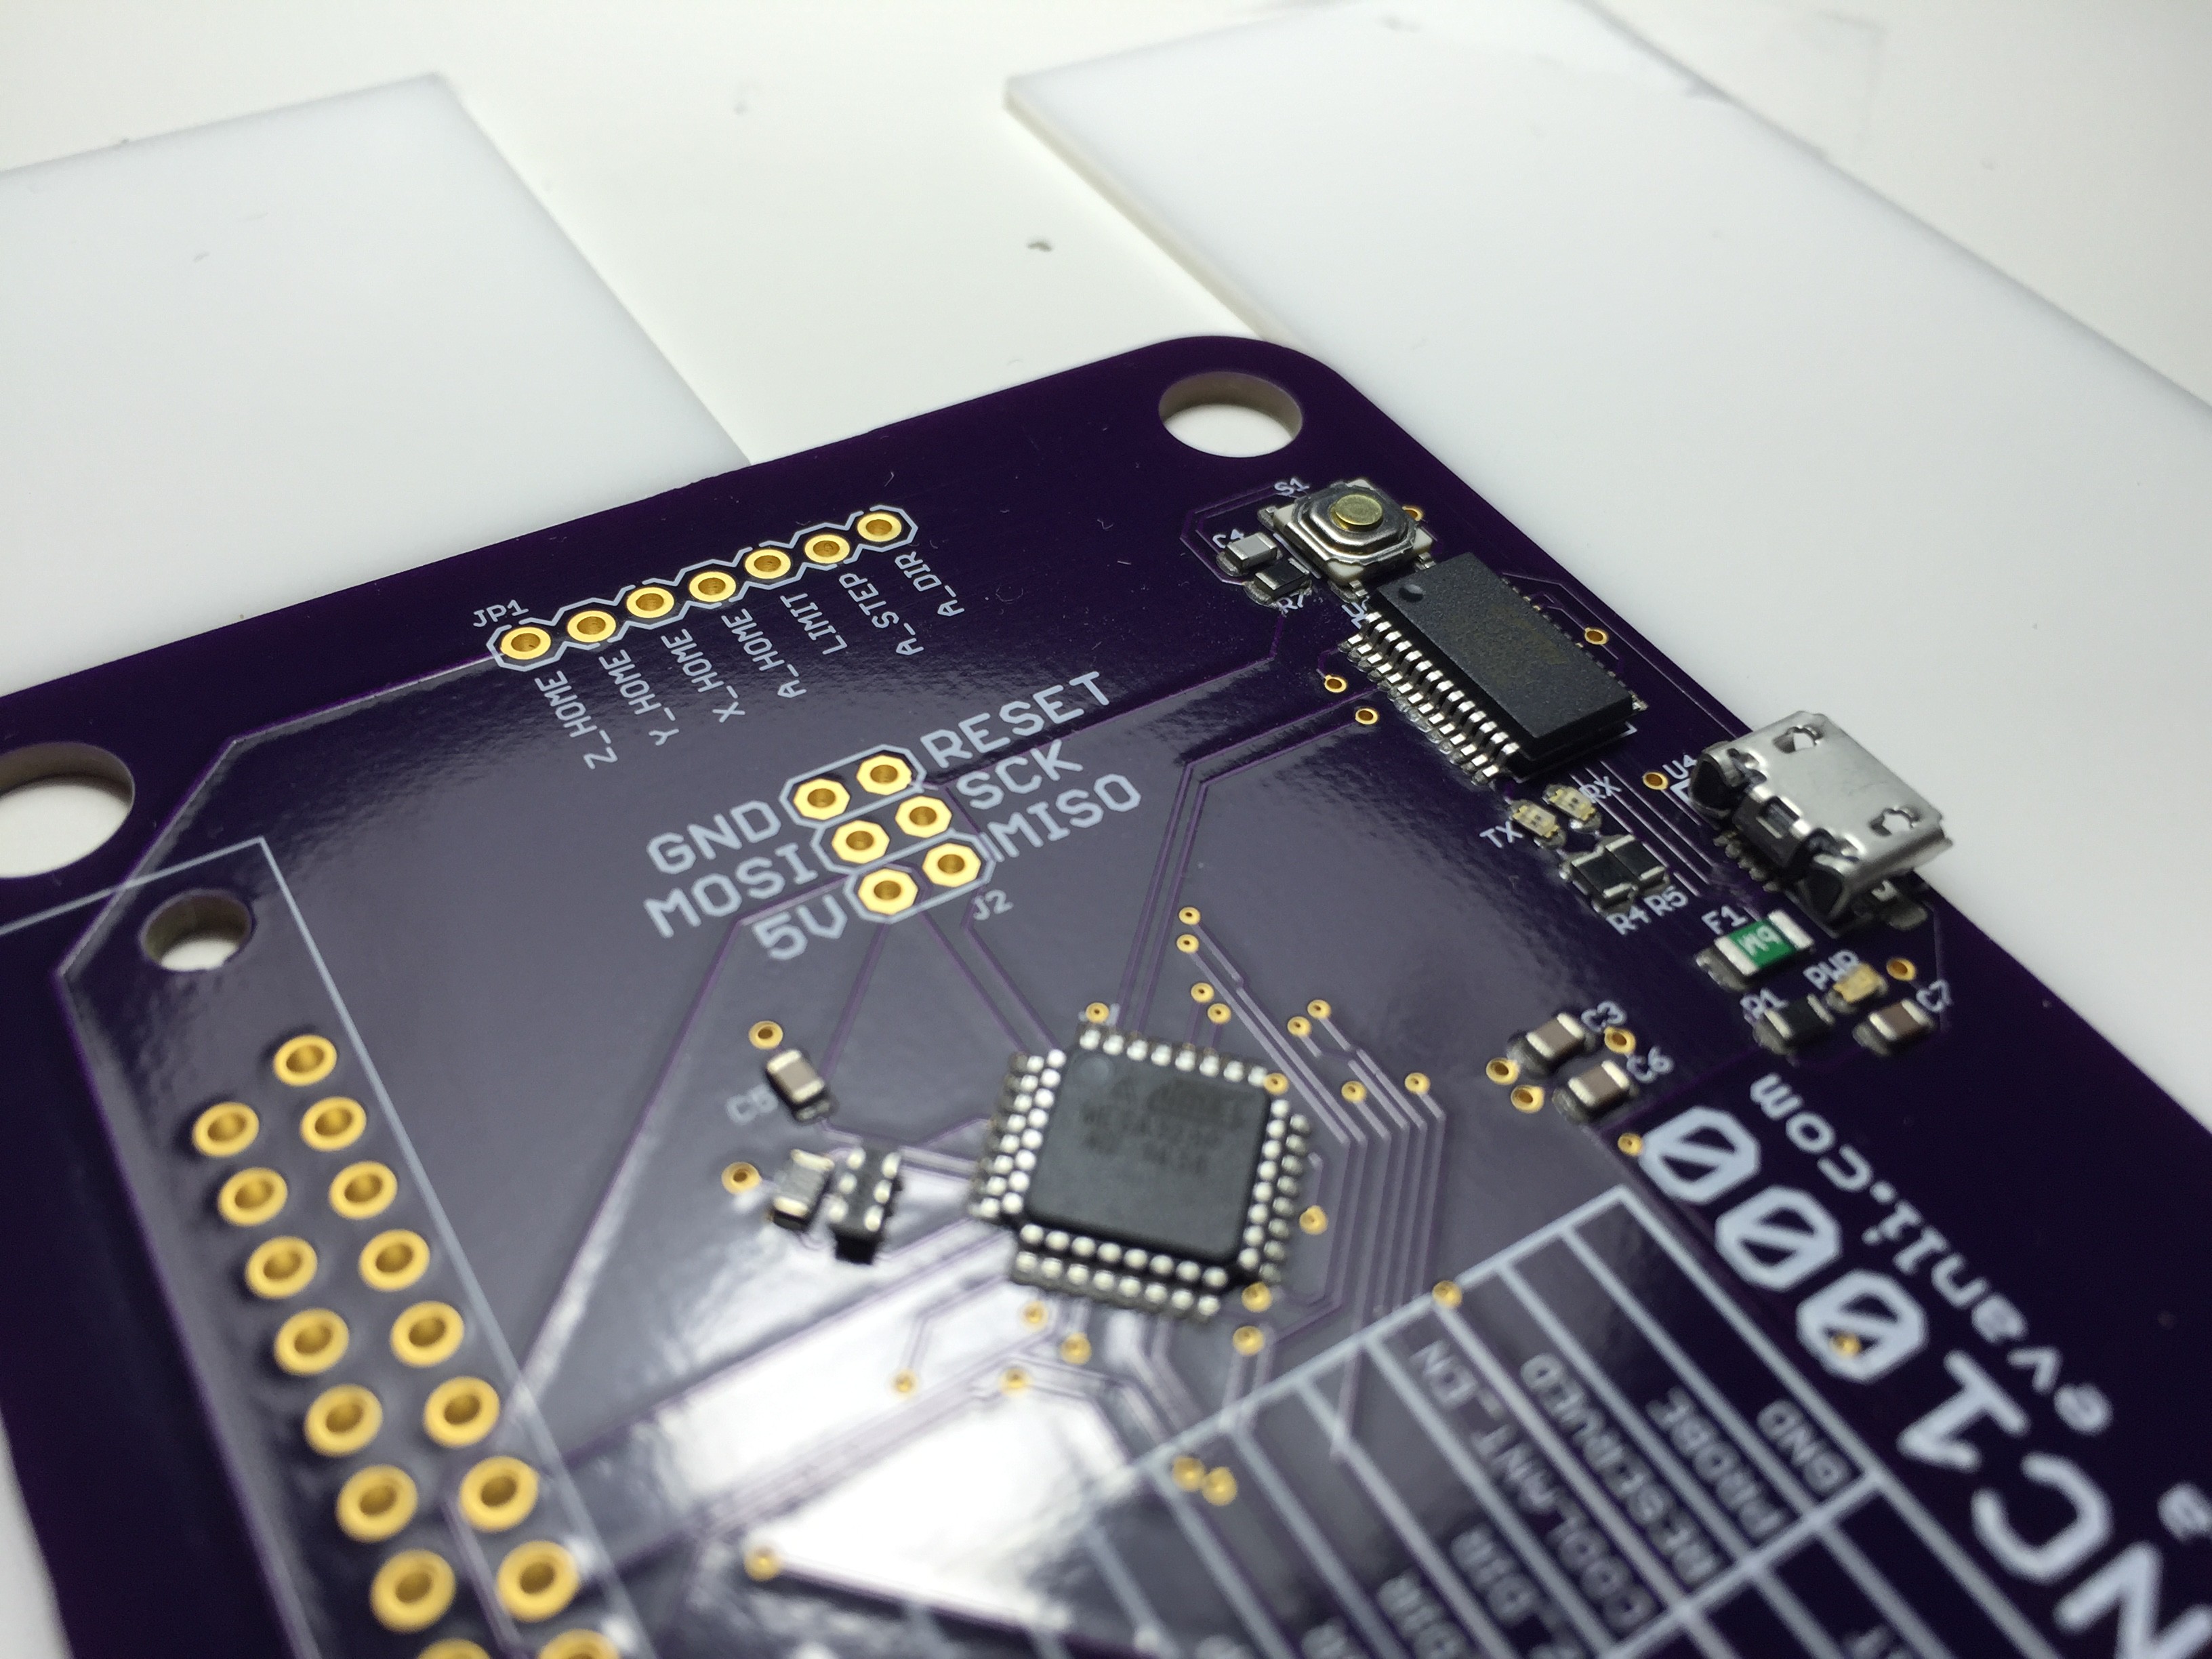
All the parts are populated. The parts can be a little misaligned as surface tension of the solder will pull the parts into place.
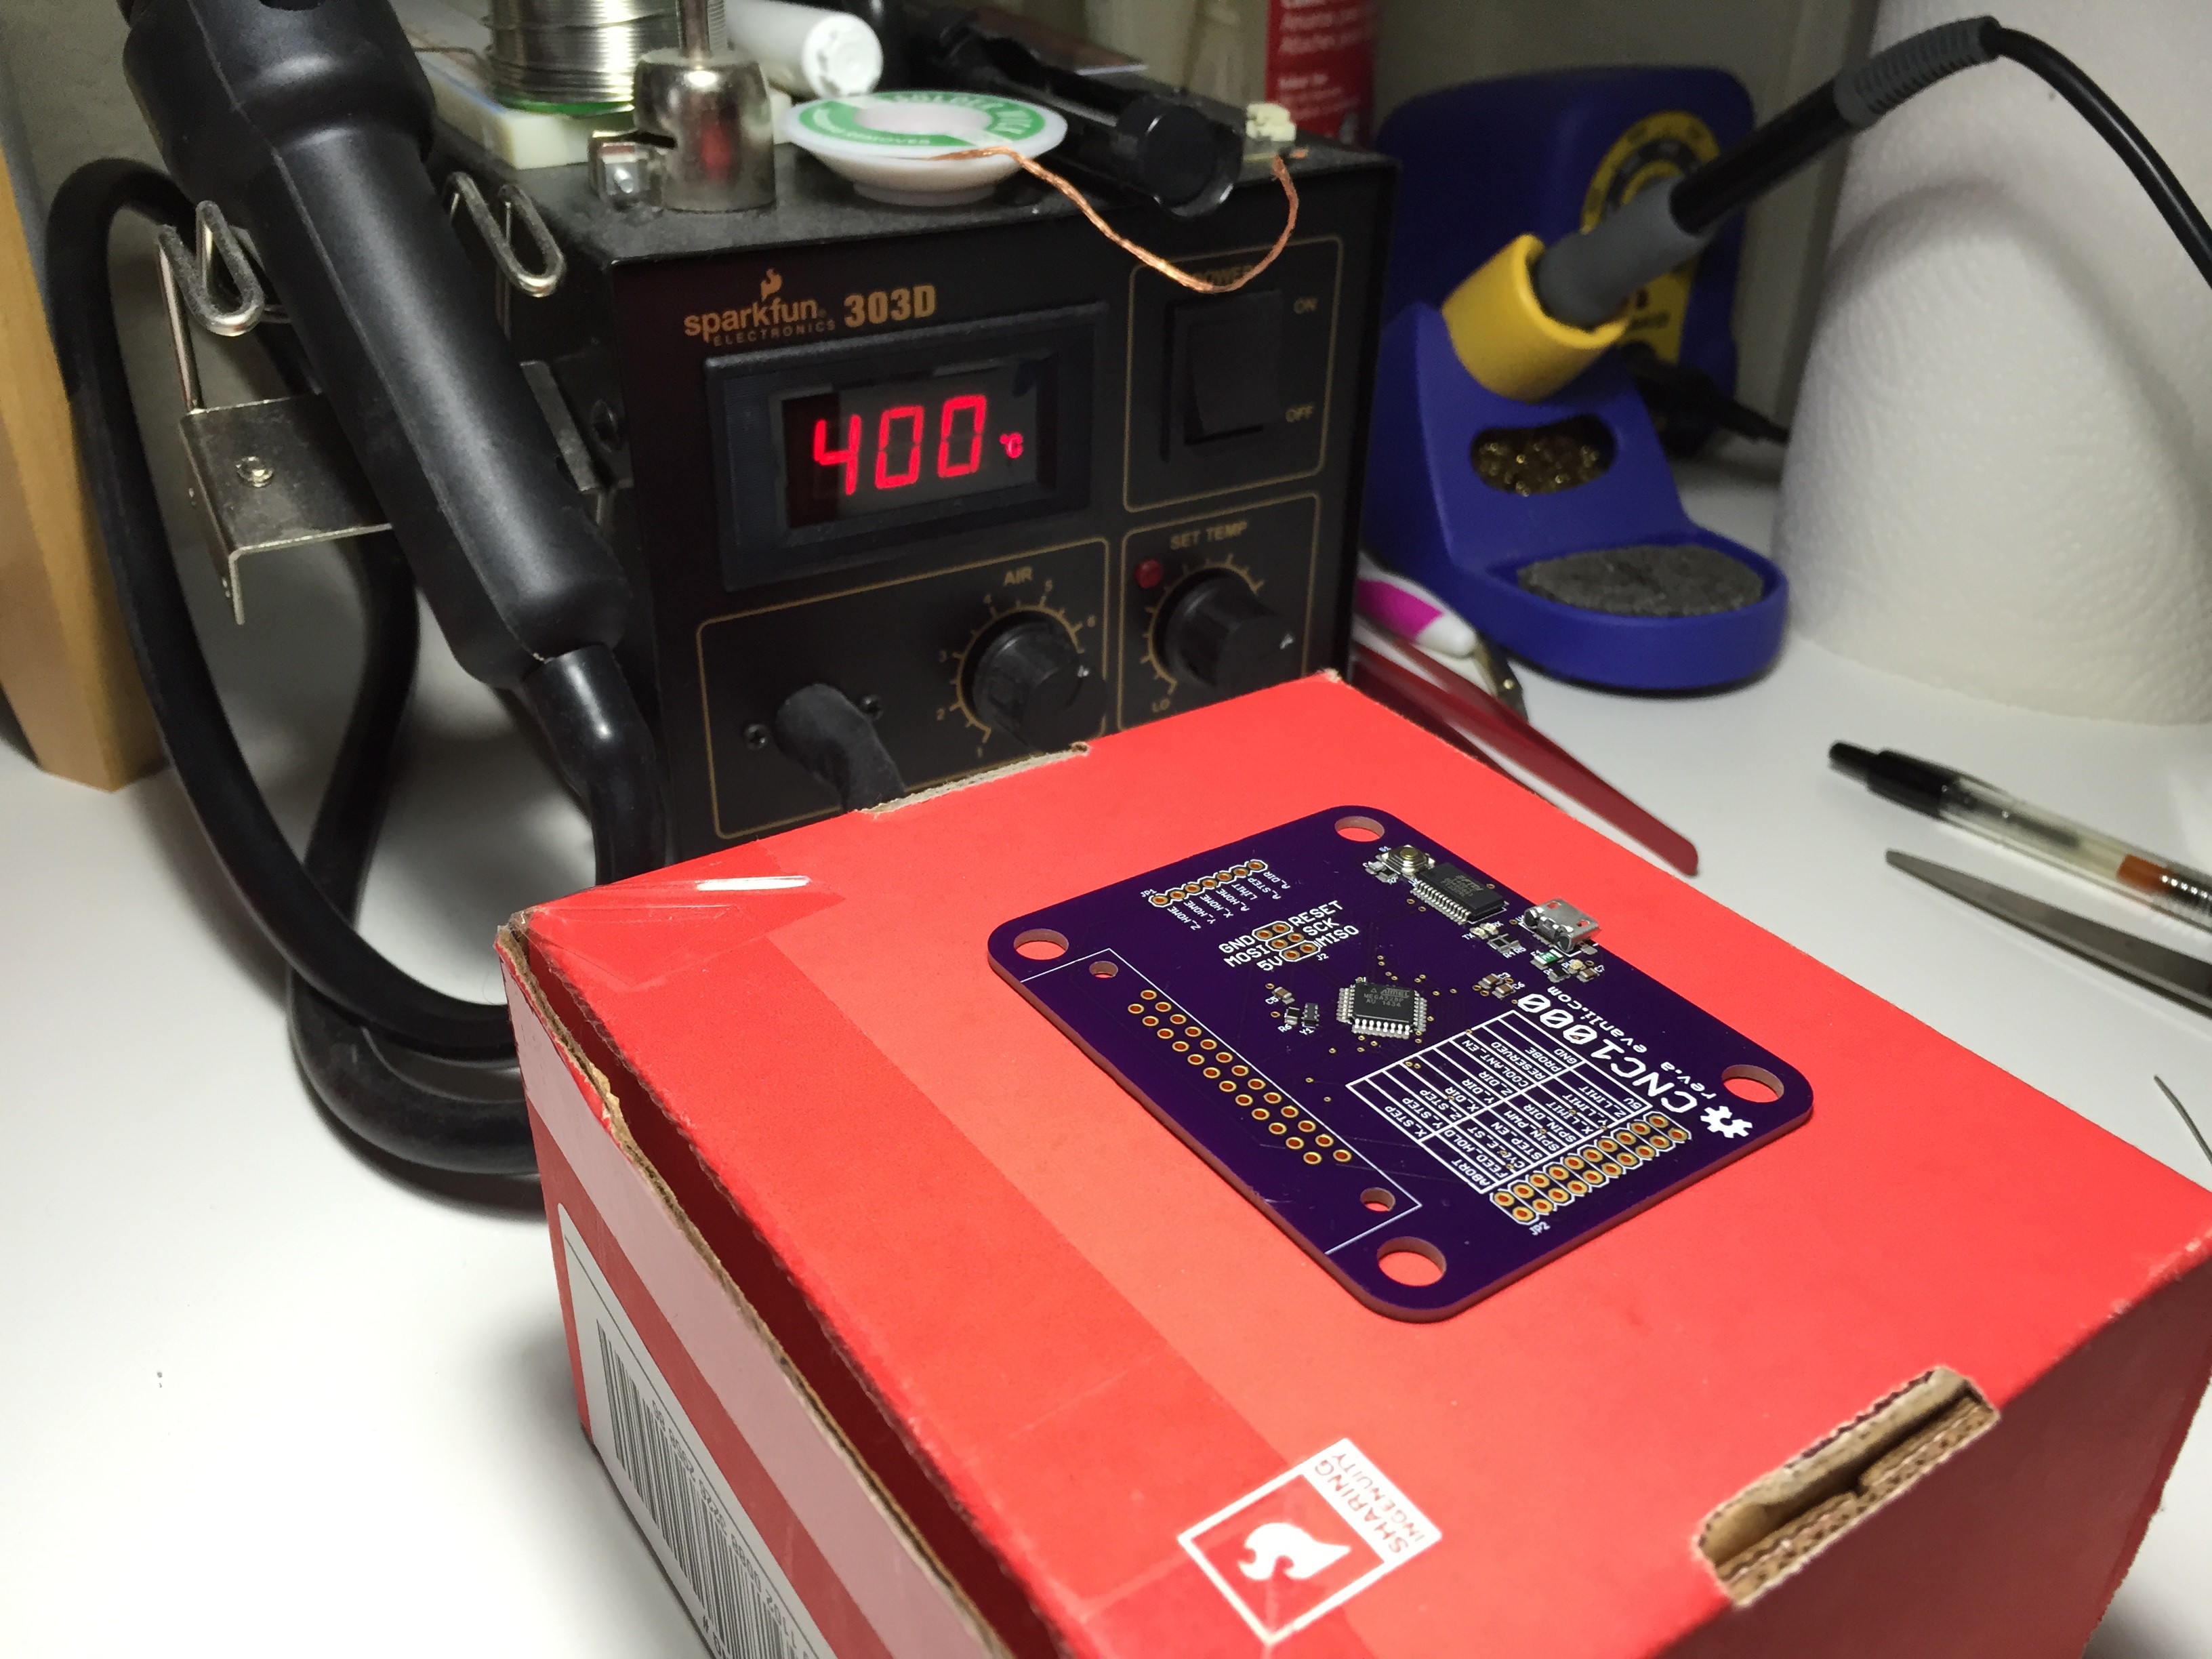
For boards of this size and component count, I use a hot air rework tool to reflow the solder. For larger boards with more parts, the skillet or toaster oven route is more time effective.
All the SMD parts are reflowed. Any bridged connections I fix with a fine tipped soldering iron.
Populated the through hole parts and solder them with lead free solder by hand.
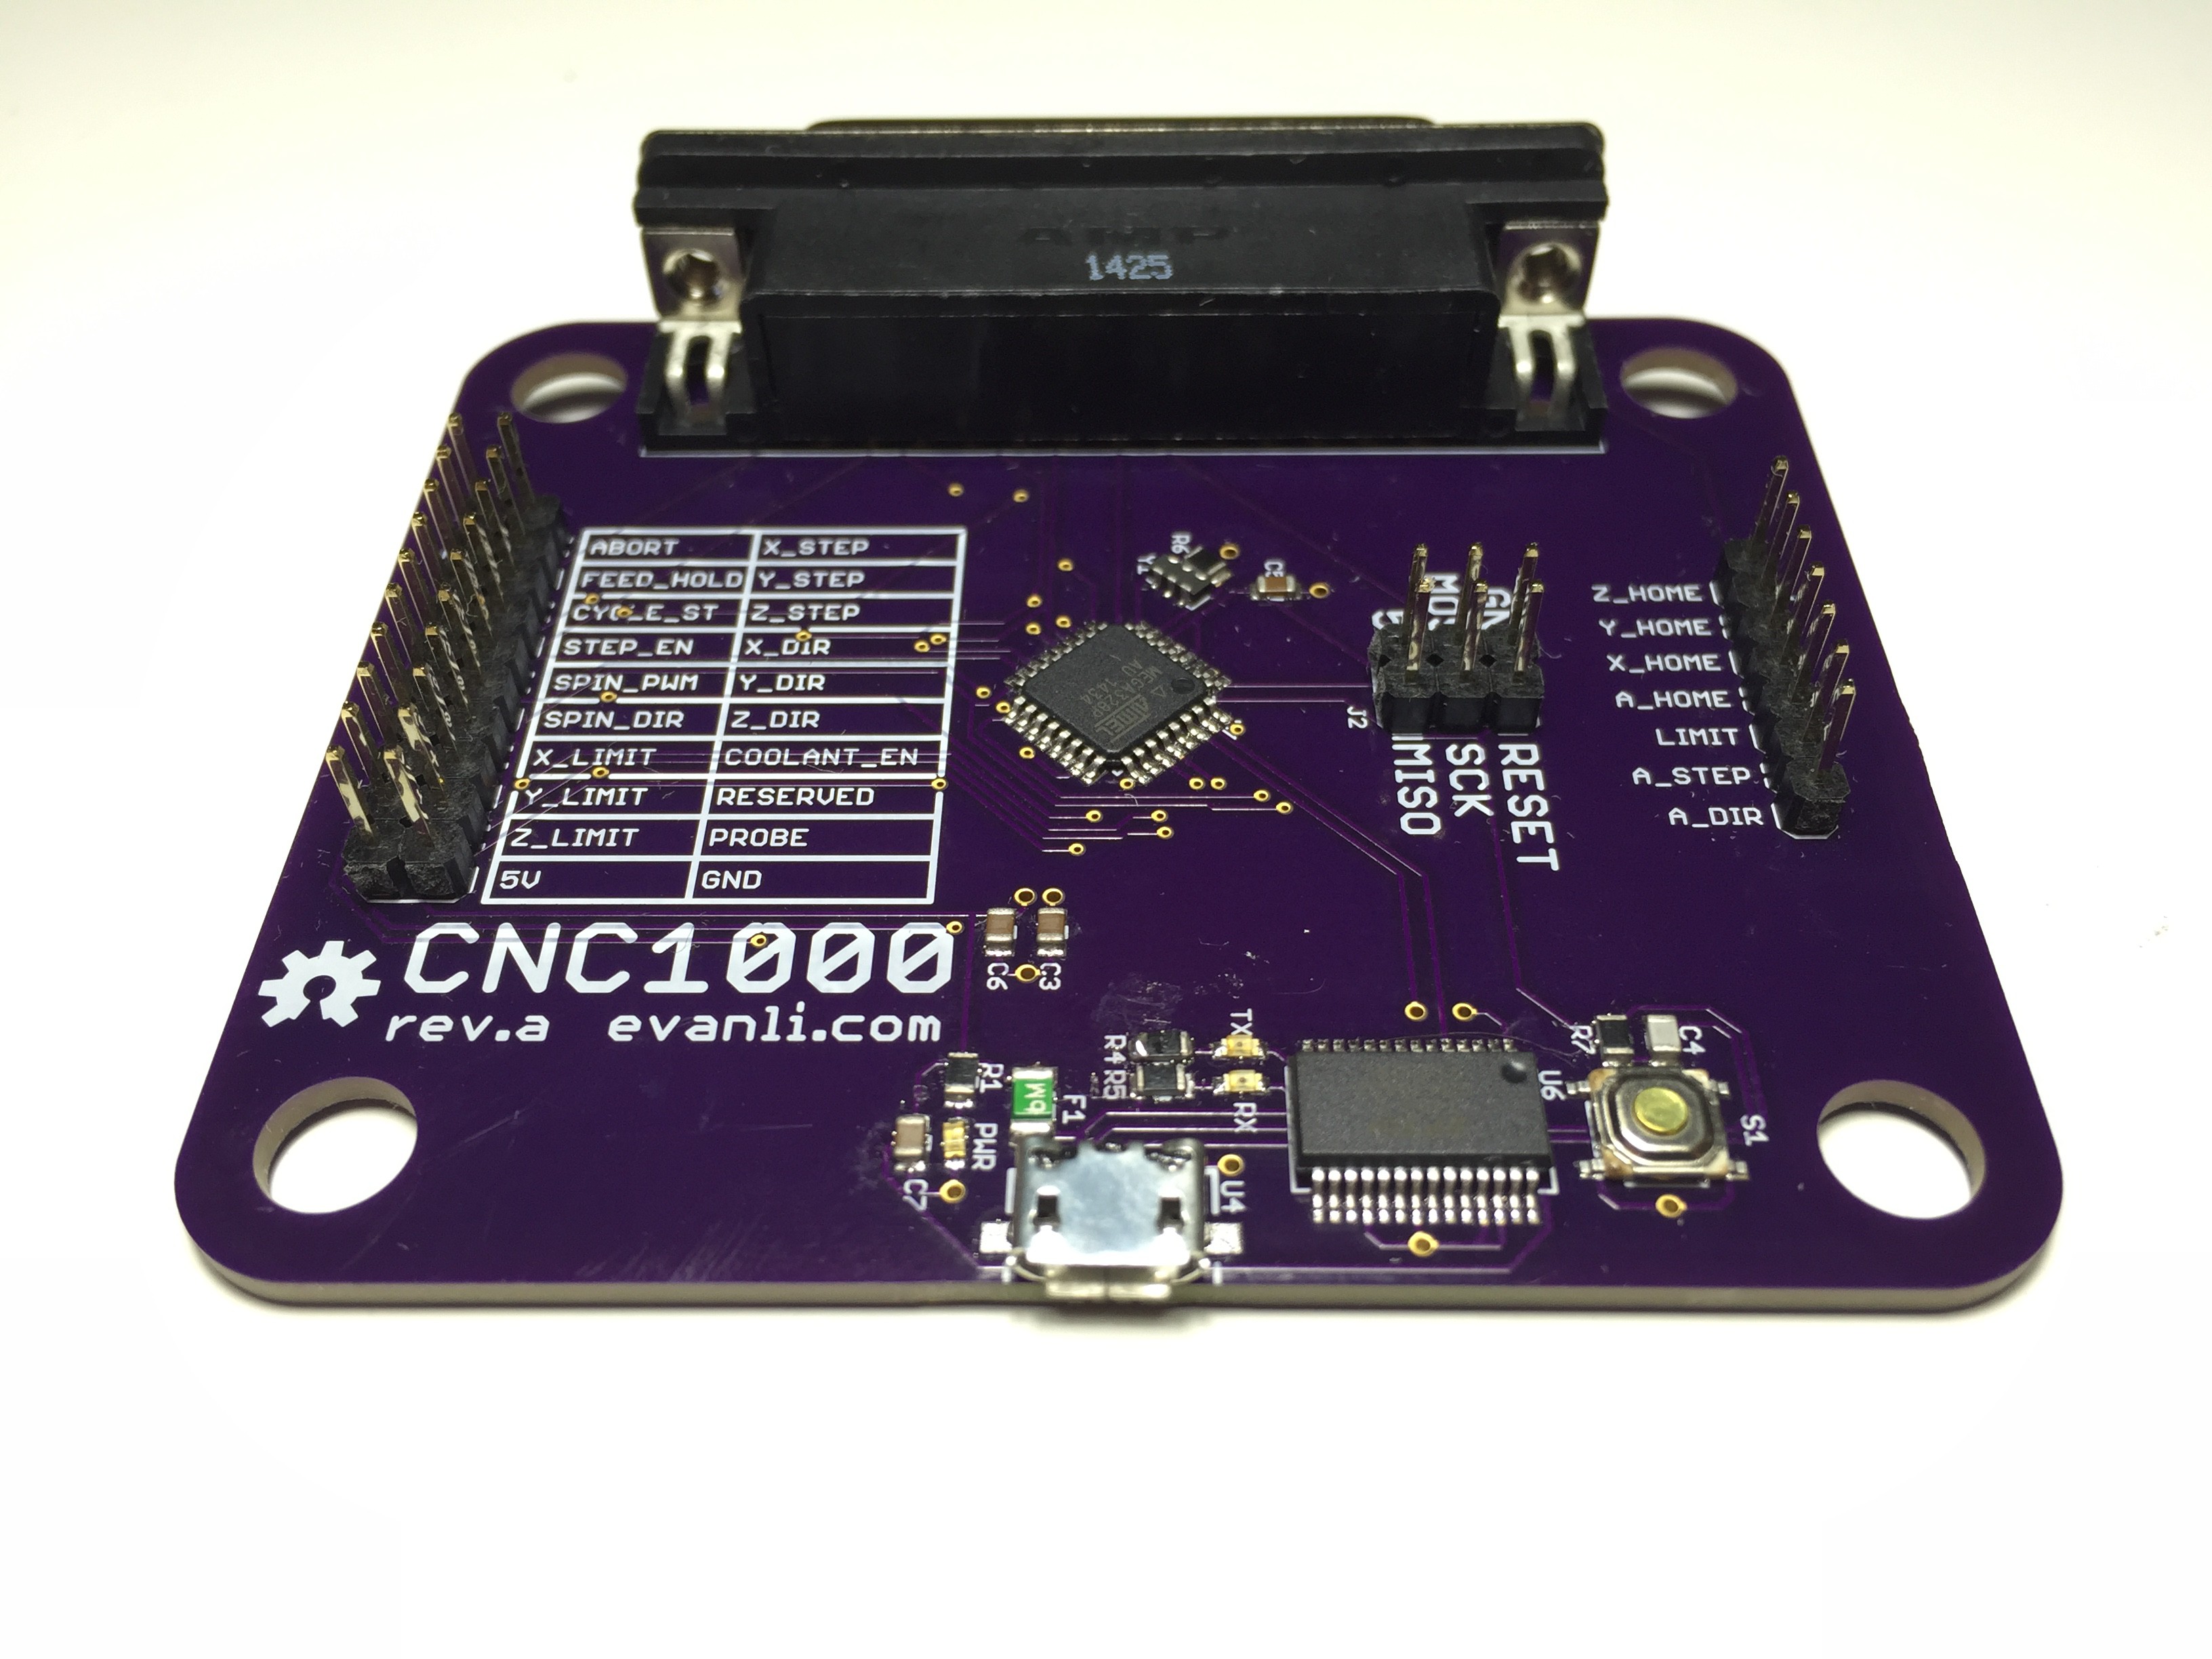
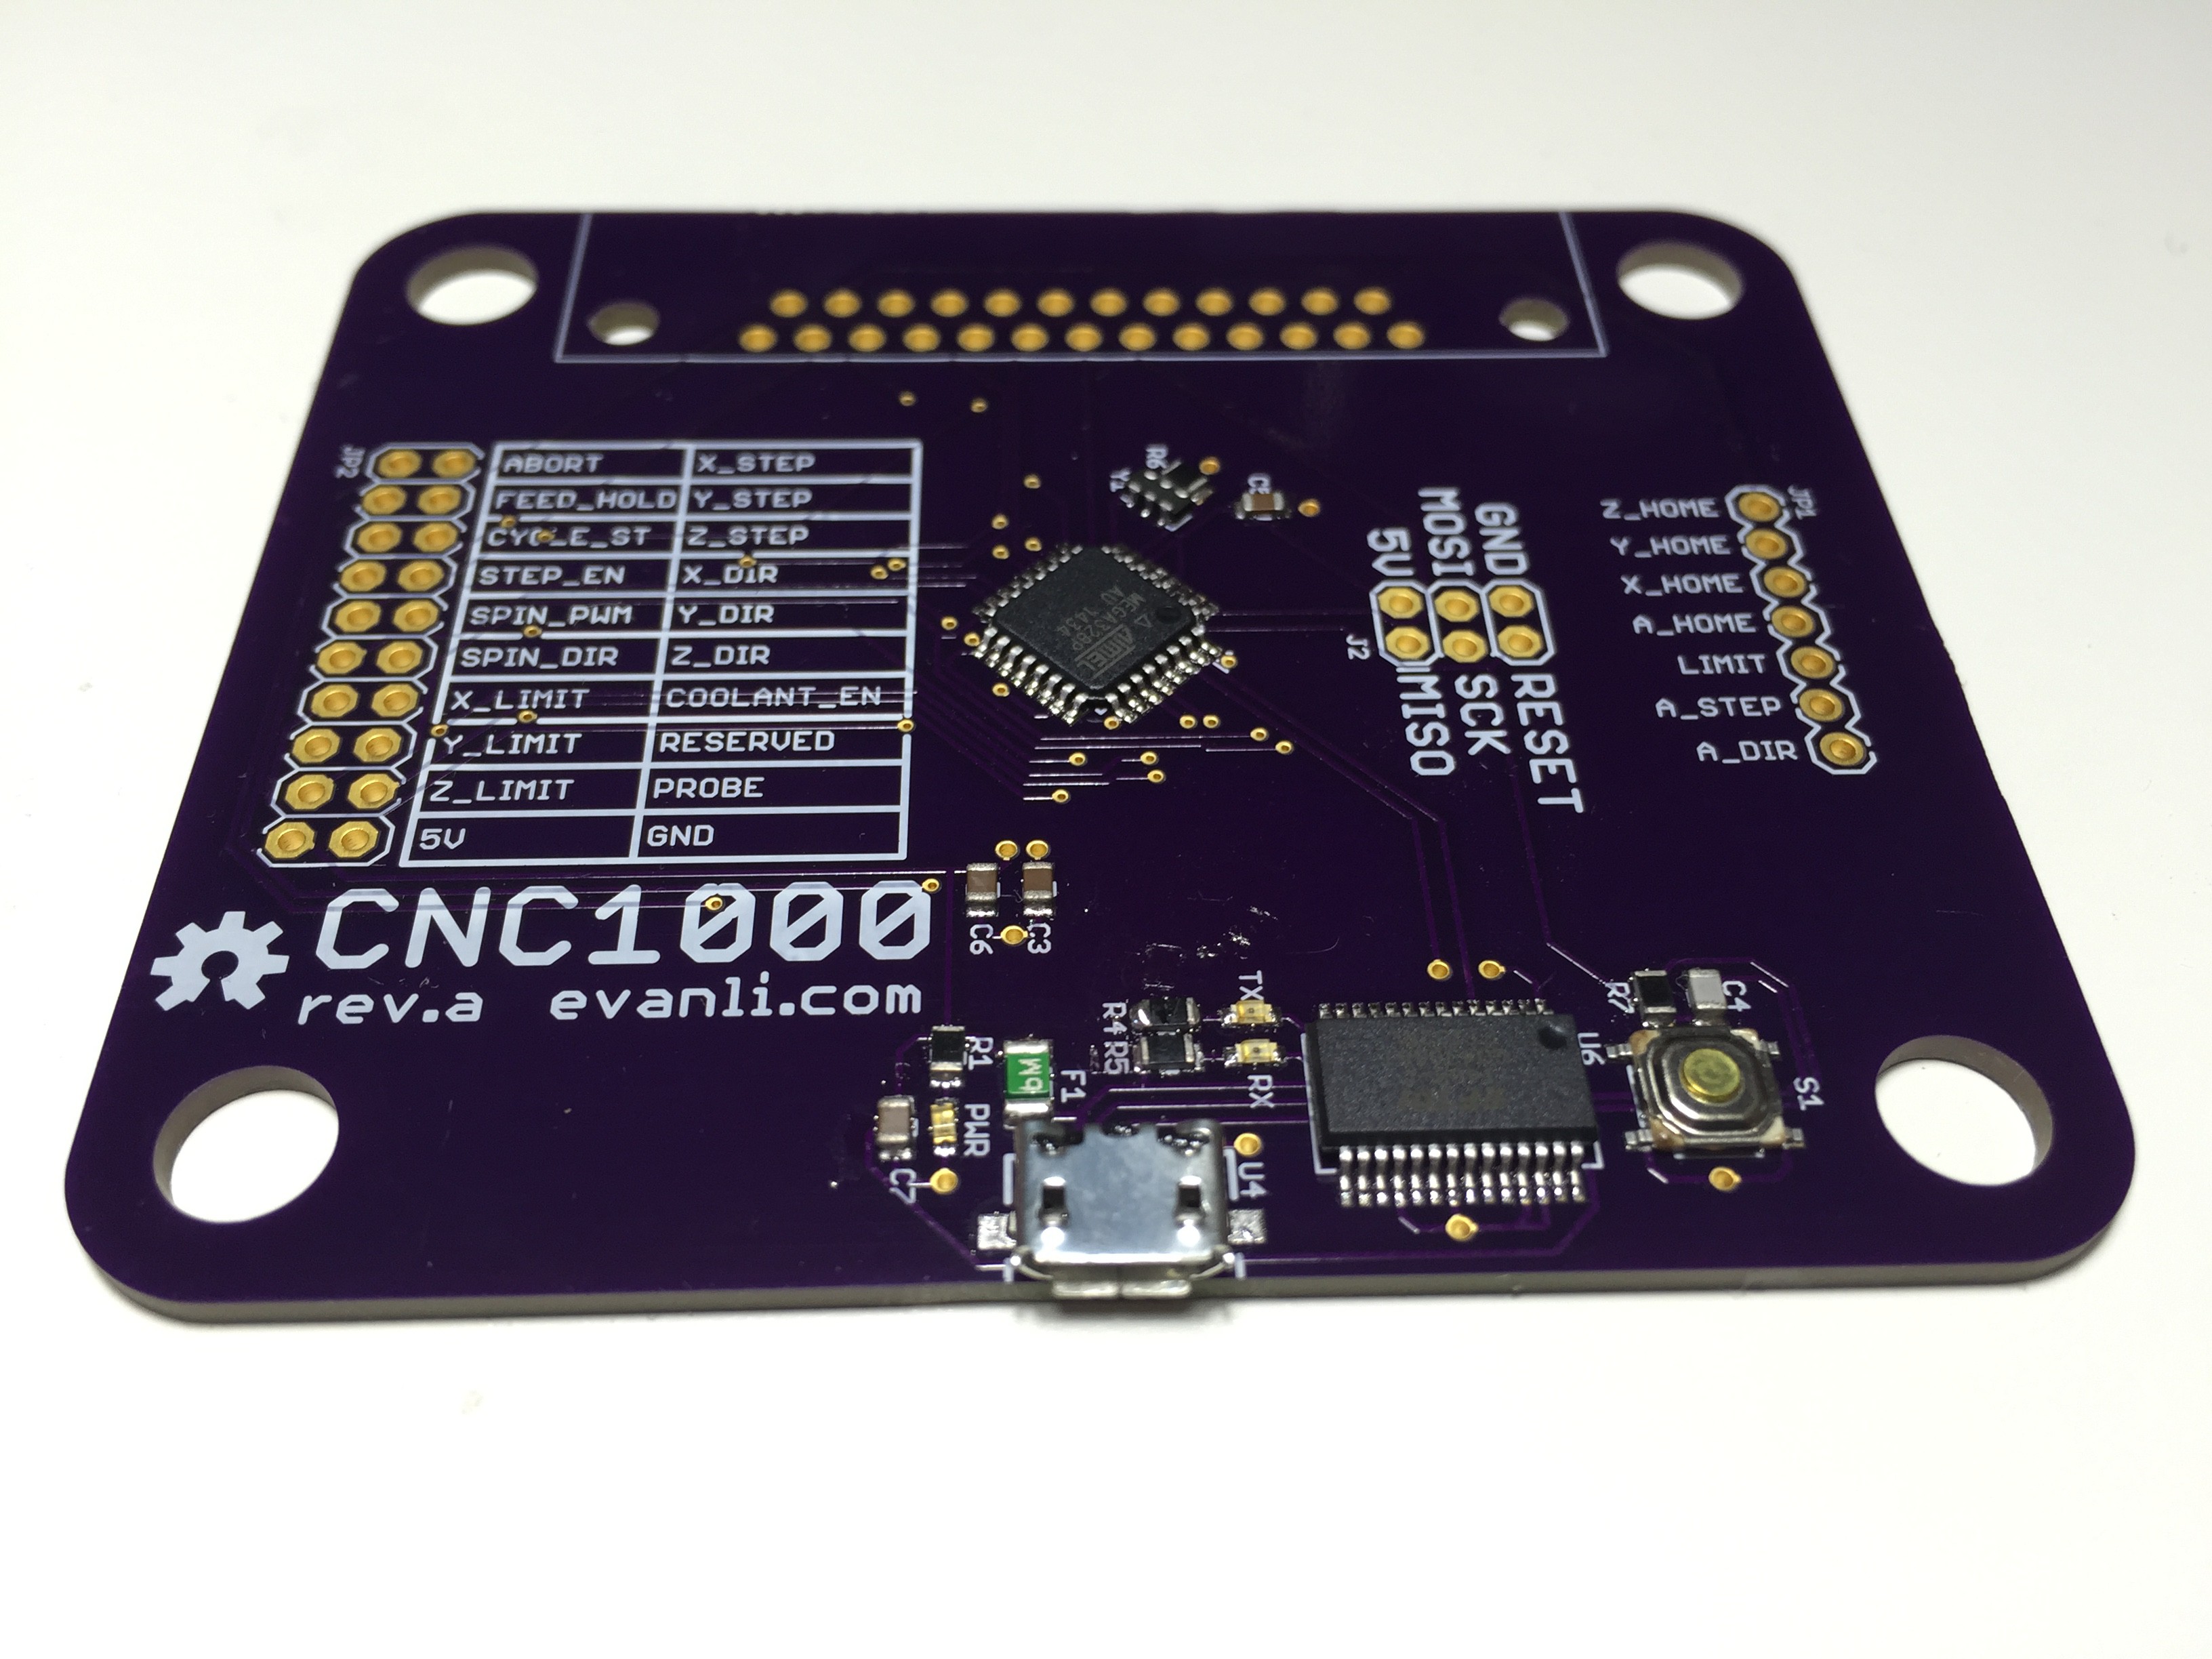
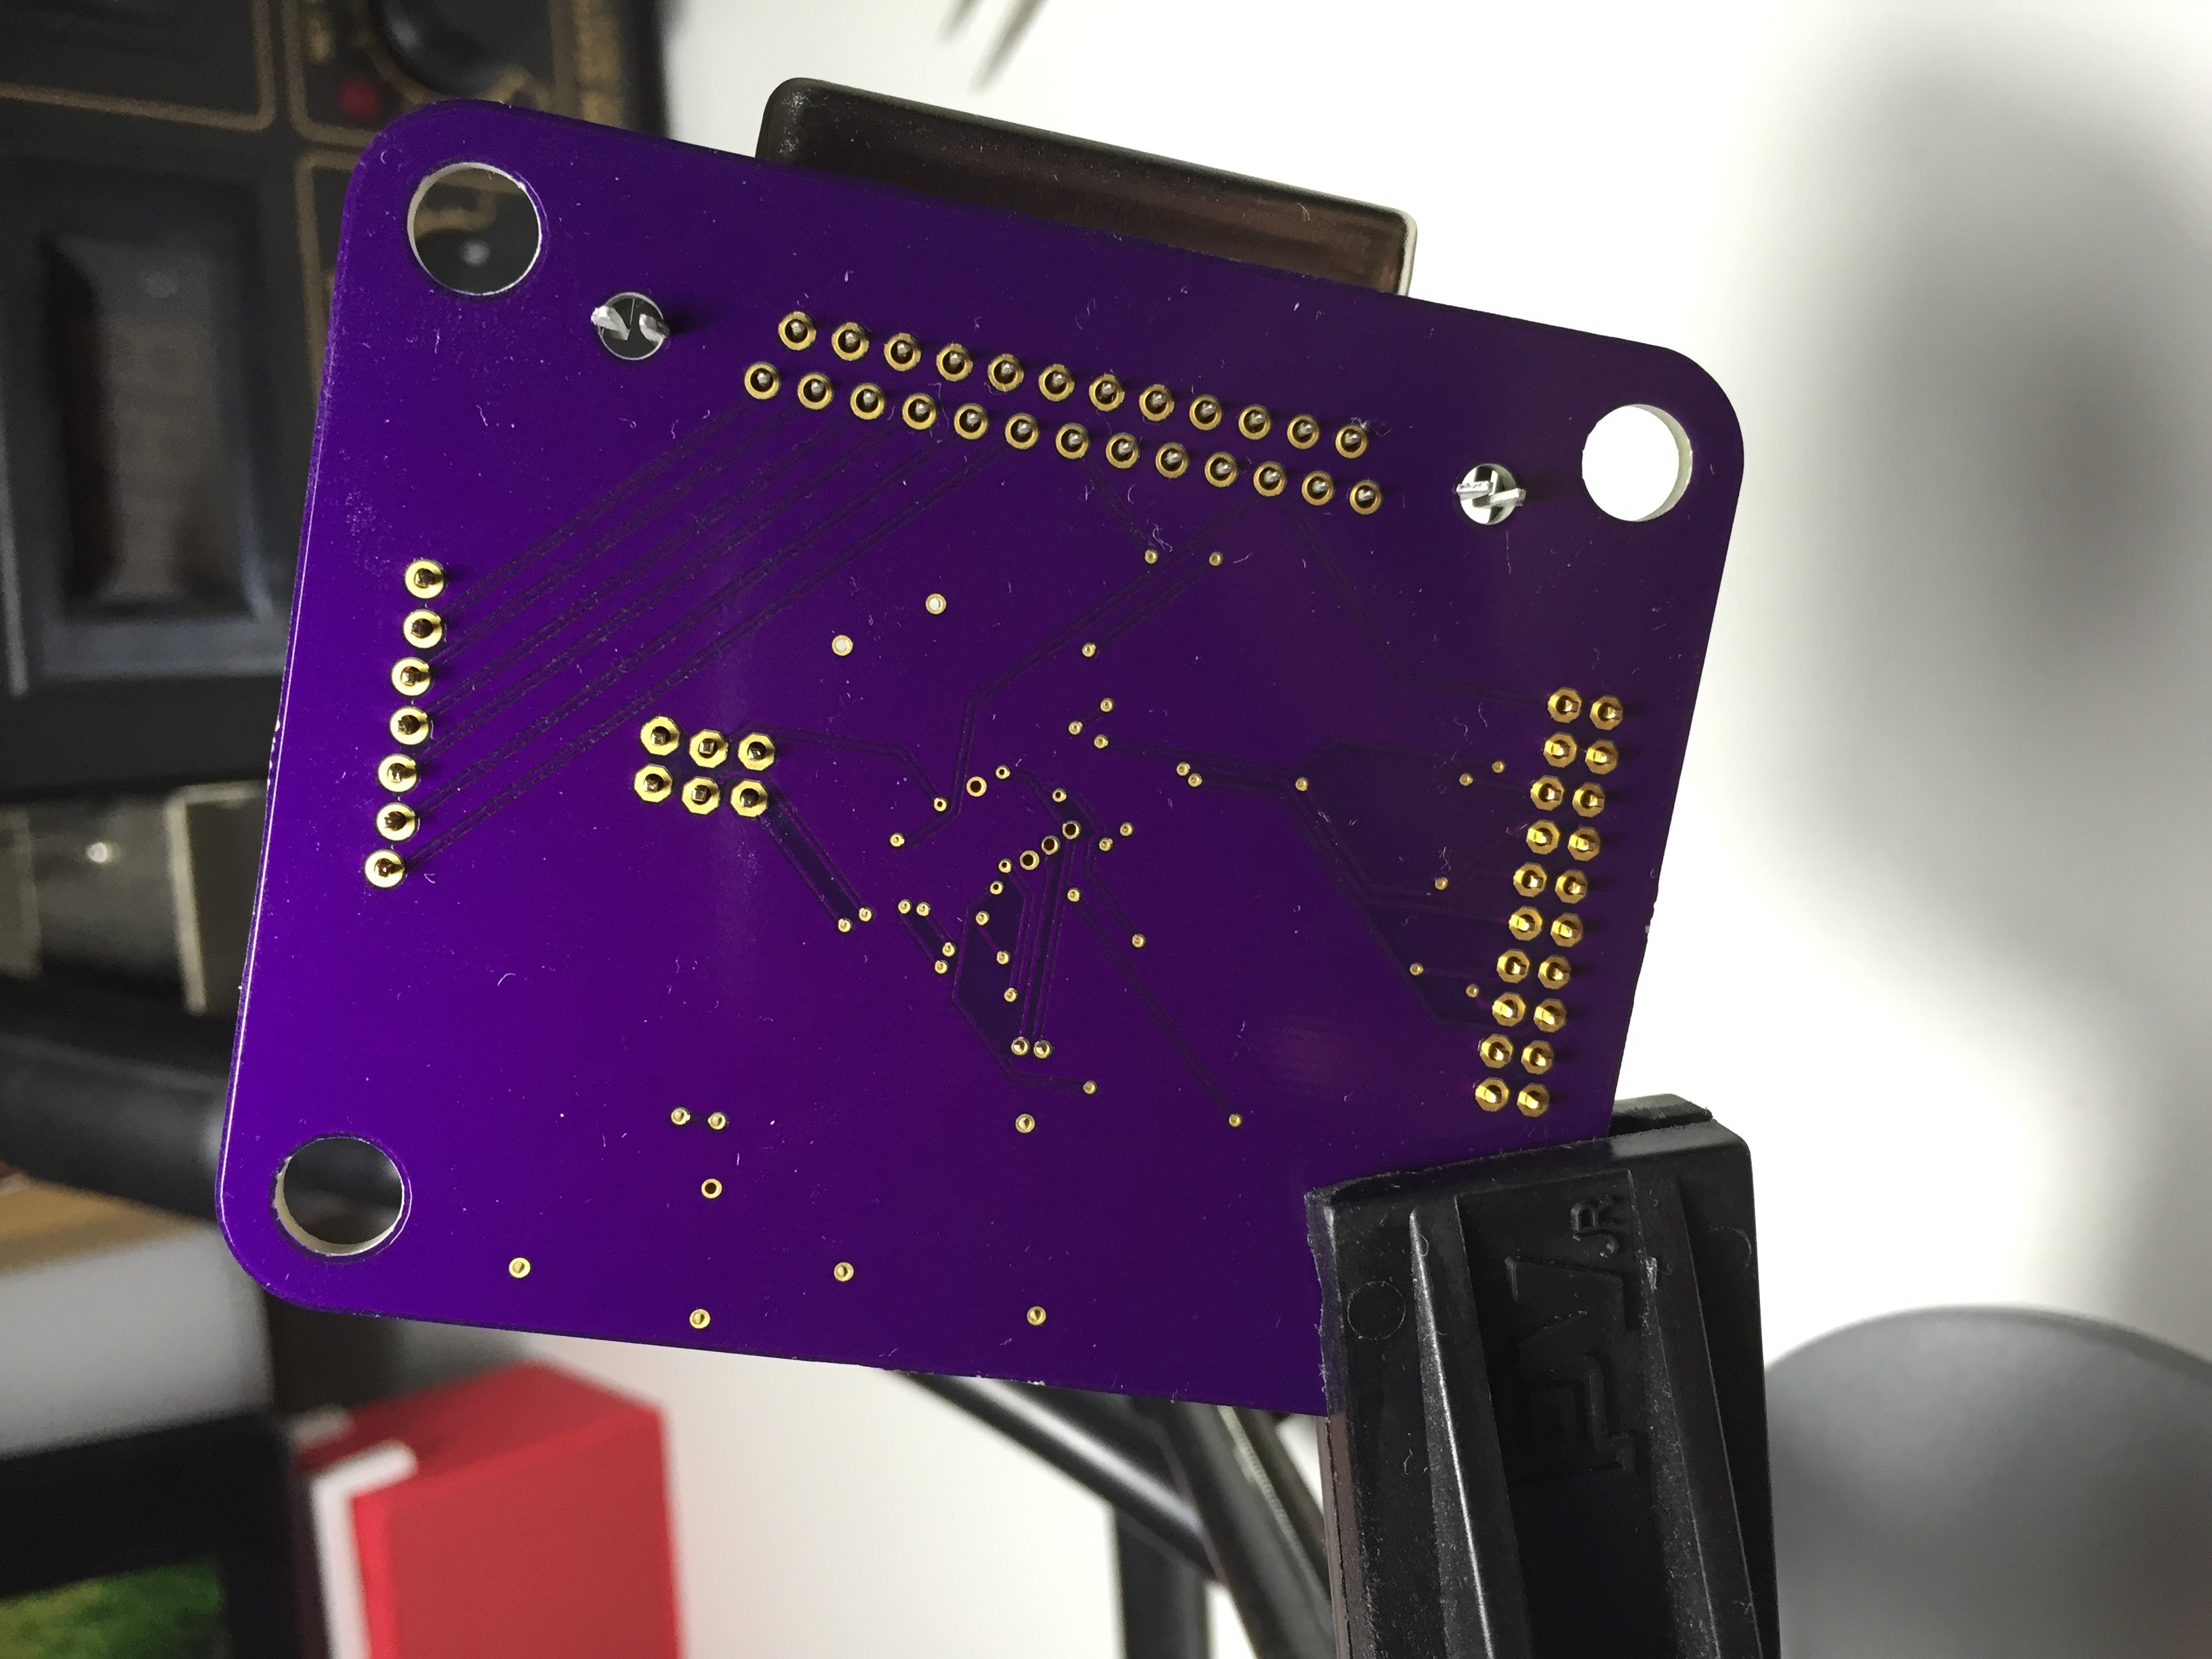
Completed board, ready for testing and flashing on the firmware.
Discussions
Become a Hackaday.io Member
Create an account to leave a comment. Already have an account? Log In.