 Albert Latham
-
My Smoothie Brings All The Droids To The Yard
02/28/2015 at 06:01 • 2 comments(**** right, its better than yours)
AHEM
So I have used a dead ATX power supply case to house my SmoothieBoard. I think it works rather well. Could it be better? Of course! But I can only do so much. This project now has a very real deadline of late July. Life moves on whether your massive 3D printer moves with it. Because of the tight deadline I've managed to secure some funding to finish this thing and I'm rather excited to report that it will be featuring dual extruders and possibly even two inkjet print heads. The latter of the two is up in the air, but I think I might be able to swing it.
So, without further ado (and adon't), here is what I've managed this evening.
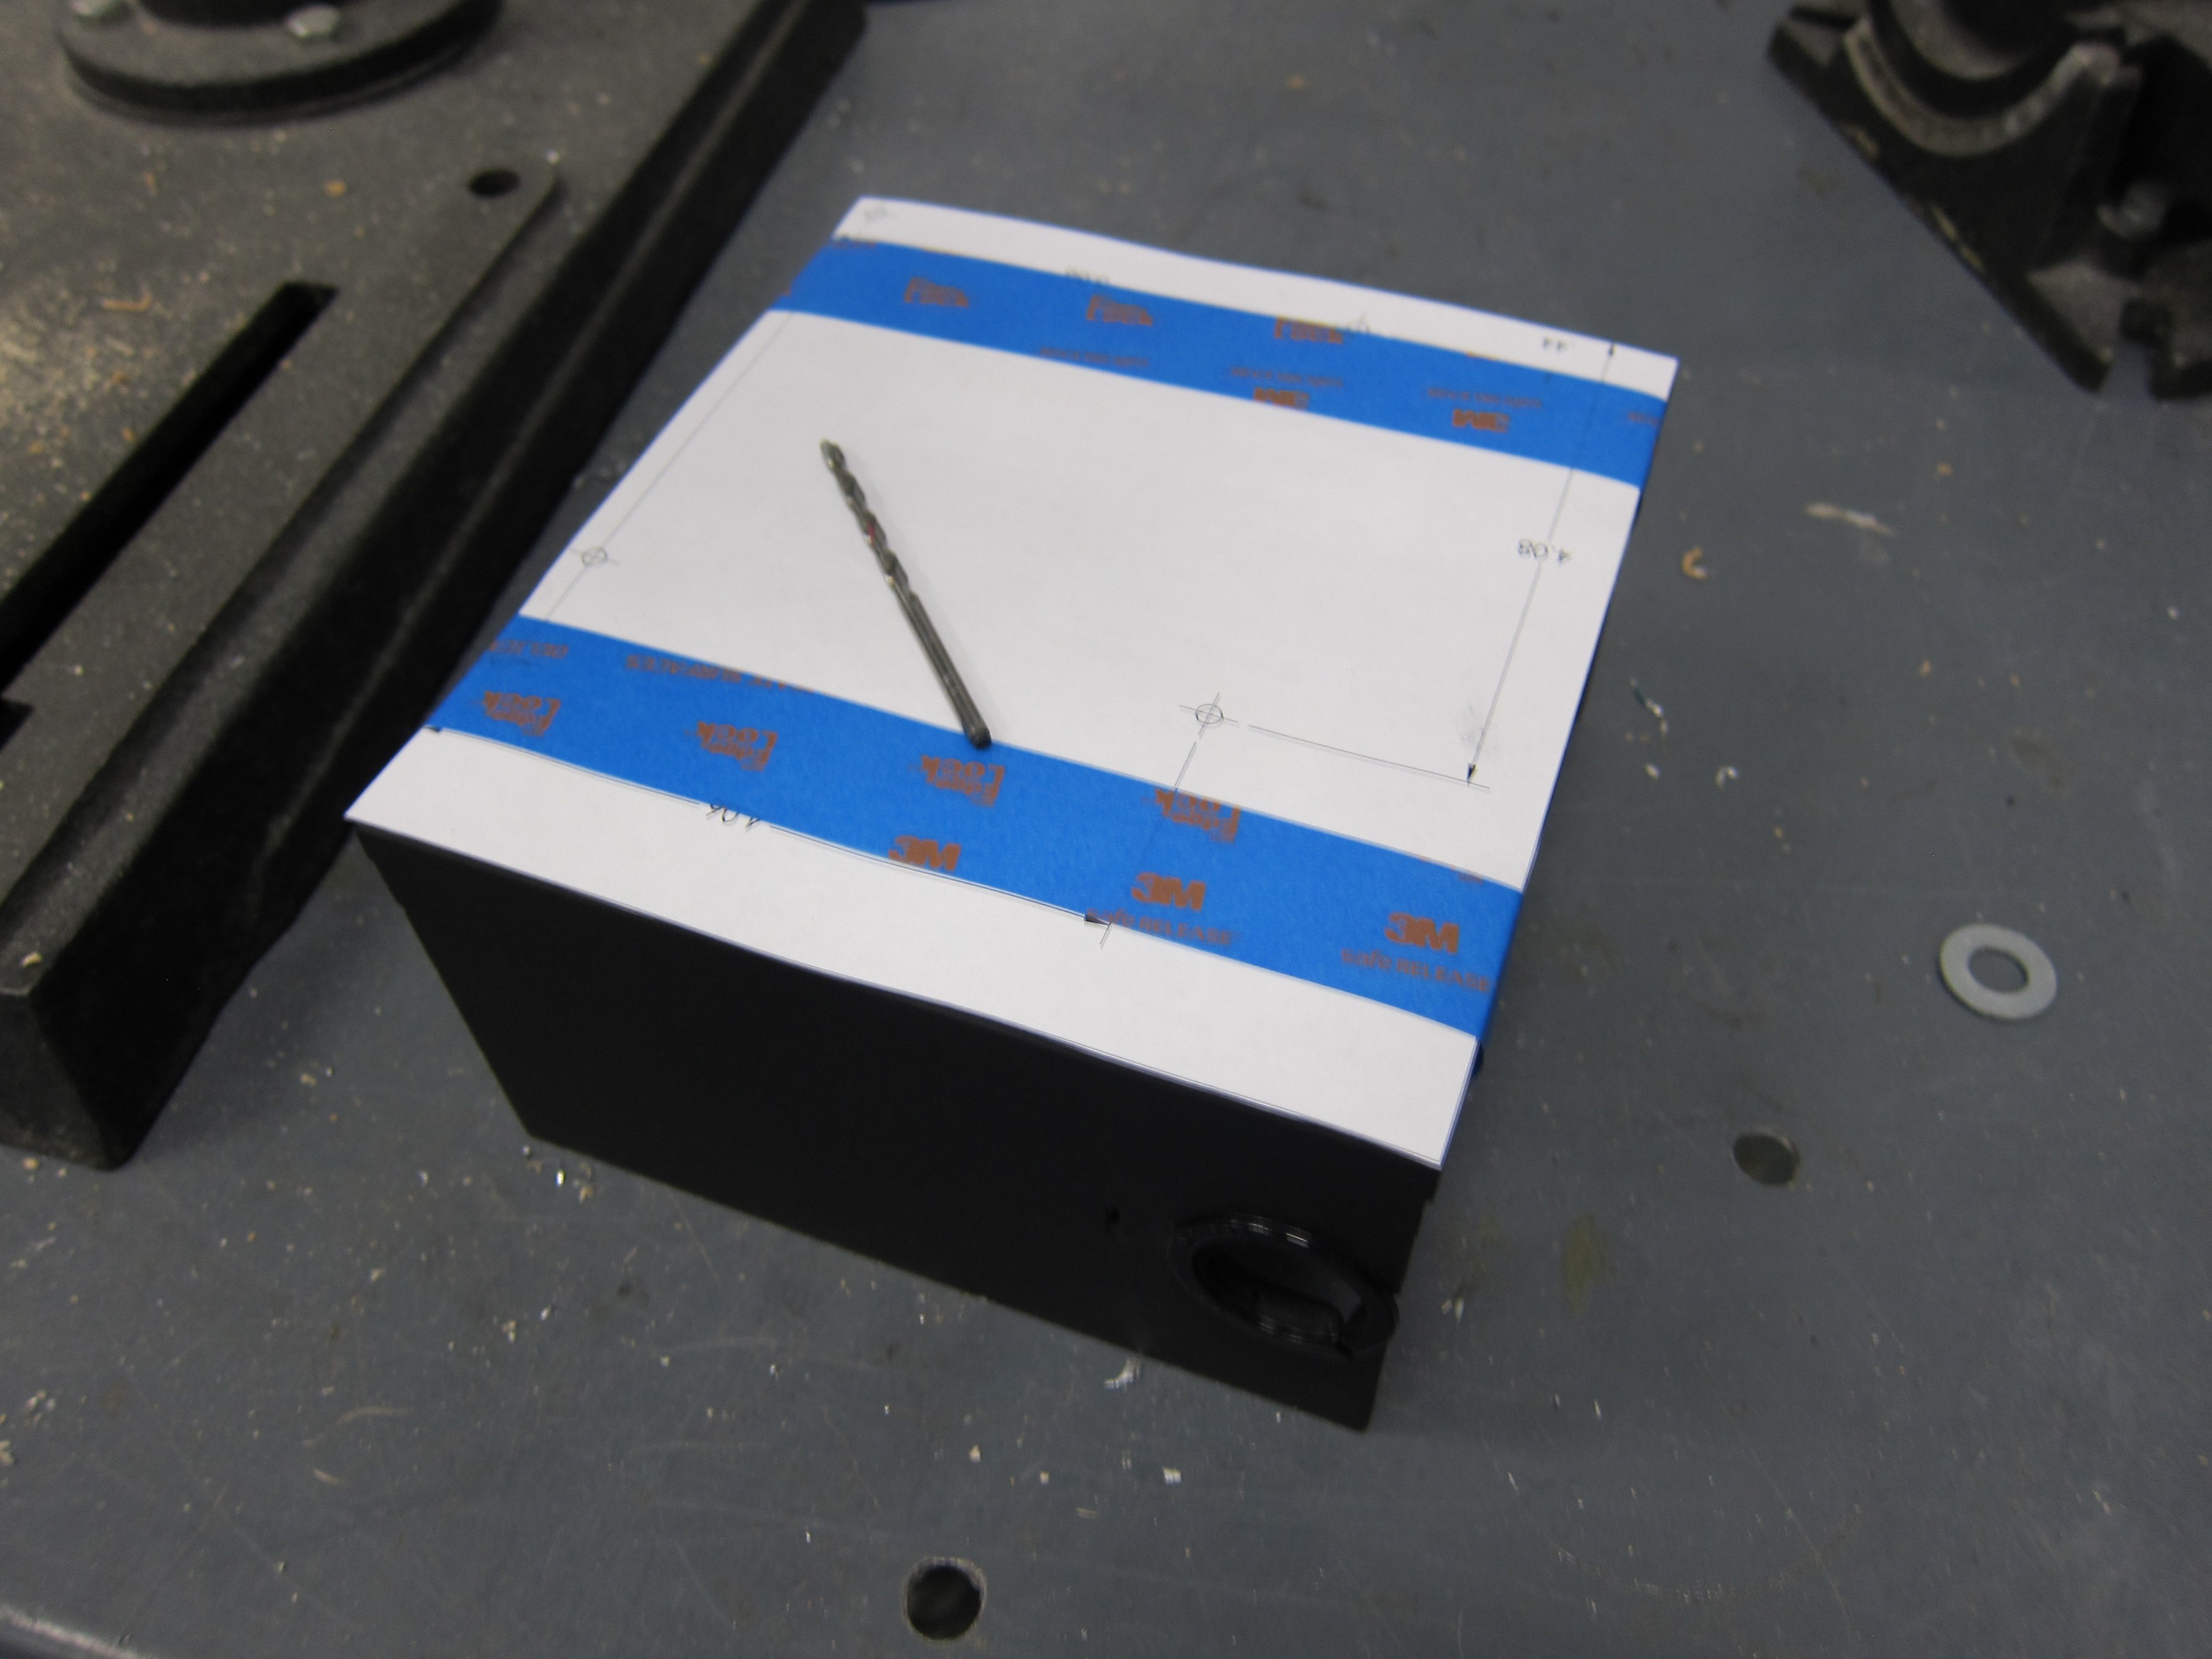
First, I modeled the boards mounting holes from this fellow's dimensions and printed it out. I set the Smoothie Board on the printout to make sure the holes were in the right place. After verifying that they were right in the most accurate way possible I taped the printout to the ATX power supply case and went to town.
![]()
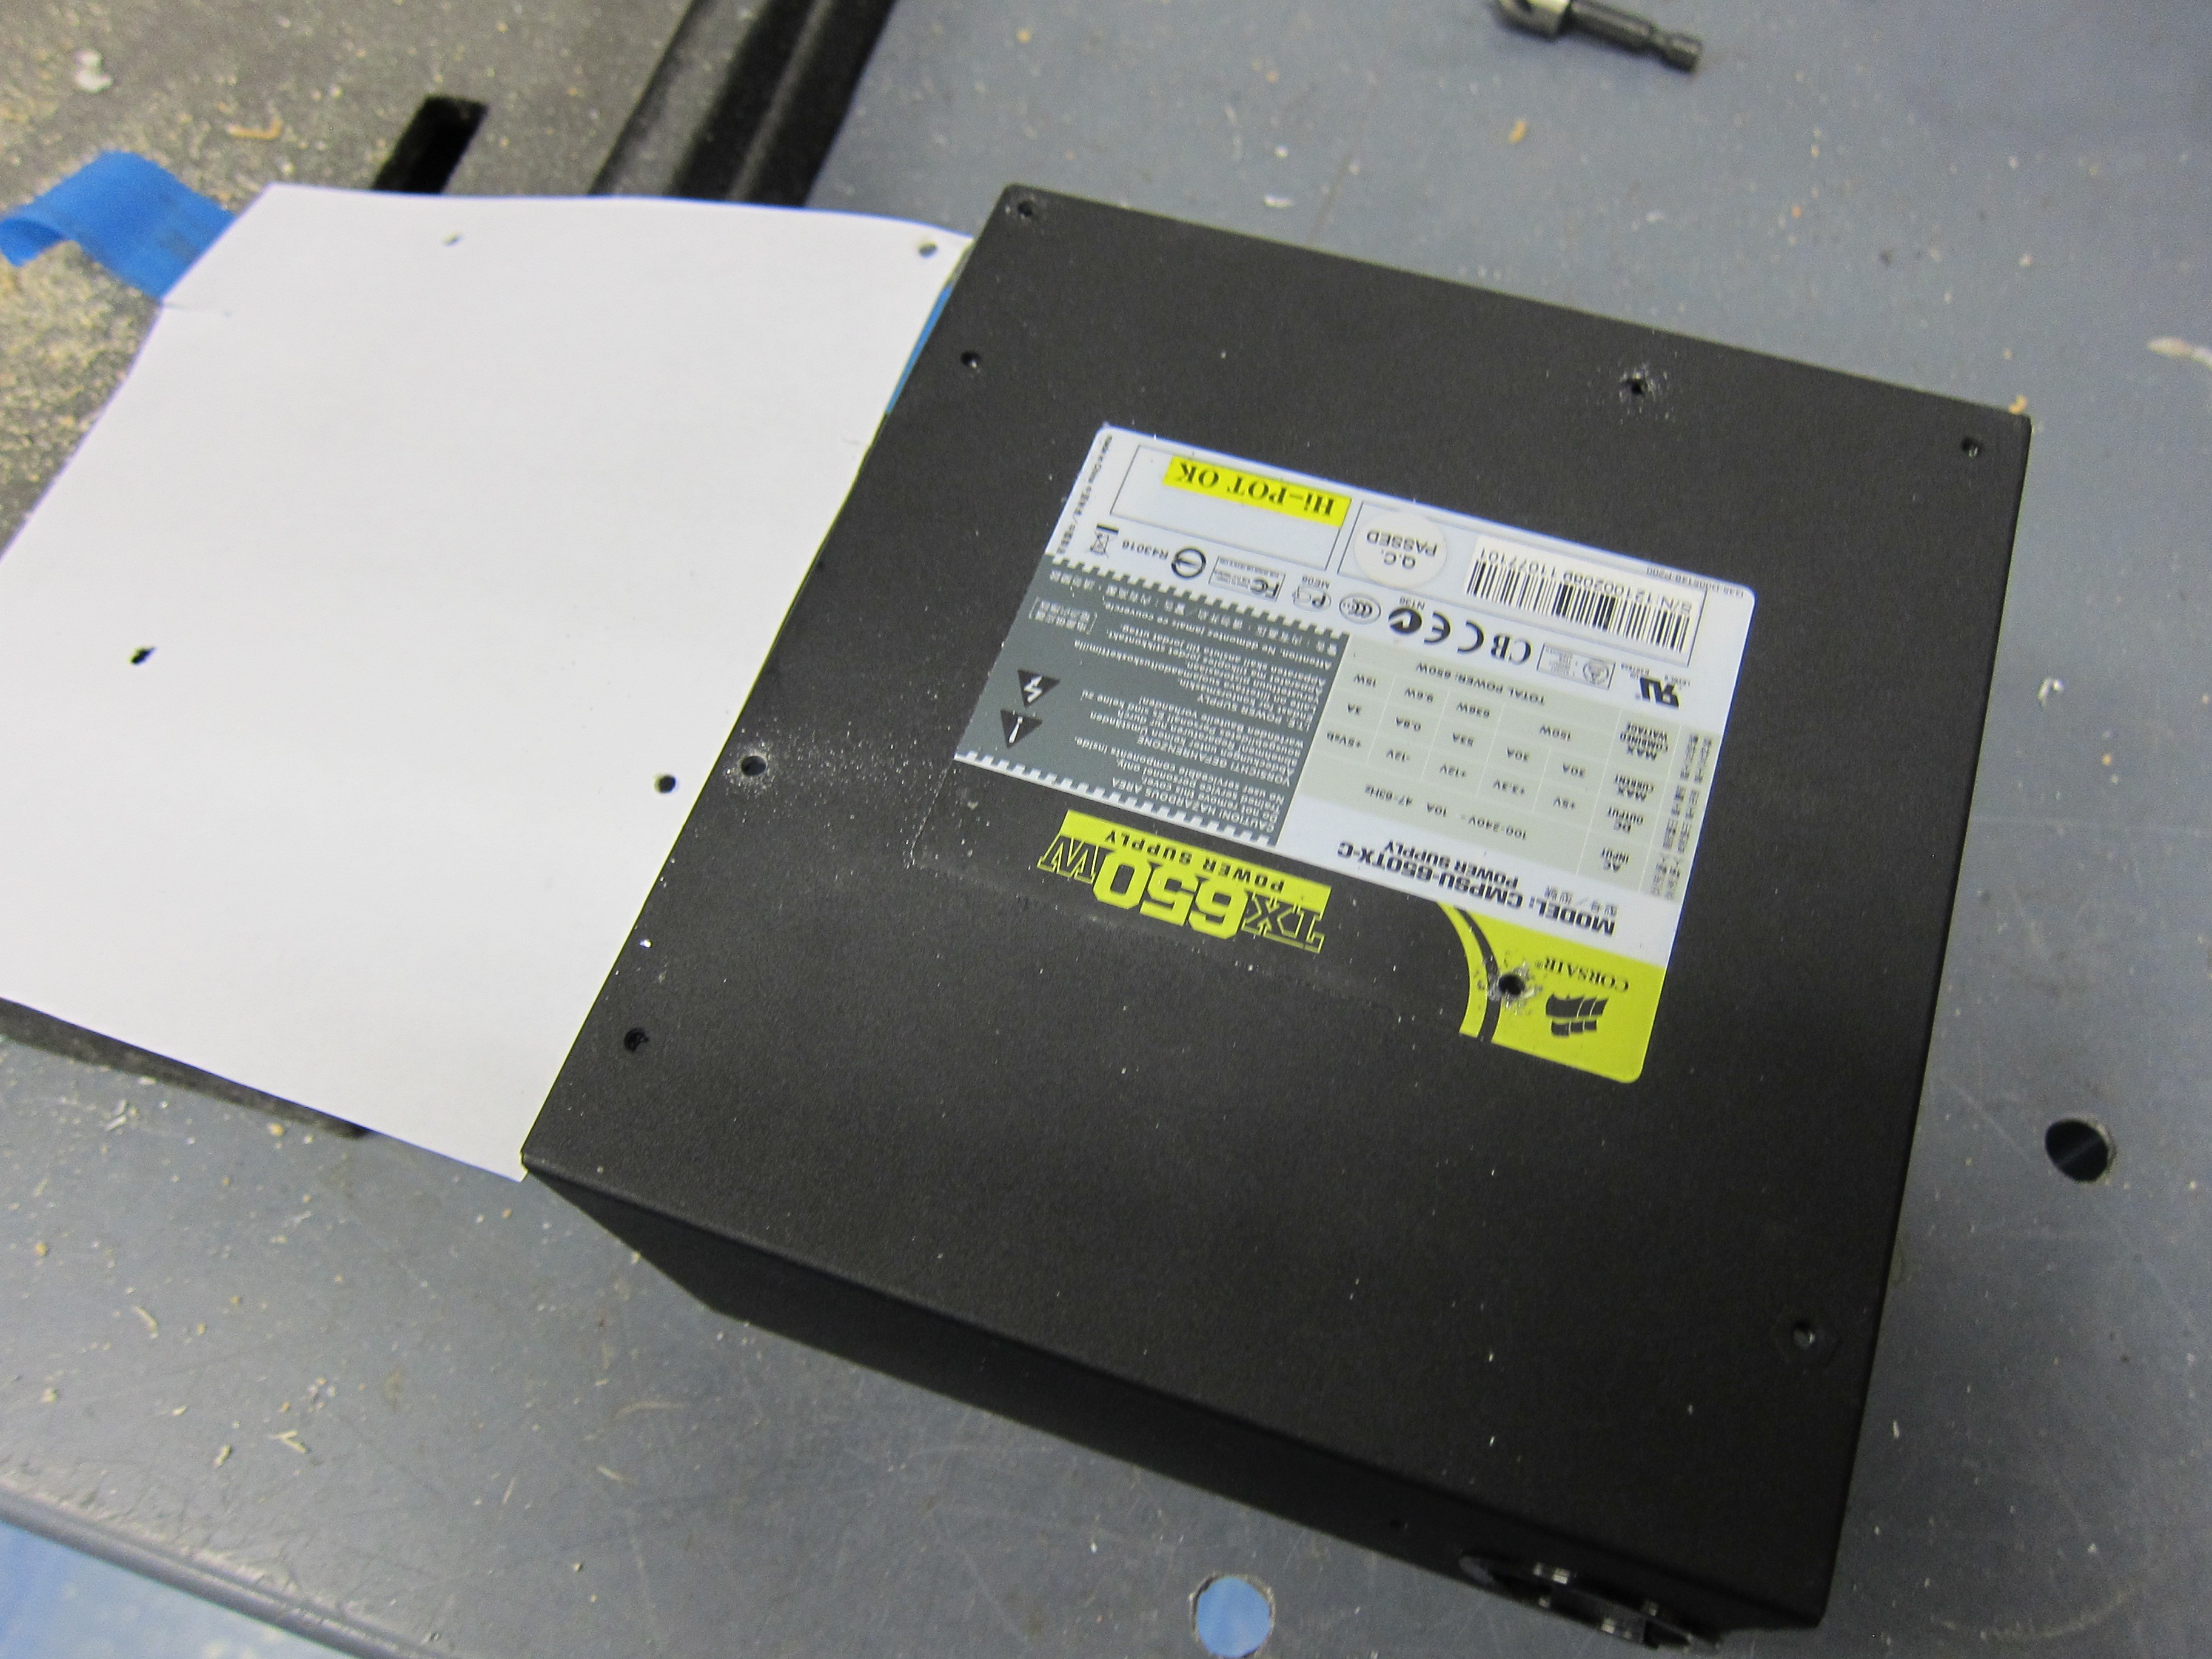
The holes weren't drilled even close to the centers on the printout, however things seemed to work out. Once holes were punched I went about deburring in the worst possible way: by hand with a larger bore drill-bit. The pressed (and possibly galvanized) steel did not drill well and I think I bent the whole case out of shape.
![]()
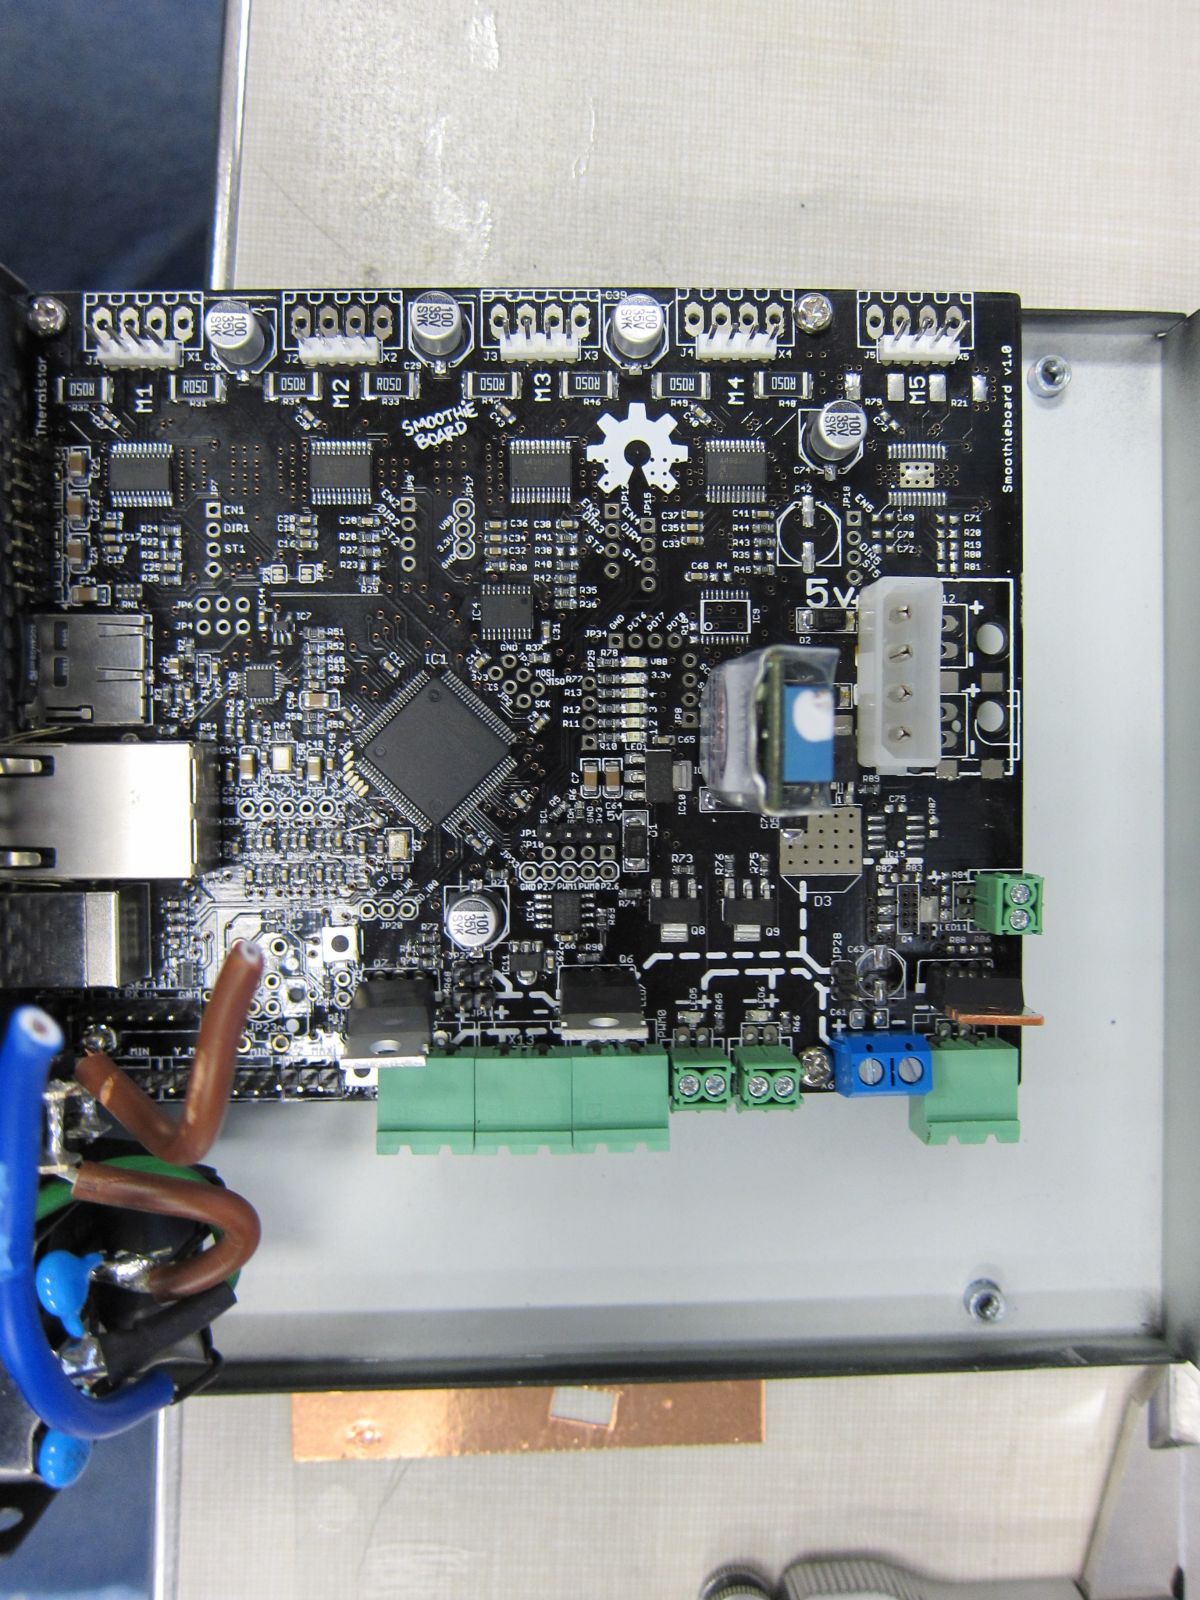
Drilling and deburring complete, I mounted to board in place. It seems to fit rather well and I don't think any traces will short to the case.
![]()
![]()
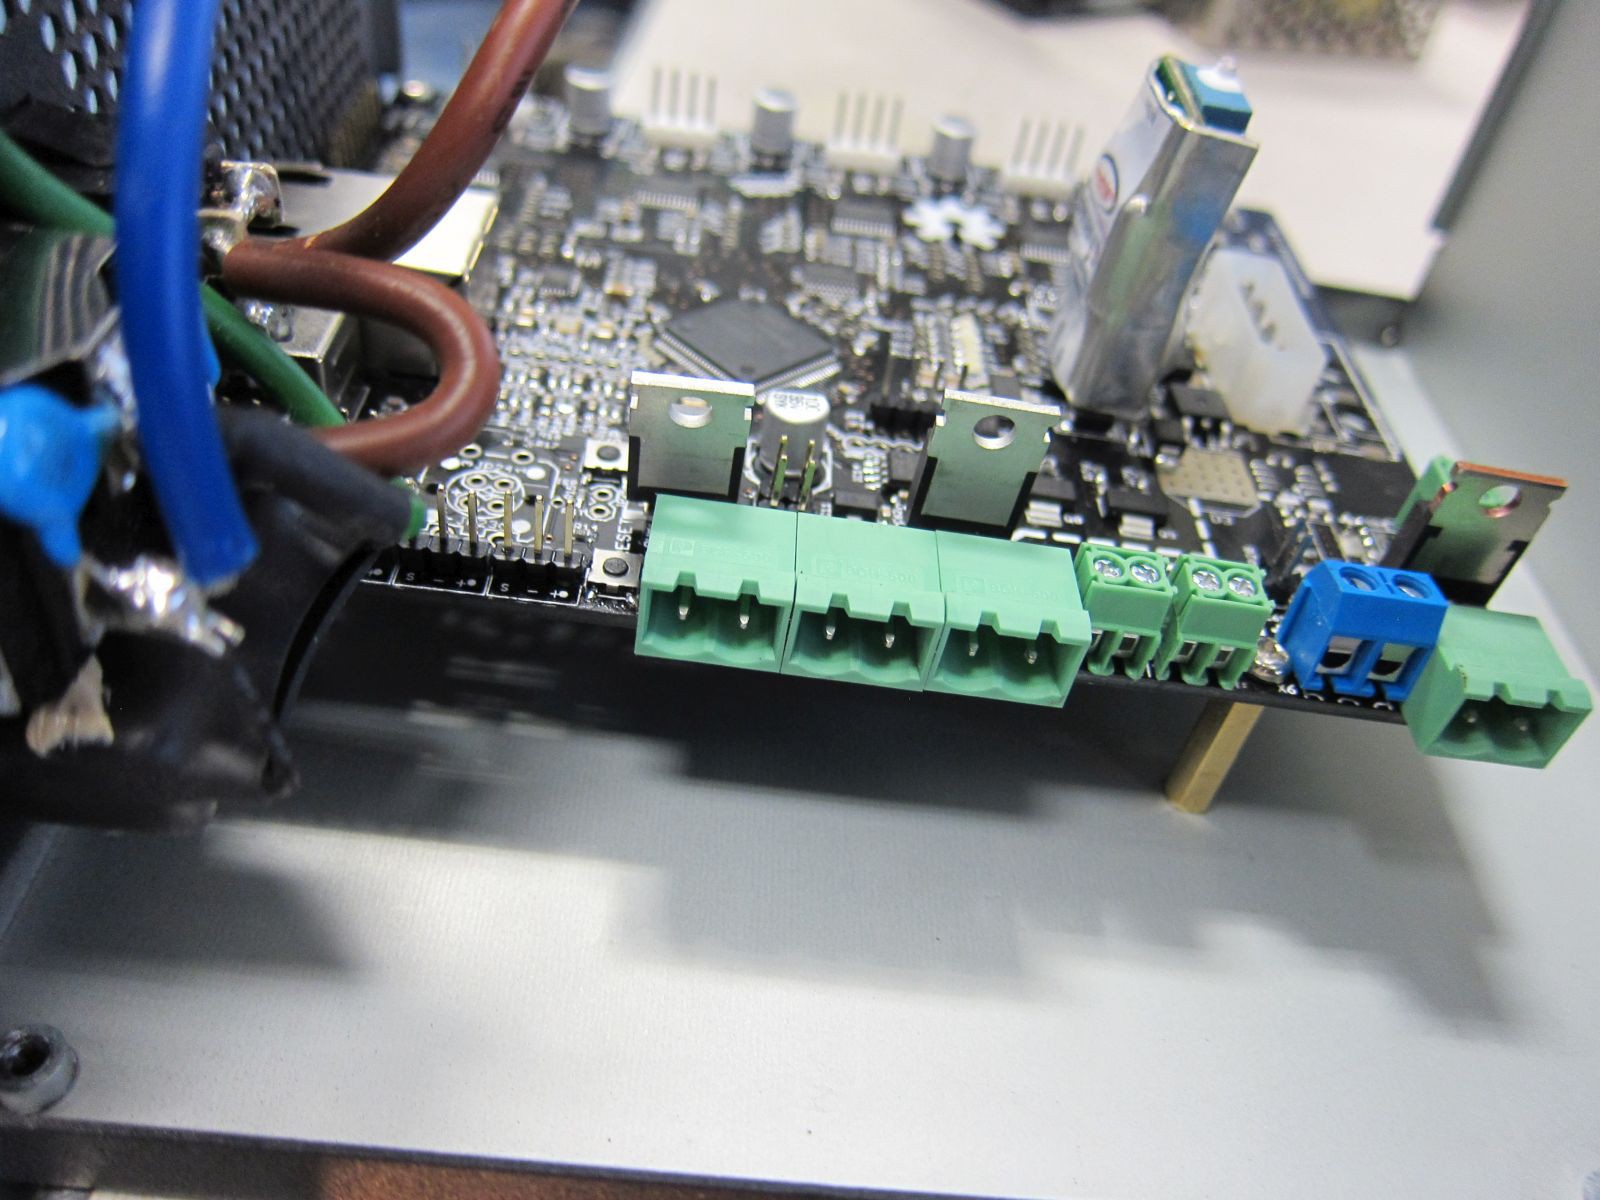
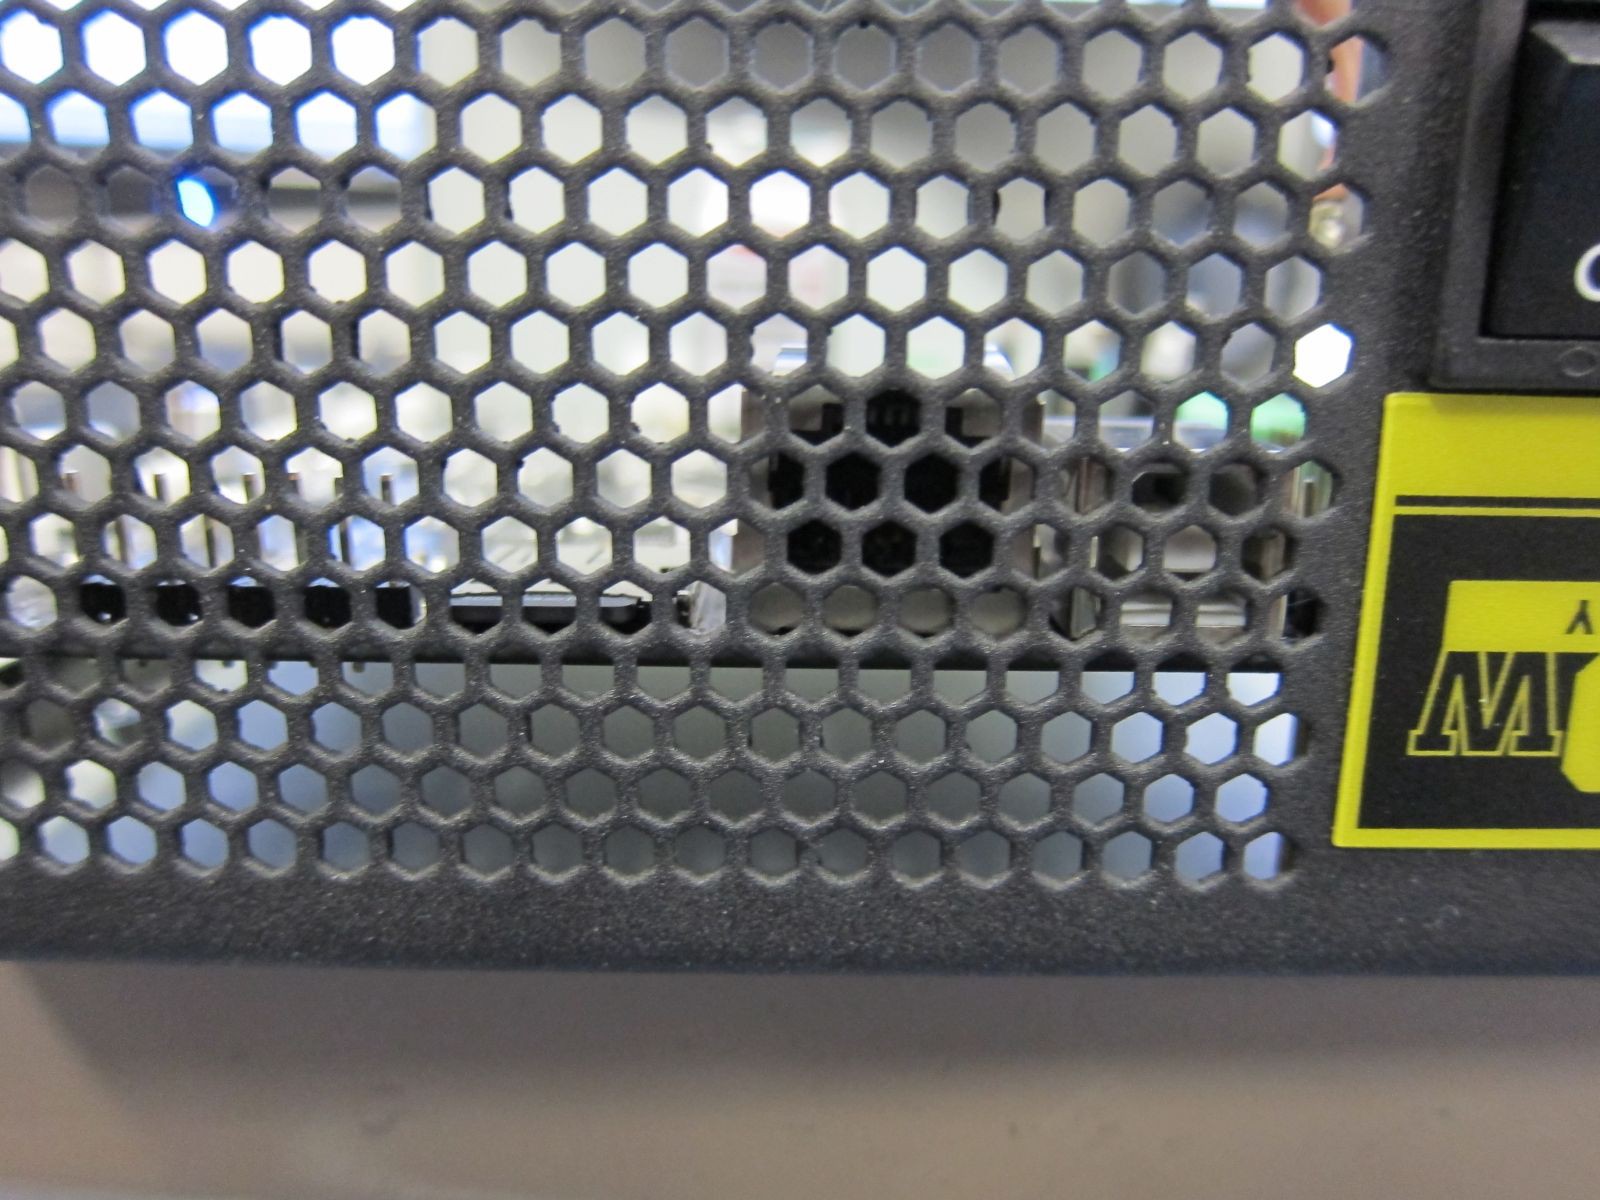
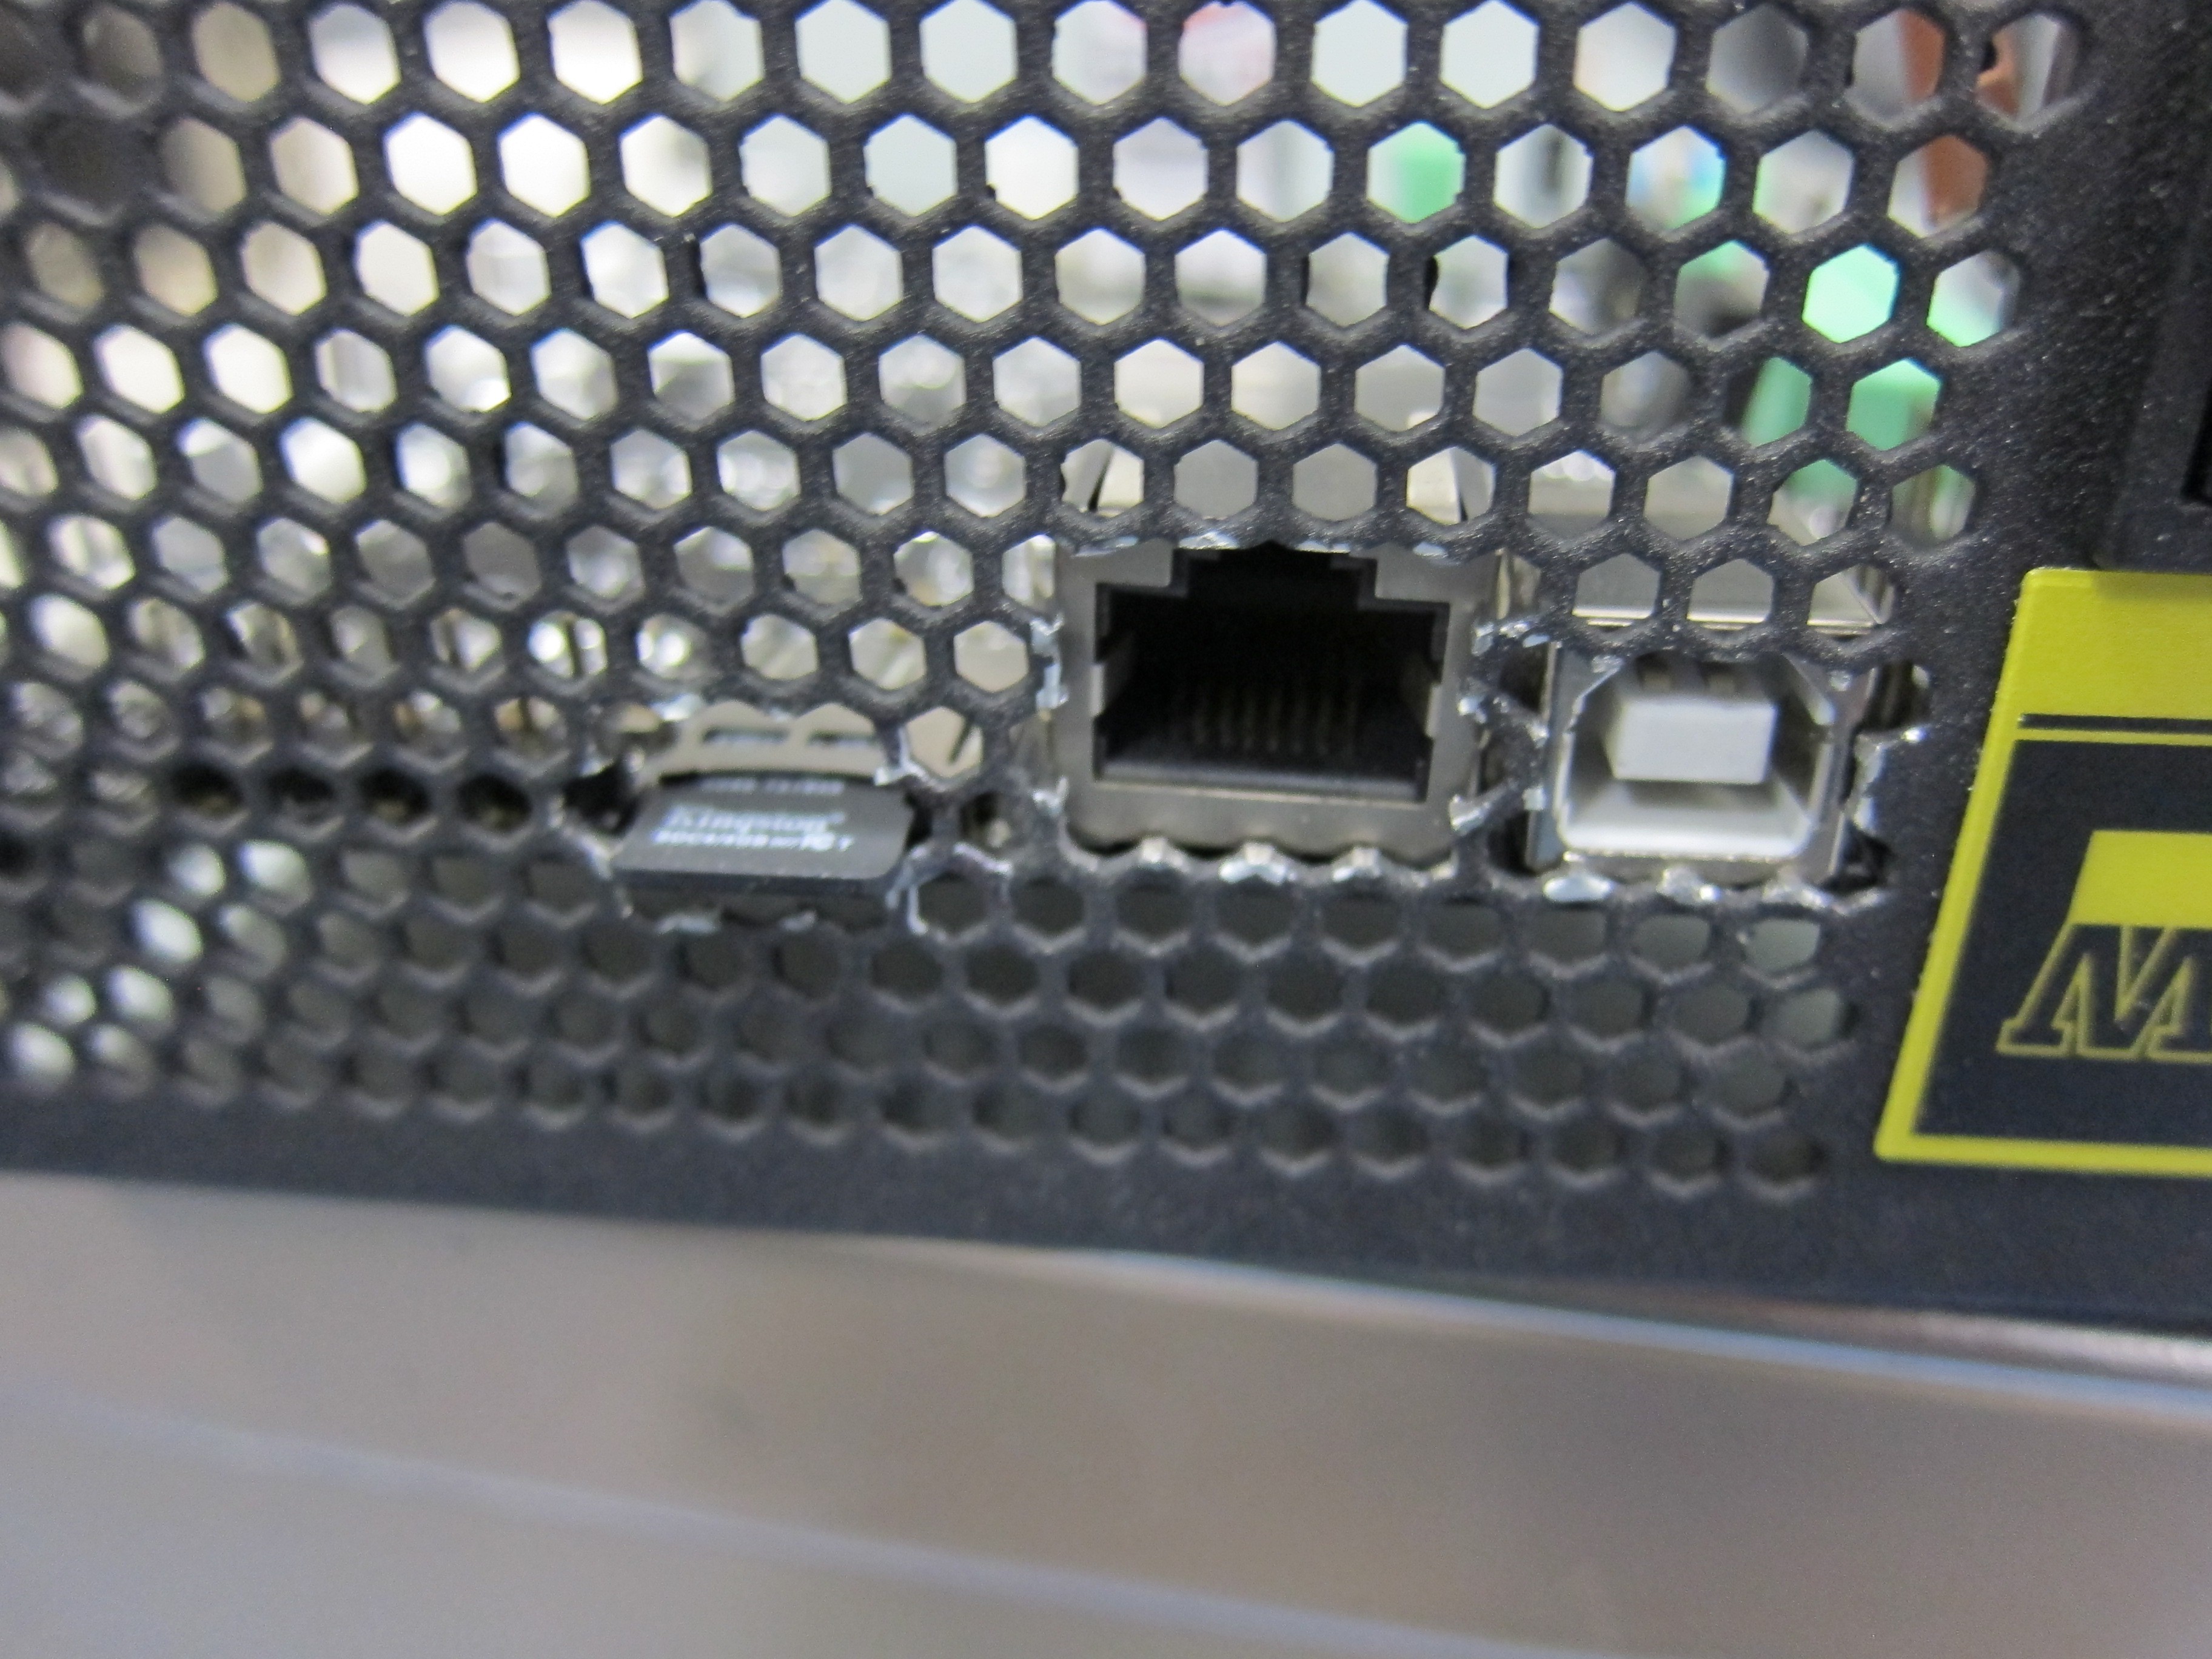
![]() Having successfully installed the Smoothie I punched holes for the SD card, ethernet port, and the USB port. I did some other stuff, too, but I didn't take any pictures.
Having successfully installed the Smoothie I punched holes for the SD card, ethernet port, and the USB port. I did some other stuff, too, but I didn't take any pictures.![]()
![]()
From here I'll conclude modeling the interior in all its blocky glory and then on to the axes!
-
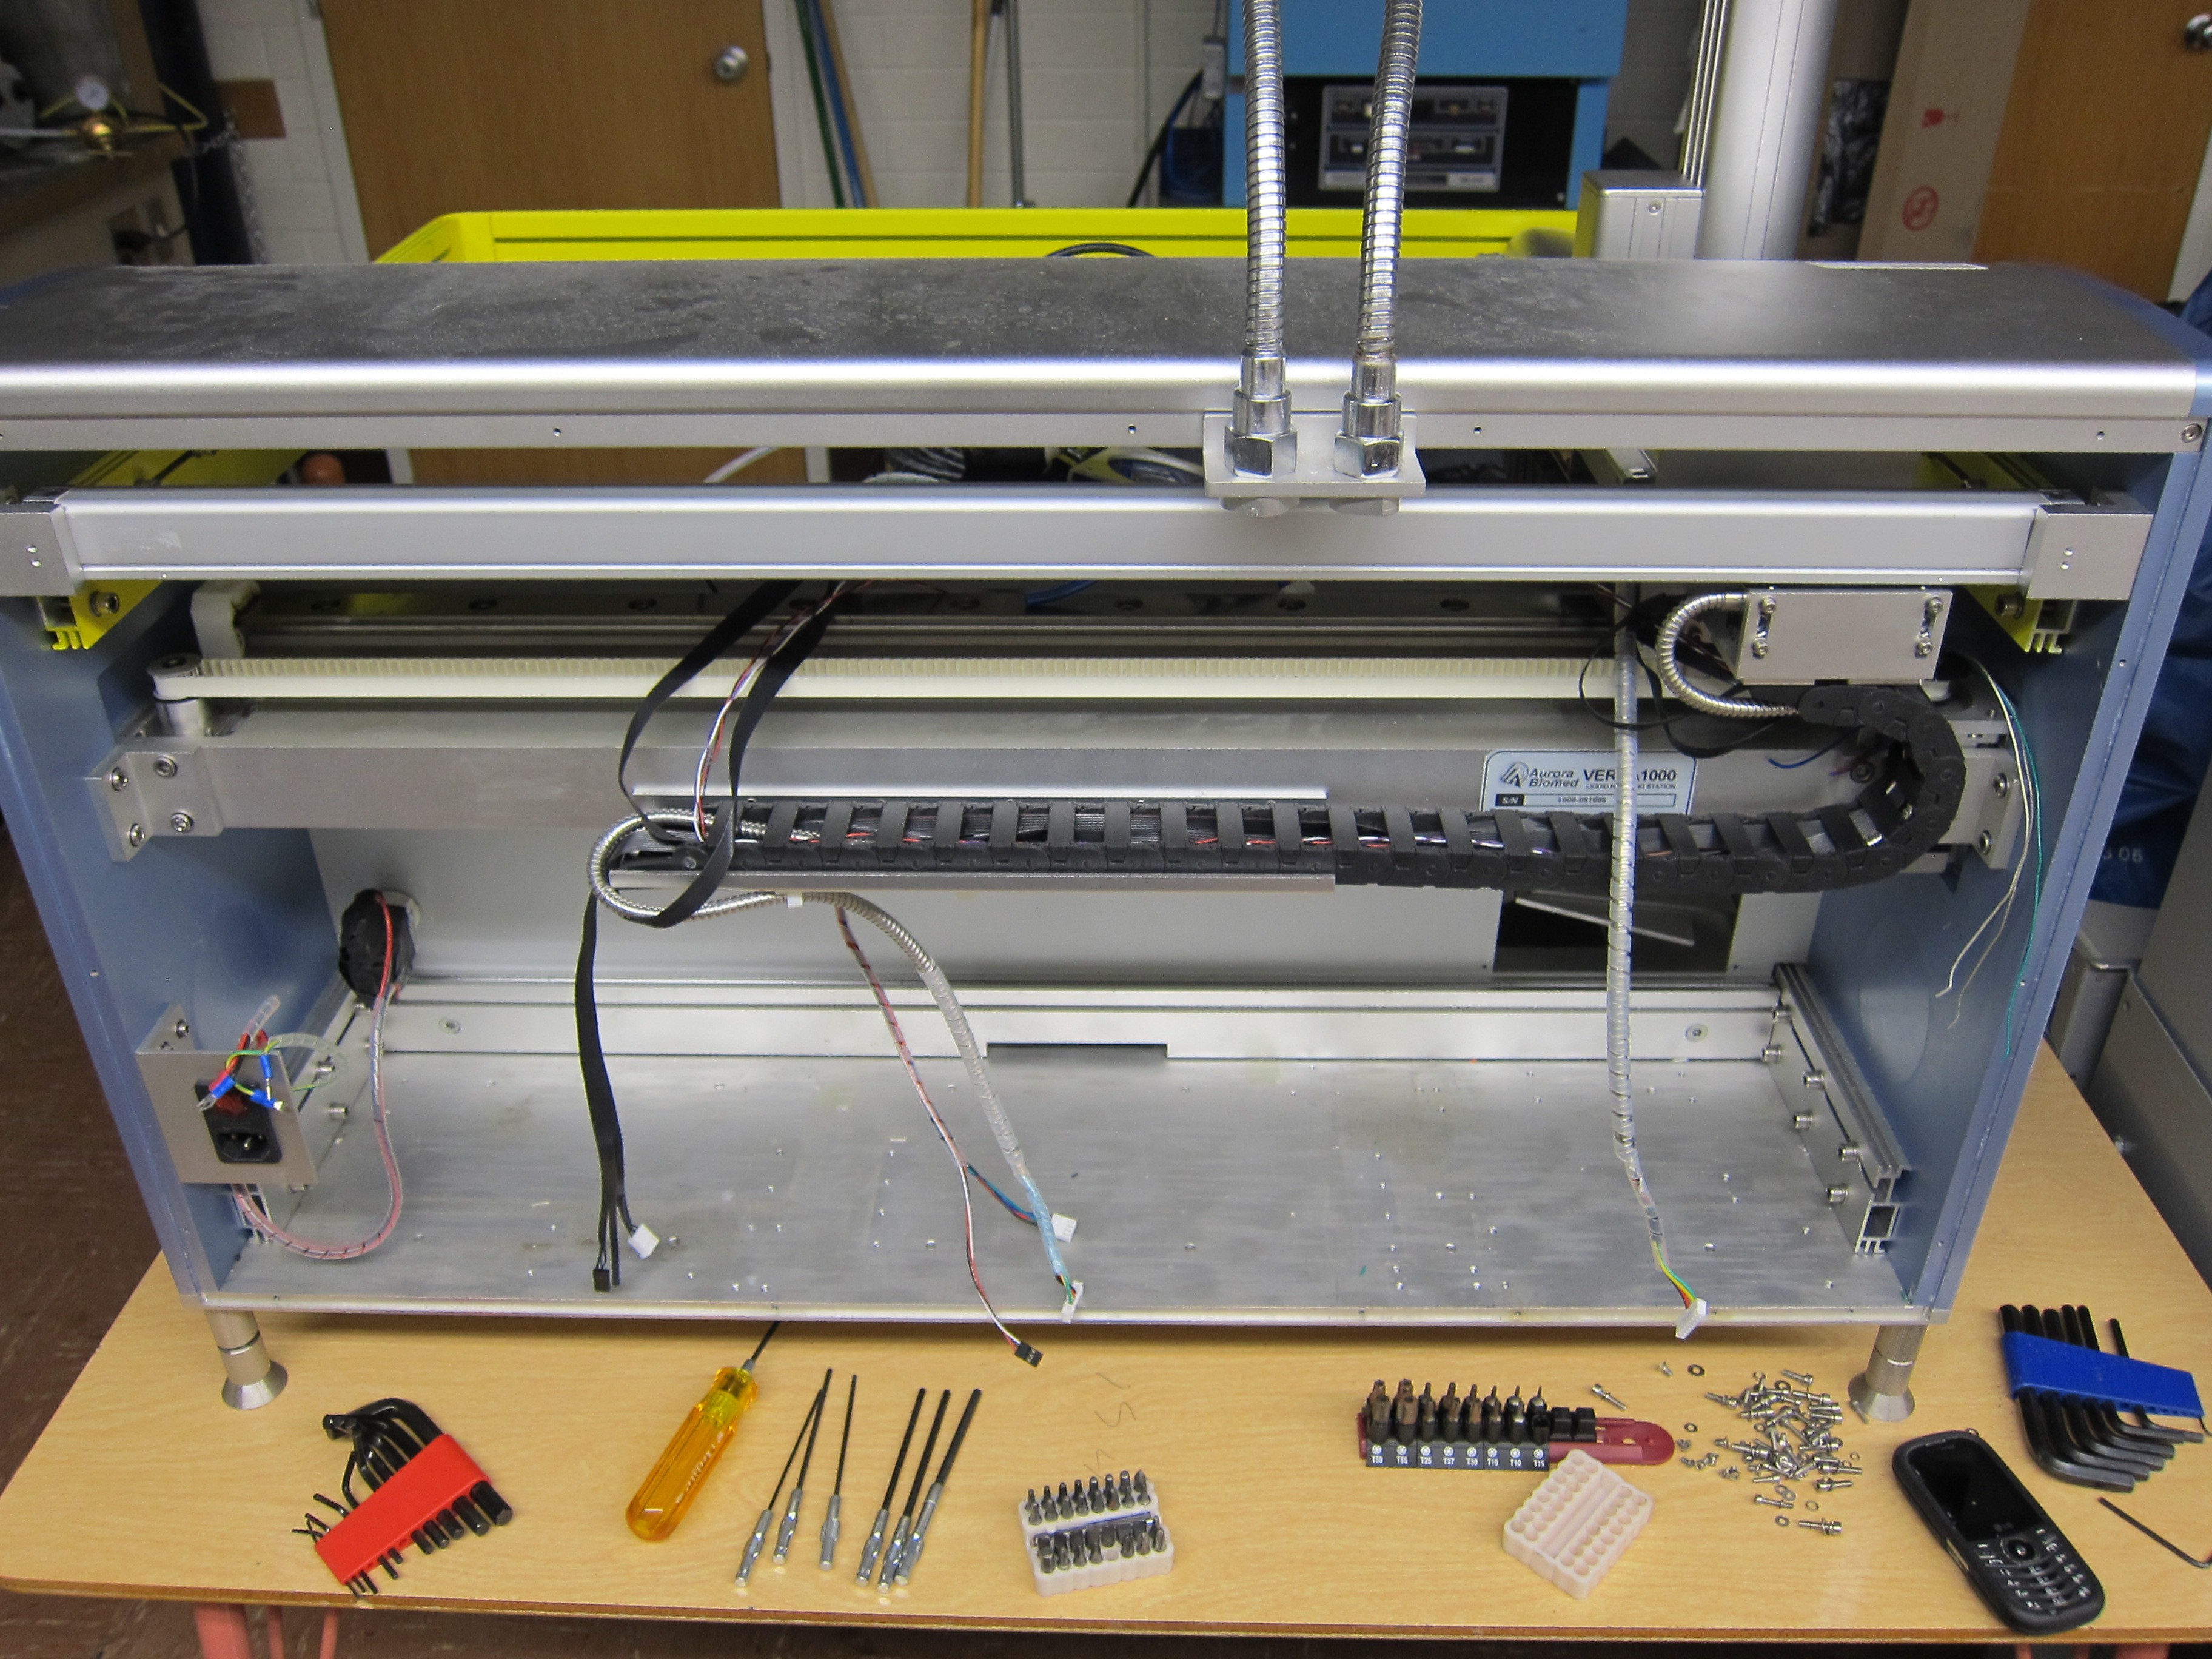
Behemoth Gutted
02/11/2015 at 04:16 • 0 commentsI've also pulled the guts out of this over-engineered beast this evening. Once test fitting is done (see the other log from today) I'll be installing and wiring this thing. First stop: motion control.
![]()
-
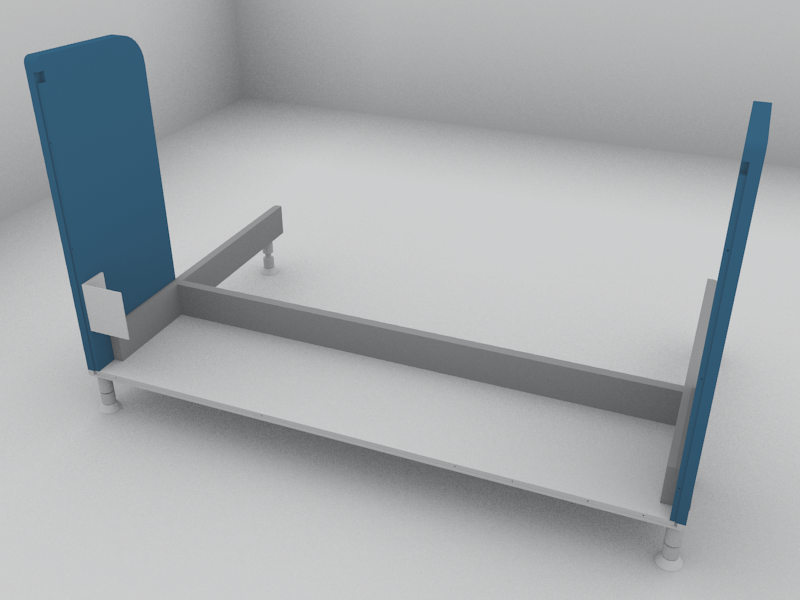
Test Fit Assembly Modeling Completed
02/11/2015 at 04:07 • 0 commentsSo, I've managed to complete the test fit model so that I can appropriately arrange the guts of this thing.
![]() Why yes, that is Blender's ambient occlusion render setting yous see. I could have modeled this in solidworks, but that would have been no fun at all. I need to model all the components that go inside and get to test fitting them.
Why yes, that is Blender's ambient occlusion render setting yous see. I could have modeled this in solidworks, but that would have been no fun at all. I need to model all the components that go inside and get to test fitting them.Once the interior is complete I can move on to the wiring harness for linear motion followed closely by the heated bed and temperature control (fans!).
 Having successfully installed the Smoothie I punched holes for the SD card, ethernet port, and the USB port. I did some other stuff, too, but I didn't take any pictures.
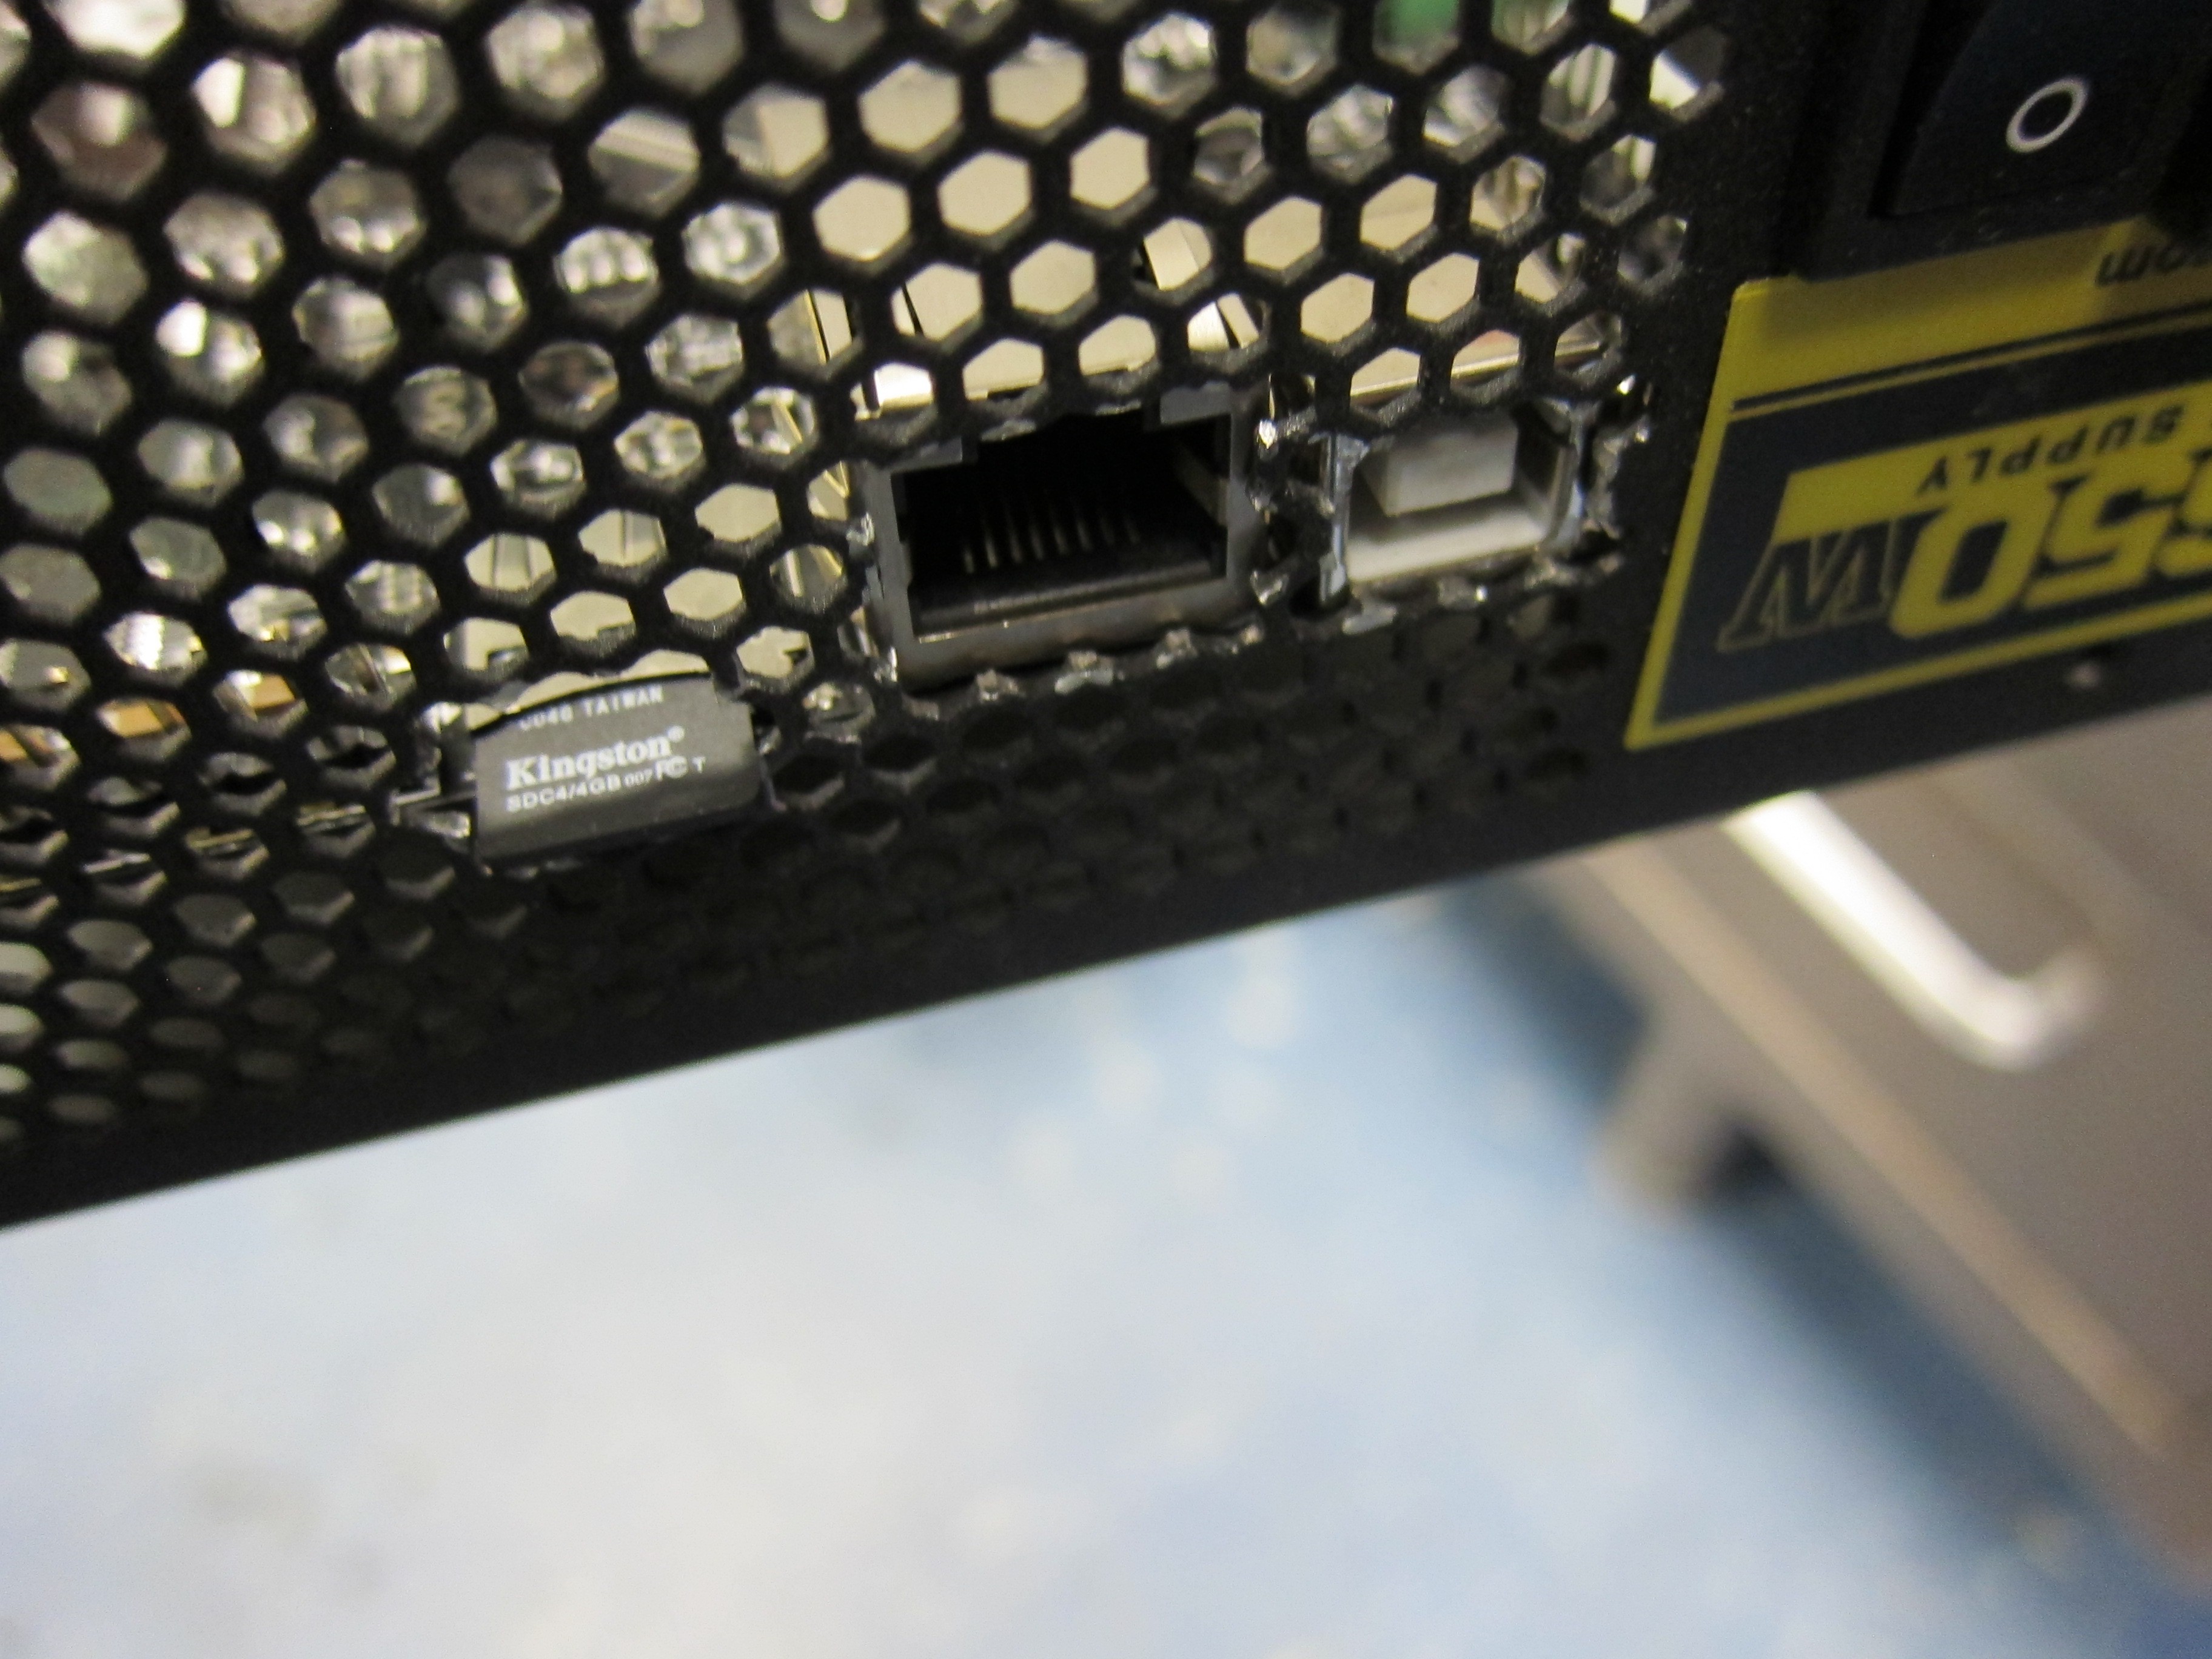
 Why yes, that is Blender's ambient occlusion render setting yous see. I could have modeled this in solidworks, but that would have been no fun at all. I need to model all the components that go inside and get to test fitting them.