-
First Dispensing Test
09/01/2016 at 23:05 • 1 comment -
Software Rewrite
08/31/2016 at 10:35 • 0 commentsFollowing a bit of a think about how i want this to go...
I will be moving the 'heavy lifting' off to a webserver of some kind, the main user interface will be accessible via WiFi where drinks can be selected etc.
This allows for multiple people to choose at once, its not as tactile as pressing clicky buttons (something i quite enjoy) but it has many benefits.
To this end, the teensy 3.1 has been replaced with a Nano, the SD card has been removed and code radically changed to reflect that.
Its now a great deal simpler, particularly as I've decided to remove scrolling menus (it was a lot of faff and never completely worked properly)
All of the 'pouring' functionality can be triggered from the CLI now, including naming of the reagents, on that note, I MAY get some little oled displays to show the reagent names next to the feeds, this could be useful when considering the expansion board (16 more reagents)
It is also possible to manually dispense things and prime the feeds, drain, clean and alter the LED settings from the on board UI.
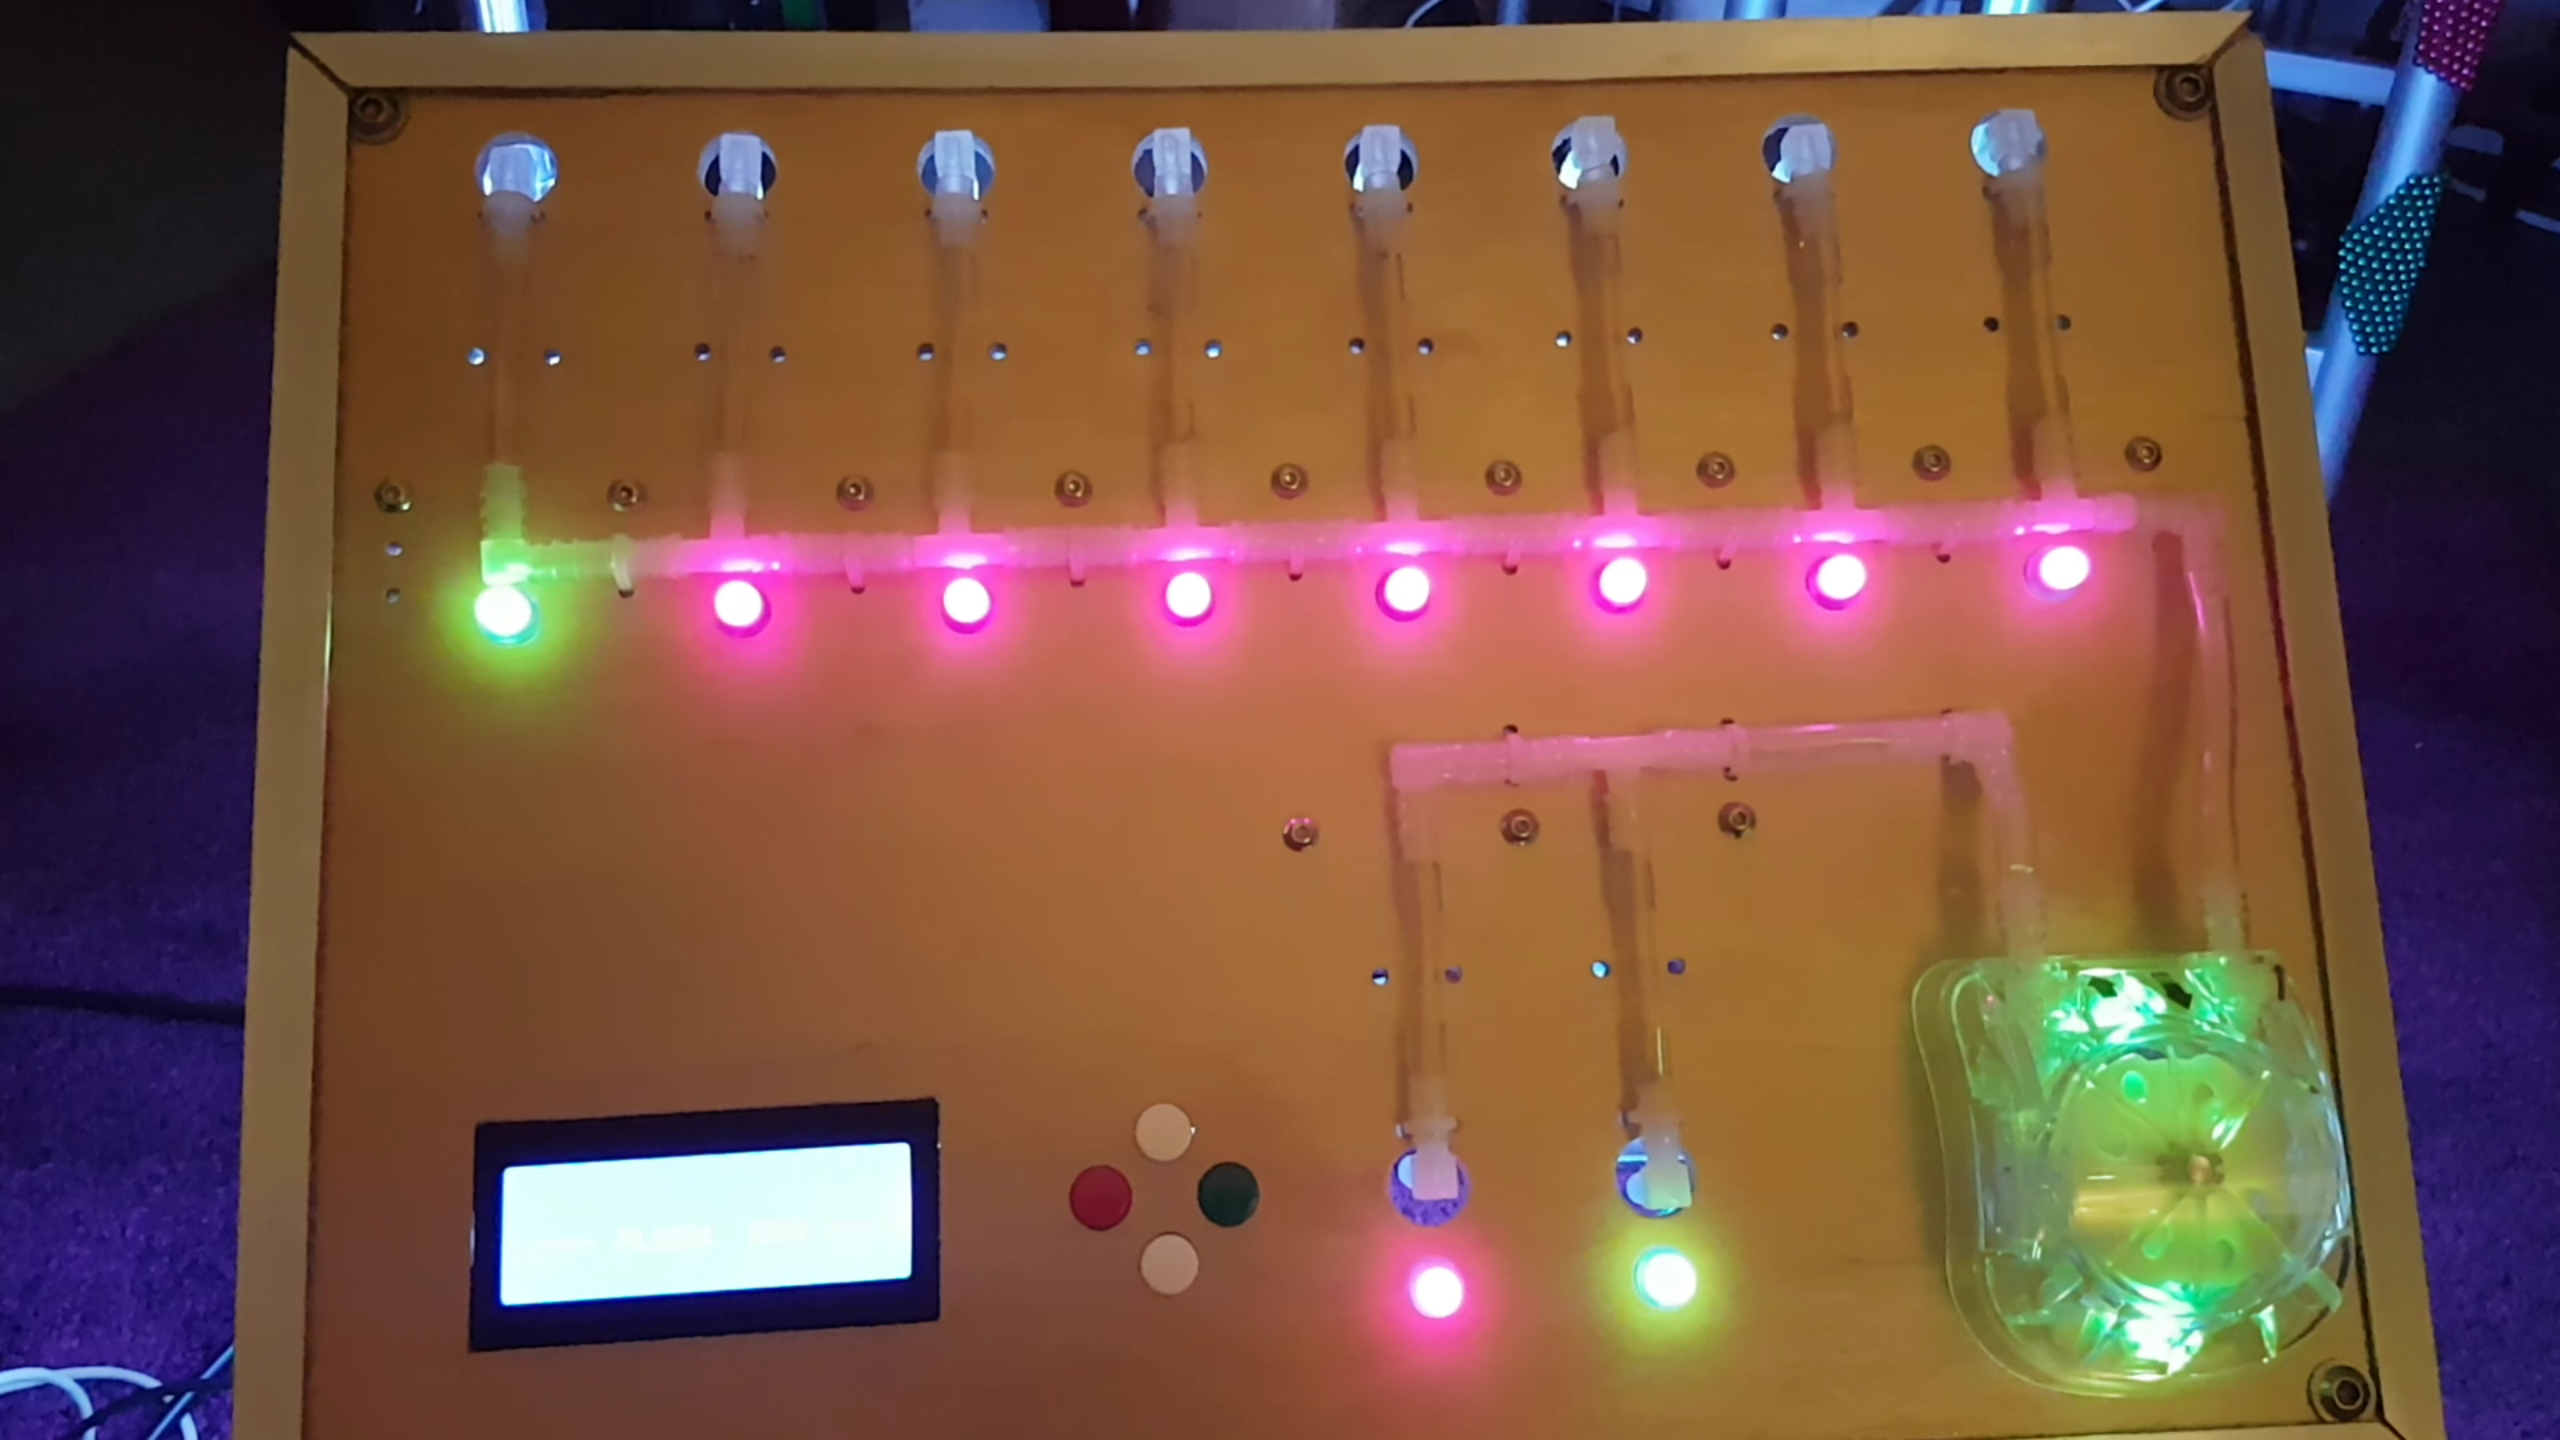
I will make a little demo vid of the functionality at some point, but for now, here is a pic of it all lit up :-)
-
Valve Woes
08/31/2016 at 10:26 • 0 commentsOnce the frame was made i did some basic testing and found the valves to be leaky :-(
Part of the reason is the fact that the tubes have been held closed (squashed) for 18 months, this is not good for them despite being very tolerant Tygon tubing.
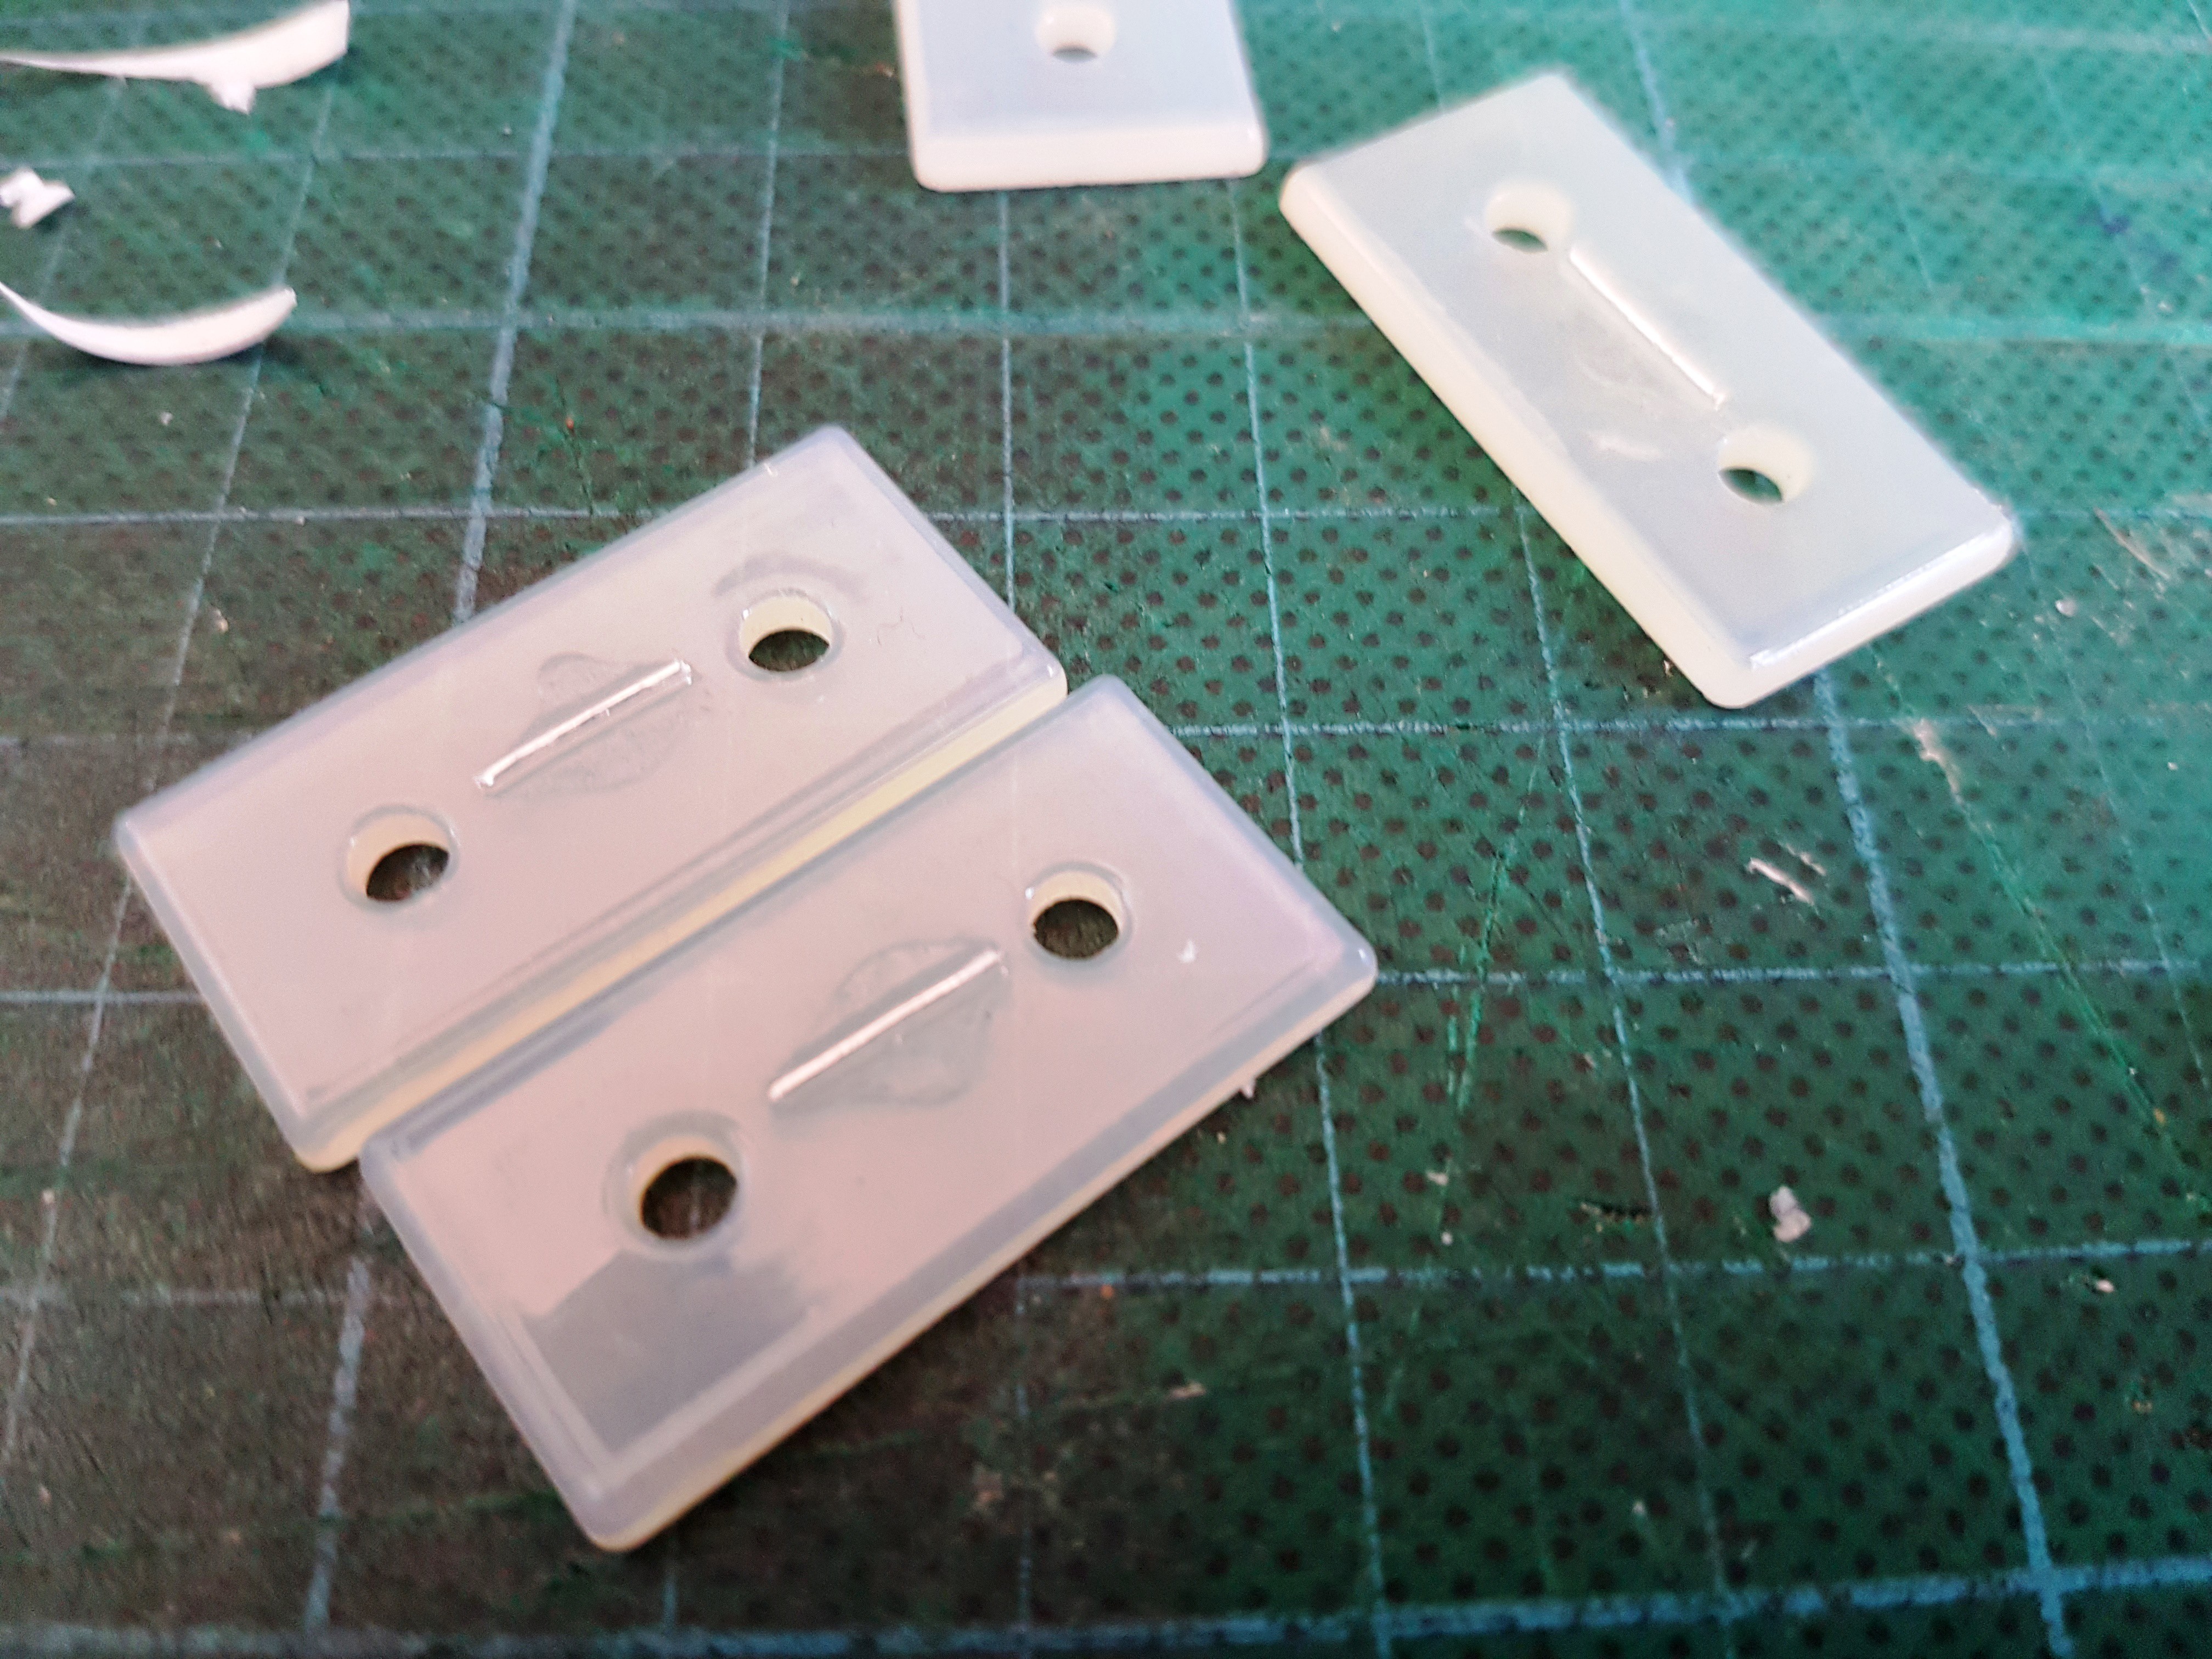
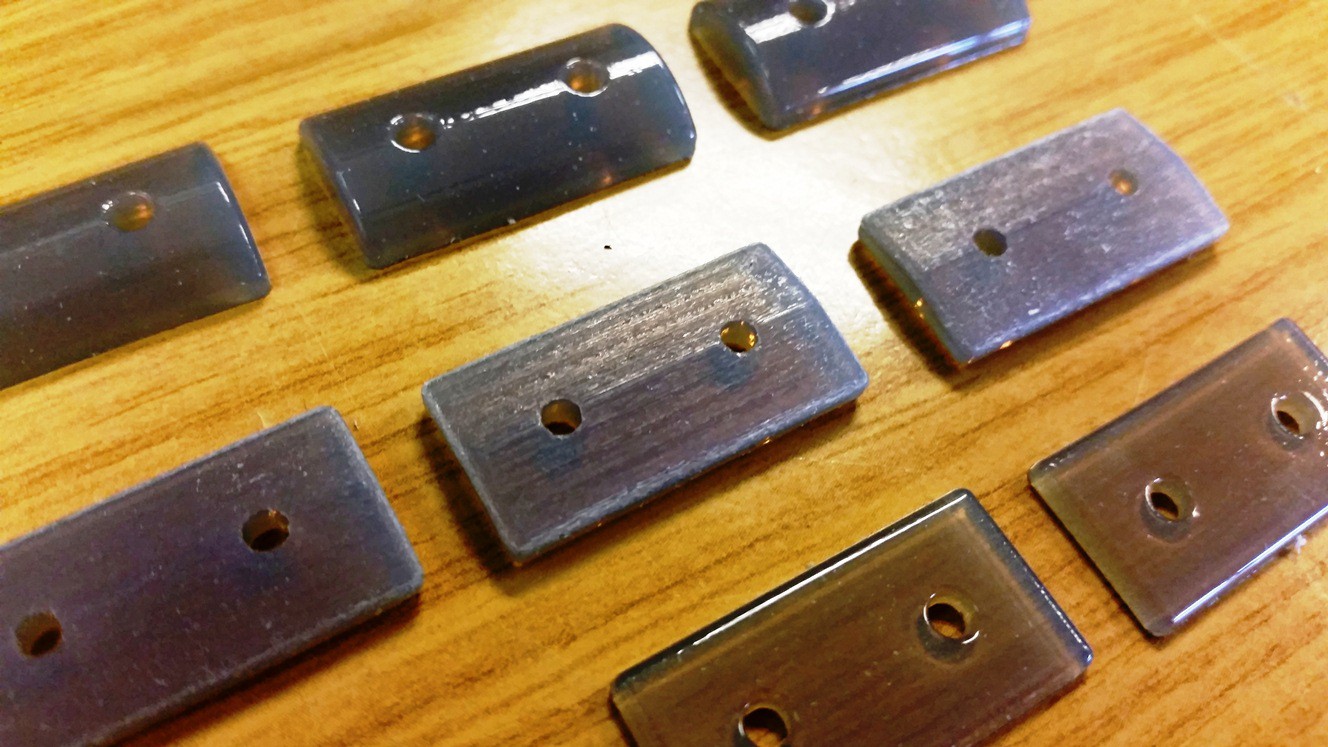
Tubing replaced, and still a bit of leakage, so i made some adjustments to the baseplate of the valve assembly:
Yup, i super-glued some little bits of Kynar wire to the plate, simple, but it works well :-)
-
Valve Woes
08/31/2016 at 10:25 • 0 commentsOnce the frame was made i did some basic testing and found the valves to be leaky :-(
Part of the reason is the fact that the tubes have been held closed (squashed) for 18 months, this is not good for them despite being very tolerant Tygon tubing.
Tubing replaced, and still a bit of leakage, so i made some adjustments to the baseplate of the valve assembly:
Yup, i super-glued some little bits of Kynar wire to the plate, simple, but it works well :-)
-
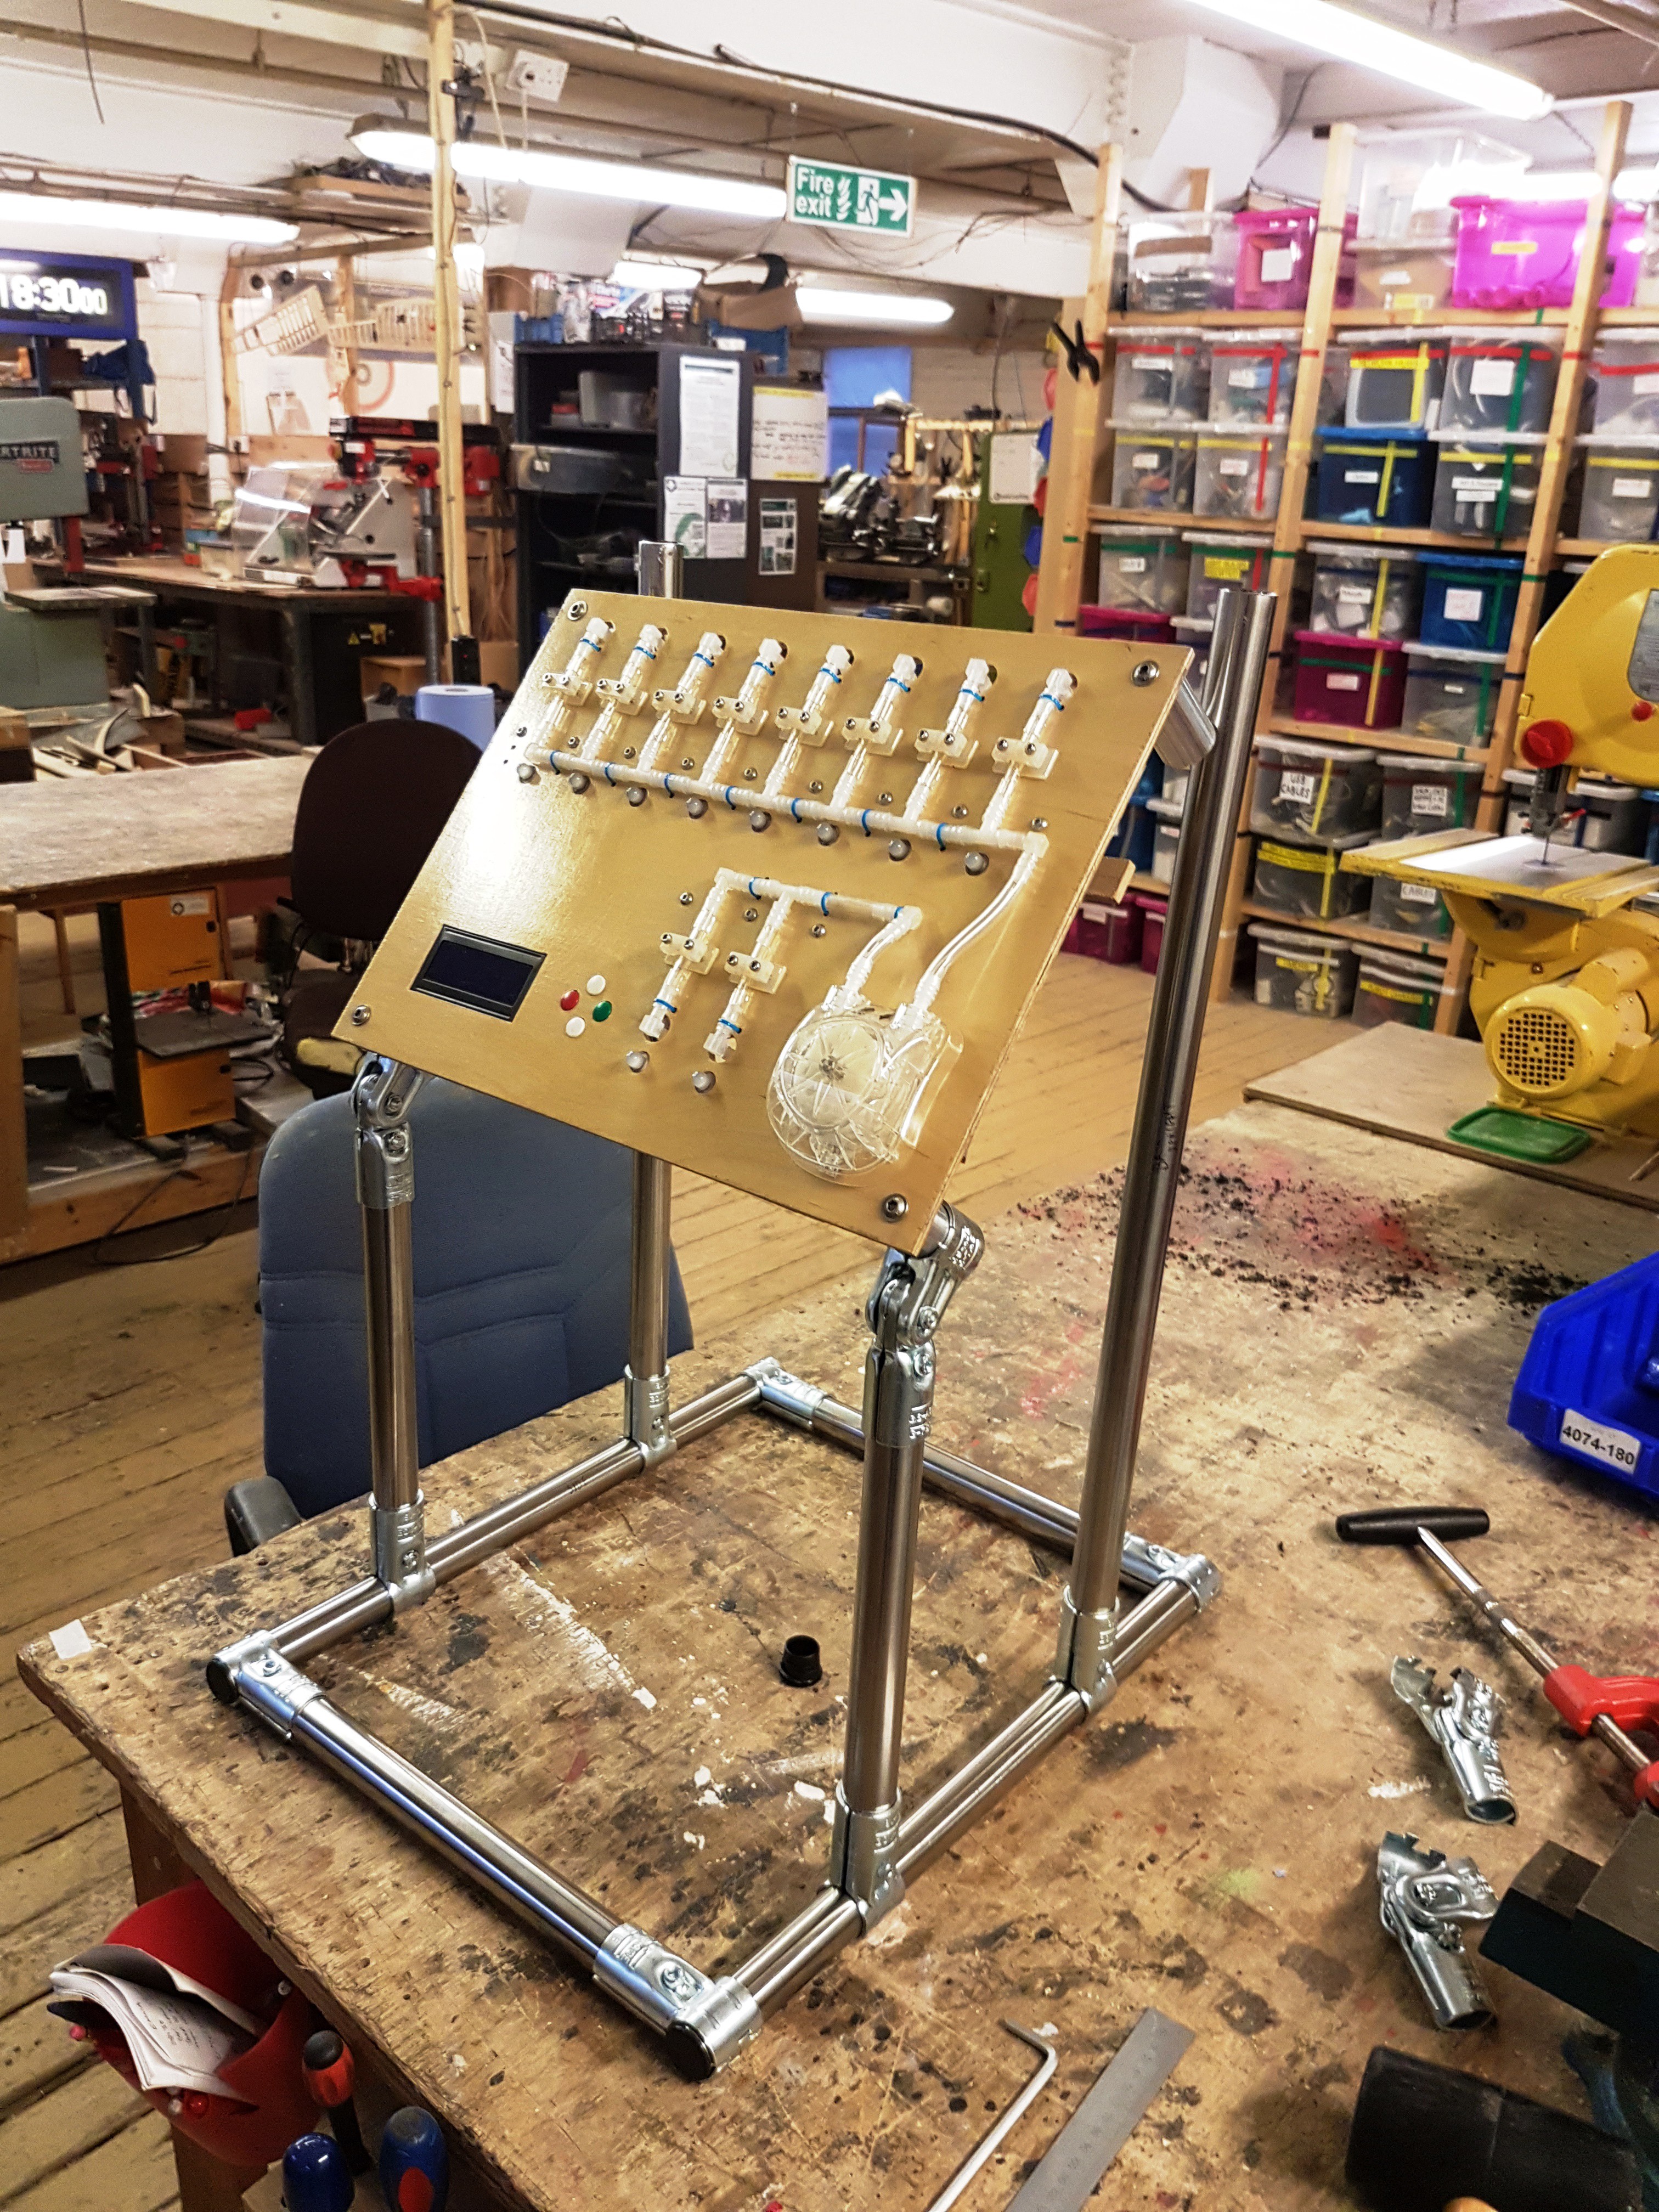
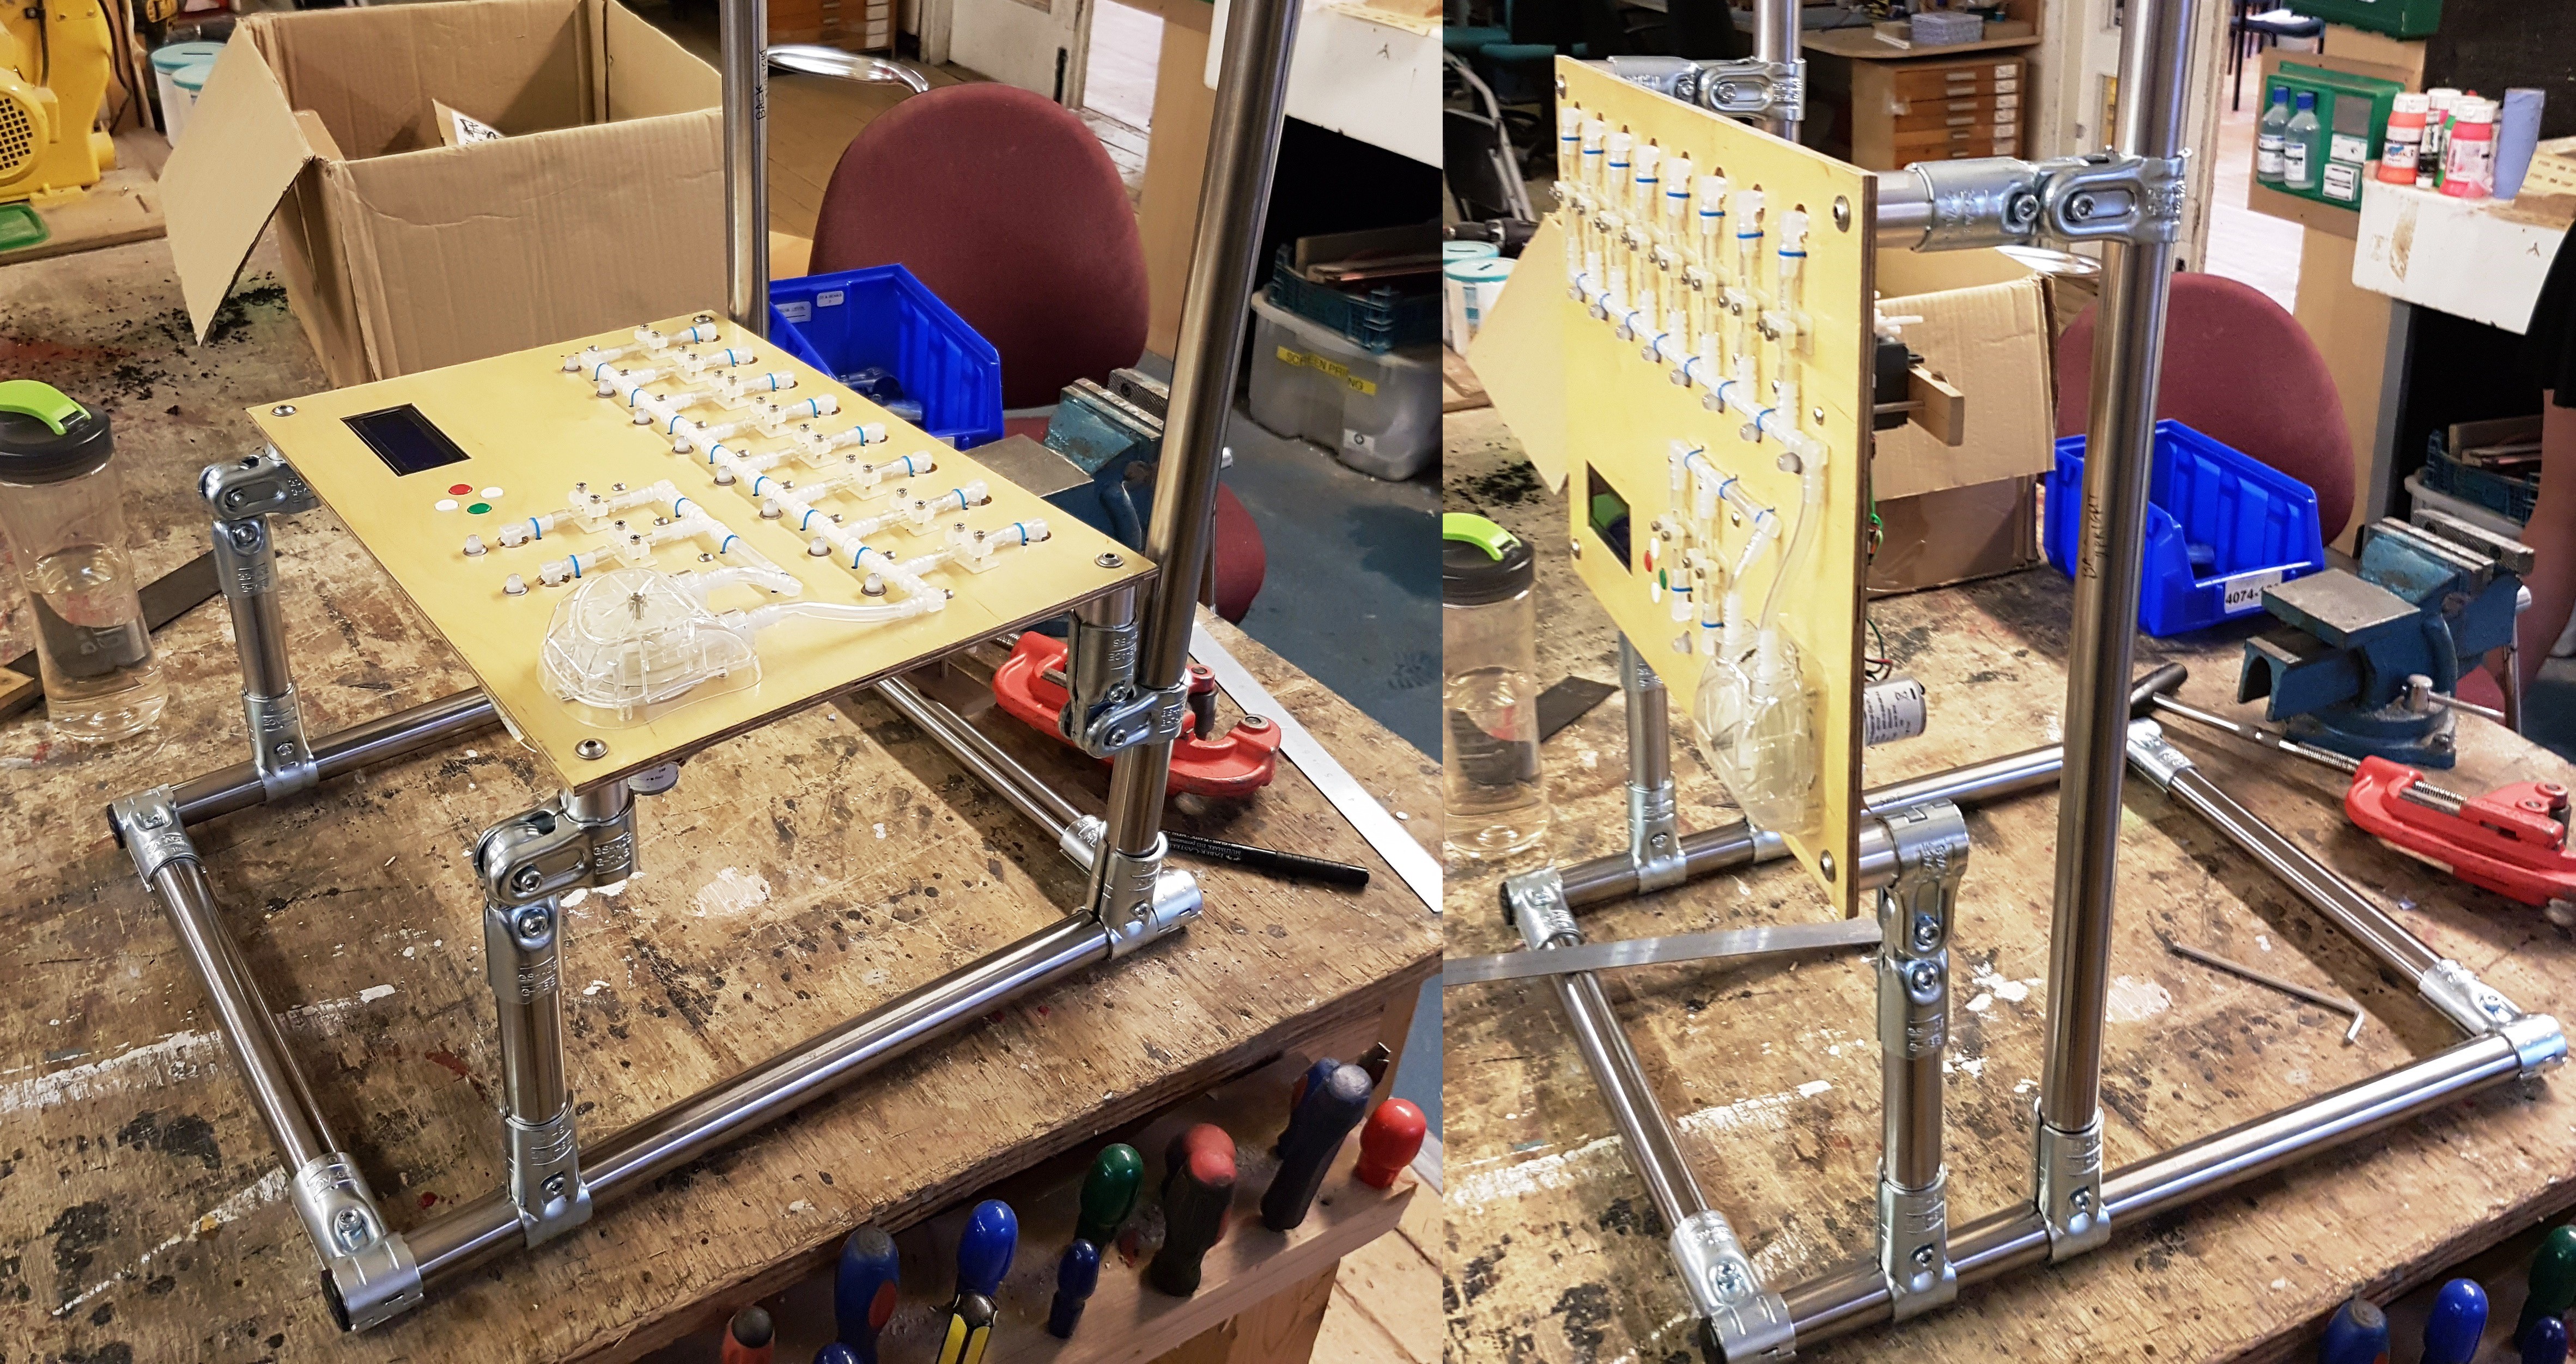
Building a Frame
08/31/2016 at 10:21 • 0 comments -
Project Resurected
08/24/2016 at 09:11 • 1 commentAfter some time dormant, this project will spring back to life *boing*
this is largely due to the encouragement and enthusiasm from going to EMF camp 2016 and getting to know the people at Nottingham Hackspace.
As a result, tonight i will be making the stand for this thing (finally) and probably doing some testing with fluids.
There is also a plan to add a web front end to this somehow, will need to bring in someone elses skills for that as its a bit beyond me at the current time.
More pictures to come tomorrow :-)
-
New clamp parts
03/13/2015 at 17:00 • 0 comments -
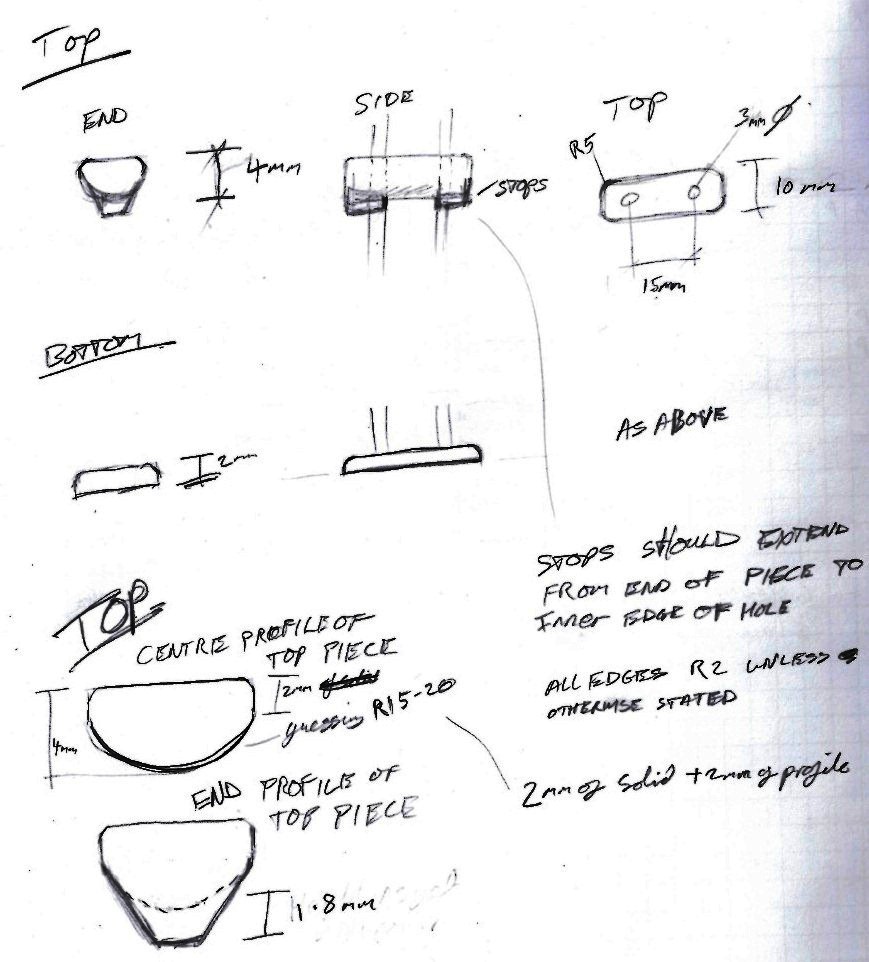
Clamp Profile Redesign
03/12/2015 at 10:54 • 0 comments -
doCocktail() working
03/11/2015 at 14:47 • 1 commentfinally got the doCocktail working with checks for reagents, sample of which is here (followed by end sequence):
this shows the rear side of the barbot just doing a sample dispense
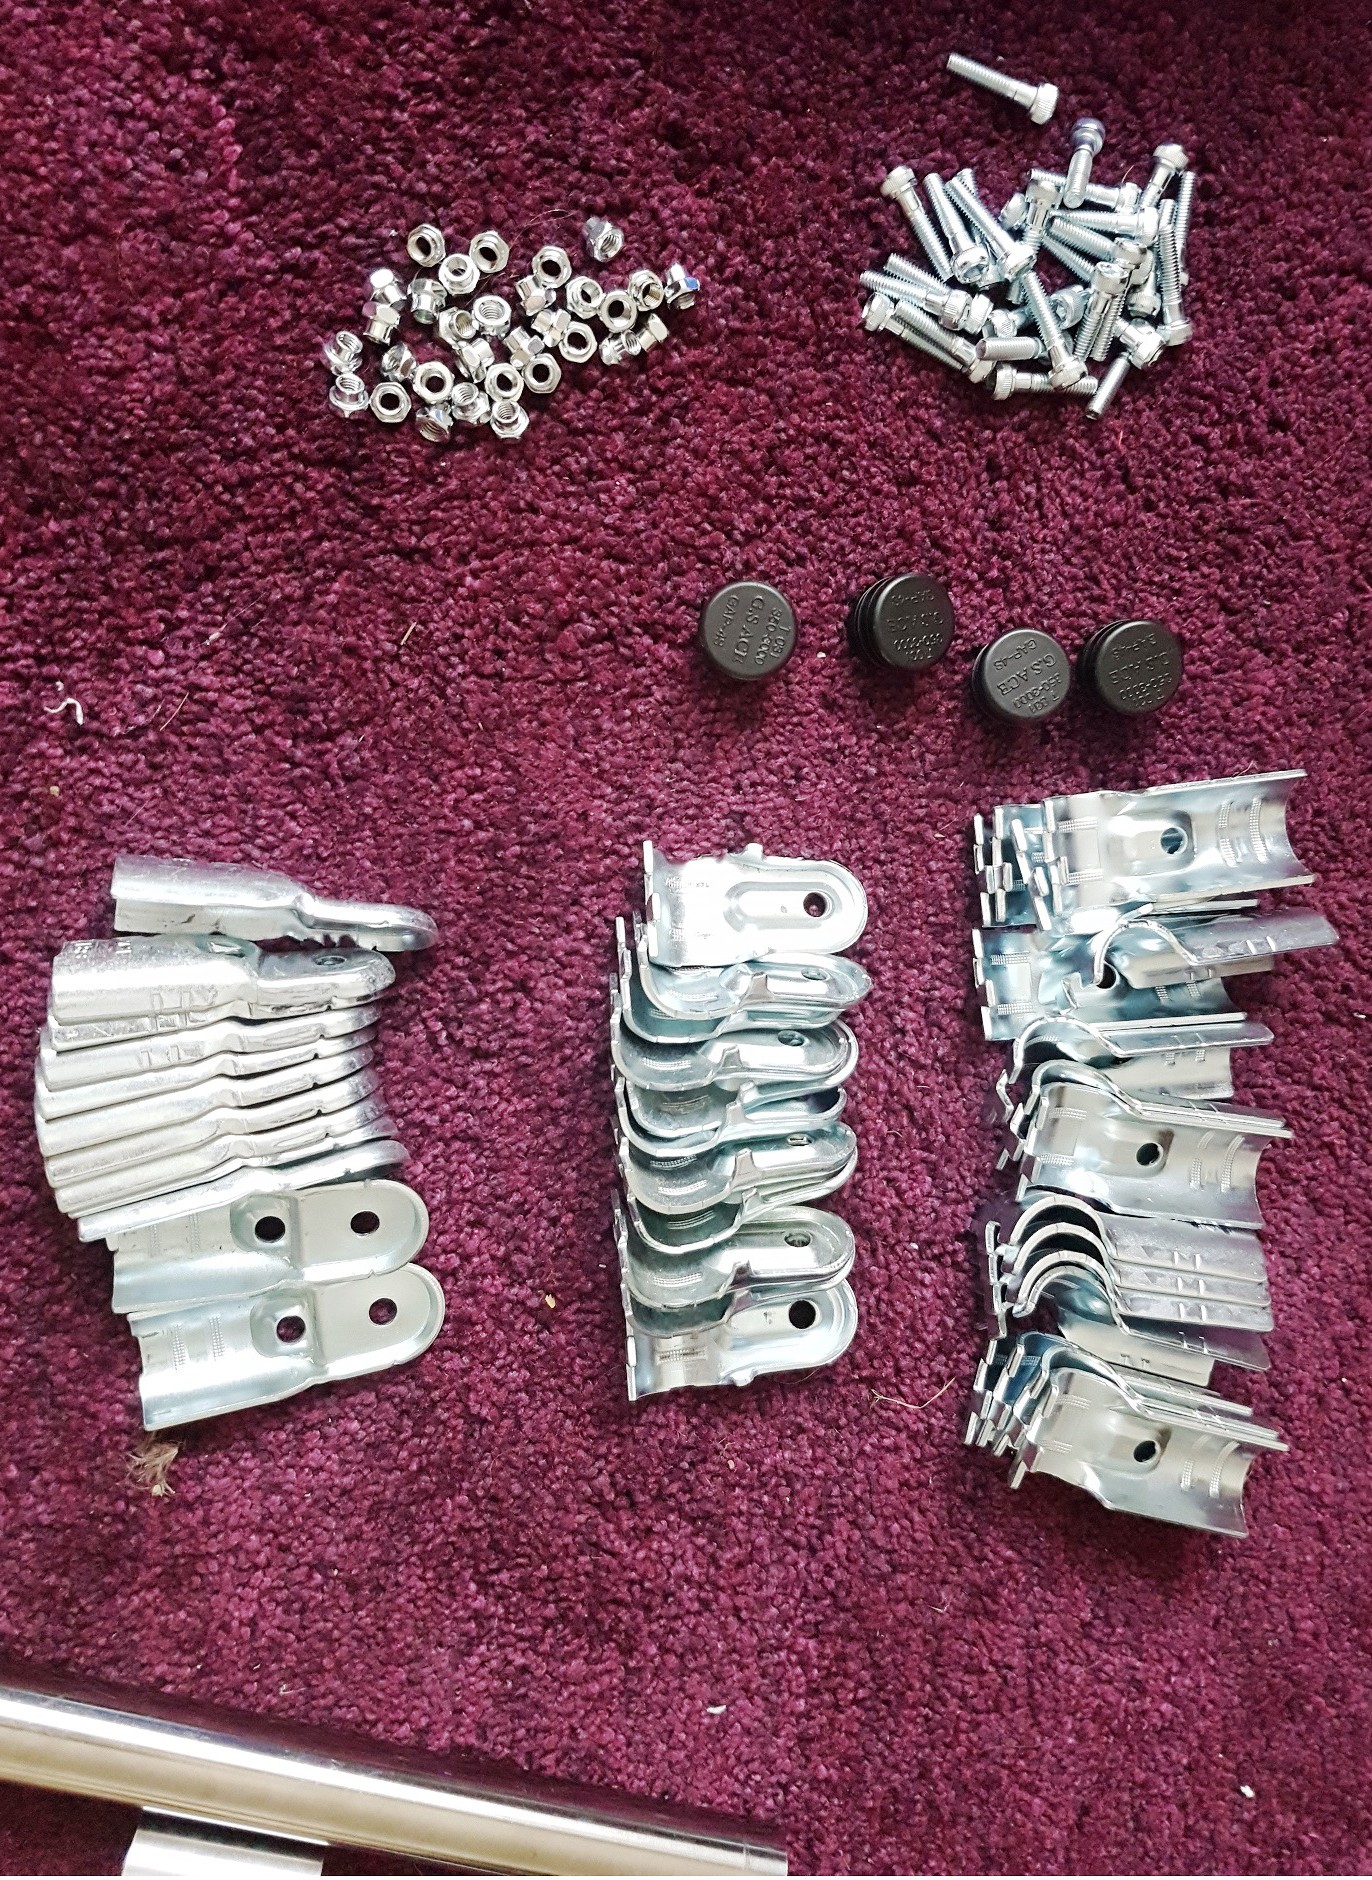
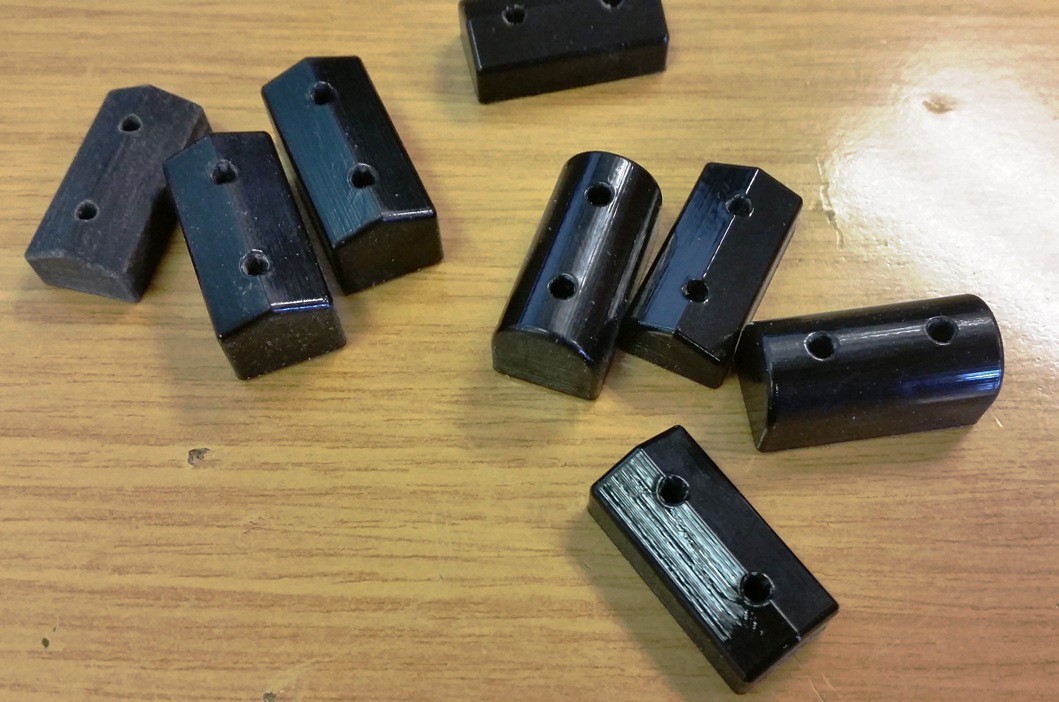
the Al angle section arrived last night so should get that on soon, and the first trial pieces for the clamps are available:
-
Huge Progress this weekend
03/09/2015 at 12:03 • 0 commentsLots and lots done this w/e, the board had all the layers of varnish it needed, so it was time to start putting it together.
servos went in place first and then the tubing, which showed i missed a couple f holes off the drill template.
got all of the components together which led to layout which changed a few times.
then basic wiring usig connectors (was going to do point2point soldering origionally)
finally cutting the hole for LCD (with a scalpel) and holes for buttons.
mounting LCD and button board on the back, worked well actially, make the hole, attach the bolts to the baord, then a blob of epoxy on each bolt head and put in place... when set, check everything is lined up still and if needed fiddle the holes in the board to adjust if needed :-)
final wiring, re-doing some code to make it match servo order etc and then test (motor control board not hooked up at this point):
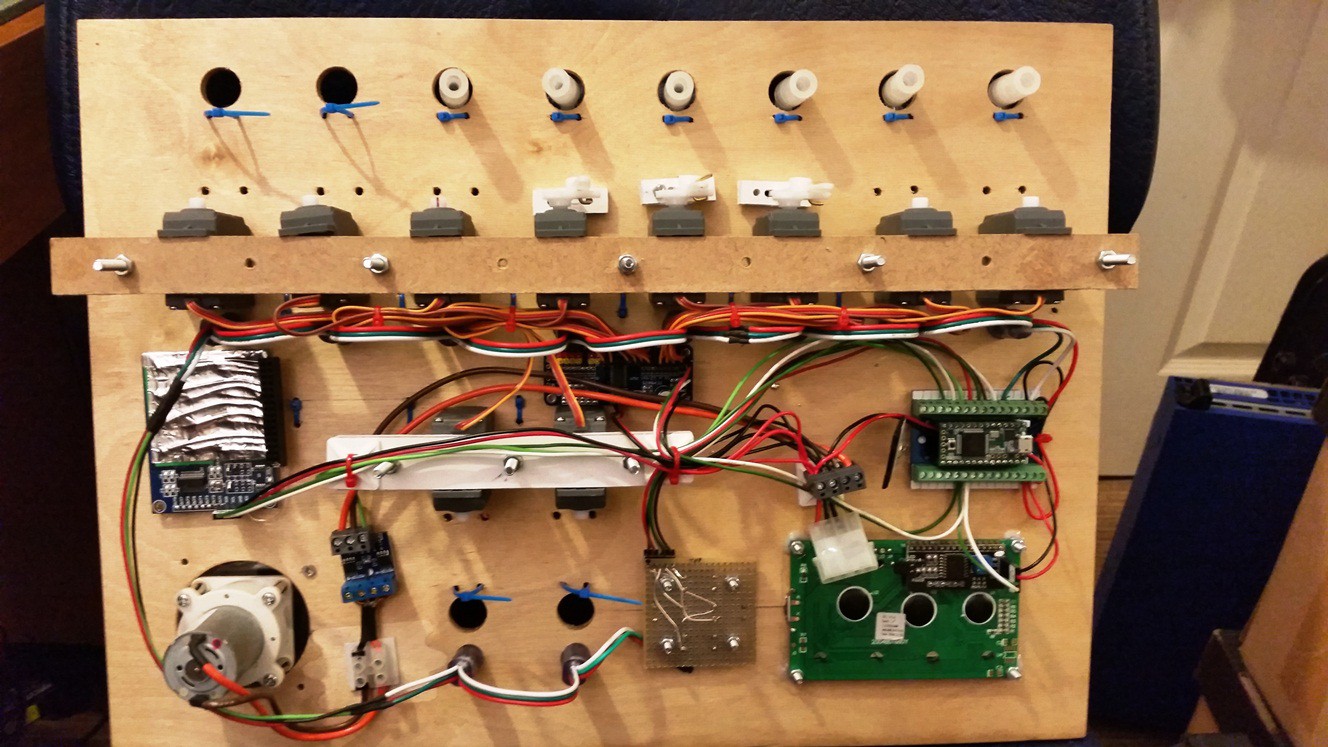
the back side of it:
Note to self:
when developing code with a teensy, remember to cut the VUSB trace to isolate VUSB from VIN otherwise after a few hours it will die and when investigated will bur our finger :-P.... on the plus side, a lesson learned, new one will be here on Tuesday.
the clamp pieces will be printed this week and should be fitted (at least the samples of the different designs) this weekend.
Still to do:
- calibrate quantities
- calibrate pipe volume for flushing and cleaning
- actually get the doCocktail() function to work properly
- fit other bolts, and pipe connectors
- make back fittings for the clamps
- fix debouncing on the 'down' button
 David Hopkins