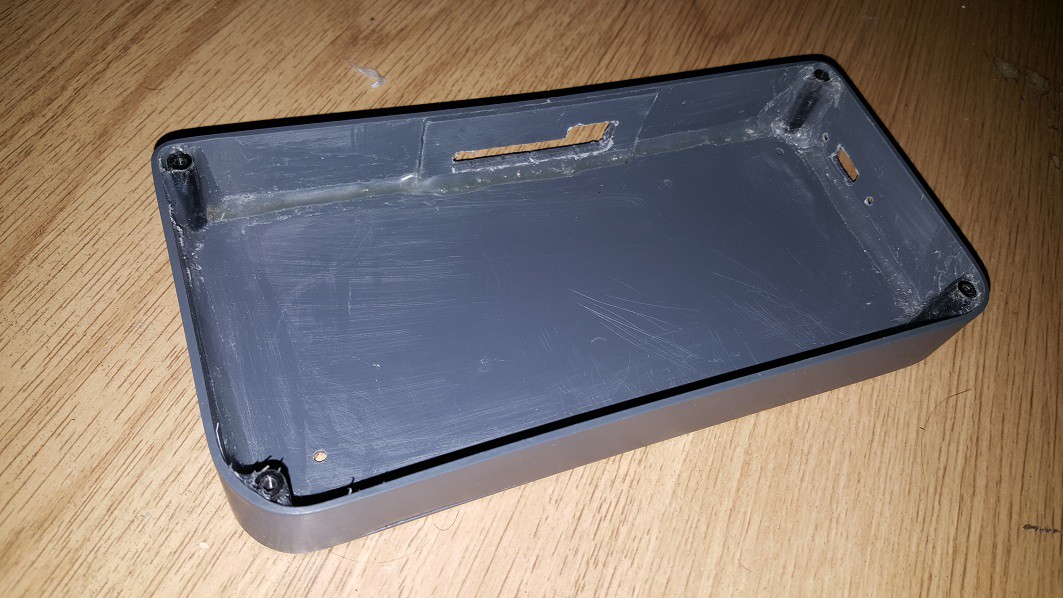
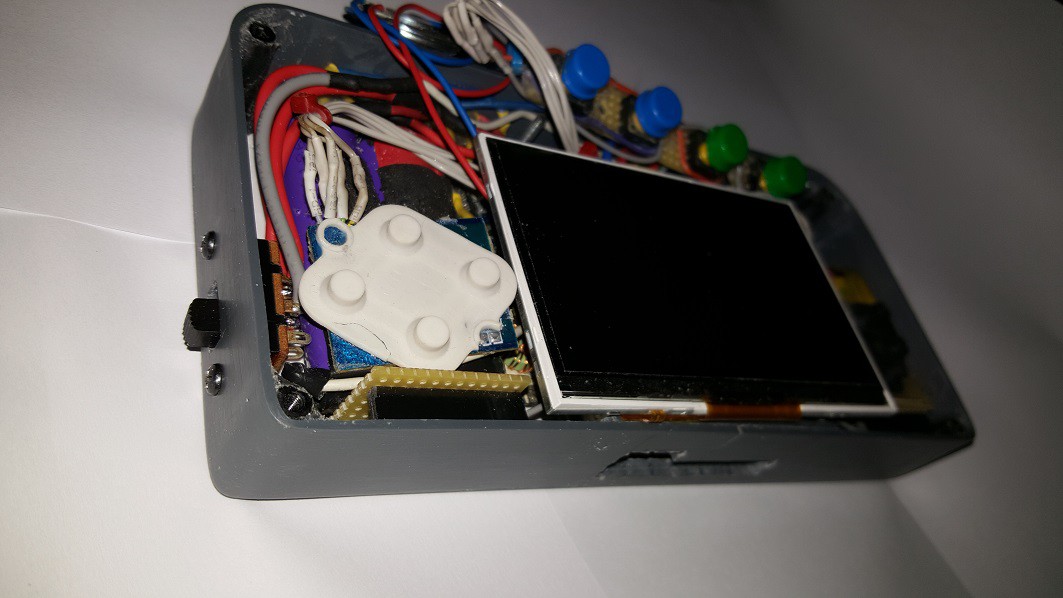
I had to remake the entire case because when i ordered the PVC i accidentally ordered the side-strip too small (25mm instead of 27mm), i thought i could fix it and use the 25mm strip anyways but i was wrong, there wasn't enough room for the buttons left. I re-ordered the side strip with a width of 27mm this time and remade the entire case.
I learned from the mistakes i made on the first case so i did some things better. I was a little more neat with the hot glue, i sanded the PVC more carefully and cleaned it with acetone before glueing. Just like last time, i glued it together with PVC glue and reinforced it with hot-glue.
Also... the screw-holes now match up perfectly with the front plate (the previous case was a little crooked because of the bending).
I still have some holes to make for the charging port, SD-card slot and the shoulder buttons.


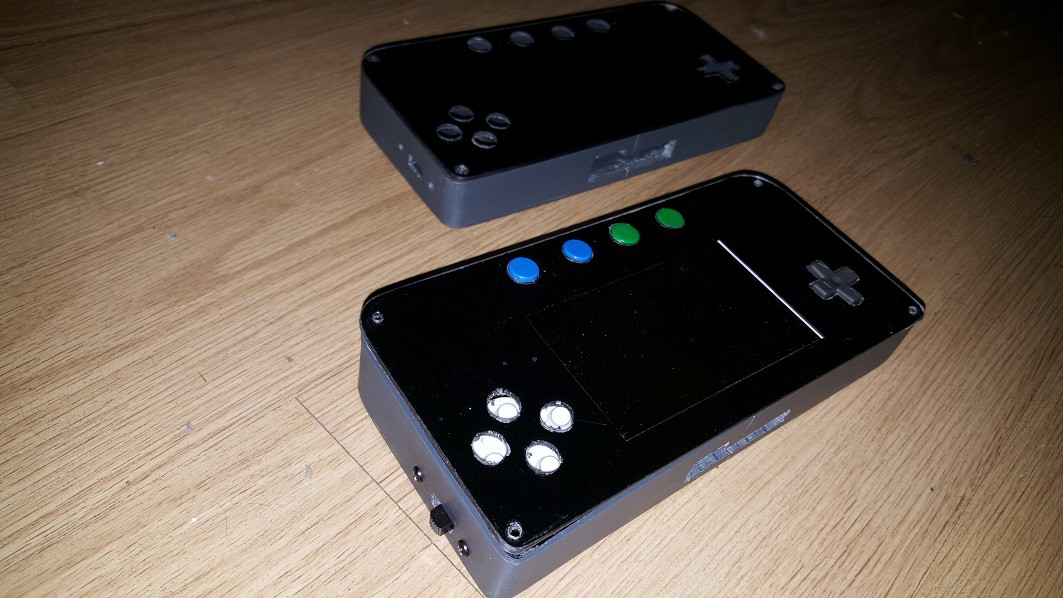
(Top one is the old case, bottom is the new case. I also cut away the sticker for the screen)

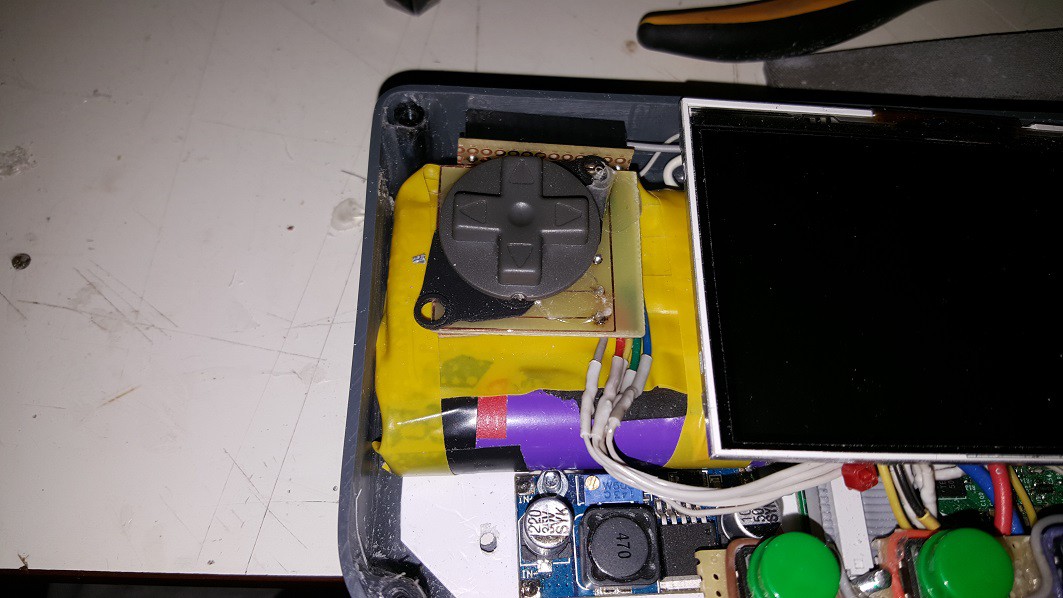
(I secured the D-Pad in place, i hot-glued the PCB onto a patch of electrical tape and stuck that to the battery. This way i it is in place securely but not glued permanently to the battery)

 Lumor
Lumor
Discussions
Become a Hackaday.io Member
Create an account to leave a comment. Already have an account? Log In.
I love this case mate!
Such a great finishing touch to the project. Definitely tempted to ditch the gameboy idea for something like this!
Are you sure? yes | no
Thanks Craig, i'm quite pleased with it aswell. Although my mistake was using those big batteries, with small lipos the case could be literally twice as thin. Maybe next time :) On the plus side: this thing will have a very long battery life, but if i were you i'd use those thin lipo packs.
Are you sure? yes | no
Cheers for the tip mate. I'd quite happily add a bit of girth for a long battery life :-)
Are you sure? yes | no