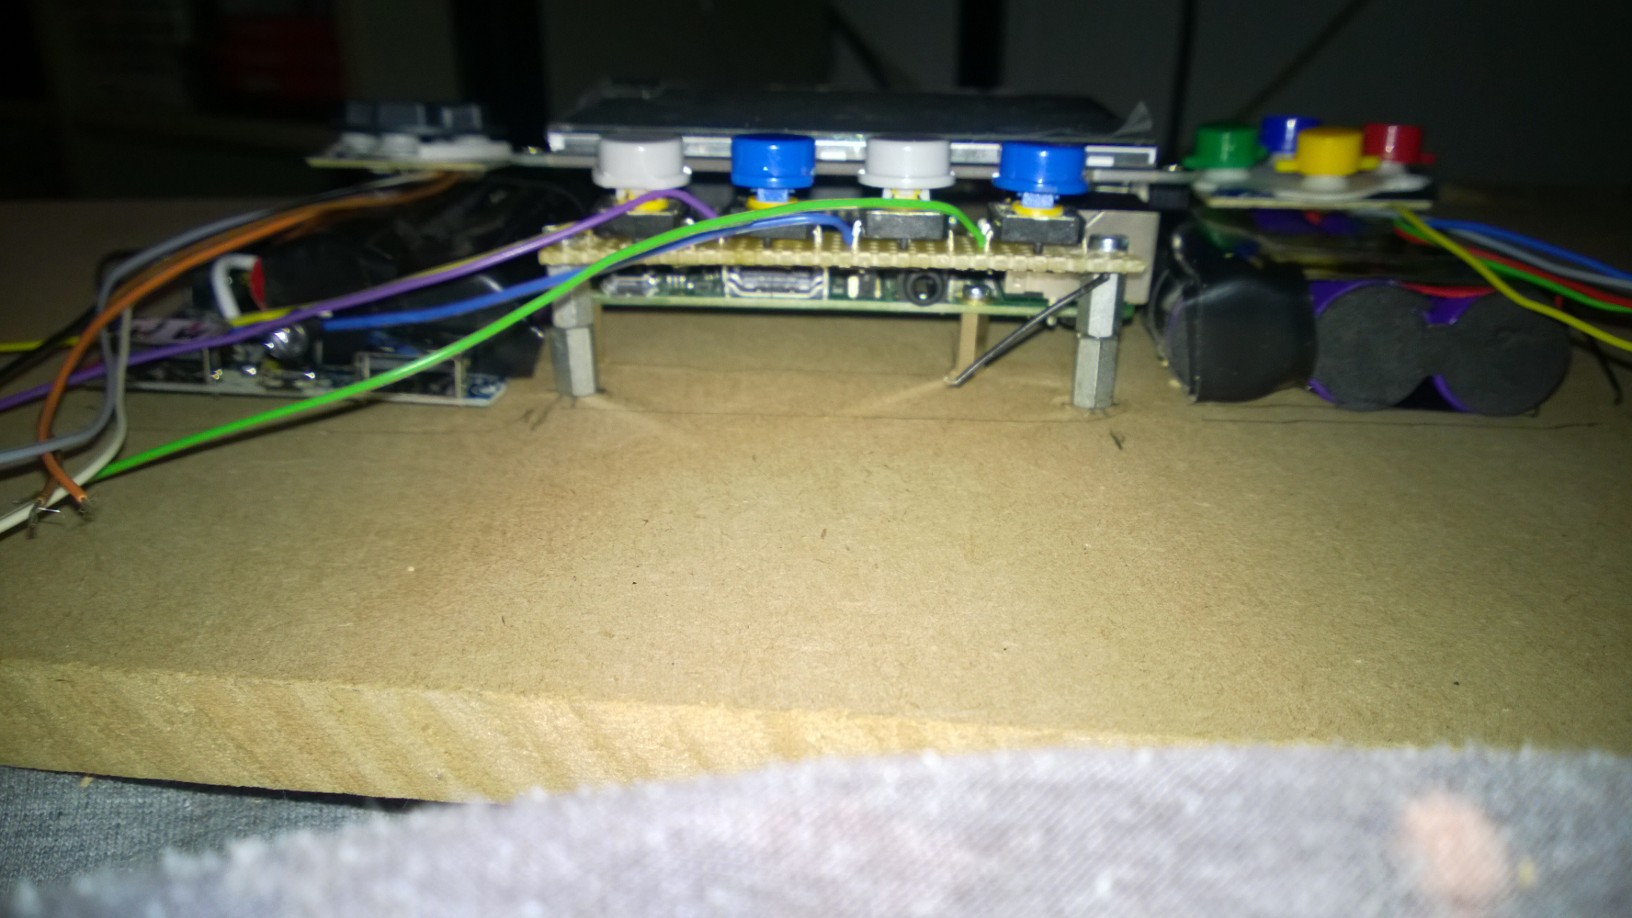
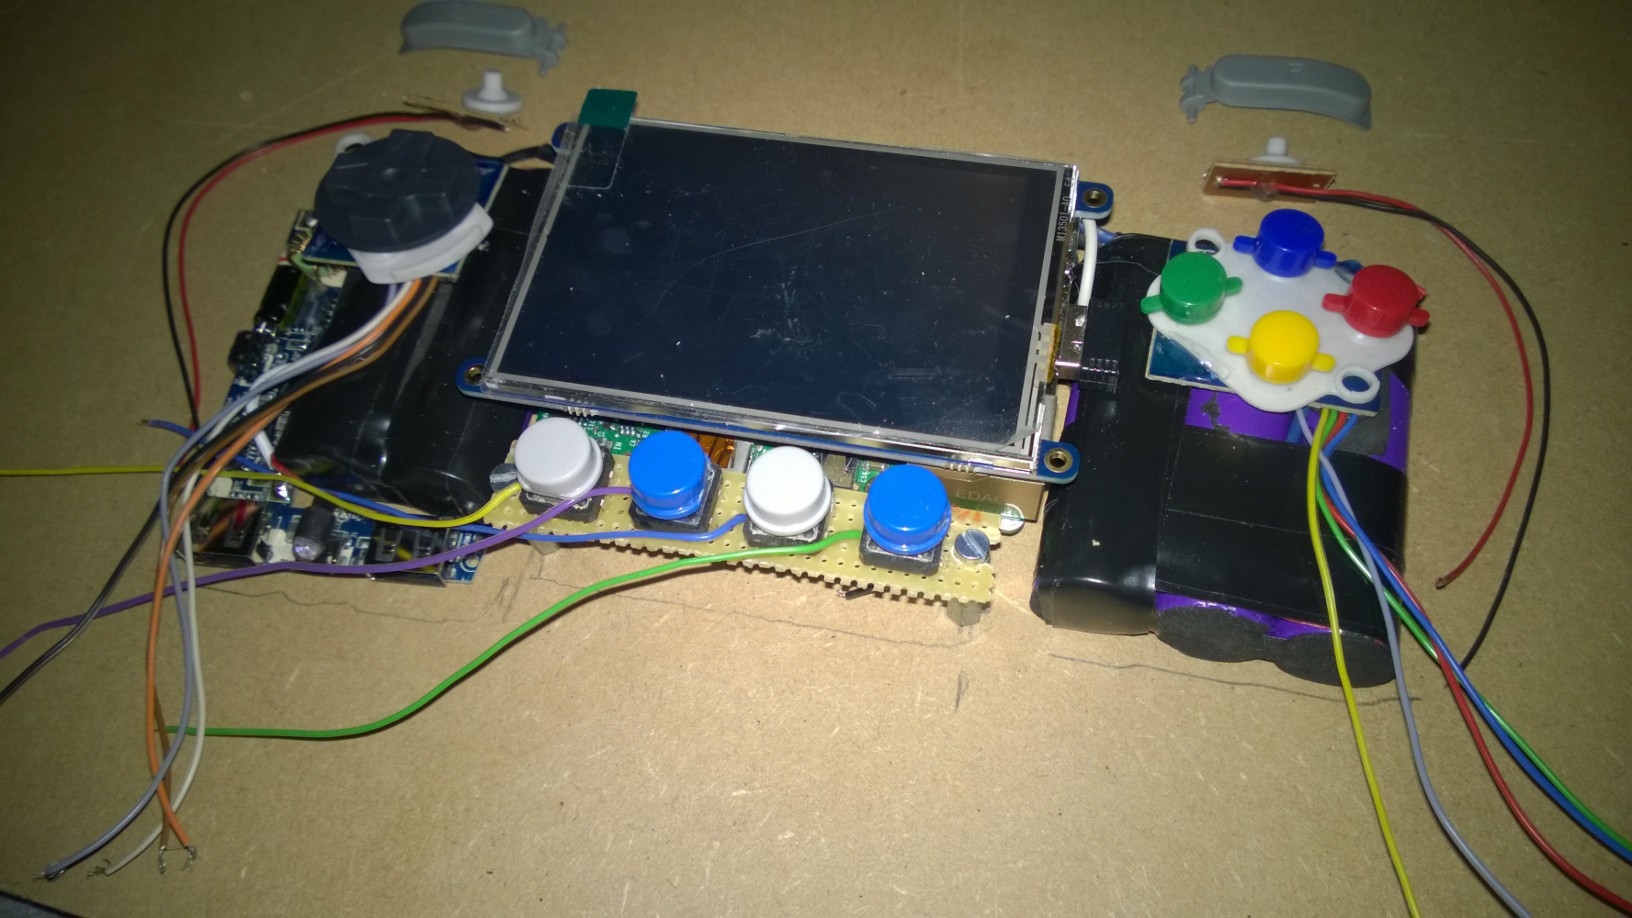
I grabbed a piece of MDF wood and started mounting things to it, i figured i could use it later as a guide to make the casing. It also helps with cutting the wires at the right length while connecting them to the GPIO.
At the bottom you can see 4 extra buttons i soldered onto their own board, these will be the buttons for "start", "select", "options" and "menu".
As you can may or may not see, all the controls have enough space on top of the batteries, these will probably be mounted to the top part of the case.
(The screen and the buttons at the bottom are placed higher than it's gonna be, that's because i don't have smaller spacers at the moment, but it will still work. Button colors will change too)


 Lumor
Lumor
Discussions
Become a Hackaday.io Member
Create an account to leave a comment. Already have an account? Log In.