-
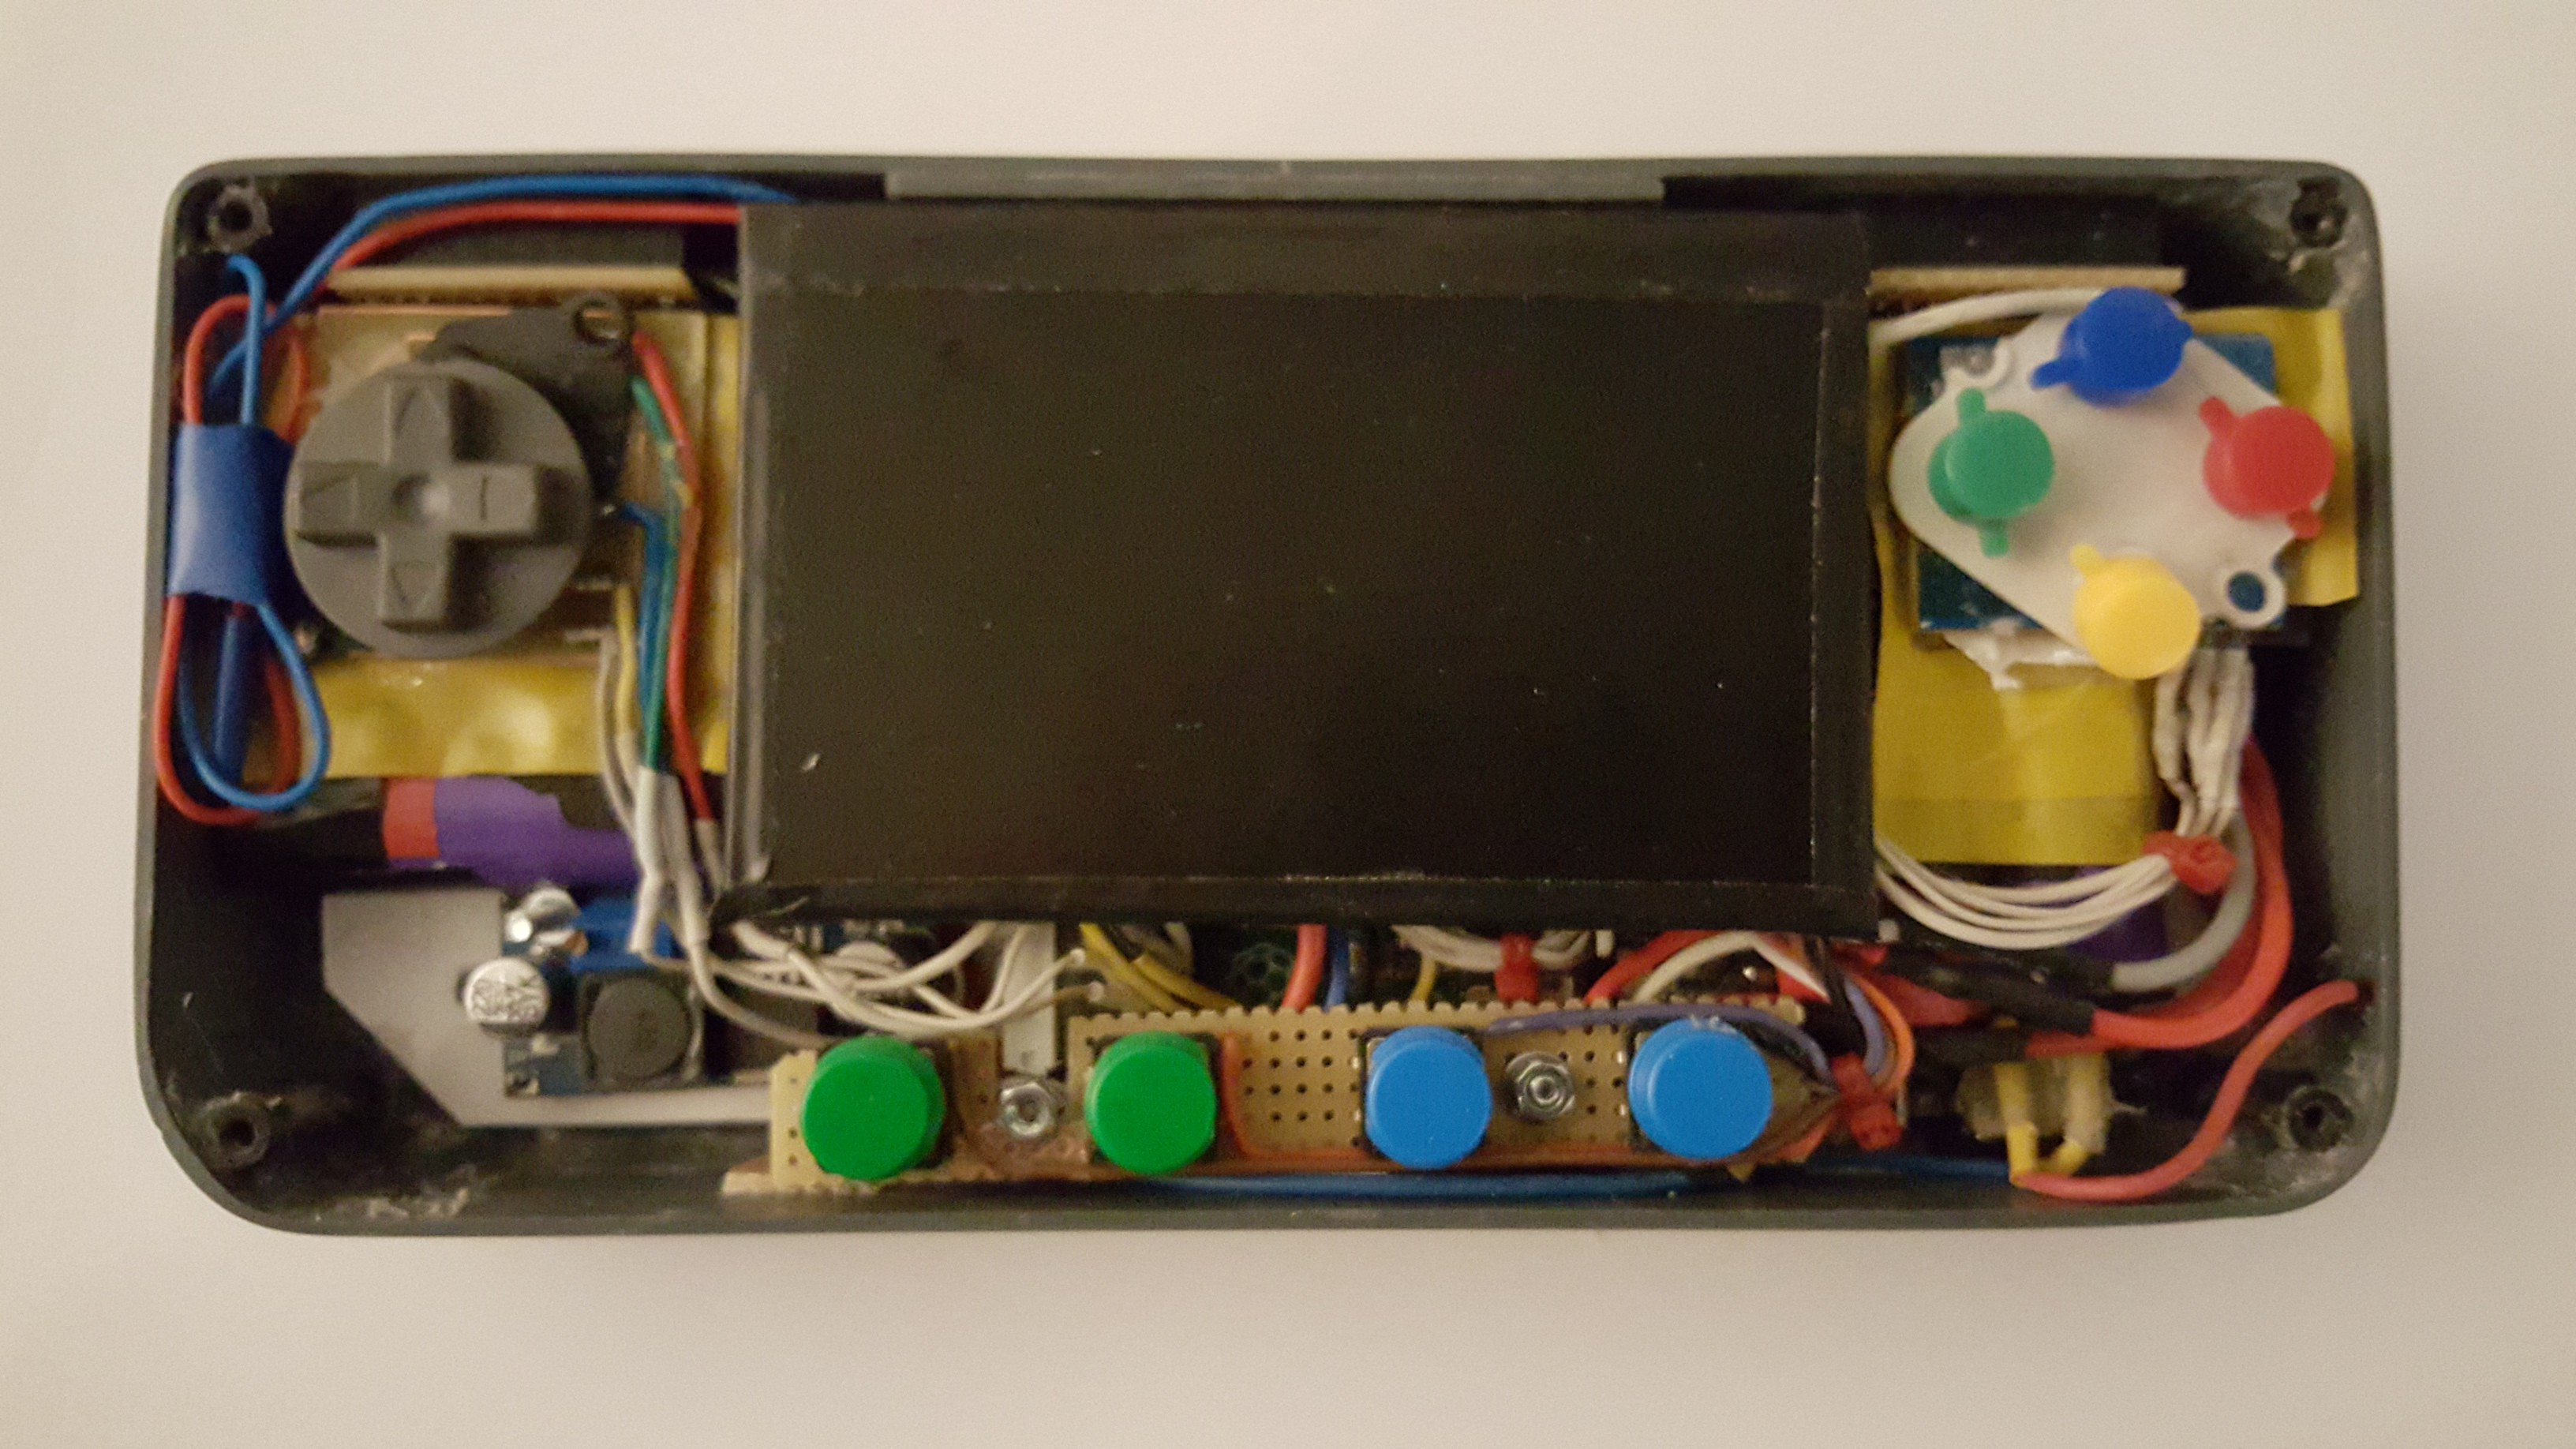
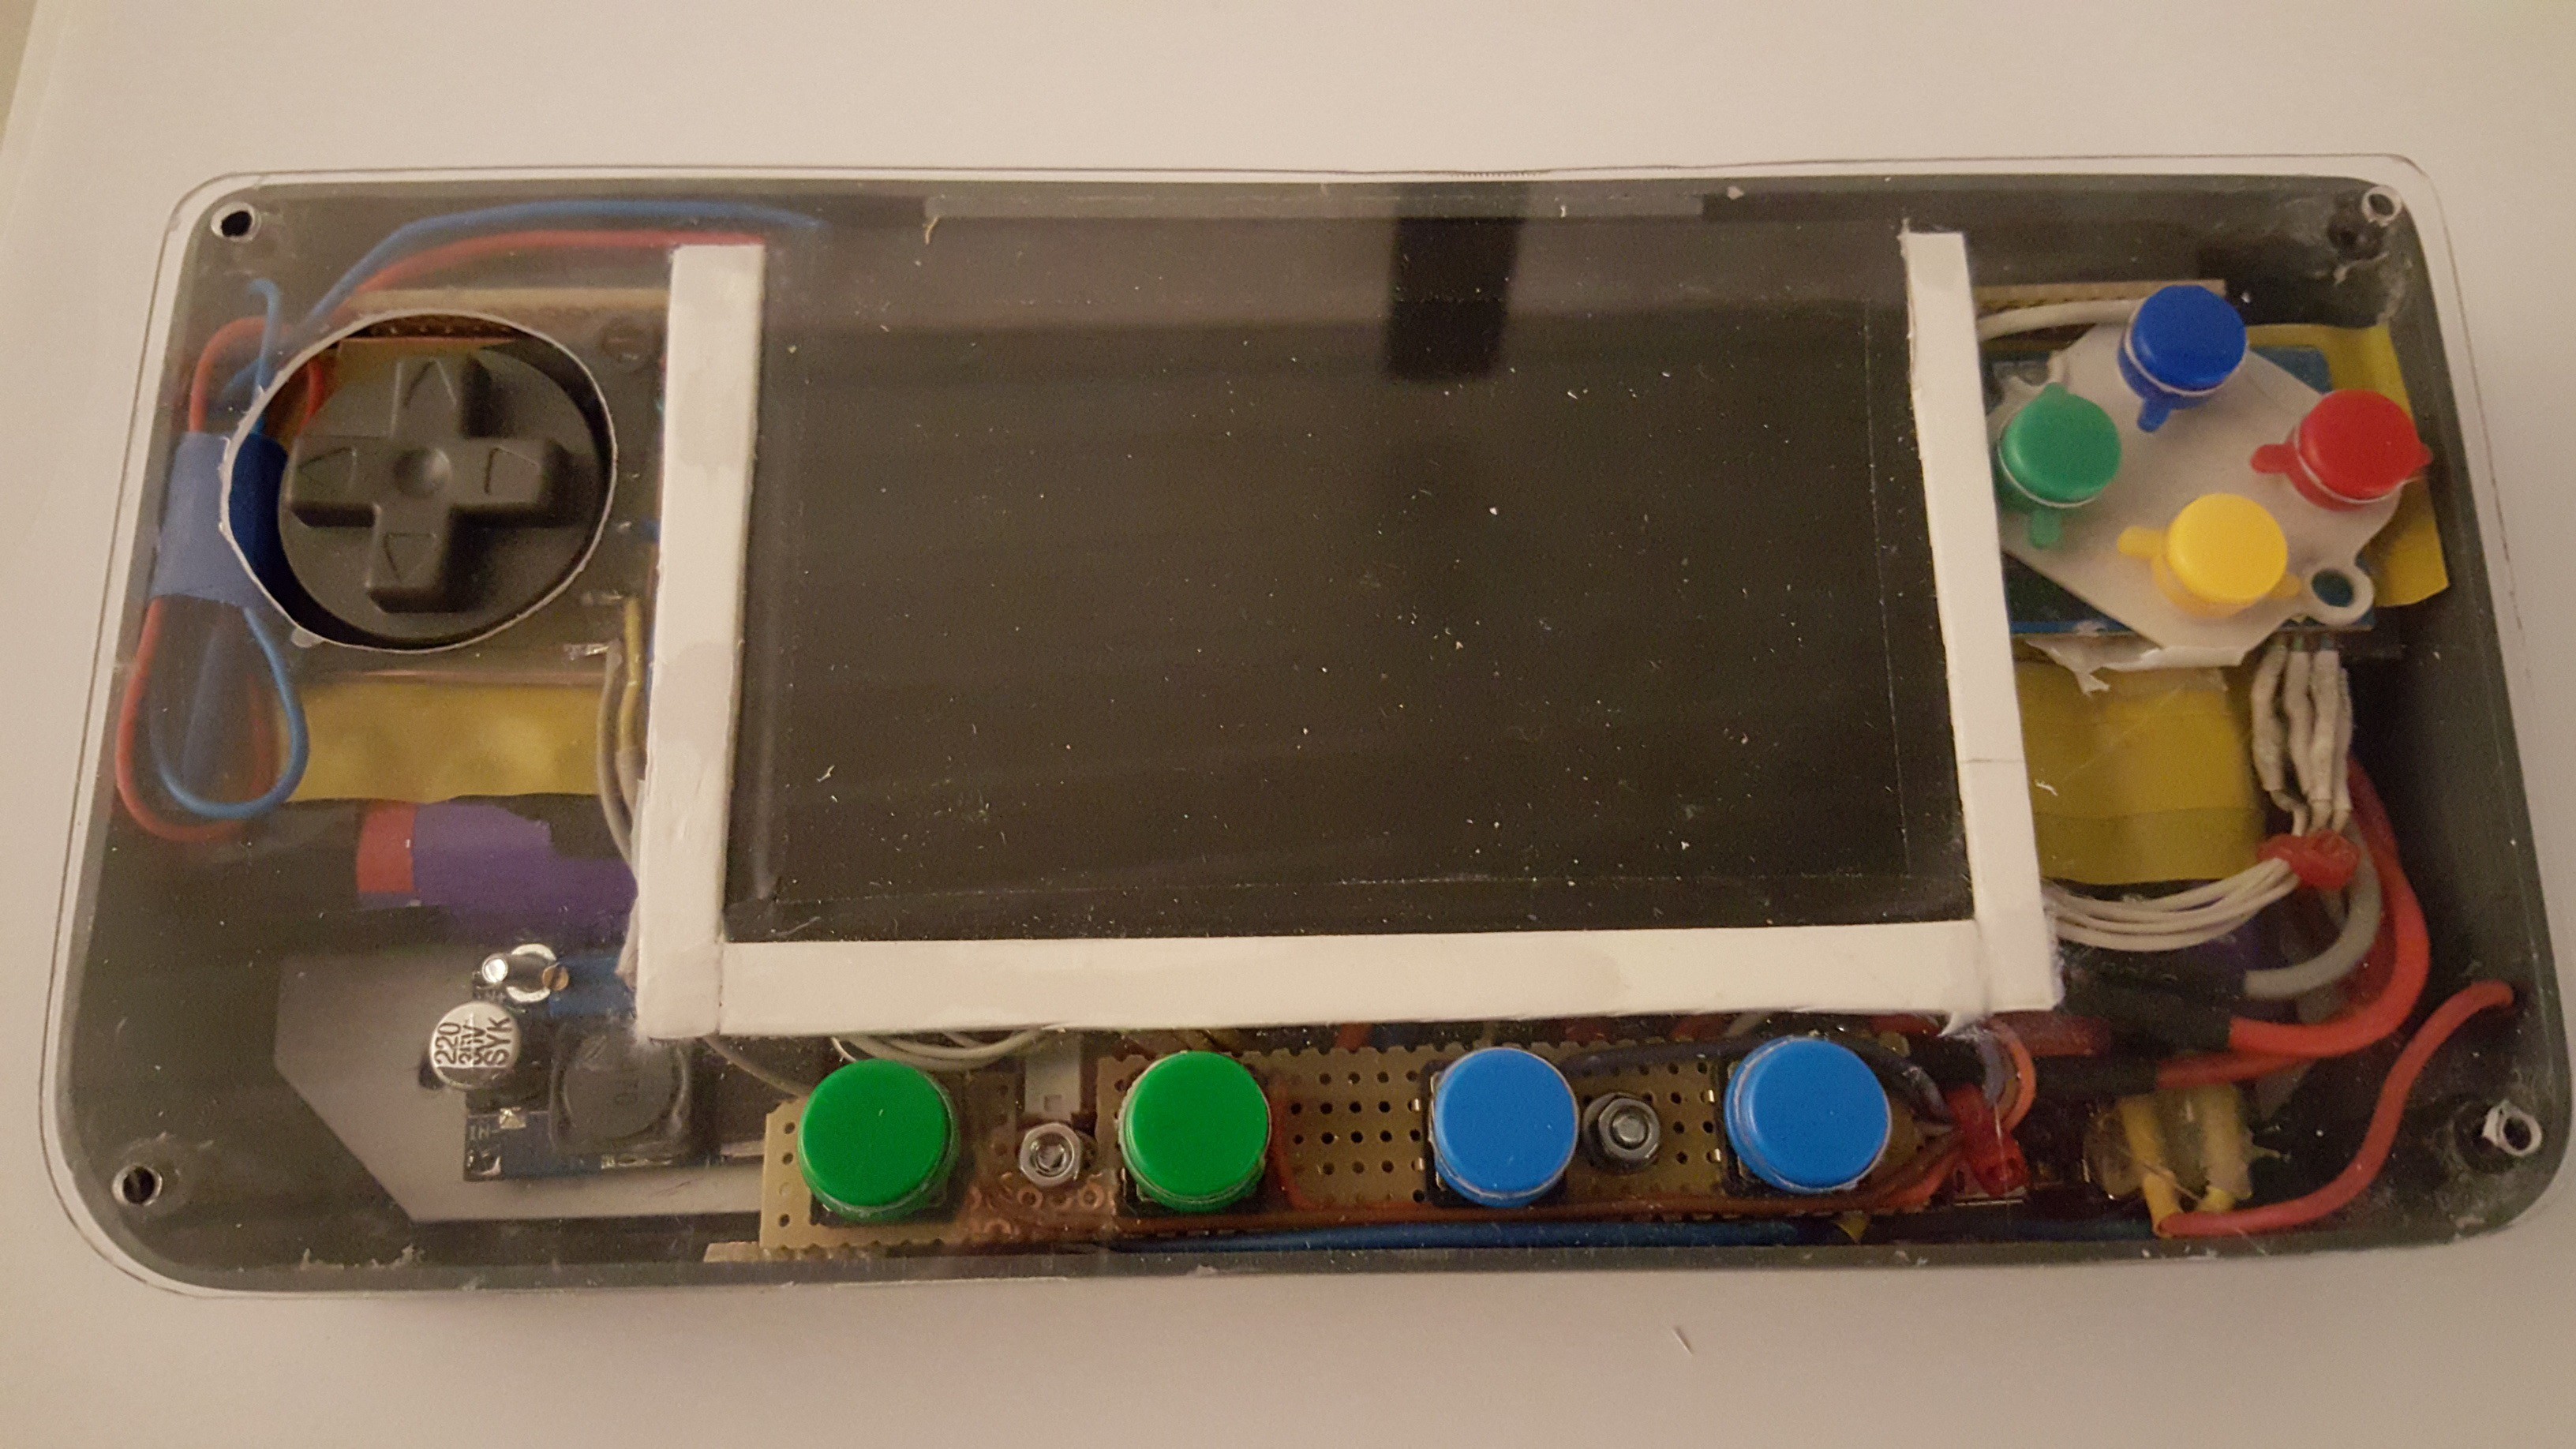
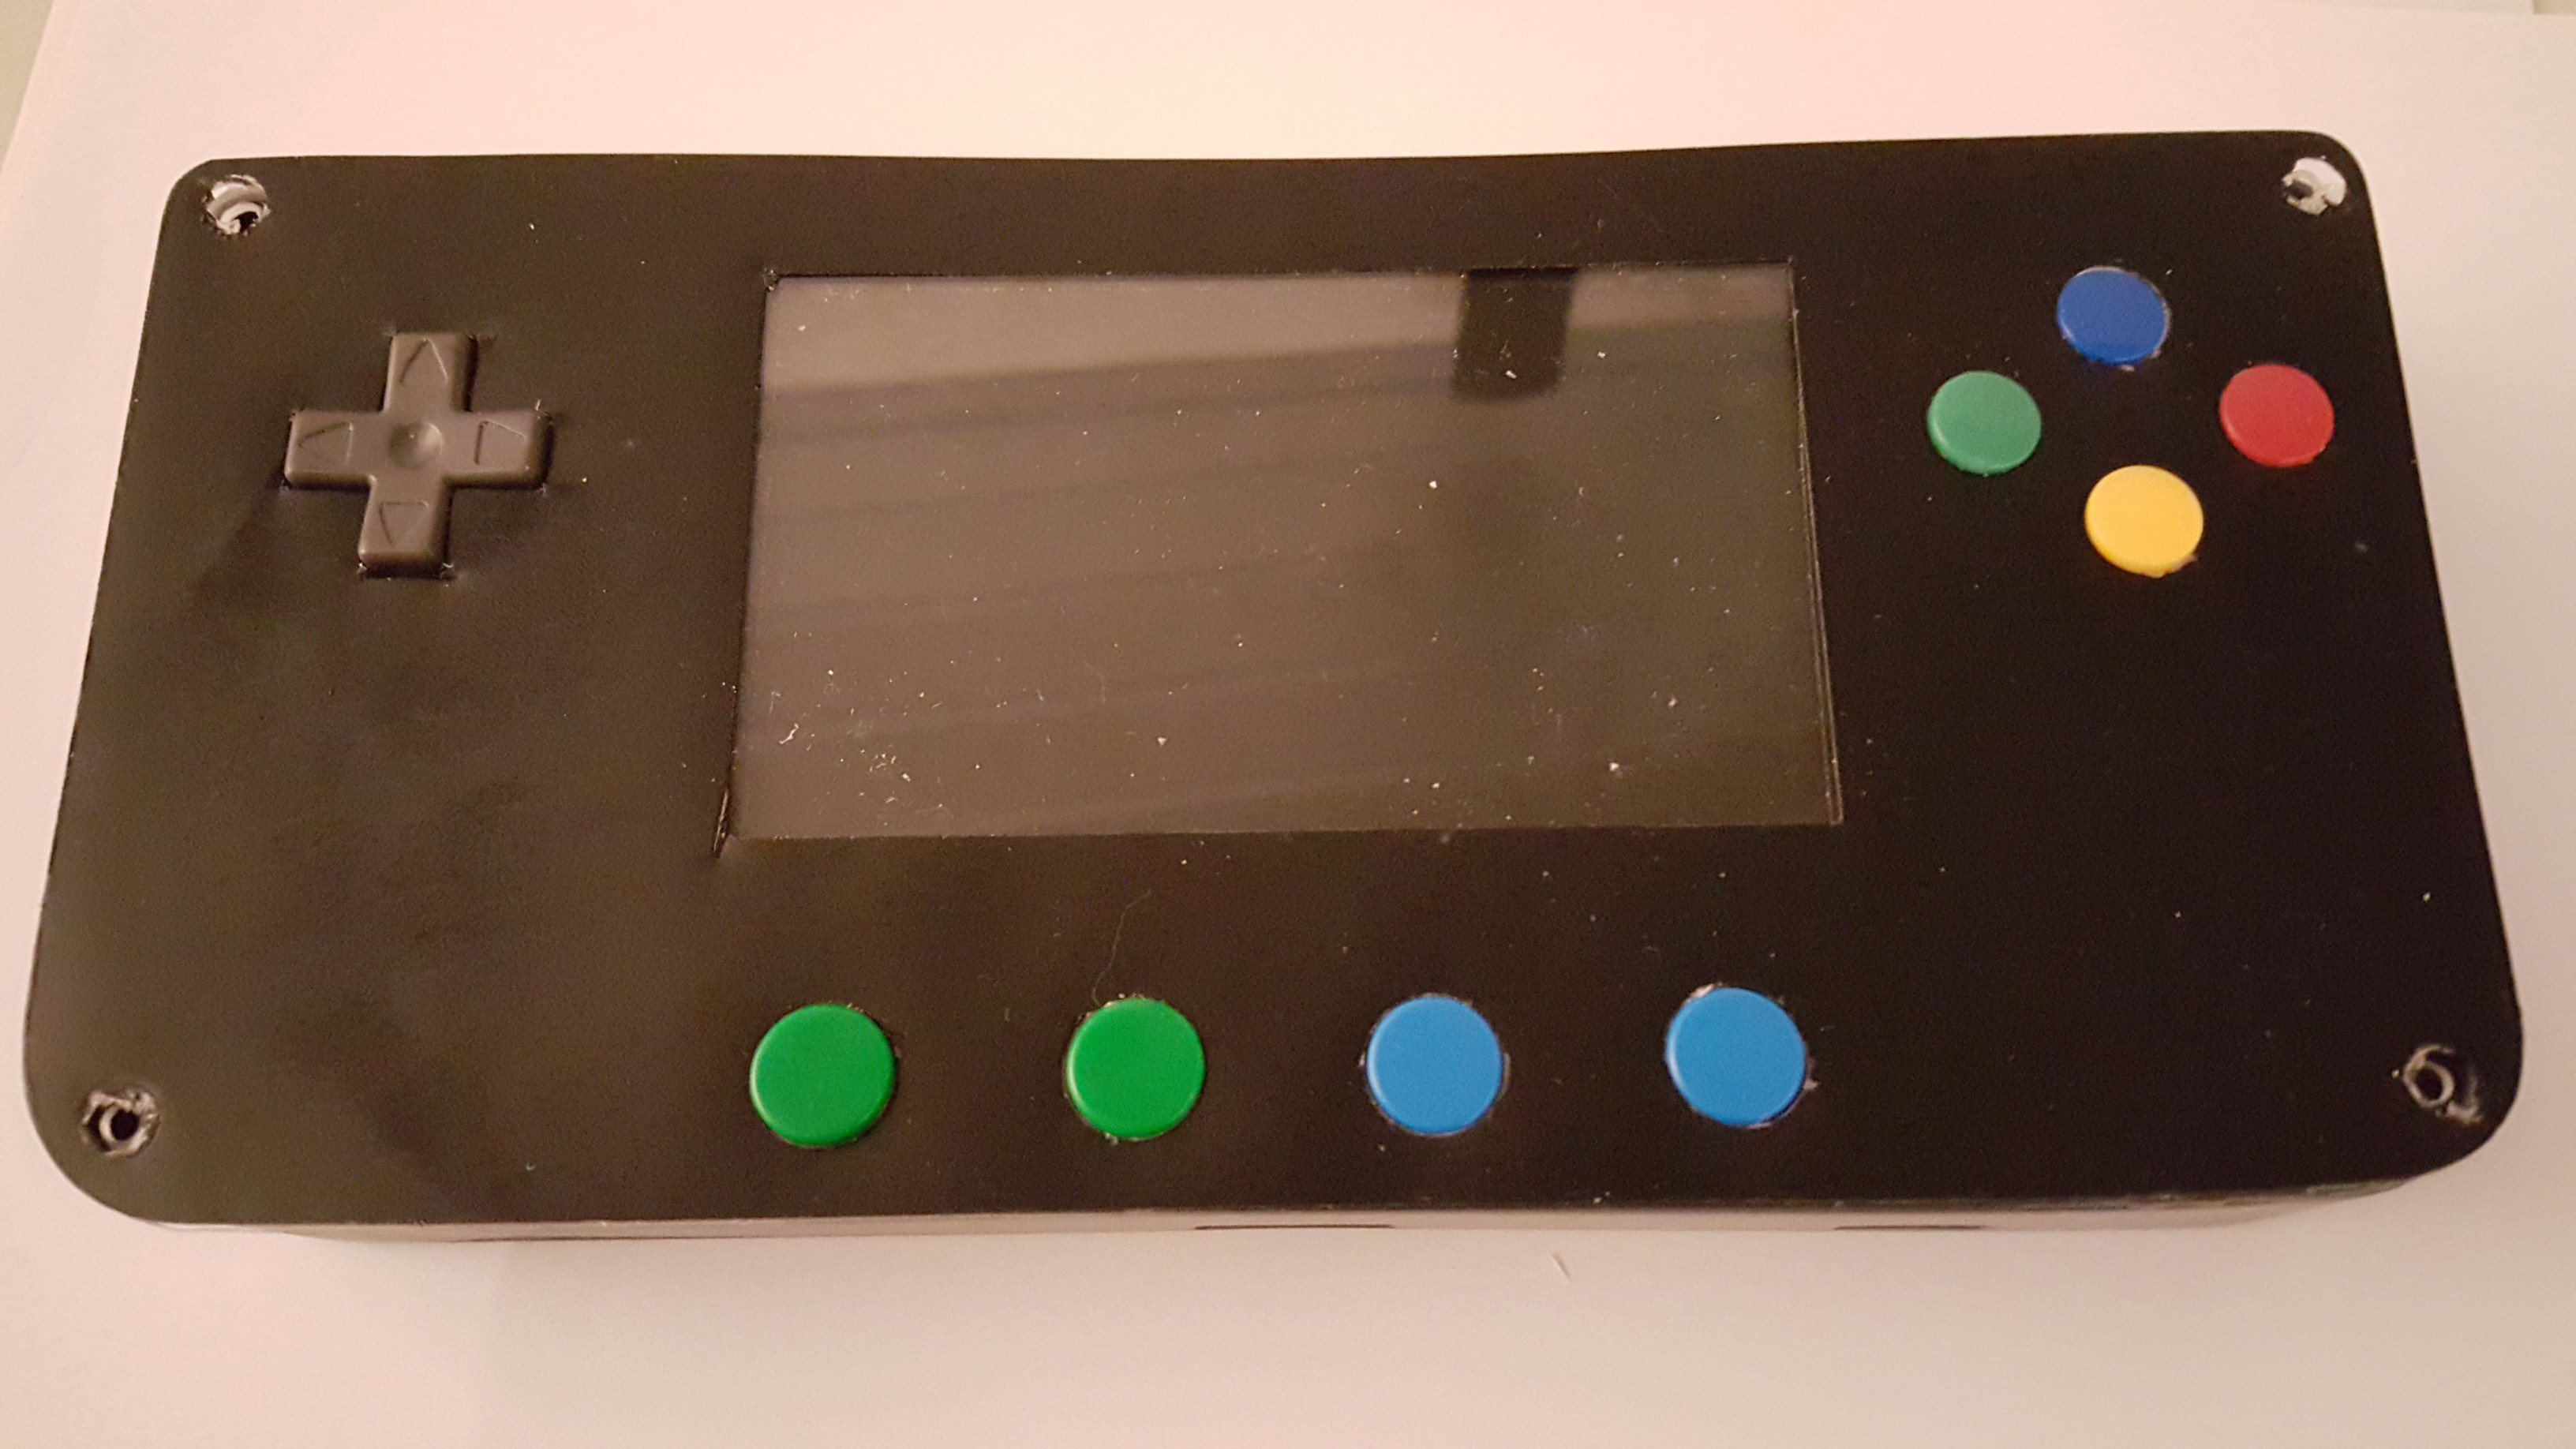
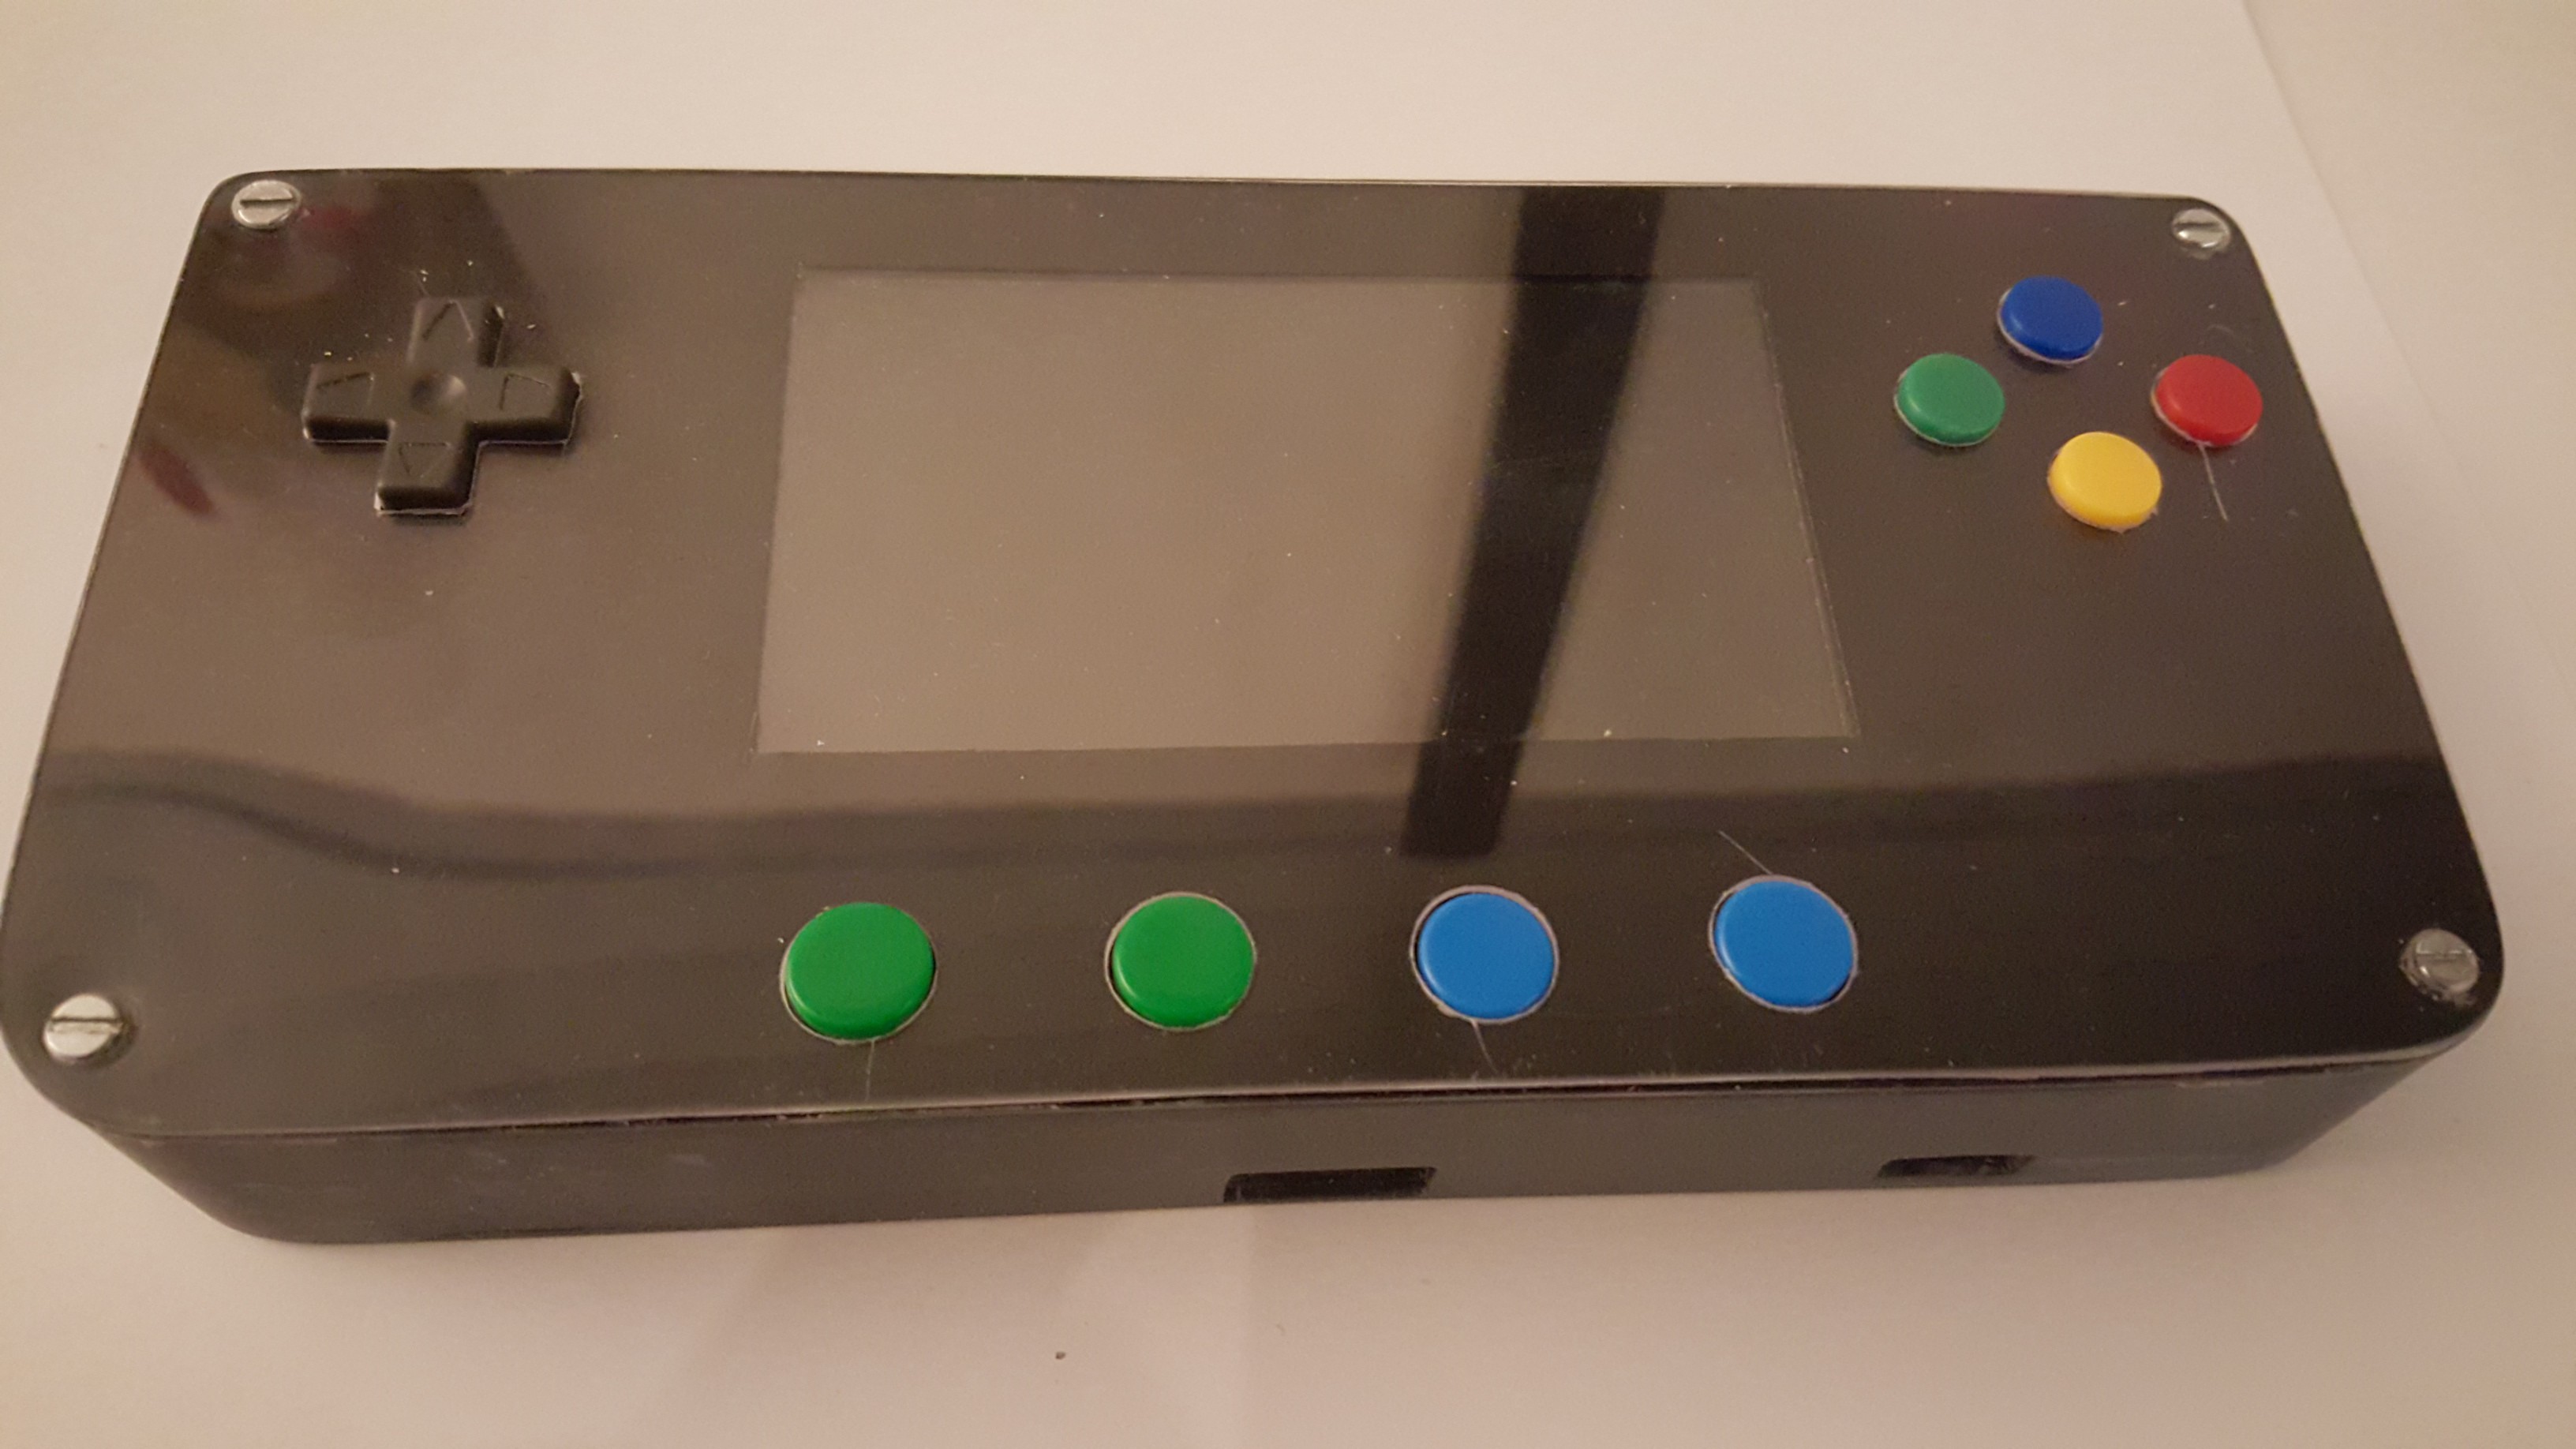
Casing [New front plate]
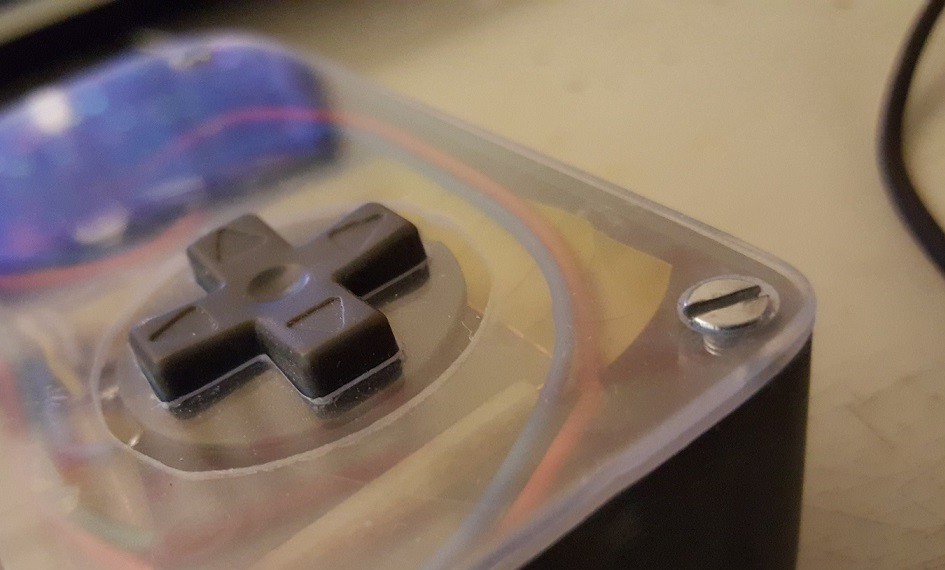
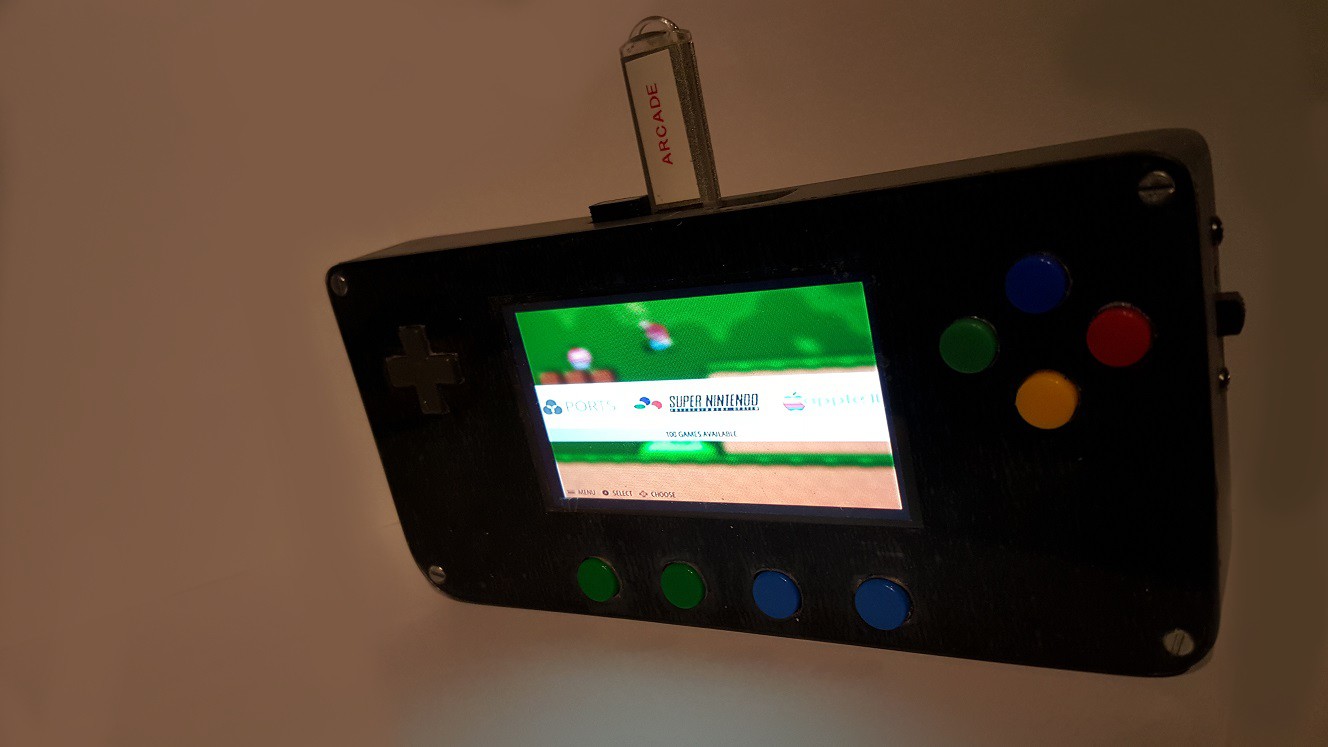
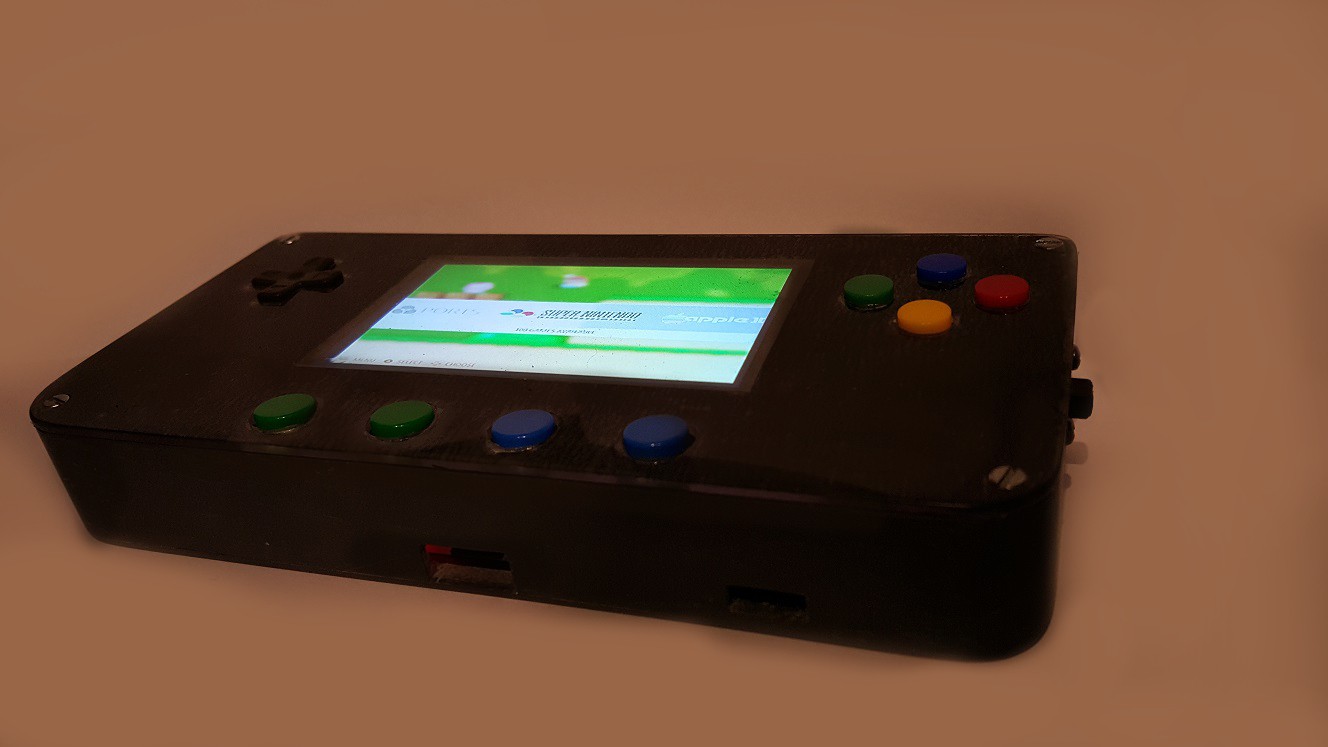
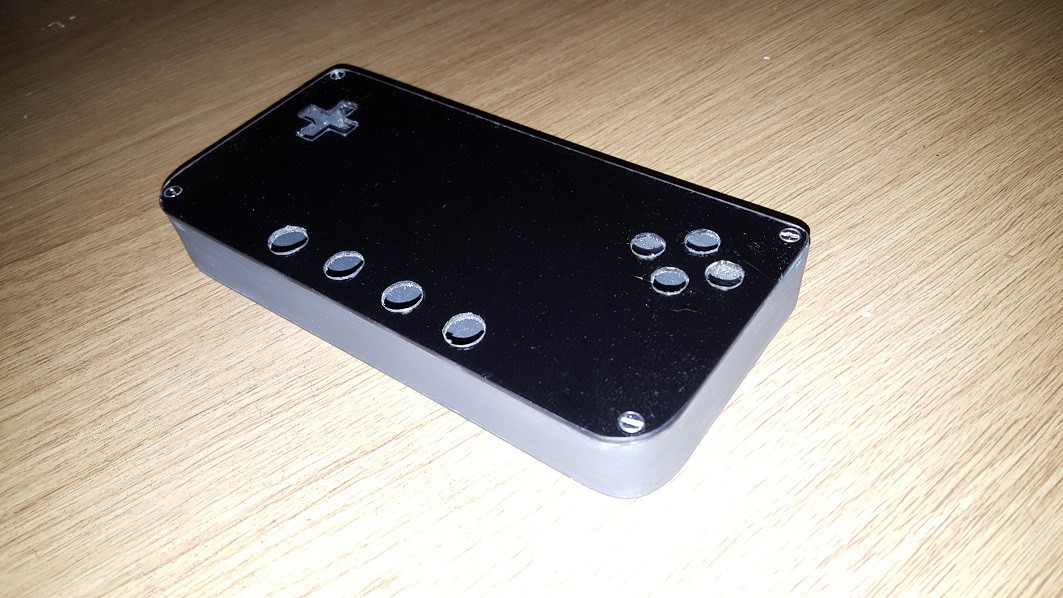
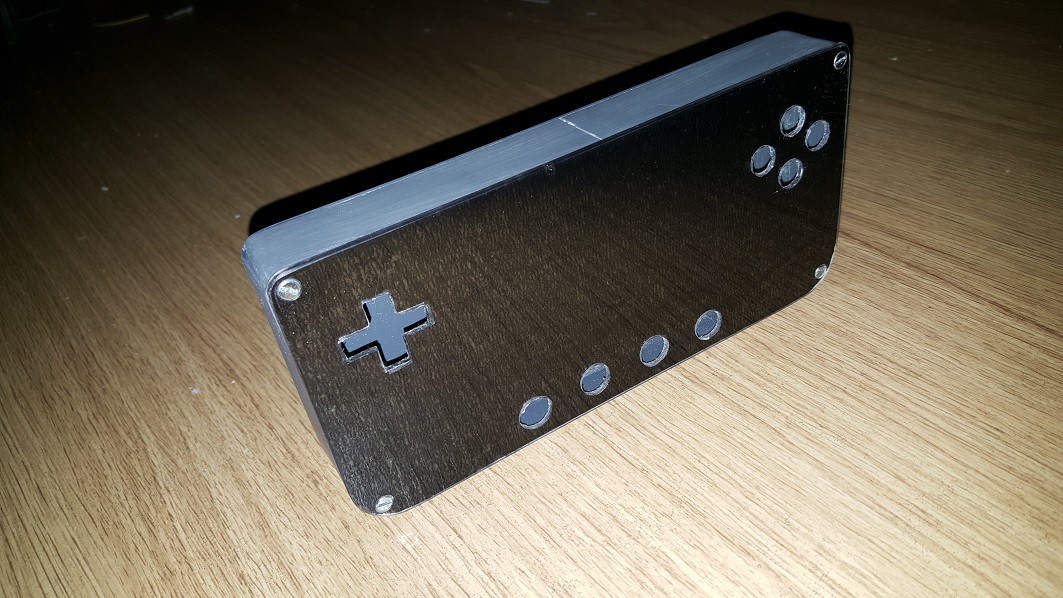
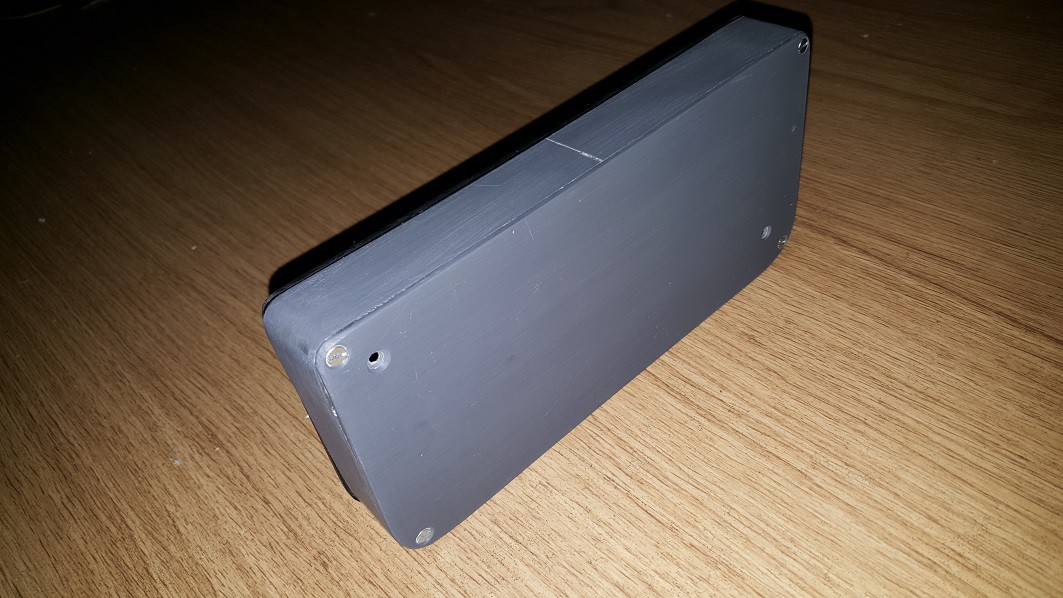
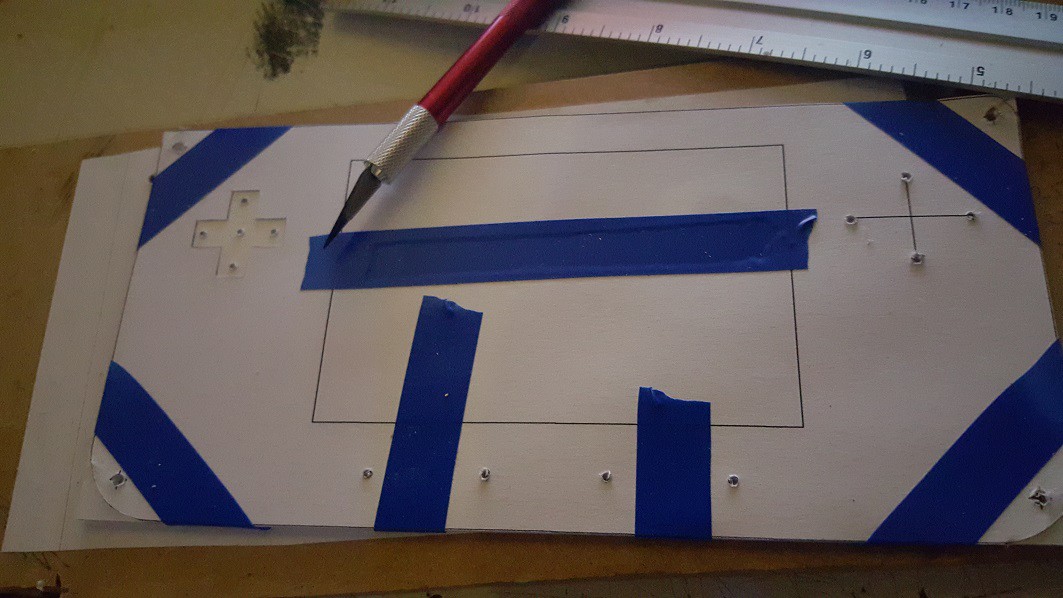
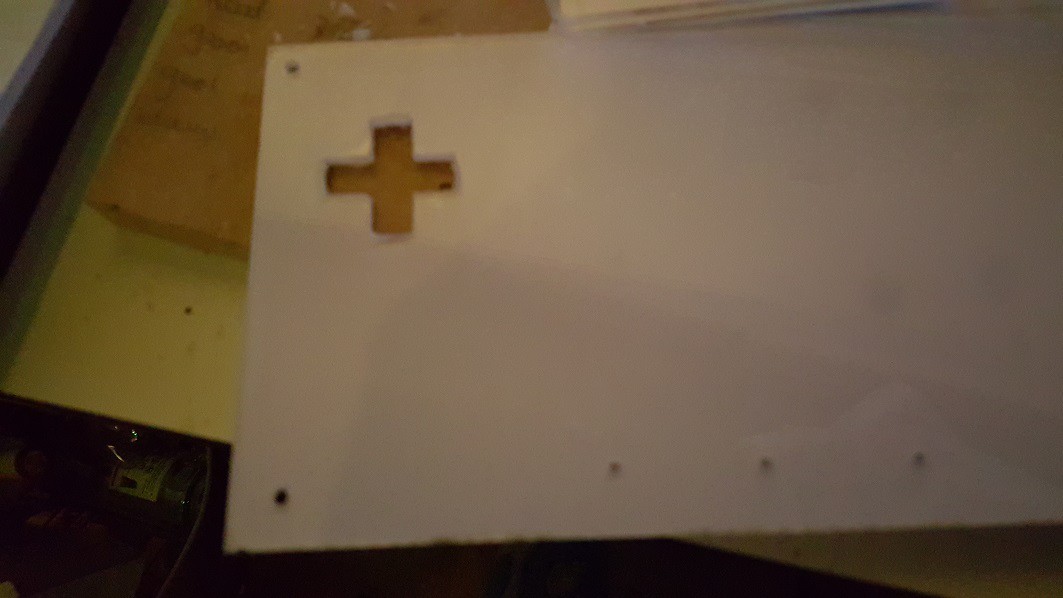
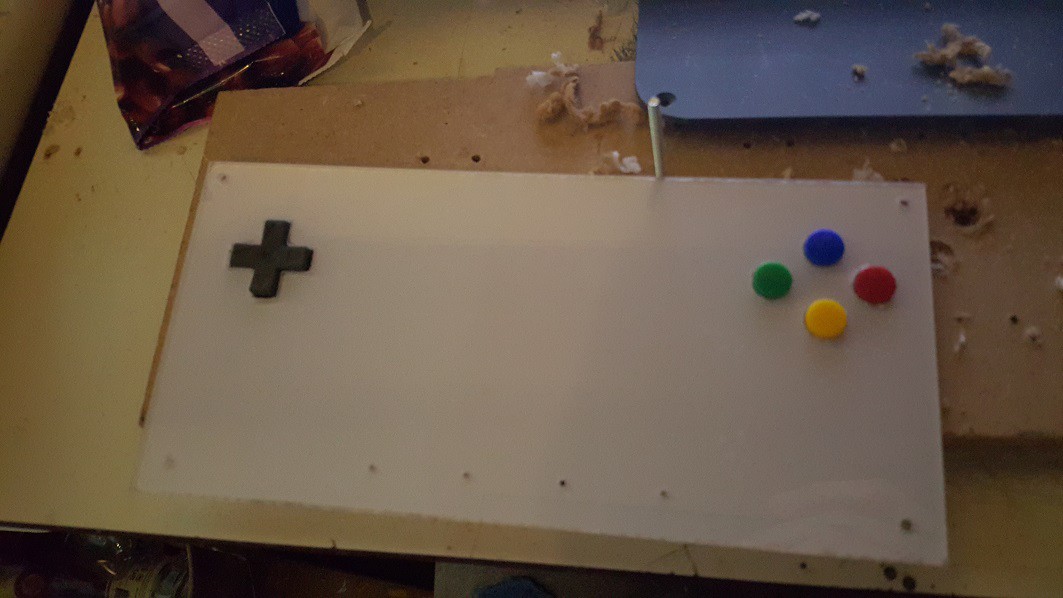
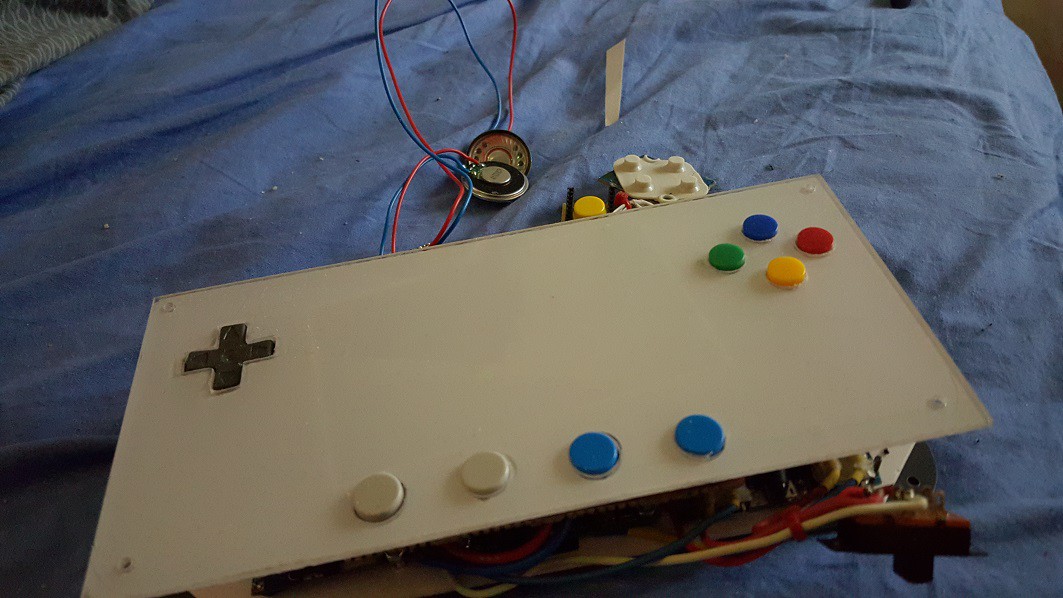
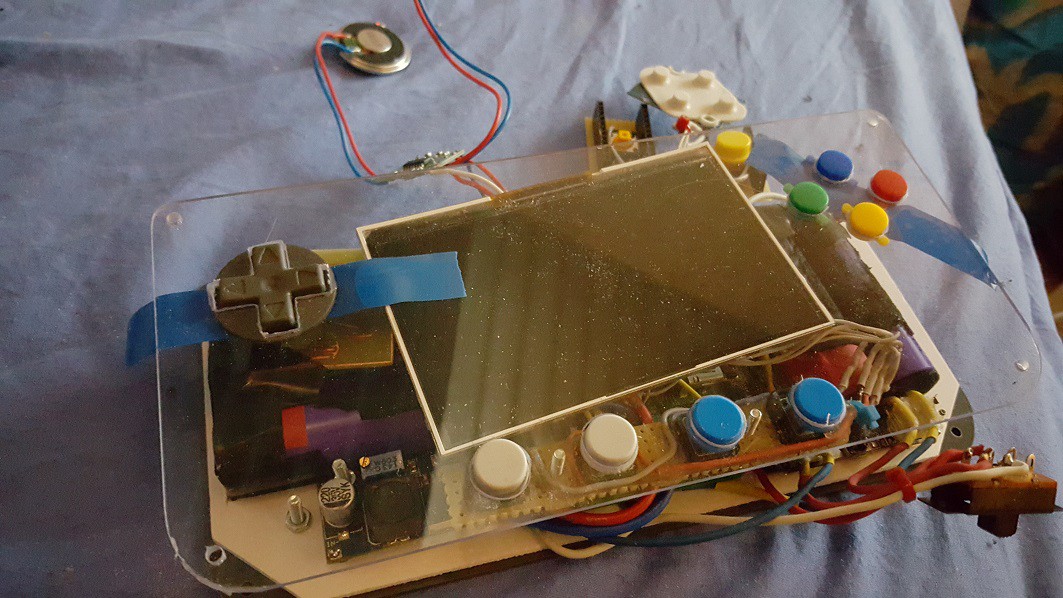
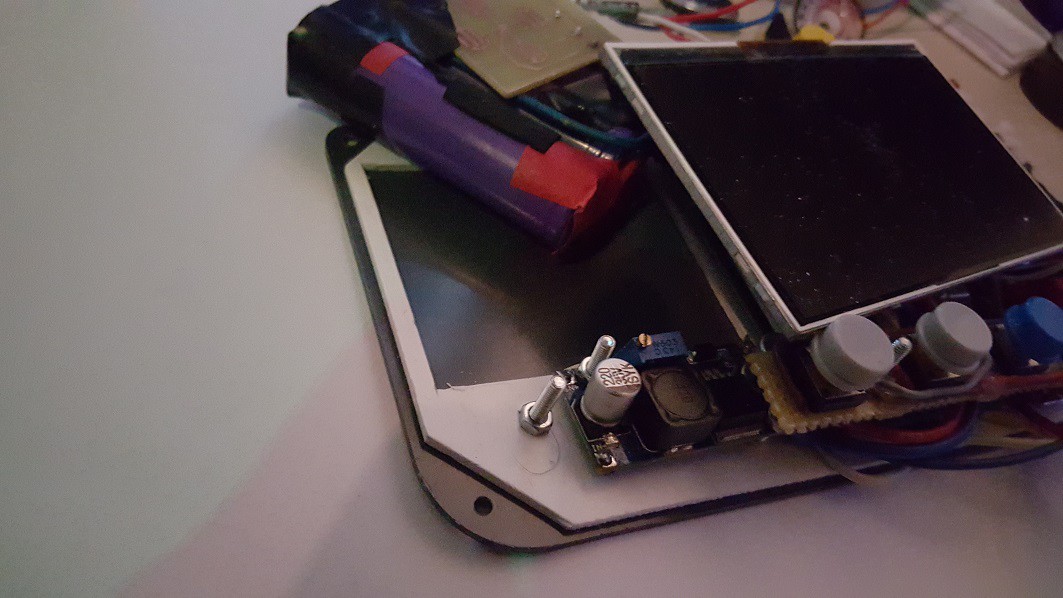
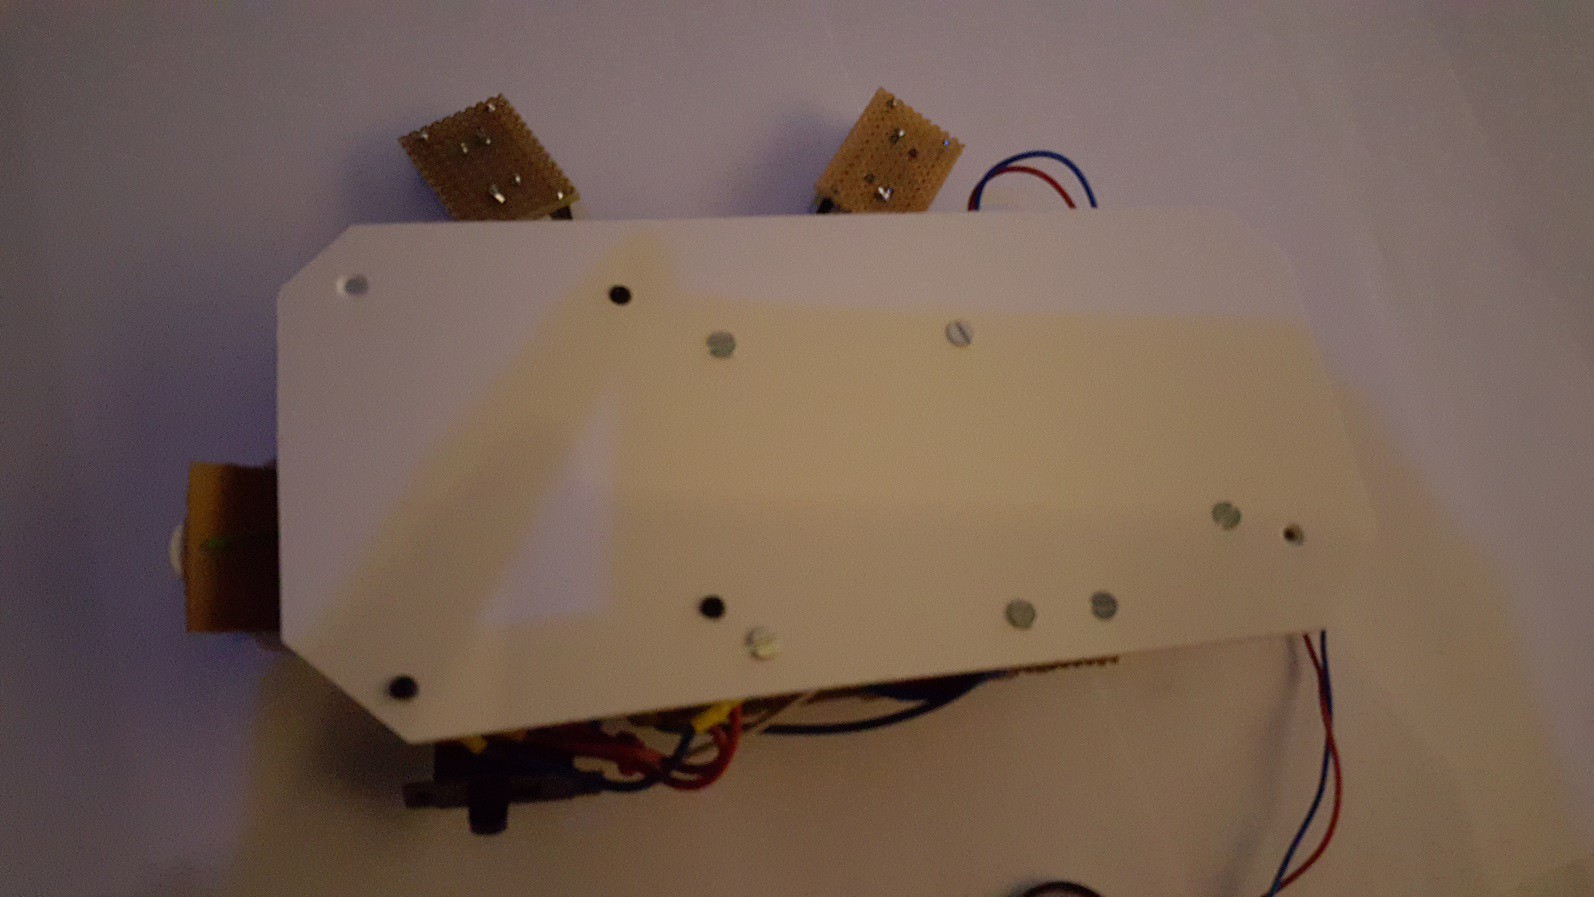
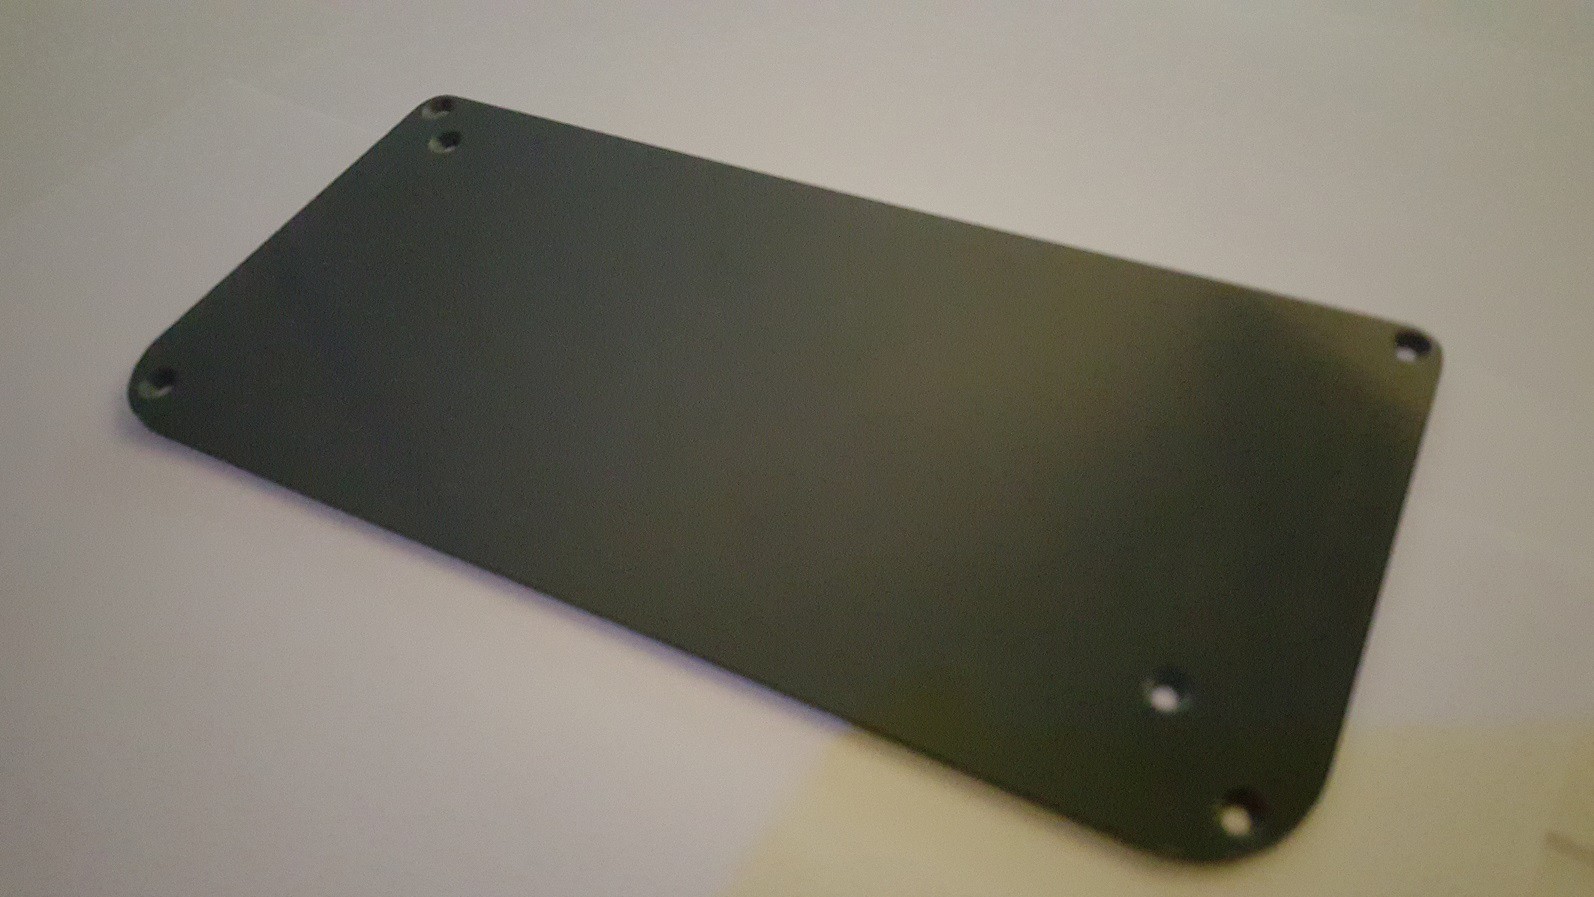
02/06/2016 at 01:11 • 0 commentsAfter alot of work (again) i remade the front plate, it's now composed of 3 layers to give the D-pad 1mm more space. The D-pad feels perfect to me right now, it's not tight or loose and the clicks register perfectly. The play buttons are working perfectly also.
First layer : holds the screen in place.
Second layer : window-paper-thingy + plastic sheet = the decoration layer. I'm gonna remake this, it's not allot of work.
Third layer : Plastic cover, i accidentally scratched the surface... (this project is never going to end..... )
-
Casing [Designing new front plate]
01/24/2016 at 14:28 • 0 commentsI'm having issues with the D-pad, it doesn't have enough room and it doesn't stick out enough which makes it feel odd.
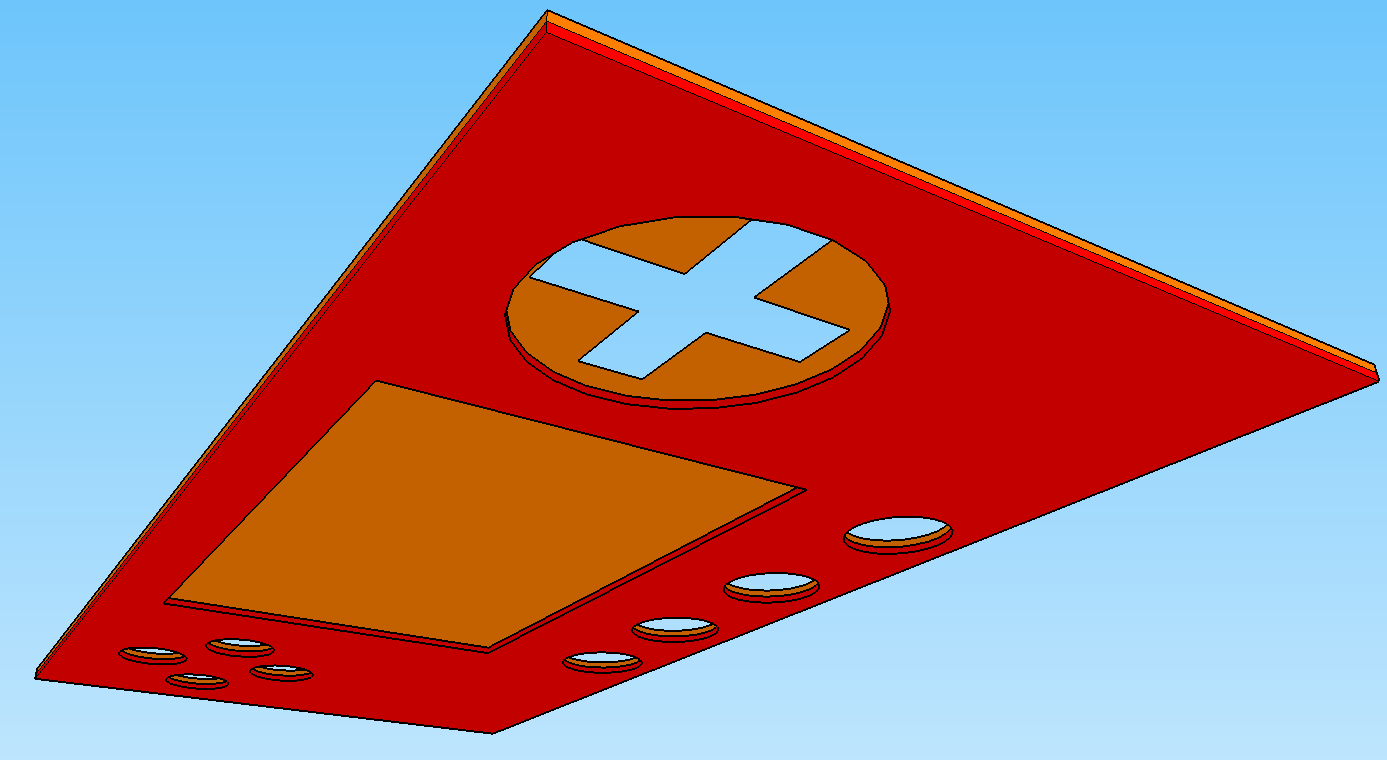
I found a way to solve both these problems. I'm gonna use 2x 1mm polycarbonate sheets instead of 1x 2mm.(I used flashy colors for illustration purposes, it's gonna be transparent)
This way the D-pad sticks out 1mm more and has 1mm more room on the inside. As an extra bonus the screen will have more room aswell.
After this is done the buttons should feel just like a SNES controller.
-
Casing [Finished making case]
12/29/2015 at 02:28 • 0 commentsSpend allot of time perfectly aligning the buttons so they feel 'right' when pressed, i didn't leave myself much room when i designed the case so it was difficult. I also aligned the screen with the front plate. The image is still not perfectly aligned on the screen, i need to configure that in linux.
It's pretty much a functional device now but i still need to mount the speakers and shoulder buttons.
I figured it was kinda bad that i don't have a power indicator, the powerbank has indicator leds so i might have to make a hole to see those.
-
Casing [Starting over]
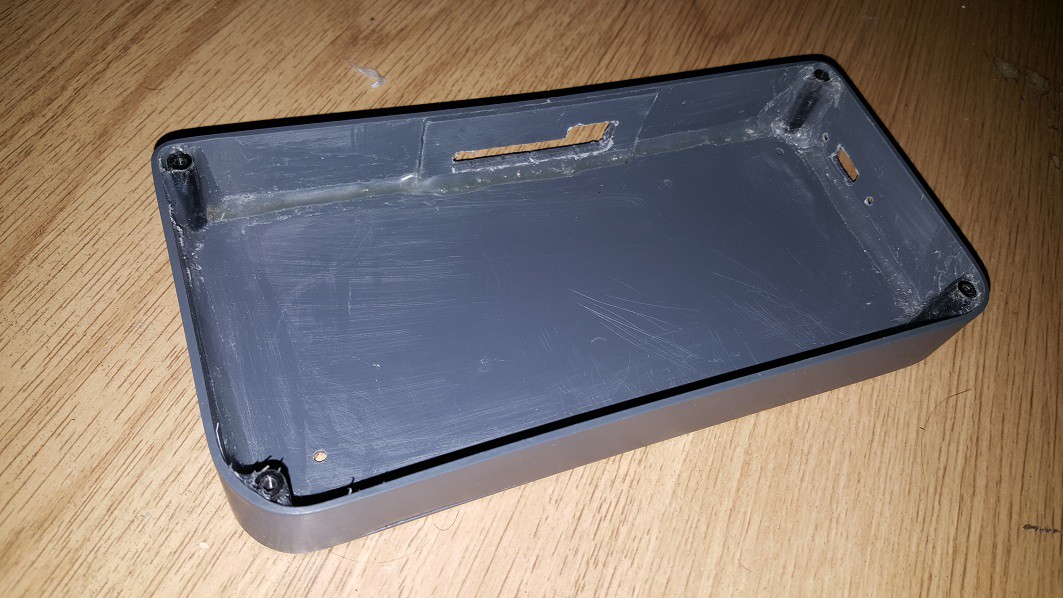
12/22/2015 at 22:31 • 3 commentsI had to remake the entire case because when i ordered the PVC i accidentally ordered the side-strip too small (25mm instead of 27mm), i thought i could fix it and use the 25mm strip anyways but i was wrong, there wasn't enough room for the buttons left. I re-ordered the side strip with a width of 27mm this time and remade the entire case.
I learned from the mistakes i made on the first case so i did some things better. I was a little more neat with the hot glue, i sanded the PVC more carefully and cleaned it with acetone before glueing. Just like last time, i glued it together with PVC glue and reinforced it with hot-glue.
Also... the screw-holes now match up perfectly with the front plate (the previous case was a little crooked because of the bending).
I still have some holes to make for the charging port, SD-card slot and the shoulder buttons.
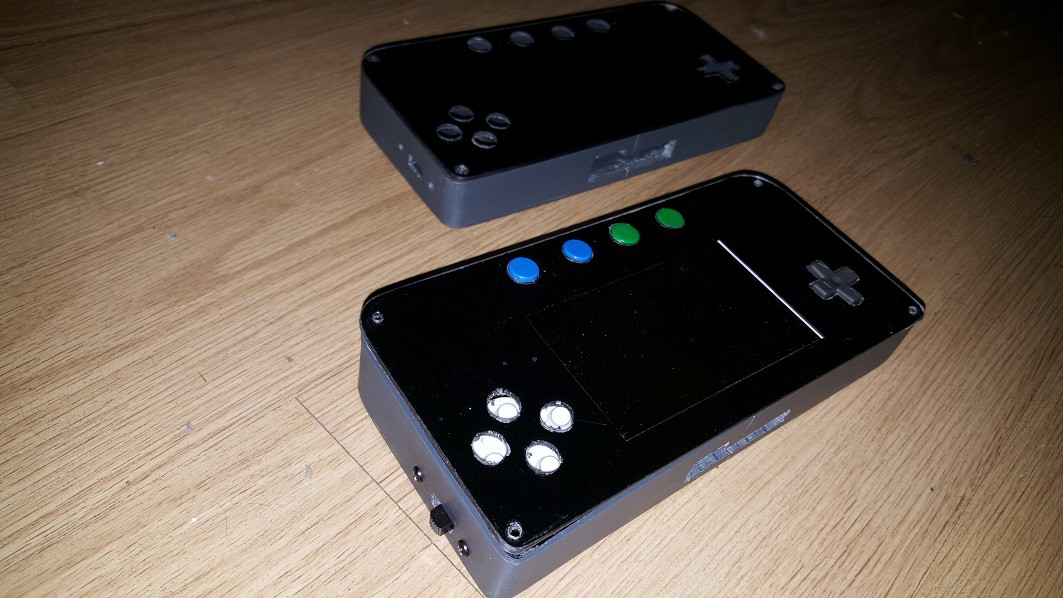
(Top one is the old case, bottom is the new case. I also cut away the sticker for the screen)
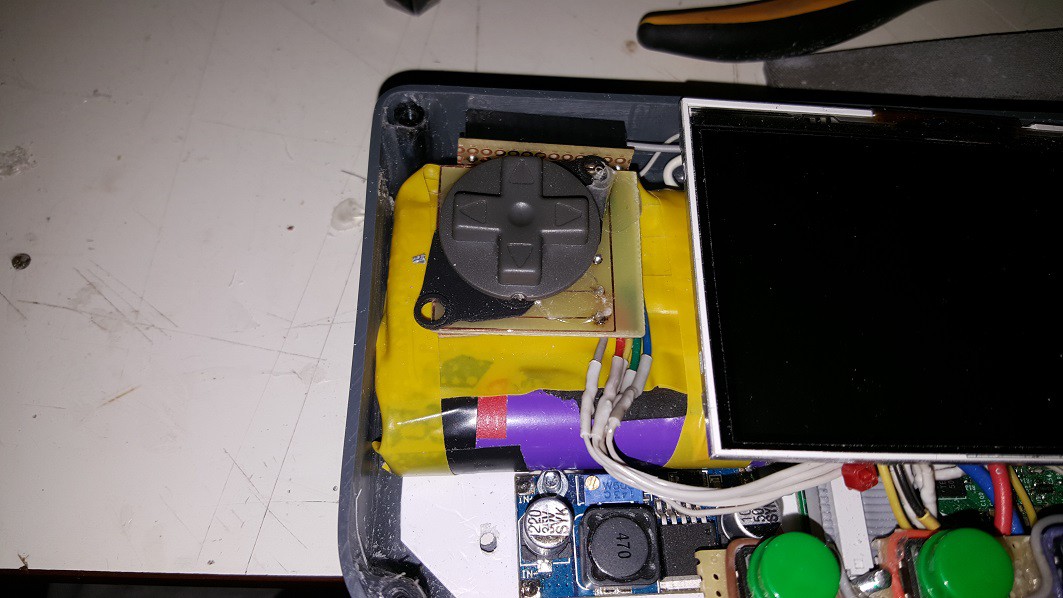
(I secured the D-Pad in place, i hot-glued the PCB onto a patch of electrical tape and stuck that to the battery. This way i it is in place securely but not glued permanently to the battery)
-
Casing [Holes in the side]
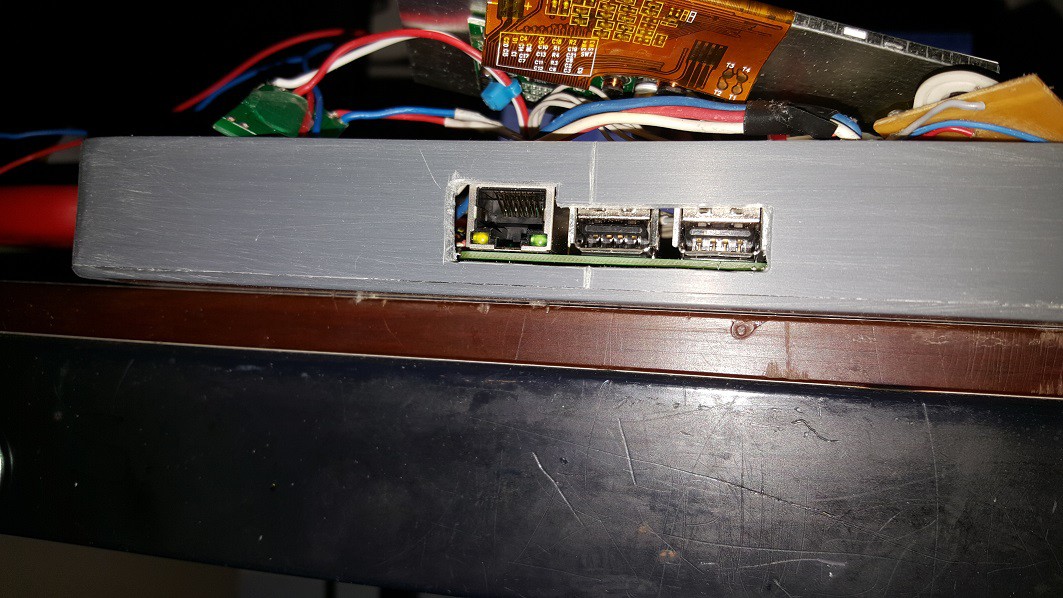
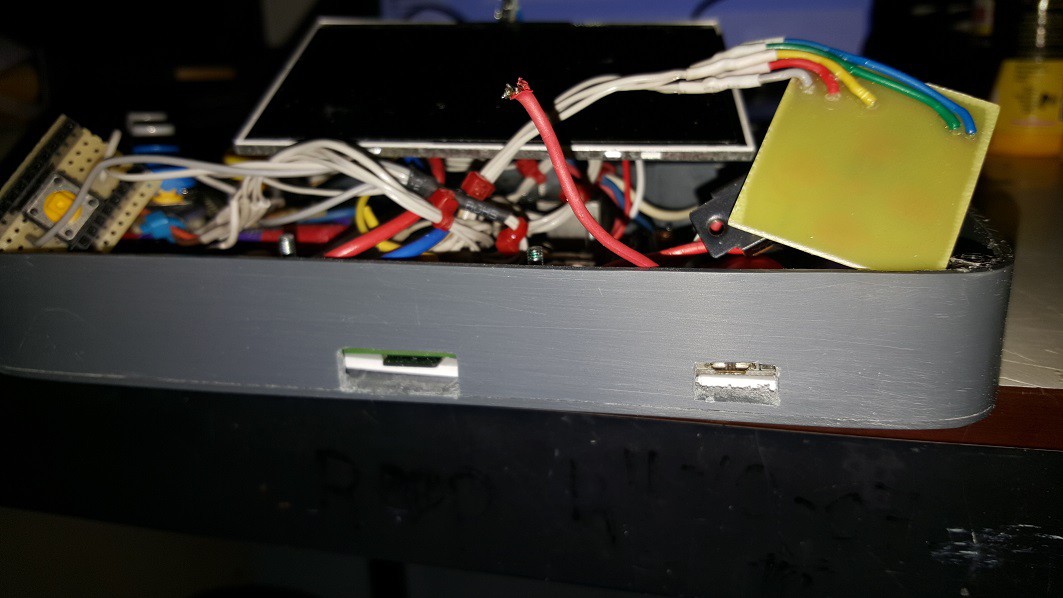
12/14/2015 at 21:23 • 0 commentsI made some of the holes in the side of the case for the charging port, SD-card access and the USB/UTP ports.
(USB ports for transfering roms and UTP port for.... internet)
(SD-card slot on the left and charging slot on the right)
It looks a bit weird on the photo, but it's actually easy to plug a cable into the charging port. SD card is a little more tricky to get out, but it doesn't have to be replaced often anyways, i just need to be able to replace the SD card when something goes wrong.
Next thing to do is drill holes for the shoulder buttons, power switch and volume potmeter, i will update this post when i get it done.
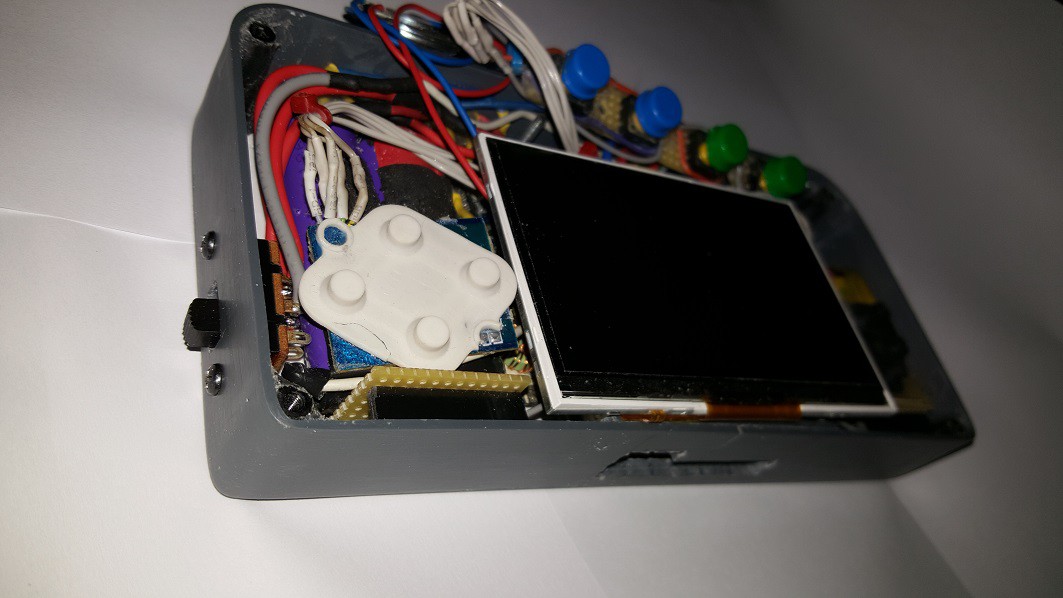
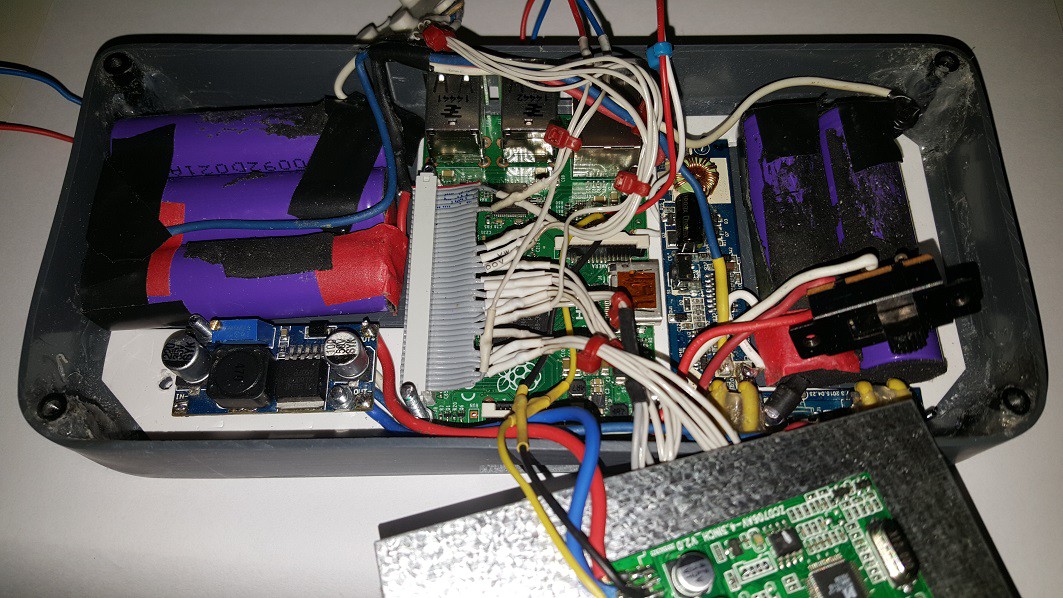
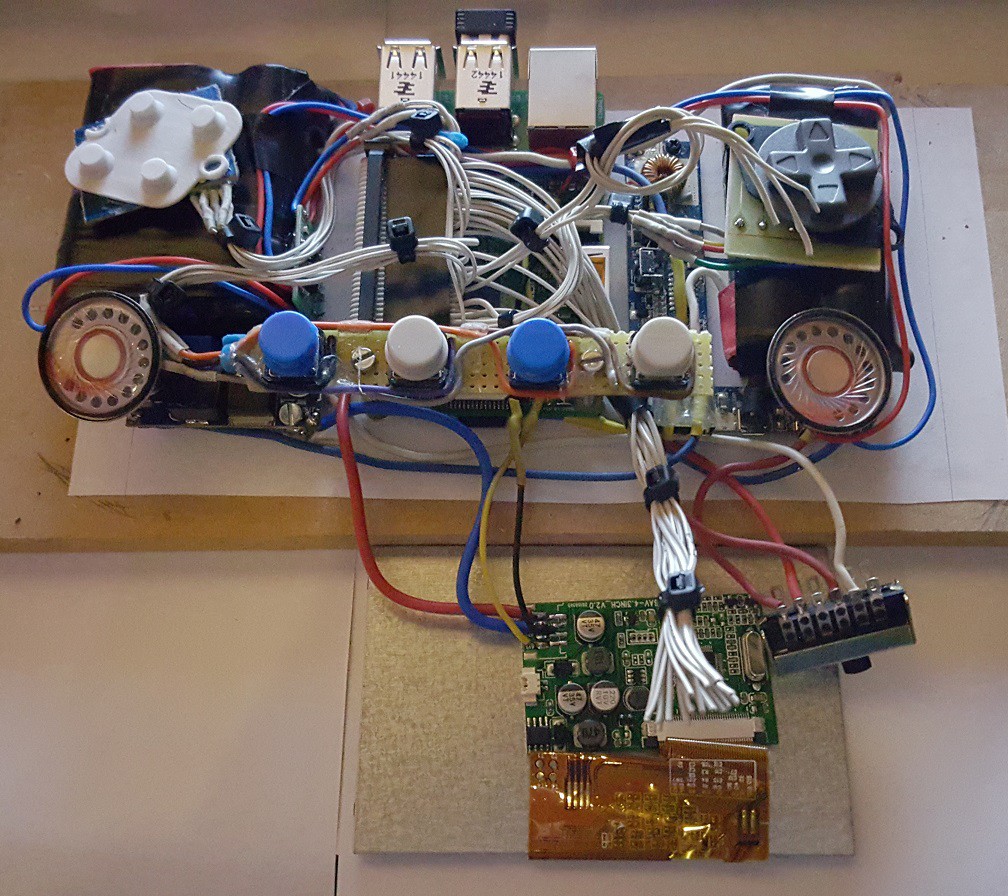
(Here's a nice photo of the insides, don't judge me for the hot-glue mess)
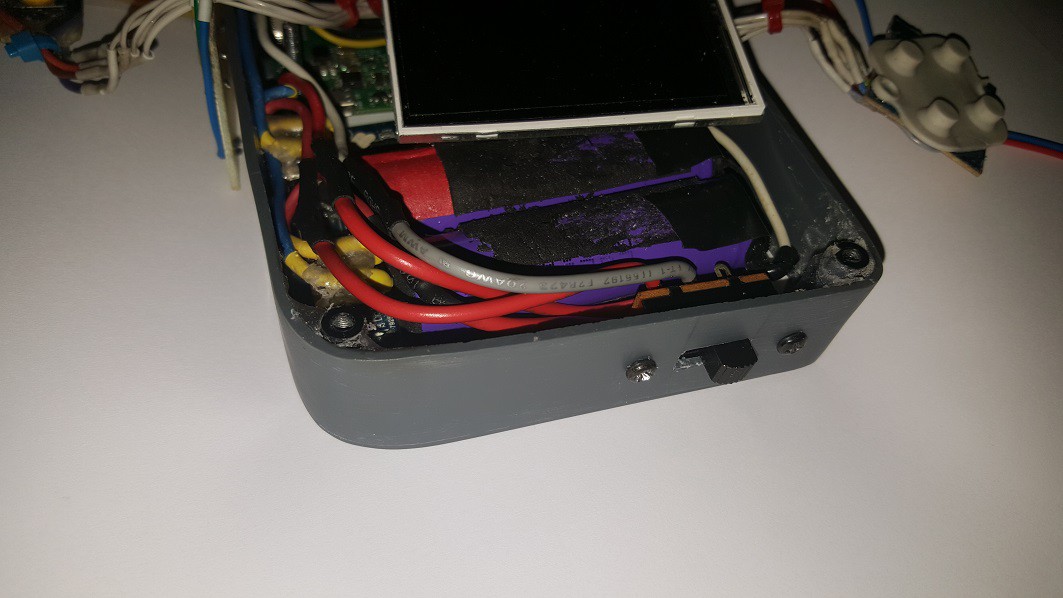
EDIT : I made the hole for the power switch and mounted it to the case, i had to extend some wires to make it reach to the side of the case because there was no more room at the bottom.
-
Casing [Bending side of case]
12/13/2015 at 23:17 • 0 commentsI finished building the majority of the case, the bending of the side was a real pain in the *** so i had to change tactics a bit. I glued everything in place with PVC glue and hot glue for extra support. Because of that it's not pretty on the inside but it doesn't have to be.
After that i sanded the sides a bit to hide the crimes and used Skotch Brite to give the case a better look.Because i'm now using hot glue i had to change the dimensions of the construction plate by shaving 3mm off the edges, this doesn't affect anything else.
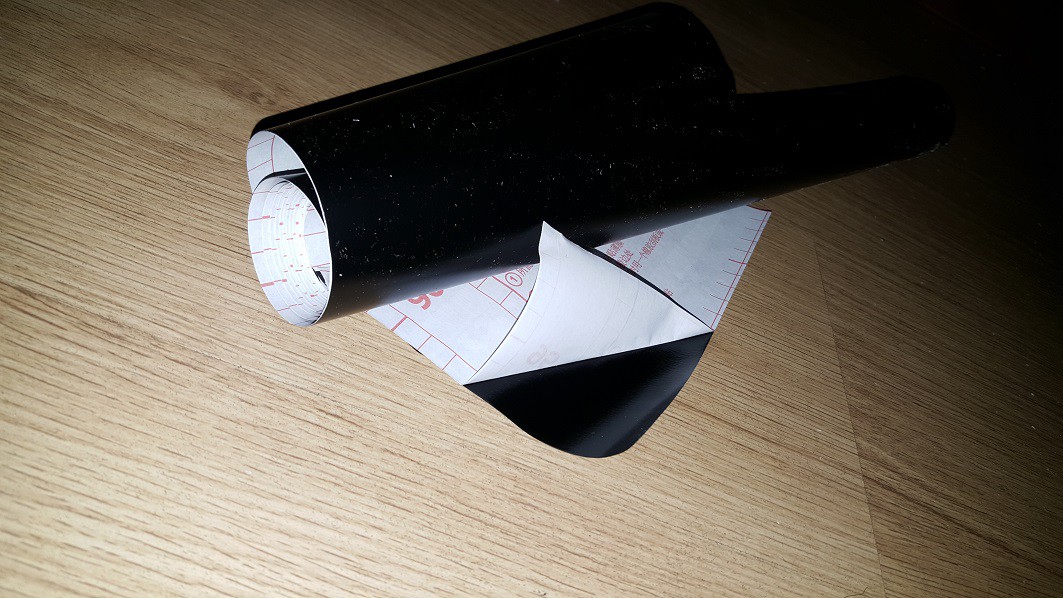
By doing all this it's now a really sturdy case that will not break any time soon. I used black sticker sheets (used for blinding windows) under the front plate, i think it looks pretty good. The portable feels really good in the hands and the buttons are at the perfect spot.
(This is the sticker i bought, it's used to blind windows and it comes in many paterns and some even colors, i'm glad they had an even coloured black one. I bought this at a hardware store)

(I still need to cut away some of the sticker so you can actually see the screen when it's installed)
Next thing to do is drill all the holes on the edge for the USB connector, charging connector, volume control, shoulder buttons and SD-card access. I also need to drill some holes for the speakers in the front plate and connect a potentiometer to the amplifier. After that i can install everything in the case and it's done.
-
Casing [Creating front plate]
12/11/2015 at 23:07 • 0 commentsToday i drilled/filed all the holes and curves on the transparent front plate, it's really nerfwrecking drilling 10mm holes into polycarbonate plastic, the drill bit grabs the plastic almost all the time. Drilling slowly with a metal bit while having the plate secured to the table helps allot, i also did allot of test holes in a scrap piece of polycarbonate to get comfortable. The whole thing turned out quite nice for a second try (on the first try i accidentally drilled a hole i shouldn't have.). Good thing i have plenty of spare plates.
You're asking yourself : "Why is the top transparent?". No i'm not going for the transparent 90's look, my plan is to cover the inside of the transparent plate with a black (dark) sticker which covers everything except the screen area, this way the screen is protected and the front plate is one smooth surface. A perfect thing would be to be able to make a sticker with graphics (letters for buttons etc) on the sticky side of the sticker, but i'm not sure how hard that is to get/make.
(Pre-drilling holes and marking the D-pad + corners)
(Drilled 5 holes and filed away the rest to create the D-pad hole)
(D-pad and play buttons done)

(Holes drilled for the "Menu buttons" ie : Start, select, menu, options)
(The D-pad hole still needs some smoothening, the sticker-to-be will also hide allot of crimes.)
The hardest part is yet to come : Bending the long strip of PVC to fit around the portable exactly, i have 5 tries to get it right or i'll have to re-order materials. This part will largely define the "professional look" of the case, if there are gaps or other odd bends it wouldn't look good at all.Luckily the plastic is really cheap, considering they cut everything to size :) (I ordered the plastic at a dutch webshop).
By my calculations the entire unit will be 29mm tall, 209mm wide and 99mm high.
[captain hindsight mode on]
I think the entire unit is a bit too thick, i should have used smaller lipo batteries but besides that i'm very pleased with how this project is going.
[captain hindsight mode off]
Oh yea, i cut away parts of the structure plate where the batteries lay, i also removed some padding and tape from the batteries and flattened the wires of the button-PCB's. All of this saved me atleast 5mm in thickness of the entire unit. The batteries is what defines the thickness of the unit so every bit counts.
-
Casing [Designs and materials]
12/08/2015 at 10:37 • 0 commentsI spend the last one or two months carefully designing the case and i'm finally confident enough about it to make it a reality. I ordered the PVC and Polycarbonate plates from an online webshop and they arived within 2 days. As you can see i ordered 5 of everything for when i screw something up (it's gonna happen).
In my previous post i mentioned i'd be making the case out of polyethylene plastic, however polyethylene turns out to be really hard to glue so i used PVC instead.
Here's a peek at the designs and the materials, i'll share more details later :
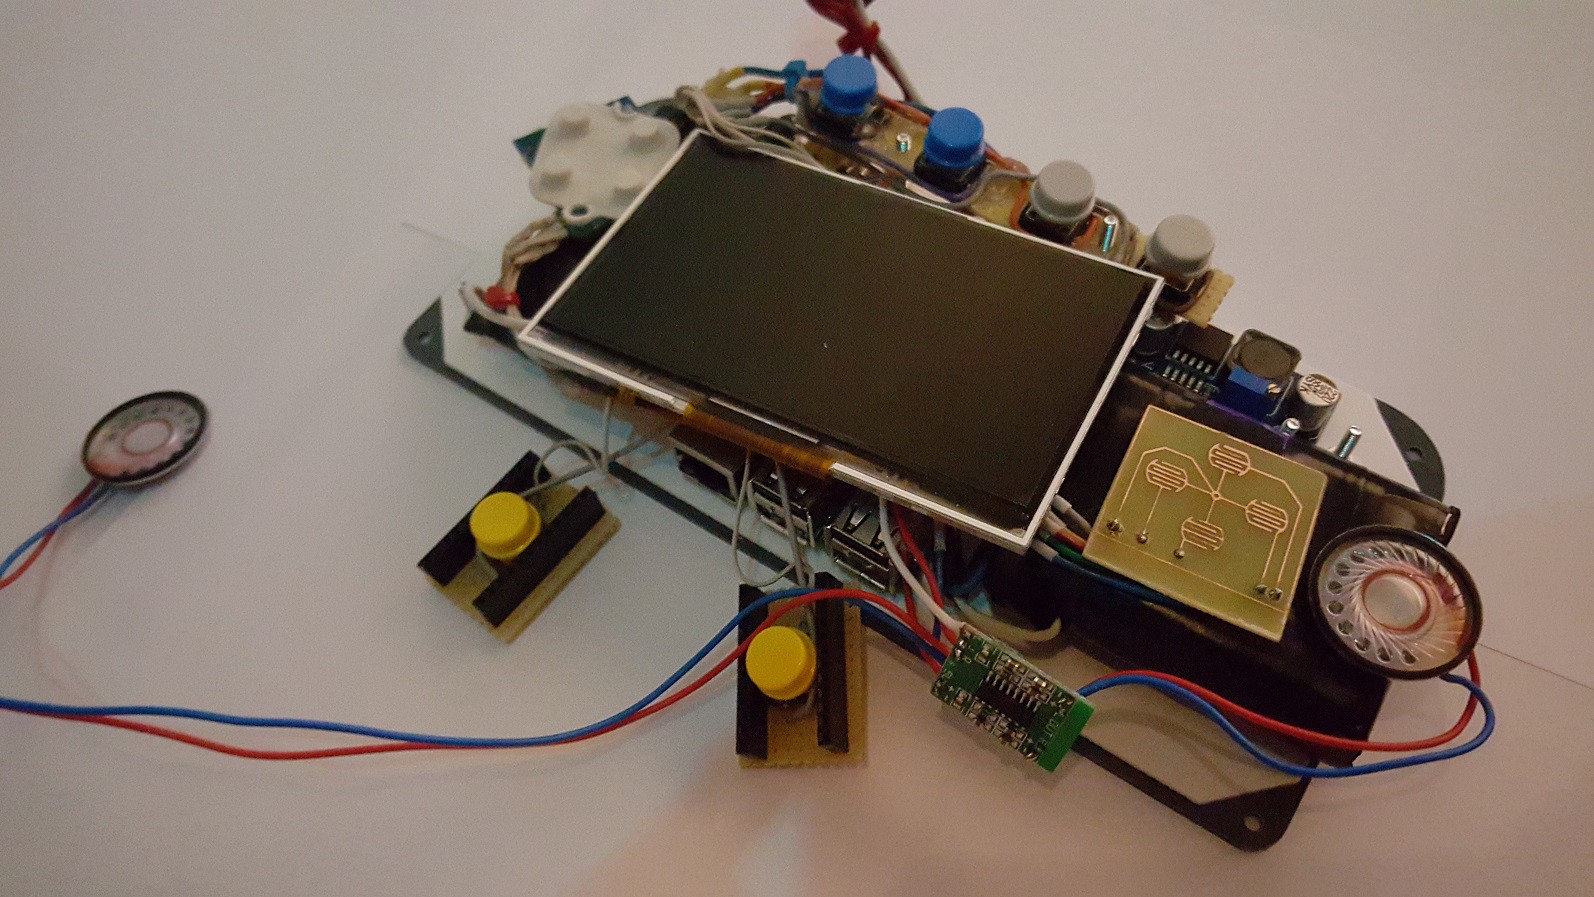
Structure plate, all the electronics are mounted on here.
Bottom plate :
Bottom plate and structure plate mounted together :
-
Wiring [Installing the amplifier & screen change]
10/26/2015 at 19:36 • 0 commentsI tried the other screen i bought and it looks a little better in my opinion. The 5" screen has a really terrible viewing angle compared to the 4,3" screen.
When looking at the 5" screen at an angle, the screen starts to turn white which is really annoying.
This is the reason why i almost always buy two of everything, so that i can test and choose which one works best for me.I also installed the amplifier i bought, it's very small so i just hot-glued it to the side of the left battery.
The wire bundle at the bottom will be removed as soon as i'm 100% sure all the GPIO are connected correctly and everything works.
-
Casing [Design idea]
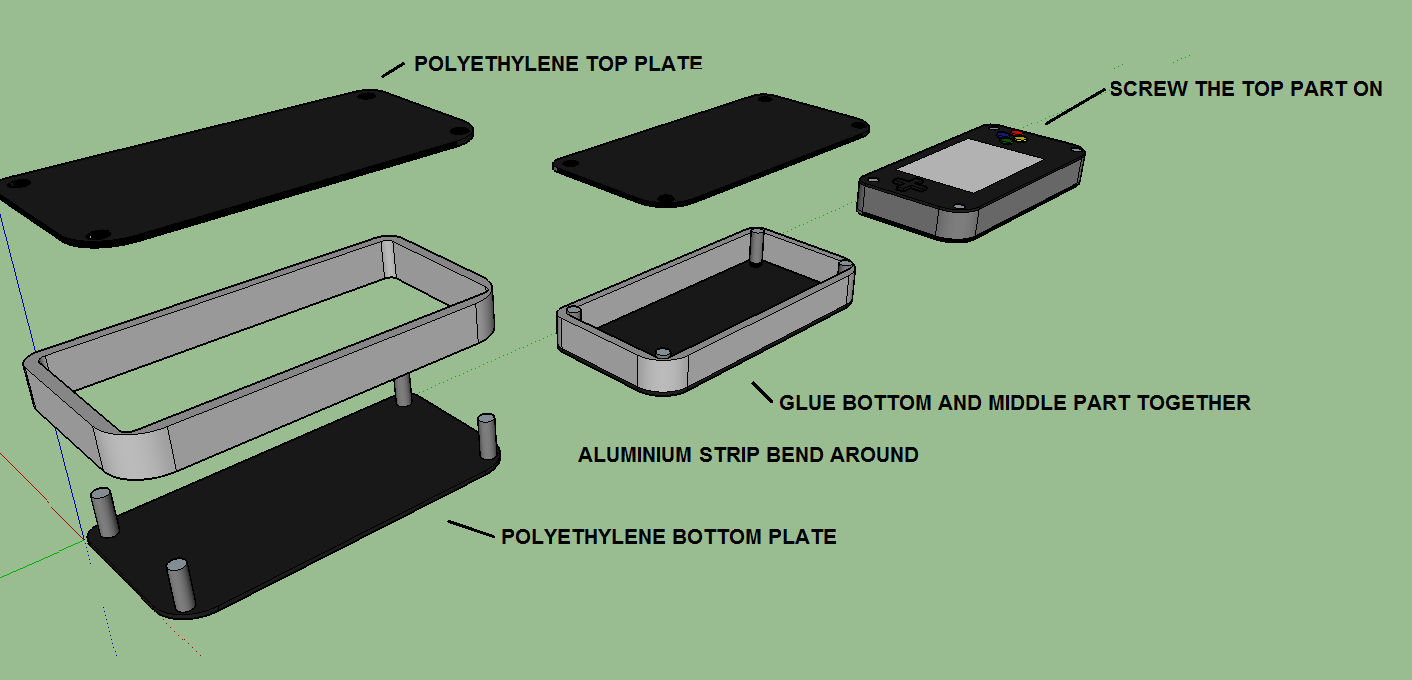
10/22/2015 at 23:56 • 0 commentsI think i figured out a way to make the case look reasonably professional and relatively easy to make. I'm gonna order two polyethylene 'plates' with a 3mm thickness with the correct dimensions, glue 4 of those threaded posts in the corner and glue a metal or plastic strip around the edge. This way i'll have a removable top part to access the electronics.Something like this (Note: dimensions are not to scale, AT ALL) :
Portable Raspberry Pi gaming handheld
Made from a Raspberry Pi 2 B, a 4,3" TFT screen, a powerbank and a modified SNES controller.
 Lumor
Lumor