Close
0%
0%

Custom retina eyefinity array for PC

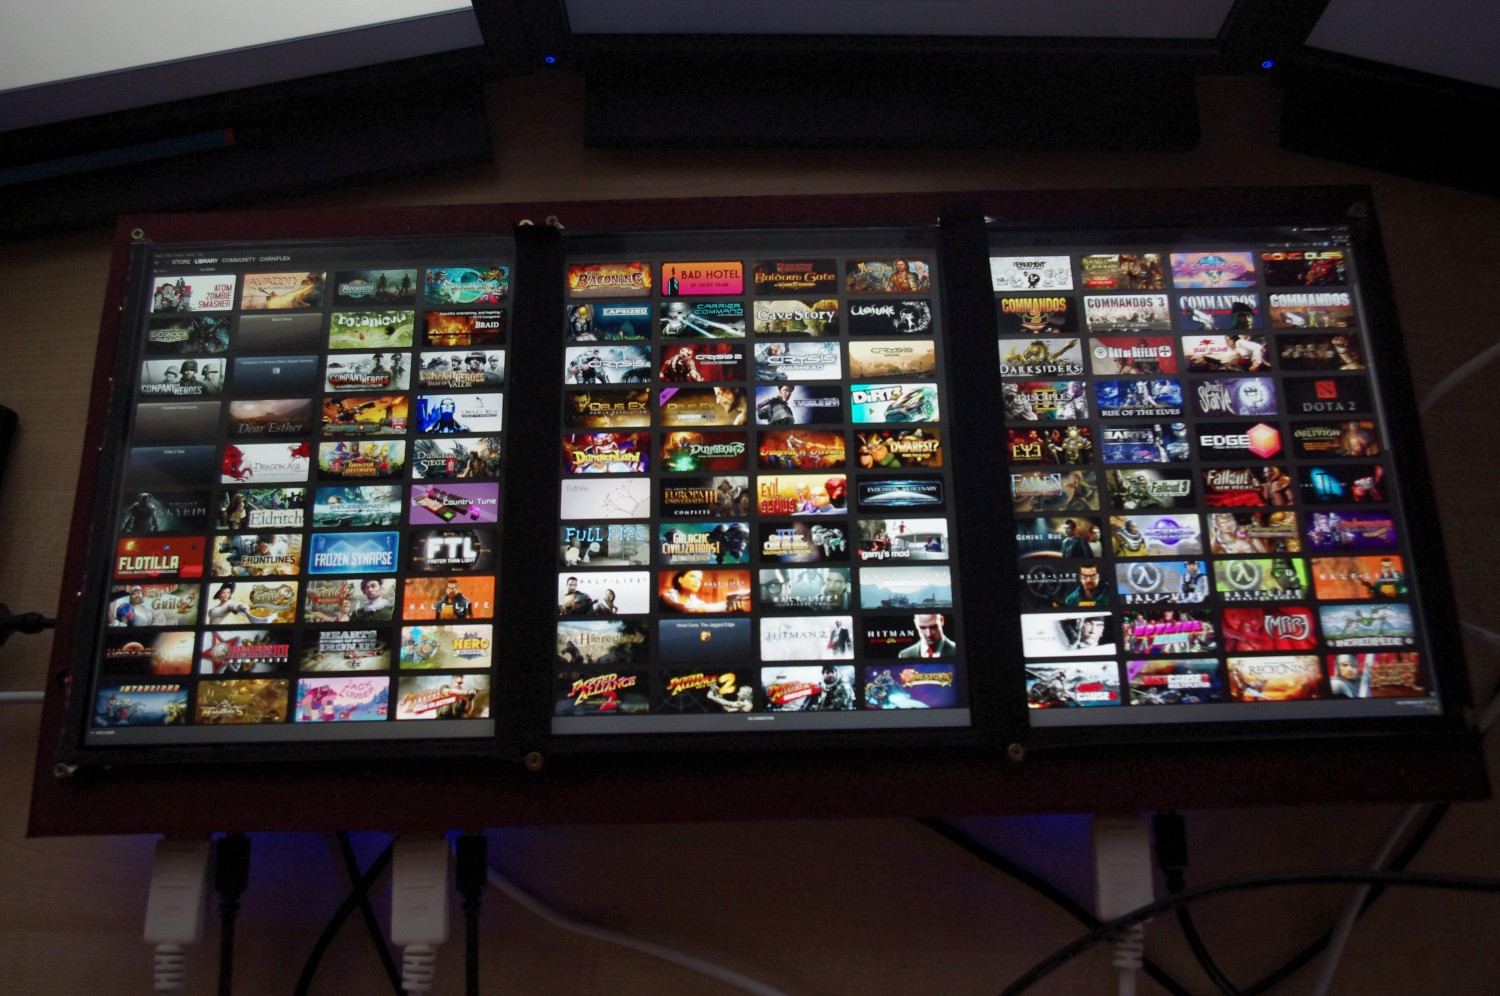
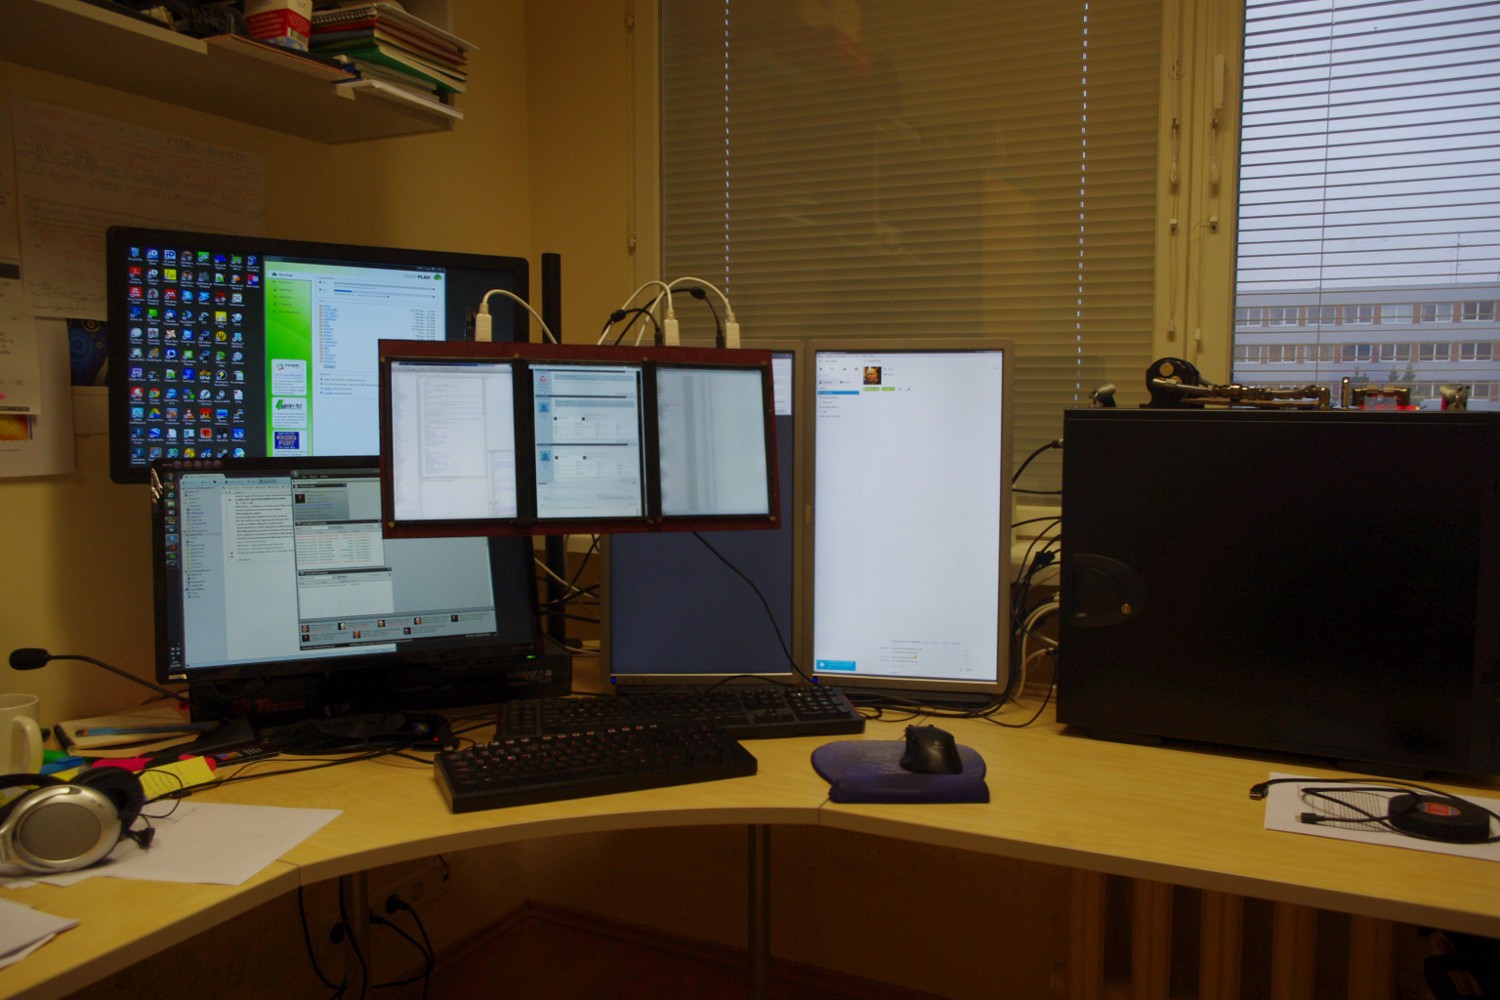
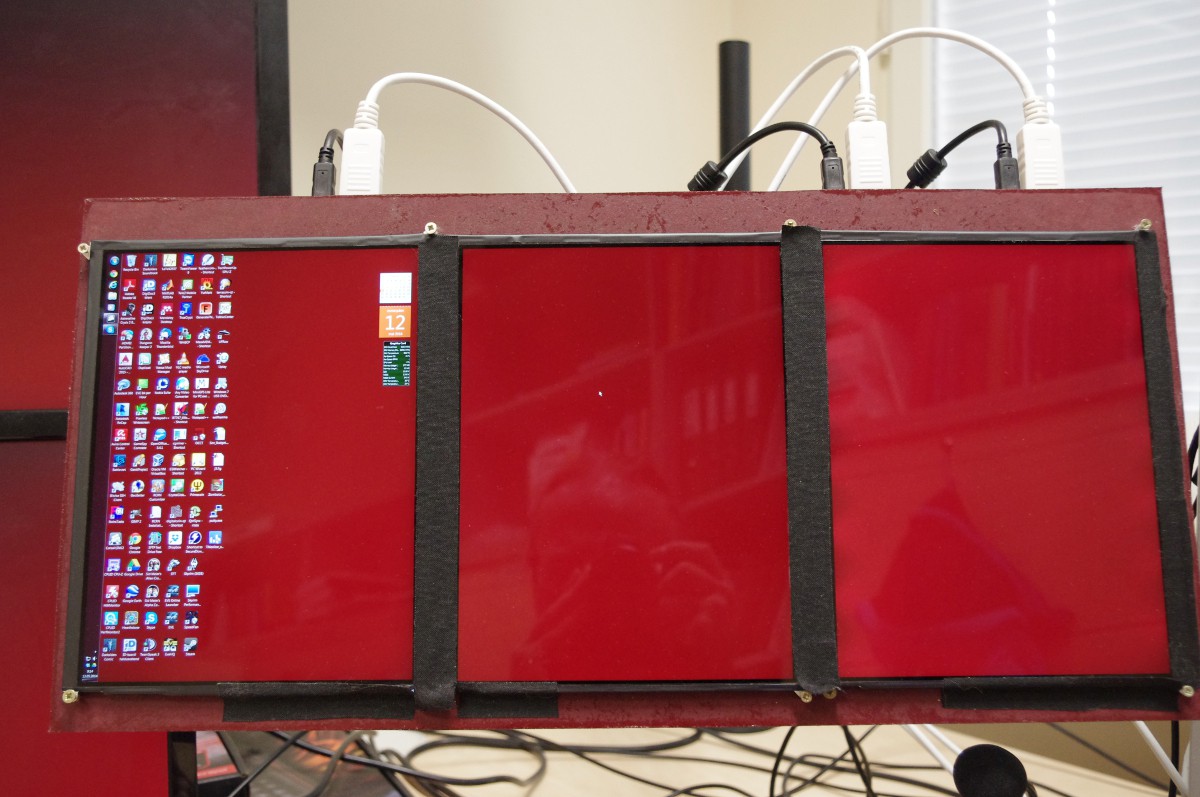
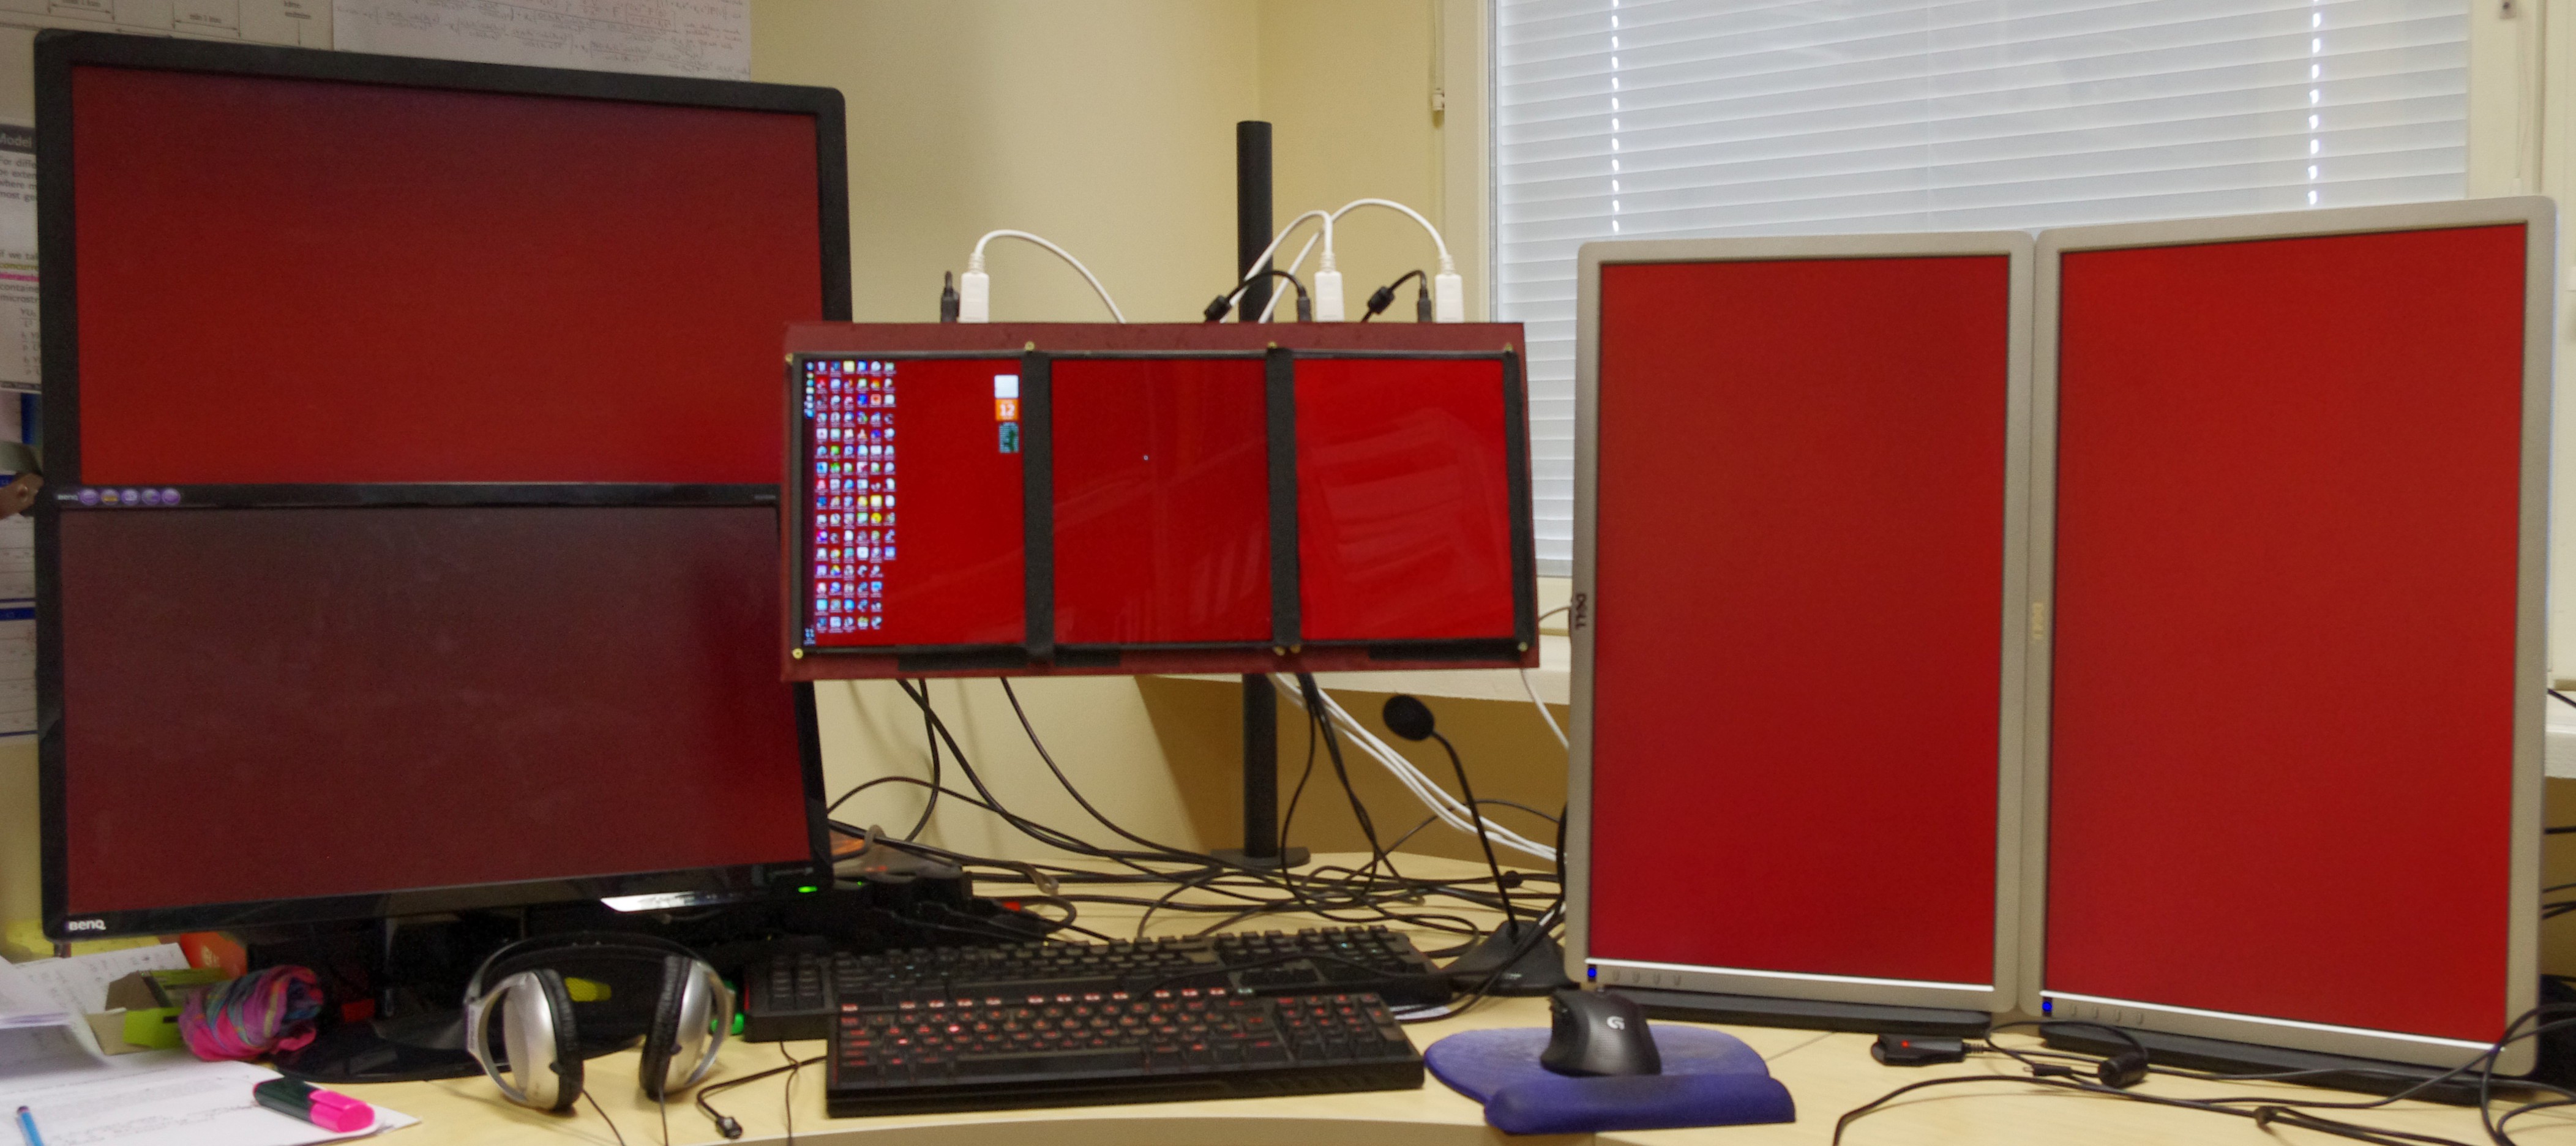
A 4608x2048 pixel ~20'' PC display array made of three ipad 3/4 replacement screens off ebay.

Similar projects worth following
A 4608x2048 pixel ~20'' display made of three ipad 3/4 replacement screens off ebay. Inspired and partly documented in http://www.overclock.net/t/1389756/custom-screen-31-3600x1600-cost-250/0_50

A while ago I noticed a forum thread on Overclock.net about a guy who had hacked a three cheap laptop replacement screens / spare parts off ebay togehter to work as a rather nice display for a PC. That inspired me to try something similar. After a while I succeeded - it was not the lack of technical skills or complexity of the job but just the plain old lack of time that dragged the assembly time of that project into a bit less than year.

All the parts are pretty much plug and play so this kind of project is suitable for anyone including people that cant solder two wires togehter to save the world. However, with the price-per-pixel having dropped substantially with the introduction of cheap 4K screens incentives to undertake such project might not be as prominent as they were when I did this.

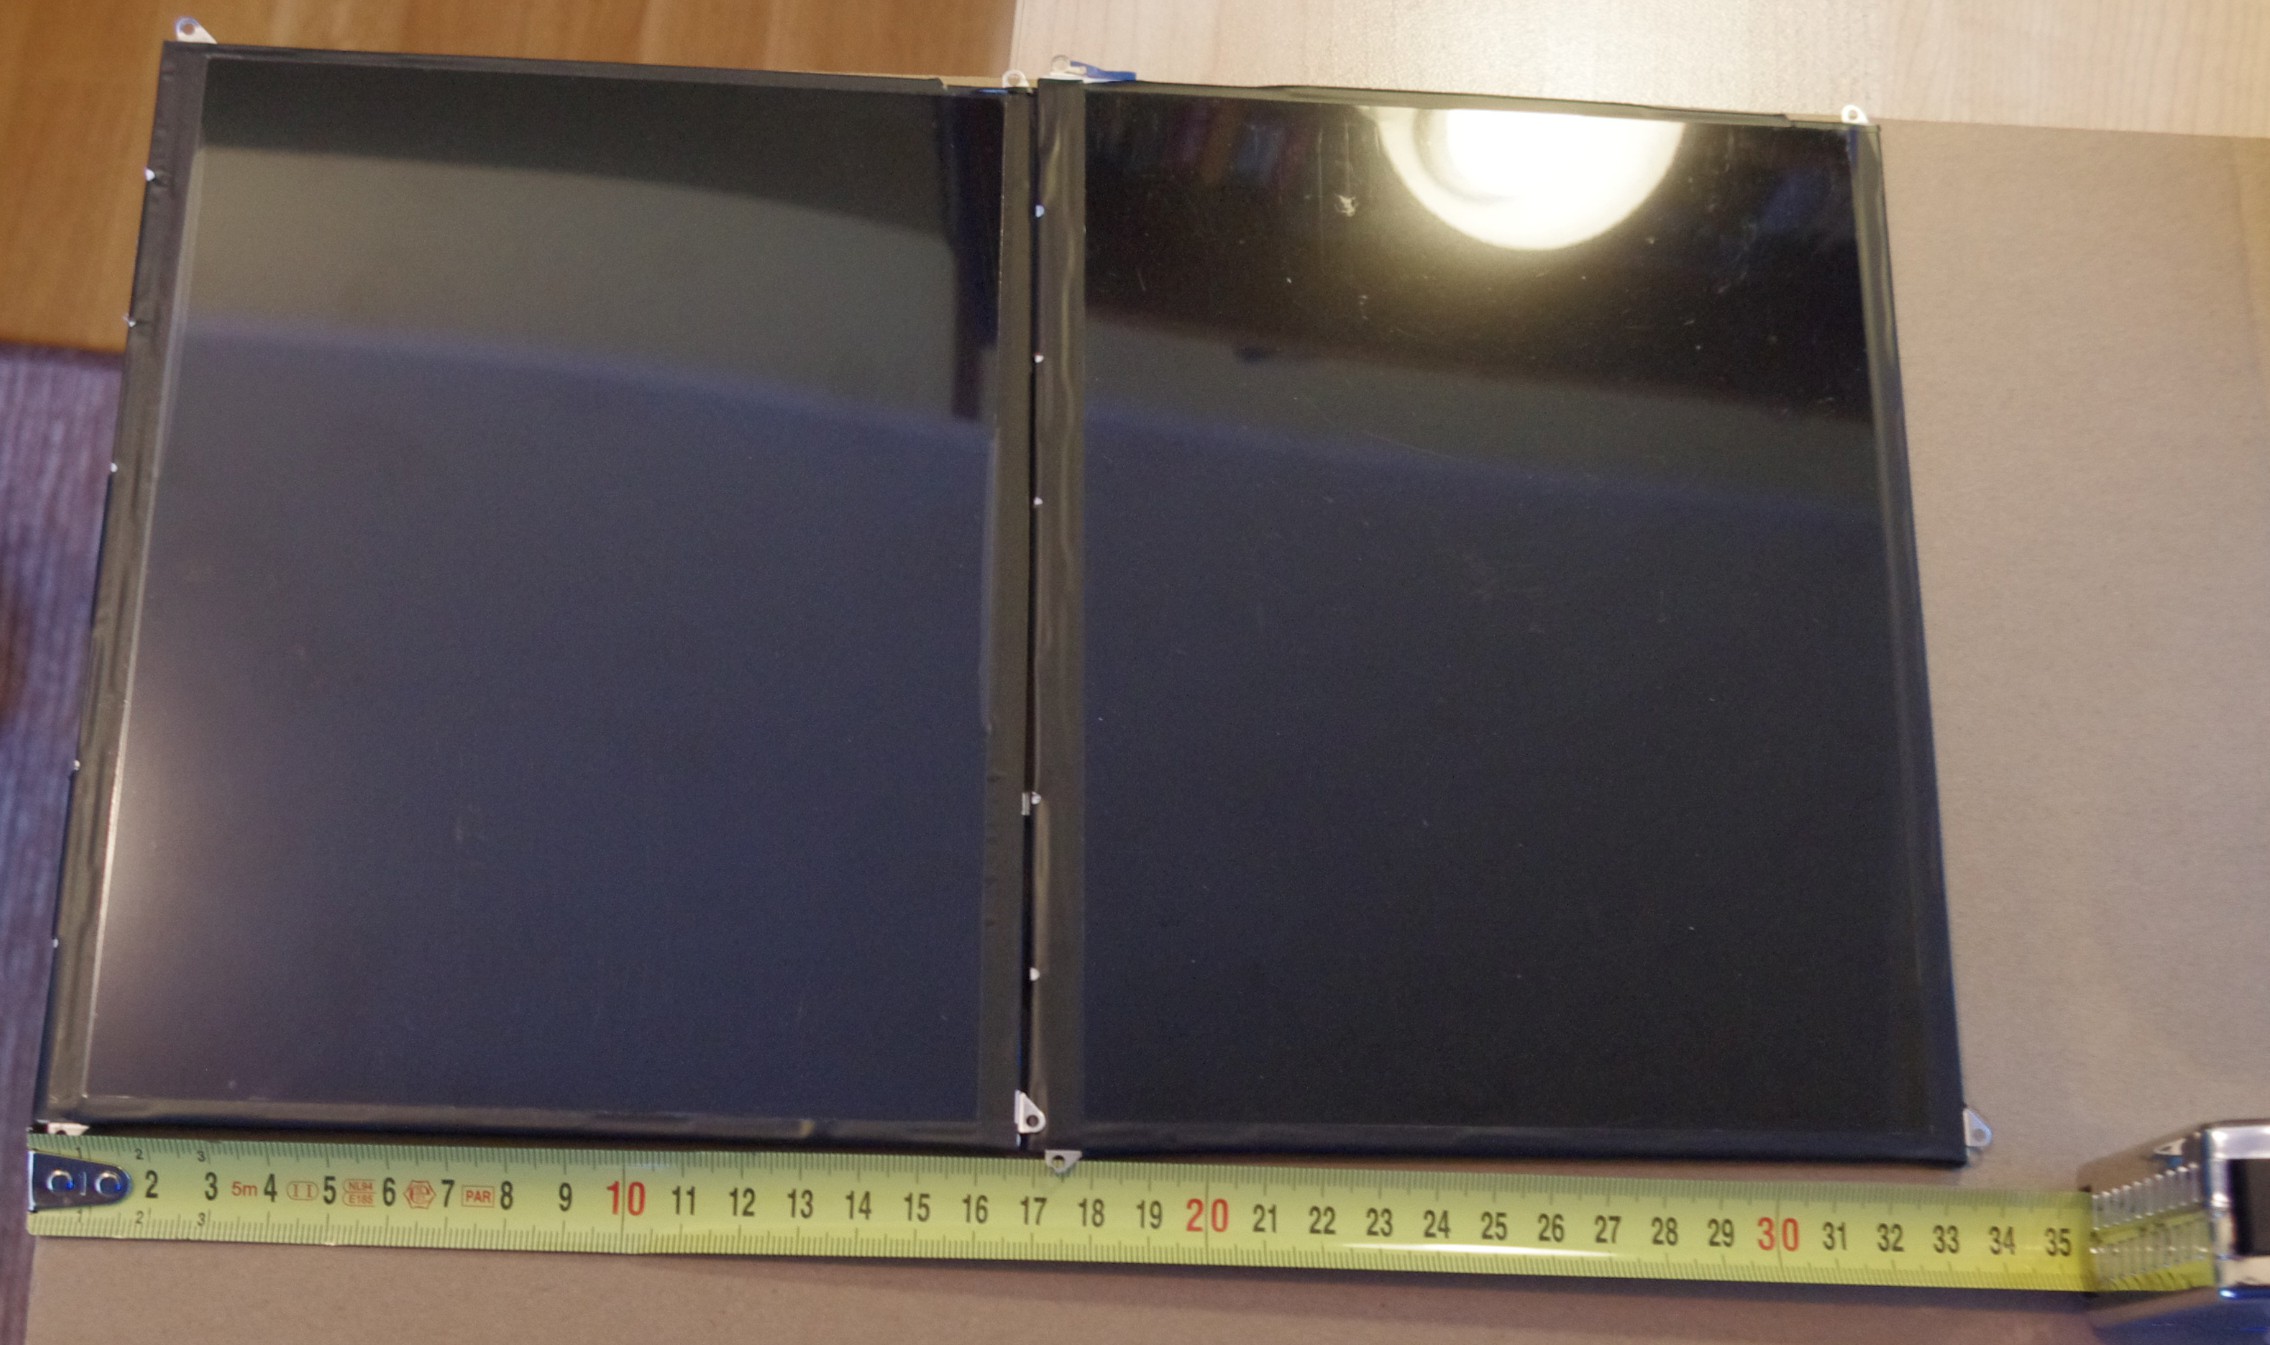
  • 3 × Ipad 3 replacement screen (spare part) A counterfeit ipad 3 repair part off ebay. 2048x1536 resolution 9.7'' in size. The "real" ones have two stickers behind them, the counterfeit ones from China have only one sticker, however, they cost only approx 50$ per one.
  • 3 × A PCB for meeting the ribbon cable with displayport cable and for backlight driving. From http://abusemark.com/store/index.php?main_page=product_info&products_id=47 - about 40$ per controller.
  • 3 × 5V power brick, USB, max 2A A generic powerbirck giving out USB 5V, max 2A (PC ports are usually limited to 500 mA max and the screen draws more than that at max backlight)
  • 1 × A MDF plate, for holding everything togehter. Handful of bolts and screws Generic MDF plate to hold the screens in place and for making it possible to mount the screens into a VESA stand.
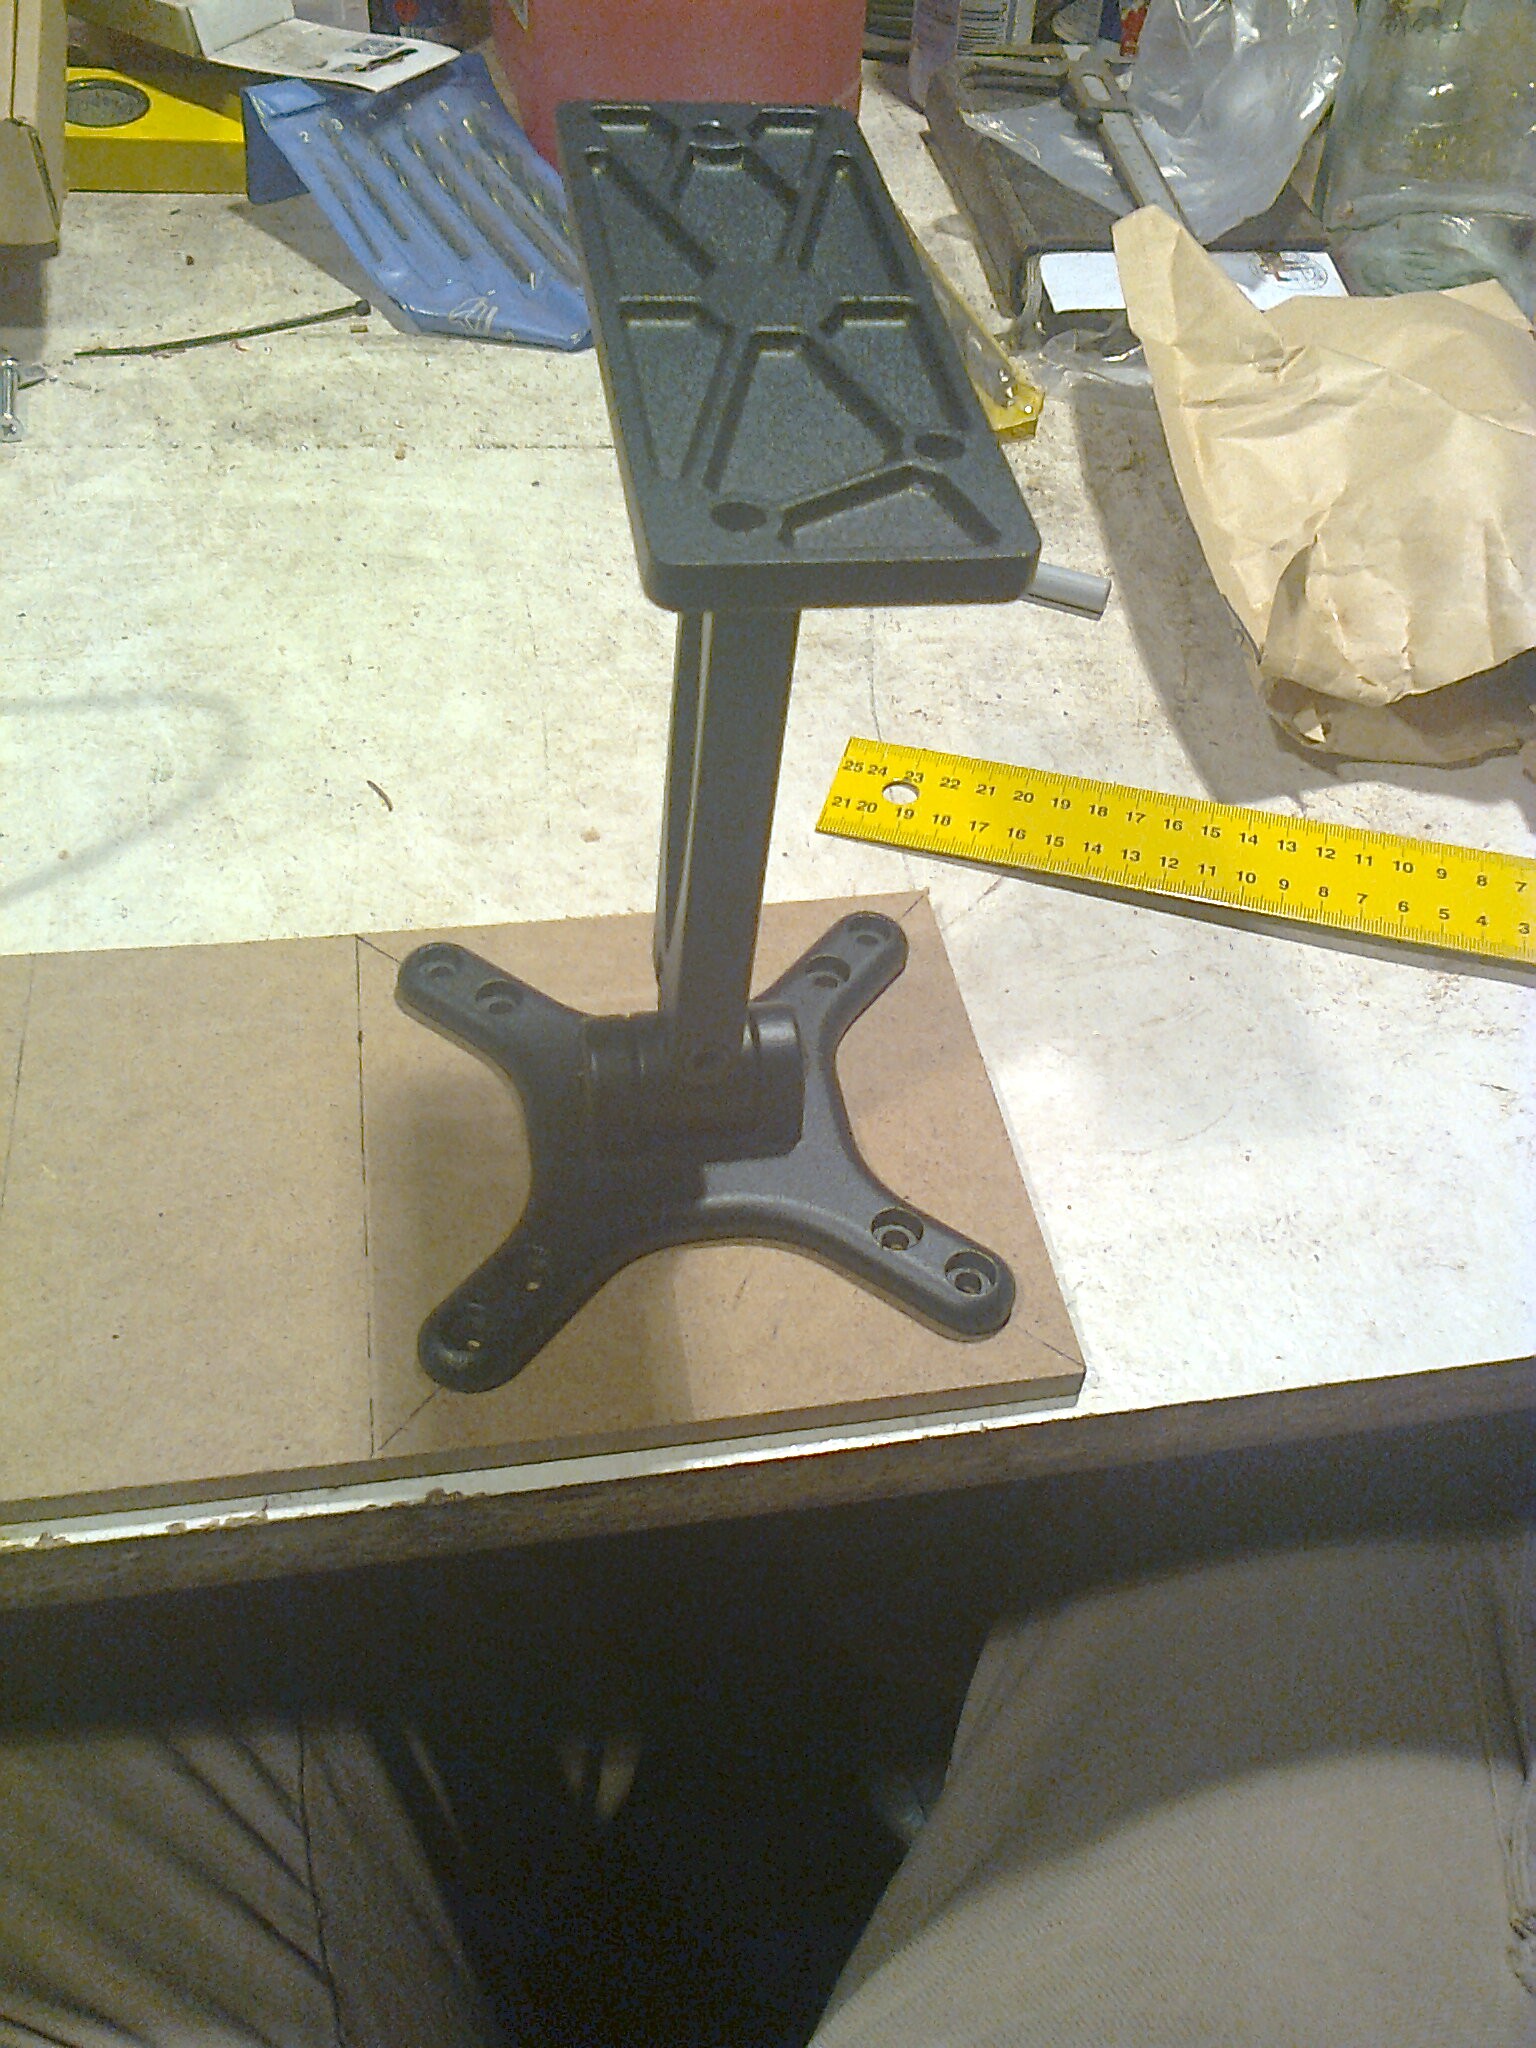
  • 1 × [Optional] VESA stand. Optional VESA stand. The ppi is so high that the screens become retina at distance of ~33cm so you want them in your face.

  • A minor update about Windows 8

    Kert11/17/2015 at 07:31 0 comments

    A minor update - it seems Windows 8.1 is much better at handling such high dpi displays than Windows 7 was. If you plug these in they will go by default into "retina" mode - meaning in essence that the screens are running for the operating system at half the resolution - meaning texts are actually readable from normal distance ;)

    That seems to apply also for some programs that are resolution sensitive, for example, firing up game in windowed mode across two screens runs at approx 1500x1000 pixels if you have two screens attached.

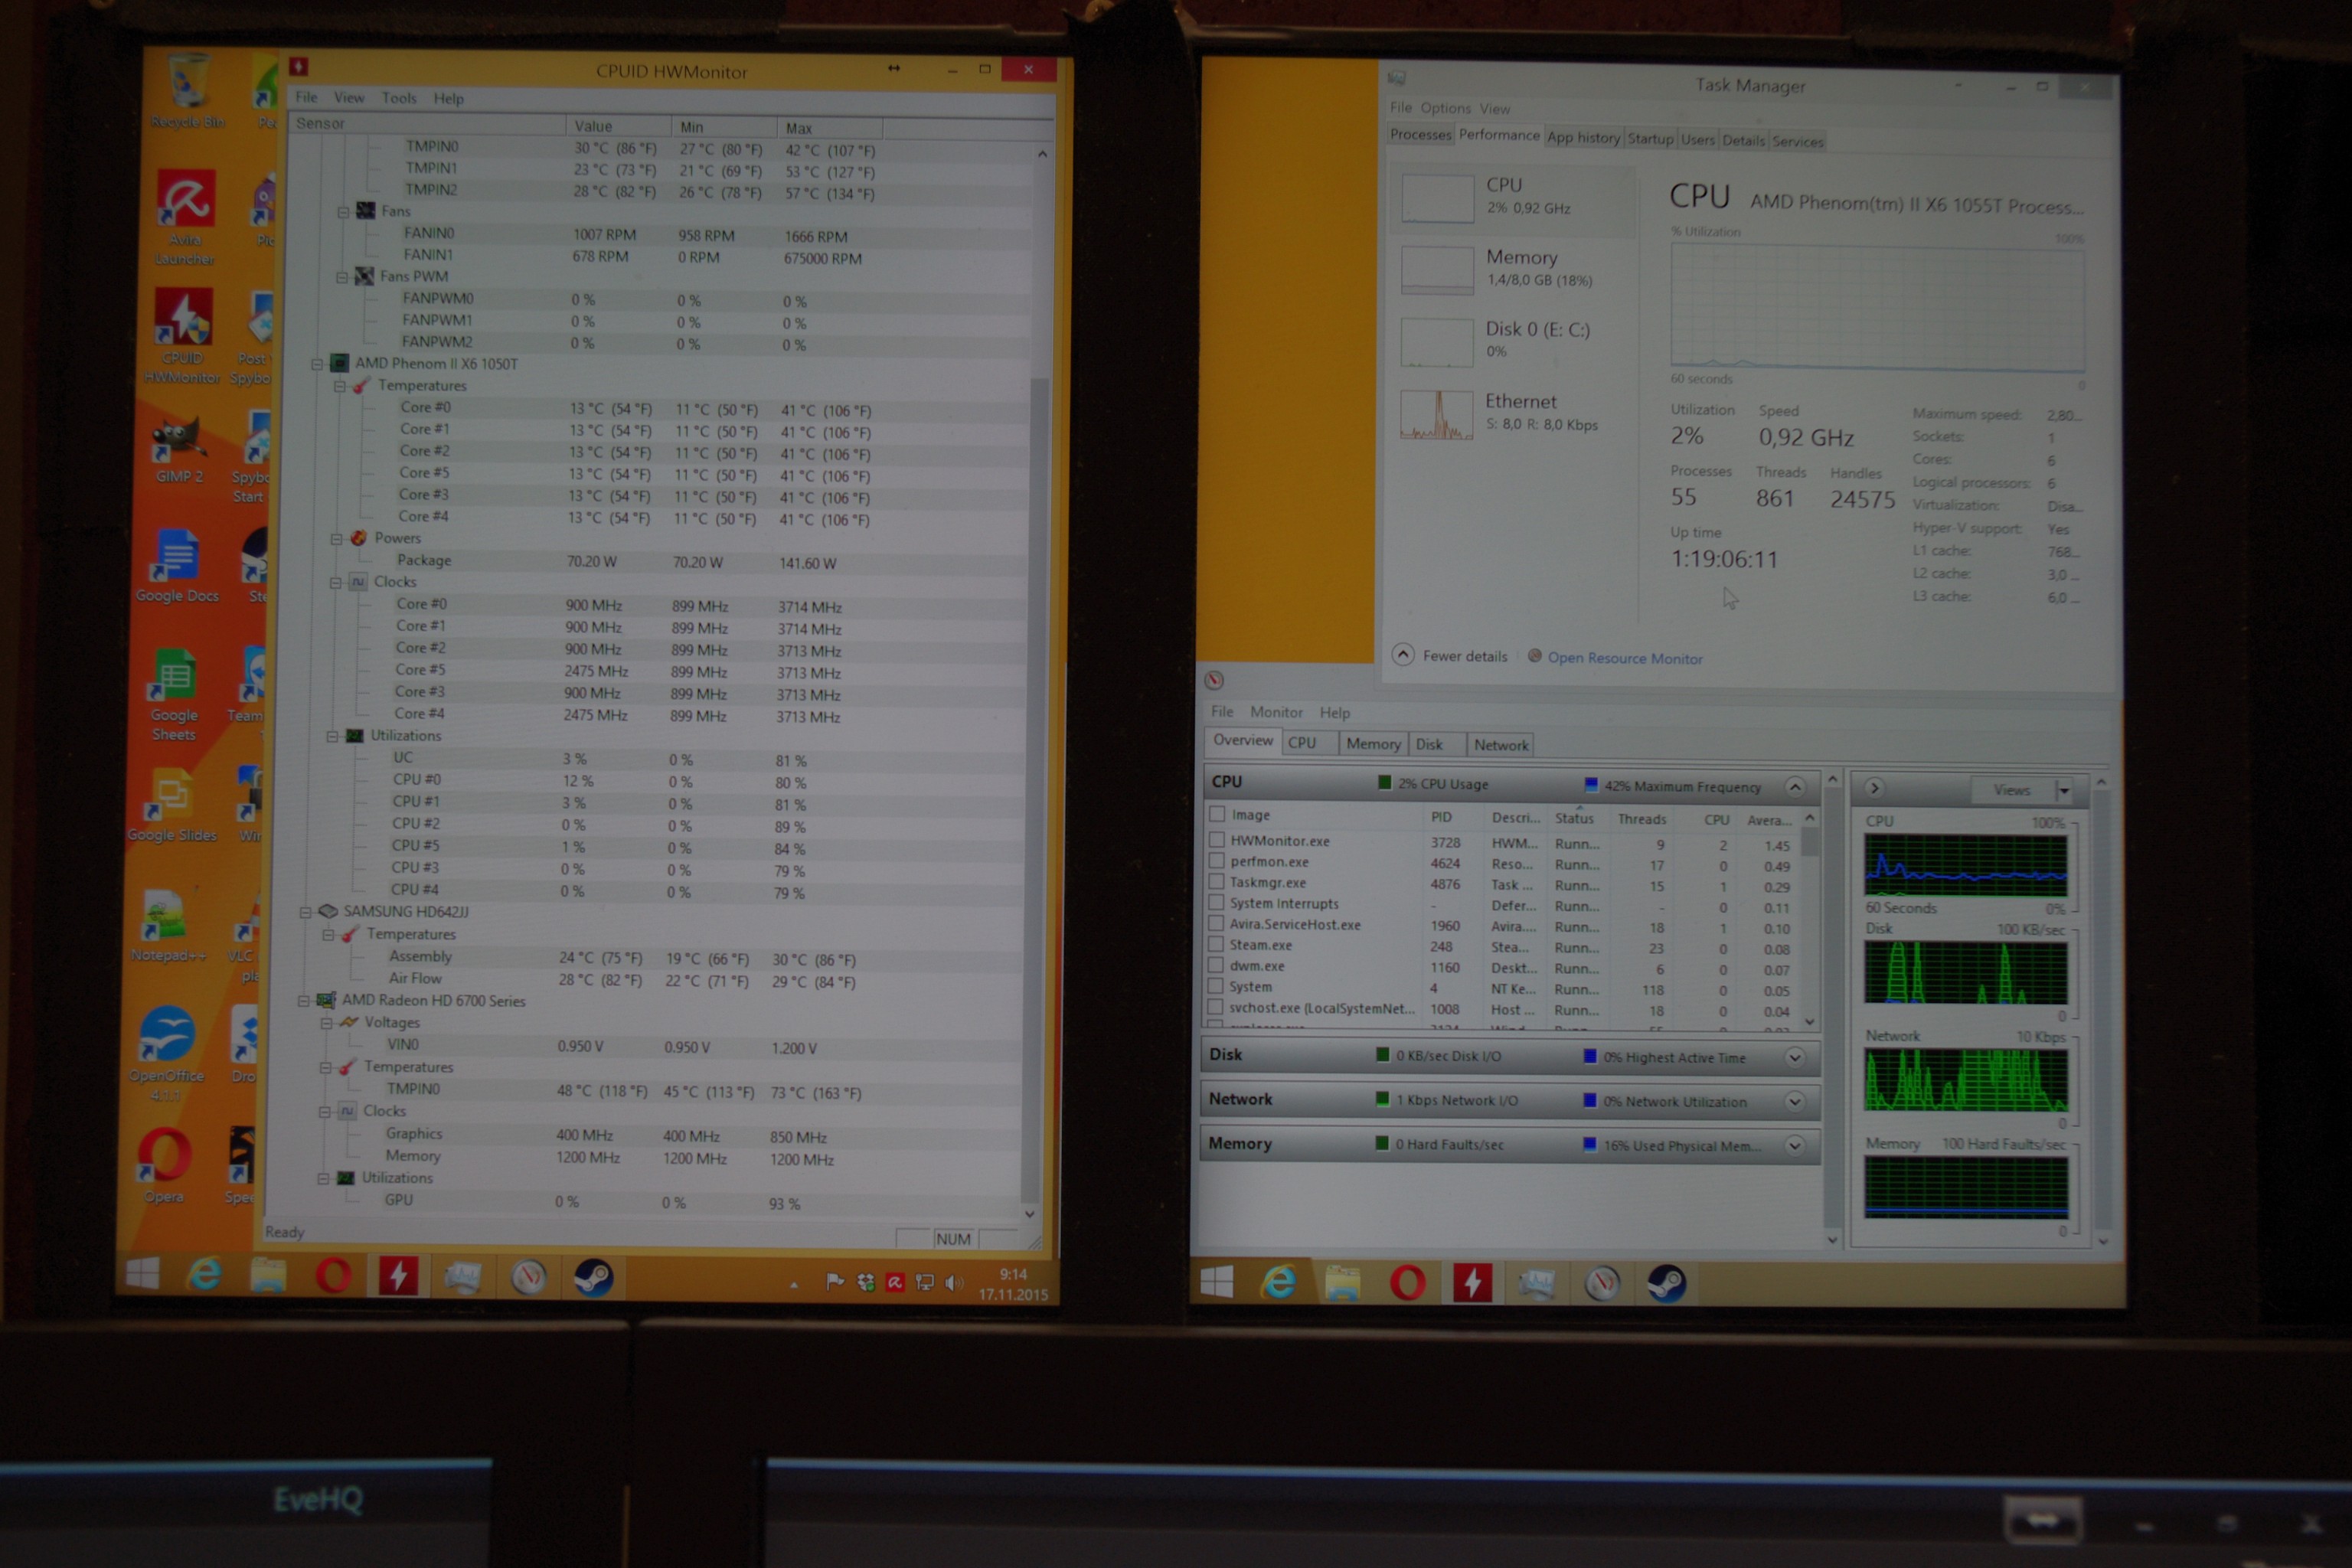
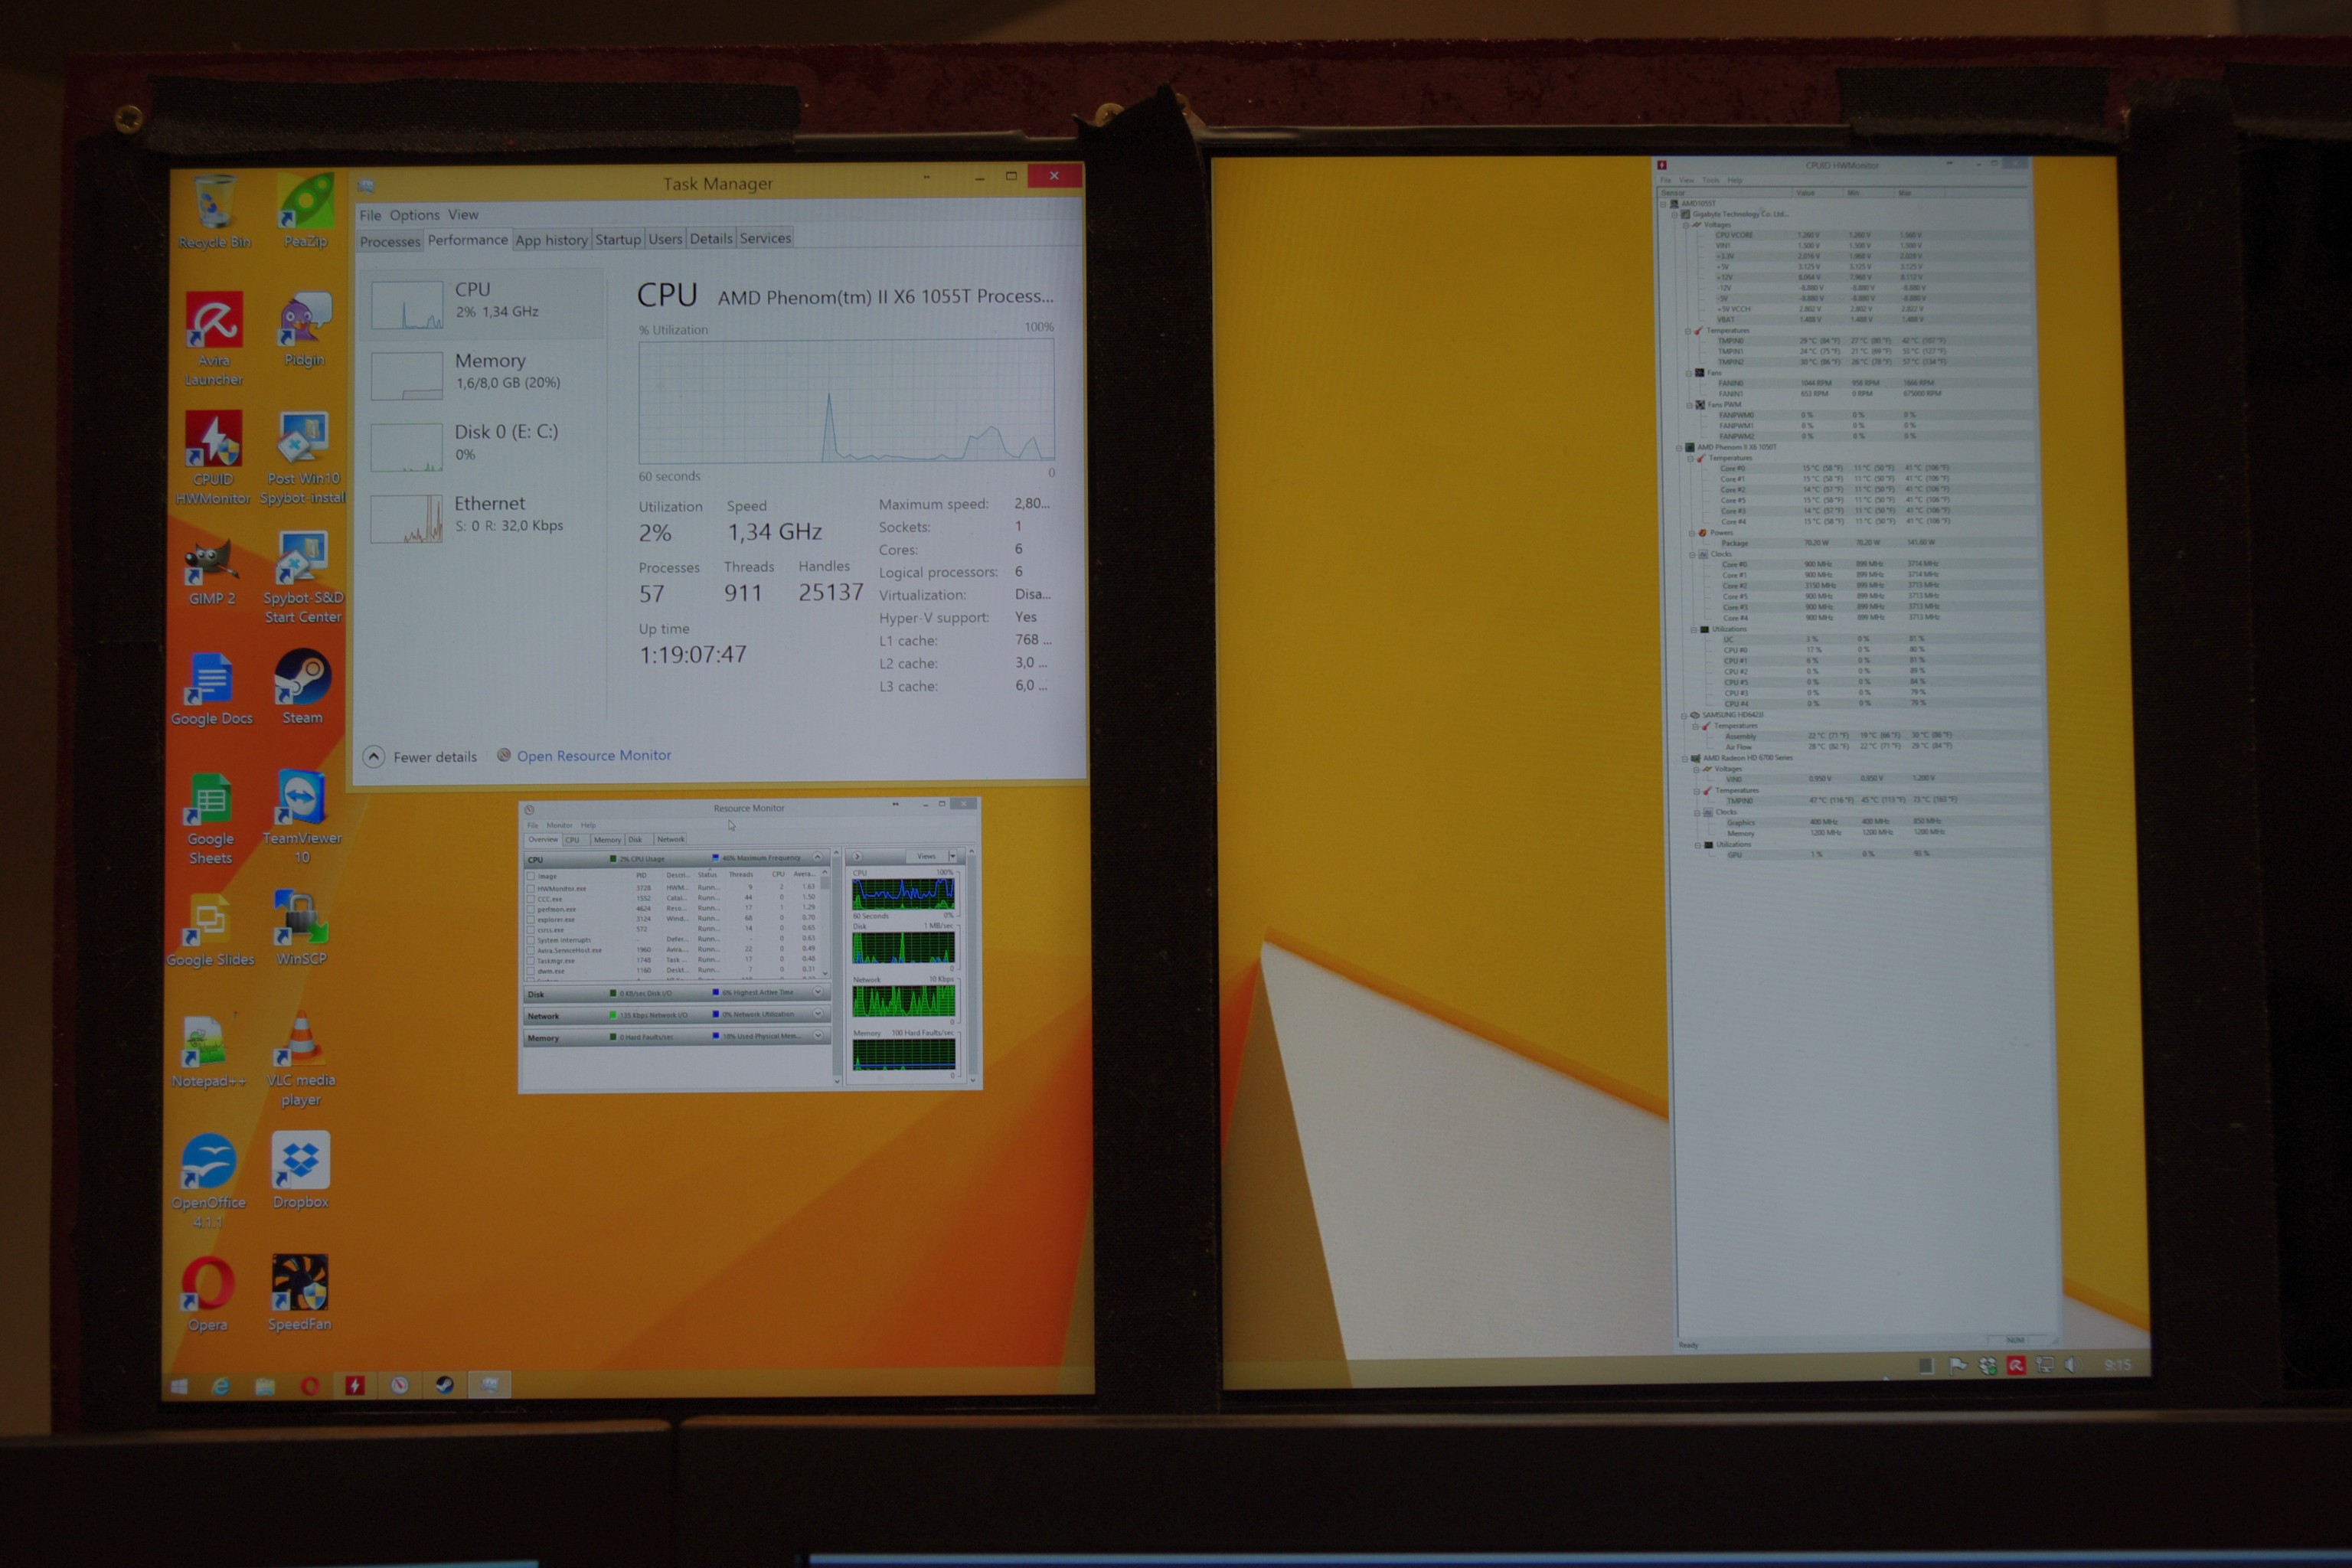
    Enabling Eyefinity "breaks" some windows scaling but remains for some others - example:

    As one can see the task manager itself is remaining in "retina" mode, however performance monitor and HWMonitor windows switch to use the real resolution (3000x1500 approximately).

    I am using at the moment just two screens because the controller board for the third one died somehow and I have not gotten around replacing it so far.

    Anyway - the message is that if using W8 these screens are usable even at normal distances if in "retina" mode (i.e., running at half resolutions in both dimensions). W8 "retina" mode is not perfect as there is still some minor scaling issues, especially with program icons but it seems to work very well for text which is pretty sharp and clear - even when compared to, for example, a 28'' 4K screen which is also pretty high dpi.

  • Couple more shots.

    Kert02/11/2015 at 10:04 0 comments

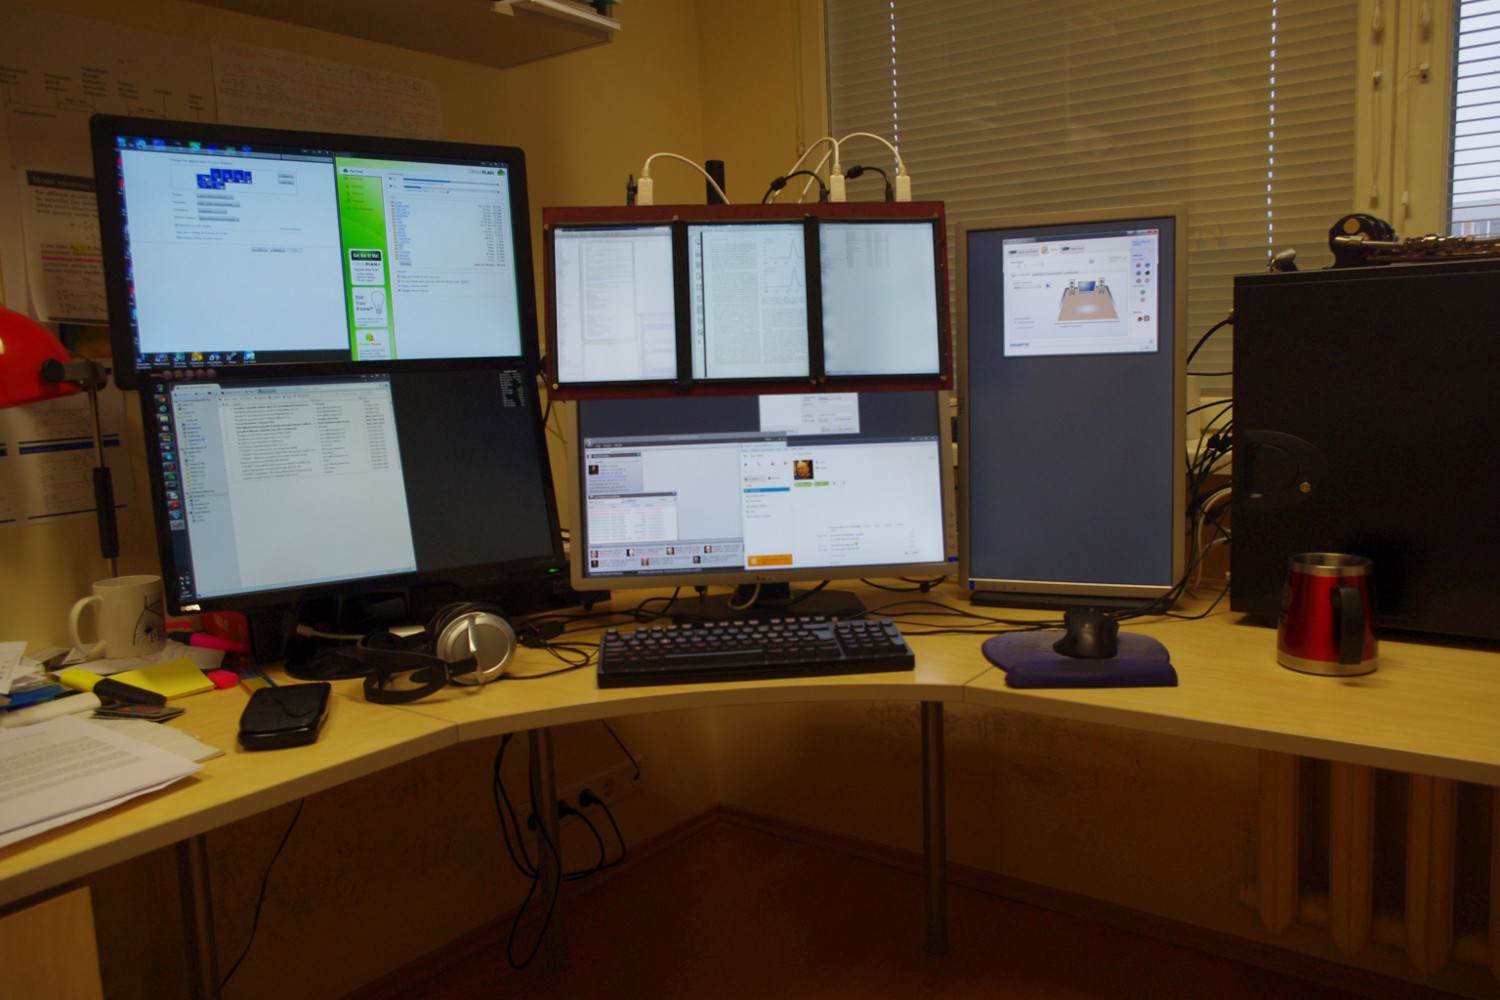
    I decided to add couple more shots from angles that are not presented well on the previous posts.

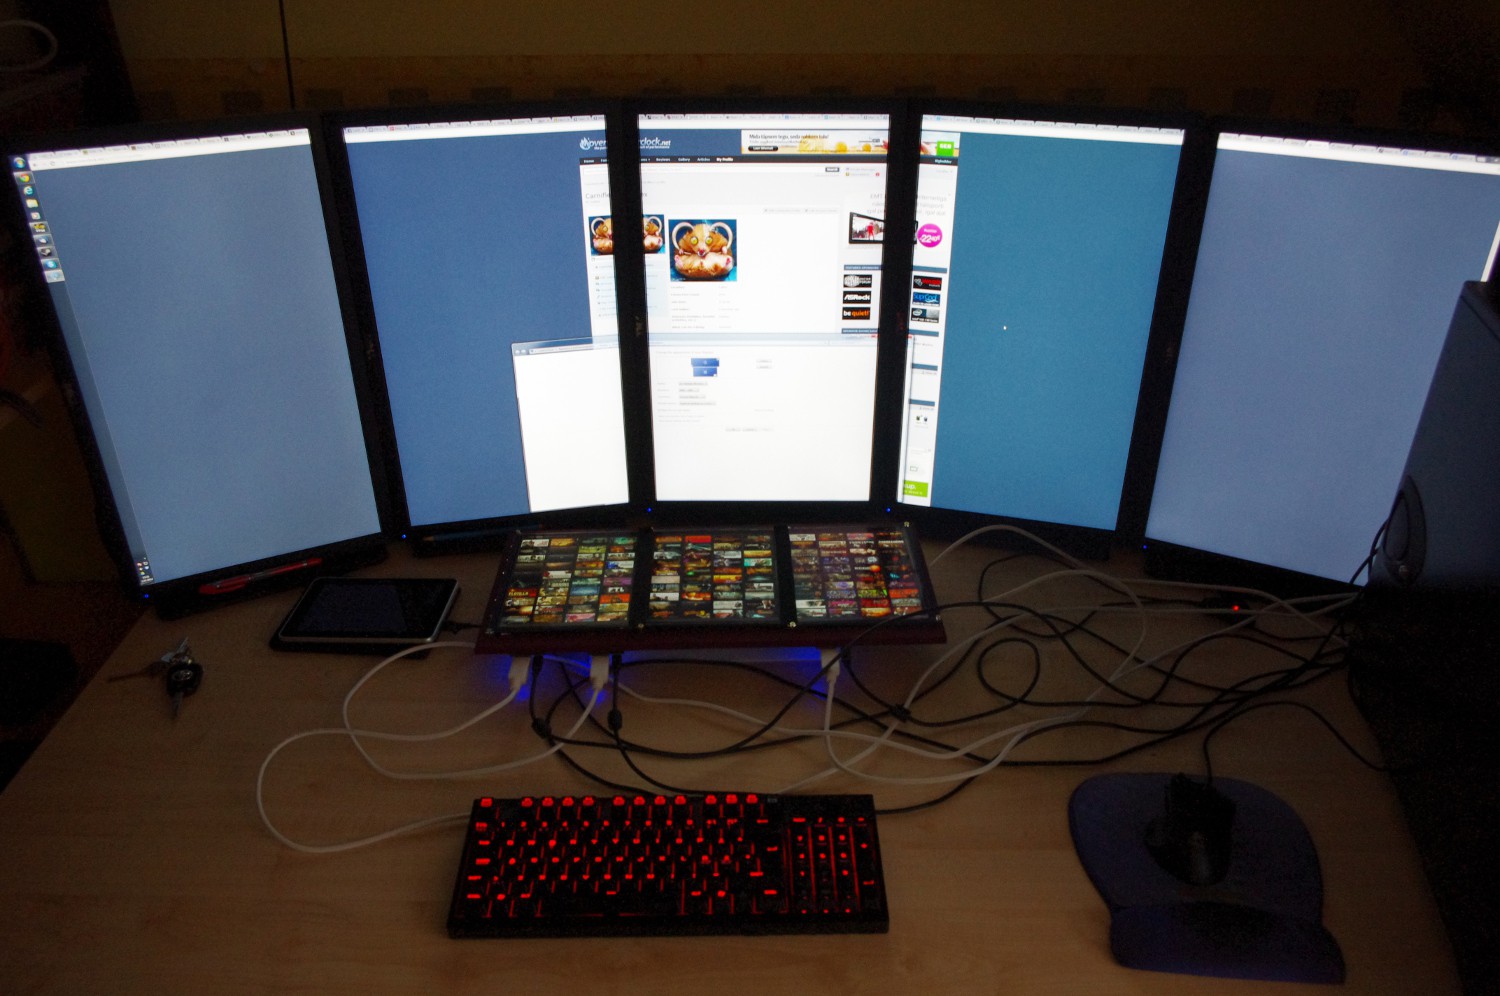
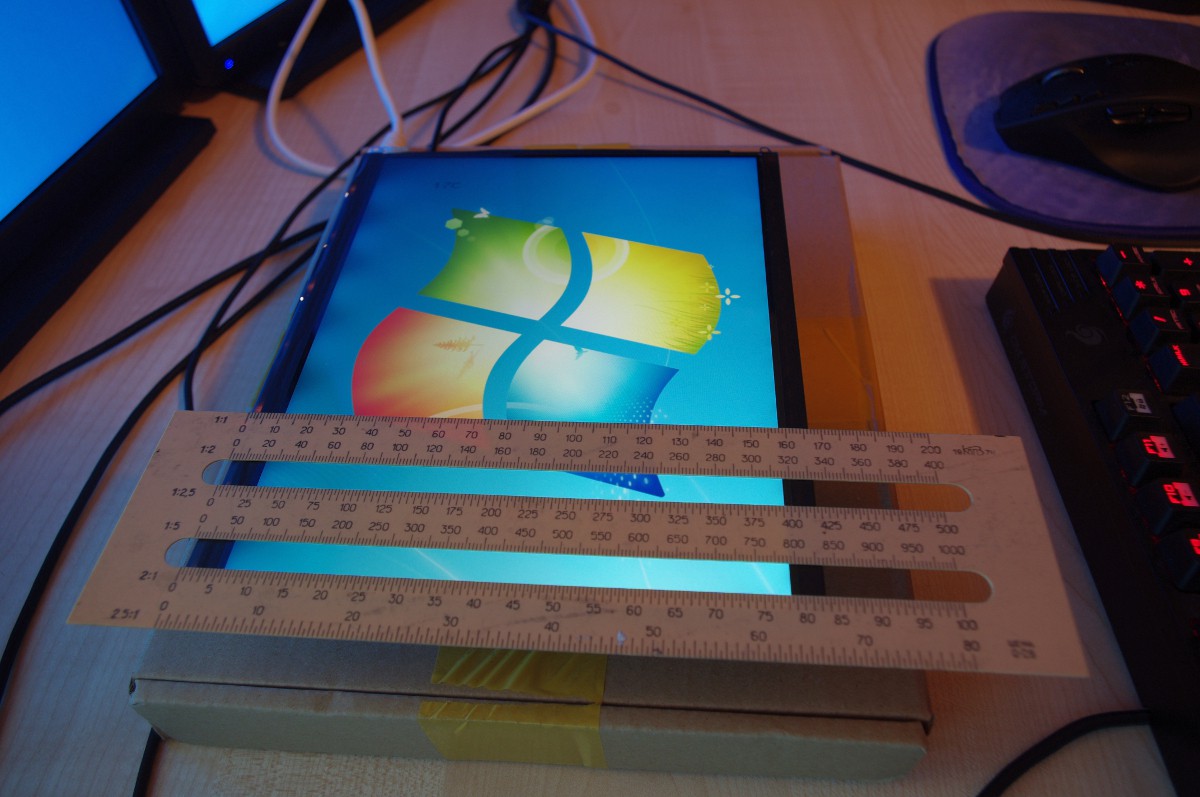
    Testing the screens after the initial assembly. Also for size comparison. 5x23'' at ~10 megapixels (~76'' diagonal) vs 3x9.7'' at ~ 9.5 megapixels (~20'' diagonal)

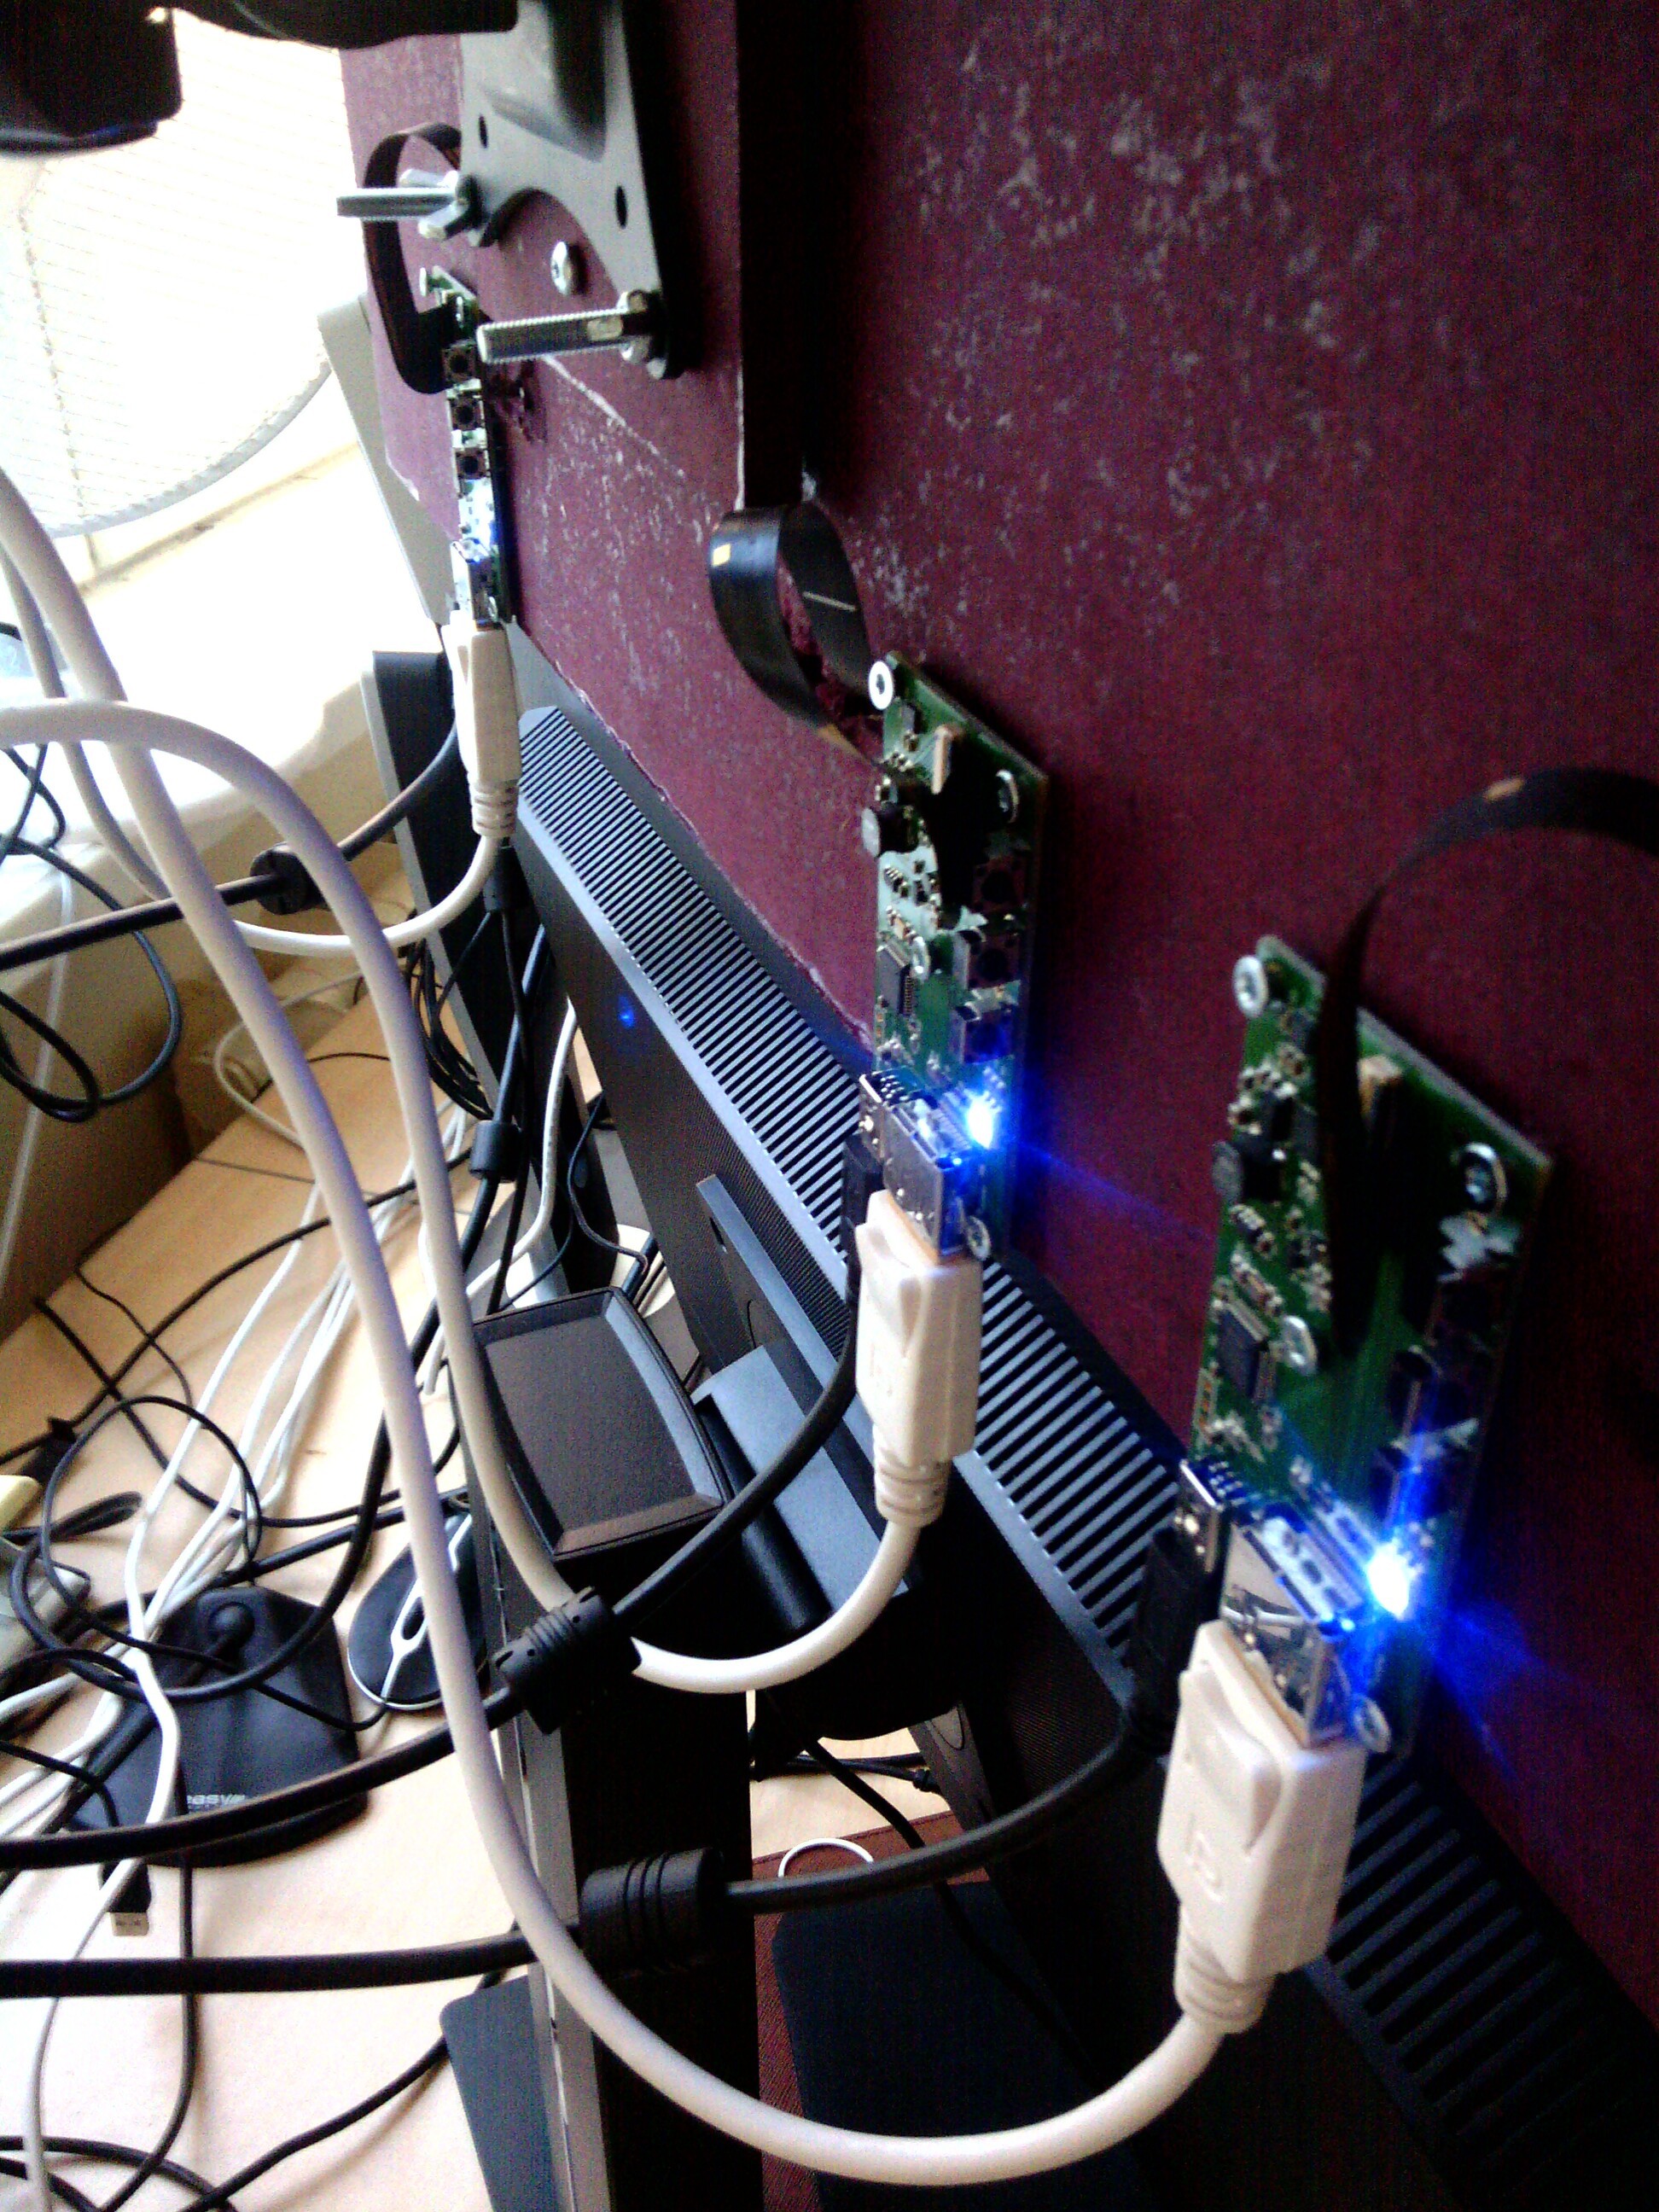
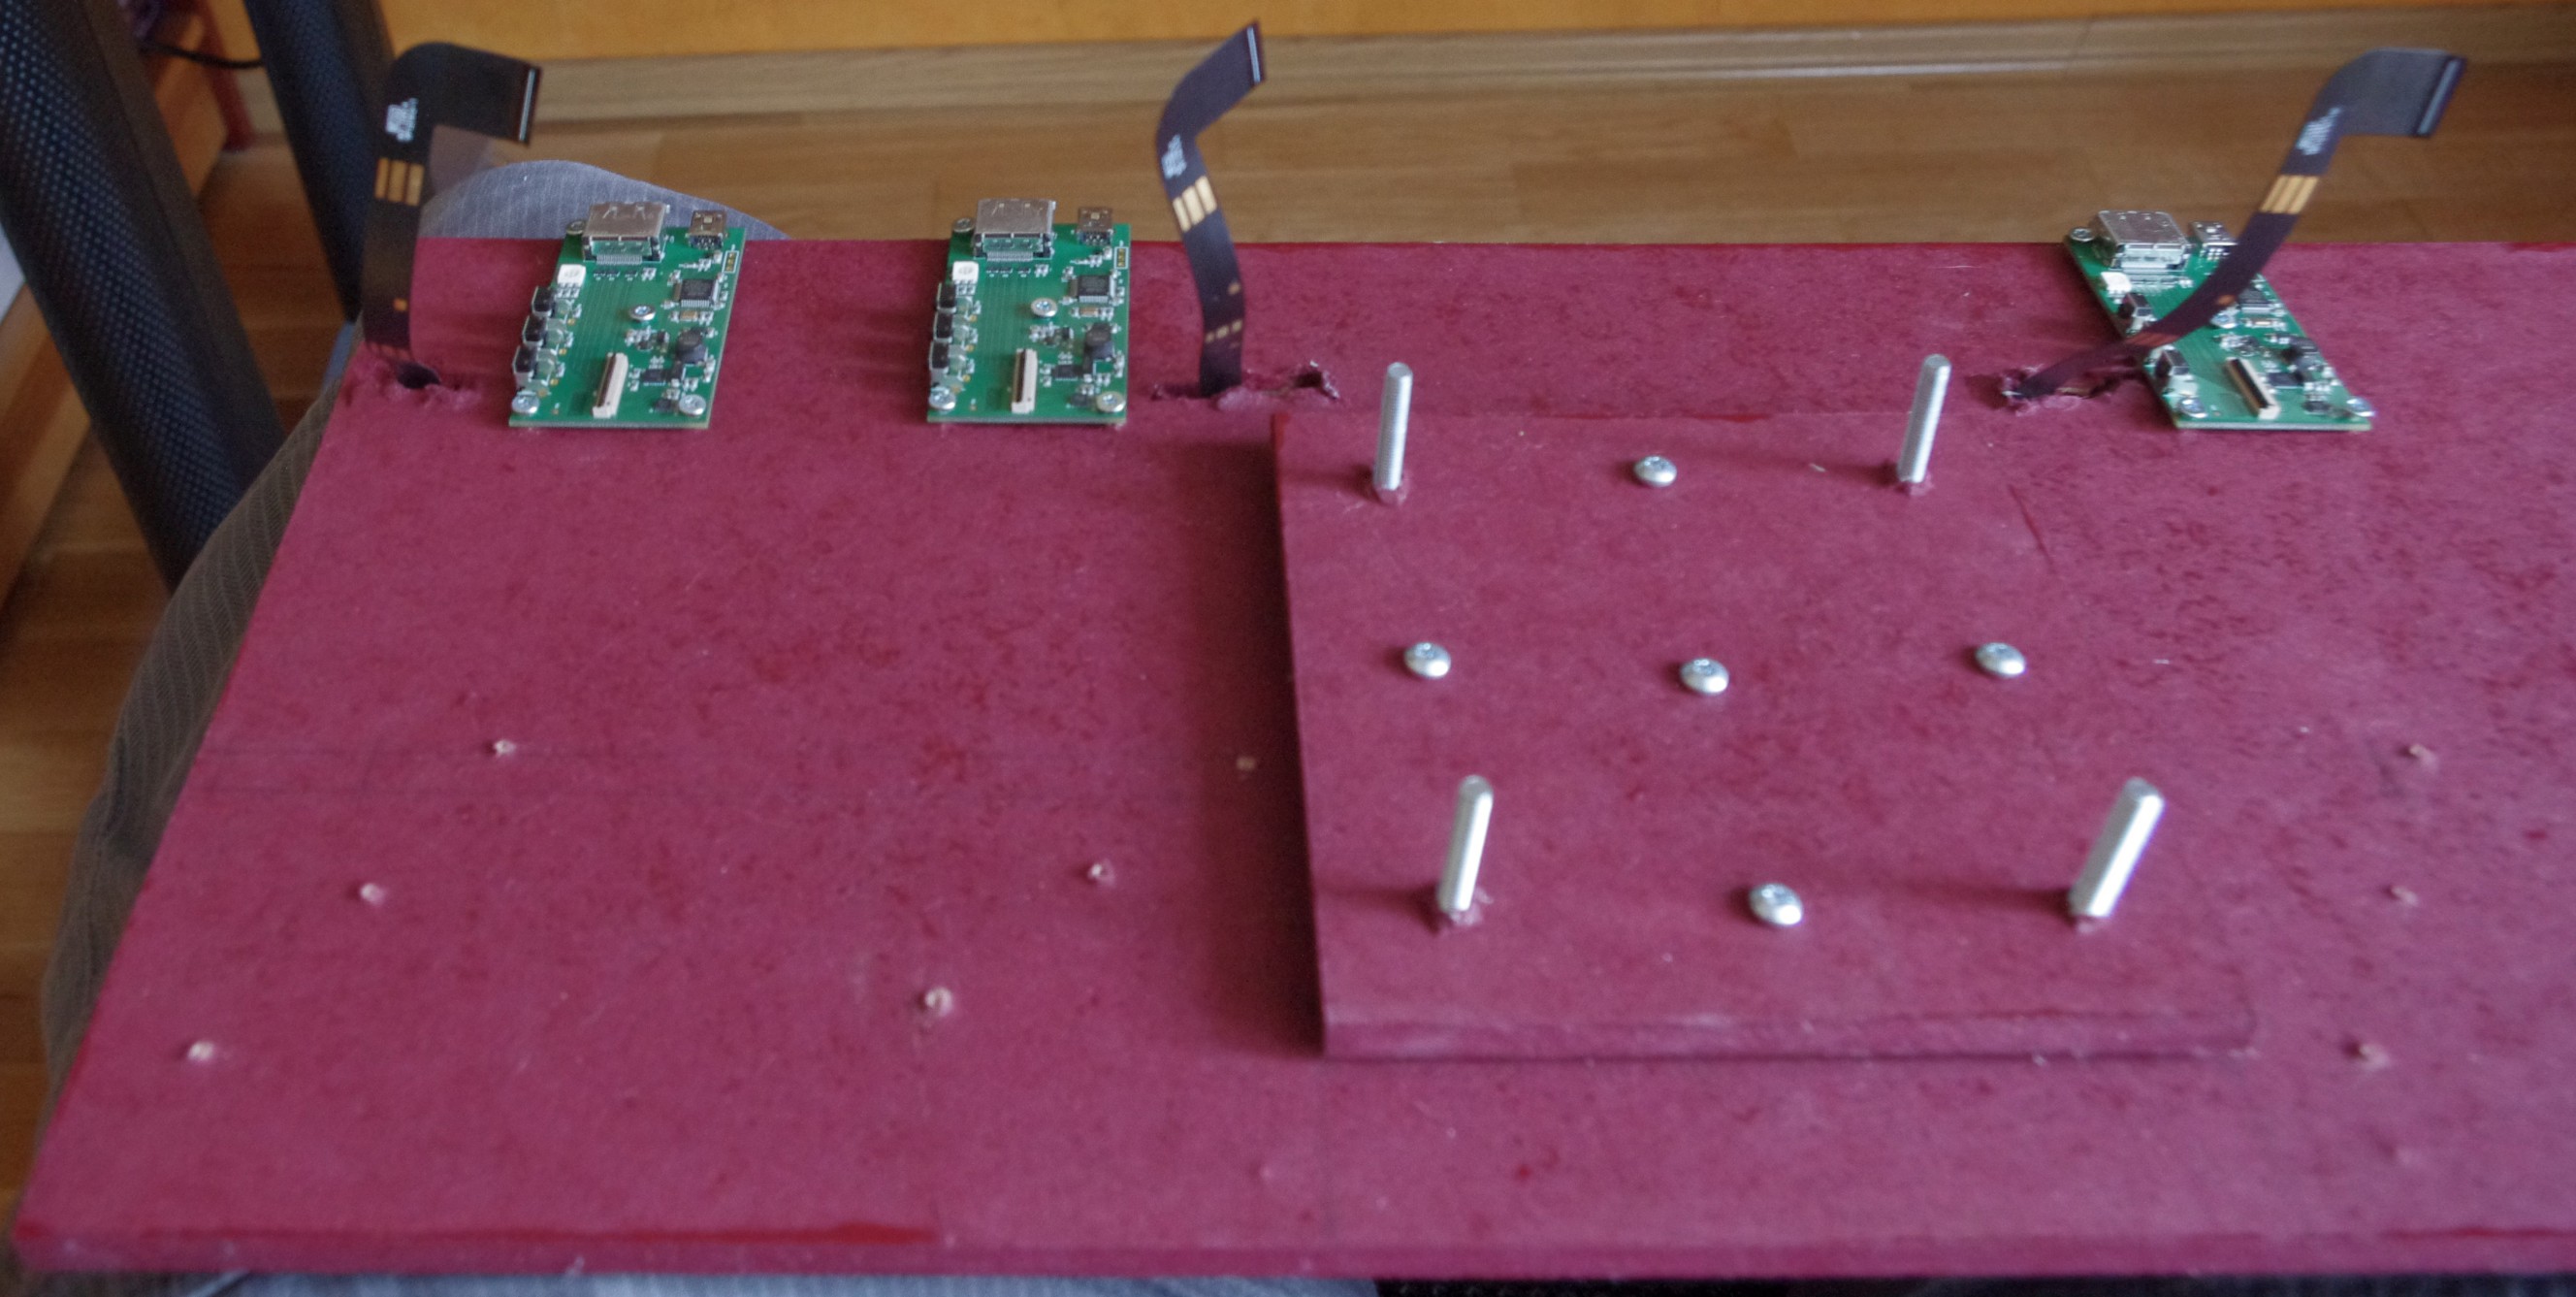
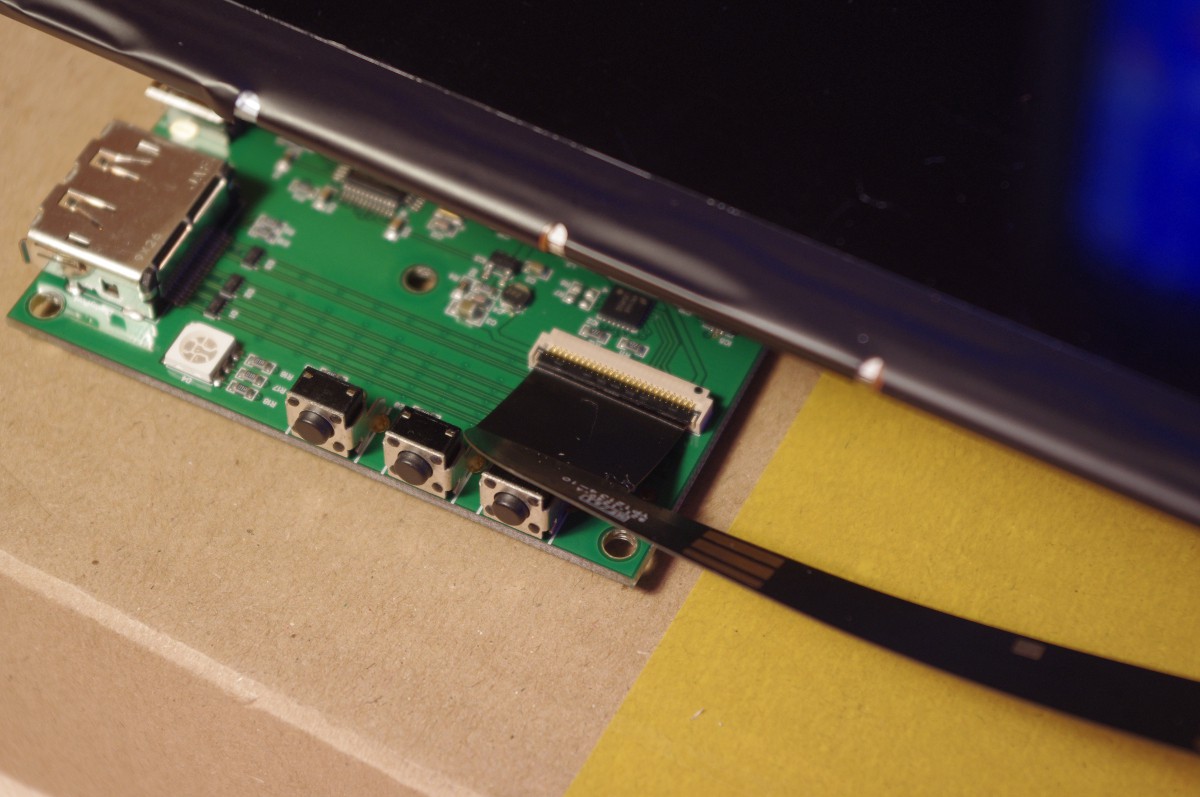
    The PCB's ended up installed in a bit inconvinient position so the ribbon cable is in a bad way but it works.

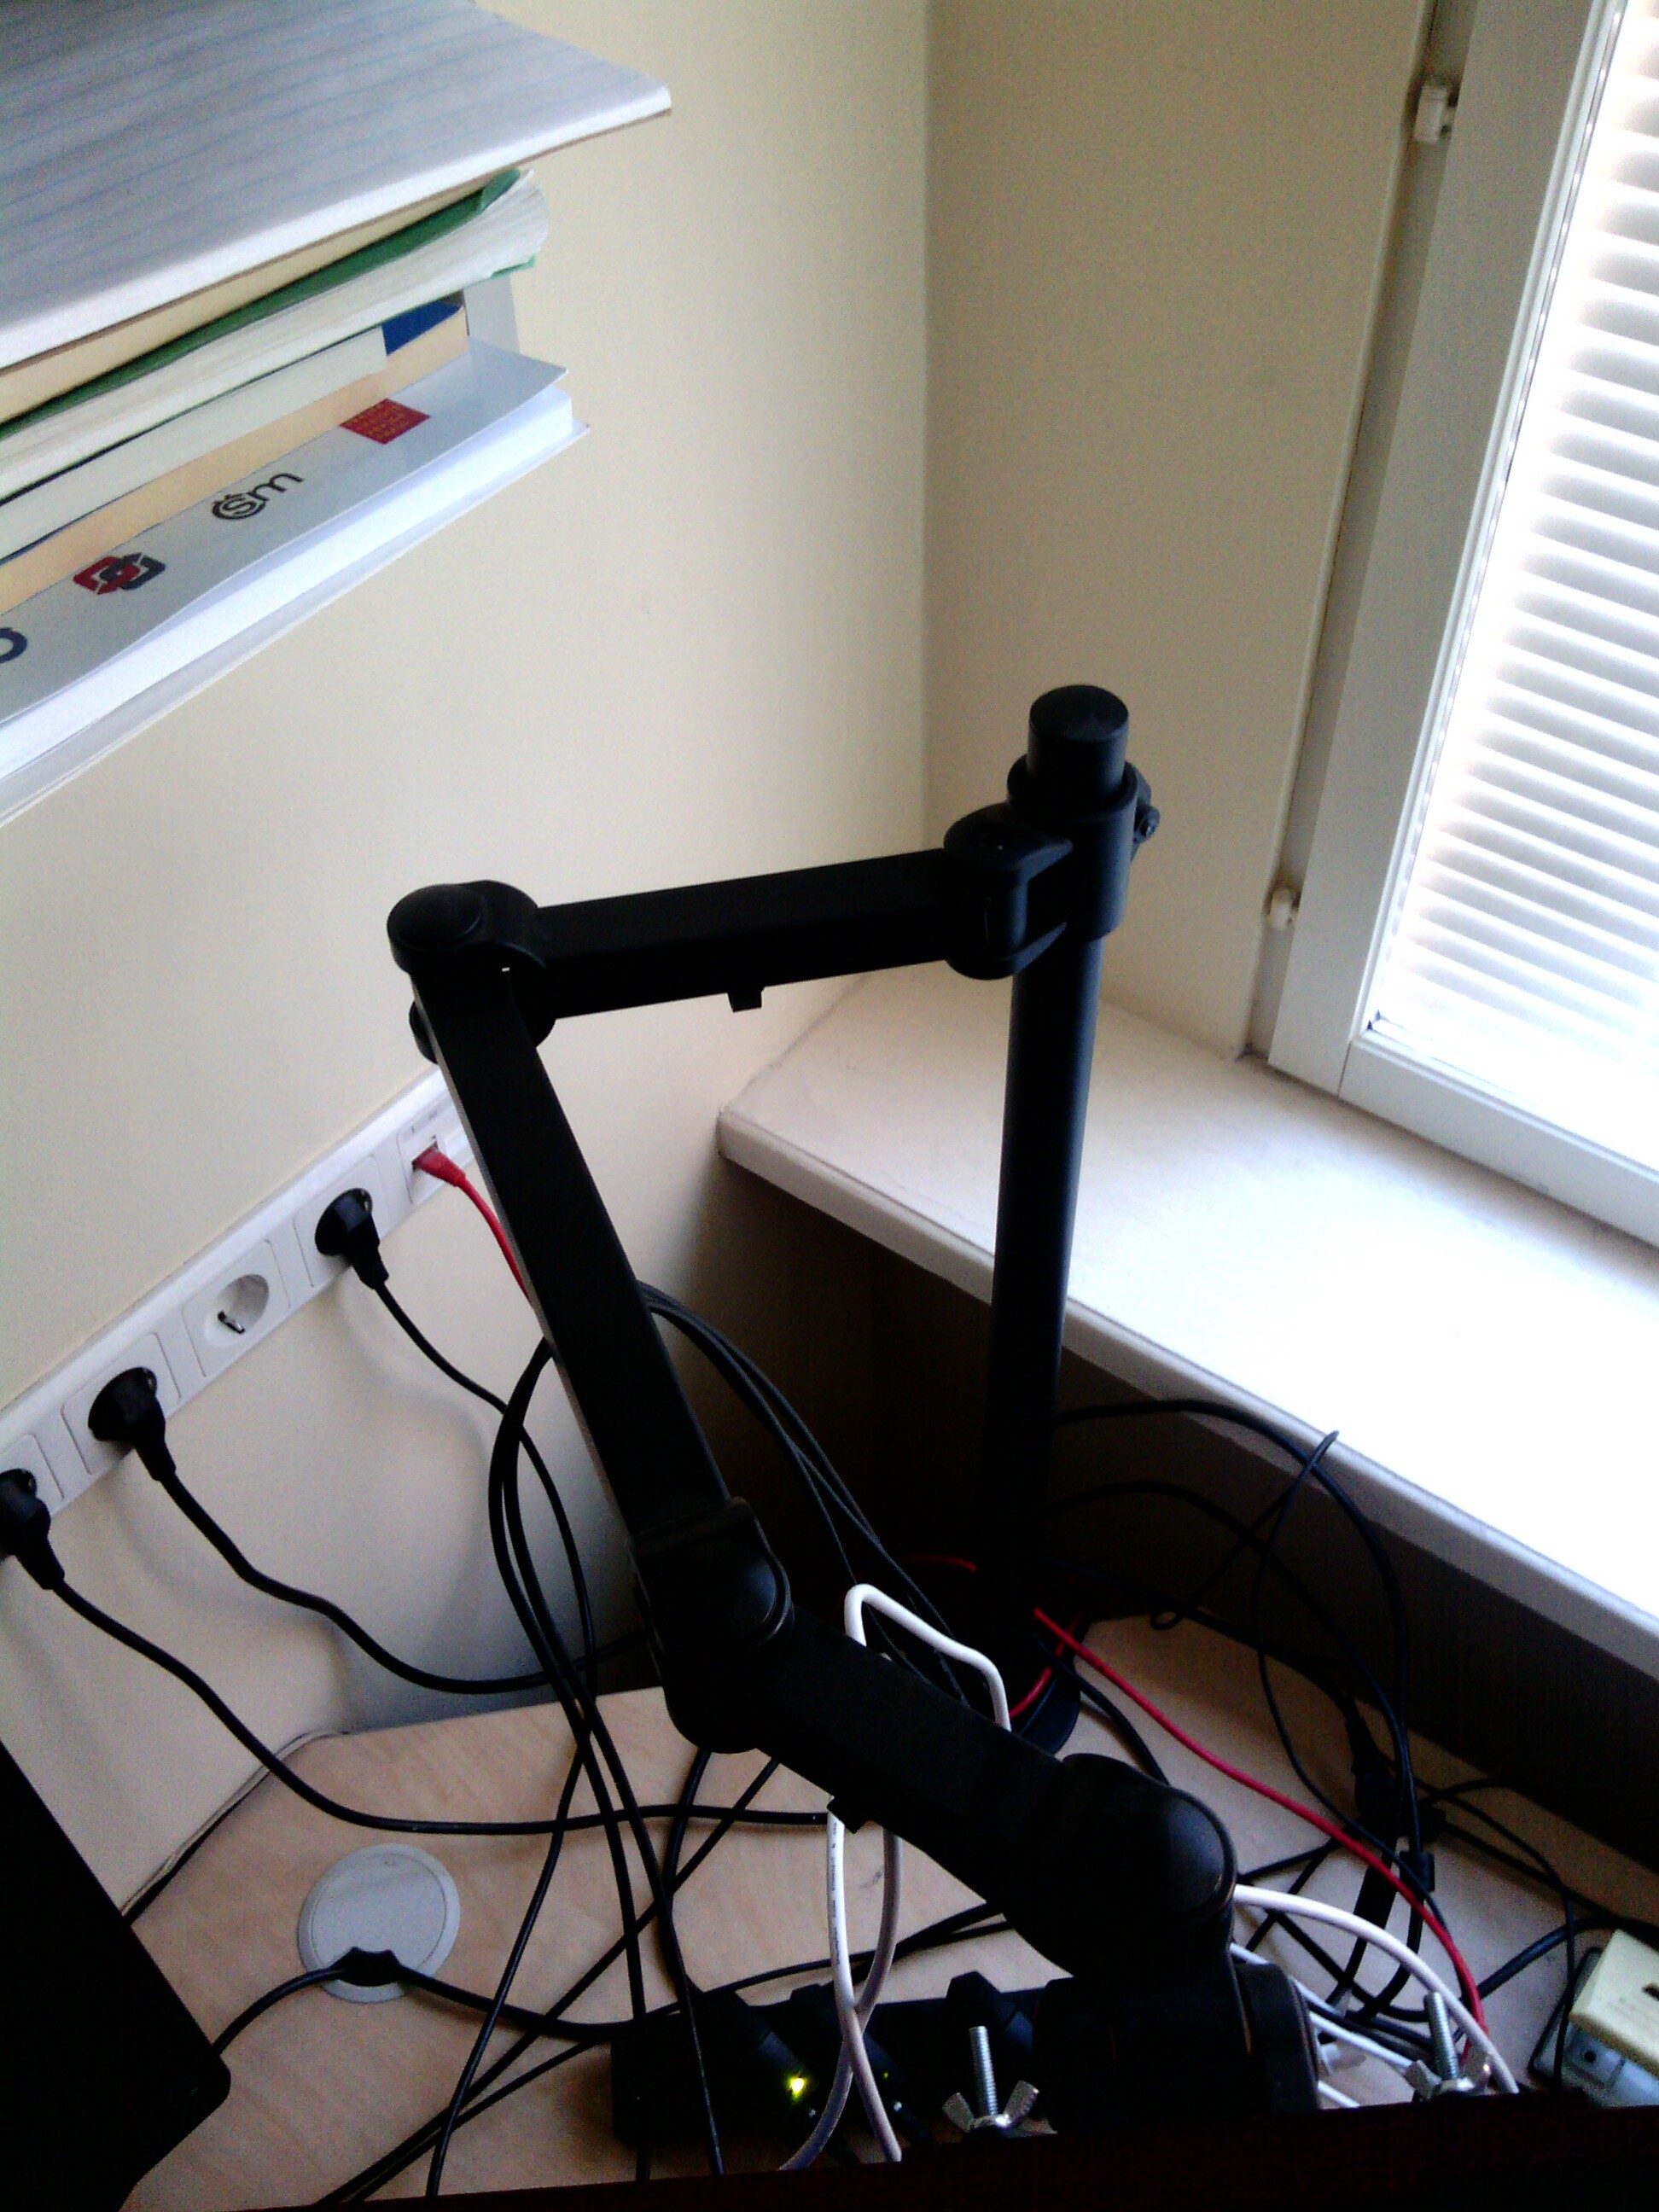
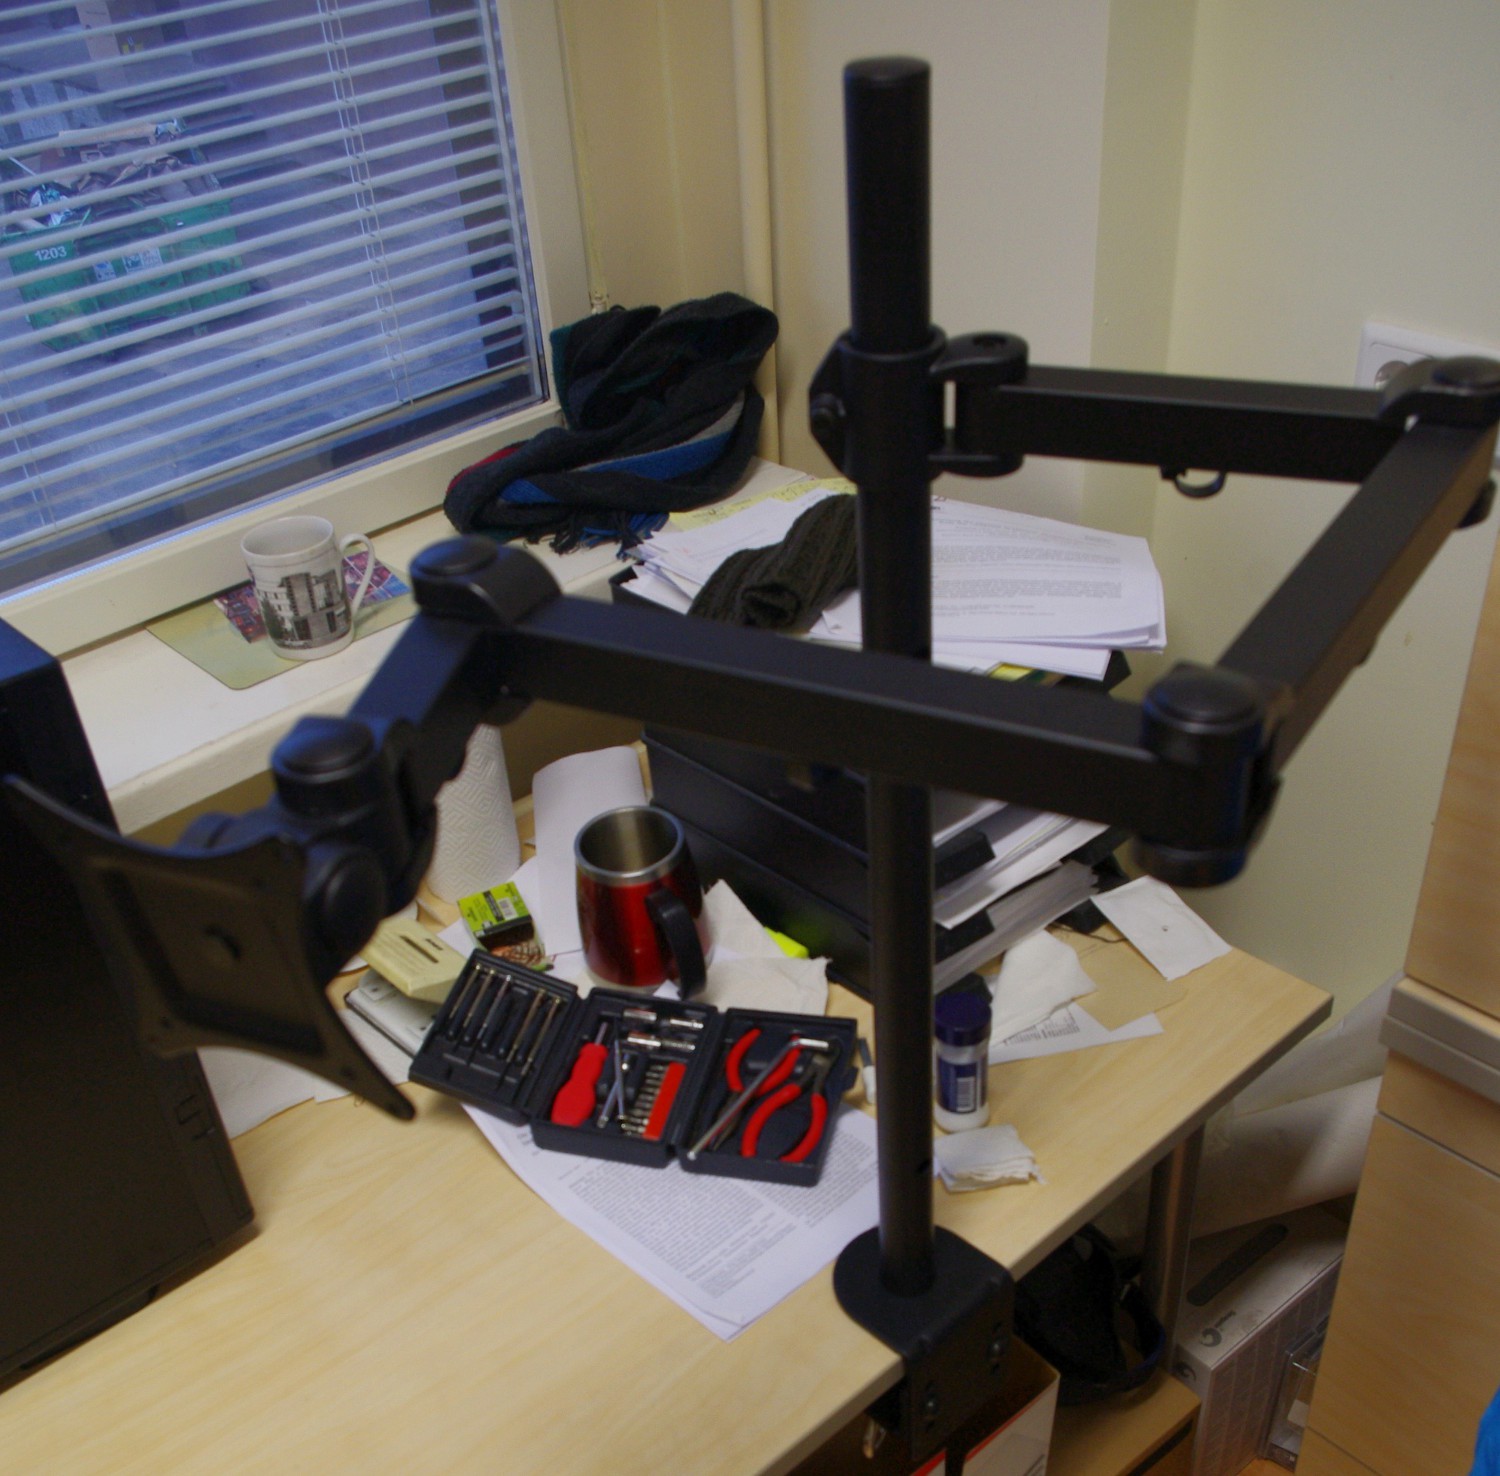
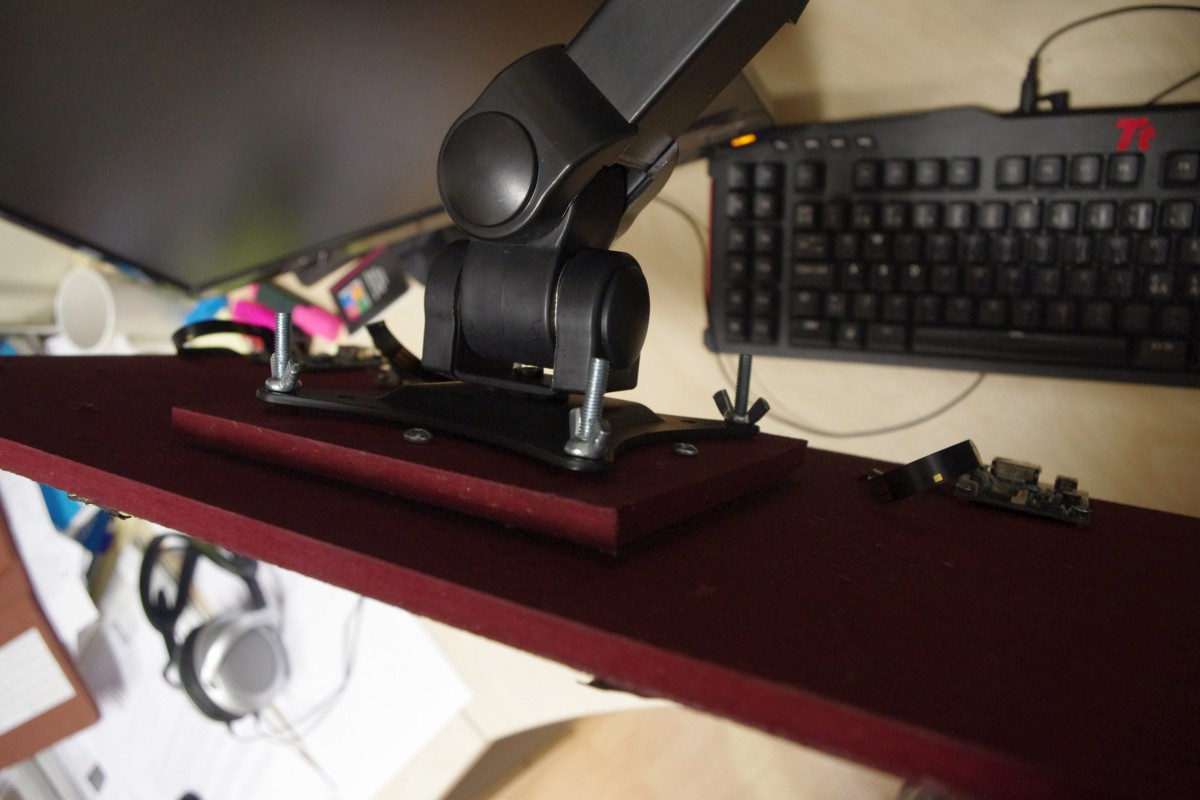
    That is the VESA stand in action. It has almost a meter of reach with the additional arm segments, however, I'm not using that much atm because of sitting now at more convinient distance from it.

  • How it feels to actually use these screens

    Kert02/11/2015 at 07:56 0 comments

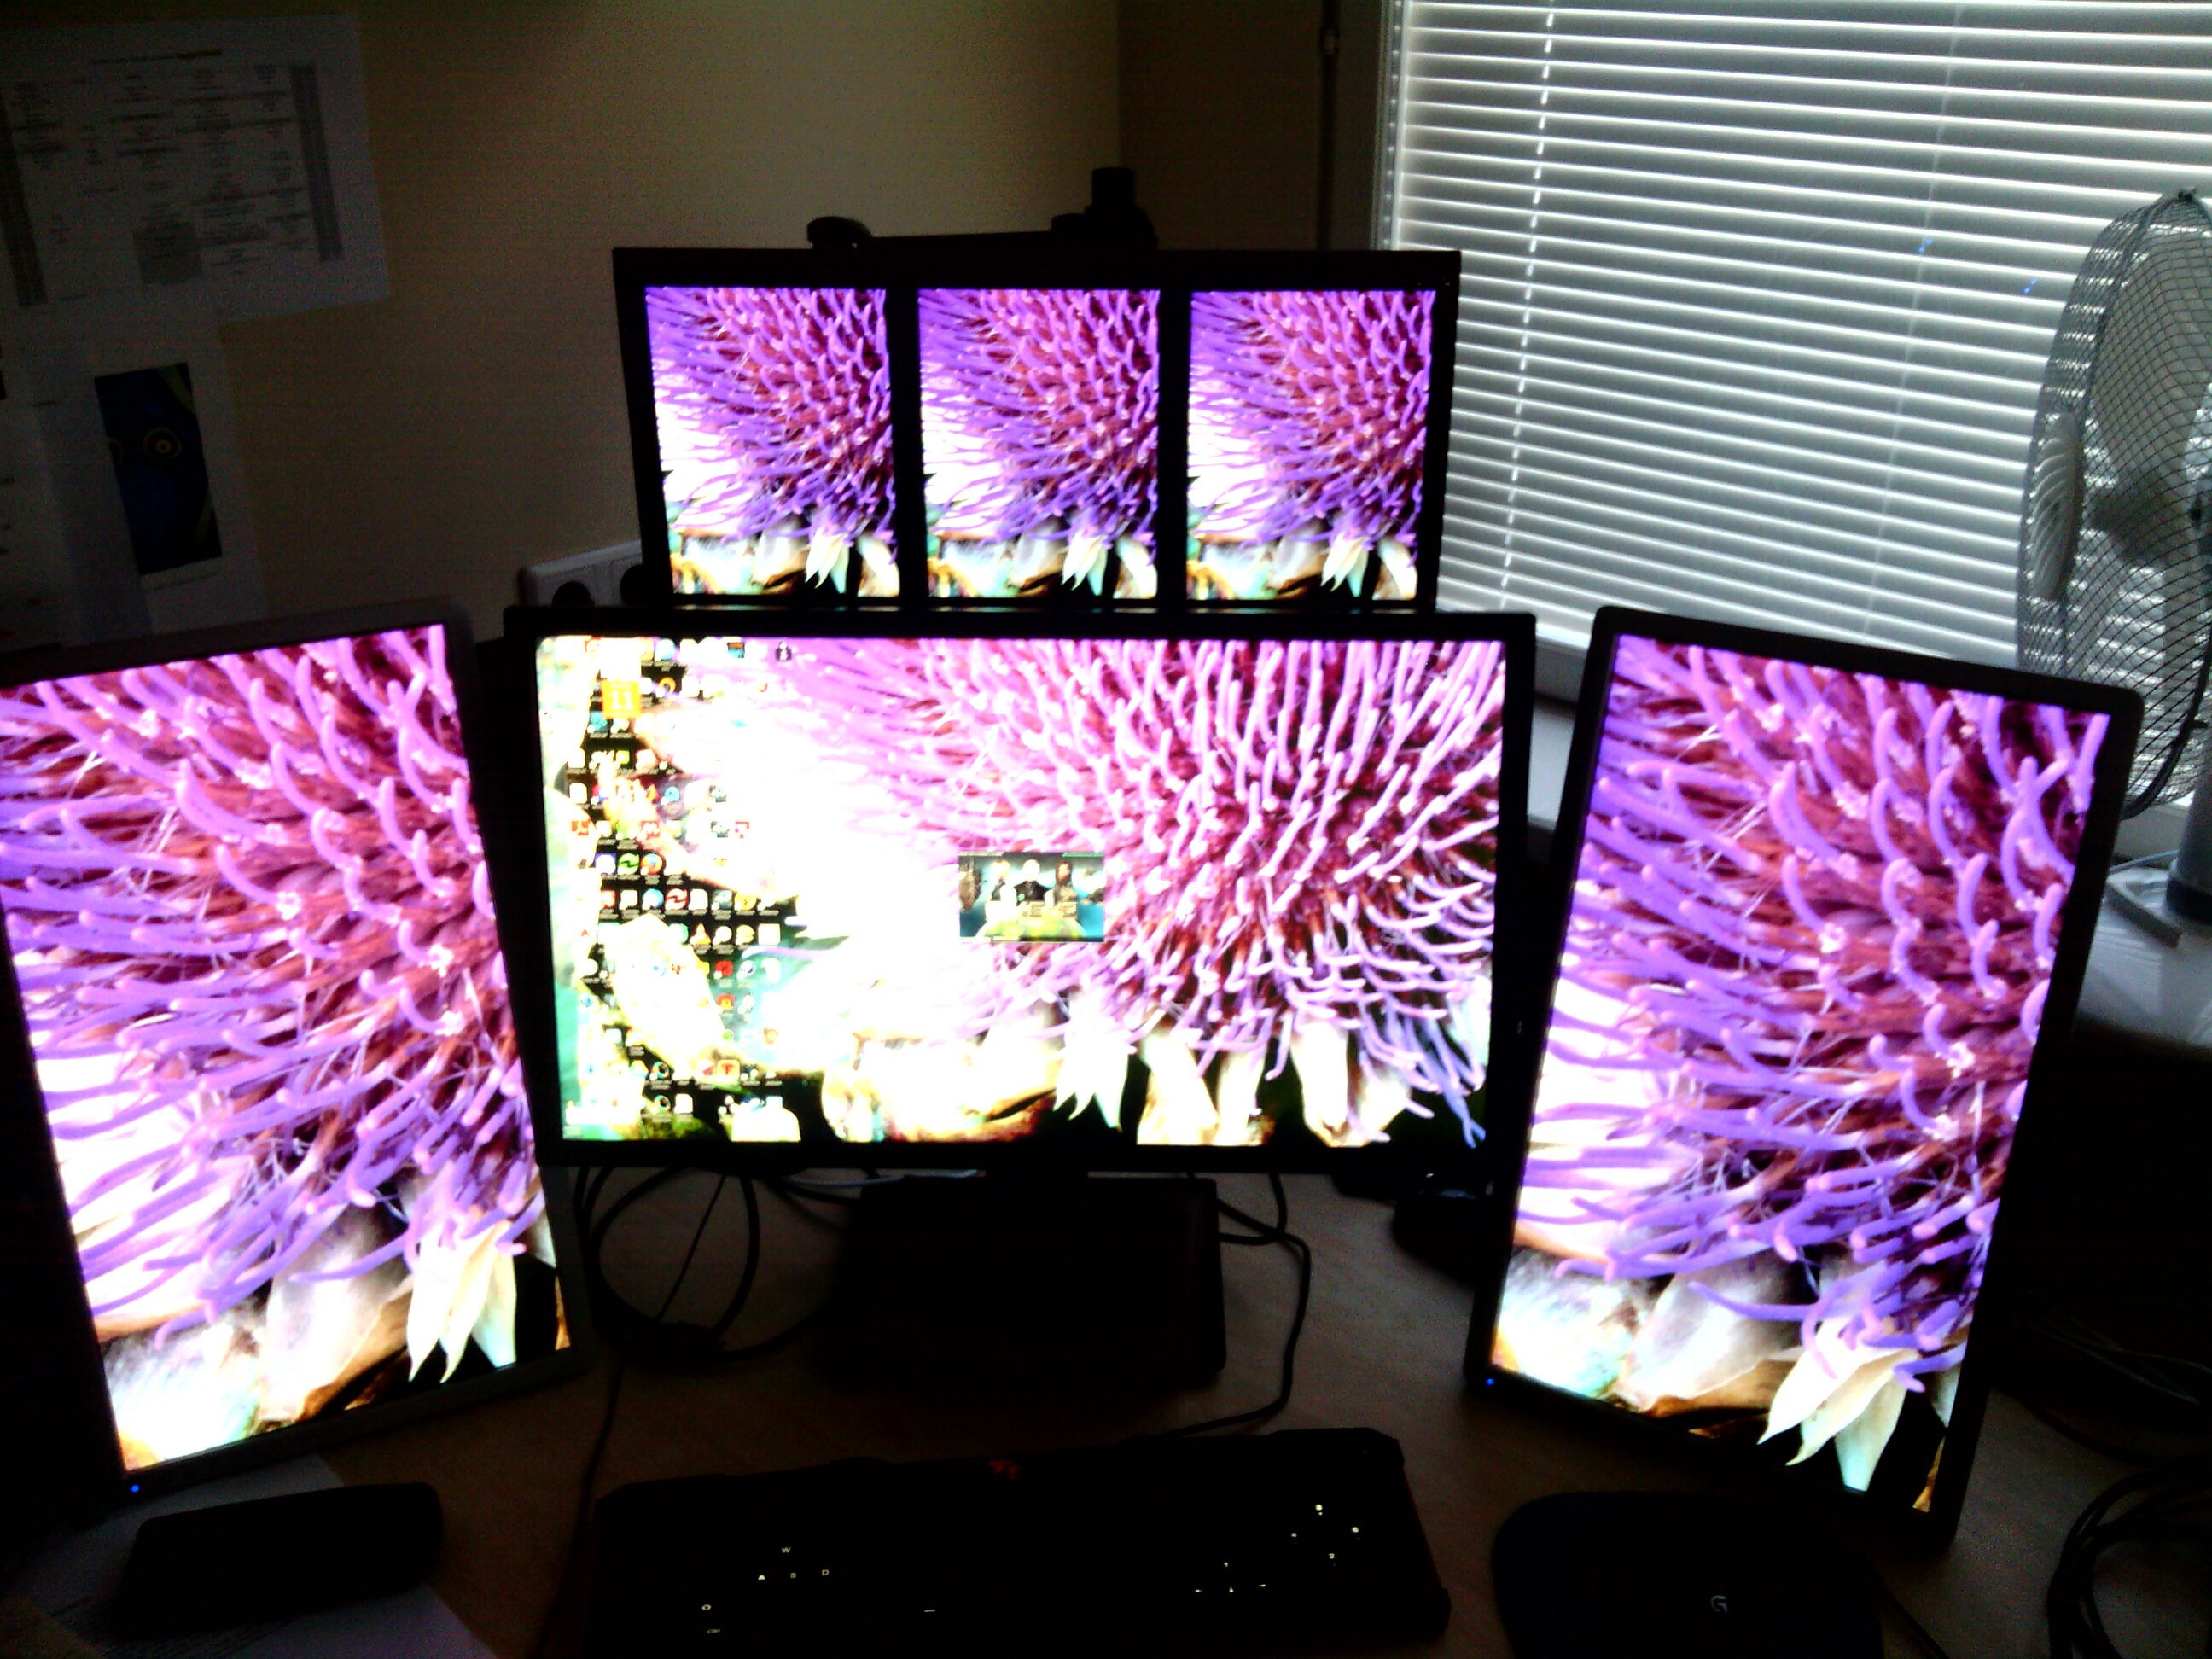
    In a nutshell - it really boils down to how you use them. What seems to work best for me after various arrangements of screens is this:

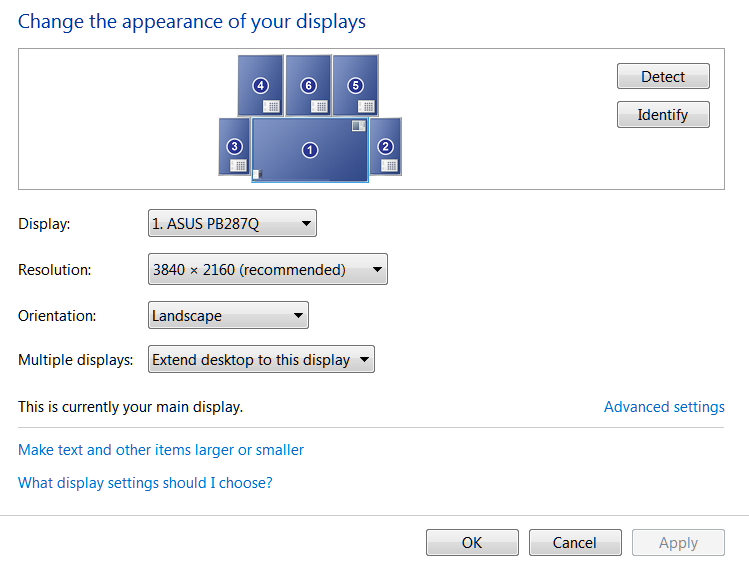
    The large screen in the middle is 28'' Asus 4K (PB287) [approx 160 ppi, about 8 megapixels] the screens at the sides in portrait are 23'' DELL IPS U2312HM [approx 110 ppi and about 2 megapixels] and obviously the little ones above are your truly - the ipad replacement parts [approx 265 ppi and about 9,5 megapixels altogehter]

    I should note that my workstation has quite a number of displayports at it's disposal although this particular setup could get away with something as low as four of them (three if you use multi stream transport hubs) and two legacy connectors. I have three graphics cards, a 7950 FleX edition driving the 4K over DP and DELLS with legacy connectors and a Club3D 7870 Eyefinity 6 card driving the ipad screens. In addition I have a XFX 6770 Eyefinity 5 card sitting idle most of the time - just because it would be quite a hassle to take it out (Water cooling would mean to have to redo the loop).

    So what I was doing with them previously and what do I think of it.

    Shortly - I used it as my primary screen for about a half a year trying various different arrangements of auxiliary screens around it. The results are .. well .. mixed. When they are suitable for a task at hand the experience is rather awesome, all these pixels in your face, all the information you can access with just a slight eye movement. Quite an improvement for productivity - however - in my experience the advantages of additional screens start getting diminishing returns after about third screen or so.

    Main downfall of that setup was ergonomics. If you sit with these screens in your face for 6+ hours (my distance was between 30 and 40 cm from the eyes) you will start noticing the eye strain. Few times it was so bad that after 10+ h particularly intensive days my left eye was seeing black spots. The new arrangement with these as auxiliary screens works much better. As an added note - DO NOT put your primary screen or anything you need to make more use than occasional glance higher than your eye level when you sit with straight back - I tried it a long while ago for a little bit with different screens and the experience is not a good one.

    After about 6 months I was starting to get a bit worried about the eyestrain and I had developed a more or less consistent mild headic so I asked for additional hardware budget from my employer and got a 4K screen for the primary screen. (That is a longer story why I'm using these at work instead of home but in a nutshell wife was not particularly understanding if I wanted to erect something with exposed powered on PCB's to have 3 additional screens as I already have 5 of these 23'' DELLs on my desk at home and have a small kid and cats)

    So what would be the conclusion. It is awesome for stuff that scales well (I am using it mostly atm to throw up there papers or figures to glance at when I write my papers or analyse results) and painful when it does not scale well (say, trying to make use of some menu that does not support any scaling at all in some program). I must also add that when I started this project the 4K screens were costing arm and leg plus kidney - with the introduction of affordable 4K screens I would probably not start this kind of project today unless I would have a specific need for ~10'' high resolution screen for something. For a PC it would cost about the same to get the cheapest 4k instead.

    Oh - one more thing which I have already mentioned. If you plan to use something like that as your primary screen you need a damn good stand to put it in your face.

    What next ... well ... would it not be interesting to build a projector out of these ... I have not built a projector before so it would be certainly be interesting project. I will think about it - perhaps one day.

  • Moar screens!11!

    Kert02/09/2015 at 20:24 0 comments

    As I noted somewhere earlier the idea was to go for 3x1 portrait eyefinity. Well .. to be honest the initial plan was to go for 5x1 portrait eyefinity but after I played around with 3x1 portrait with these screens I decided to stop there. These screens at ~40 cm from my face already filled by field of vision more or less completely. Anyway .. so more screens...

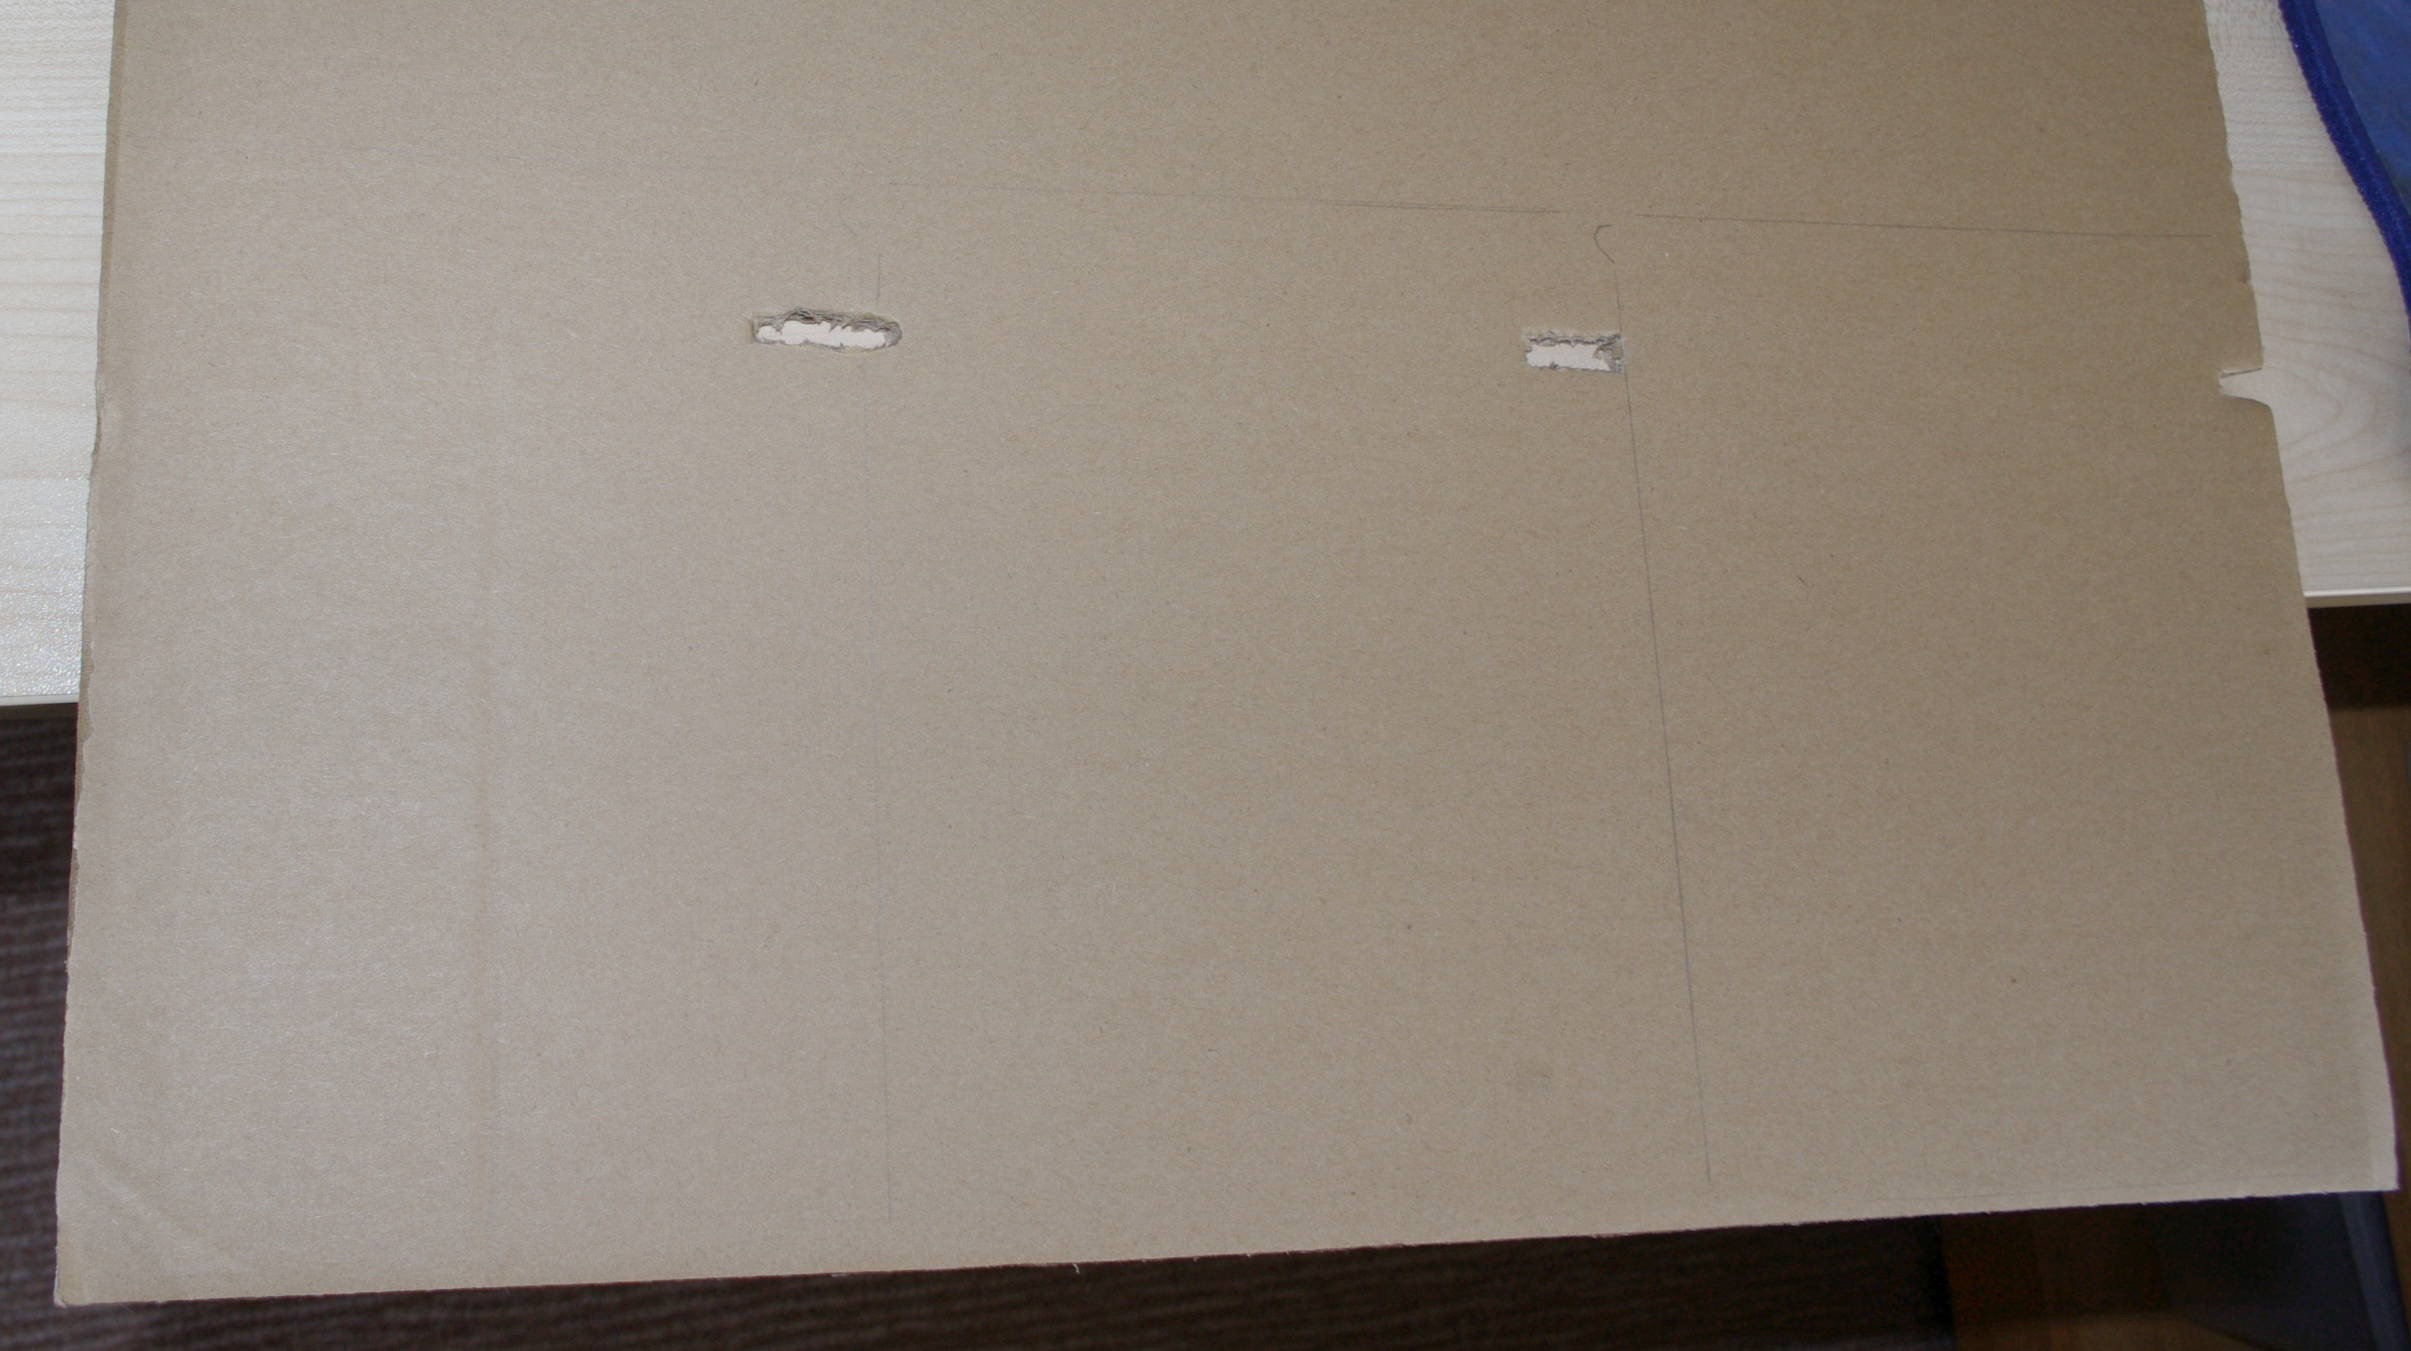
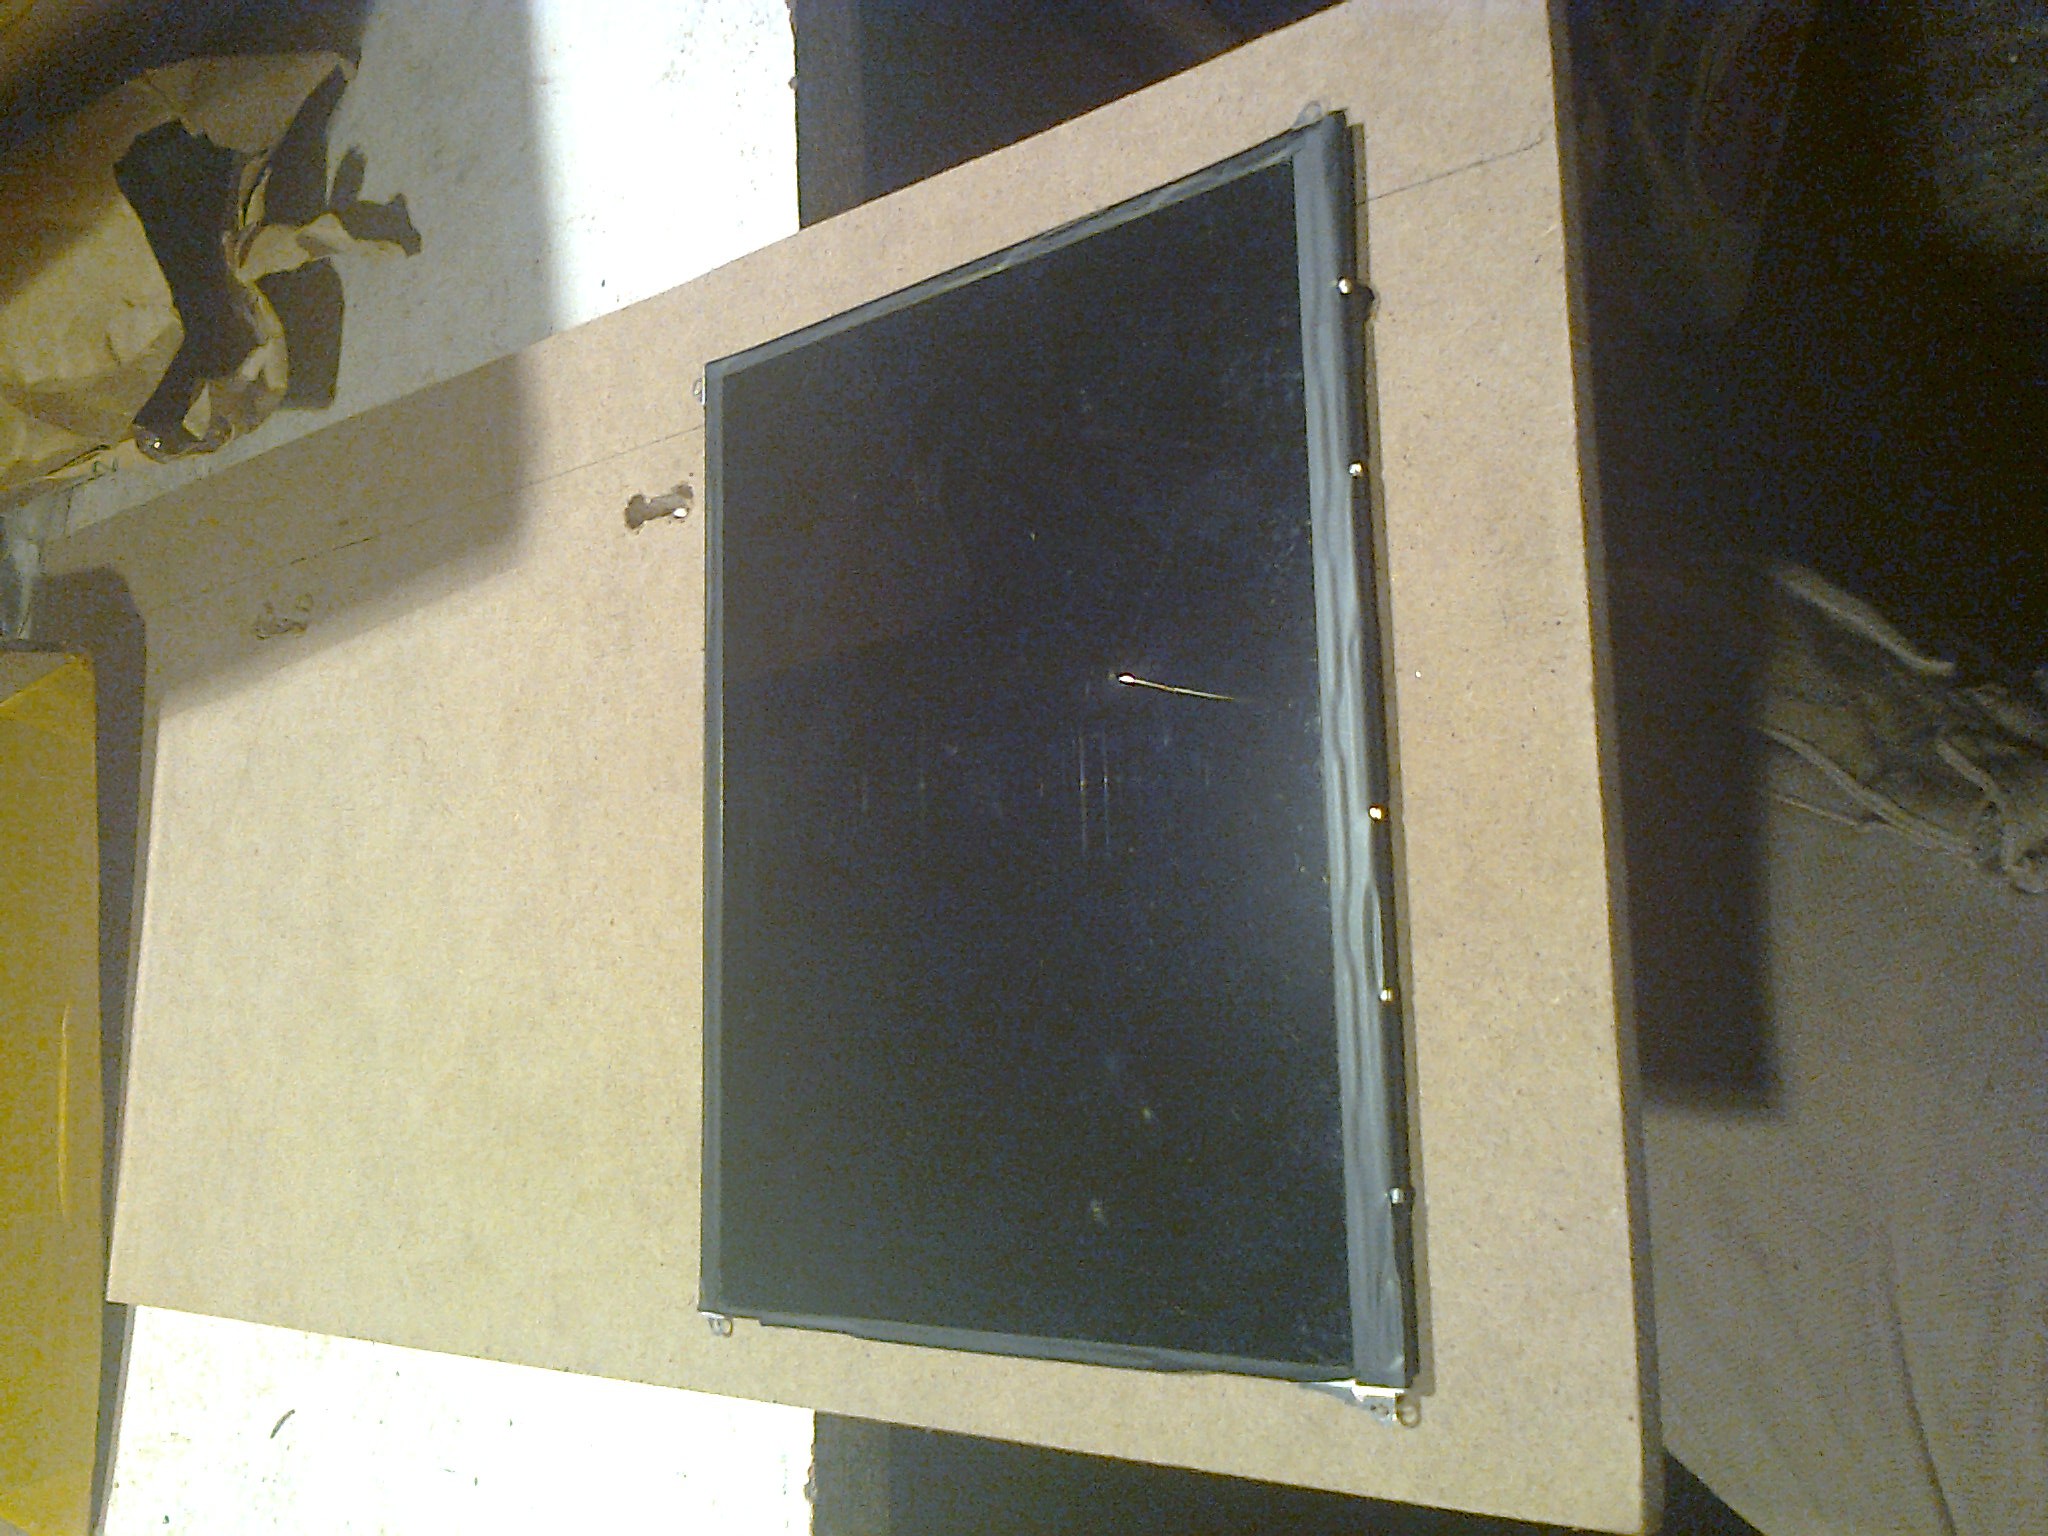
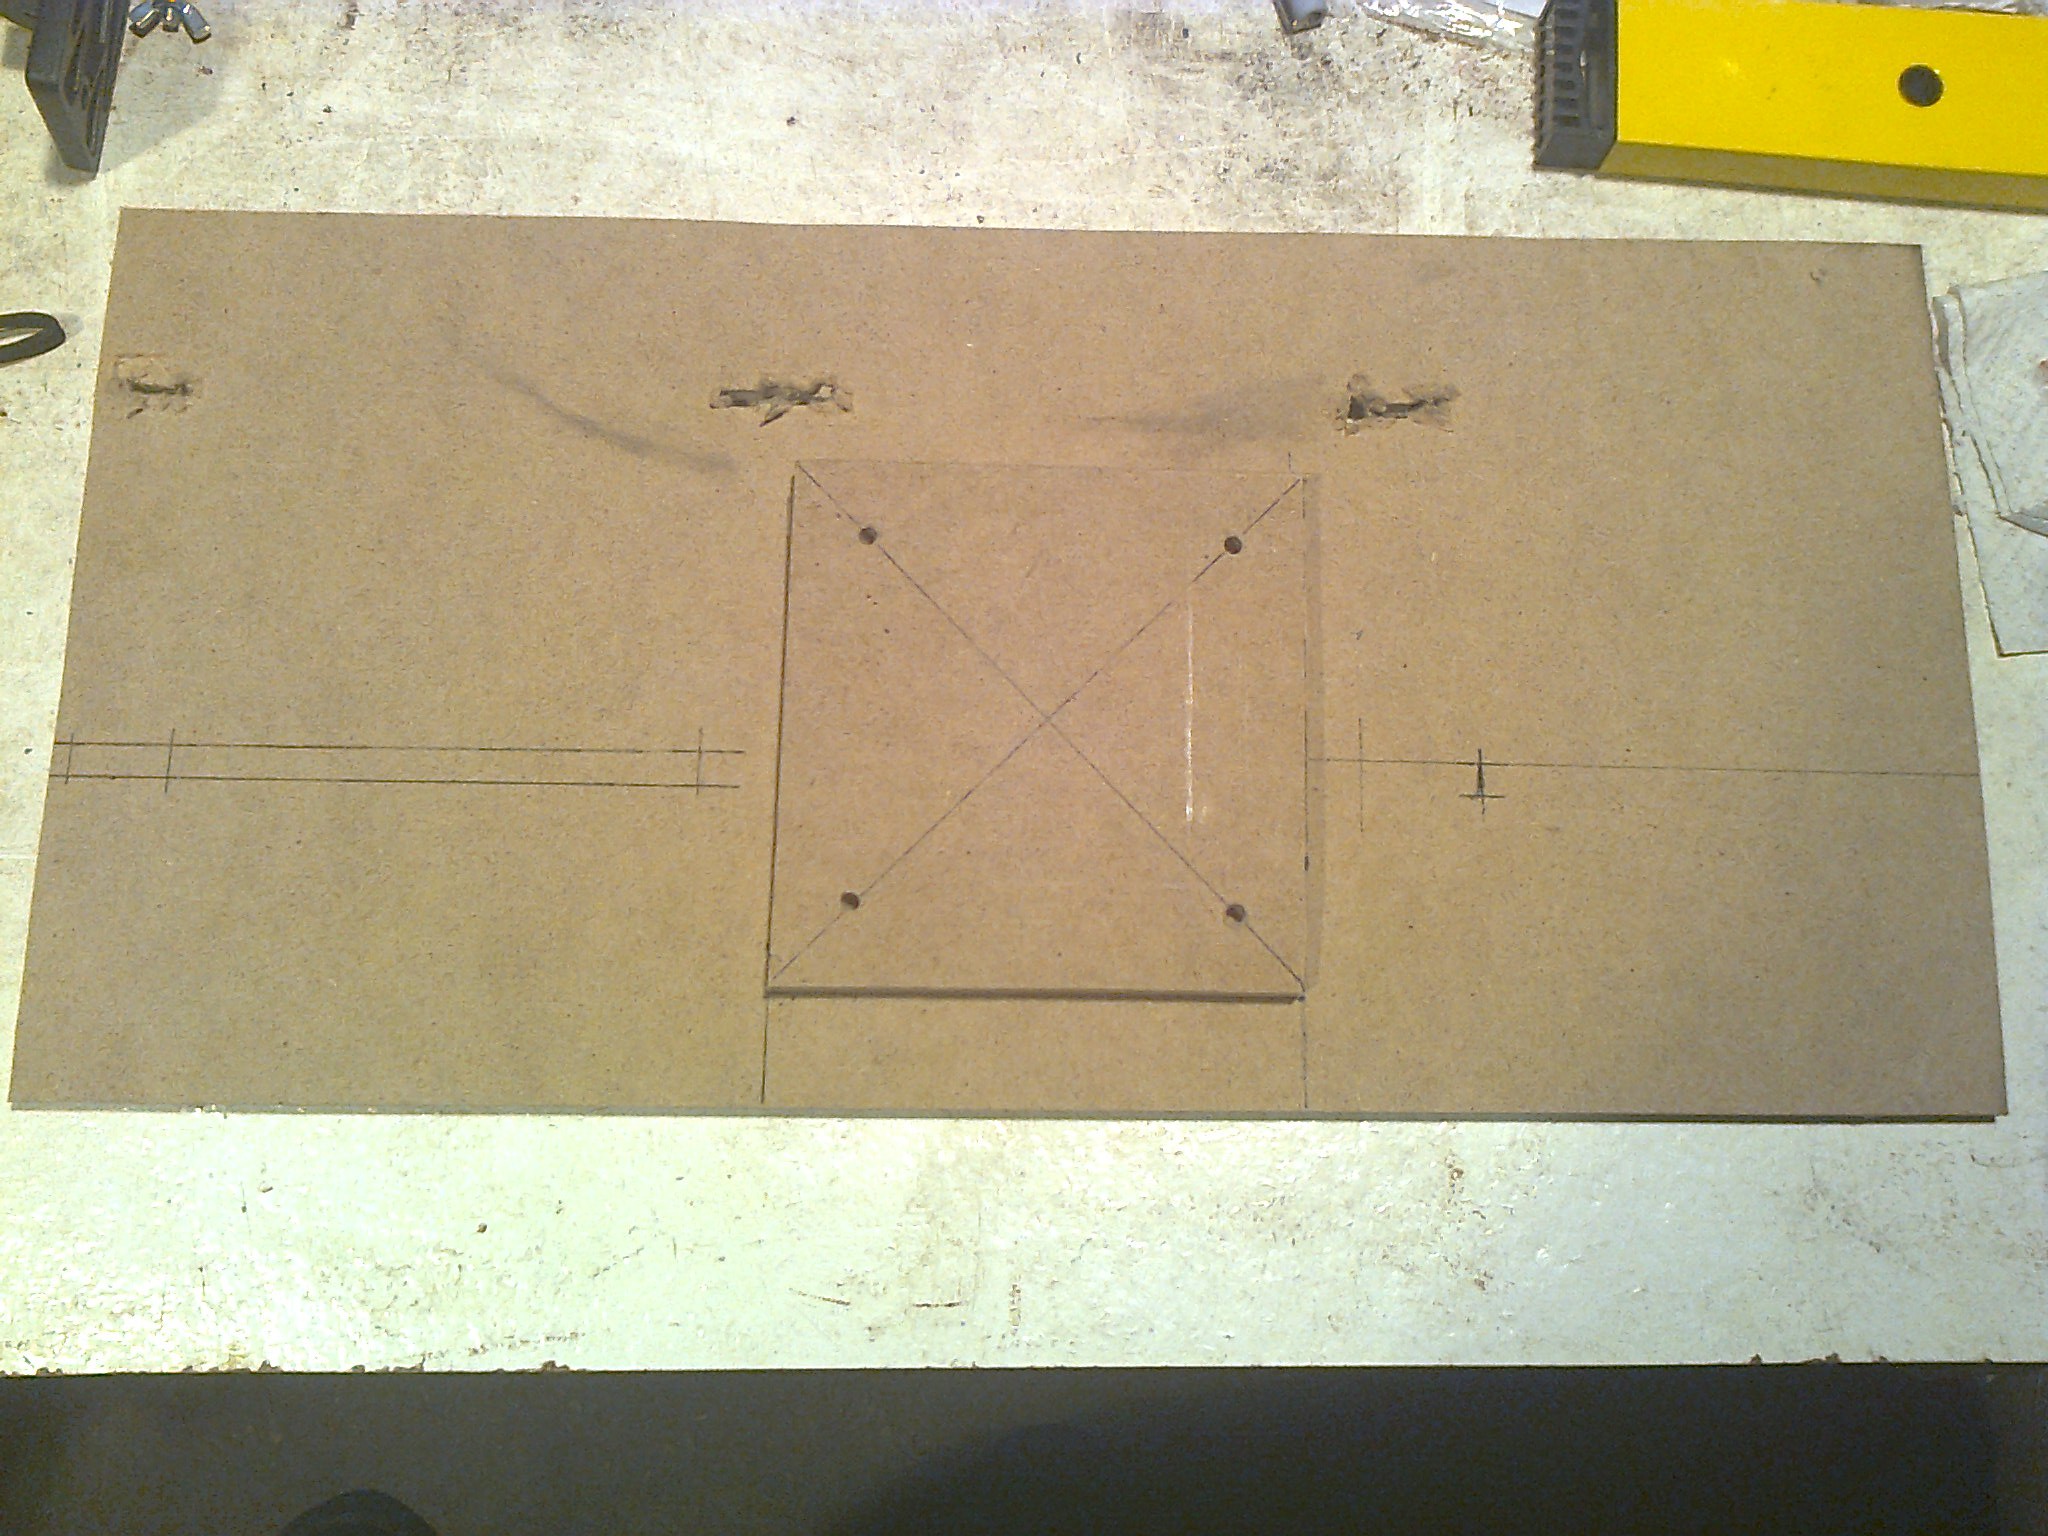
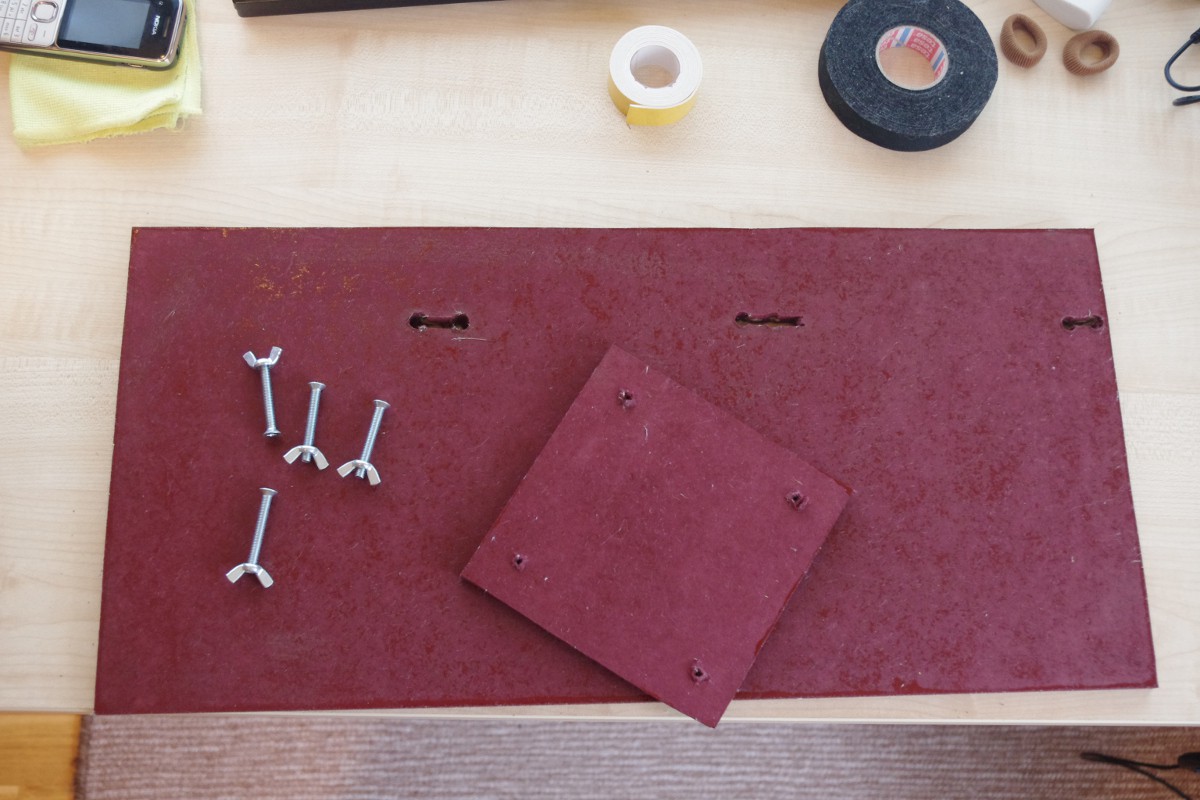
    (1) For a start when I decided how do I want to arrange the screens I used just a piece of cardboard to figure out where do I need holes to put the ribbon cables though and how would the screens align up correctly.

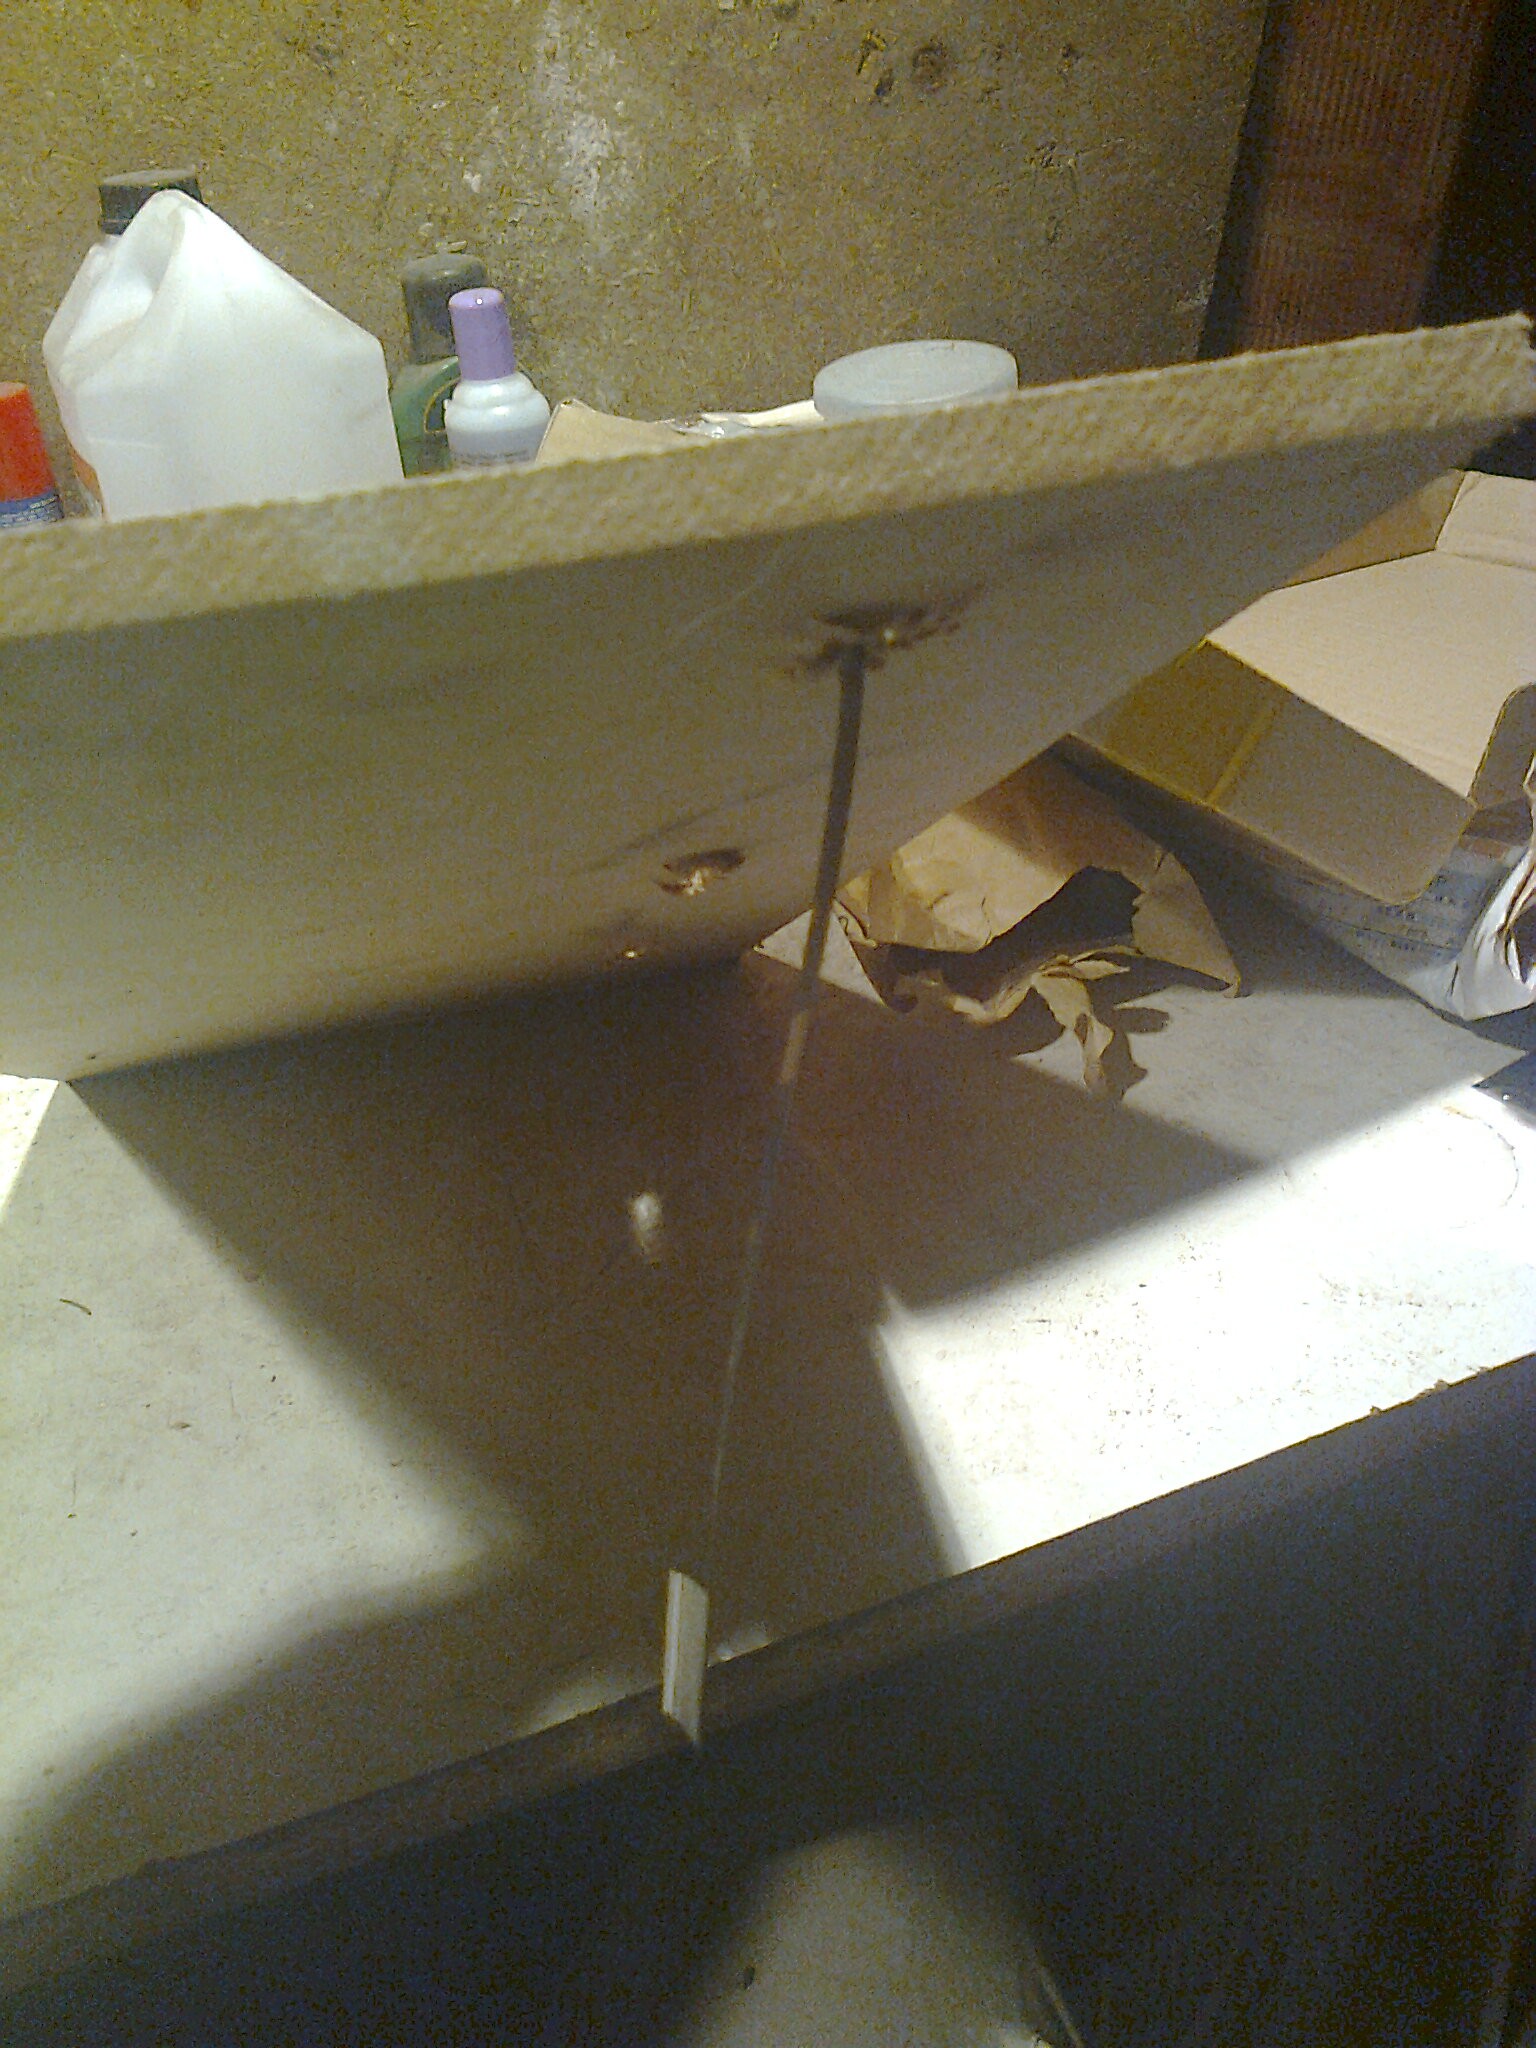
    (2) After that I used the cardboard to cut the piece of MDF into more or less right size and make some holes into it on the right locations. I used a small hand saw and a small drill.

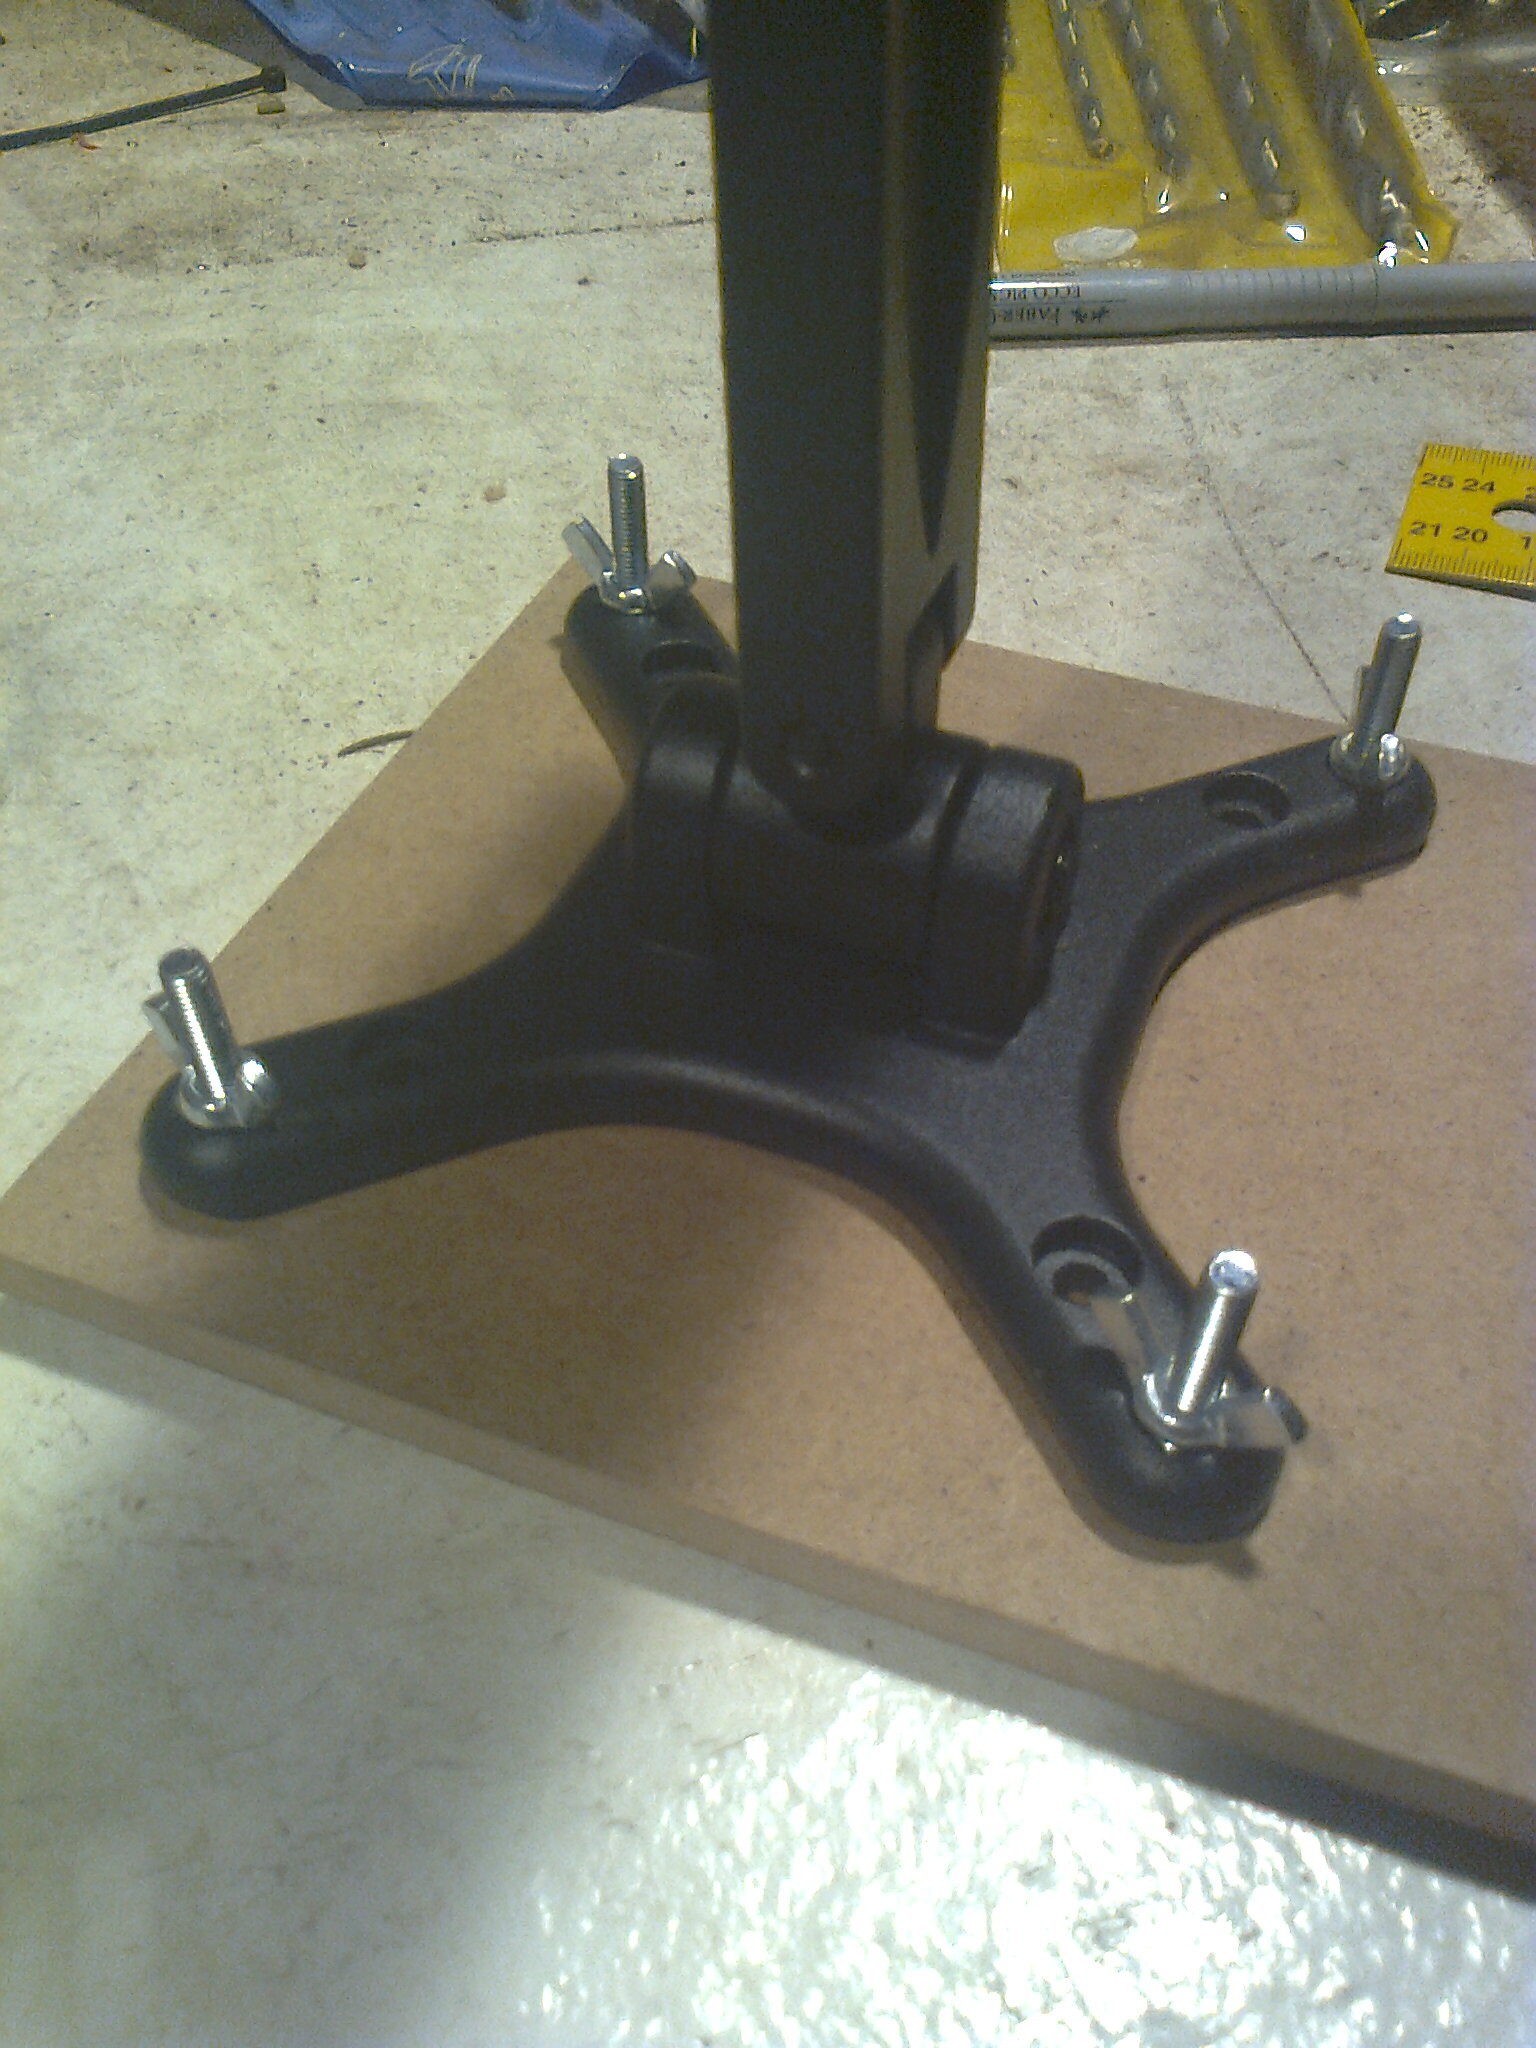
    (3) for mounting that MDF plate up with the screens to be actually usable in the practice I decided to use a VESA mount. which mount I did also from the same MDF plate and some bolts. I had a spare VESA 100 wallmount I used to see if things align up properly.

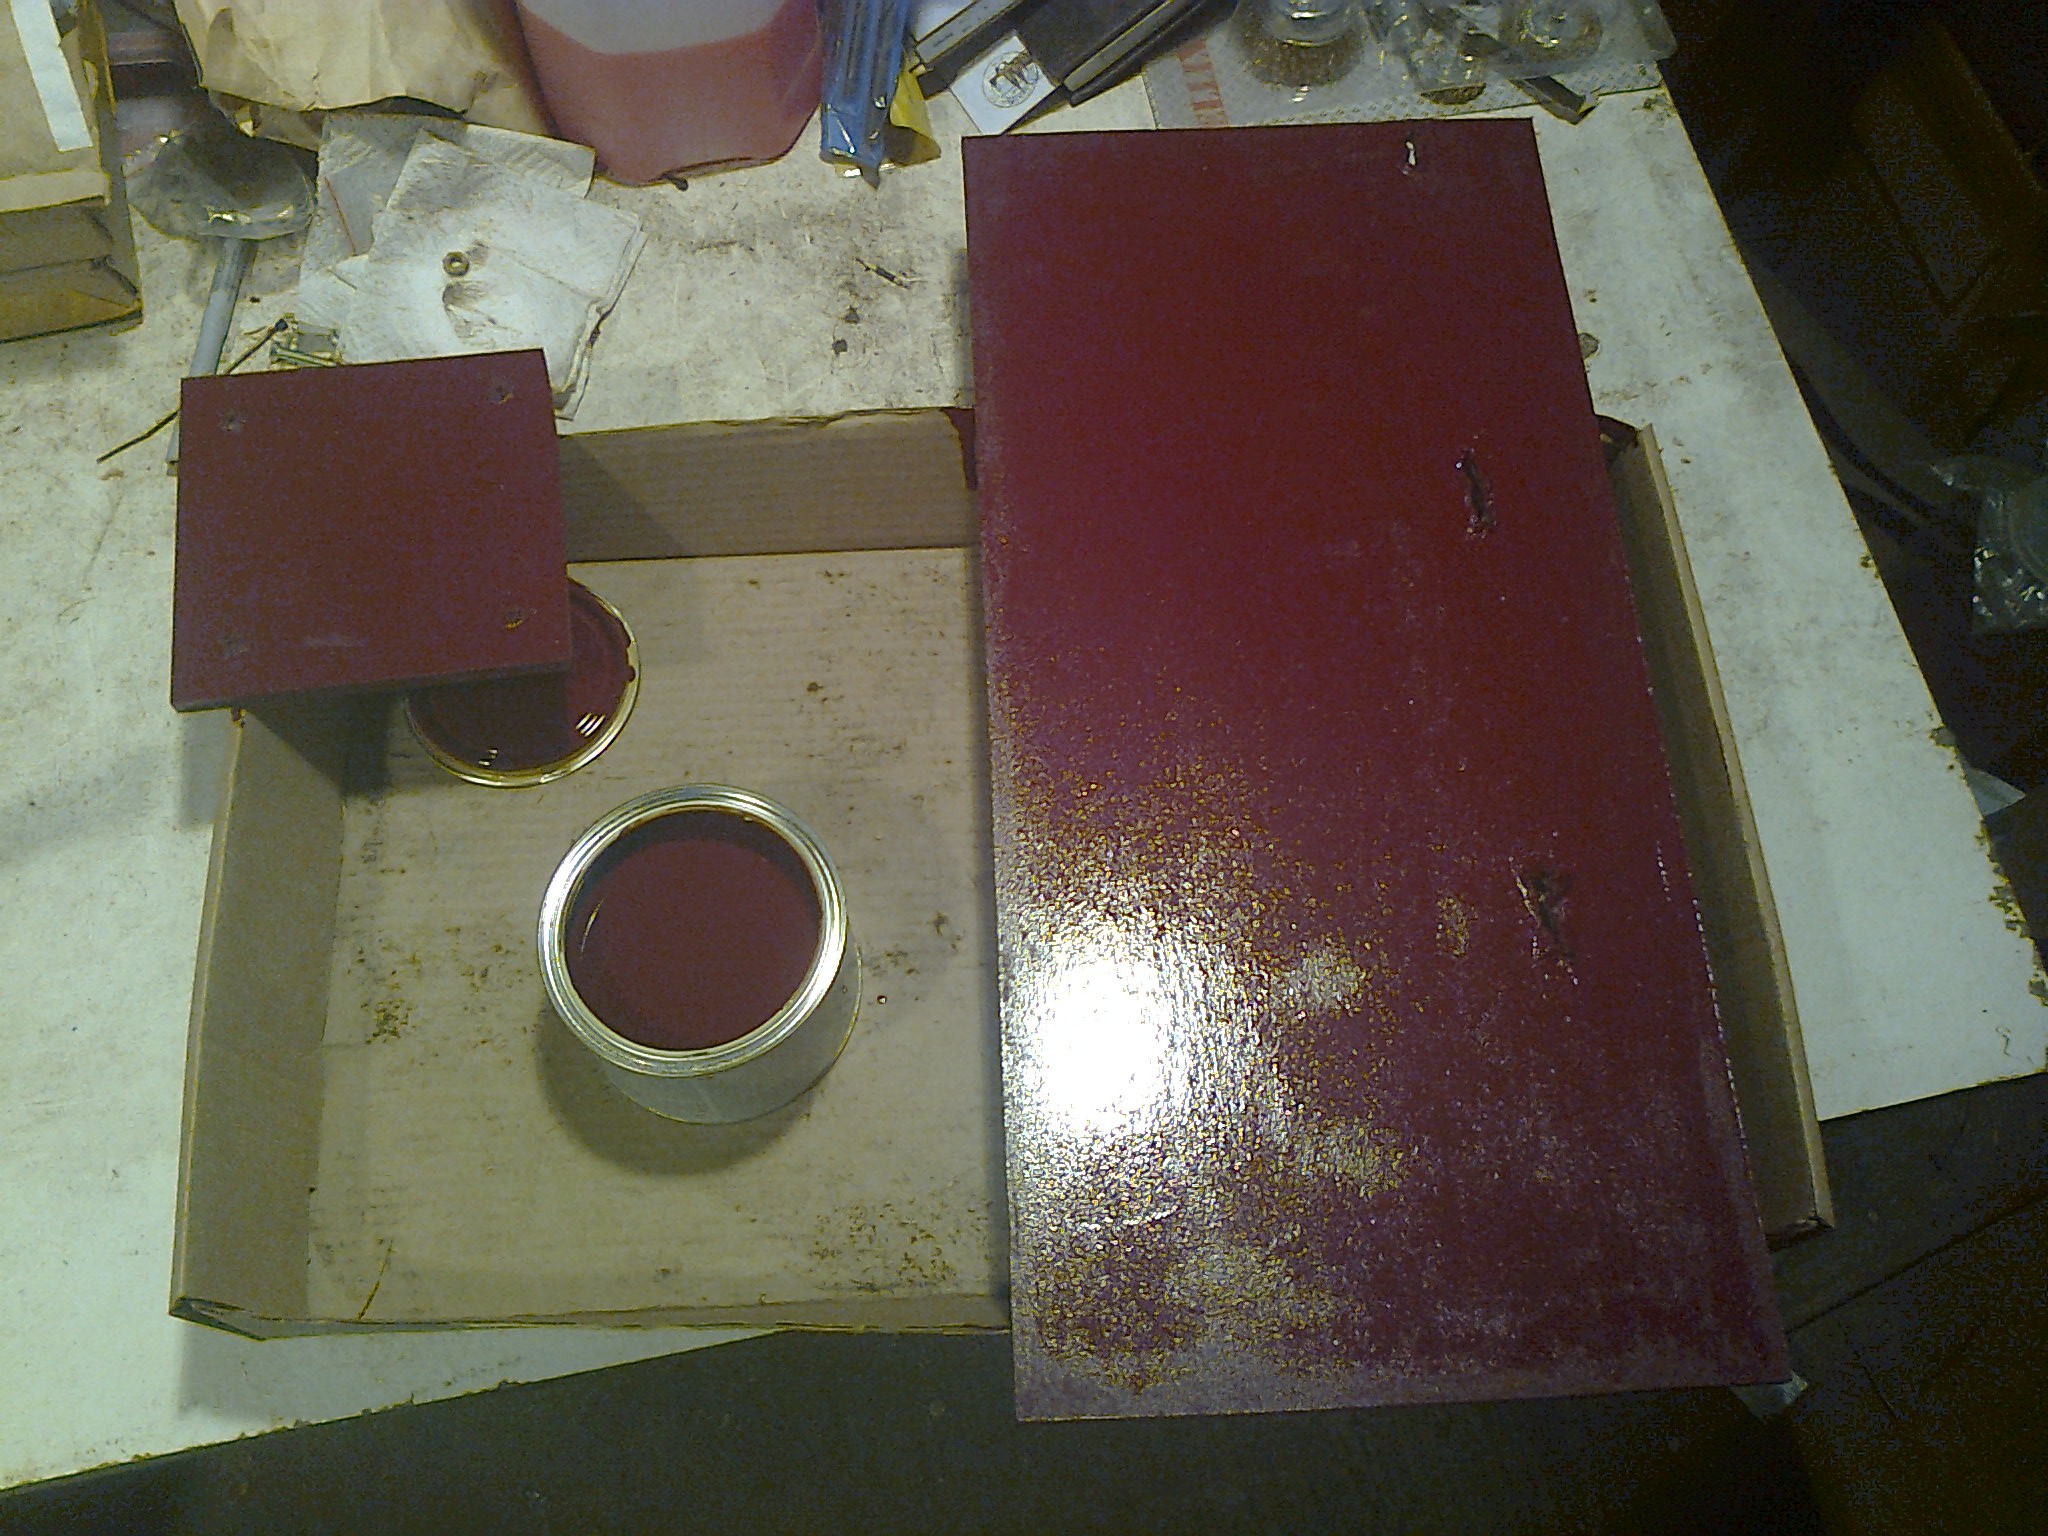
    (4) I painted it red. Just because the red was what I had lying around.

    (5) Screw everything together, set it up and see if it works (it did, surprisingly although I had to try few different power-bricks to sort out the power issues).

    I used ordinary sufficiently small wood screws to attach the ipad screens to the MDF plus few pieces of two sided tape initially (two sided tape does not seem to stick to MDF for extended periods)

    A good stand is a must for that kind of setup as you literally want them in your face at 265 ppi for them to be usable. The ppi is a bit on the high side for using programs that cant zoom or dont scale well.

    Total budget was:

    ~150 EUR screens

    ~100 EUR PCB's + transport from Japan

    ~100 EUR for good enough VESA stand, MDF, paint, bolts and USB powerbricks plus some USB cables.

    Total: ~ 350 EUR

  • The beginning

    Kert02/09/2015 at 19:28 0 comments

    At first there was an idea, some reading and thinking and staring at component datasheets. I already had a graphics card with sufficient number of displyports and apparently eDP (used by many laptop and tablet screens internally) and DP standards (used by PC graphics cards) are directly compatible if you somehow can input the signal into a ribbon cable. After that all that remains to be done is to drive the back-light somehow.

    If you decide to build something like that I would suggest reading this: http://www.overclock.net/t/1389756/custom-screen-31-3600x1600-cost-250/0_50 thread on overclock.net forums carefully. It is not only about using these ipad screens but also some others but if you have not done something like this before it contains a lot of useful information.

    I opted for ipad 3 replacement screens as they were relatively cheap. Mine were few EUR under 50 per unit. At first I ordered one and then soon thereafter two more deciding to go for 3x1 portrait eyefinity setup. eyefinity is a special feature of AMD drivers that lets several physical screens (max 6) to apprear to operating system as a single screen. nVidia variant of that is called surround.

    When the parts arrived everything turned out to be pretty much plug and play.

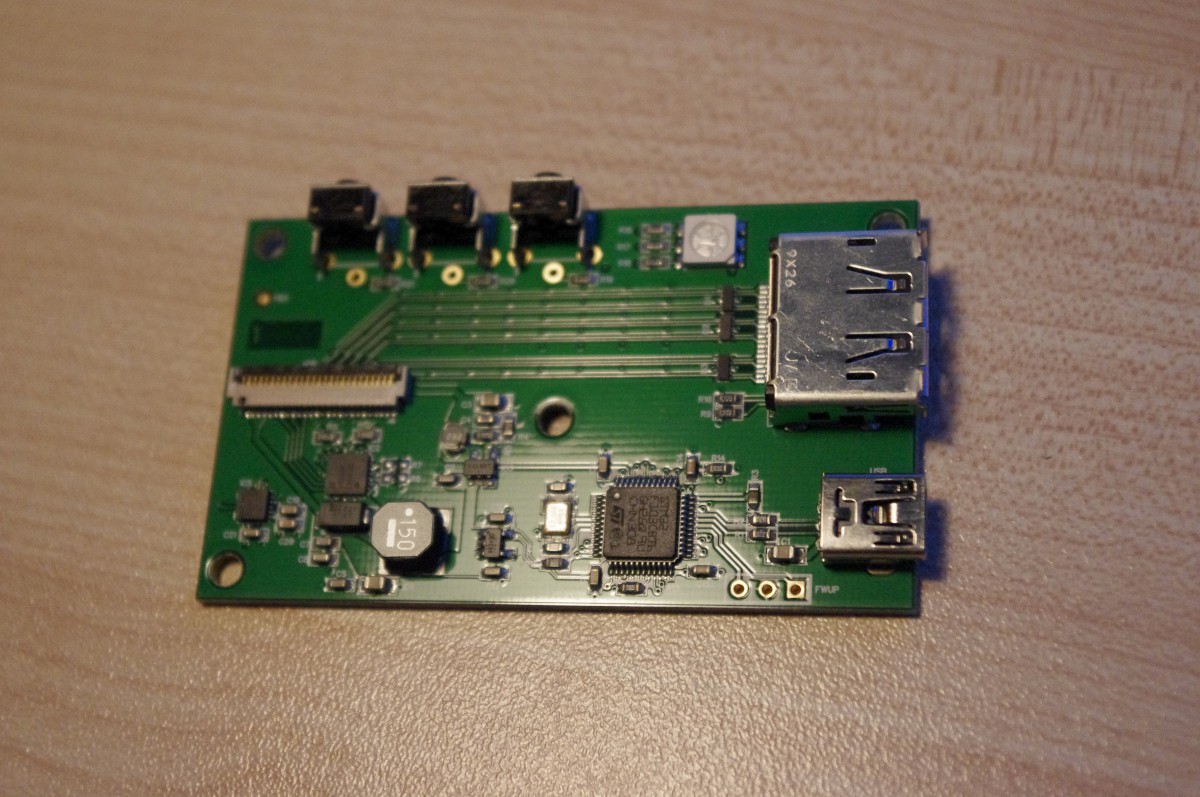
    A care must be taken when inserting the ribbon cable to the PCB - if you manage to force it in the wrong way you will burn out the backlight. The controllers I have are one of the first revisions. Abusemark shop has done at least one if not two revisions of the PCB and the current ones should be much more foolproof and not having the ribbon cable connector at some odd angle.

    That is how mine (revision 1) looked like (from http://abusemark.com/store/index.php?main_page=product_info&products_id=47 ):

    Note how the buttons will be in the way of ribbon cable if you manage to insert it the correct way.

    There was also some issues with the backlight uniformity (firmware issue later fixed by a new firmware for the backlight driver). Also similar issue can be caused by using an USB port on PC with insufficient power output for the driver PCB - it claims to draw 750 mA but in reality peaks a bit above 1A with the counterfeit ebay screens - while official USB standard allows up to 500 mA. That is why using a separate power brick with USB output can be a reasonable idea.

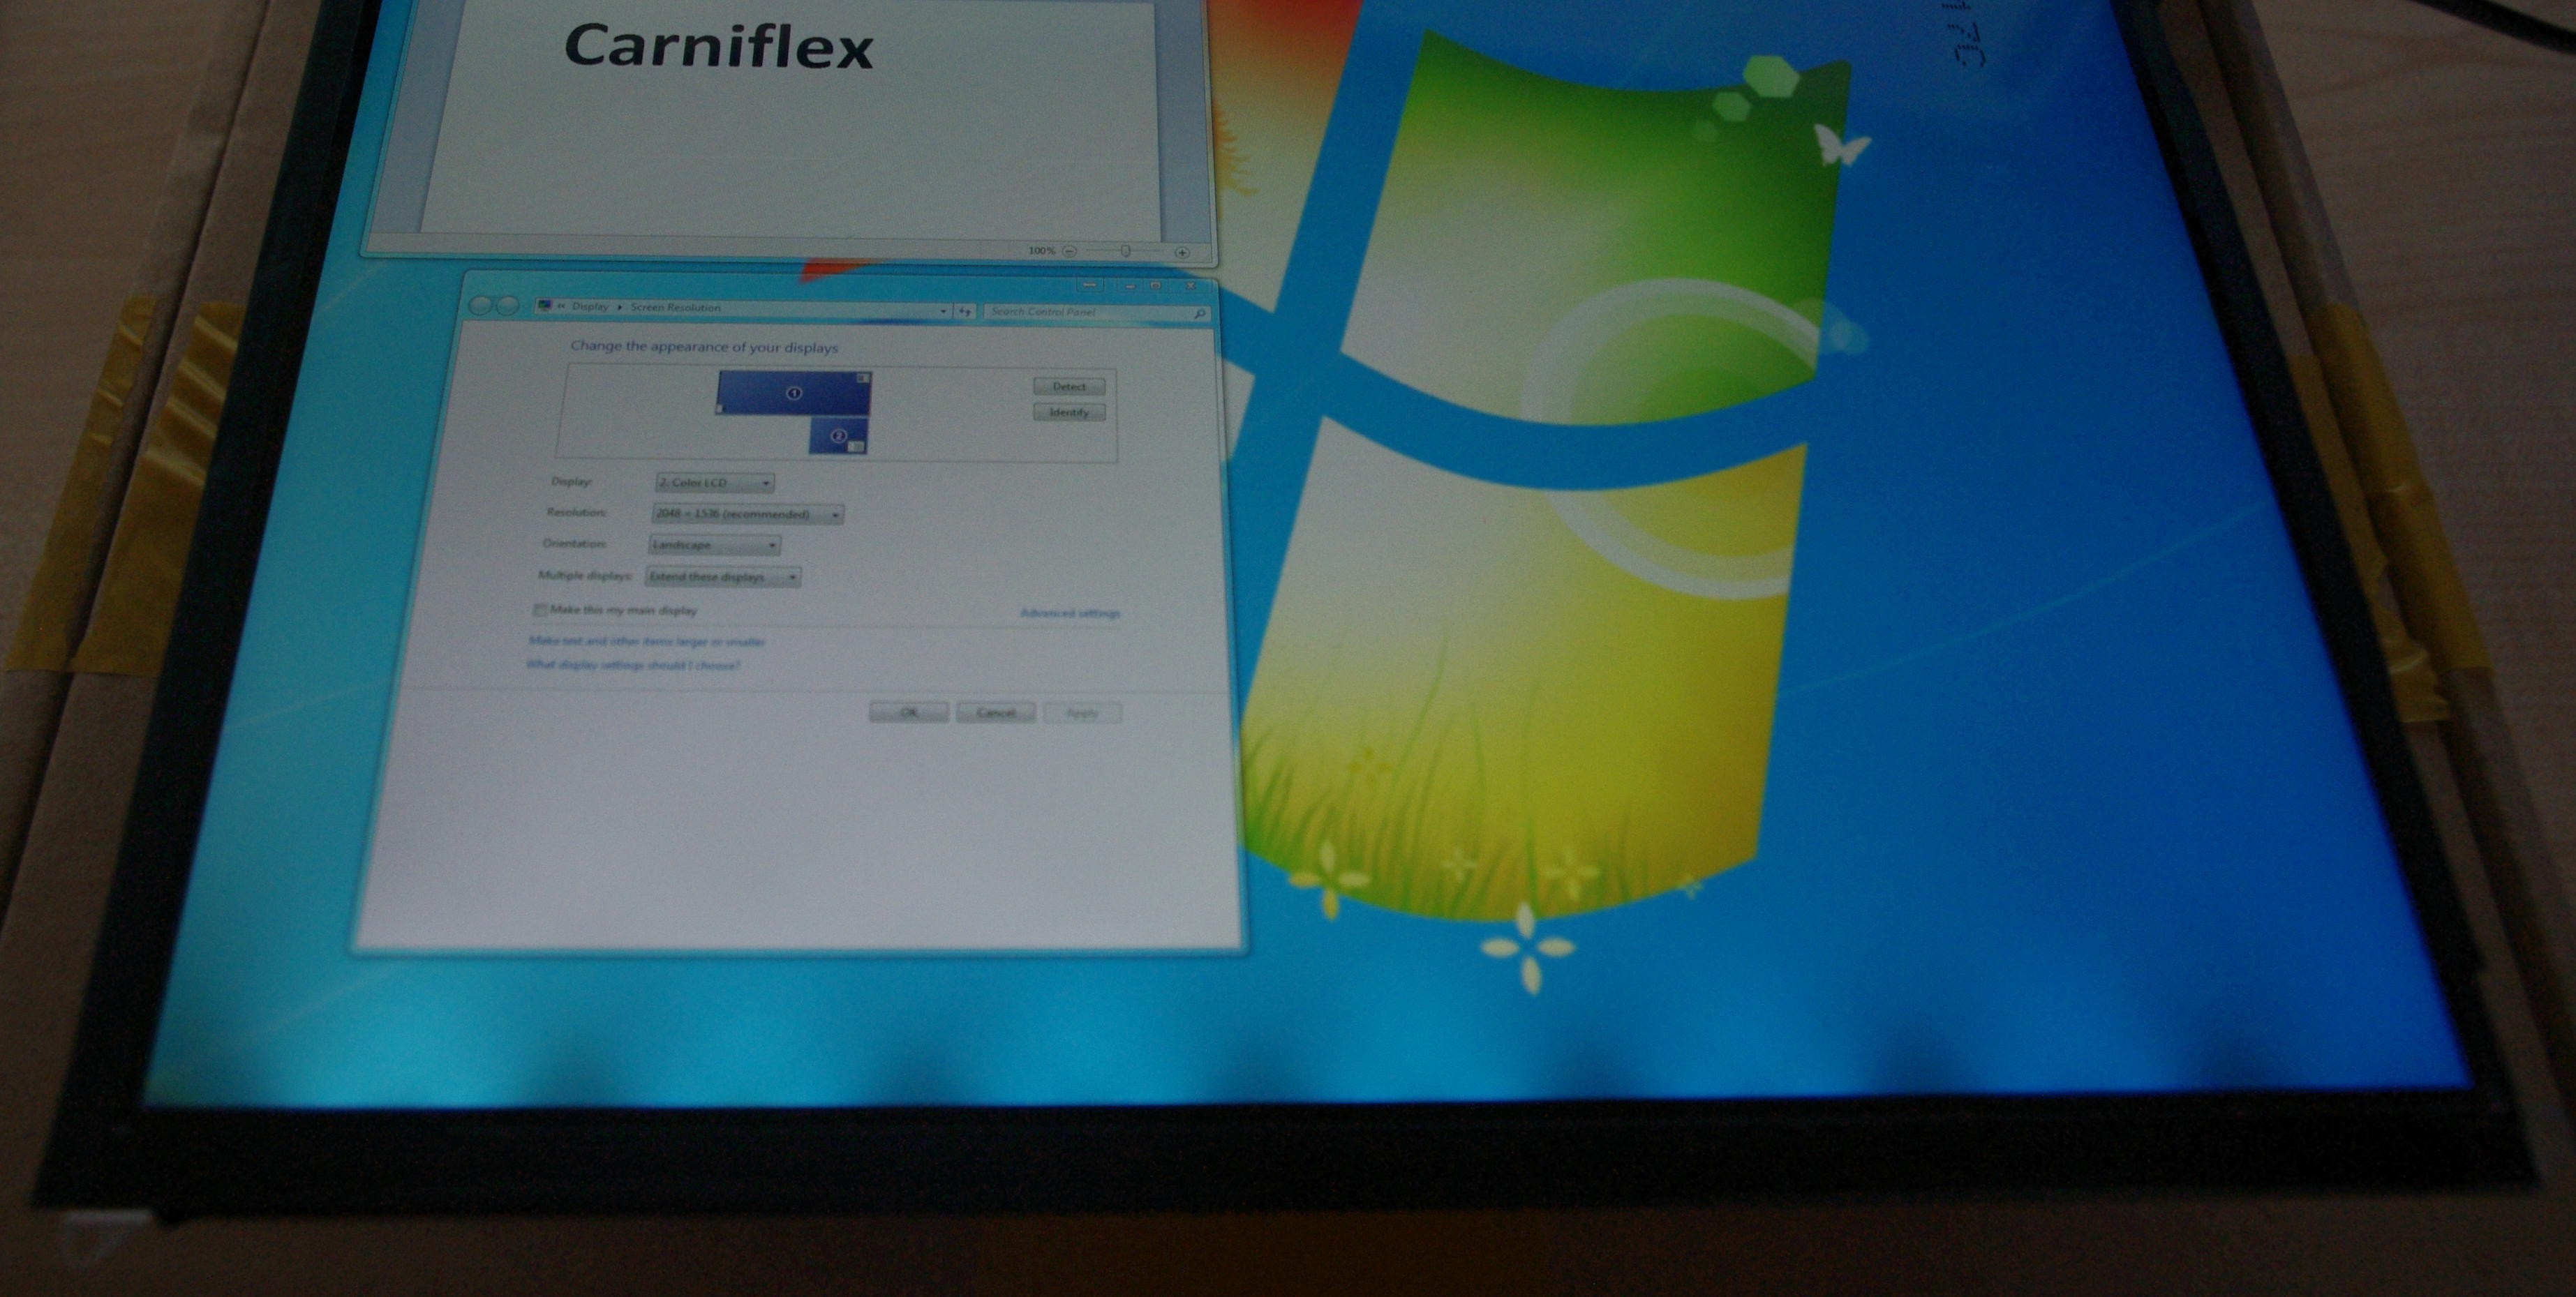
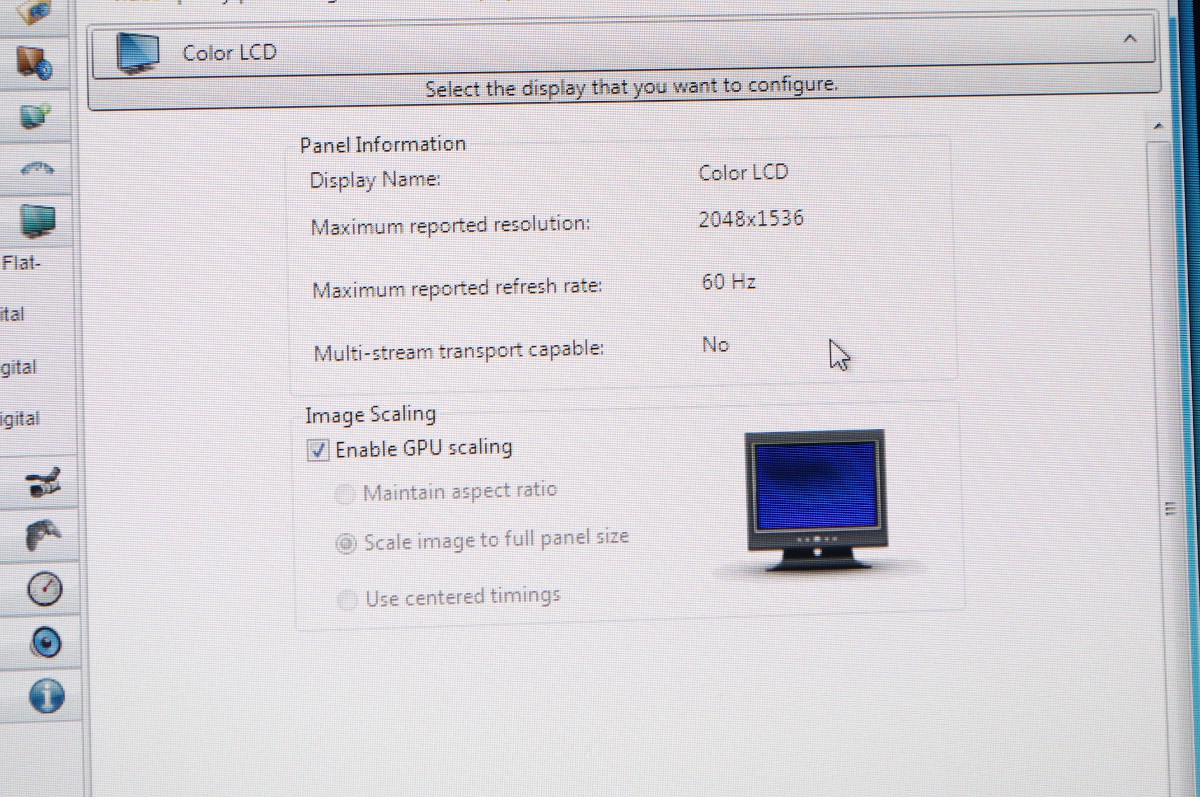
    The screen detected as "Color LCD" of 2048x1536 resolution capable of doing 60 Hz (only that resolution supported).

View all 5 project logs

  • 1
    Step 1

    The log in here is in a nutshell a brief overview of the build process. There is more pictures spread out though that overclock.net thread linked earlier for this project which I would encourage anyone reading carefully if planning to undertake this kind of project in practice. Overclock.net does not have that 2 MB limit for pictures so you can get higher quality pictures in there for pixel peeping ;)

View all instructions

Enjoy this project?

Share

Discussions

Filipe wrote 12/15/2018 at 19:12 point

Cool. Was searching for help to use a screen from a tablet/phone as a extra pc screen to show pc stats, email, etc. This is a good starting point. Just need some help to discover the right controller board for the screen. I have a Samsung Galaxy Tab S 7" and the original Samsung Galaxy S phone that I can use as screens. How can I find  controller boards for these screens? Anyone has any tip? Tkx

  Are you sure? yes | no

Kert wrote 02/12/2015 at 03:44 point

I personally would draw a line for a primary screen at approx 160..175 ppi which would be about 26..28'' 4k - then again it's a very personal number as in reality it can be pretty hard to find a human with "average" vision system ;) - but for a mobile system where you are not likely to stare at the screen for 6+h straight from 30 cm something like that would be with certain advantages for sure. Or one can just lean back and look at content from "normal" distance which is considered to be about arms length enjoying the very crisp picture well beyond "retina" at such distance. Or taking breaks - that would work also if you stand up stretch a bit and look at far away objects (more than 3m away) for 5 .. 10 min or so. 

  Are you sure? yes | no

Duane Degn wrote 02/11/2015 at 23:50 point

Thanks for the update about your experience using the screens. You've provided a lot of useful information. I appreciate the time you've spent documenting this project. Thank you.

  Are you sure? yes | no

Kert wrote 02/11/2015 at 07:20 point

Thank you. A lot of pixels is indeed something that this thing would excel about. Although I should add that actually making use of these pixels for extended period of time can cause noticeable eye strain. Basically the same problem as with all the tablets/phones, etc. For a normal vision anything under ~90 ... 60 cm from the eye tends to require increasingly more effort to focus on for the eyes. So putting something from 30 cm from your face and working with it for a day is like holding your arms over your head for a day. OK for a bit but then you will start to notice the strain. I think I should add one more post about my experience of actually using these screens for a while as my primary screen. 

  Are you sure? yes | no

Duane Degn wrote 02/11/2015 at 06:22 point

I'd love a lot of screen area in a portable system. This project gives me a lot to think about. Thanks for posting.

  Are you sure? yes | no

Kert wrote 02/10/2015 at 06:08 point

Thank you :)

  Are you sure? yes | no

davedarko wrote 02/09/2015 at 23:48 point

So cool!

  Are you sure? yes | no

Similar Projects

Does this project spark your interest?

Become a member to follow this project and never miss any updates