-
1Taking apart
I followed this nice video guide by Colored Controllers to take Steam Controller apart. They also have a written walkthrough with pictures.
-
2Soldering wires to the circuit board
To get thin wires, i've cut and dissected an old iPhone charging cable. Unfortunately i found only 4 wires there, so i had to reuse one color for the ground.
![]()
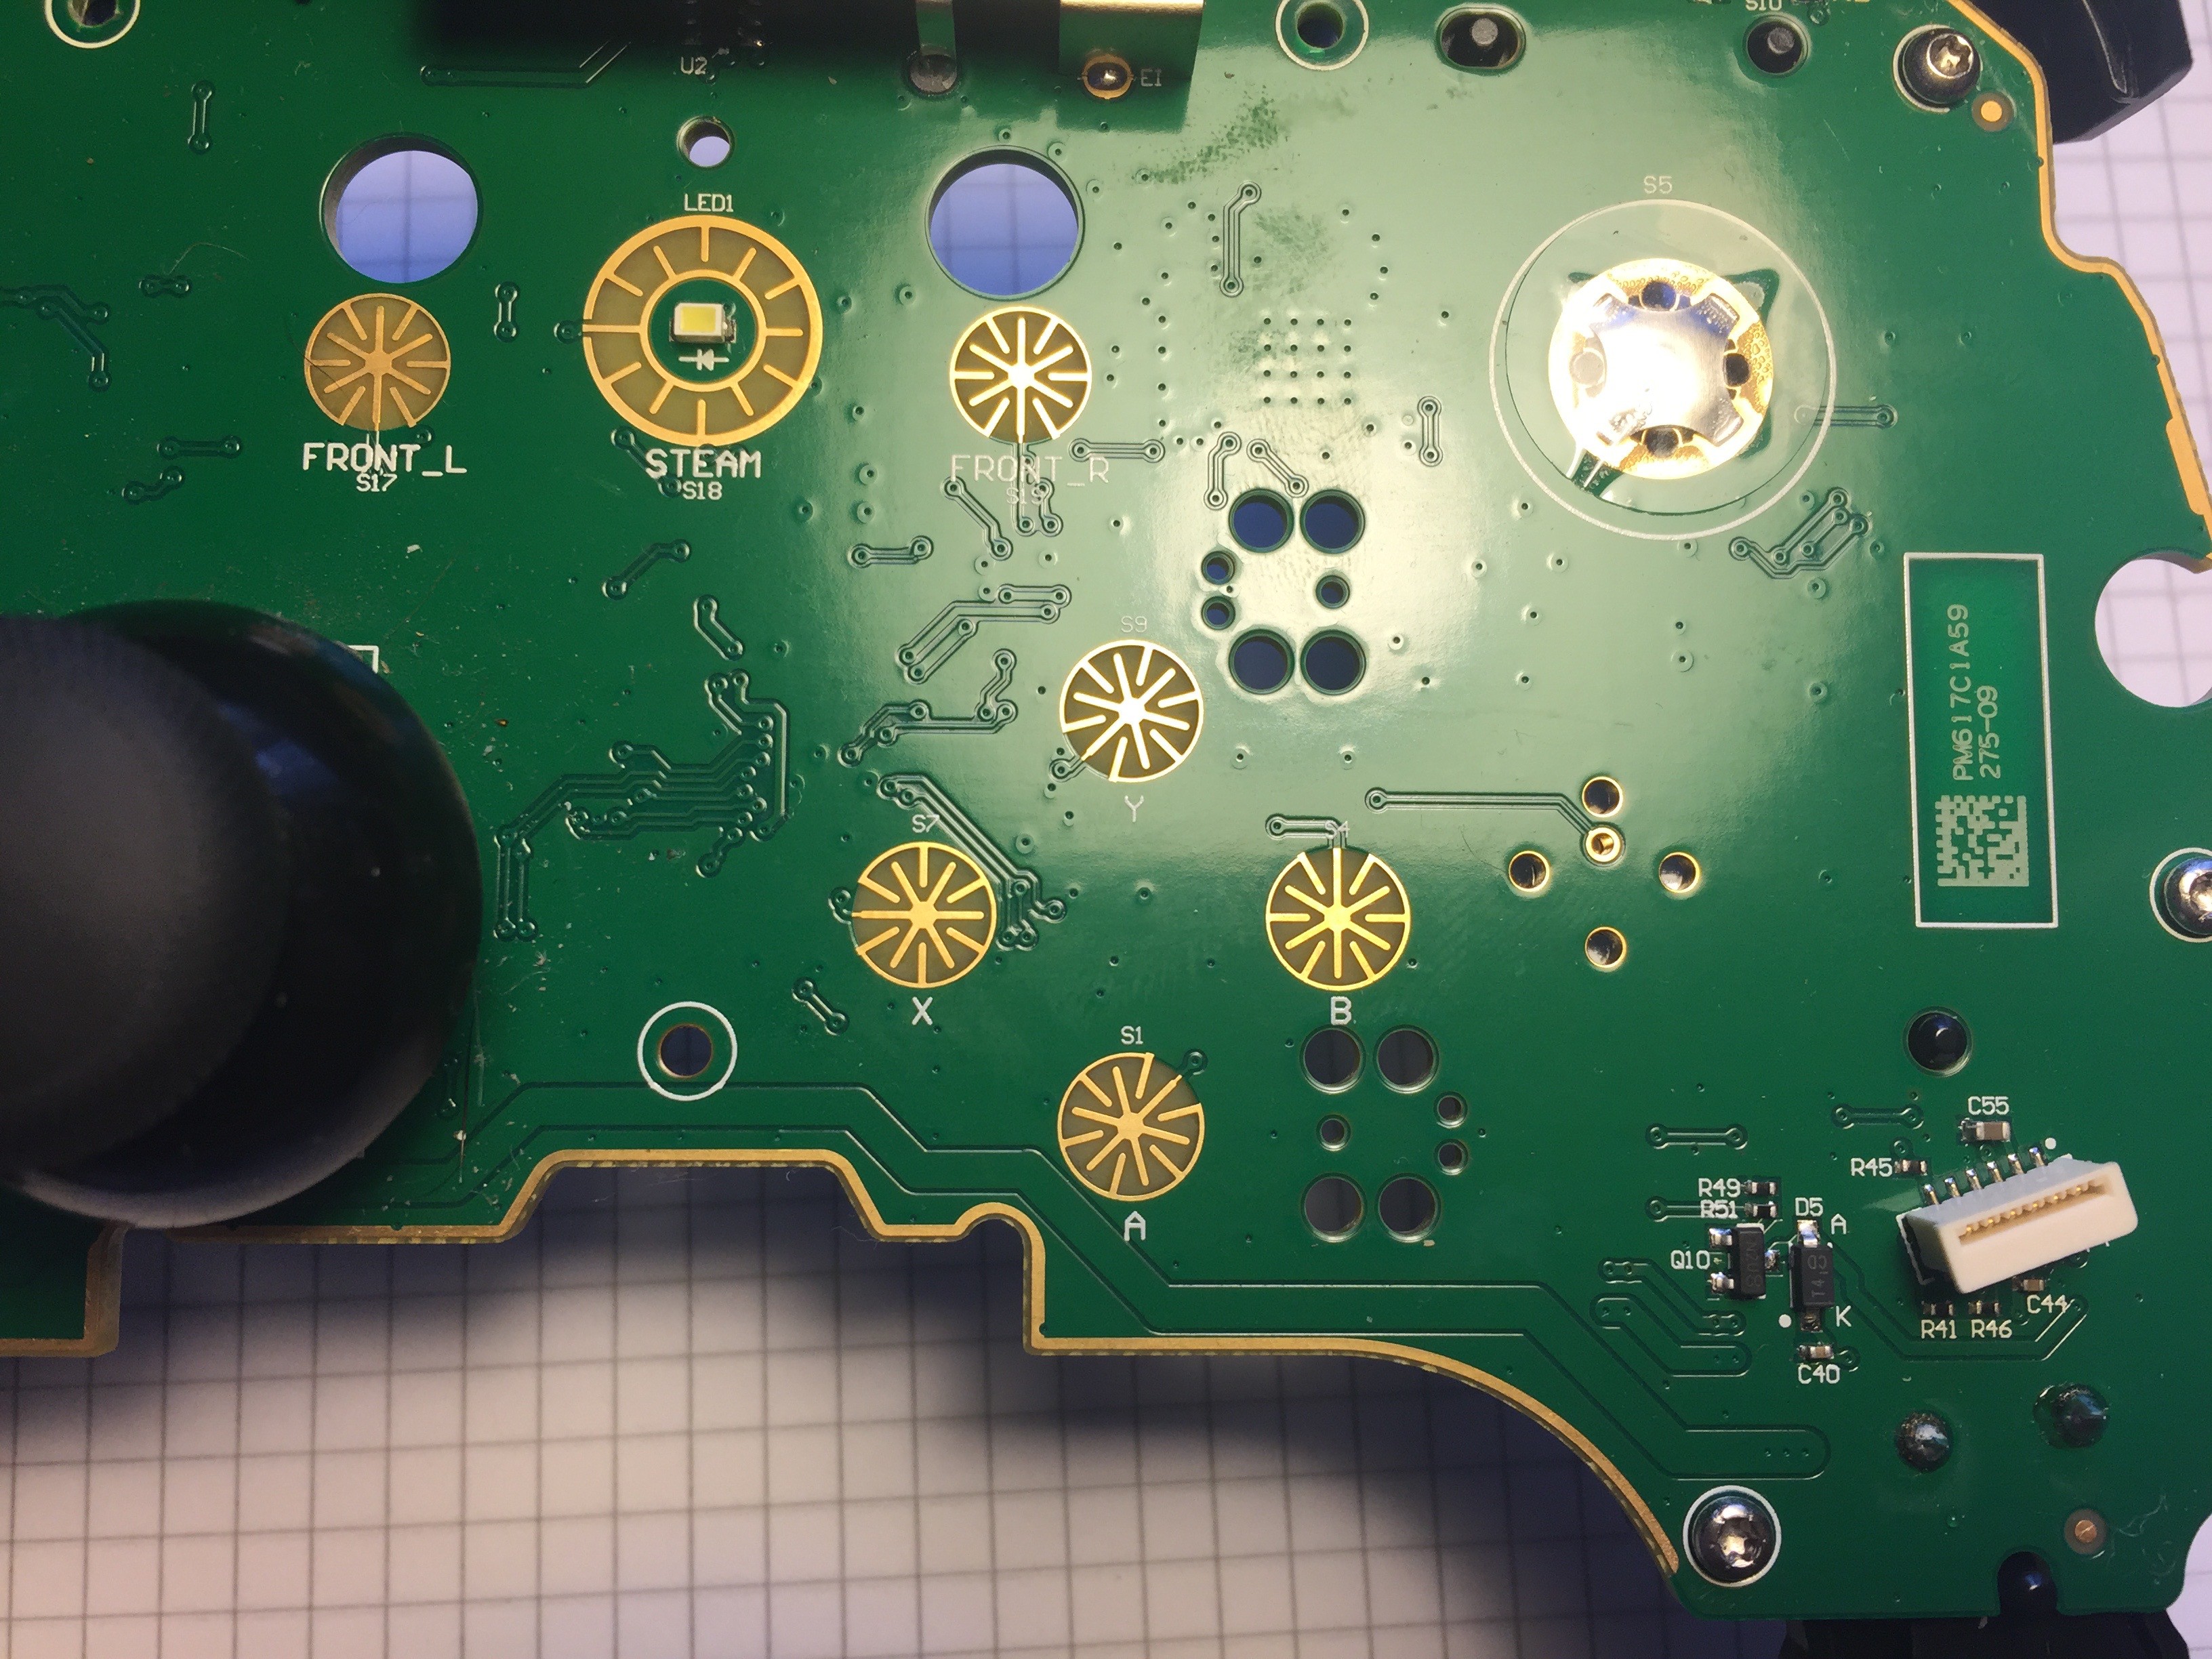
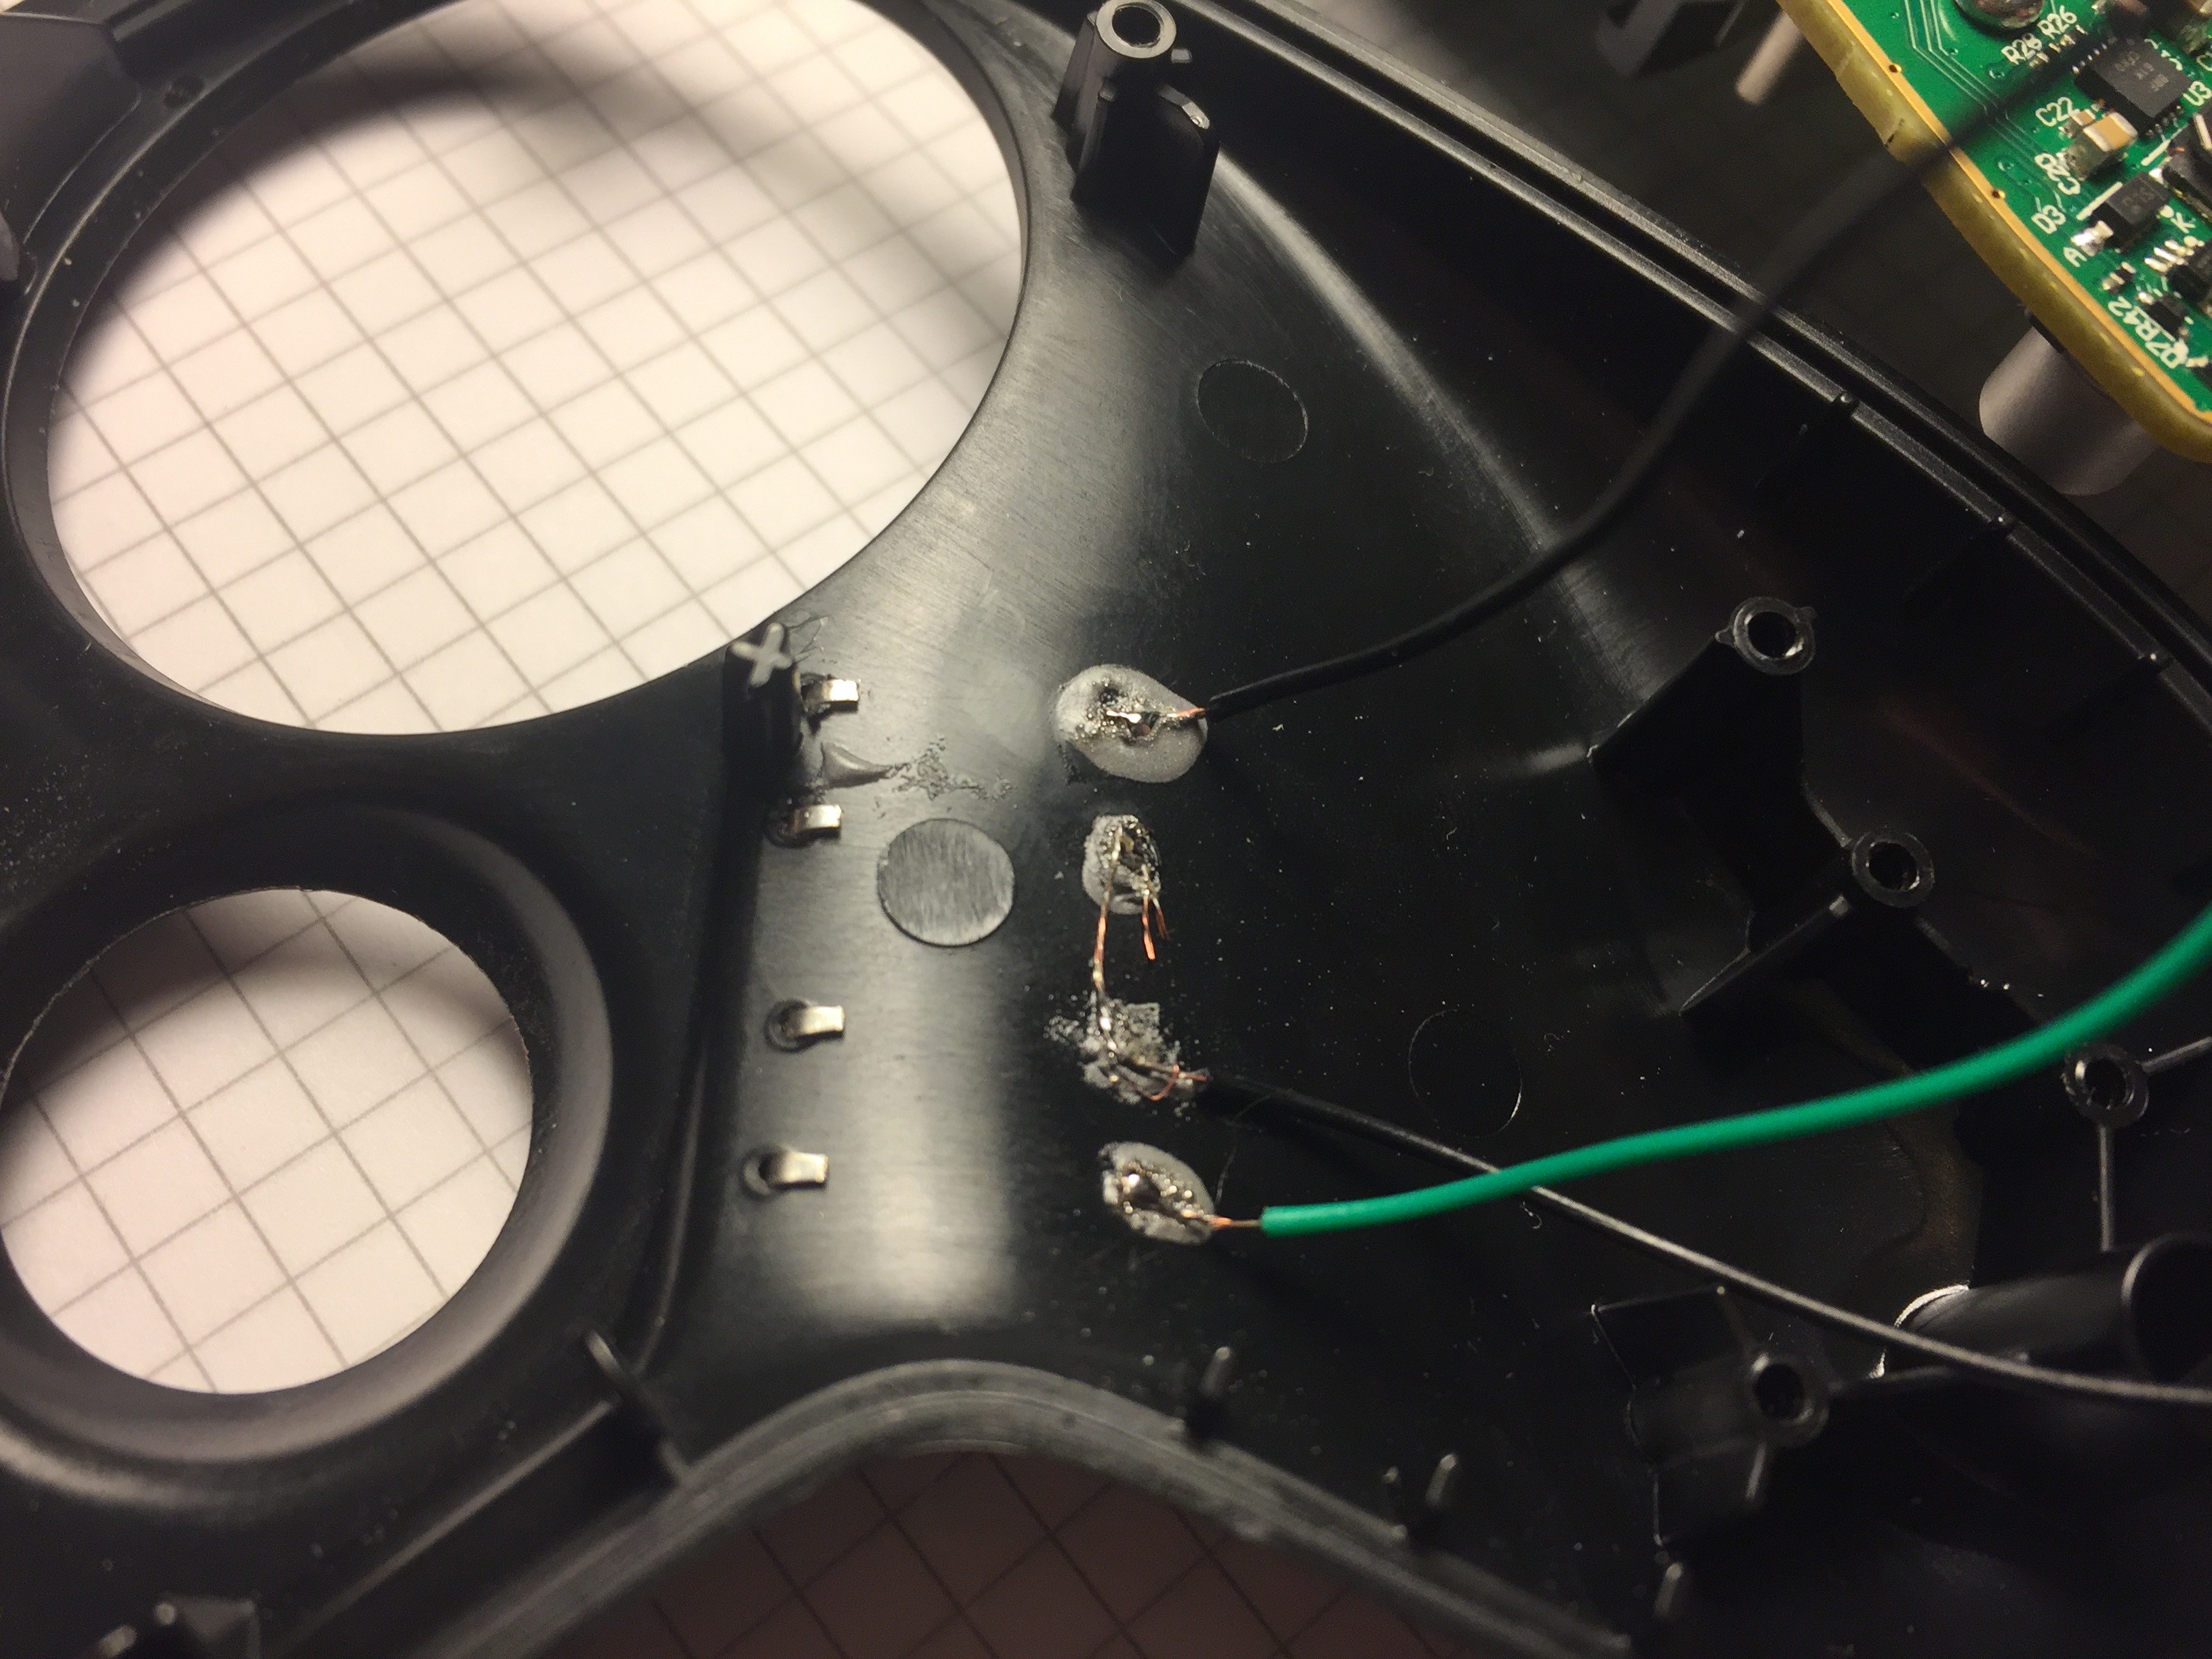
I figured out with a multimeter that the outer circle is a ground terminal and the inner star is the "action" terminal. When an original button is pushed down, it's rubber pad connects both and triggers an action.
![]()
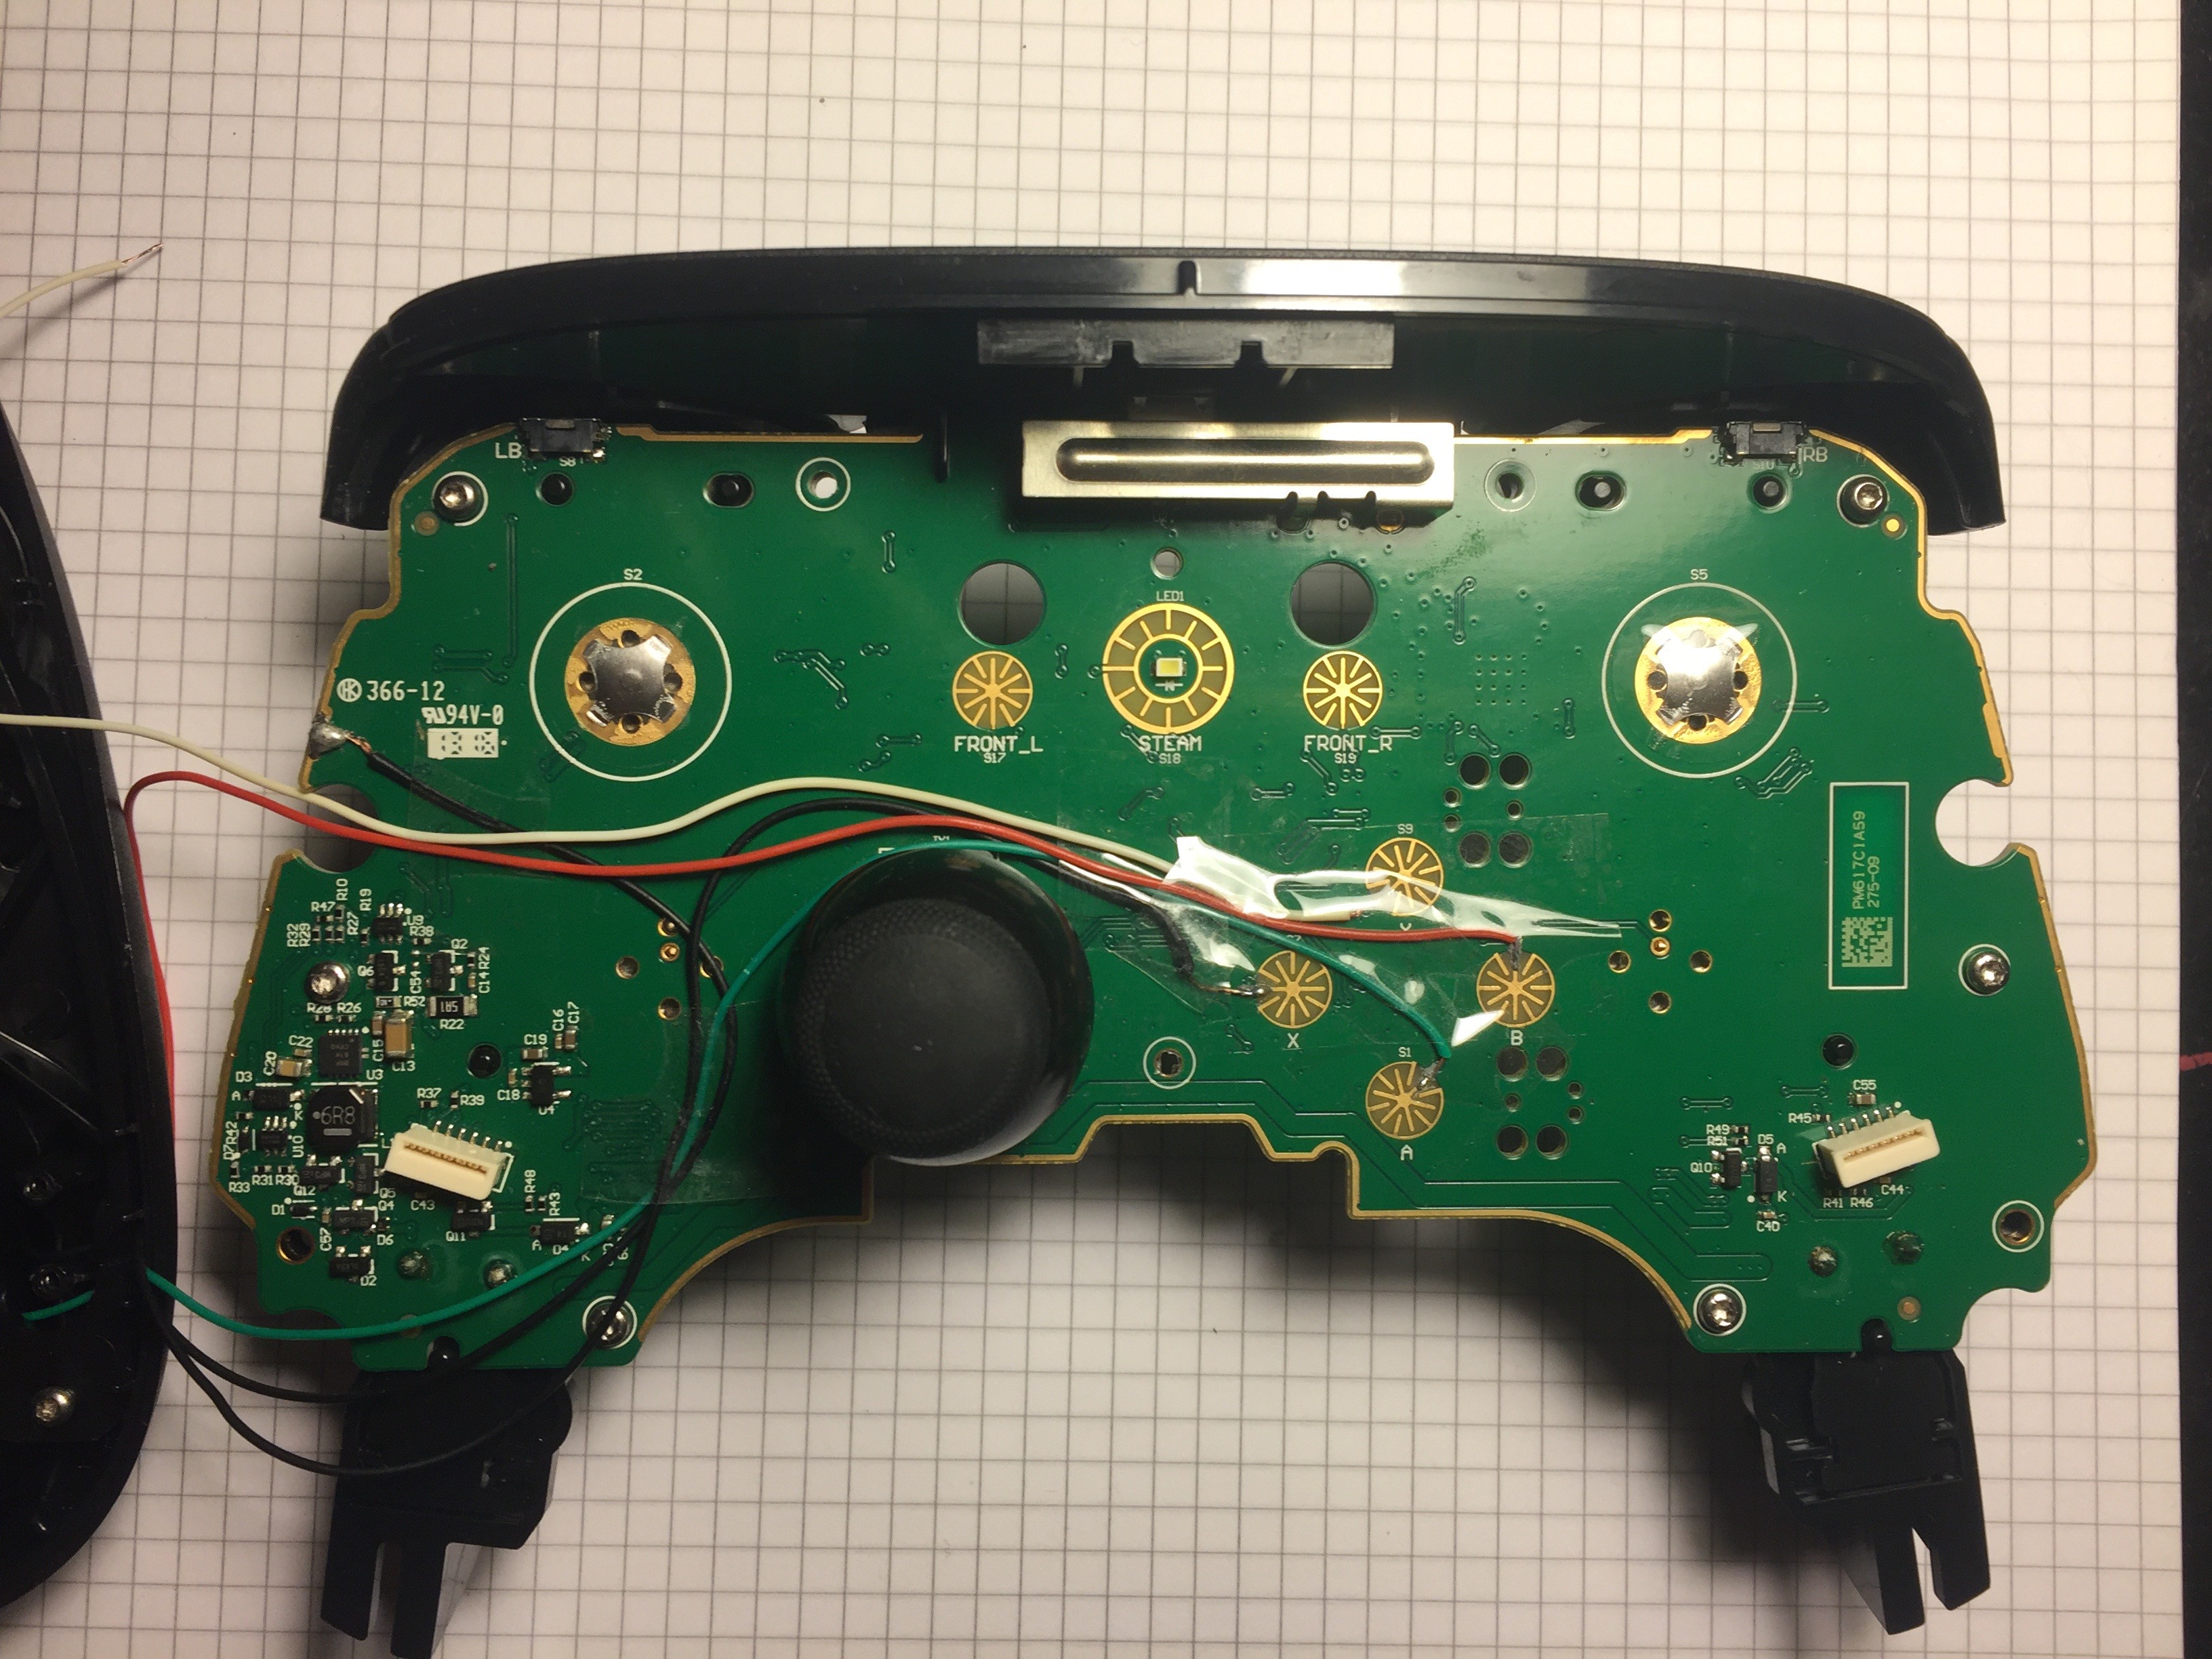
Luckily, every inner star has one "exit" from the outer circle. This is where i could solder a wire. Soldering paste saved my life: with a regular solder i wouldn't have managed to solder in such a thin area without touching the ground too!
![]()
I had to disable the original buttons by insulating the terminals, because they were making the controller crazy. I believe it's possible to make them work along with the "clones". This will be project's next stage.
![]()
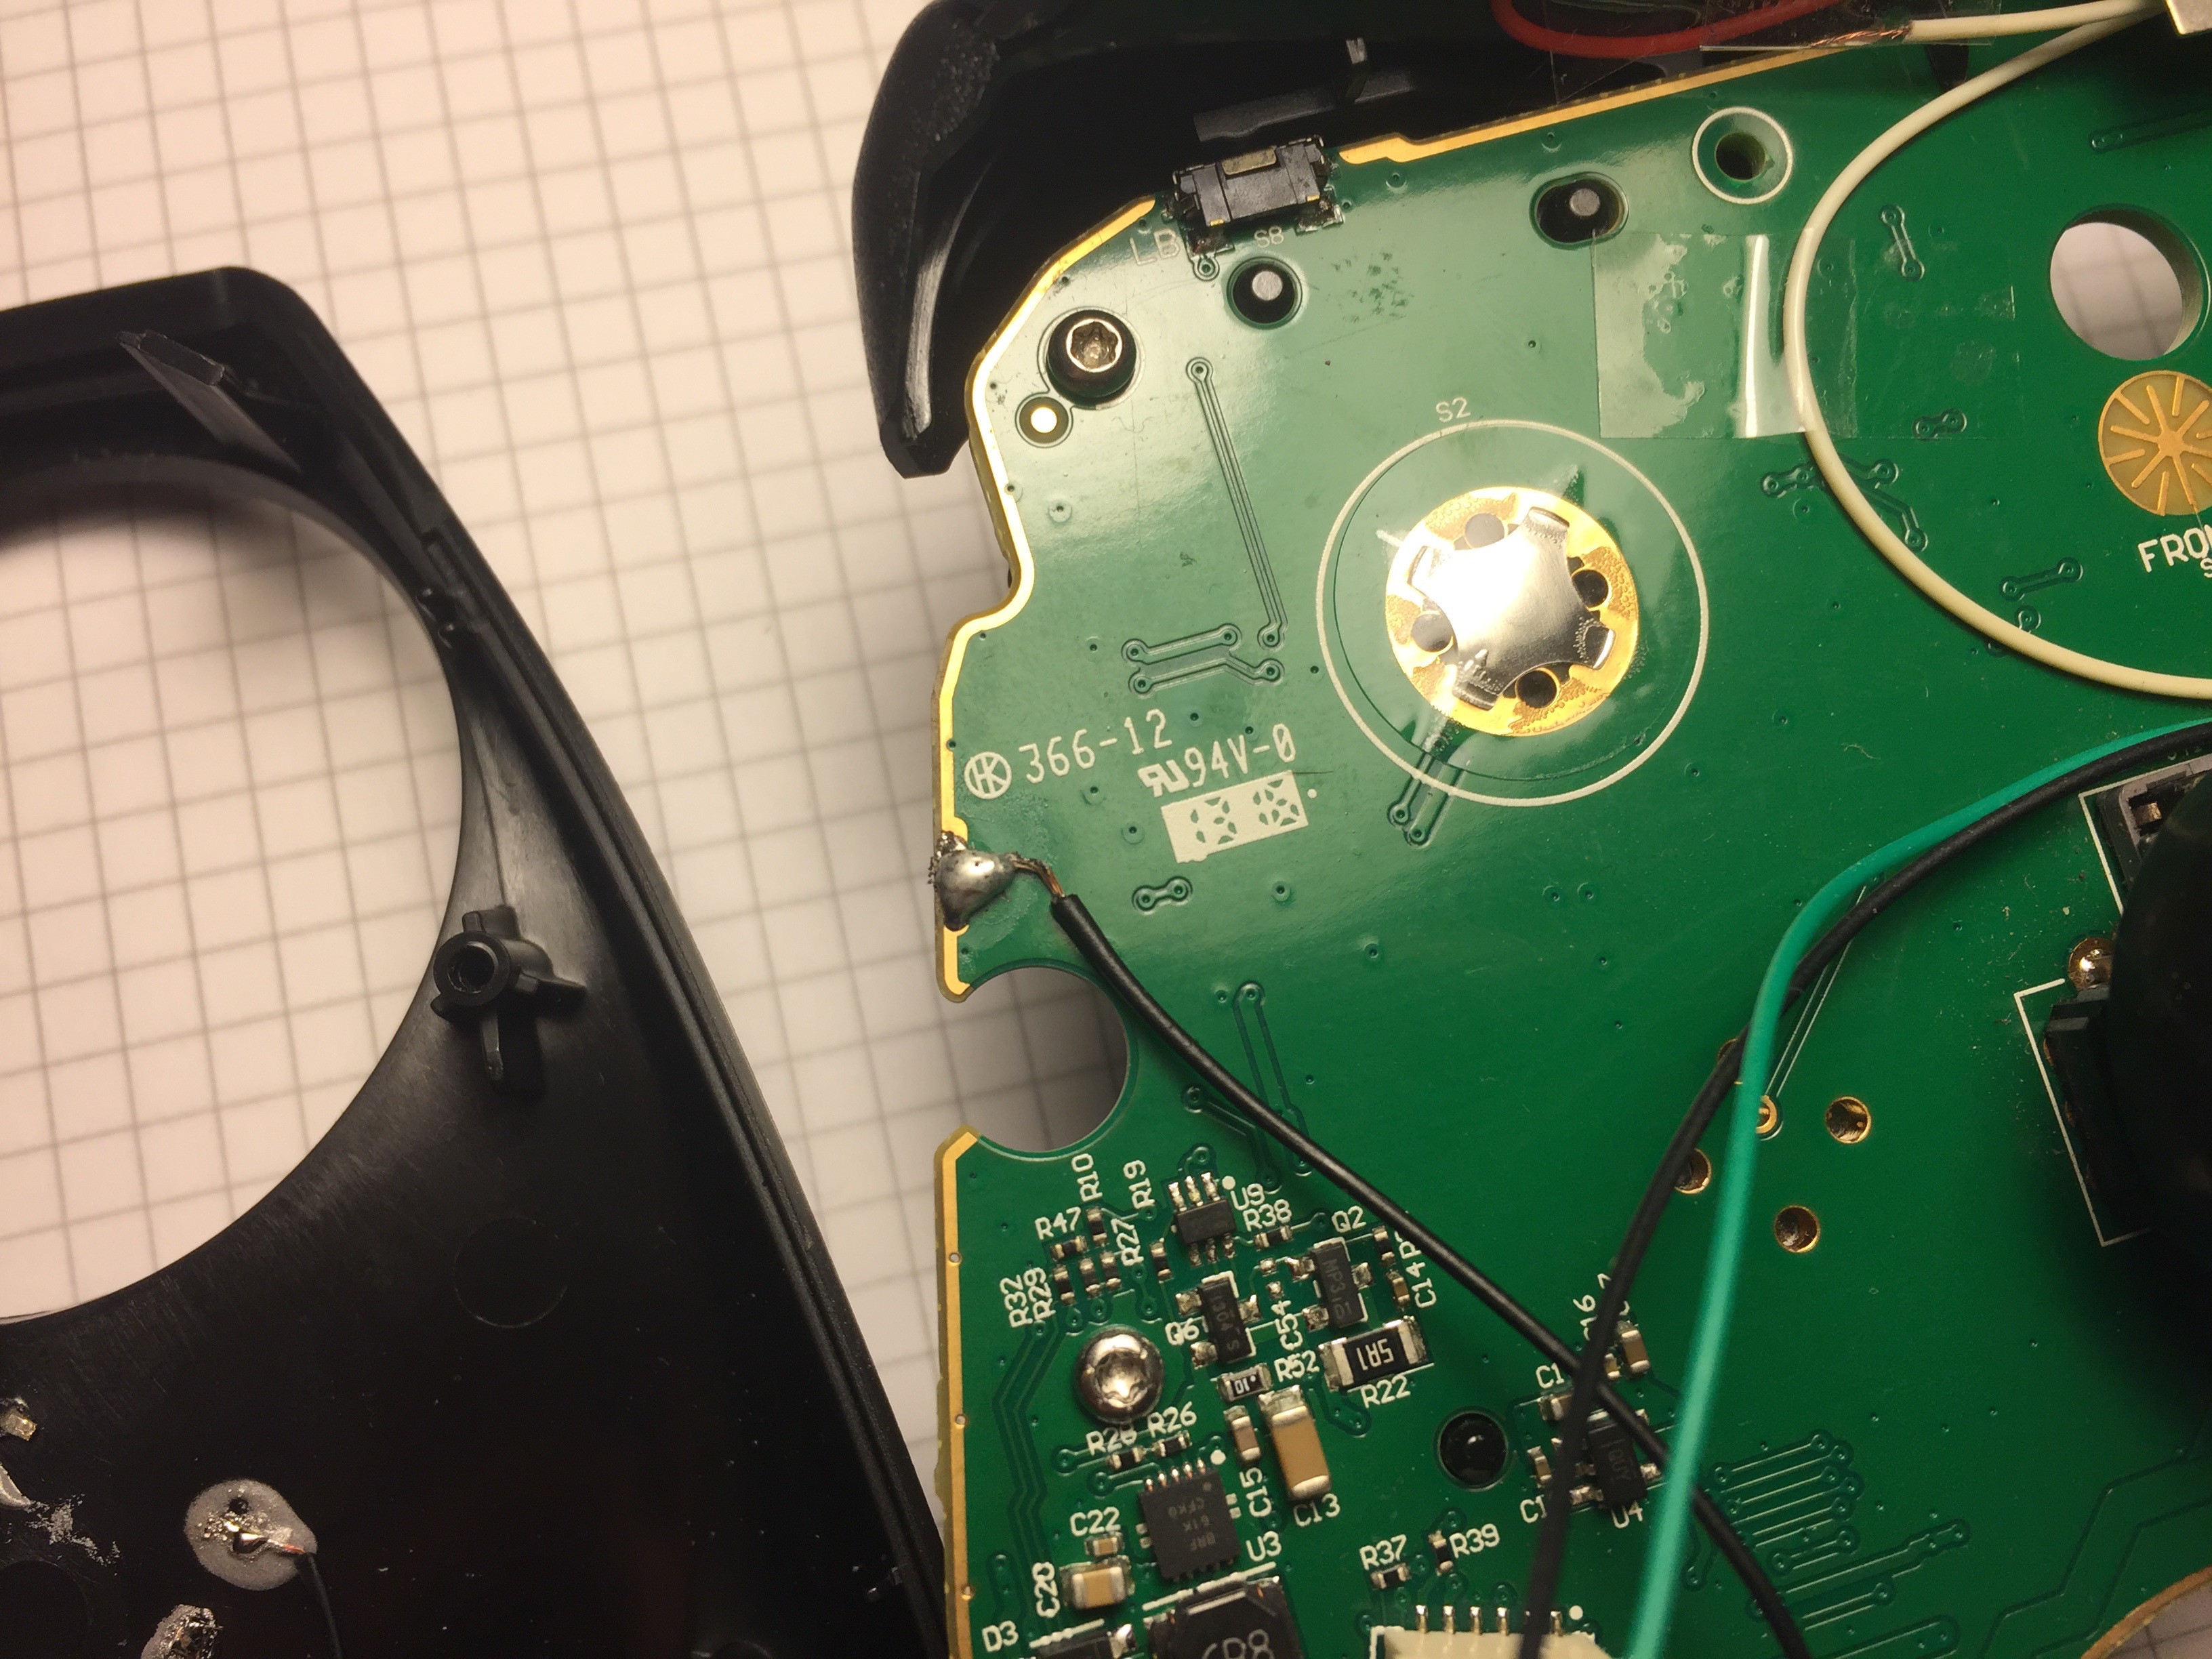
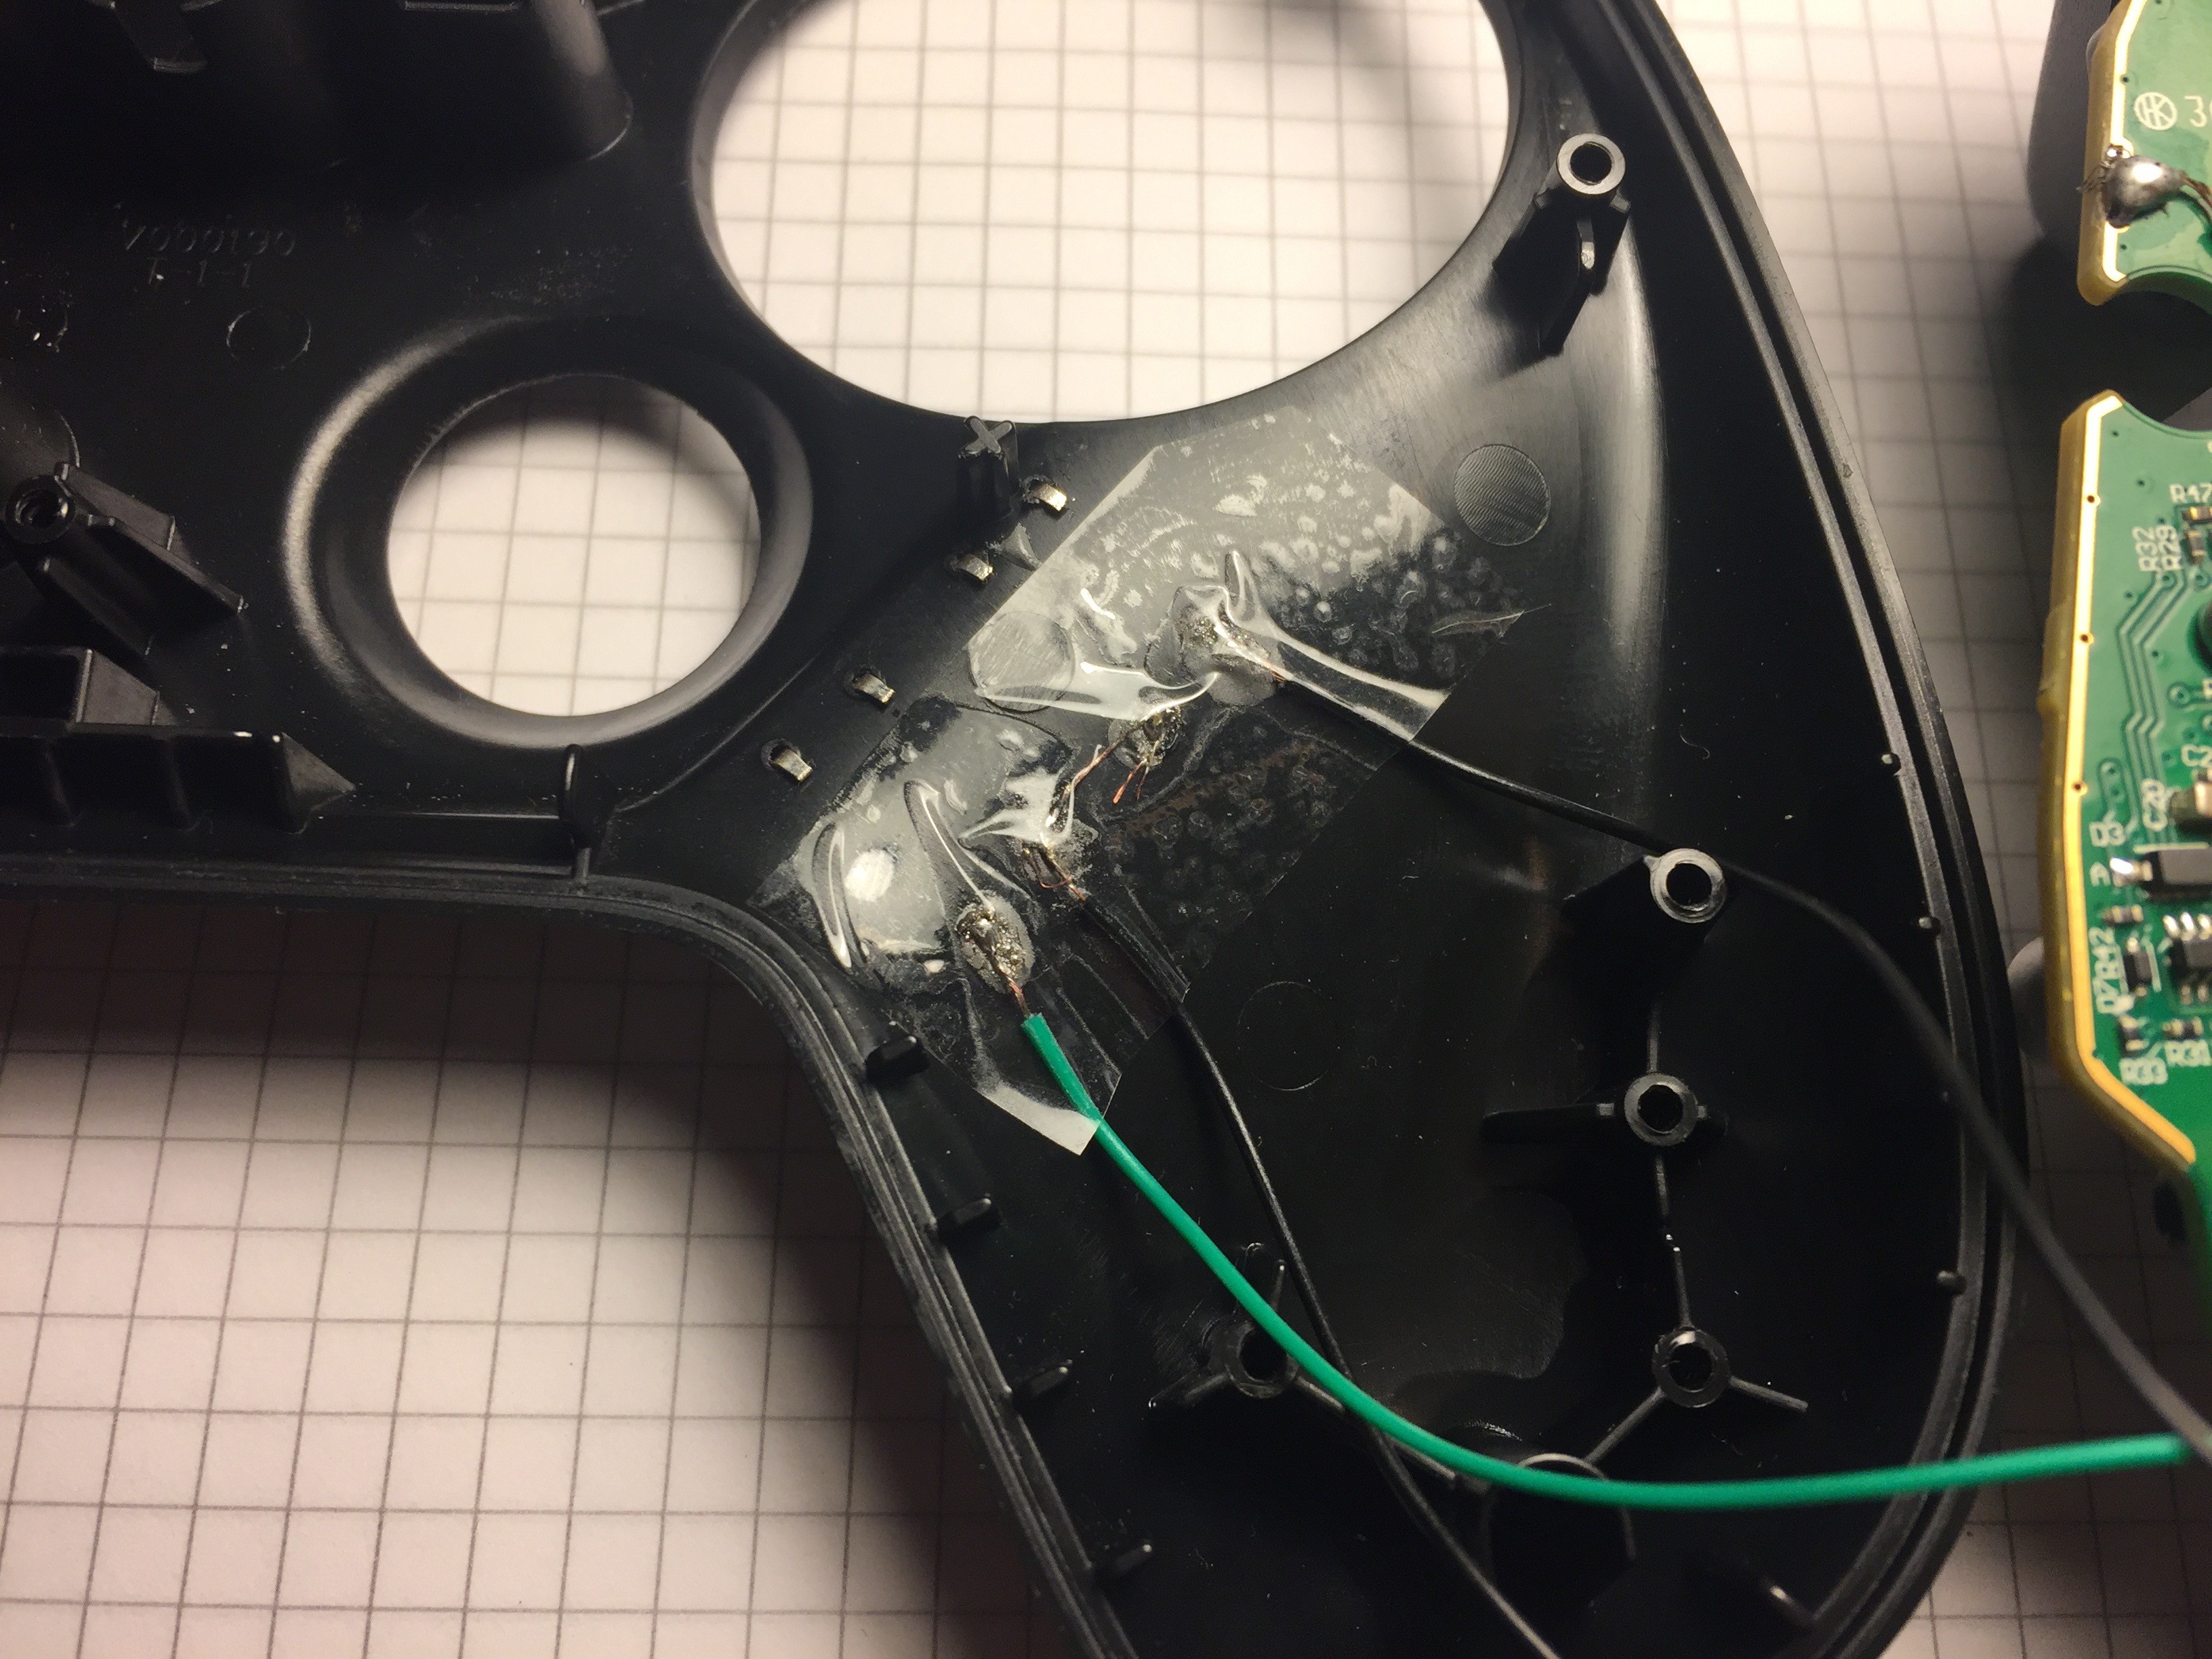
For the ground, i chose a wider metal edge one the left side of the circuit board.
![]()
This is what happens when i use a regular solder... The bump didn't seem to obstruct anything, so i left it there.
-
3Placing the front buttons
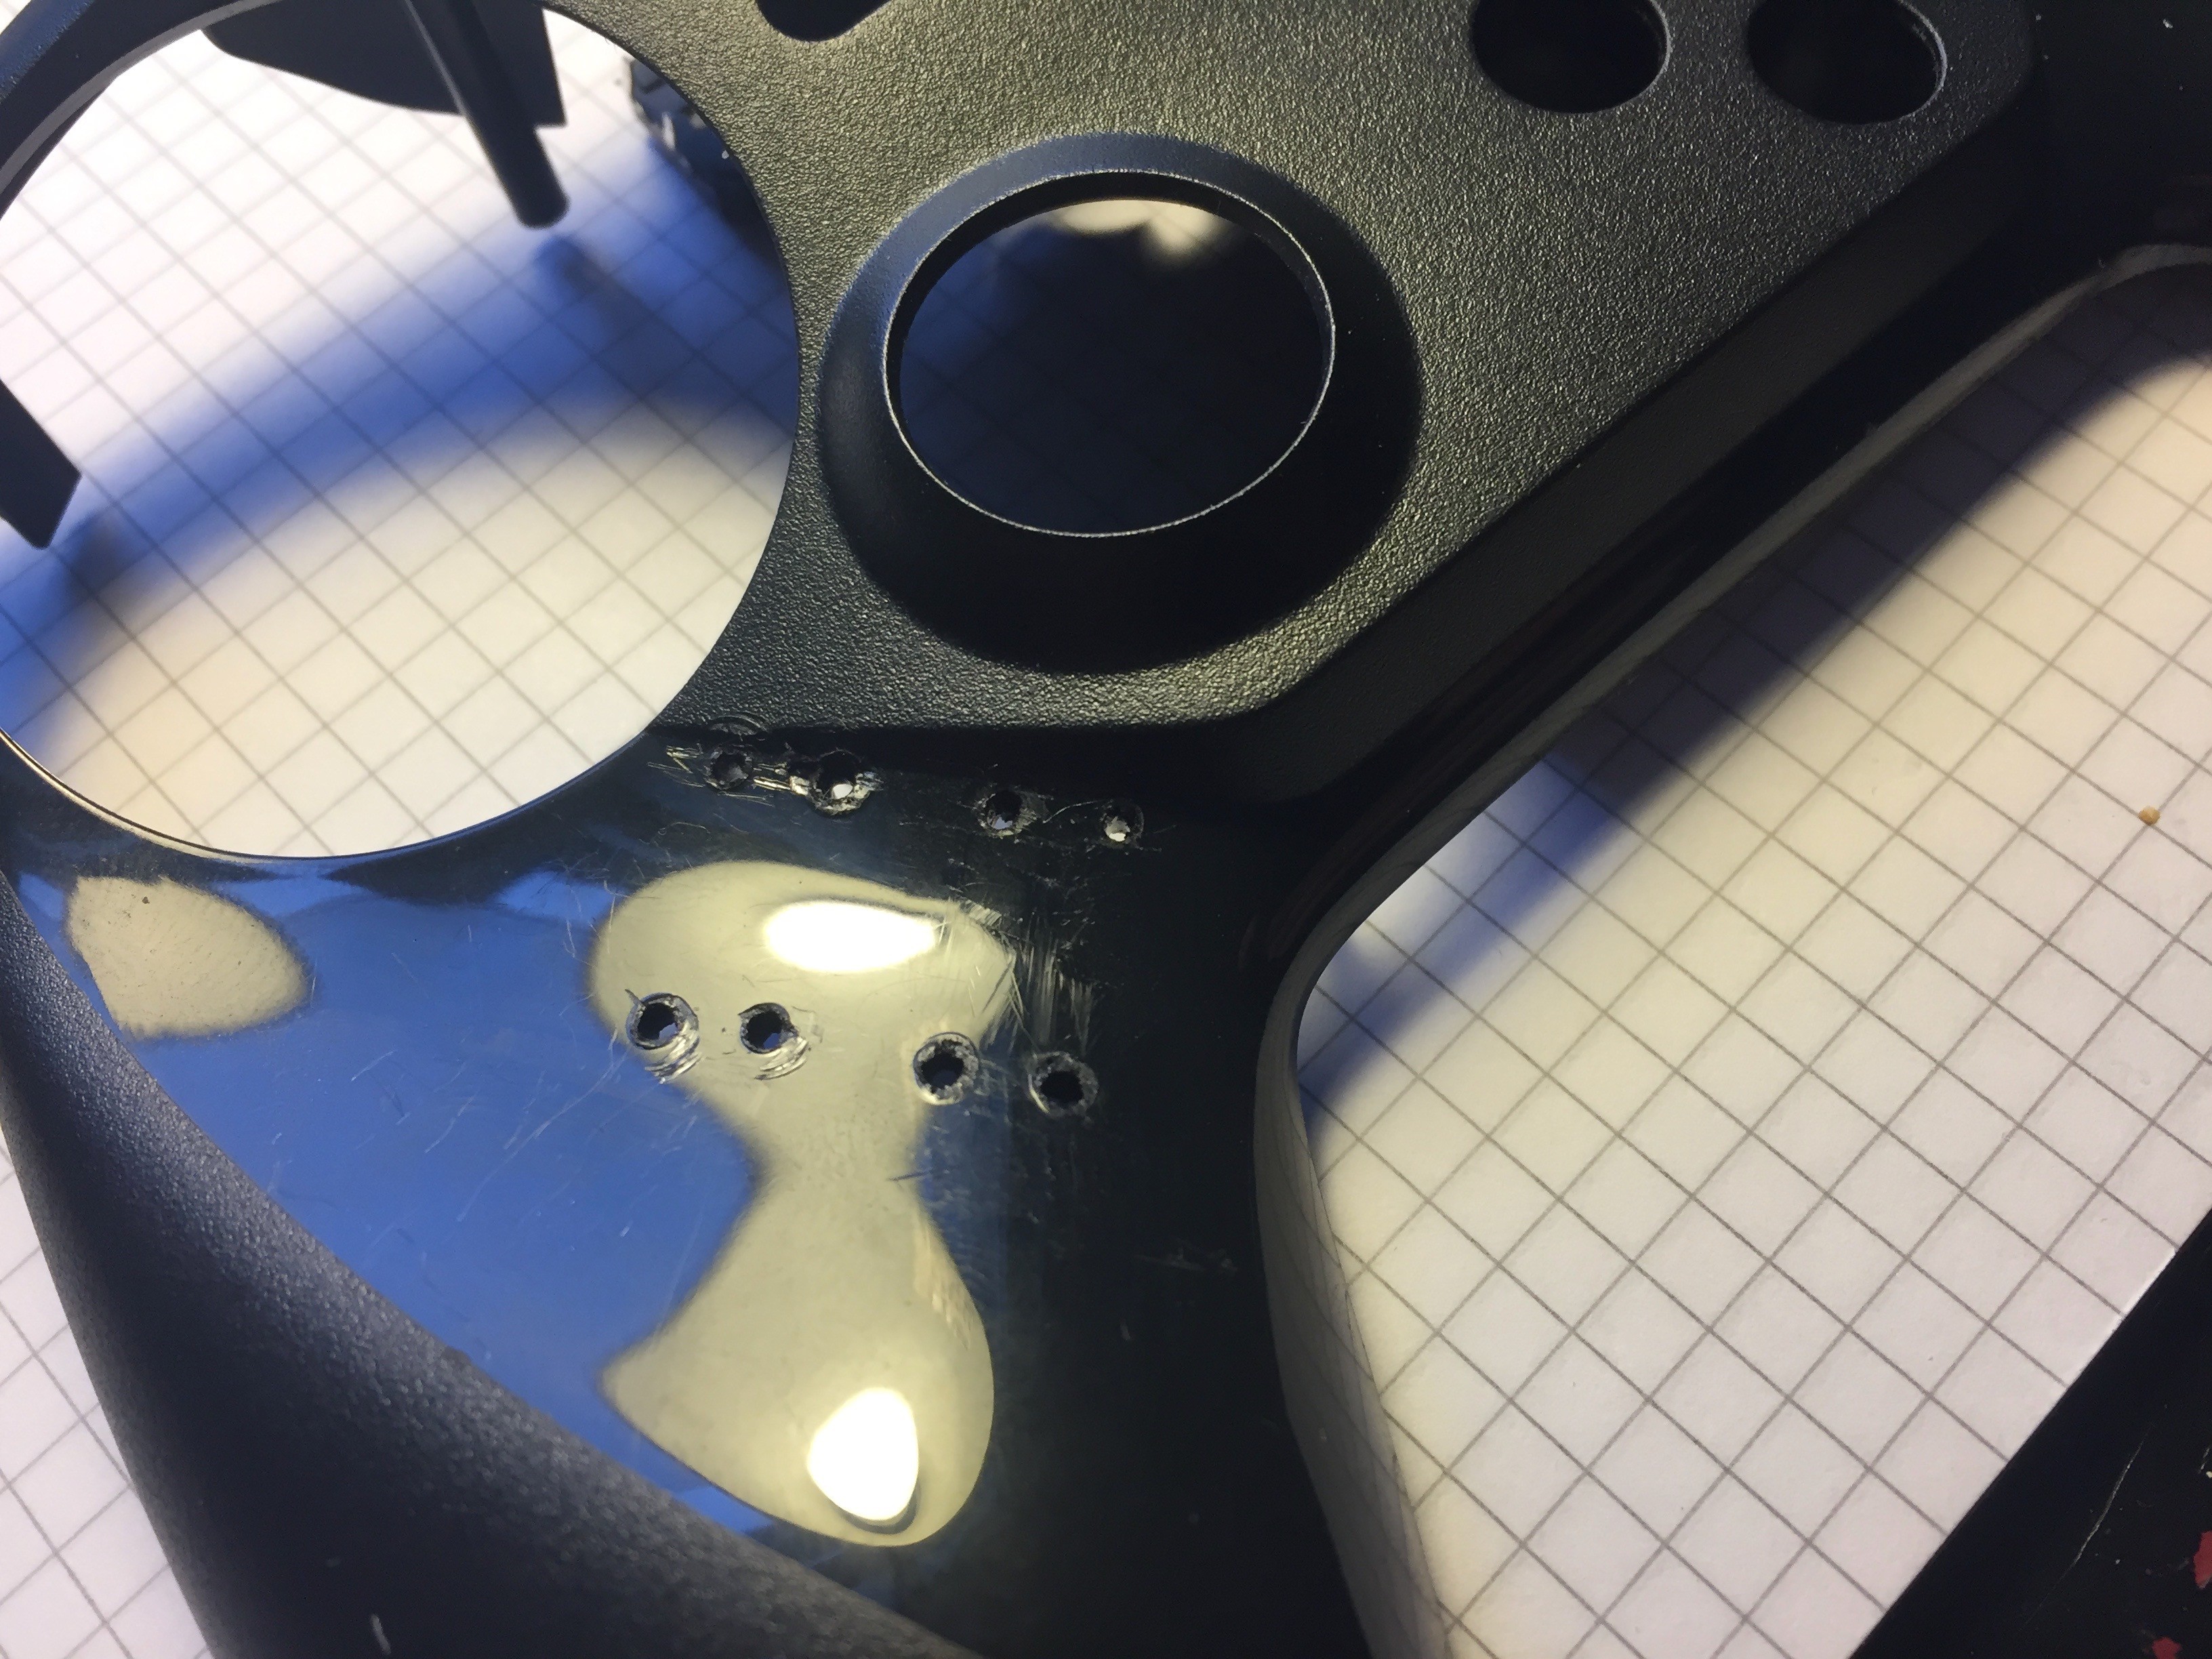
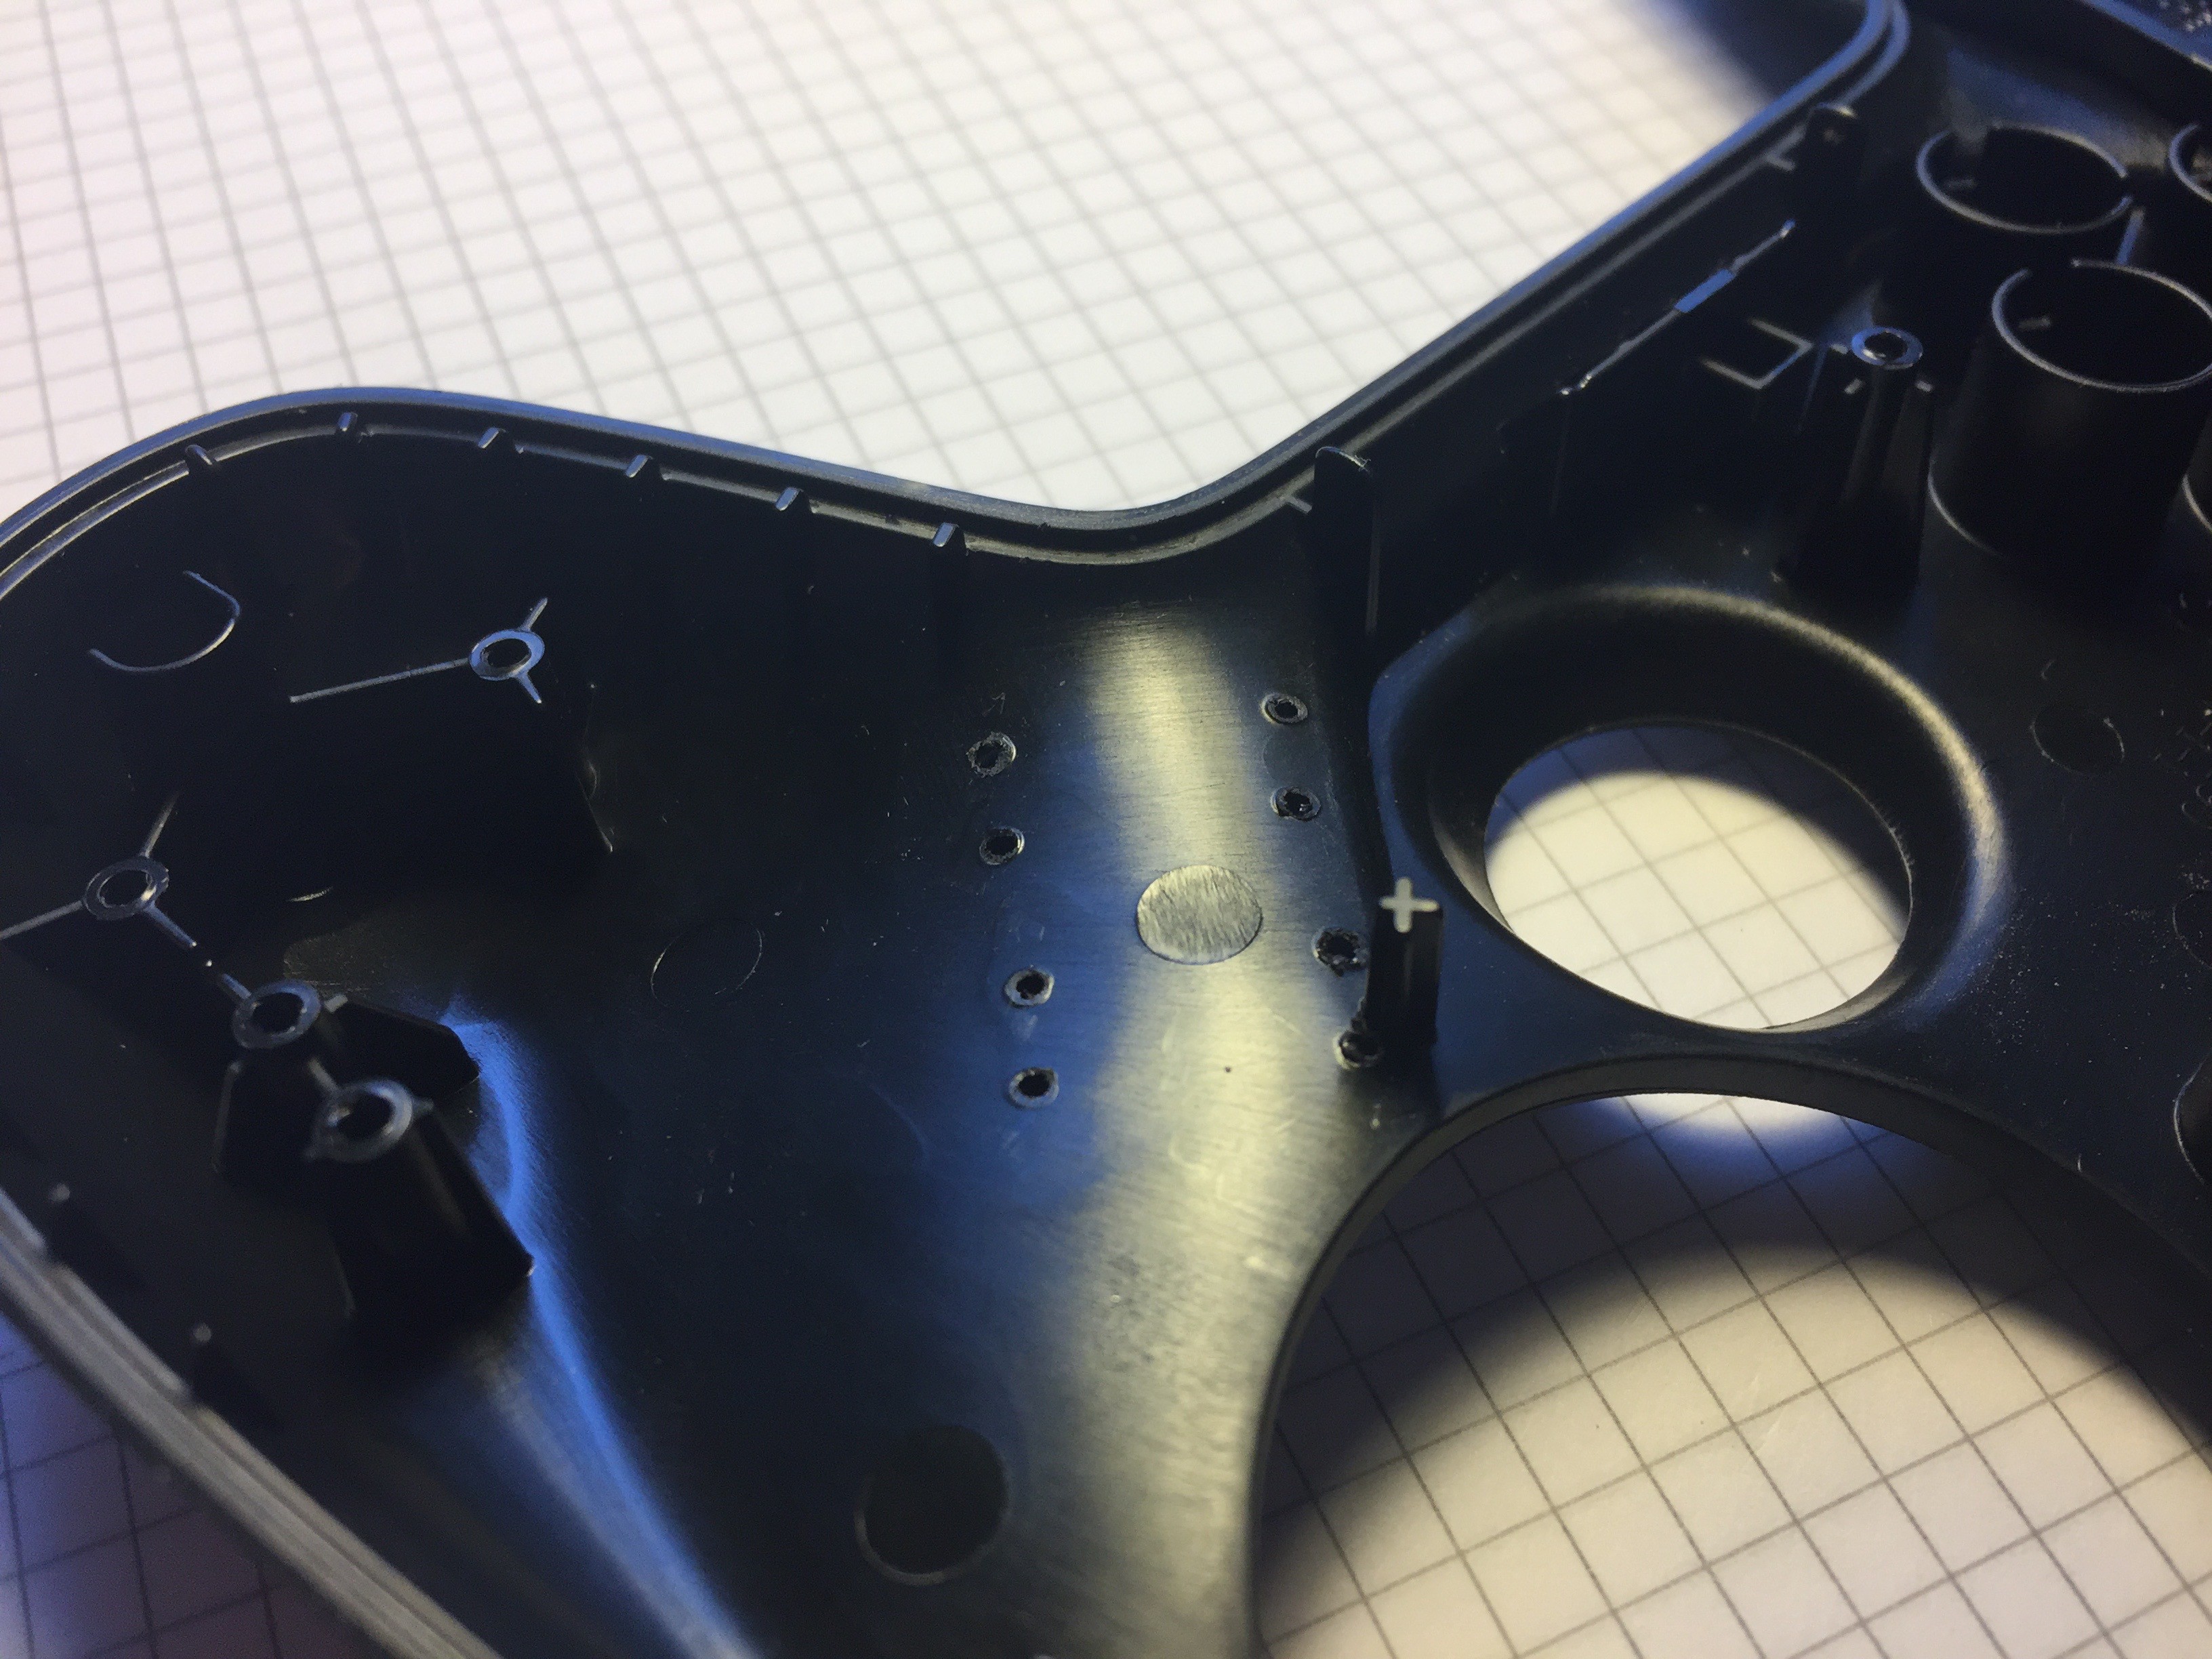
I used a soldering iron and a pricker to make the holes.
![]()
![]()
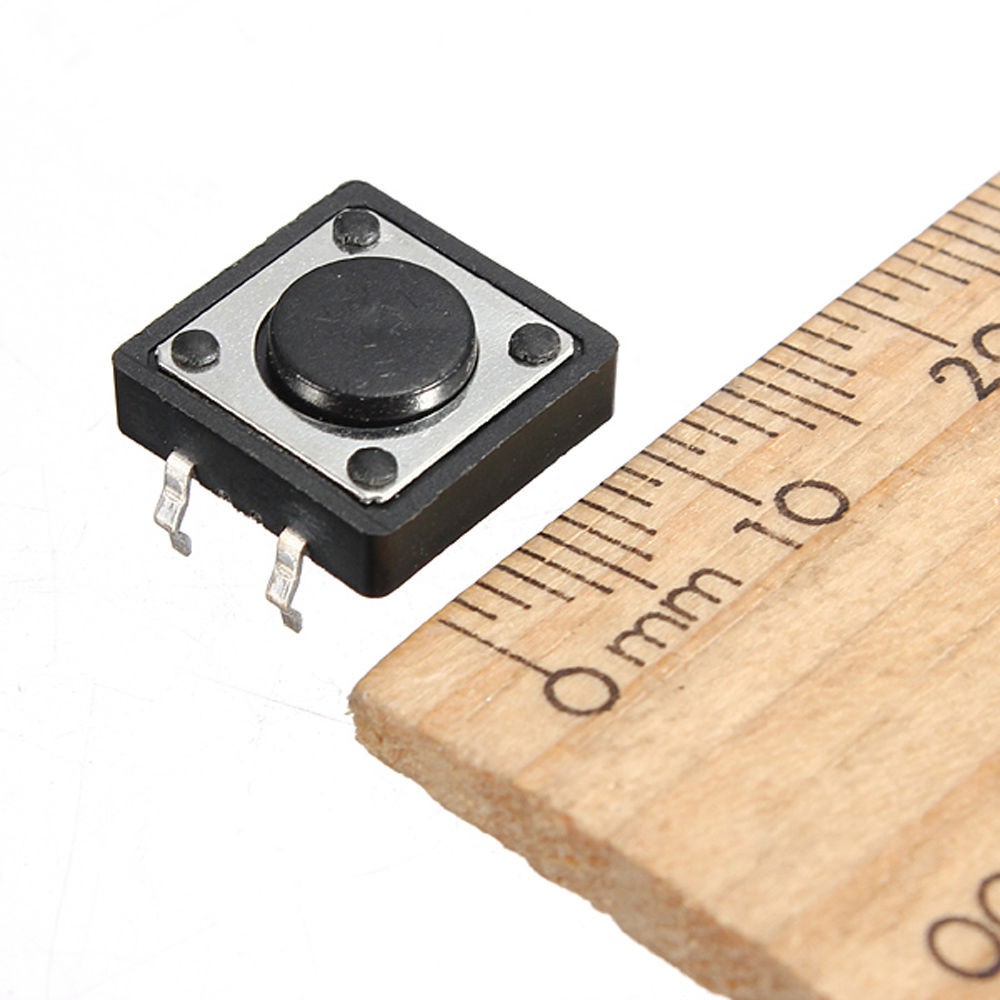
I chose 12 x 12 x 4.3 mm momentary switches, the thinnest buttons i could find on Ebay.
![]()
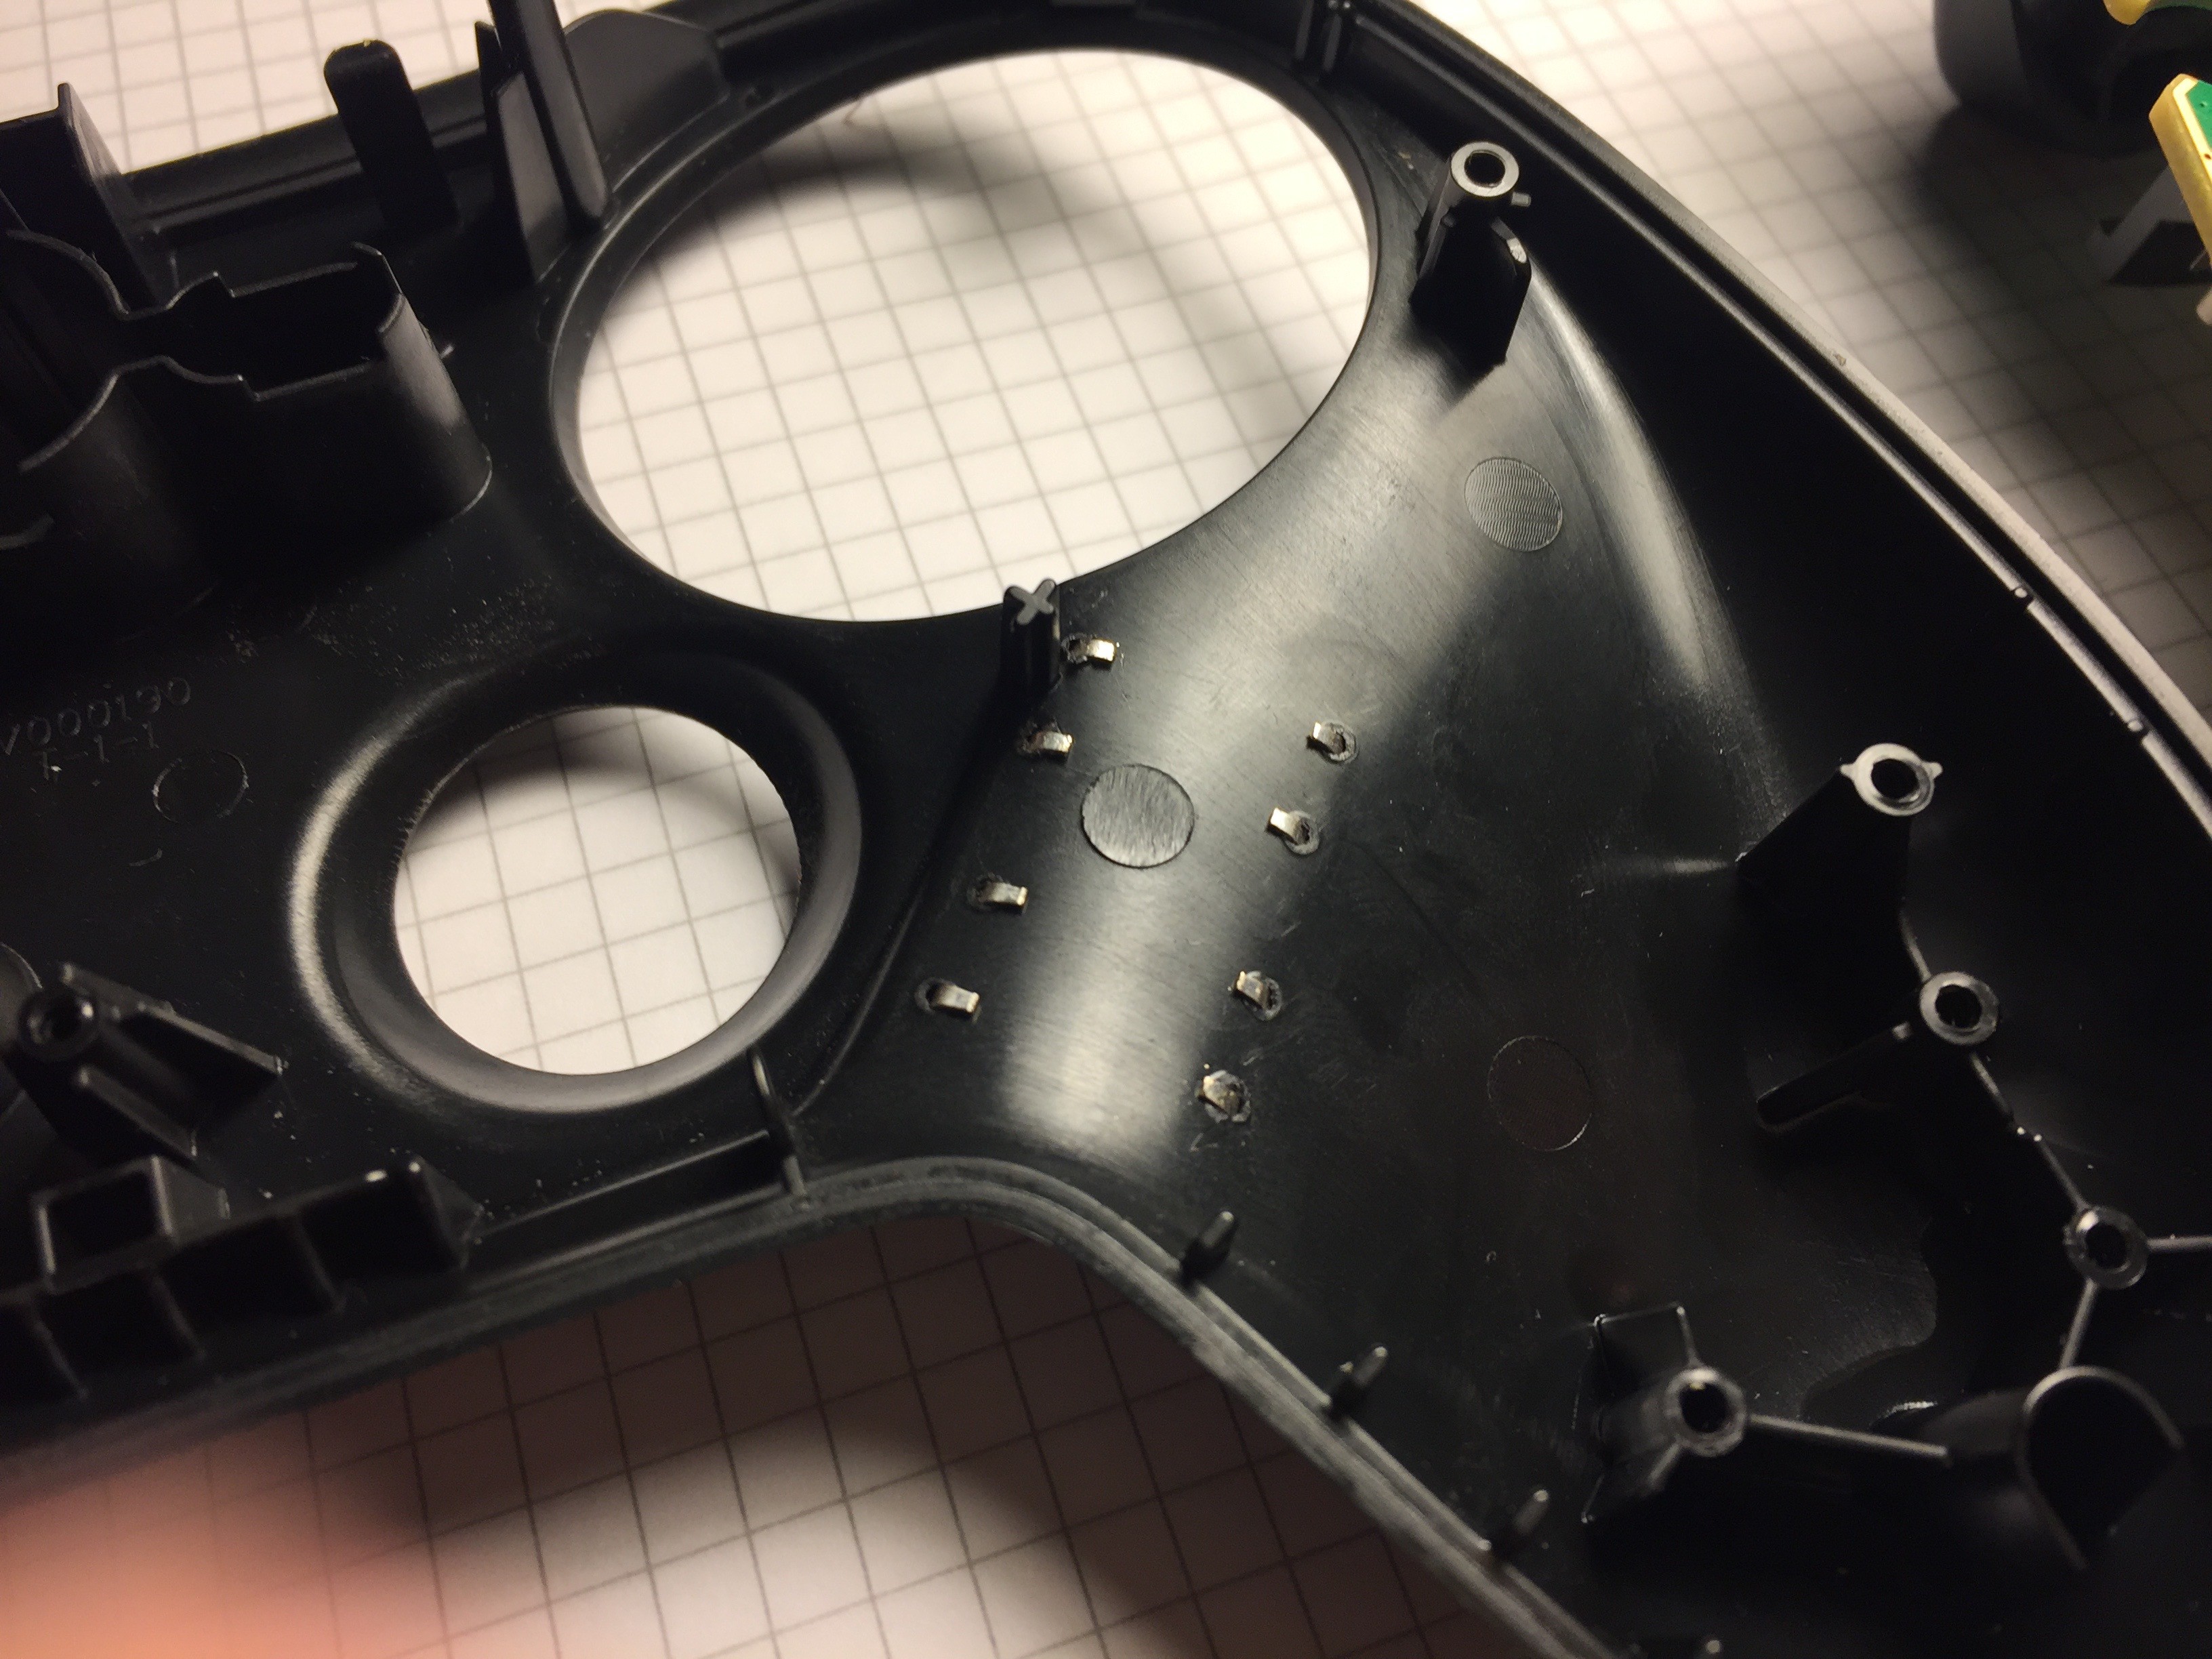
Pins of the buttons squeezed through the holes tightly, buttons look stable after i bent the pins inwards. If it loosens up later, i'll use a glue.
![]()
![]()
-
4Soldering wires to the front buttons
The black wire that connects pins of both buttons is the ground. Could have used another color, maybe next time.
![]()
Office tape for insulation - everything has to stay thin.
![]()
Left touchpad back to the place. Looks like the pins don't bother it.
![]()
-
5Placing the bottom buttons
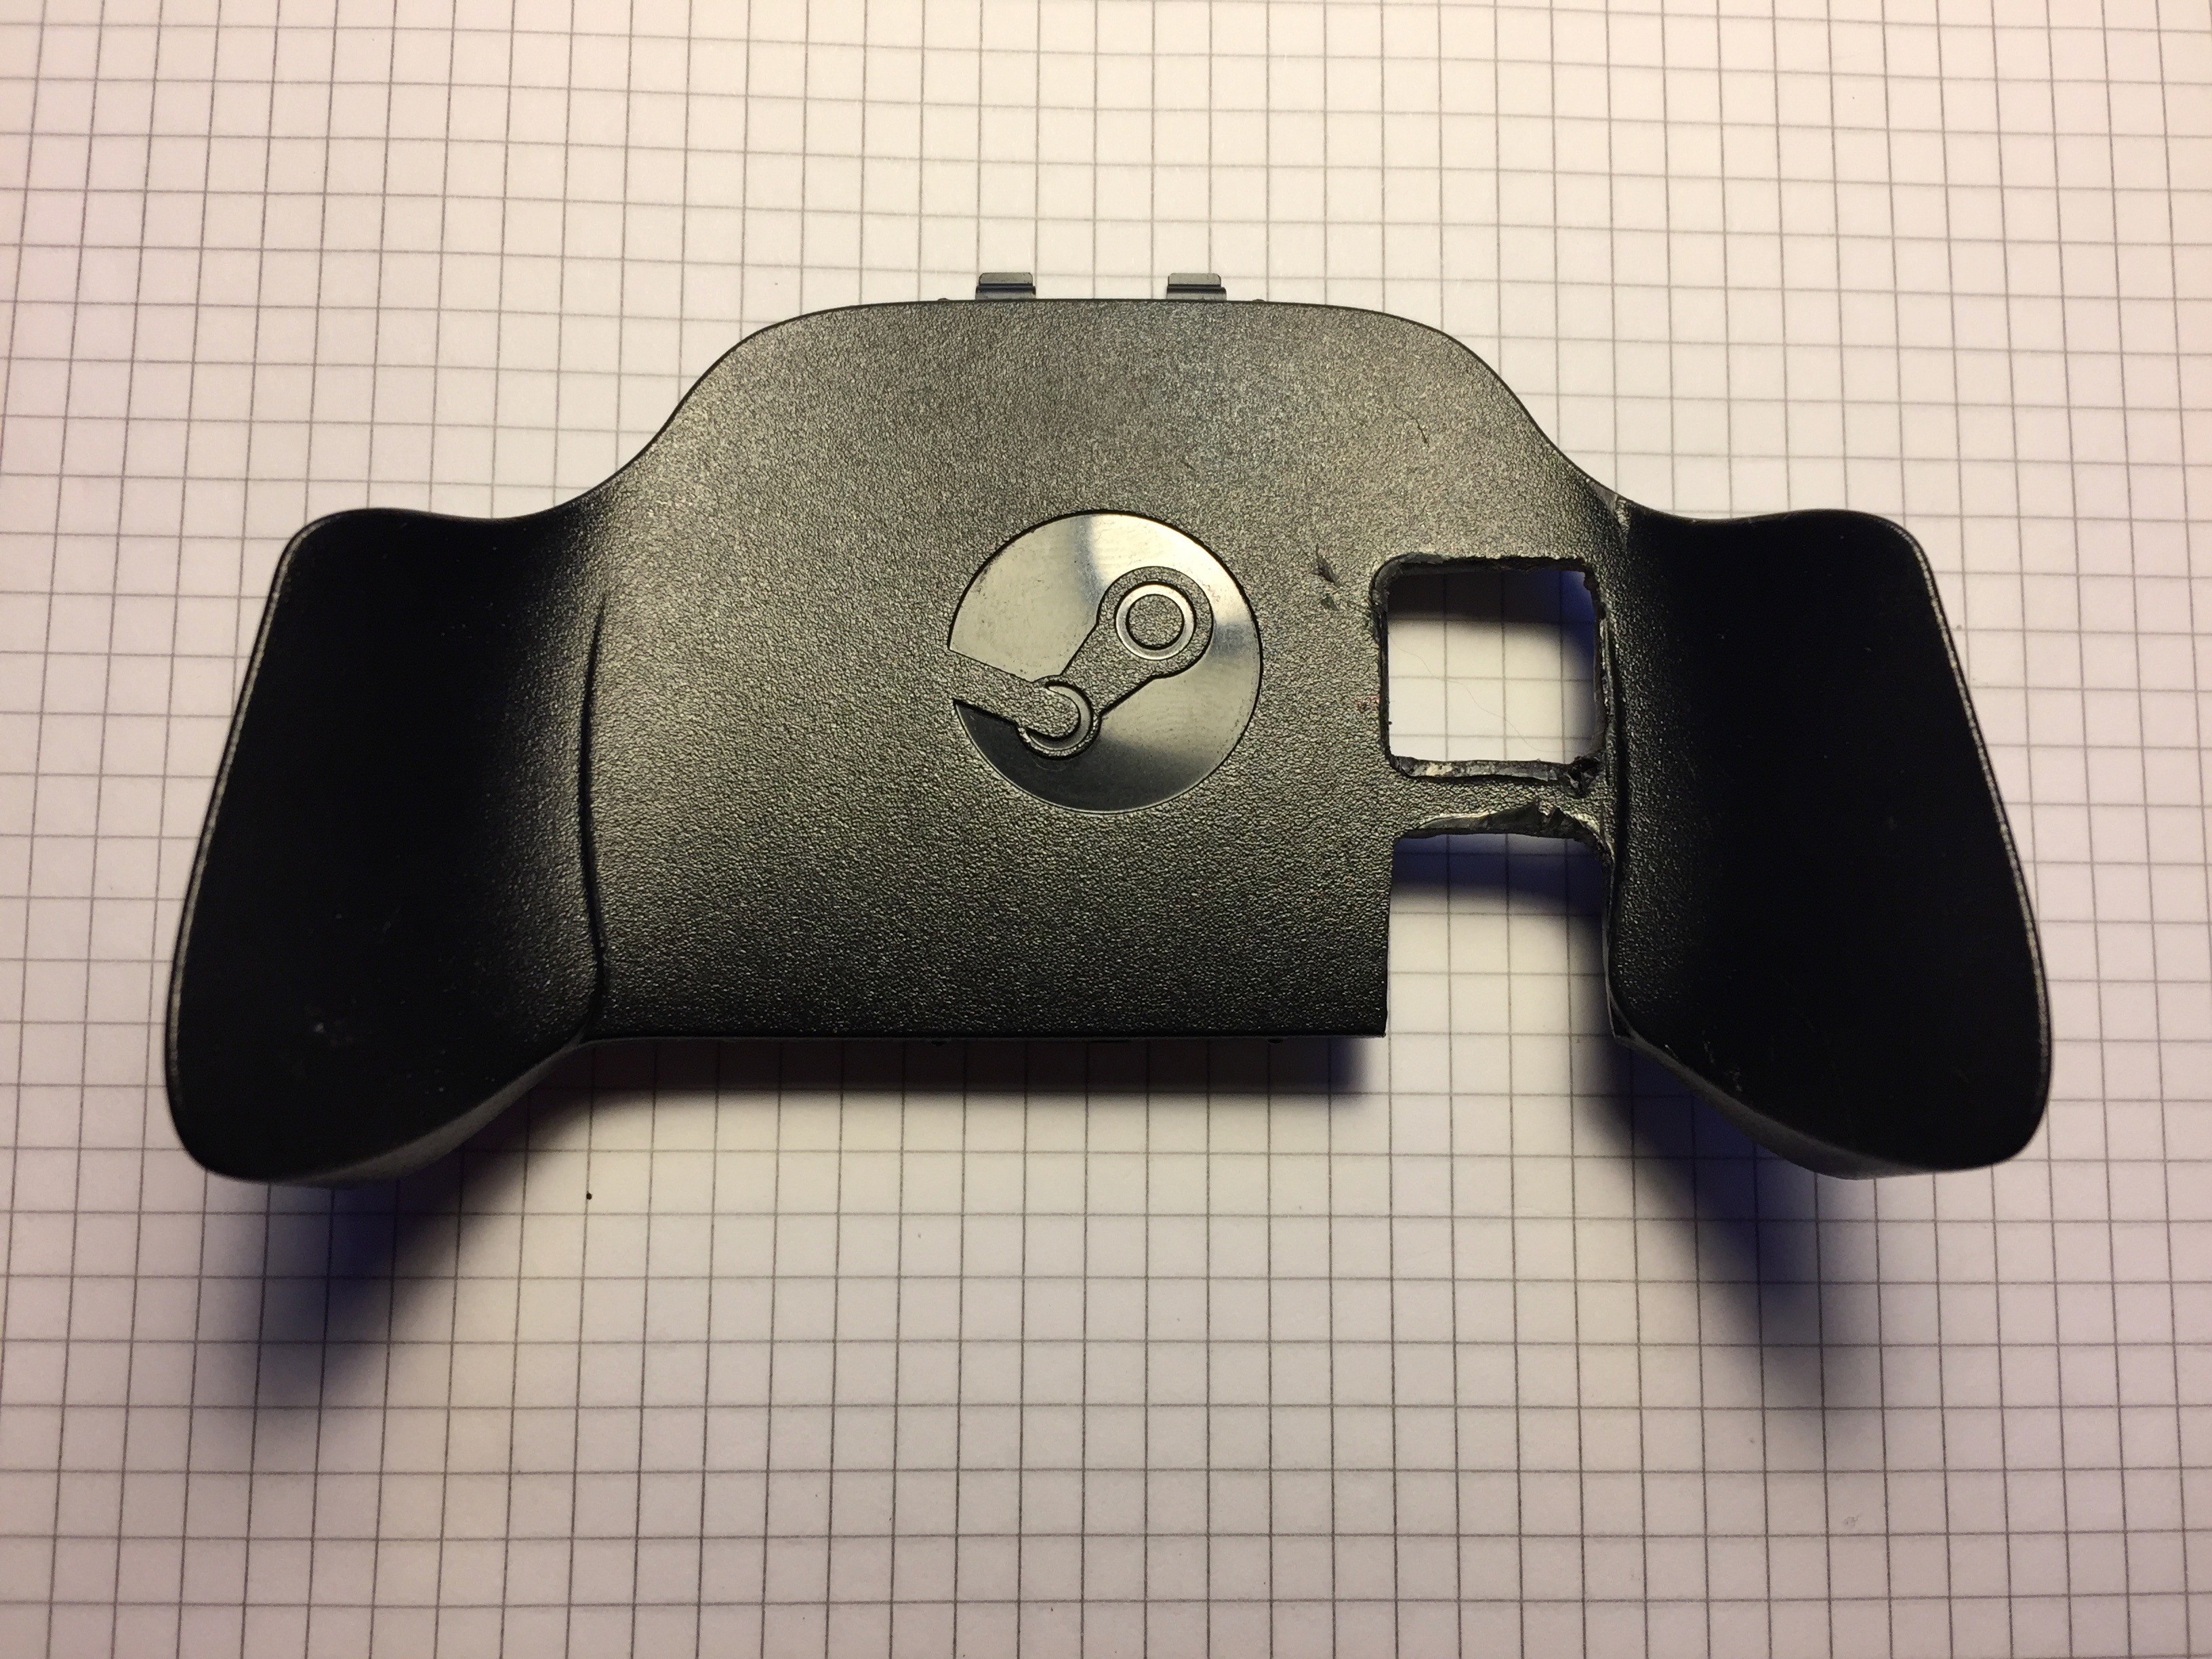
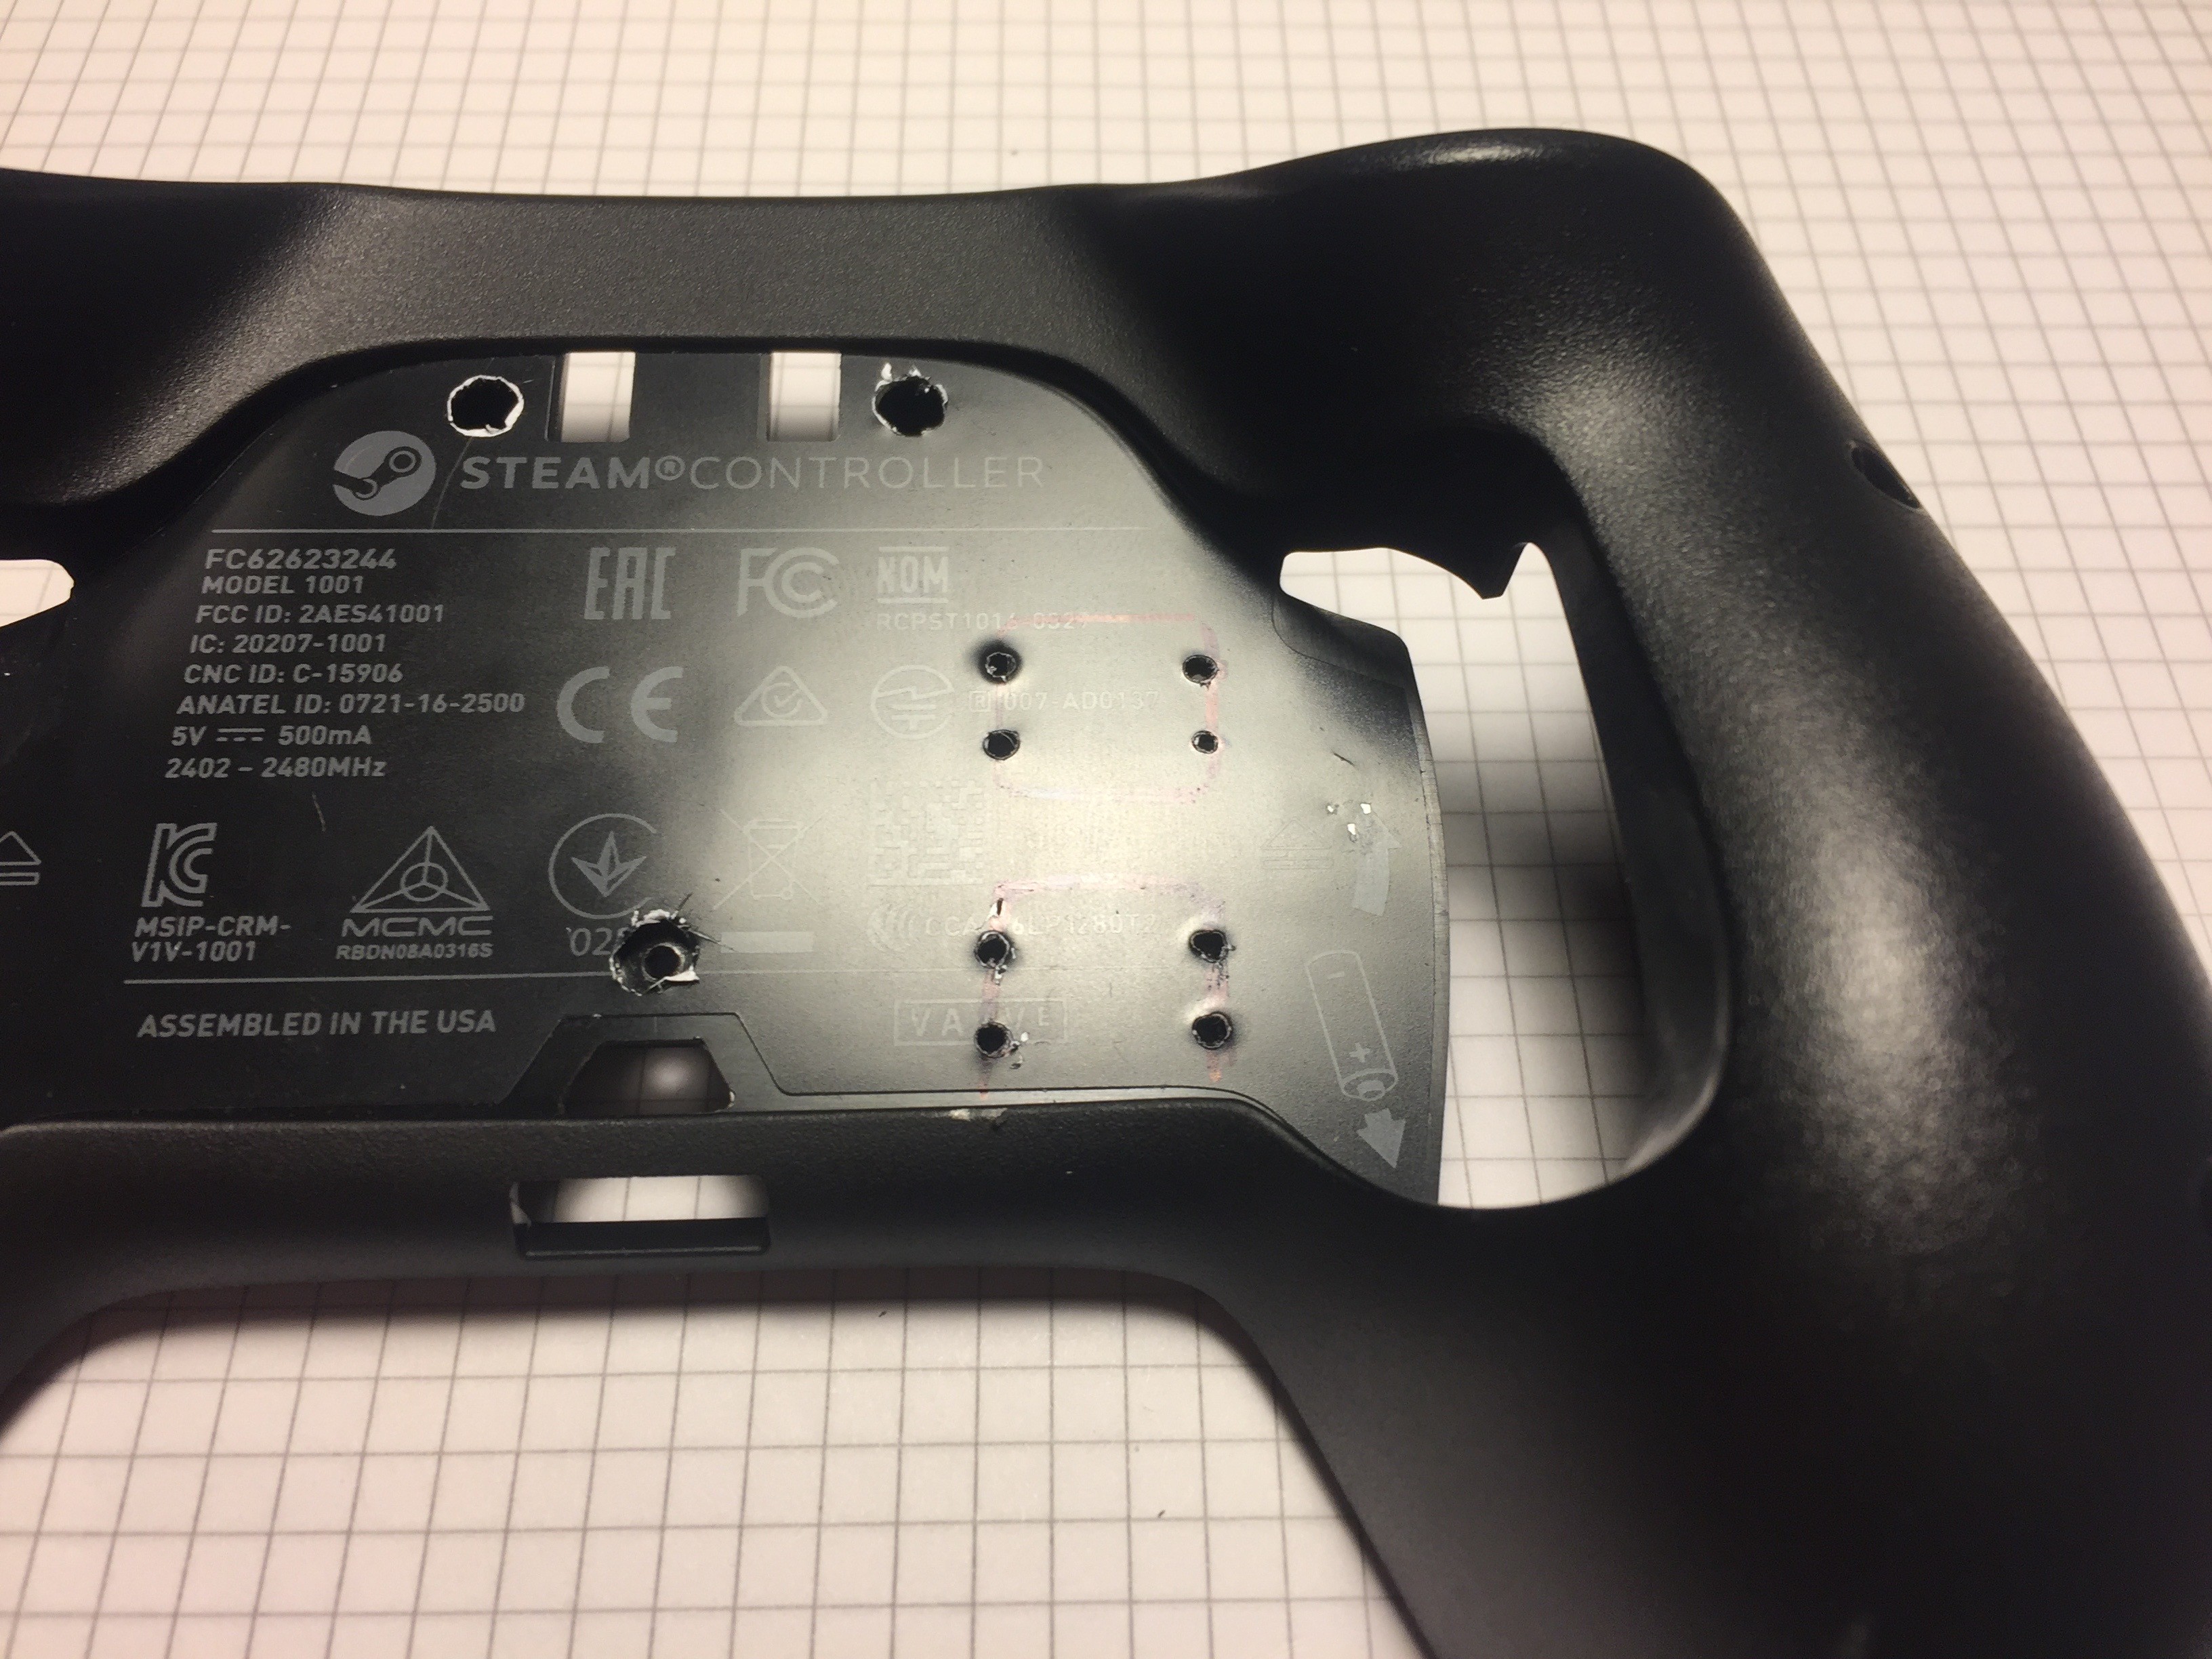
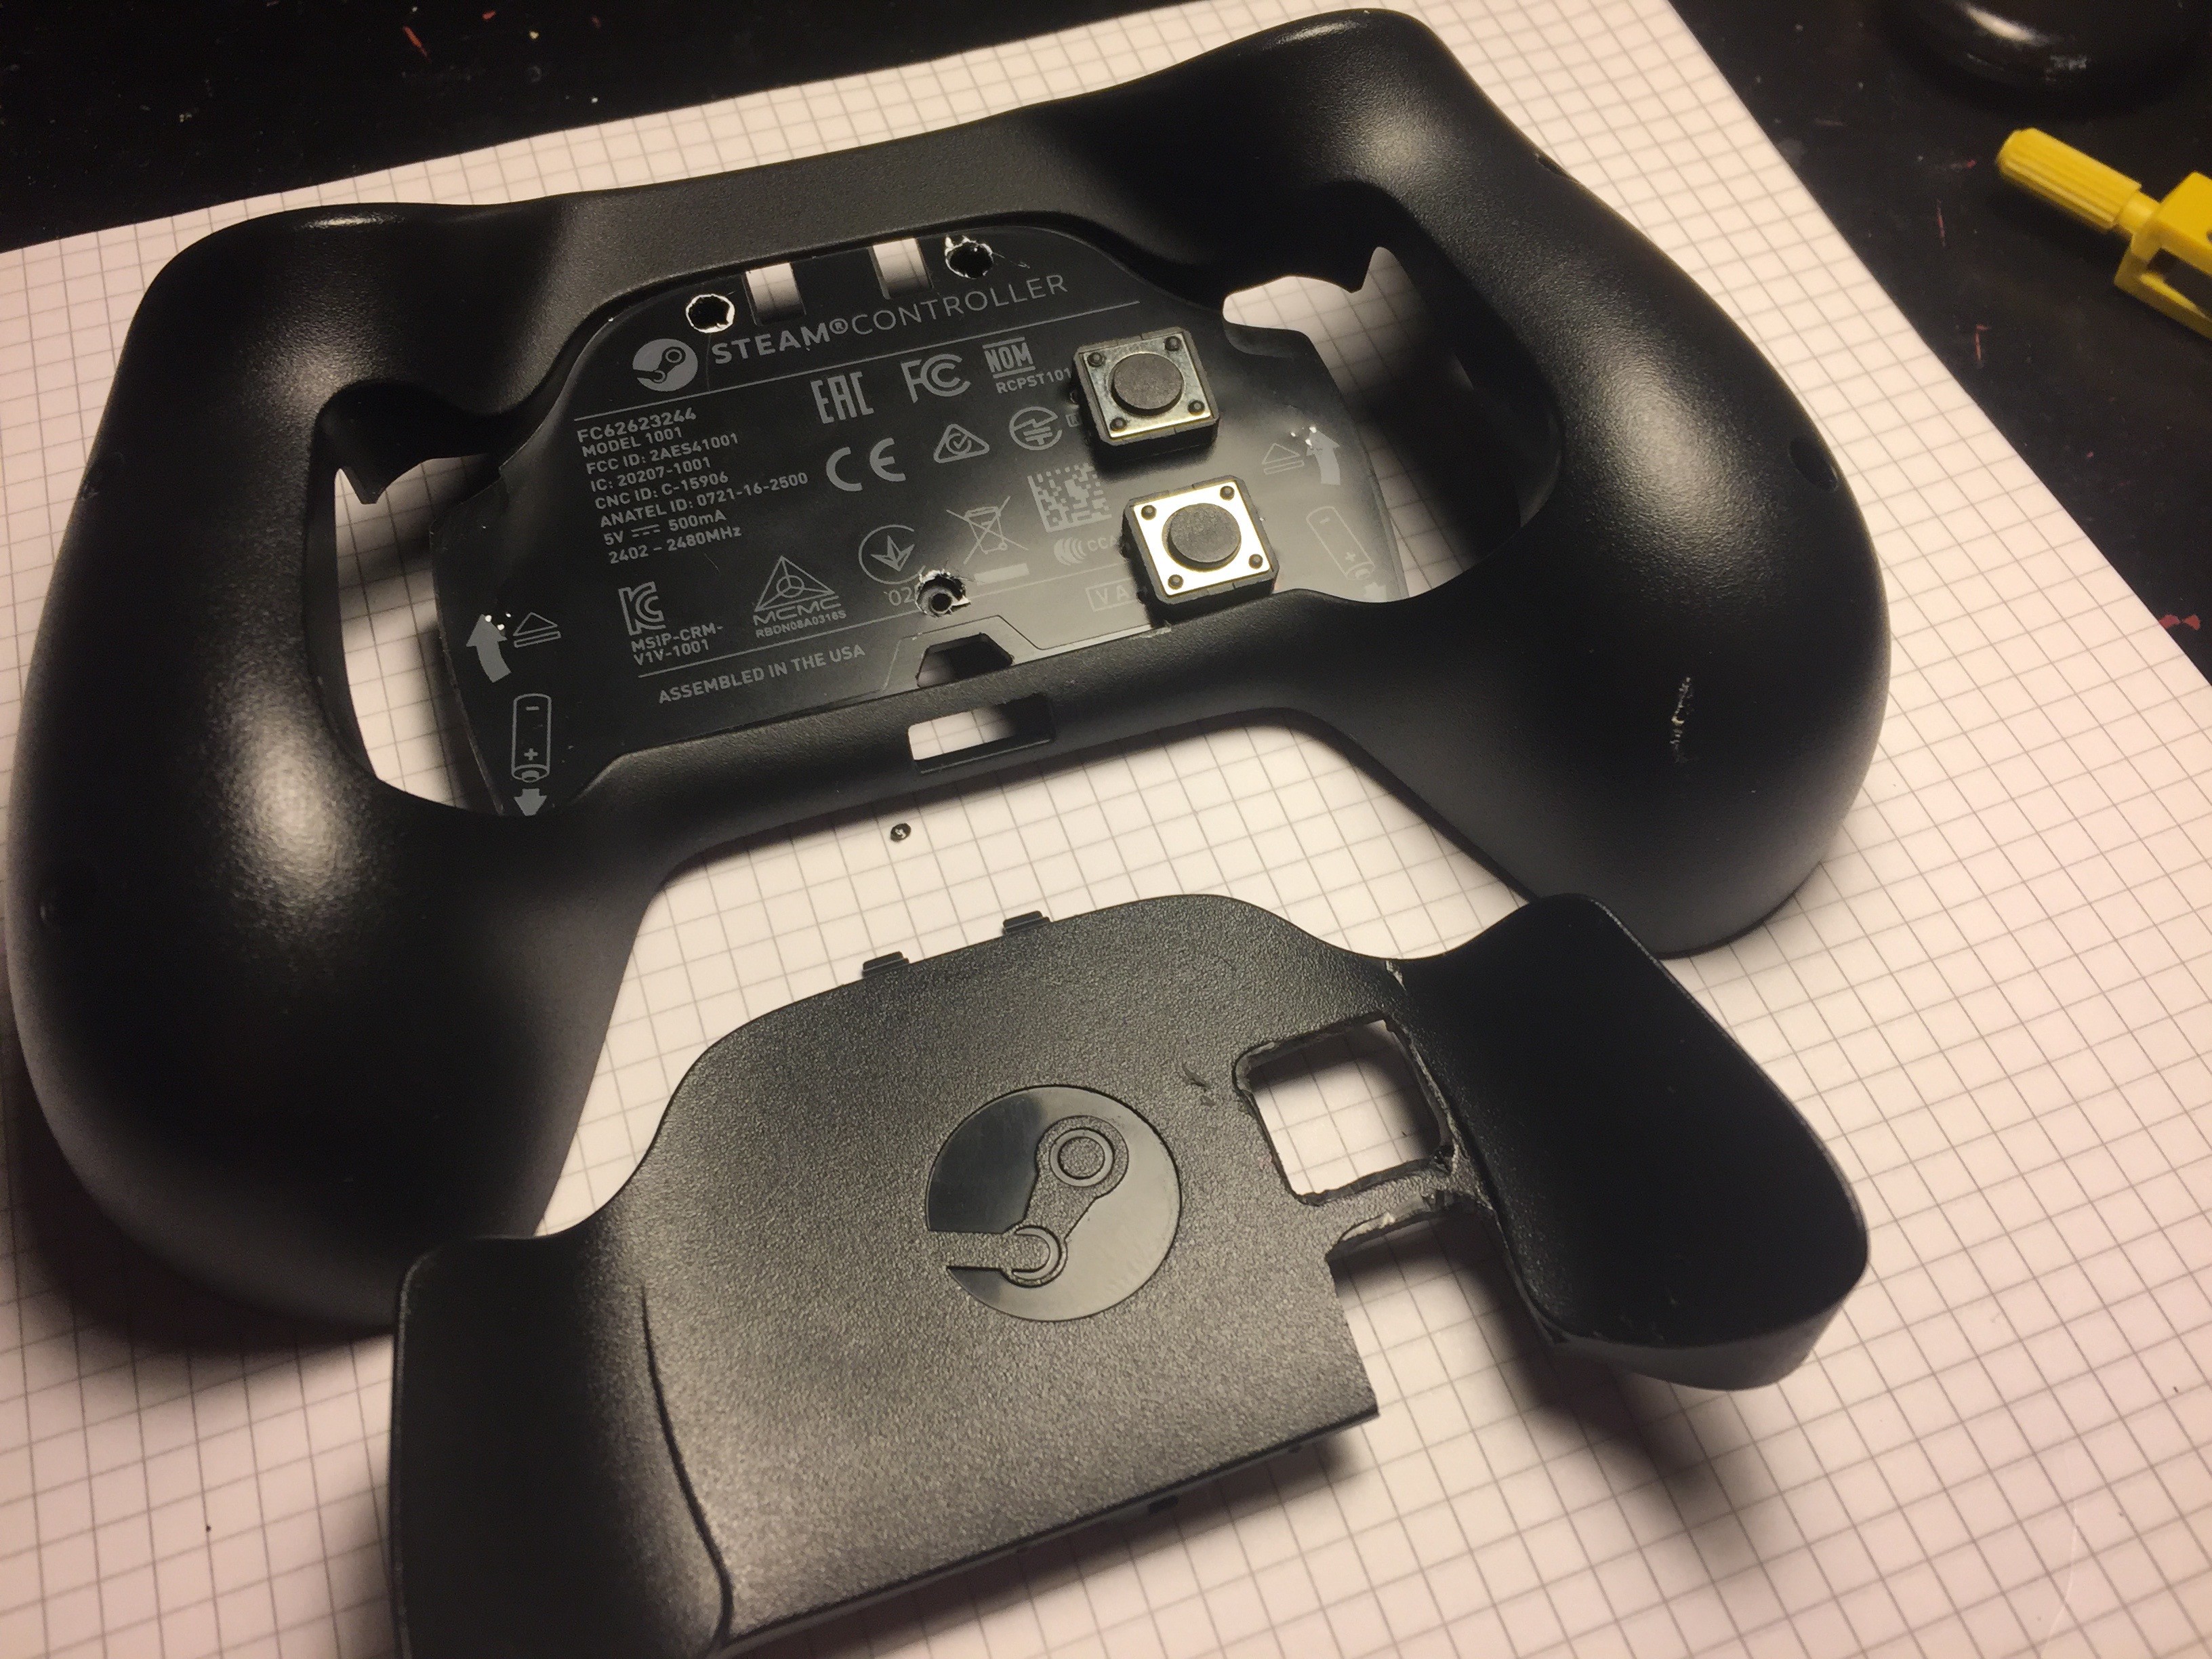
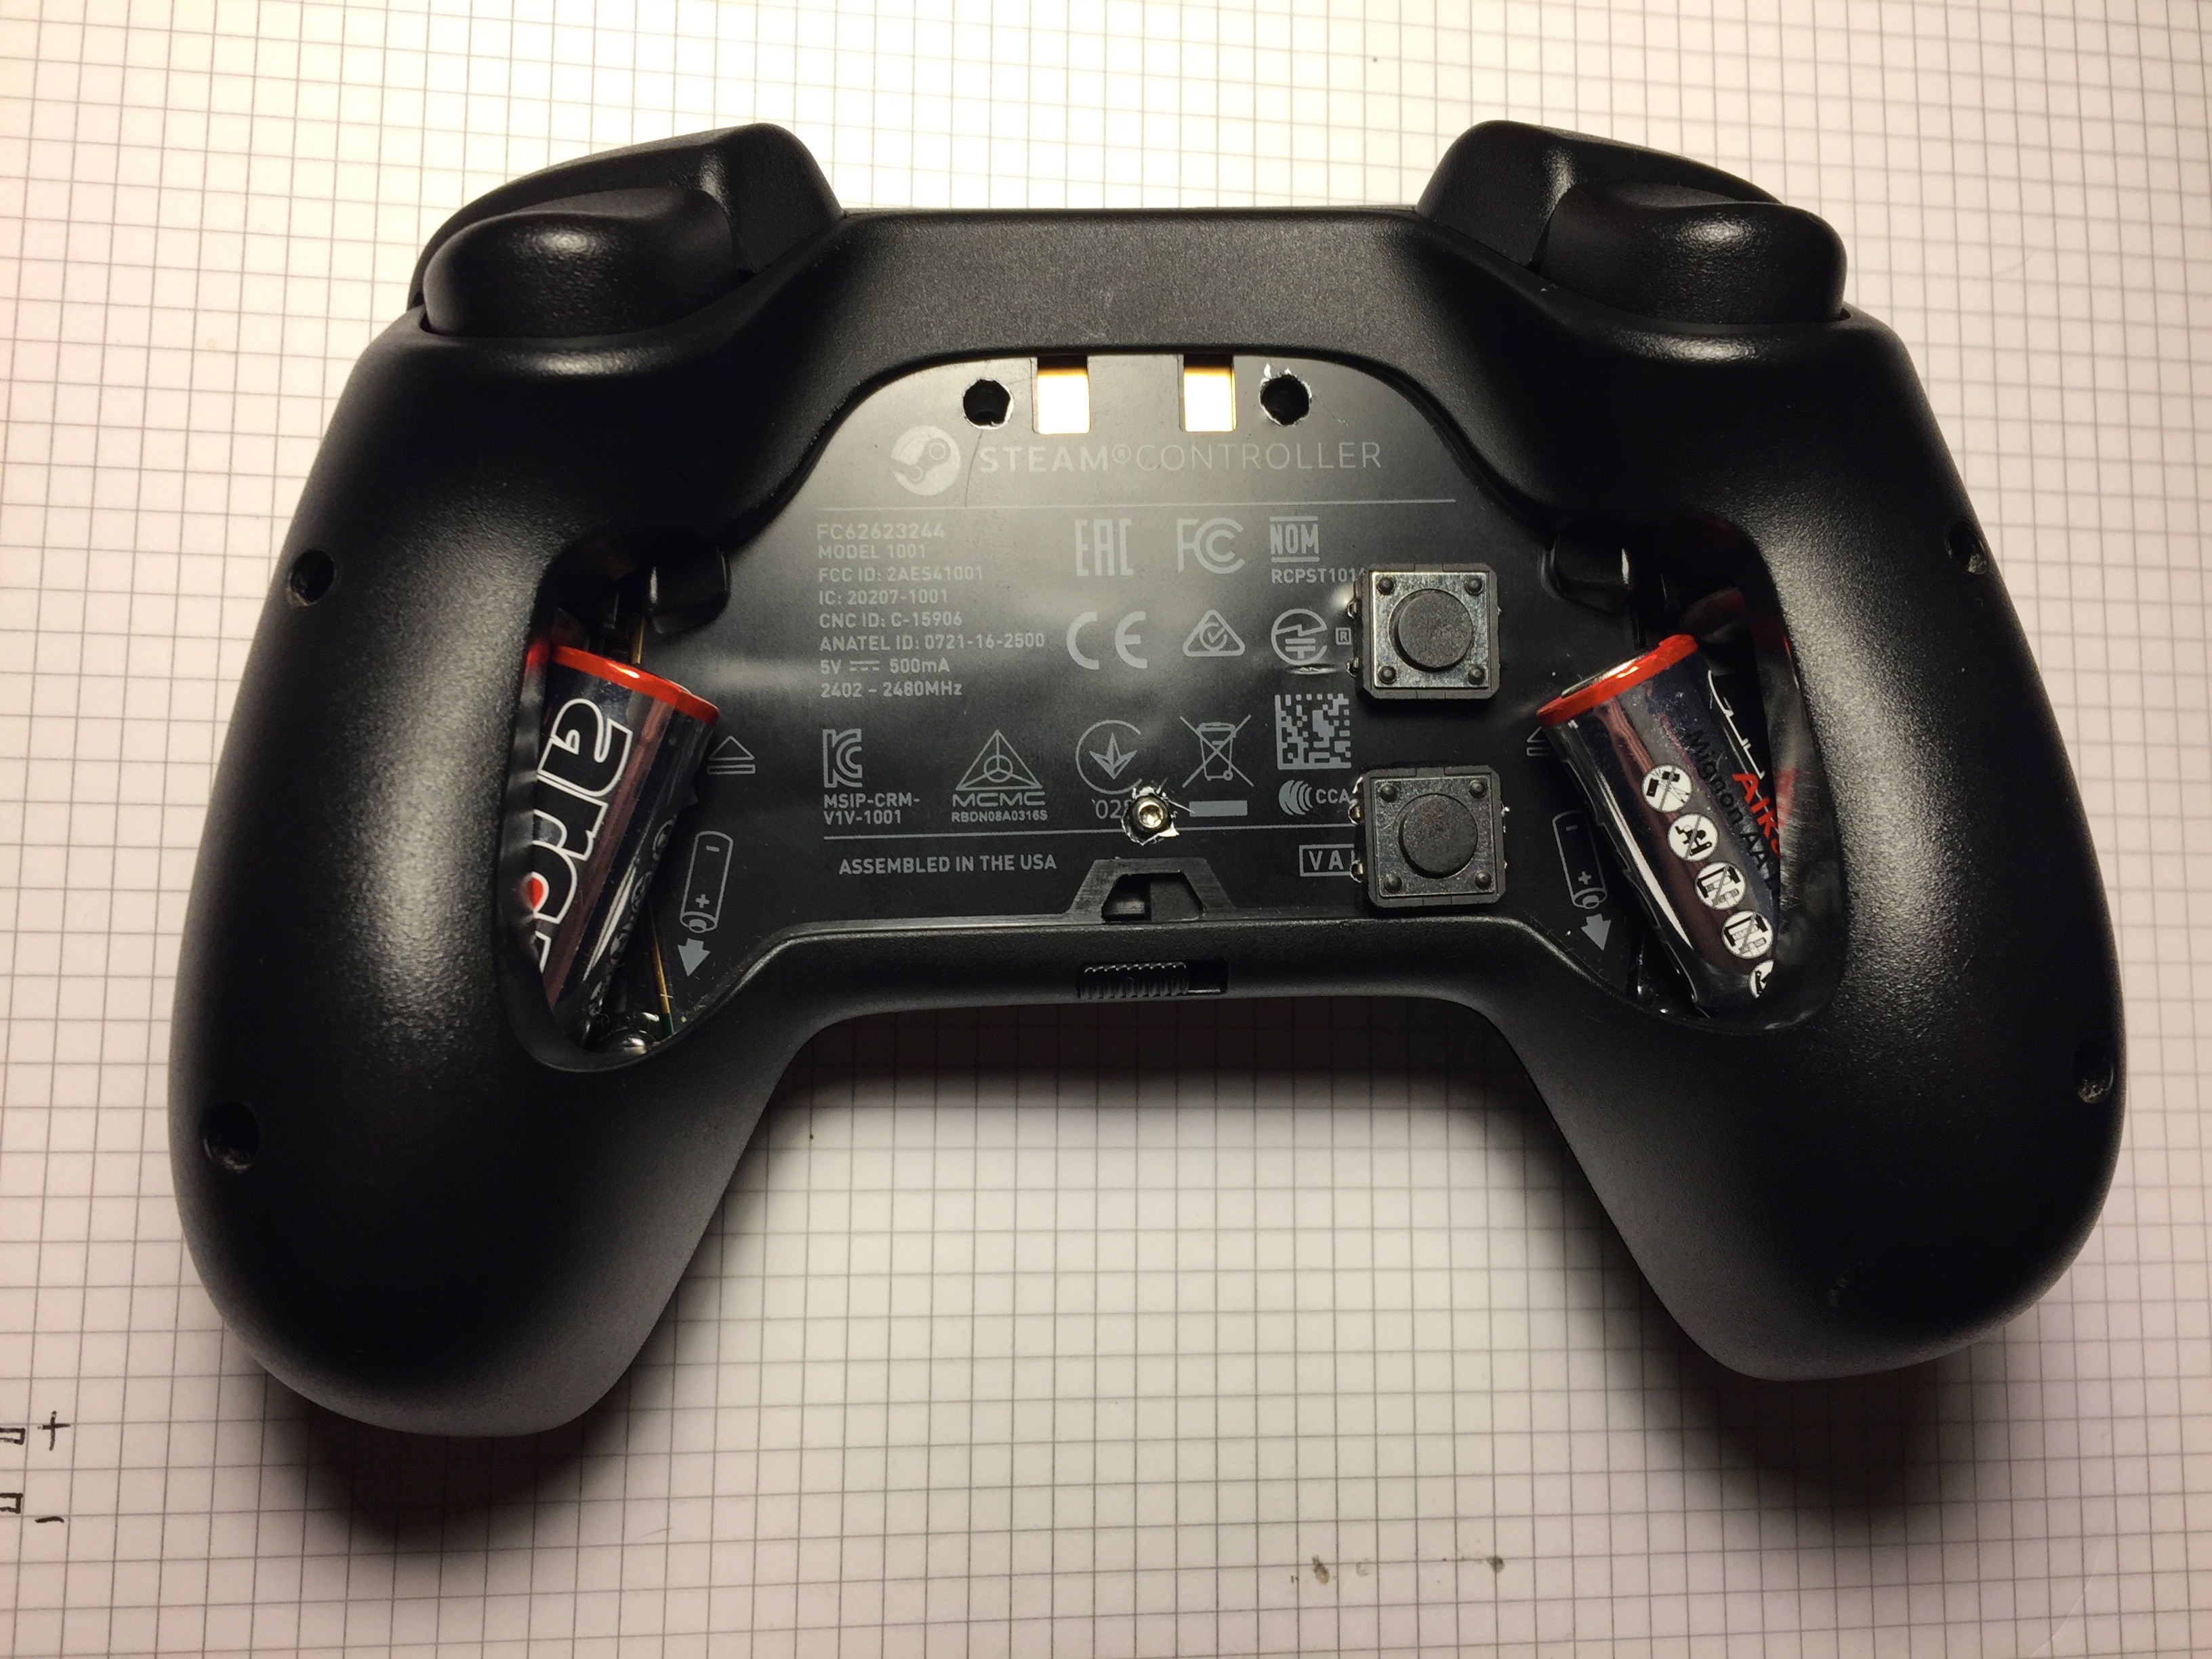
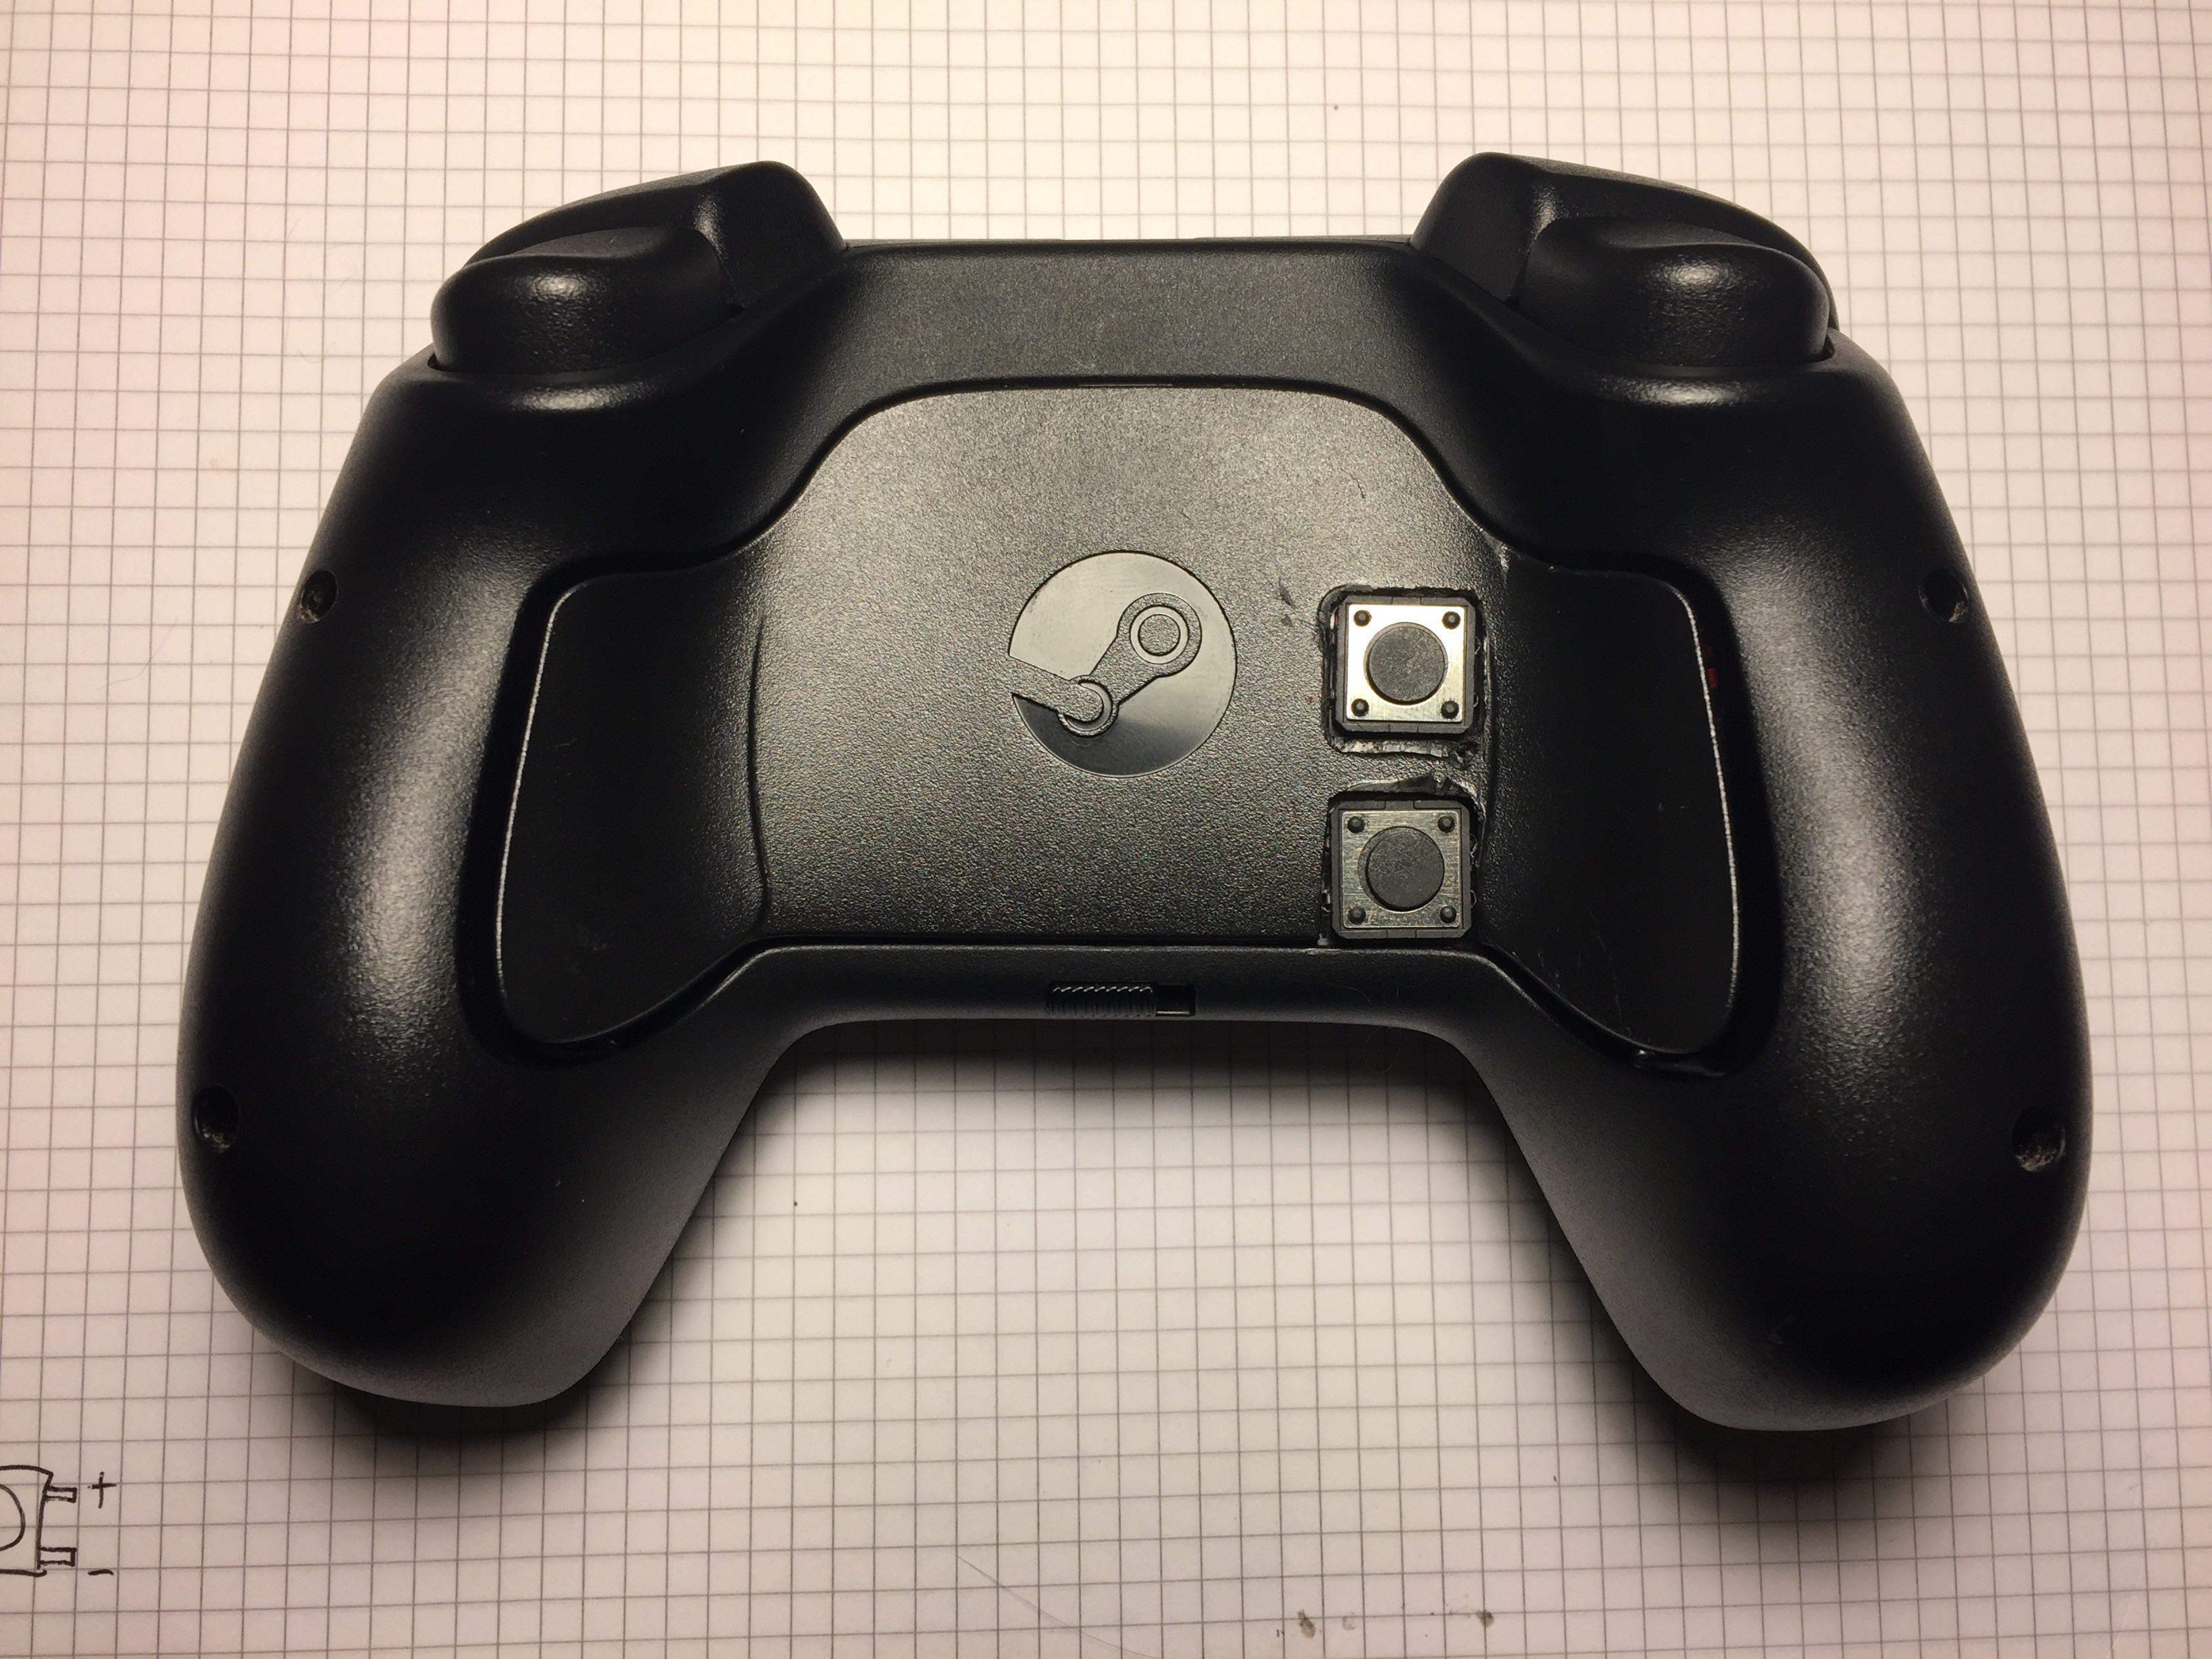
This was a tough one - to decide the right locations and to cut the plastic without breaking it. The buttons should be apart enough to be comfortable for two fingers, also the cover must stay robust to keep the grip button working.
I used Dremel 2000 soldering torch with a "scalpel" tip to cut the plastic, very messy. I should find another tool to do it next time...![]()
![]()
I've cut the gaps in plastic cover first, then marked places where i need holes for the pins.
![]()
![]()
Two holes happened to appear in the gap of the grip button, so the upper button holds on two pins only. Hopefully not a big deal...
![]()
![]()
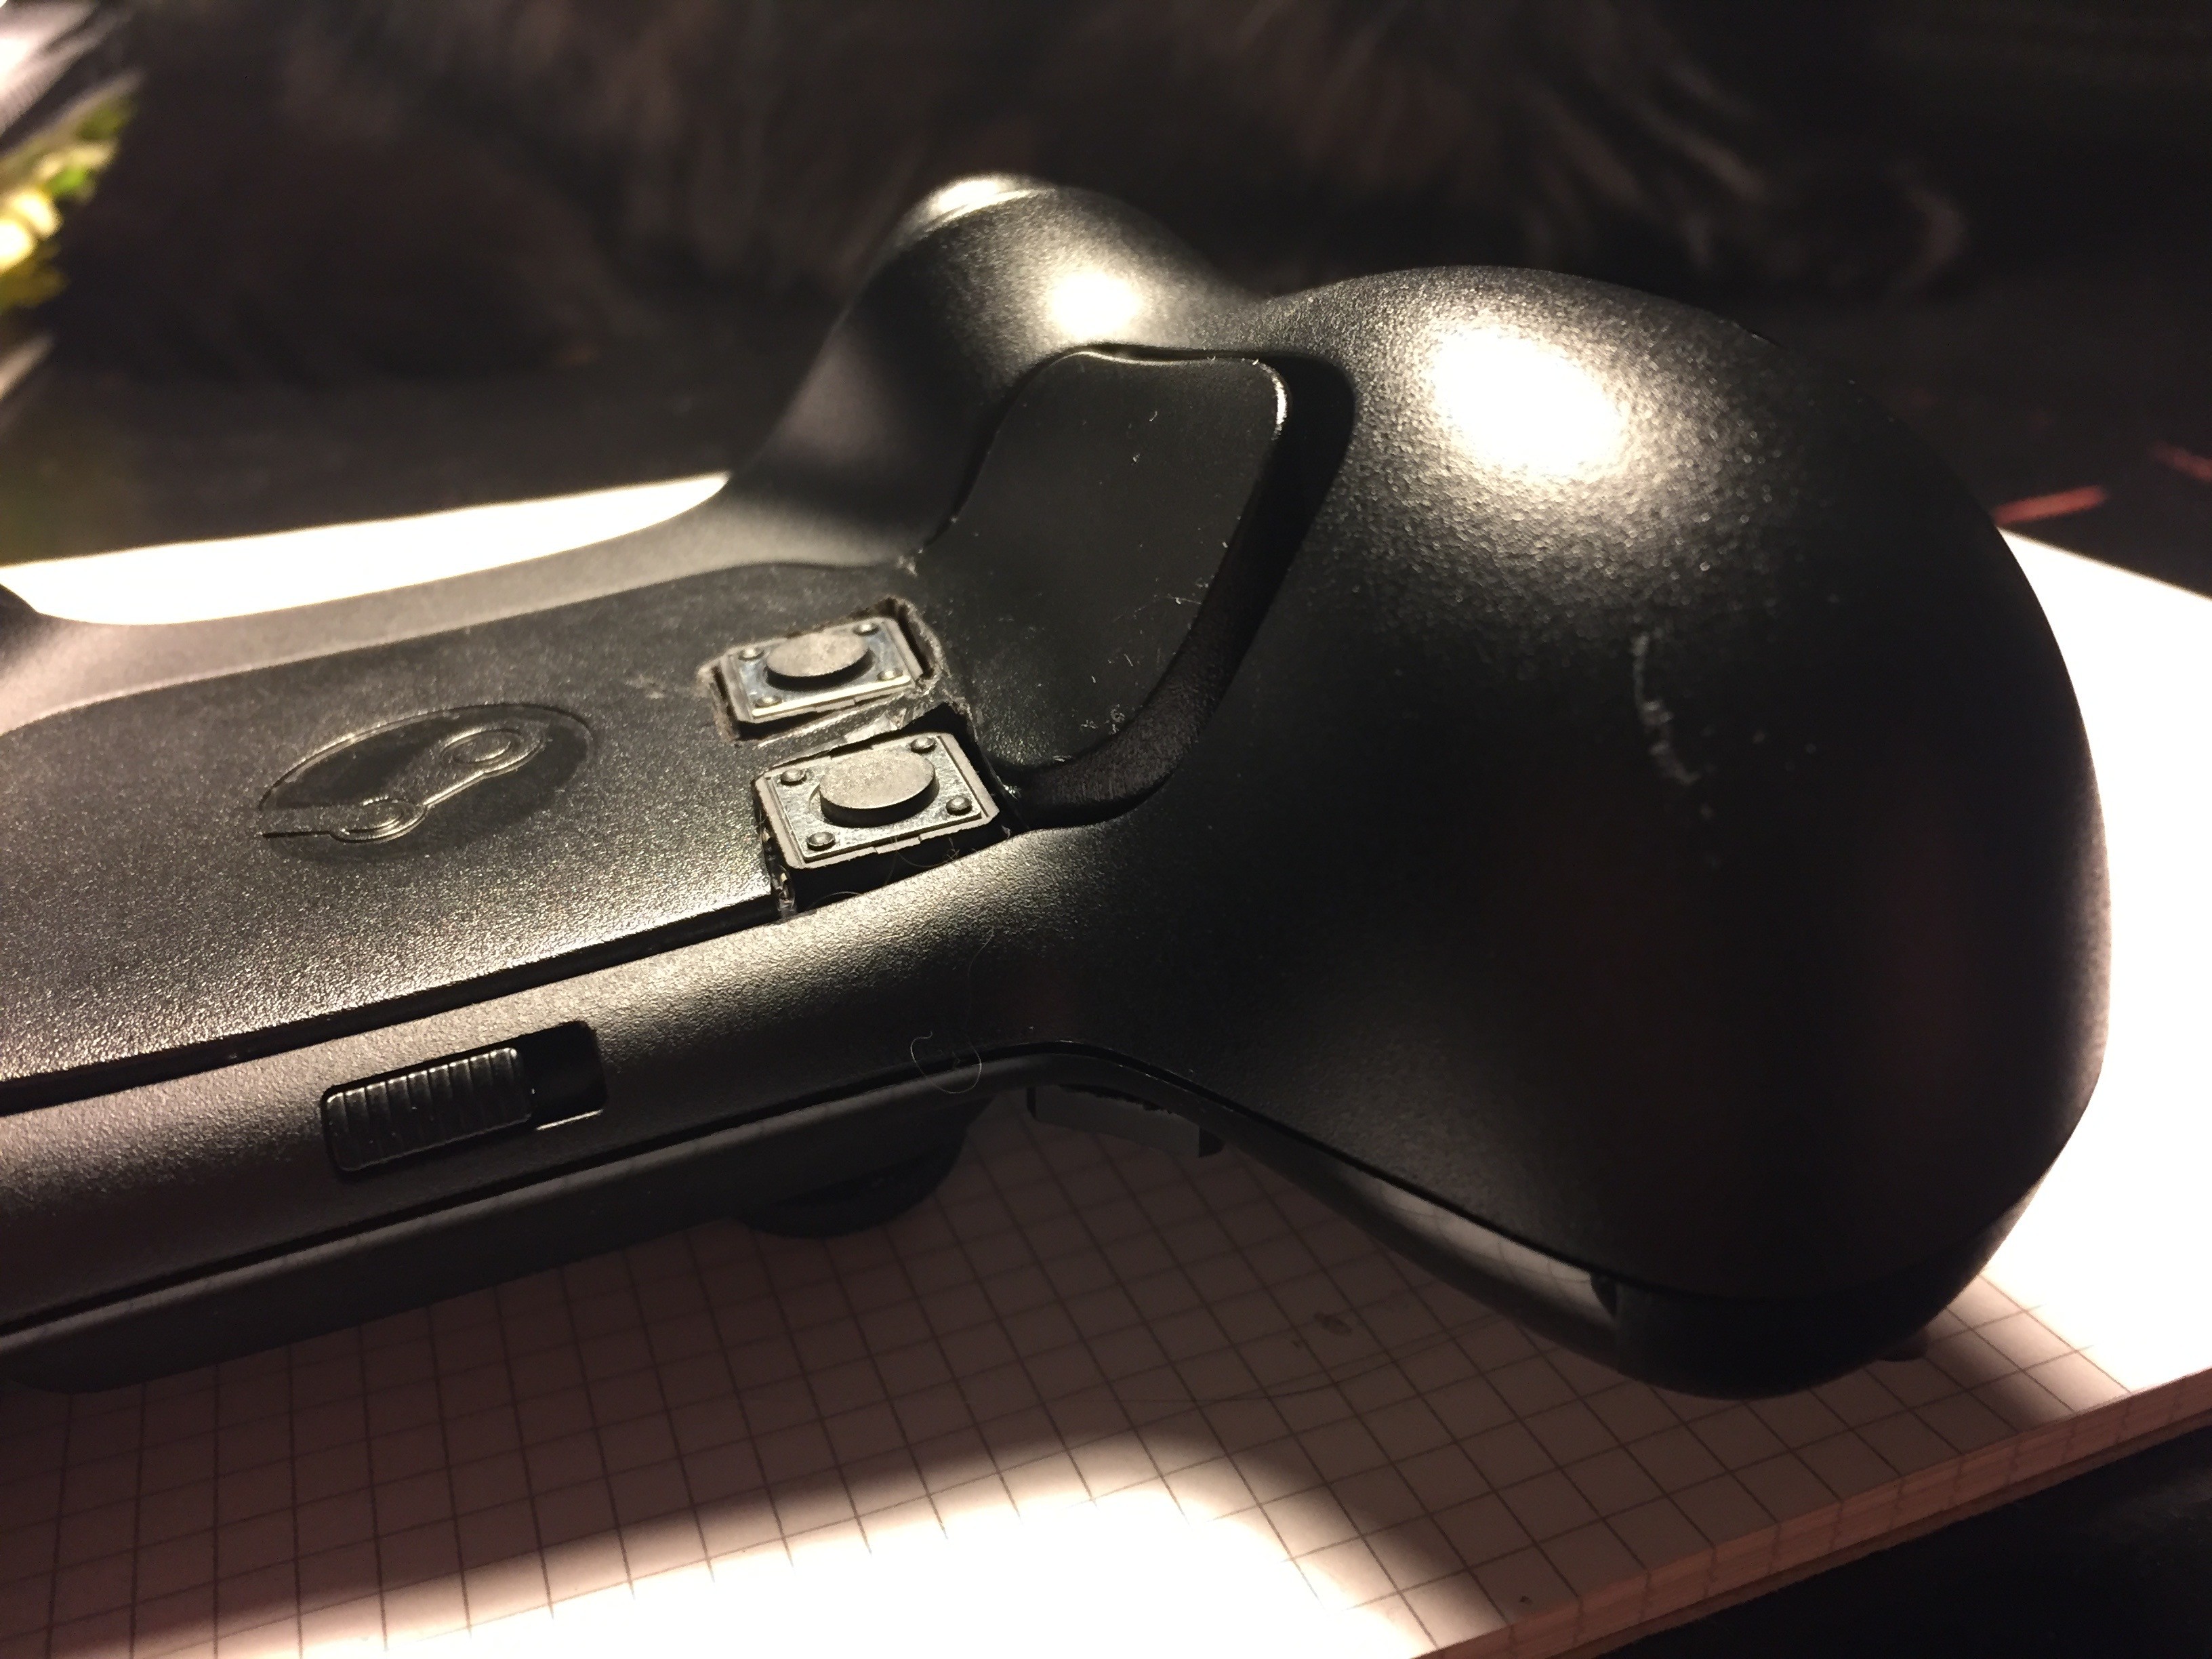
Buttons turned out to be in the perfect location: enough space to replace the battery!
![]()
![]()
-
6Soldering the bottom buttons
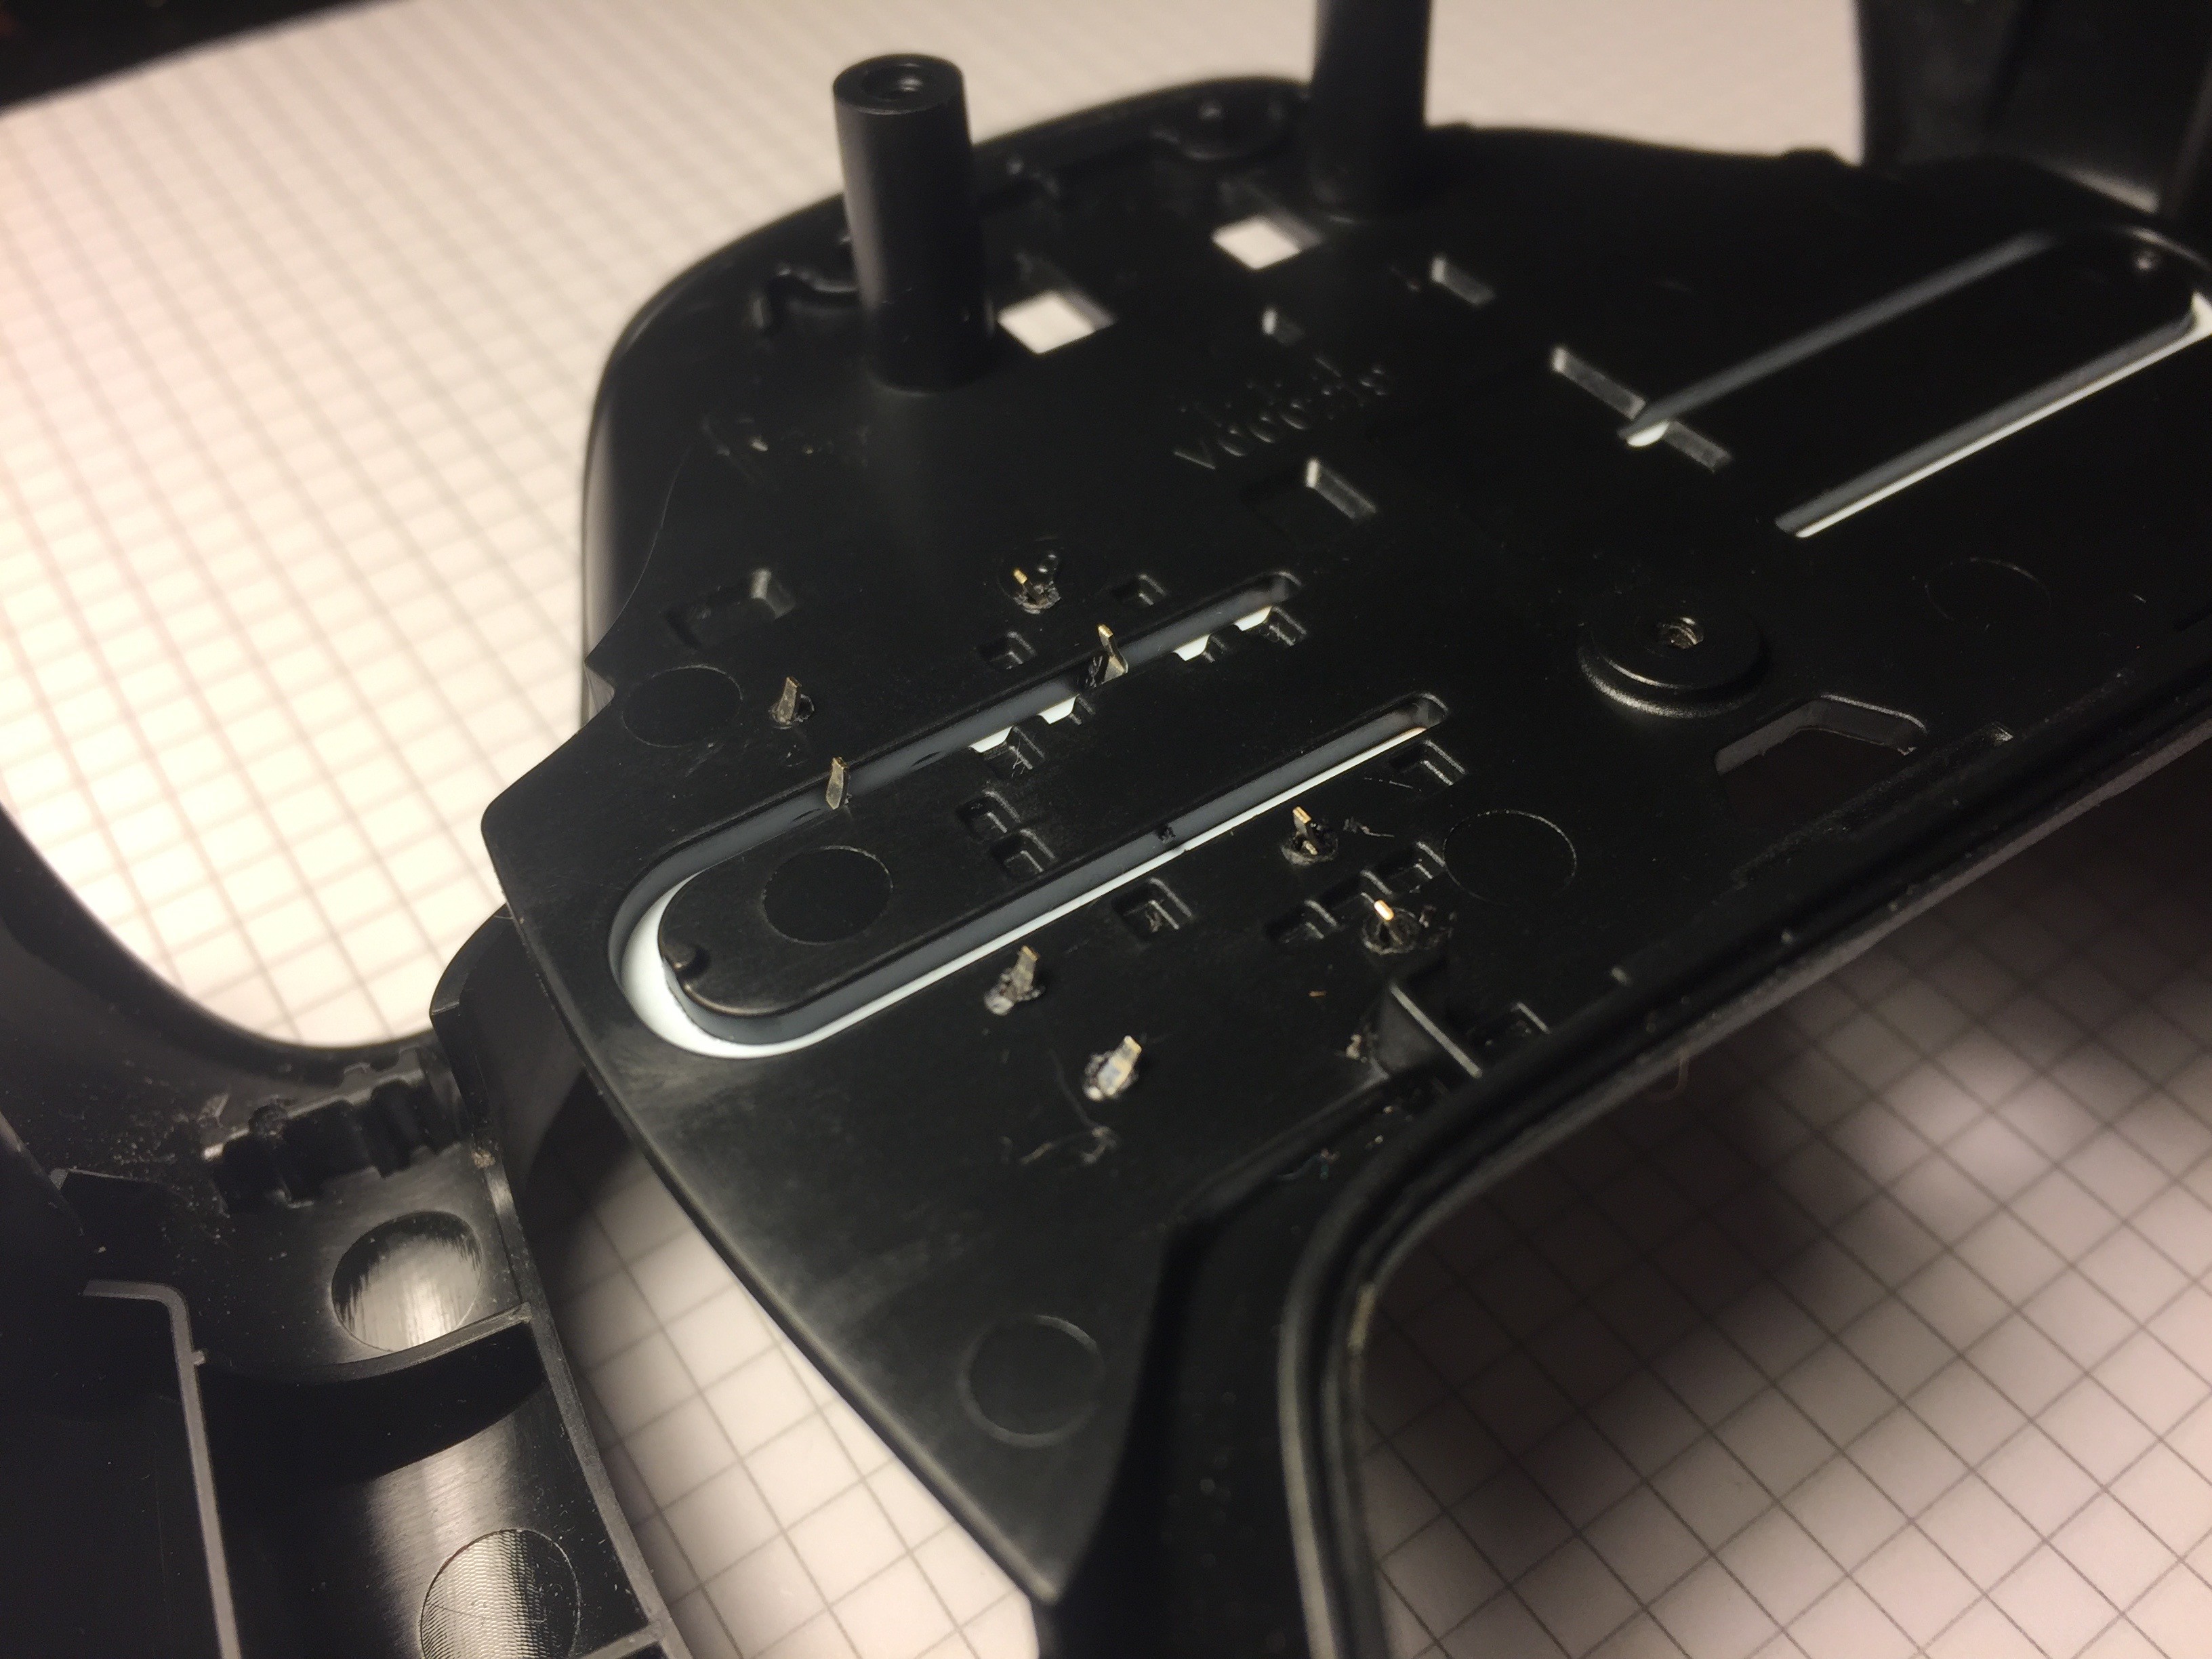
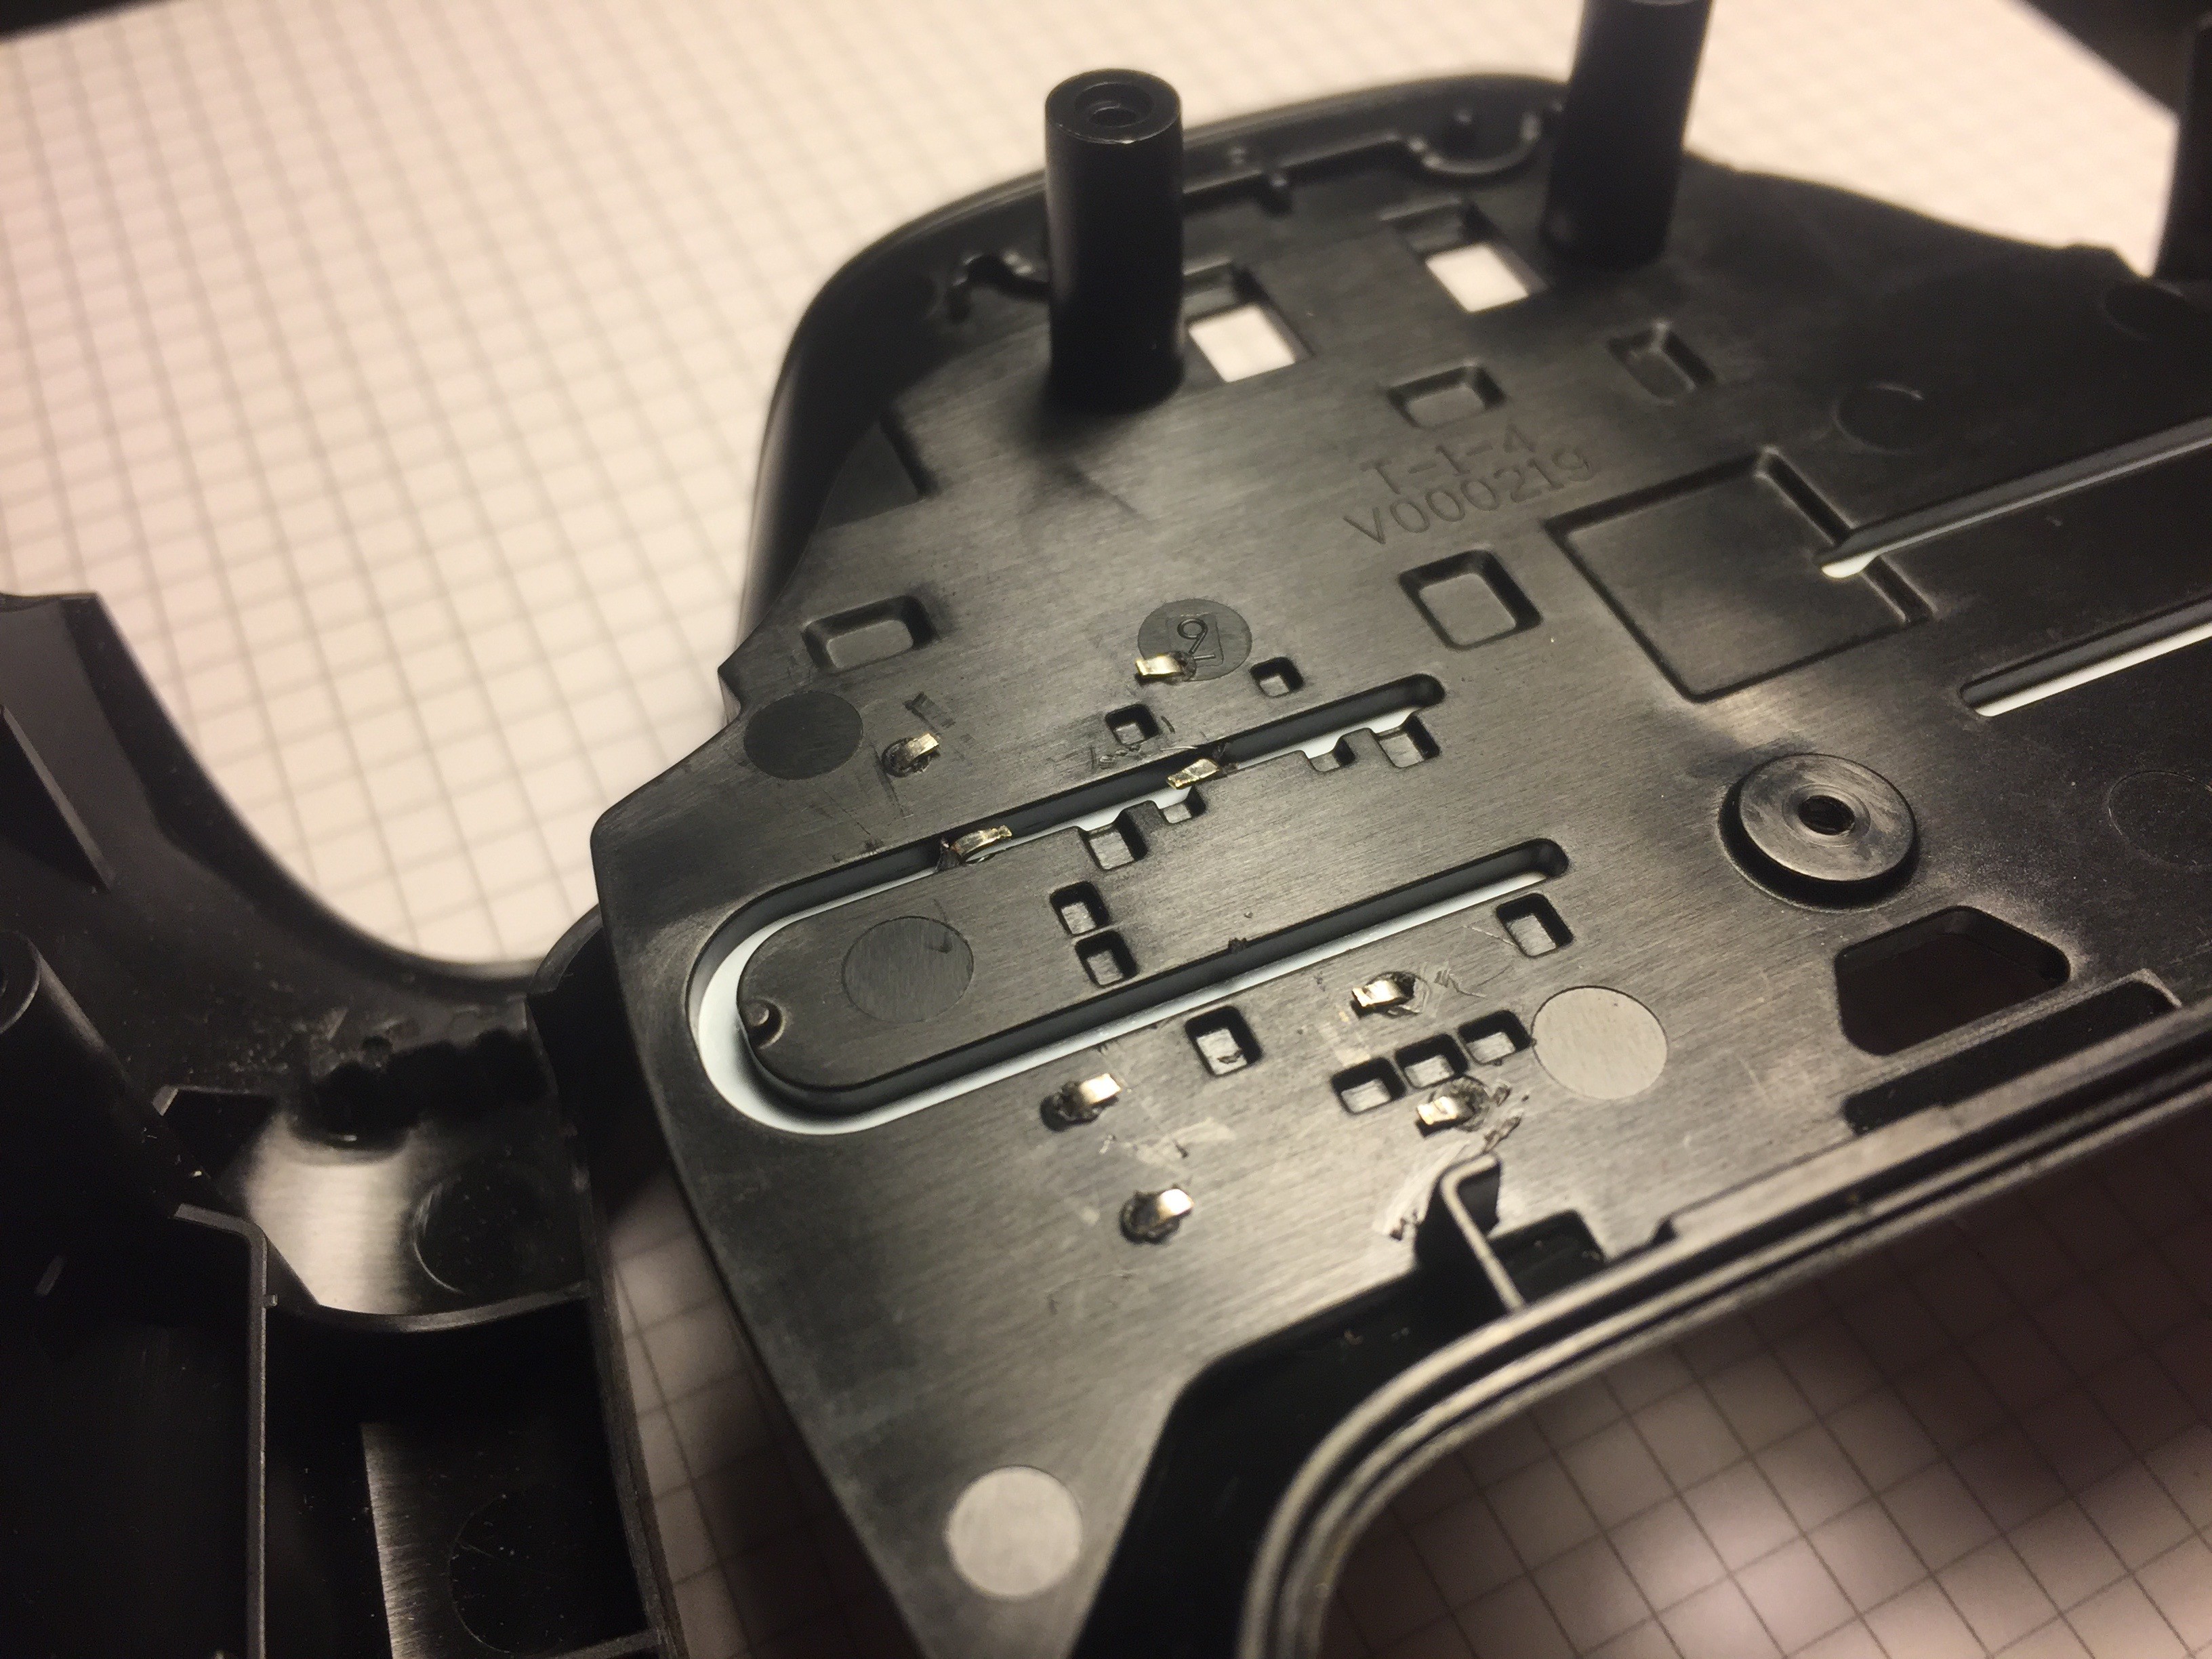
I tried to solder with Dremel 2000 hot air, which was a mistake - the plastic melted first. Luckily this is the side nobody will see...
The white wire connecting the middle pins is the ground.![]()
I found another, closer place for the ground wire of these buttons.
![]()
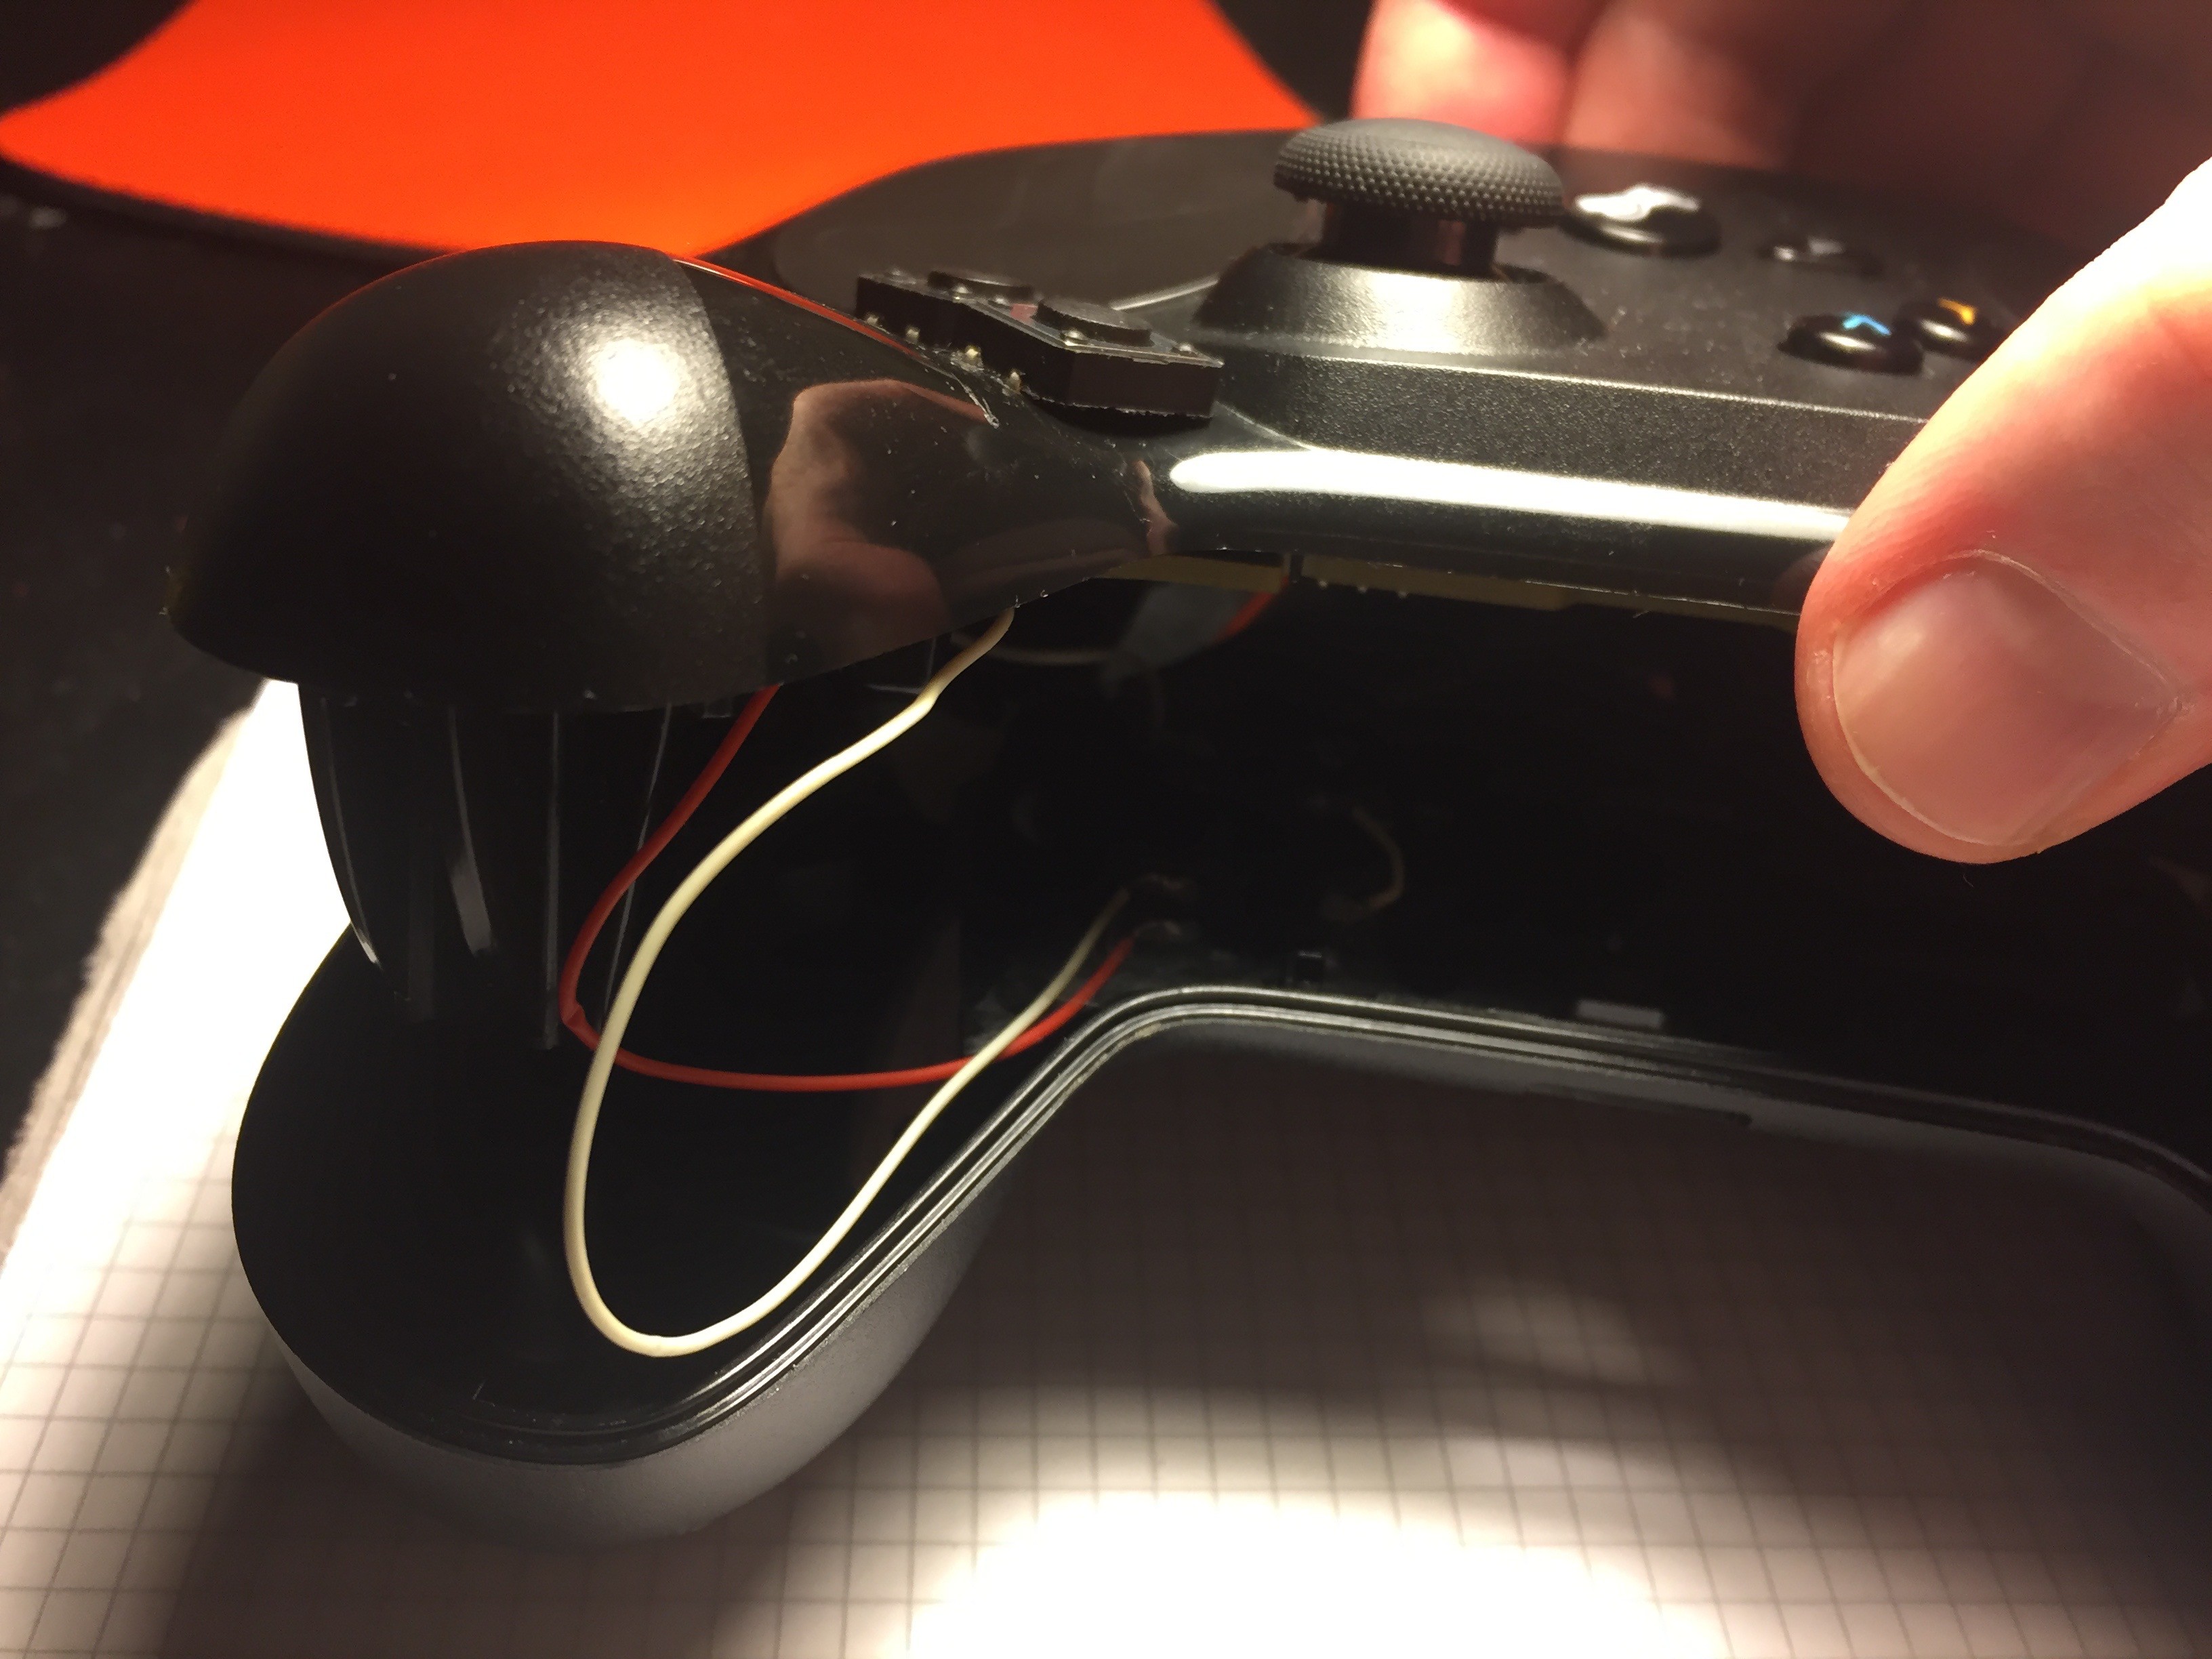
The tricky part is to arrange the wires so that they don't obstruct the grip button and the battery slot.
![]()
-
7Assembling
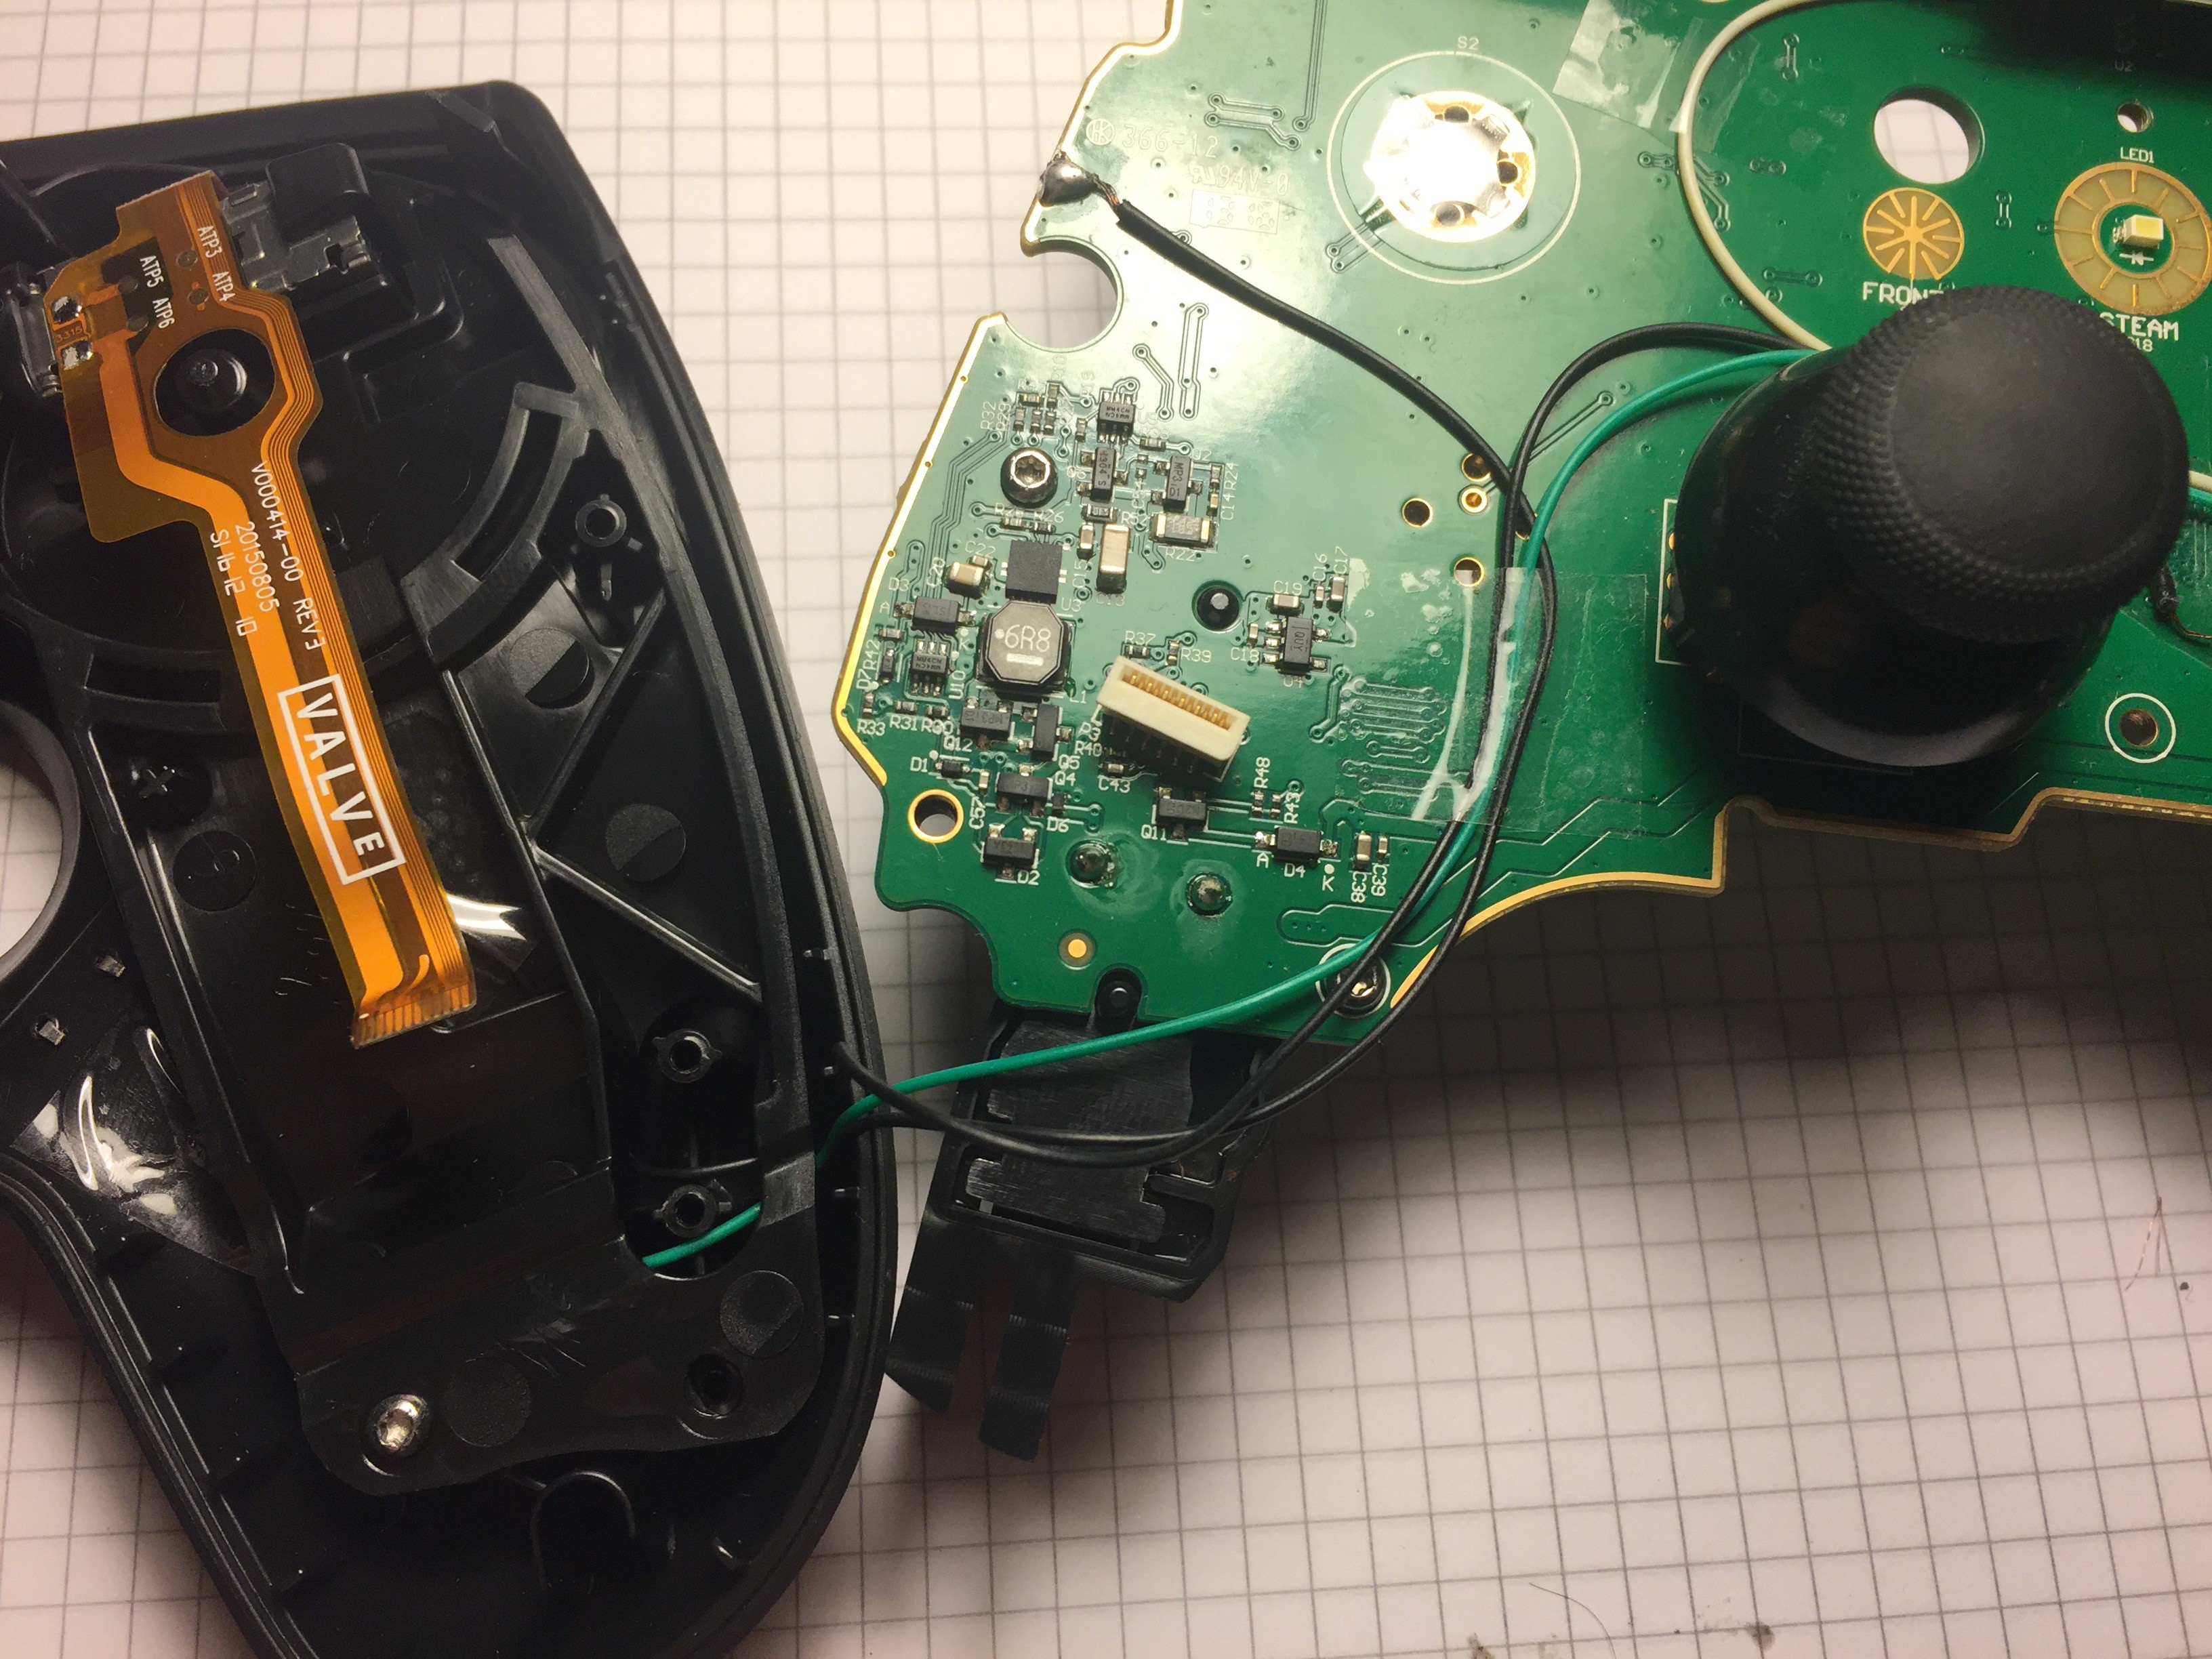
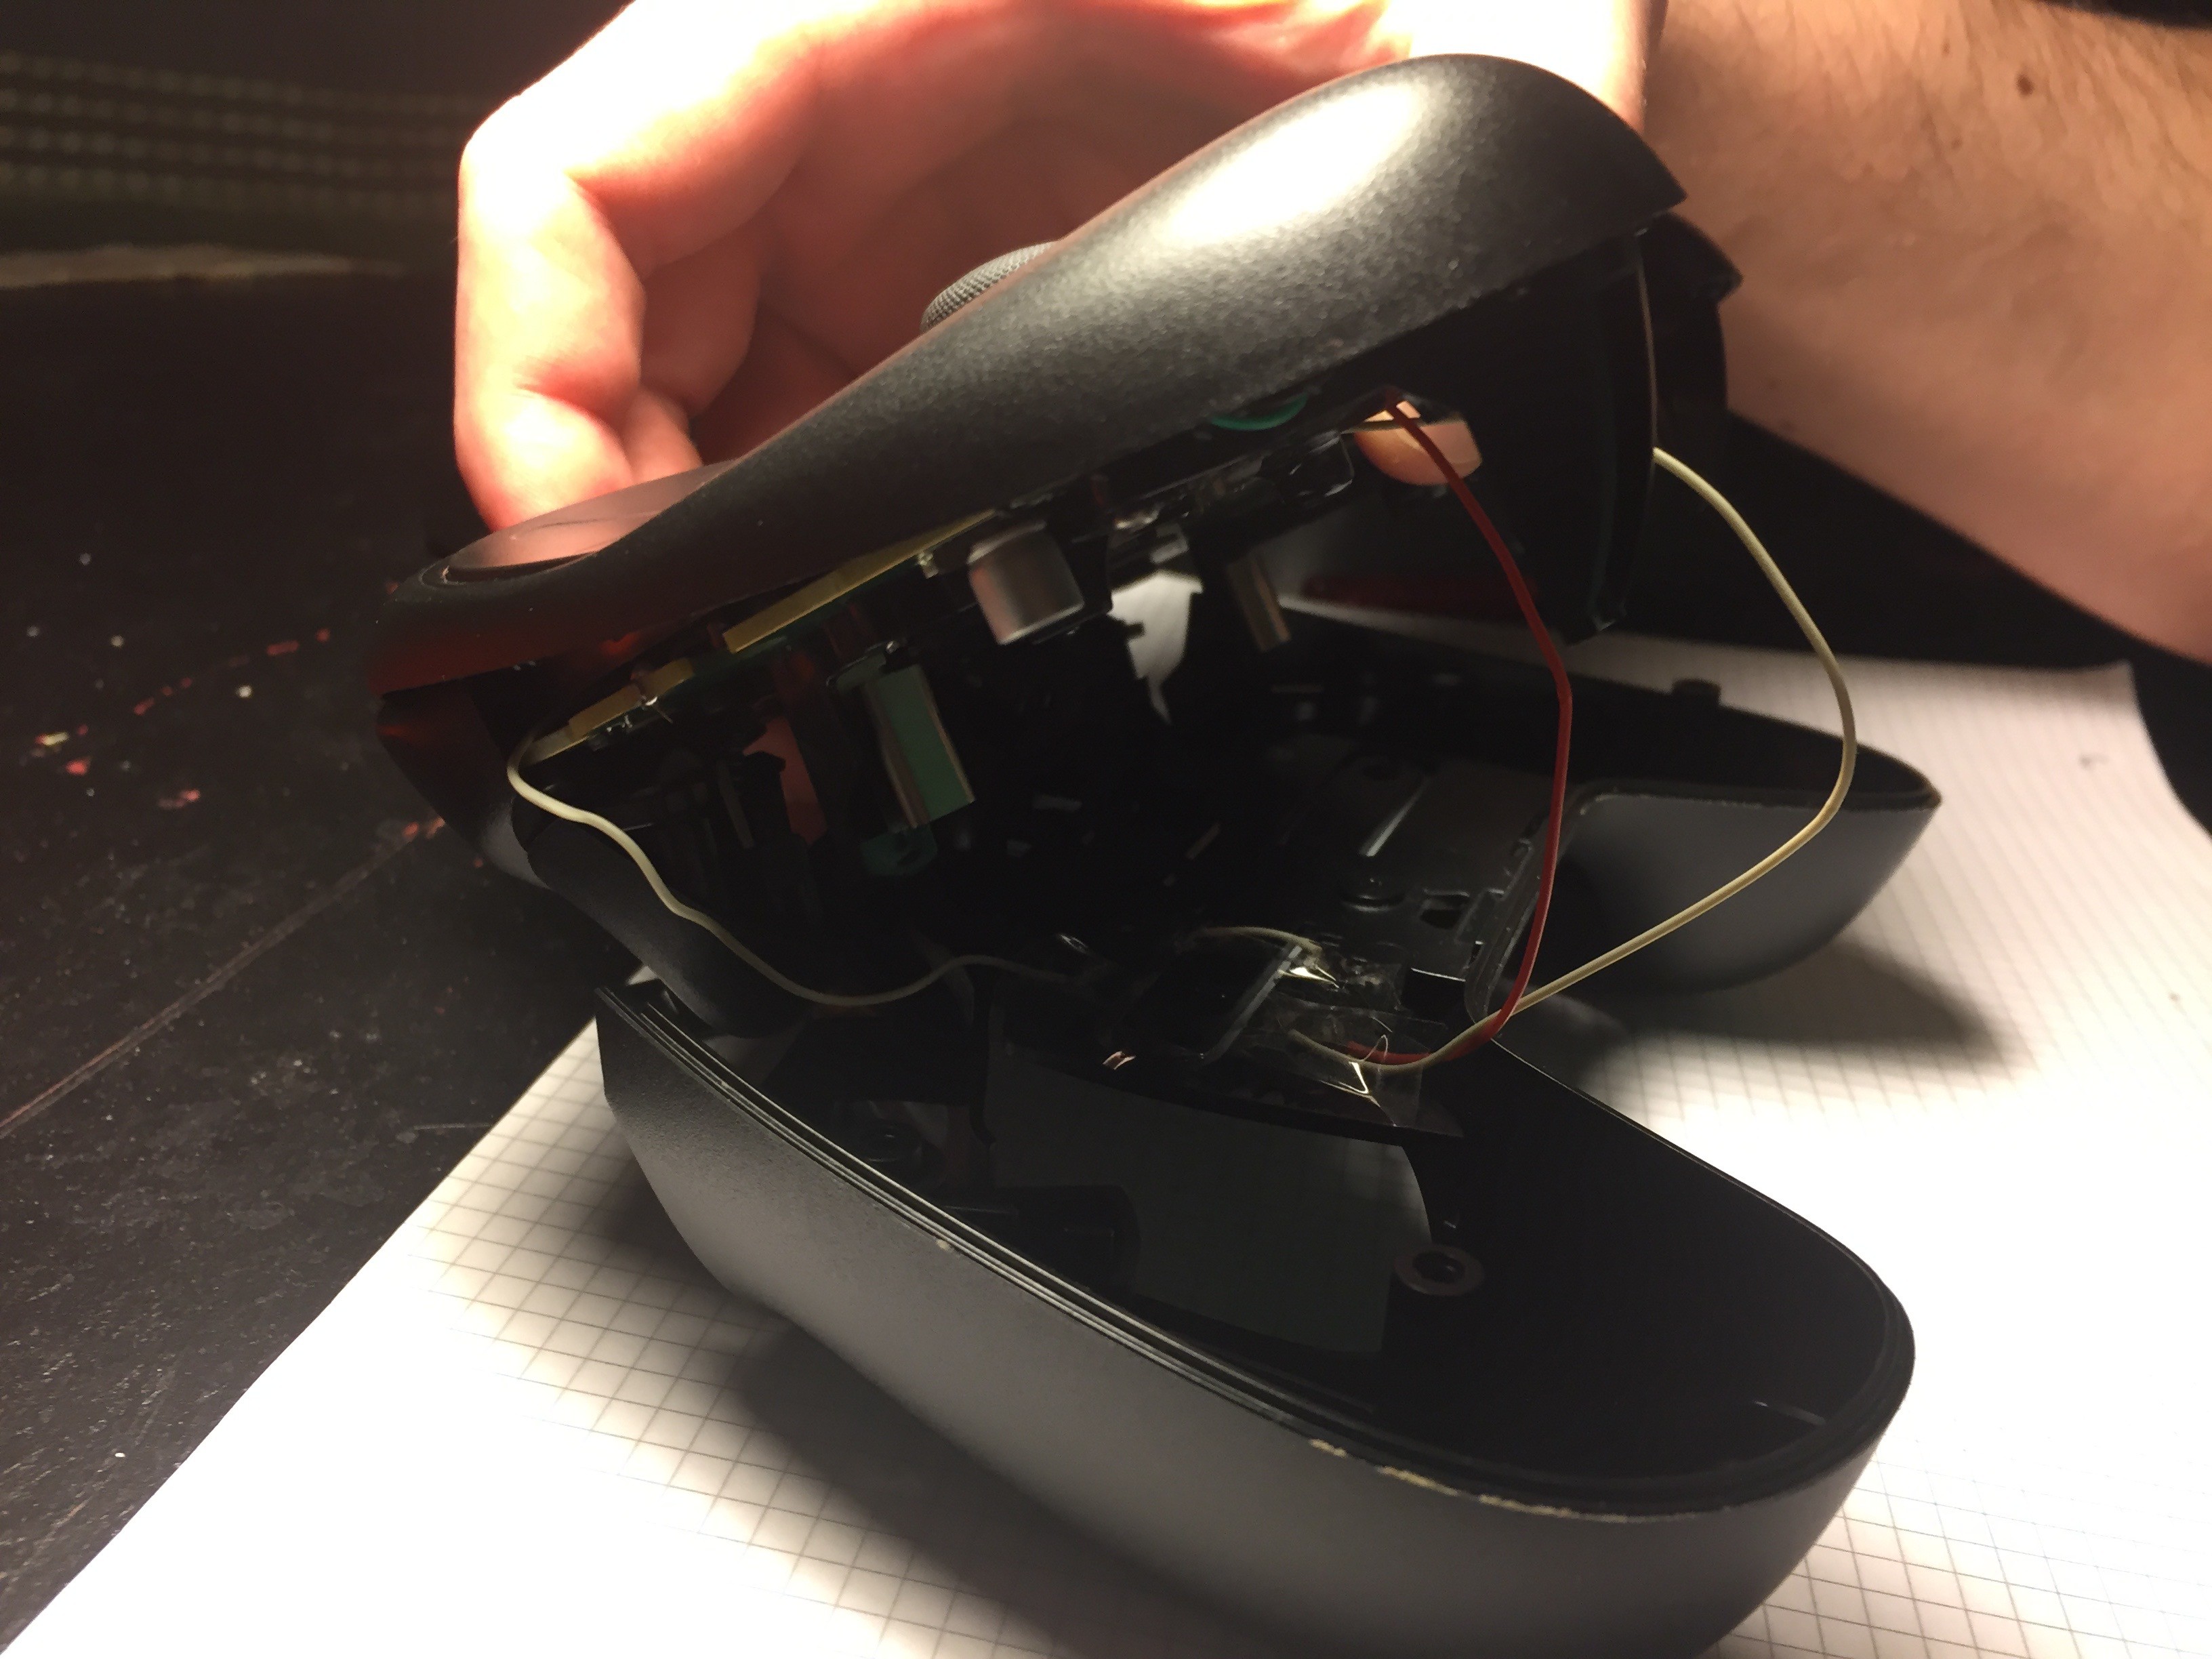
I've put everything back together making sure the wires don't obstruct anything. Luckily there is plenty of gaps inside Steam Controller.
![]()
![]()
![]()
-
8Done!
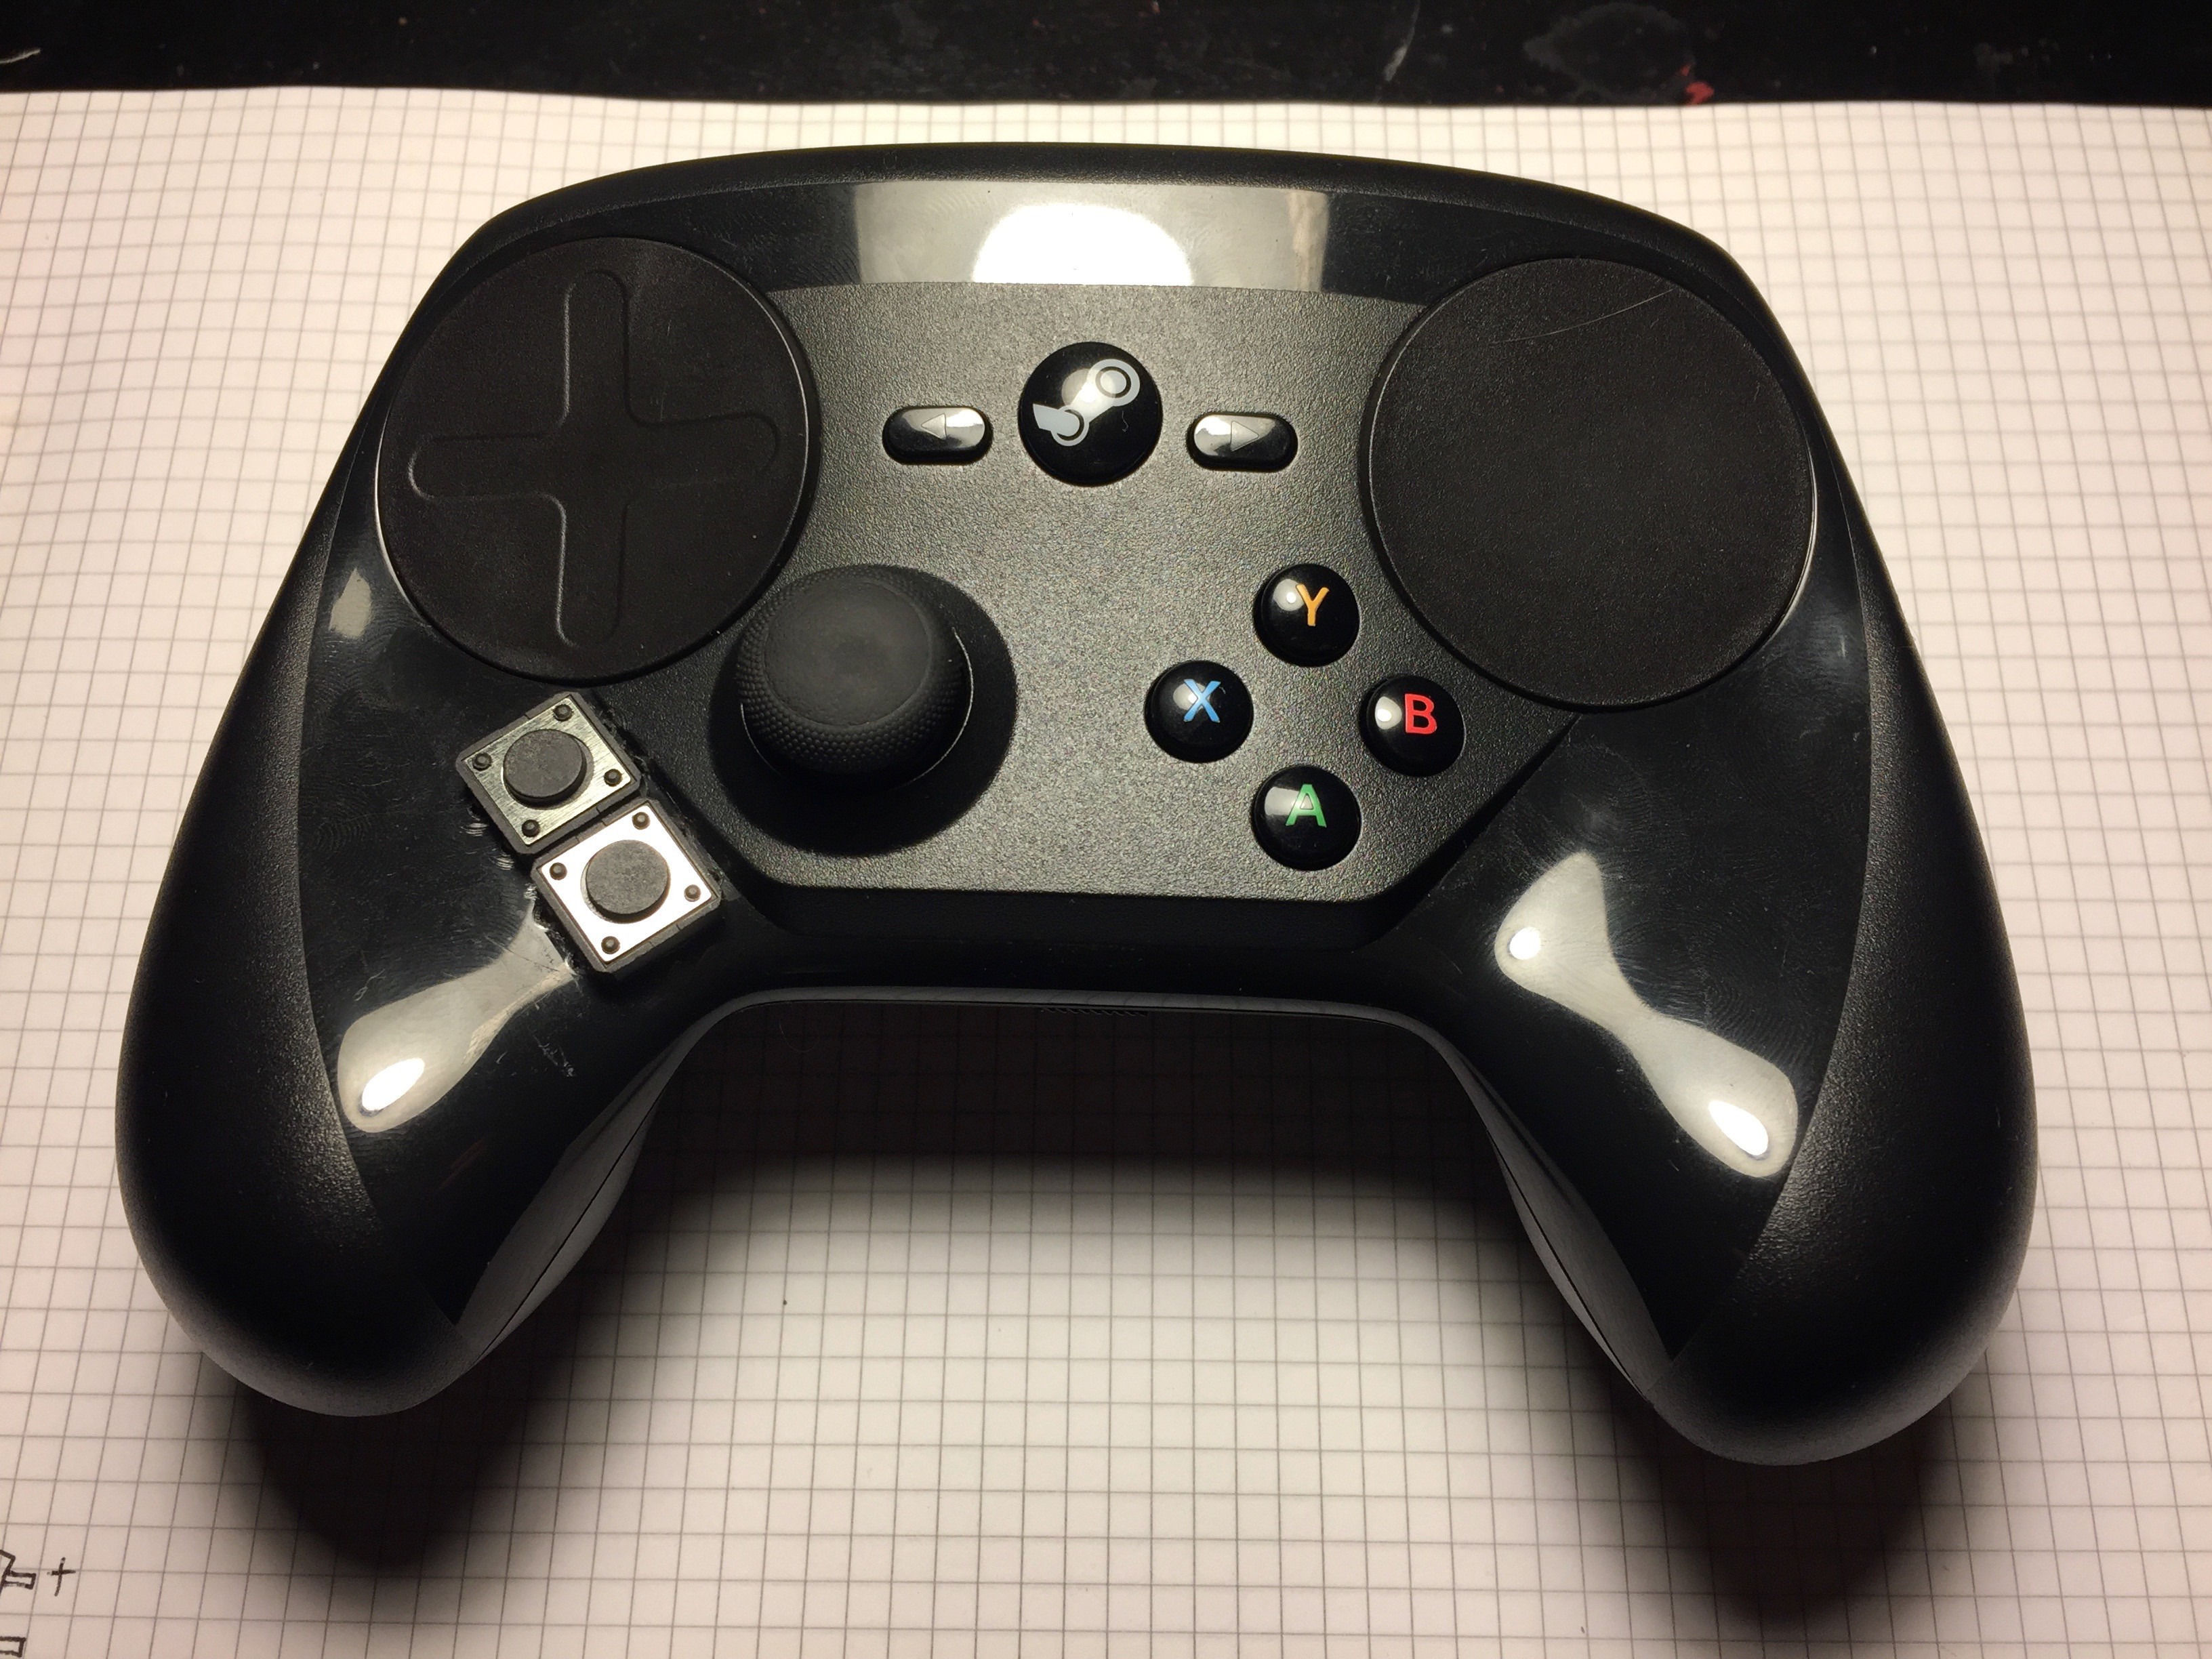
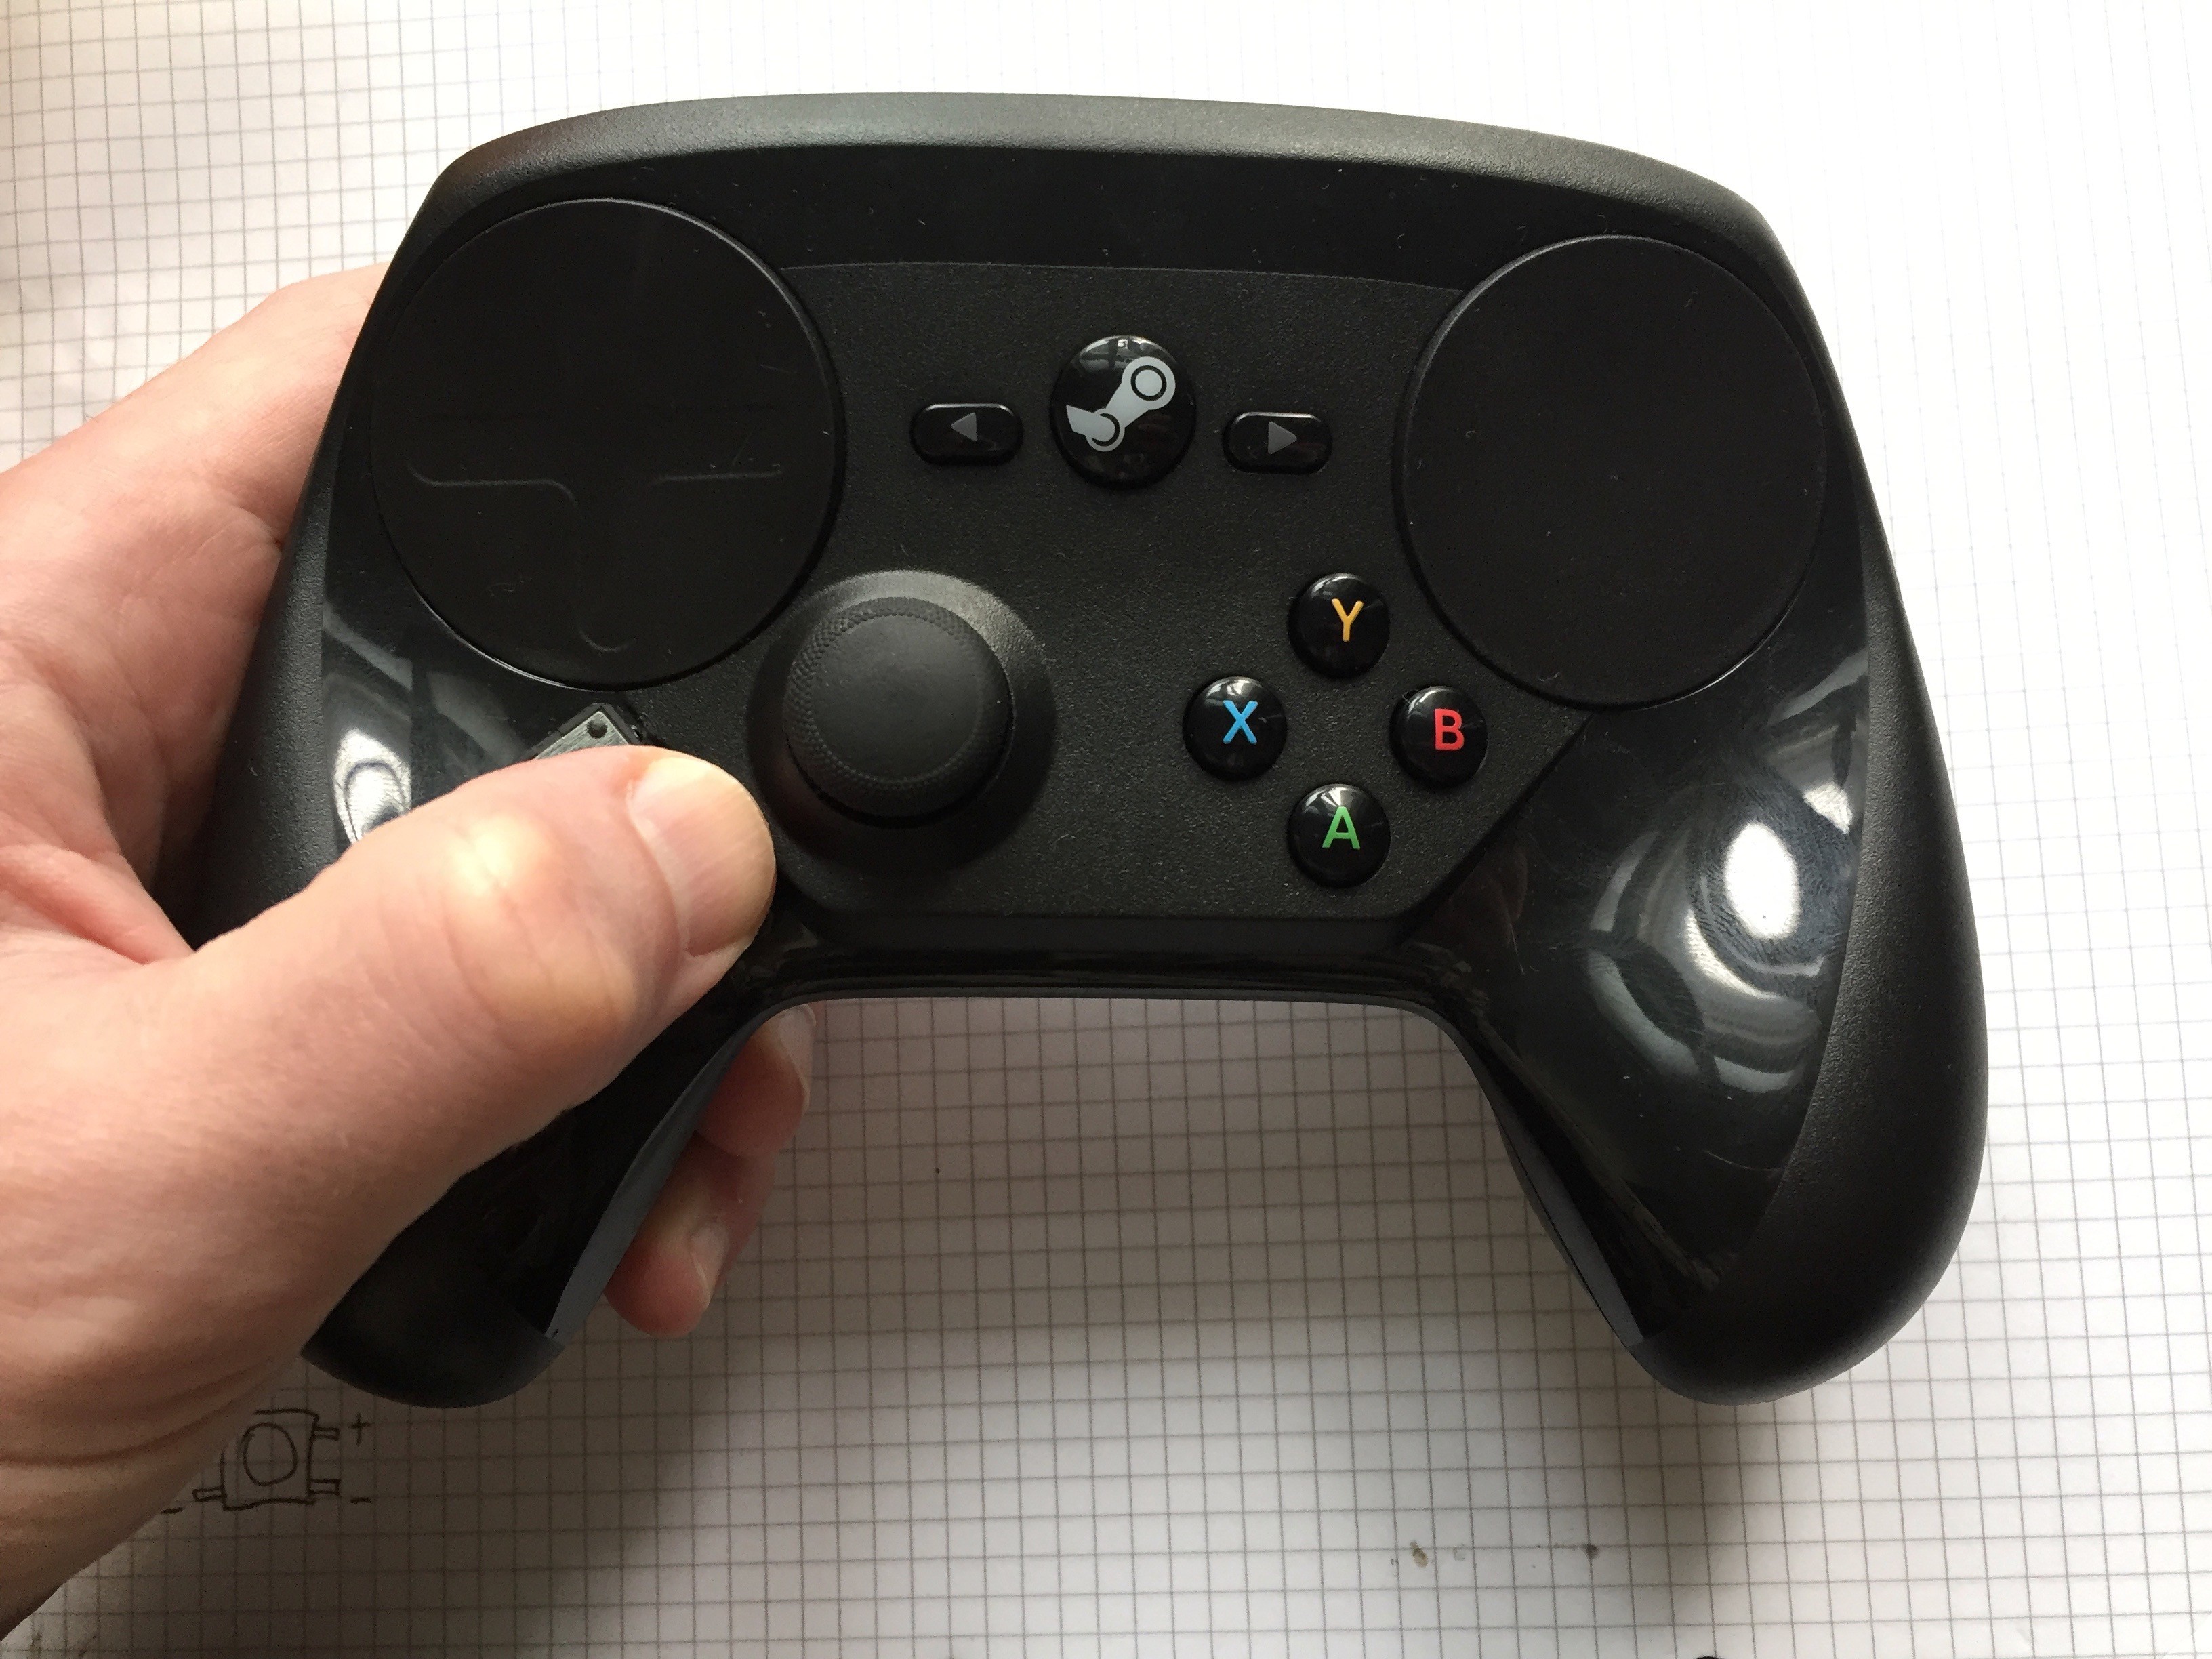
Looks and feels better than i expected!!!
![]()
![]()
![]()
![]()
![]()
![]()
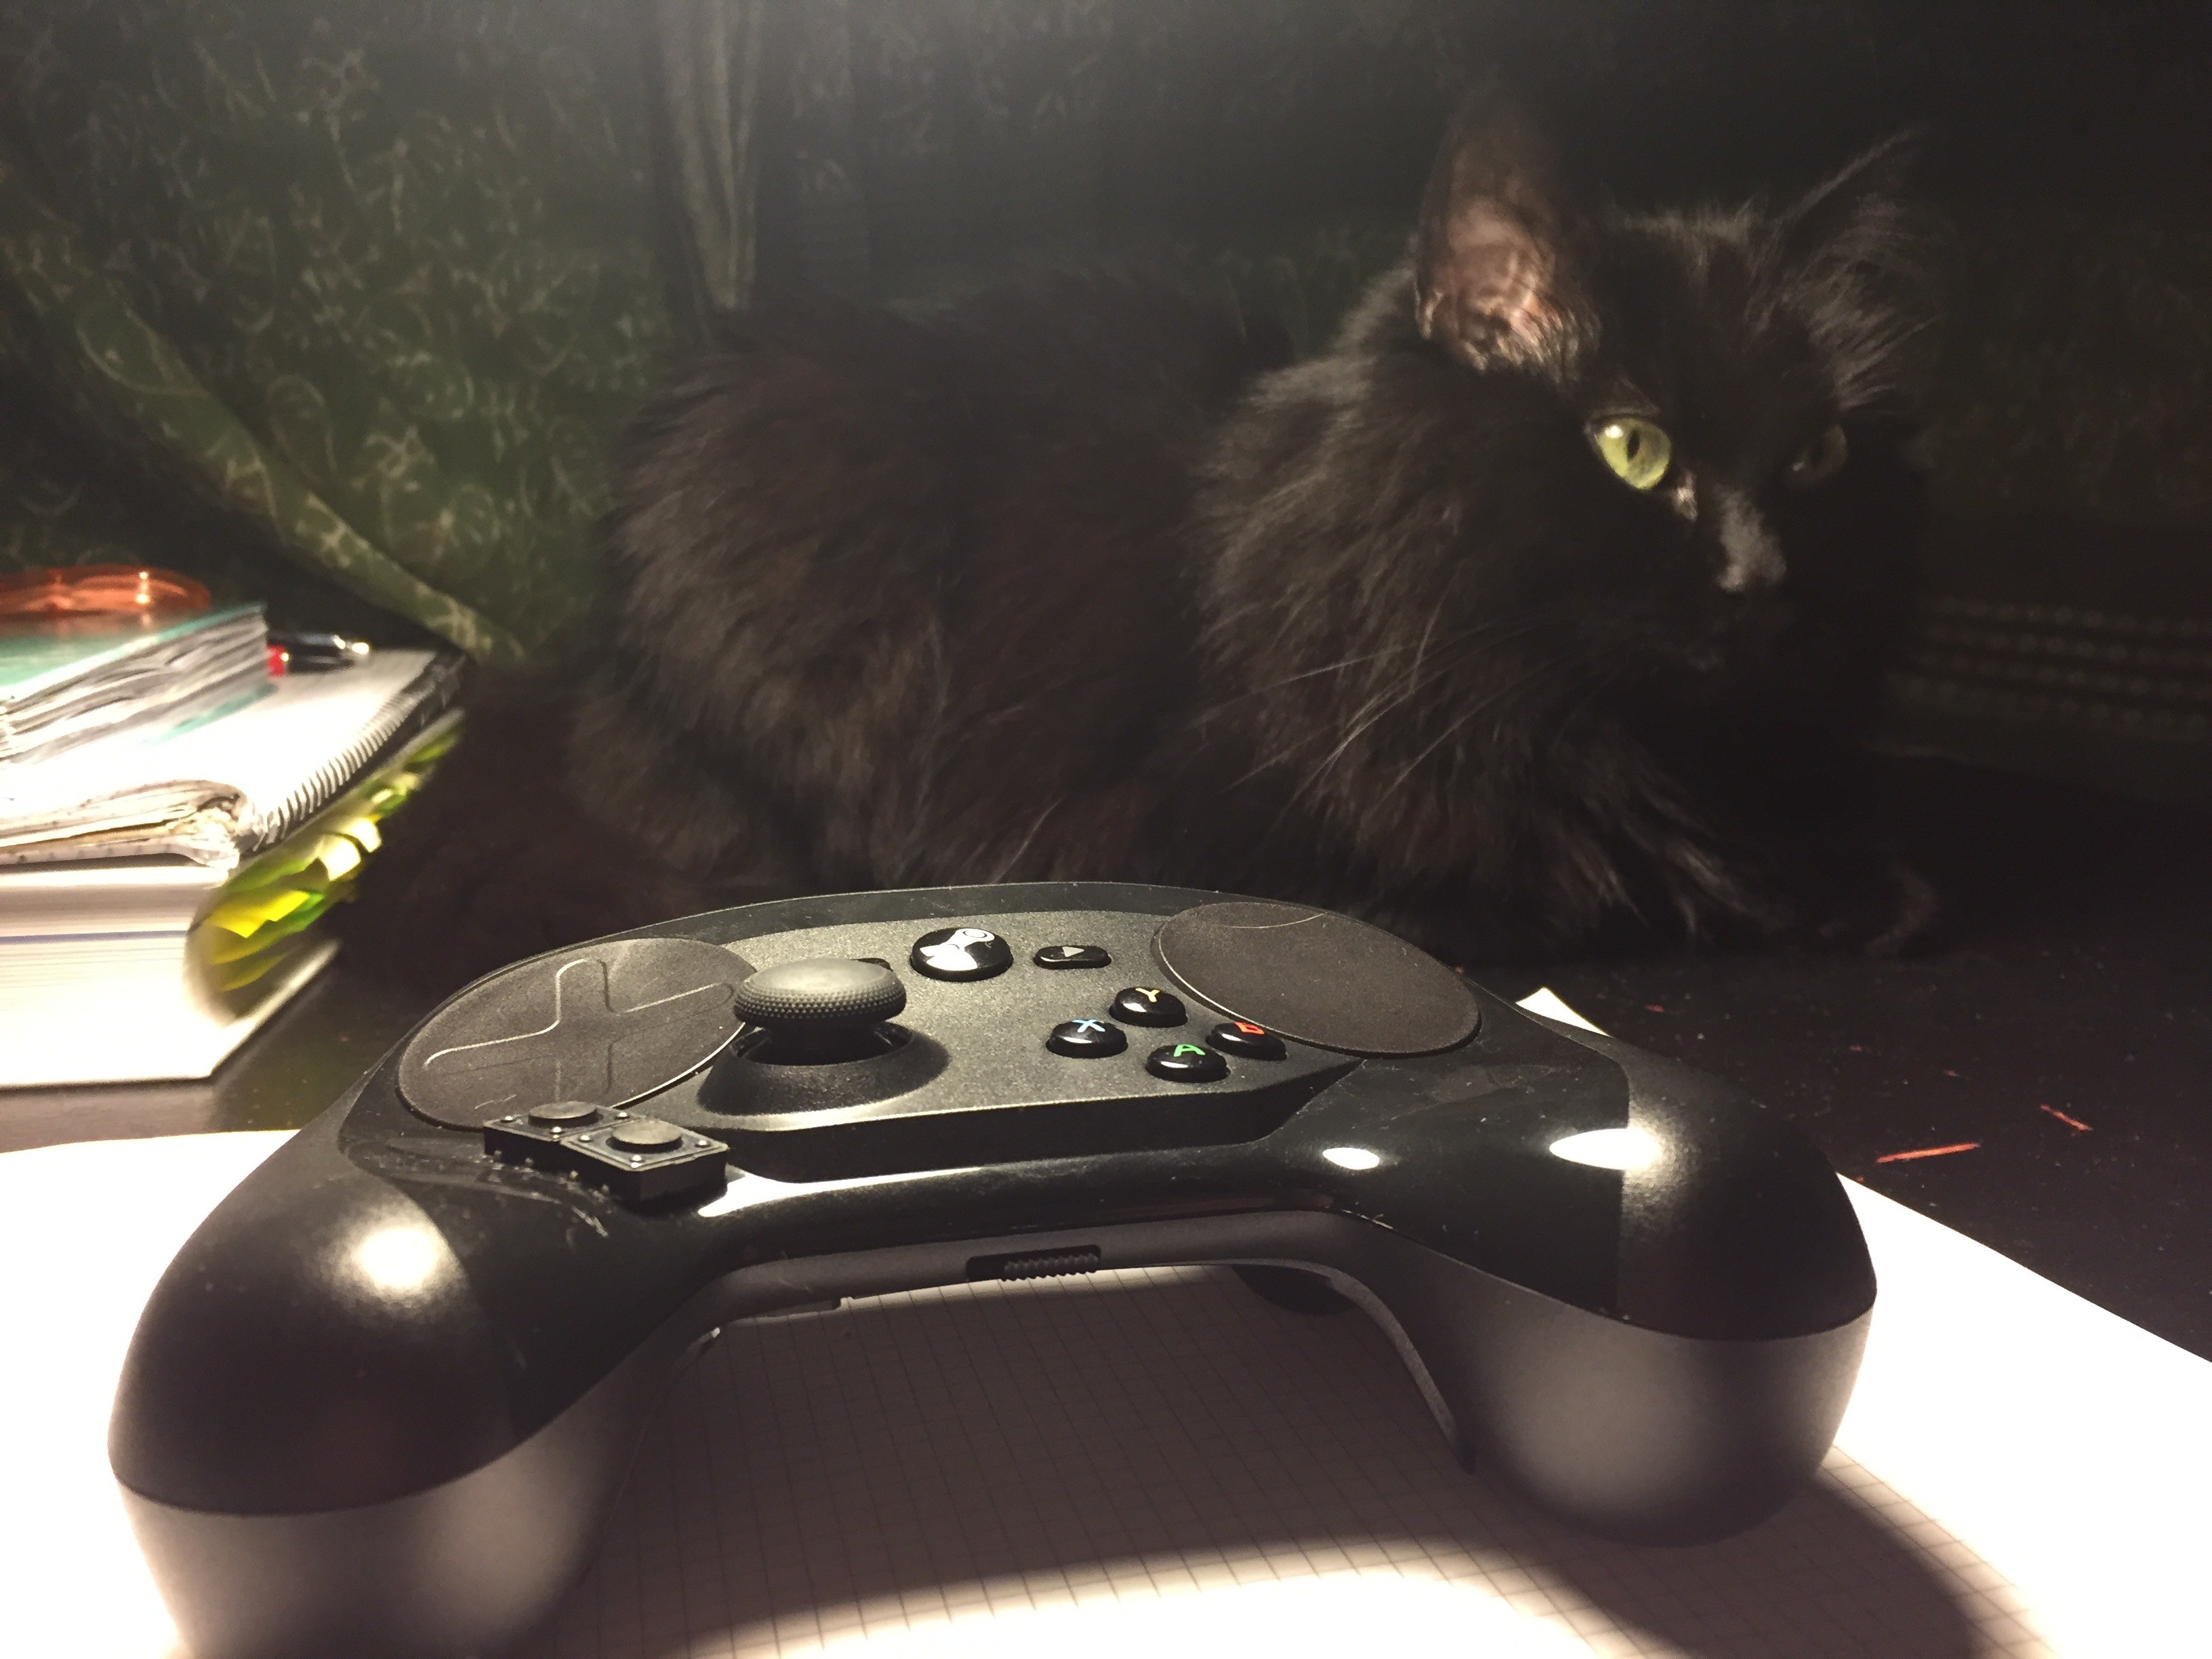
Special thanks to my cat Nympha for her patience and support.
![]()
![]()
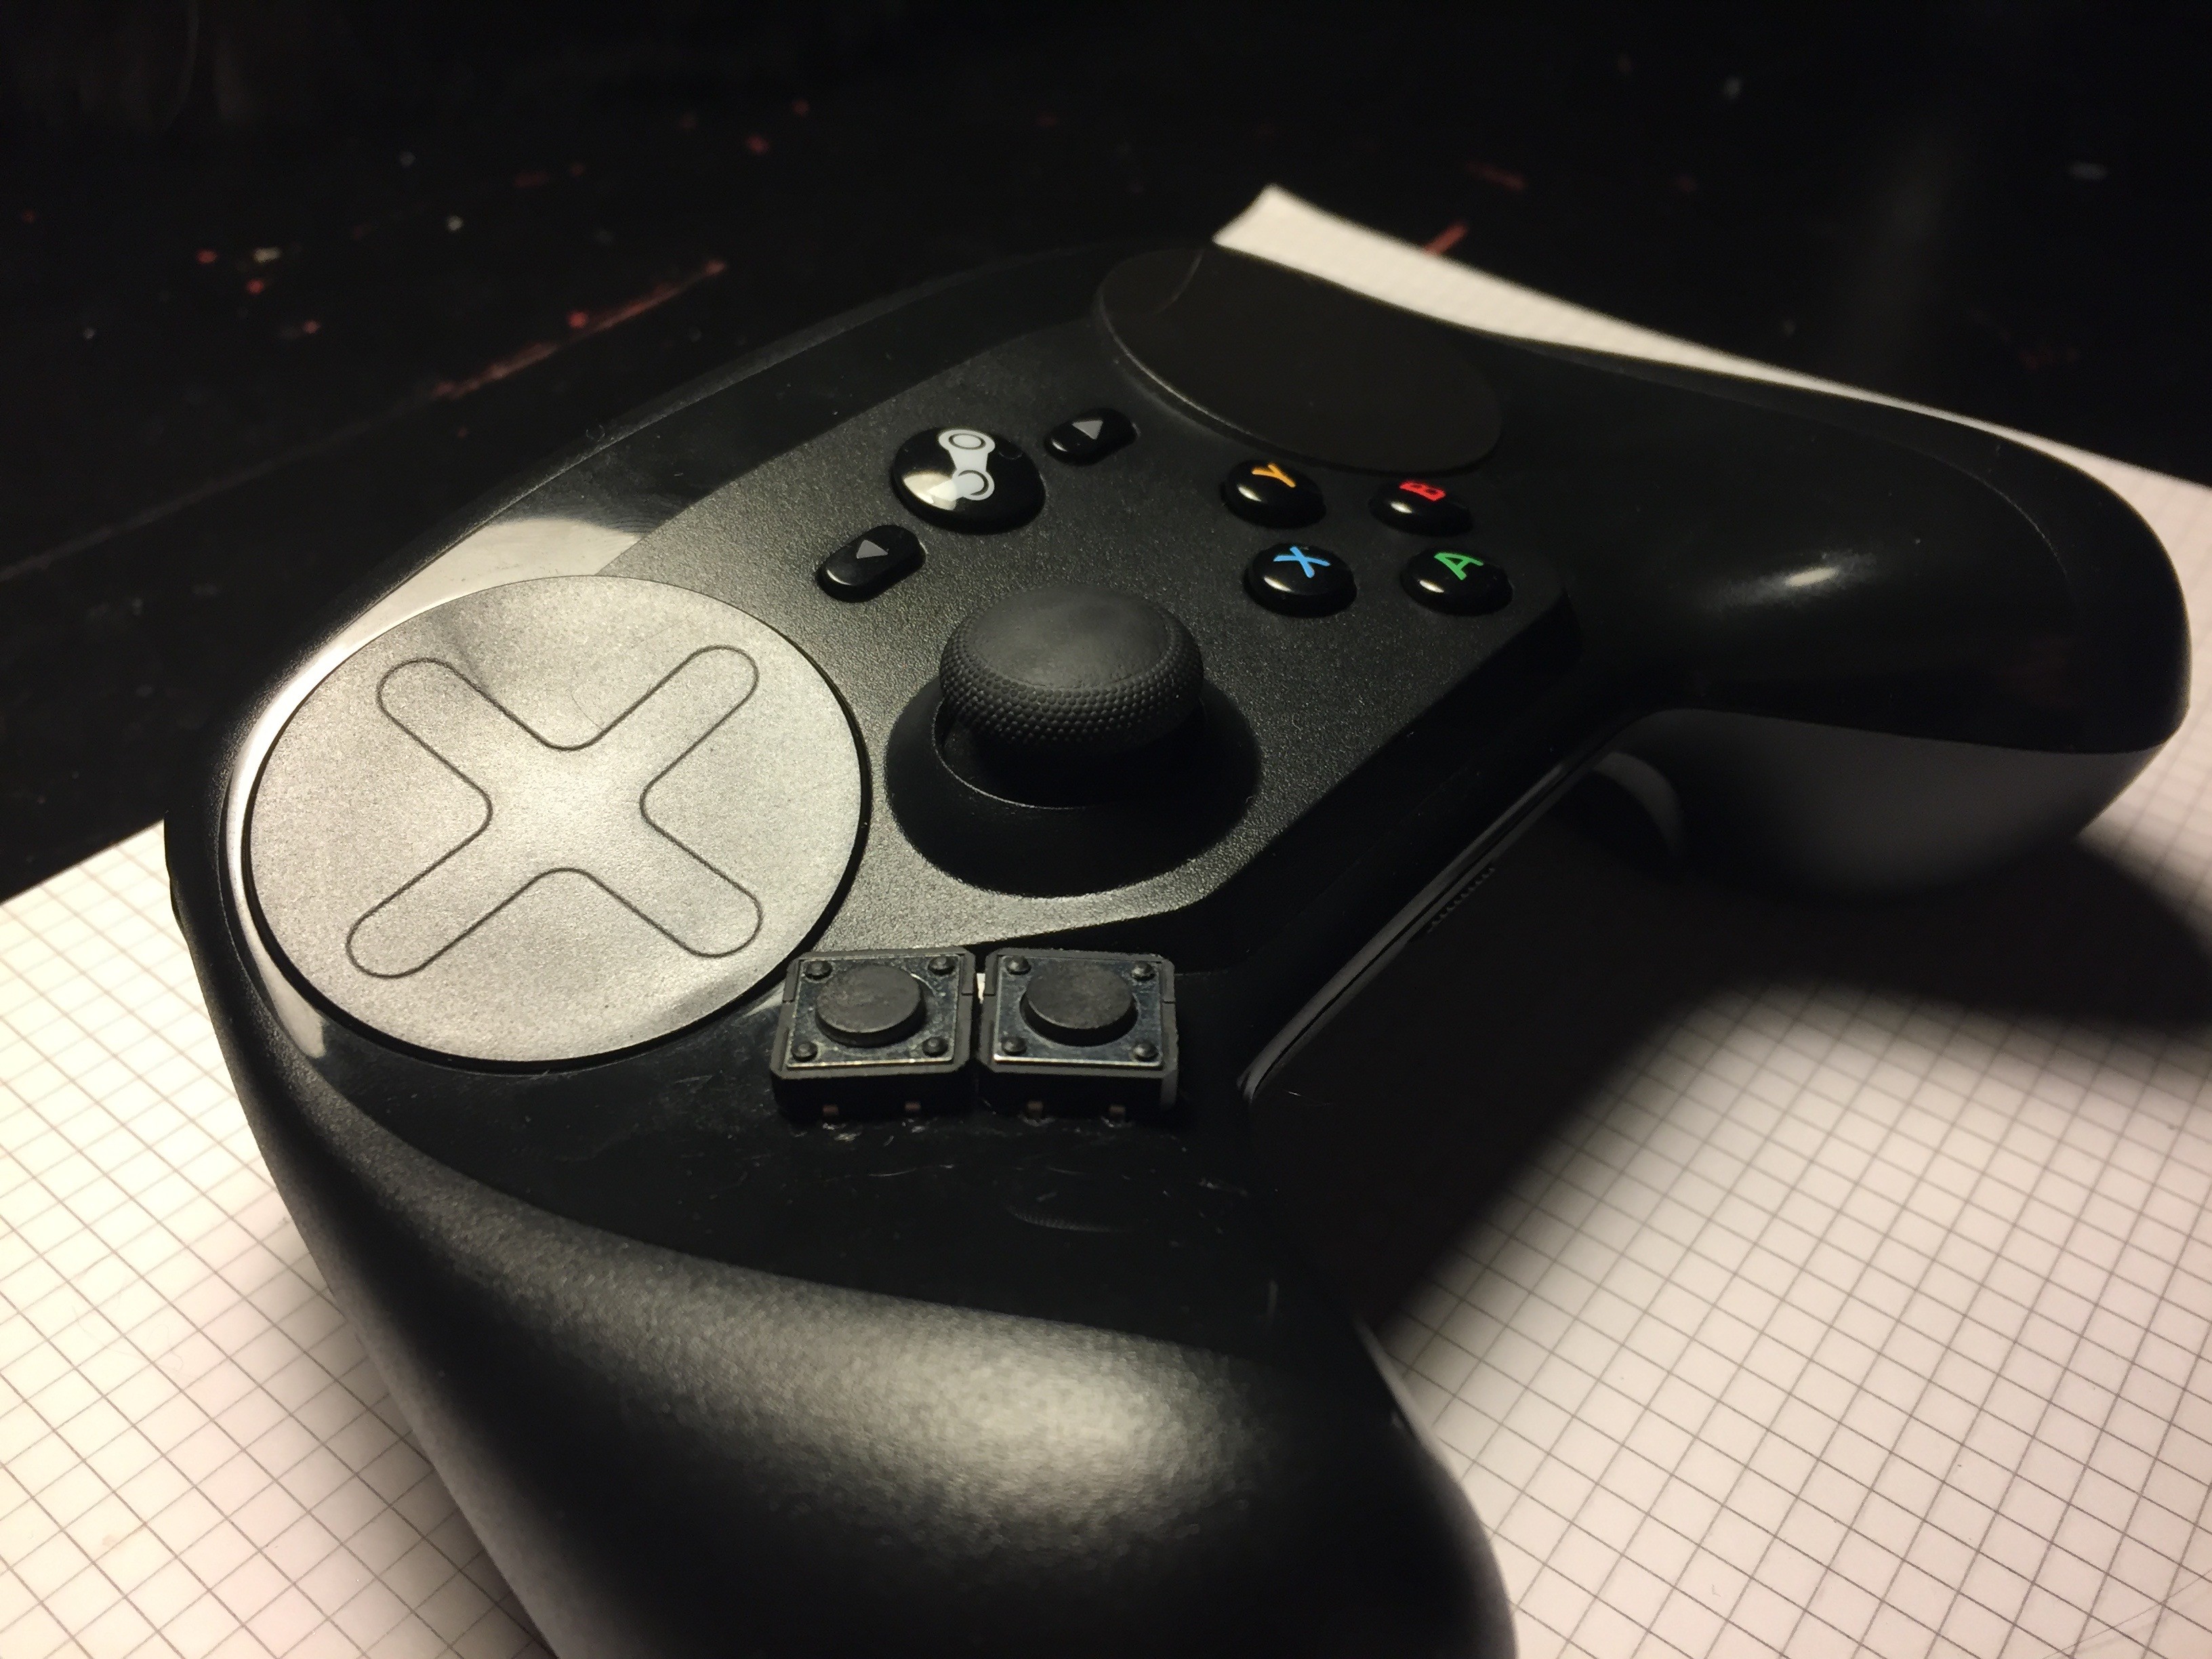
Steam Controller mod: ABXY buttons on the left
I like to play FPS with Steam Controller (left hand) and mouse (right hand). Controller's ABXY buttons were unreachable. Not any more!
 Evo
Evo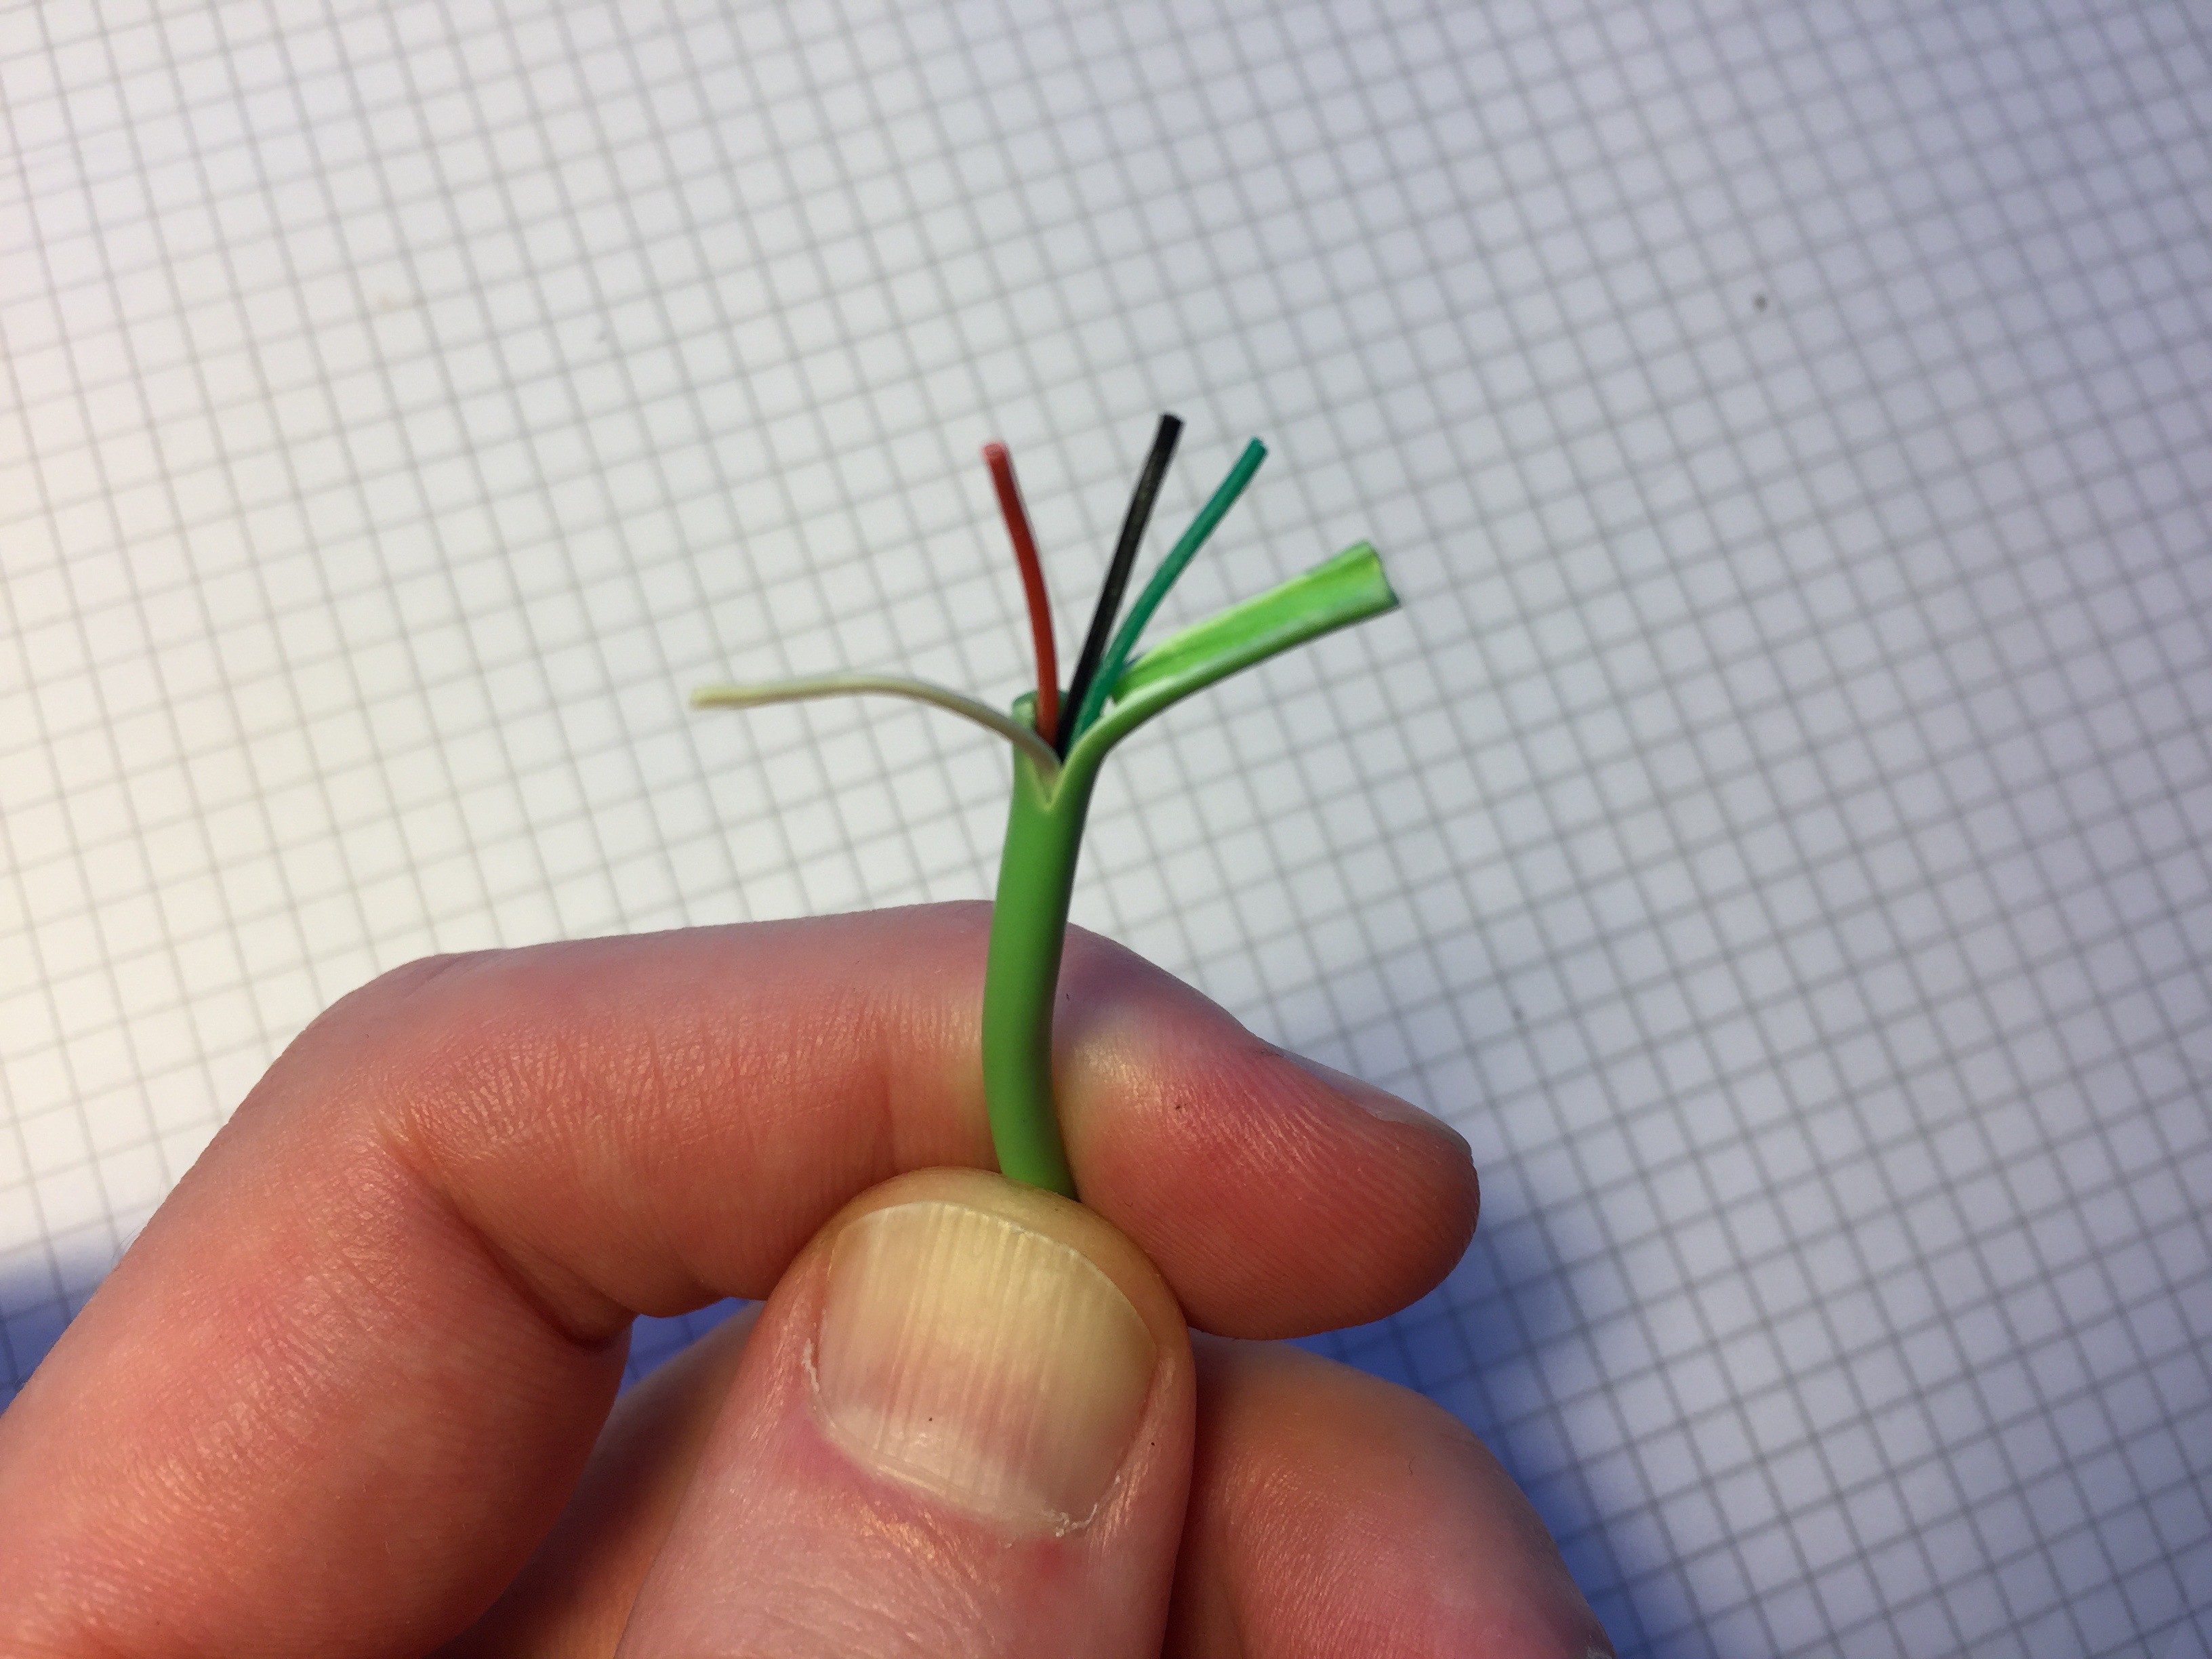








Discussions
Become a Hackaday.io Member
Create an account to leave a comment. Already have an account? Log In.