Some people use aquarium pumps to make remote print cooling blowers for their 3D printers. It's hard to get enough air to the print that way, unless you get a big pump, but that gets expensive and noisy. I wanted a way to deliver a variable and copious amount of air that would be quiet, relatively low cost, and could be driven by the normal PWM print cooling fan output from a 3D printer's controller board.
CPAP machines uses centrifugal air pumps with very high quality, long-life, brushless DC motors that can move a LOT of air very quietly. About two years ago I picked up such a blower at my local American Science and Surplus store in Milwaukee for $8. The trick was figuring out how to power/drive it. A few RC hobbyists at the makerspace told me to get an ESC and servo tester for a model airplane and I should be able to drive that blower, so I ordered parts from HobbyKing ($10 and $5) and it worked well:
Blower test video from Mark Rehorst on Vimeo.
That particular blower obviously moved far more air than needed. The only problem was the ESC and servo tester didn't have an easy to tap PWM input and would not just start up the blower when powered up (safety- you don't want your helicopter blade to chop up your hands as soon as you connect the battery!).
It all sat for a while until someone left a CPAP machine on the hack-rack at the makerspace. It had a slightly smaller blower, so I decided to try looking for drivers again, and found the perfect driver on ebay for $13 shipped from Hong Kong. It's rated for up to 36V, 350W, so it would operate from the 12V switched fan output on my SmoothieBoard controller.
If you want to try something like this, it isn't usually too hard to find a CPAP machine at a garage sale or by asking a relative. People often stop using their CPAP machines because they can't adjust to sleeping with the mask that goes with them. You won't find them on ebay or Craig's List because they are medical devices, but you can get the hoses there.
You can get similar blowers from Chinese suppliers via ali-baba for about $25.
This one even comes with a driver for $35.
Details of the whole thing are on my blog. TLDR: I printed a nozzle for UMMD's extruder carriage, clamped the blower to the printer and ran the air hose along the drag chain that brings the cables to the extruder. The driver has a PWM input but I just connected the driver's power input to the MOSFET that normally drives the print cooling fan. It works well and is capable of delivering at least 10x the airflow needed.
First test print with CPAP blower for print cooling from Mark Rehorst on Vimeo.
First test print with CPAP blower for print cooling, continued. from Mark Rehorst on Vimeo.
I know the print is excessively hairy- I'm still struggling to tune up the extrusion parameters for the 0.8 mm nozzle on the volcano heater block.
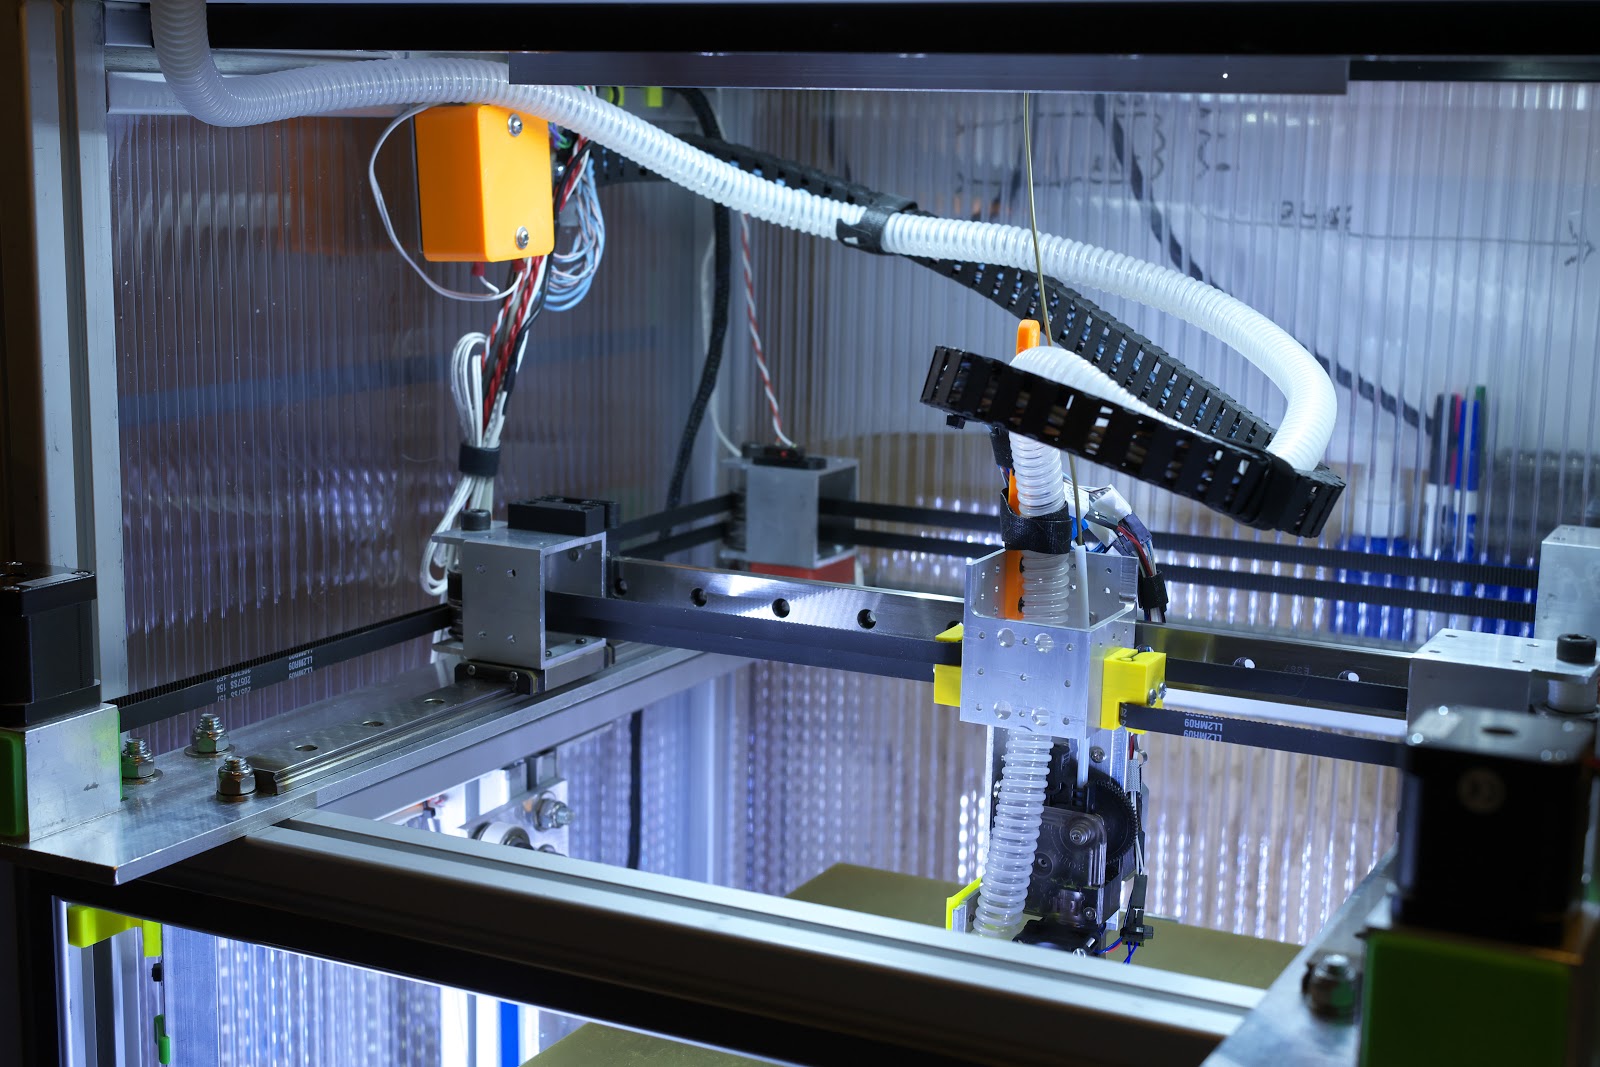
I haven't decided if it is going to be a permanent addition to the printer yet. I'm in the process of redesigning the extruder carriage and may add this as a permanent part of the design.
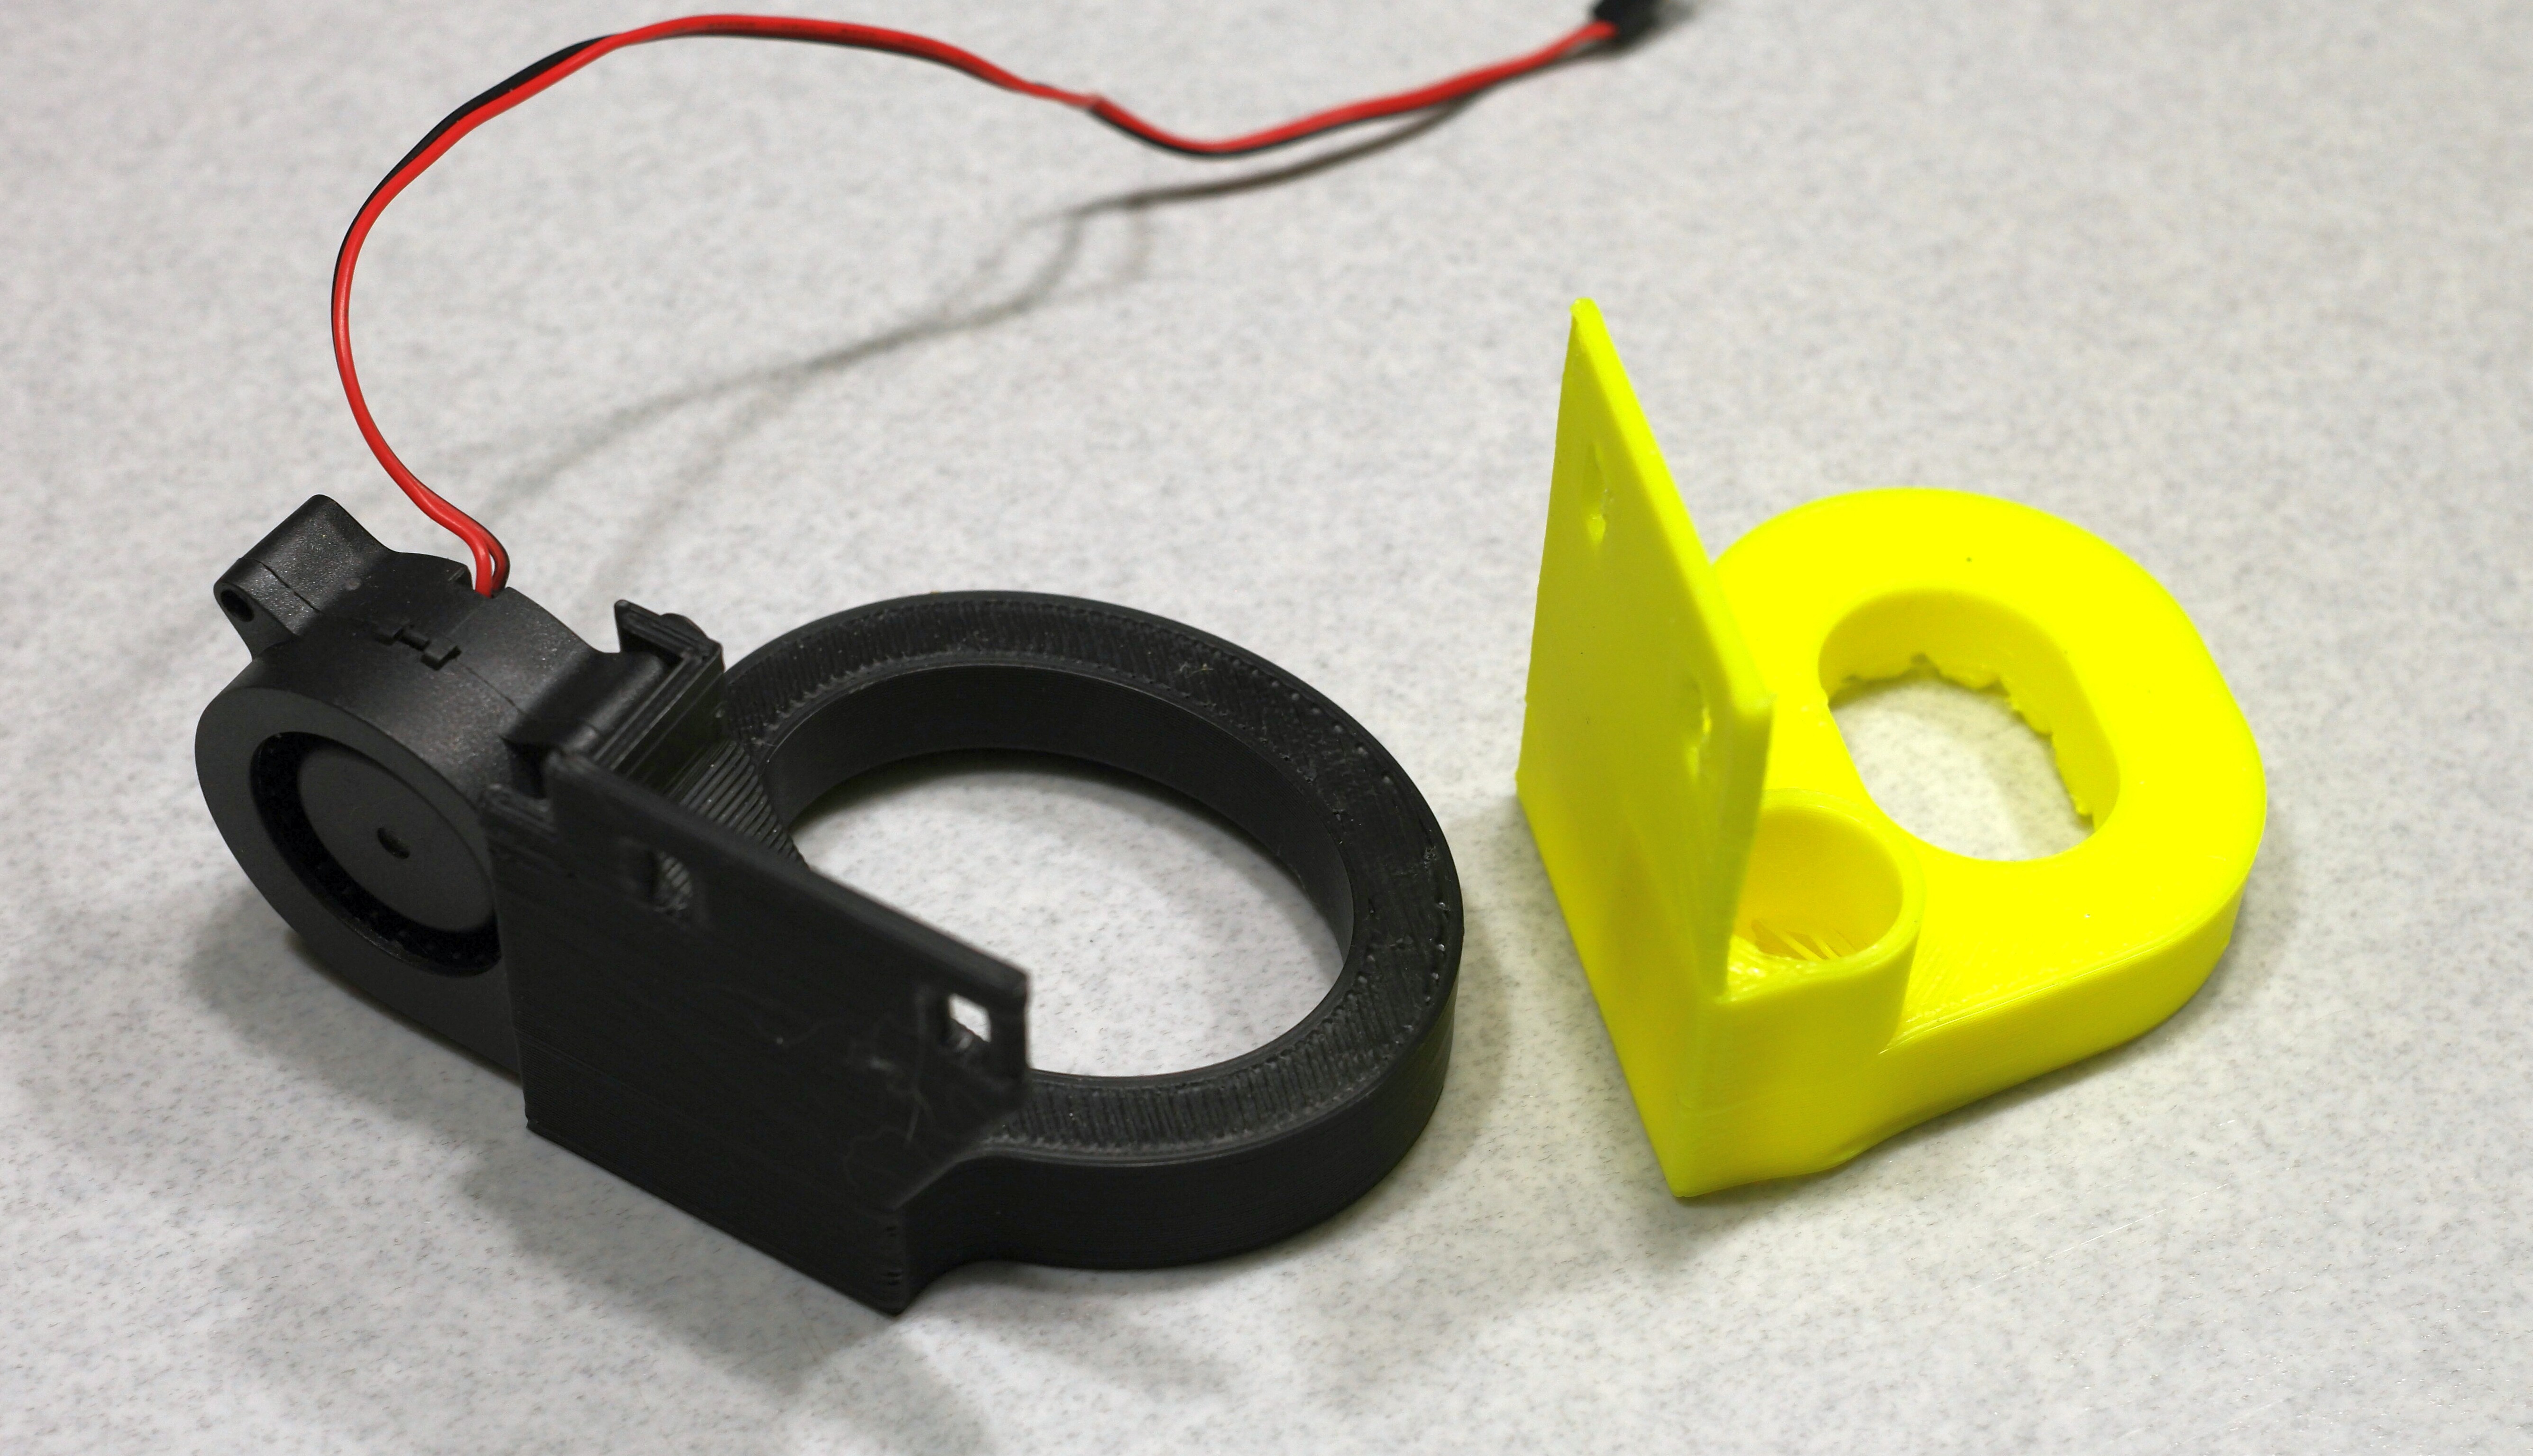
I see two primary advantages to this type of set-up. First, you're guaranteed to have more than enough air flow available, and second, it requires less lateral space on the extruder carriage compared to squirrel cage blowers and ducts/nozzles mounted on the extruder carriage. The space issue can be a big benefit because it allows for serious print cooling without reducing the lateral build dimensions of your printer as much as hanging a blower from it might. Neither of the print cooler design is particularly optimized yet, but the remote type is already smaller on the first pass.
 Mark Rehorst


 MasterOfNull
 nfk
nfk
 Tomas Starek
 Jeremy
There has been a great deal of value to me in my involvement with the project. Would like to share it with the happy mothers day to pregnant woman team so they can also read it and implement something new.